Articles
How To Reprogram Garage Door Keypad
Modified: January 8, 2024
"Learn how to easily reprogram your garage door keypad with our informative articles. Get step-by-step instructions and troubleshoot common issues. Start programming your keypad today!"
(Many of the links in this article redirect to a specific reviewed product. Your purchase of these products through affiliate links helps to generate commission for Storables.com, at no extra cost. Learn more)
Introduction
Welcome to our guide on how to reprogram your garage door keypad. If you’ve recently moved into a new home, need to update your existing code, or simply want to enhance the security of your garage, reprogramming your keypad is a simple and effective solution. With just a few easy steps, you’ll have your keypad reset, providing you with peace of mind and convenient access to your garage.
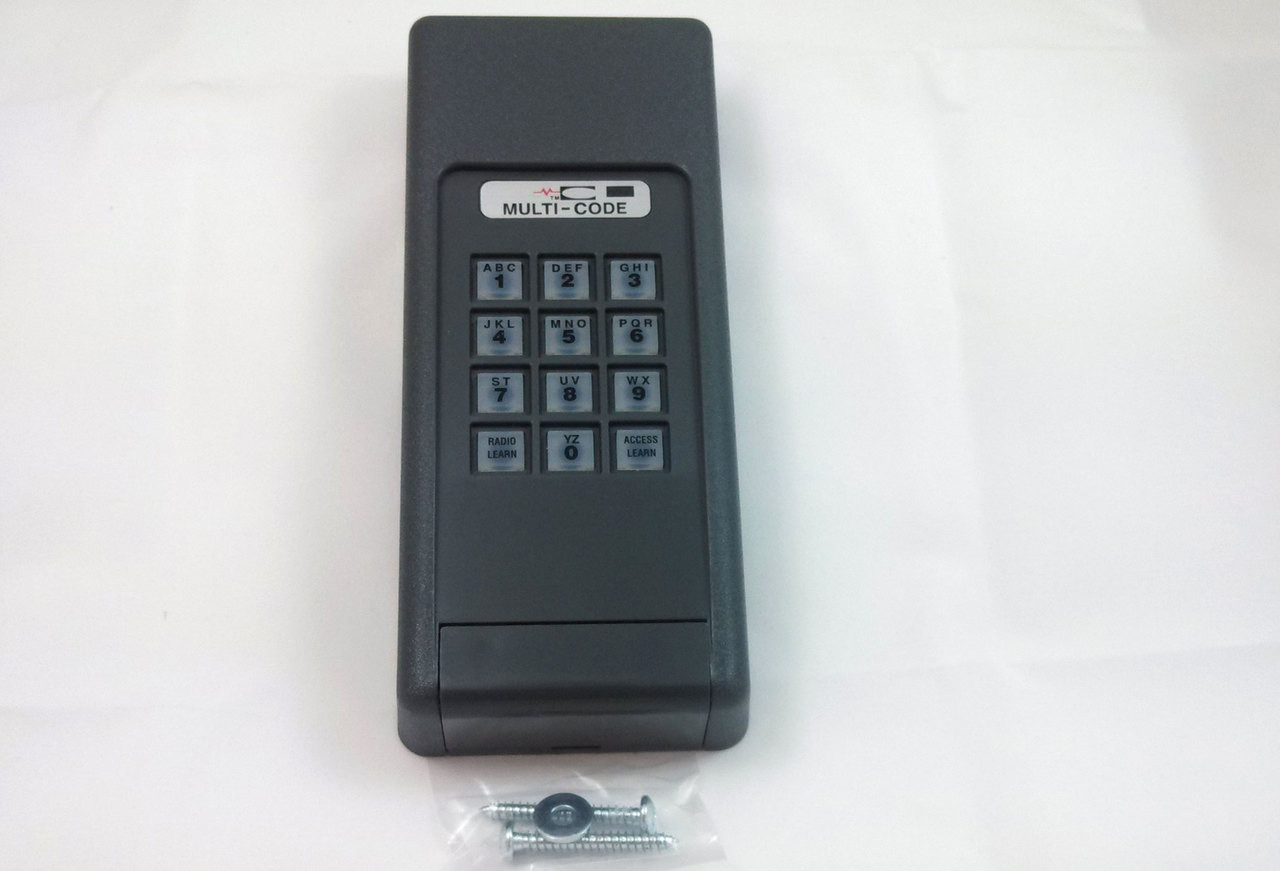
A garage door keypad is a wireless device located outside your garage that allows you to enter a specific code to open or close your garage door. This eliminates the need for a key or a remote control, making it a convenient option for homeowners. However, there are times when you may want to reprogram your keypad to change the access code or sync it with a new garage door opener.
In this article, we will walk you through the step-by-step process of reprogramming your garage door keypad. Please note that the exact instructions may vary depending on the make and model of your keypad, so it’s always a good idea to consult your keypad’s instruction manual for specific details.
Before we get started, make sure you have all the necessary materials handy. You’ll need a ladder, as well as a pen and paper to jot down any important information during the reprogramming process. Additionally, it’s a good idea to have a flashlight available in case you need to work in dim lighting conditions.
Now that you’re prepared, let’s dive into the instructions and get your garage door keypad reprogrammed in no time!
Key Takeaways:
- Reprogramming your garage door keypad is a simple process that enhances security and provides convenient access to your garage. Follow the step-by-step instructions to ensure a smooth and successful reprogramming experience.
- Gather all necessary materials, locate the programming button, clear existing codes, enter a new programming code, test the new code, and troubleshoot any issues to ensure a seamless reprogramming process. Enjoy the convenience and security of your reprogrammed garage door keypad!
Read more: How To Reprogram Keypad Door Lock
Step 1: Gather Materials
Before we start reprogramming your garage door keypad, let’s gather all the necessary materials:
- A ladder: You’ll need a ladder to access your garage door keypad, which is usually mounted at a height that requires some elevation.
- Pen and paper: It’s always a good idea to have a pen and paper handy to write down any important information during the reprogramming process. This includes your new access code and any troubleshooting steps you may need to follow.
- Flashlight: In case your garage is poorly lit, having a flashlight can help provide better visibility as you work on reprogramming the keypad.
Once you have these materials ready, you can proceed to the next step of locating the programming button on your garage door opener system.
Step 2: Locate the Keypad Programming Button
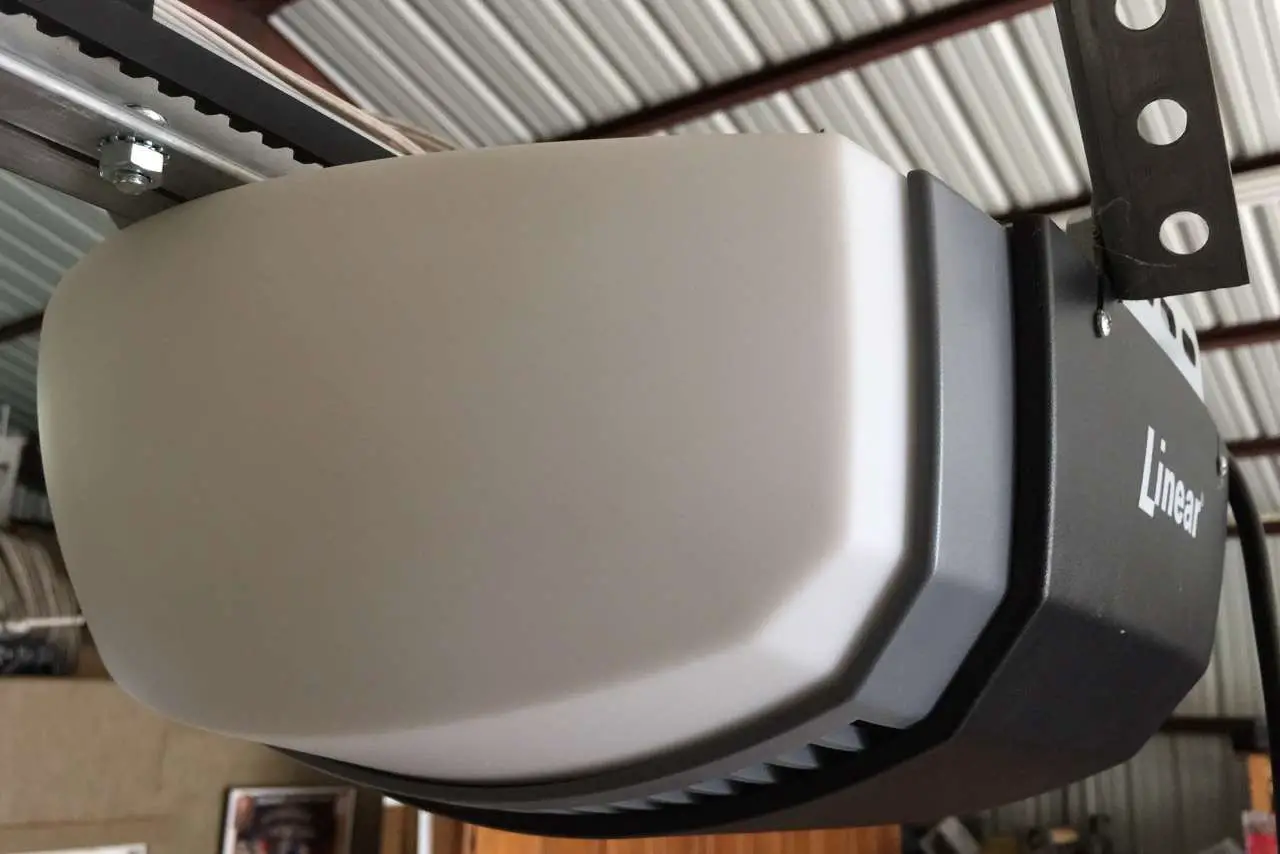
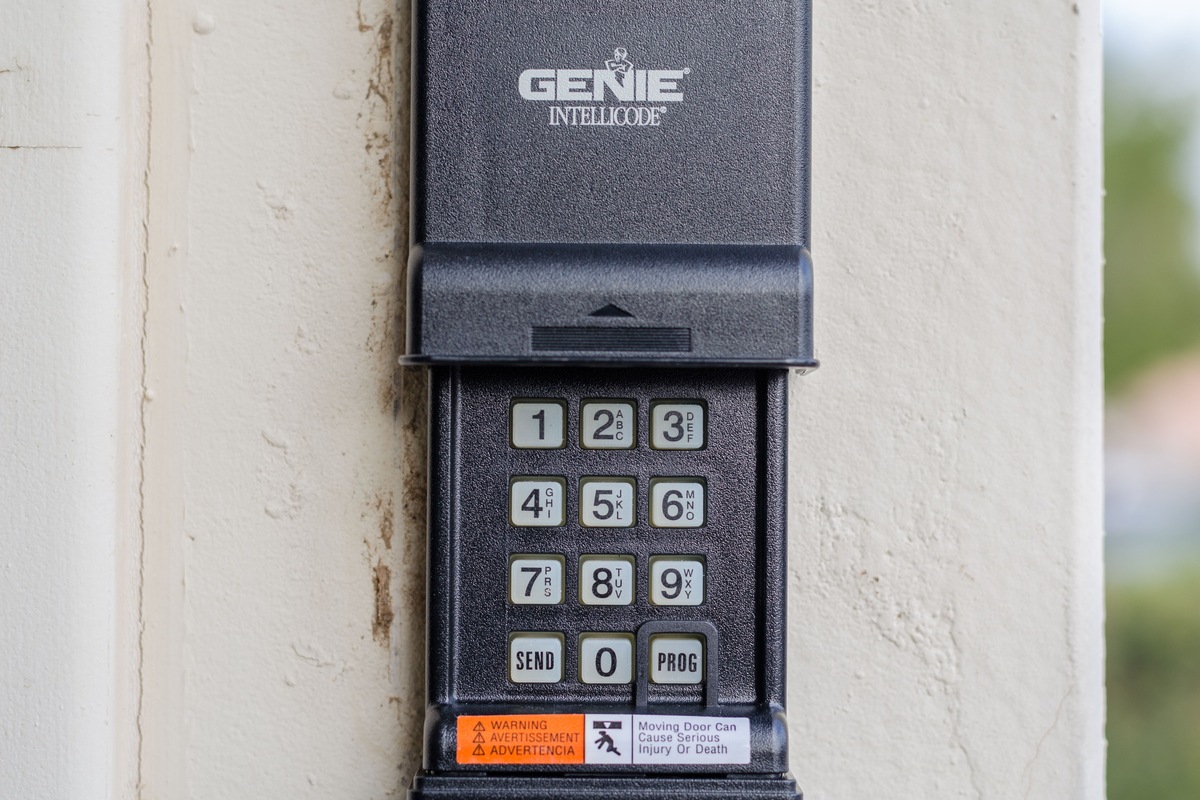
To begin the reprogramming process, you’ll need to locate the programming button on your garage door opener system. The programming button is typically found on the motor unit of the opener itself.
Here’s how you can locate the programming button:
- Start by finding the main motor unit of your garage door opener. This is usually mounted on the ceiling in the center of your garage.
- Once you’ve located the motor unit, look for a small button or a series of buttons on it. These buttons are used for programming and adjusting the settings of the opener.
- Refer to your garage door opener’s instruction manual to identify the specific button that is used for keypad programming. This button may be labeled as “Learn” or “Program”.
- Make sure you have a clear view of the programming button and that it’s easily accessible.
Once you have located the programming button, you’re ready to move on to the next step of clearing any existing codes from the keypad.
Step 3: Clear Existing Codes
Before you can reprogram your garage door keypad with a new access code, it’s important to clear out any existing codes that may be saved in the system. This step ensures that only the new code you set will be recognized by the keypad.
Here’s how you can clear the existing codes:
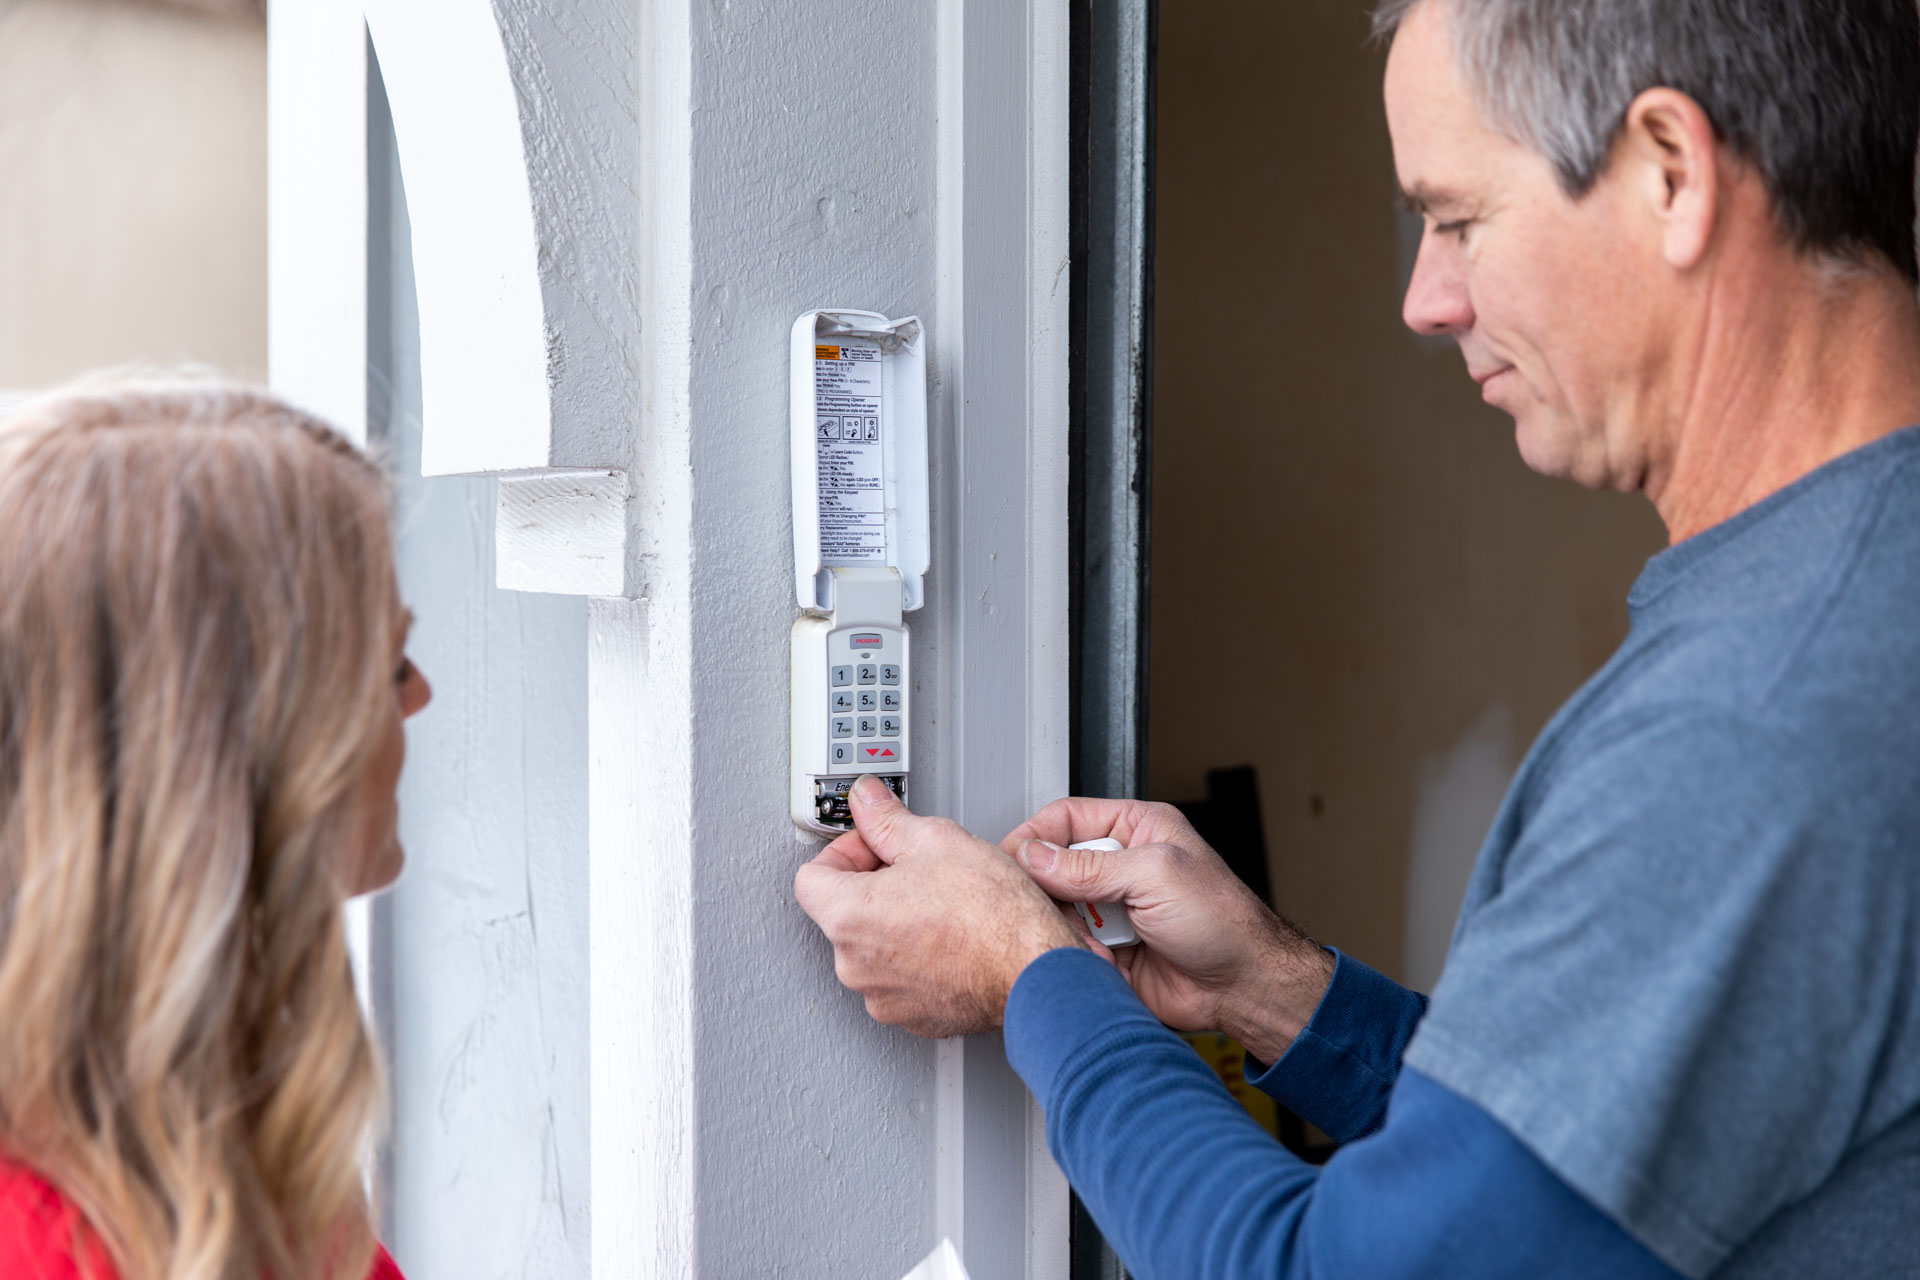
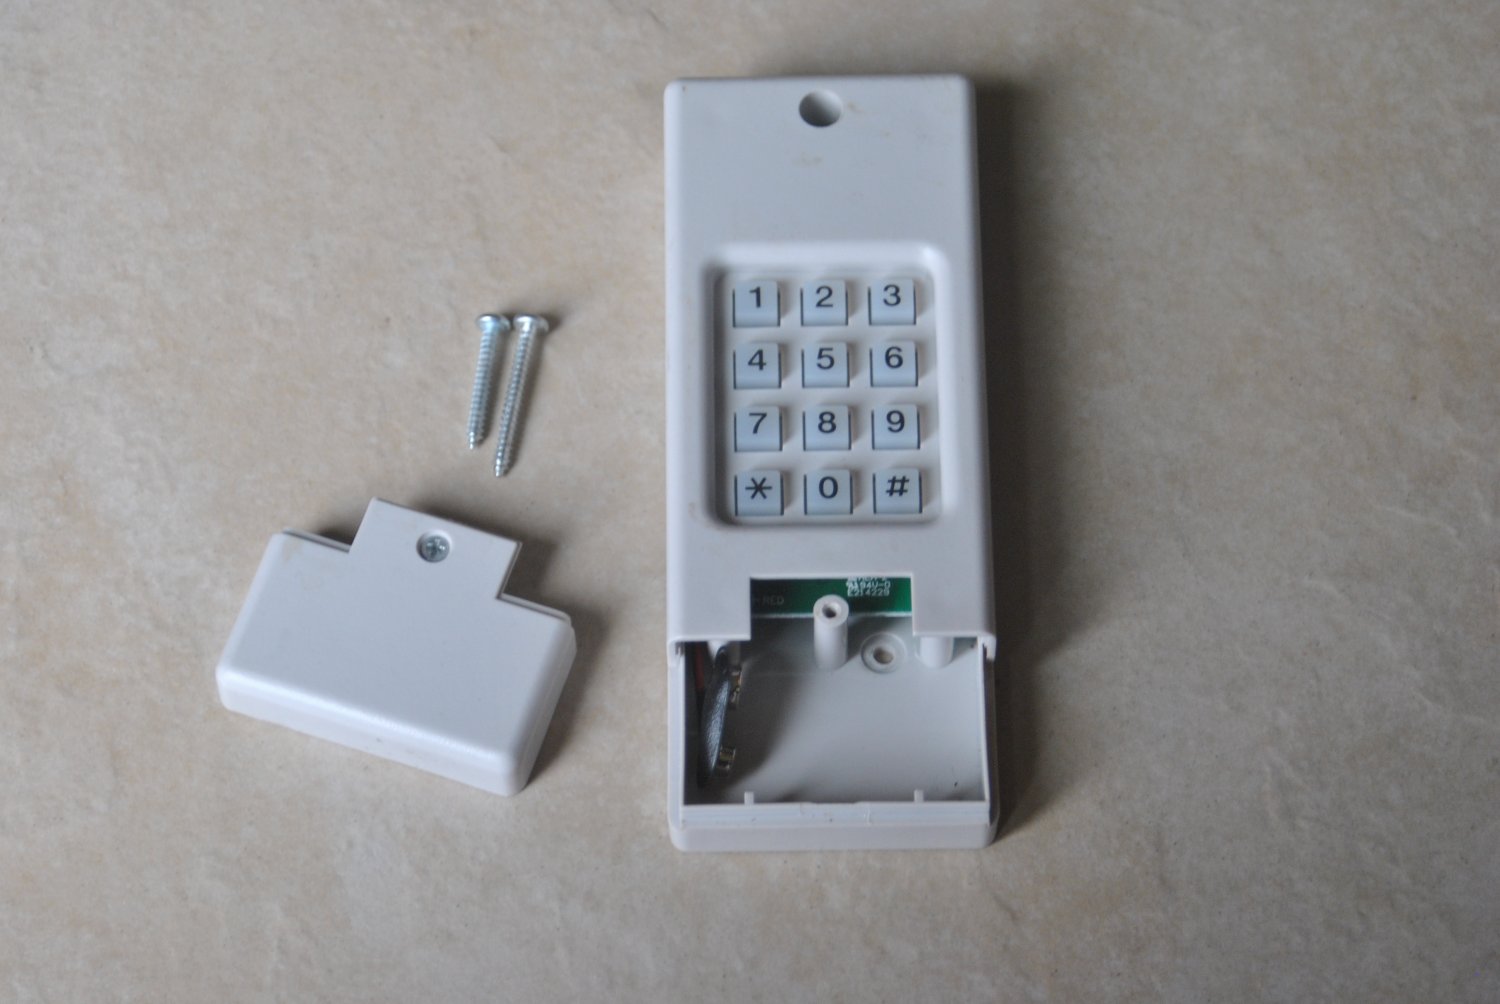
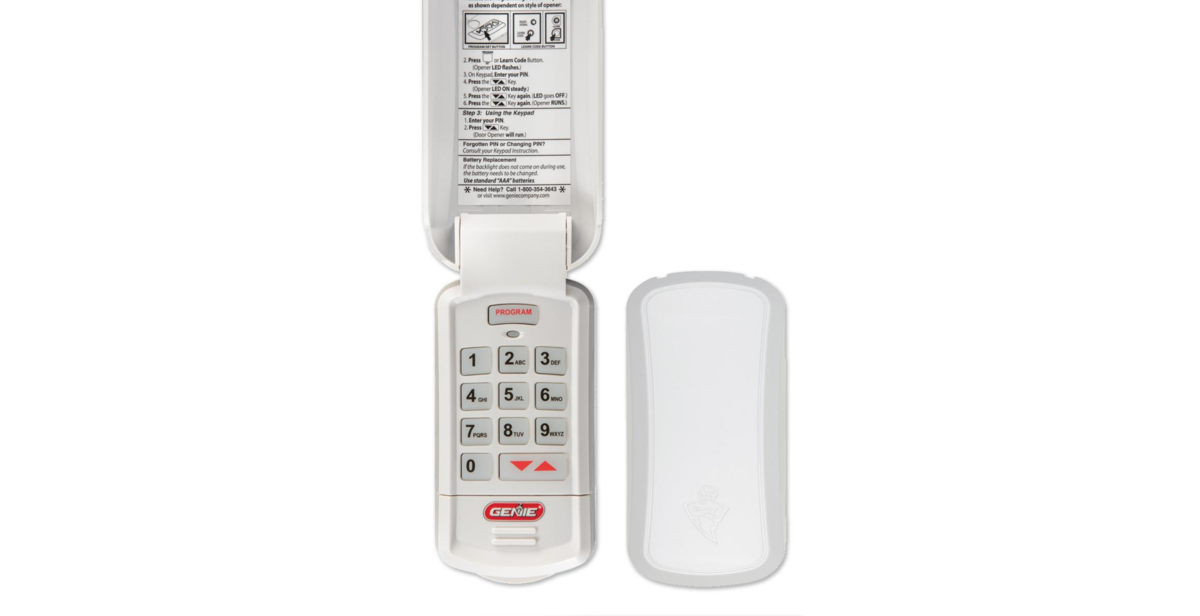
- Stand on the ladder and locate the keypad on the exterior of your garage door. Most keypads have a flip-up cover to protect the buttons.
- Open the keypad cover to reveal the buttons and look for the “Learn” or “Program” button. This button is usually located on the back or inside of the keypad.
- Press and hold the “Learn” or “Program” button for a few seconds until the keypad light turns off. This indicates that the existing codes have been cleared from the keypad’s memory.
- Once the keypad light turns off, release the “Learn” or “Program” button.
Now that you have successfully cleared the existing codes, you can proceed to the next step of entering your new programming code.
Ensure the keypad is within range of the garage door opener. Follow the manufacturer’s instructions to reset the keypad code. Test the new code to ensure it works properly.
Step 4: Enter New Programming Code
With the existing codes cleared from your garage door keypad, you can now proceed to enter a new programming code of your choice. This new code will be used to operate your garage door.
Follow these steps to enter your new programming code:
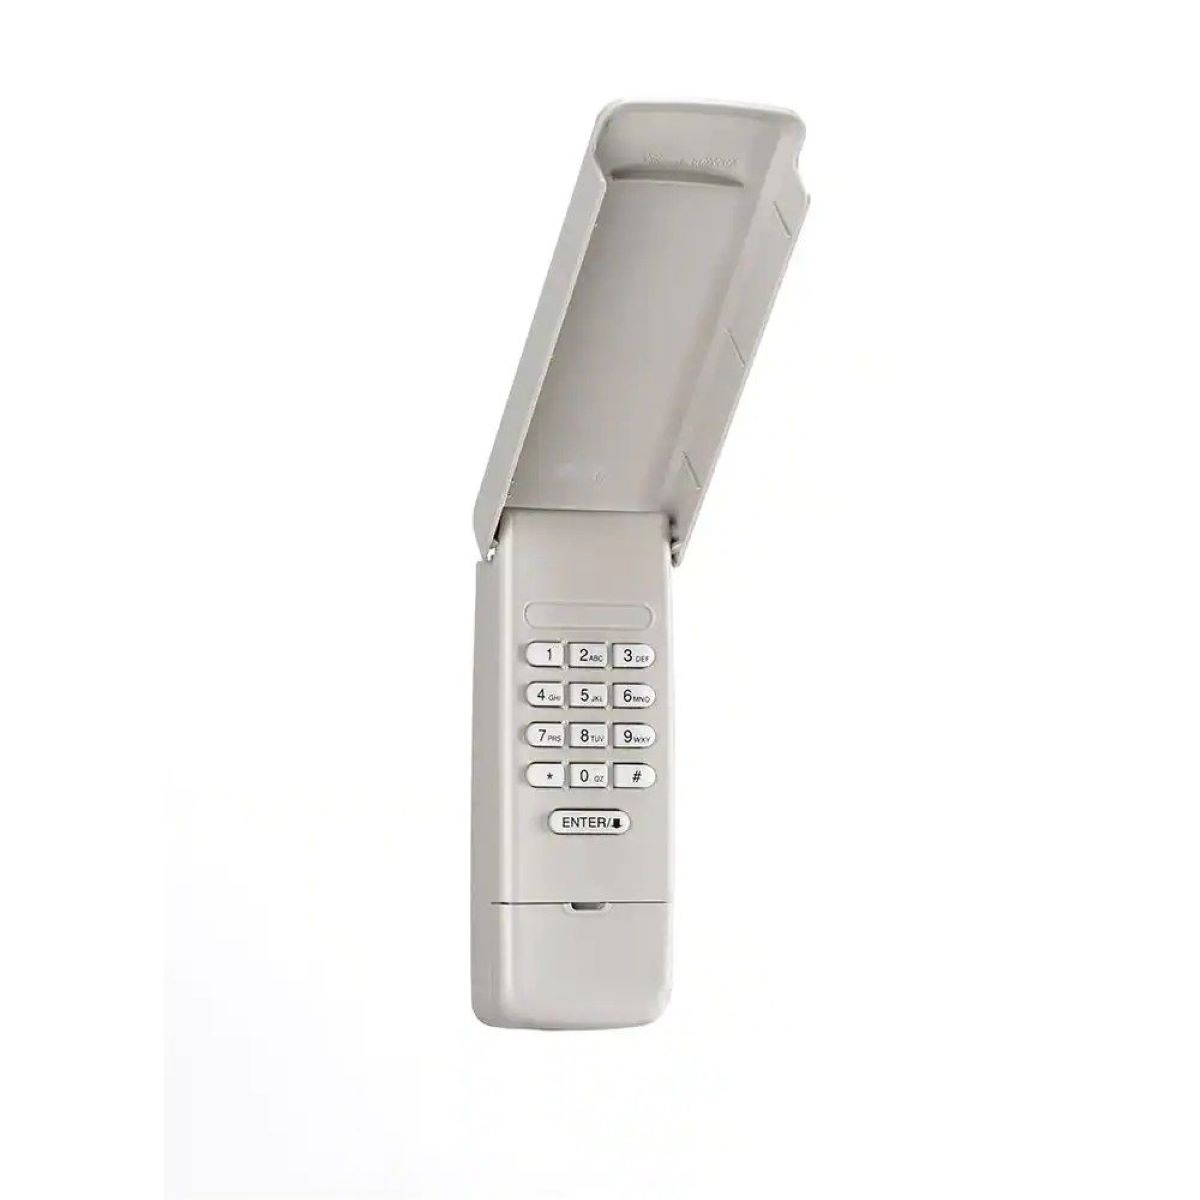
- Stand on the ladder and open the keypad cover to access the buttons.
- Locate the “Learn” or “Program” button on the back or inside of the keypad.
- Press and release the “Learn” or “Program” button. The keypad light should turn on, indicating that it is ready to accept a new programming code.
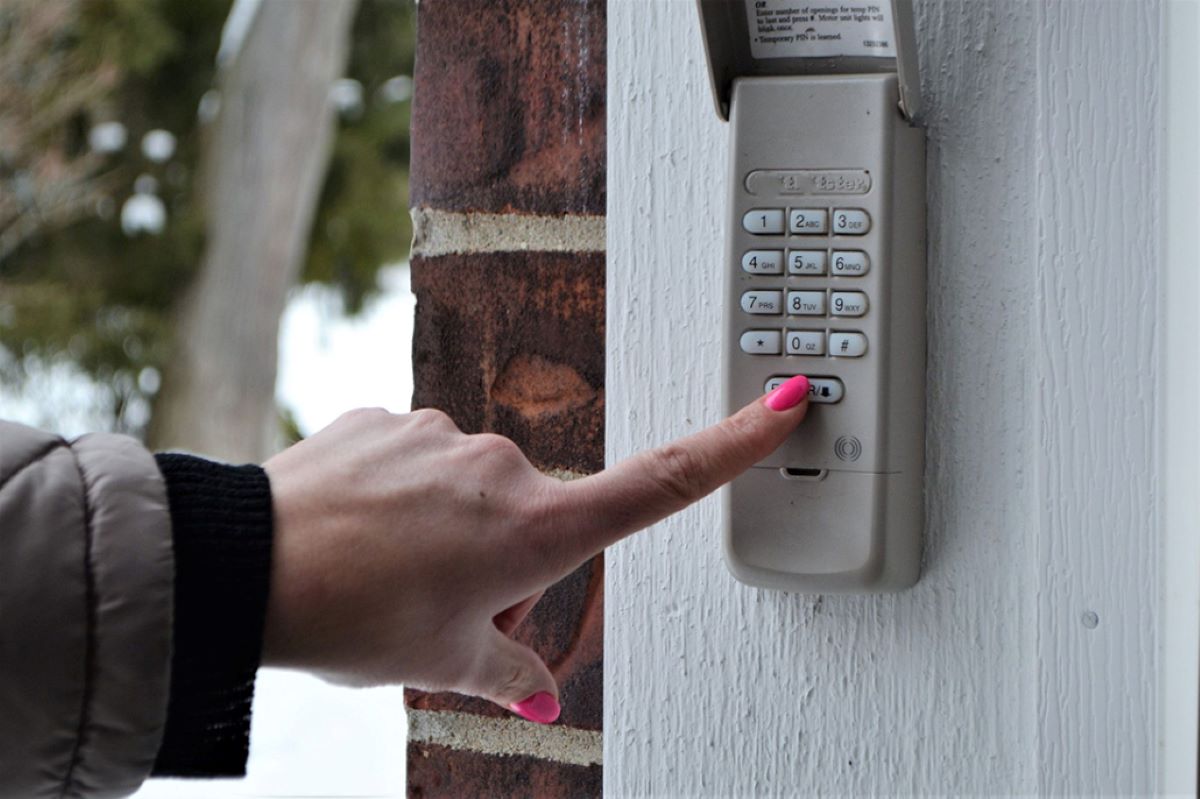
- Enter your new programming code using the keypad buttons. Make sure to choose a code that is easy for you to remember, but not easily guessable by others.
- After entering the new code, press the “Learn” or “Program” button again to save the code into the keypad’s memory. The keypad light should blink or turn off and then back on to confirm that the code has been successfully programmed.
It’s important to note that some keypads may require you to enter the new code twice for verification. Follow the instructions provided by your keypad’s manufacturer to ensure accurate programming.
Now that you have entered the new programming code, you can proceed to the next step of testing the code to ensure it is working properly.
Read more: How To Reprogram A Garage Door Opener
Step 5: Test the New Code
After entering the new programming code into your garage door keypad, it’s crucial to test the code to ensure it is working correctly. This step ensures that you can effectively operate your garage door using the newly programmed access code.
Follow these steps to test the new code:
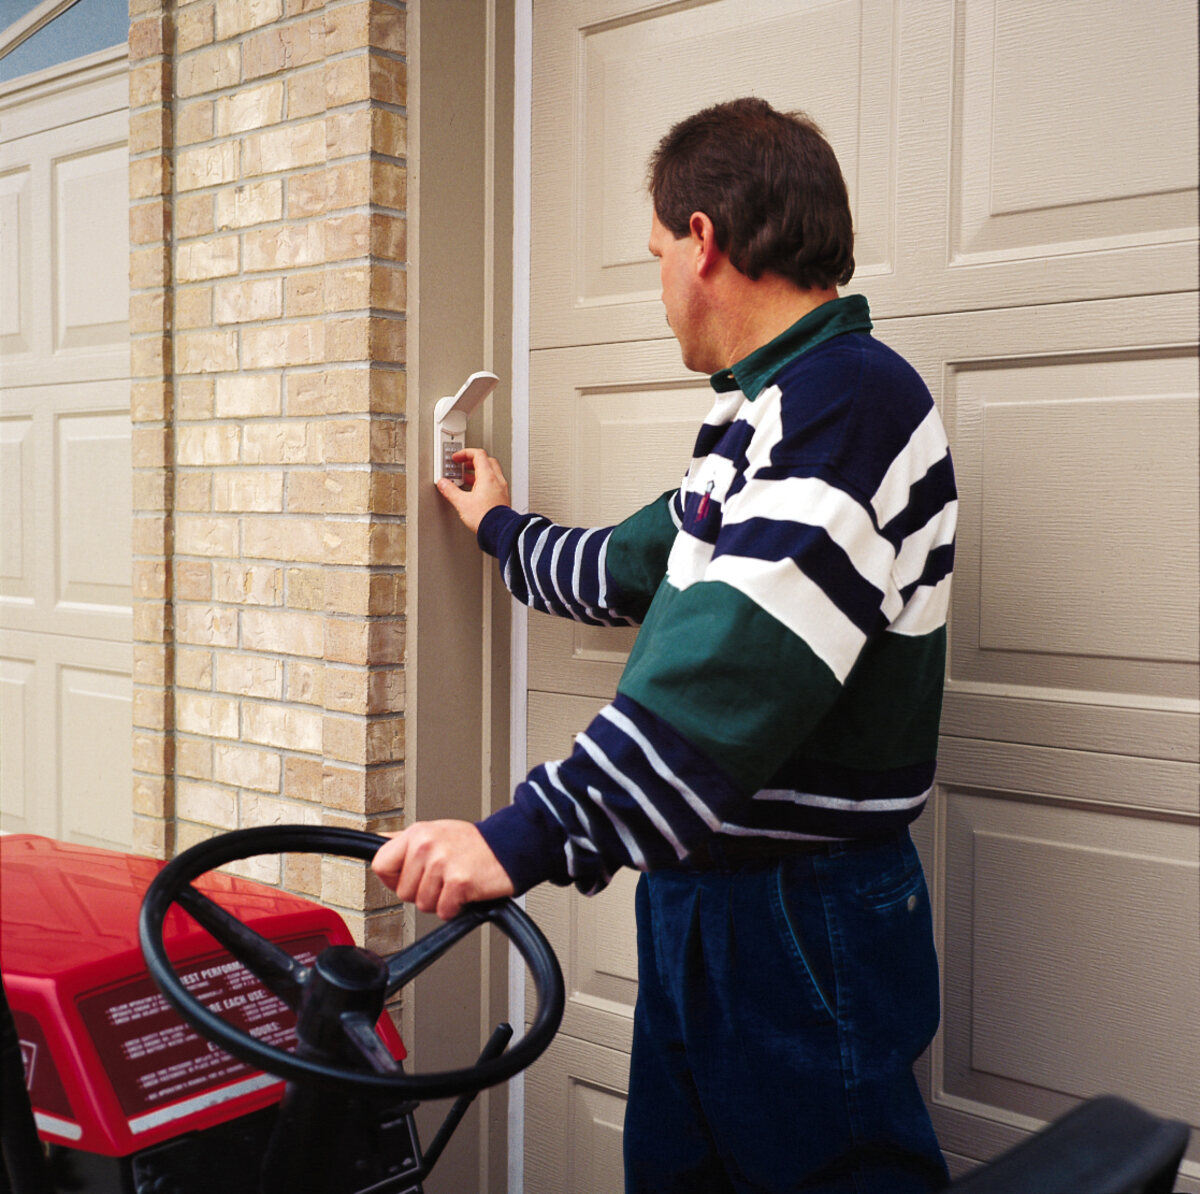
- Stand on the ladder and close the keypad cover.
- Enter the new programming code on the keypad.
- Observe the garage door opener system and listen for any sounds indicating that the code has been accepted.
- If the code is recognized and accepted, the garage door should start to open or close. Allow the door to fully operate to ensure its smooth functioning.
- If the garage door does not respond or if you encounter any issues, refer to the troubleshooting section or consult your garage door opener’s instruction manual for further guidance.
It’s important to note that some keypads may have additional features, such as the ability to program multiple access codes or disable the keypad temporarily. Refer to your specific keypad’s instructions to explore any advanced functionality it may offer.
If the new code works properly and the garage door operates as expected, congratulations! You have successfully reprogrammed your garage door keypad. If not, don’t worry—we have some additional tips and troubleshooting steps in the next section to help you resolve any issues.
Step 6: Additional Tips and Troubleshooting
While reprogramming your garage door keypad, you may encounter some challenges or have questions regarding the process. Here are some additional tips and troubleshooting steps to help you out:
- If you’re having trouble locating the programming button on your garage door opener system or are unsure about any step in the process, refer to your garage door opener’s instruction manual. It should provide detailed information and visuals on how to reprogram the keypad.
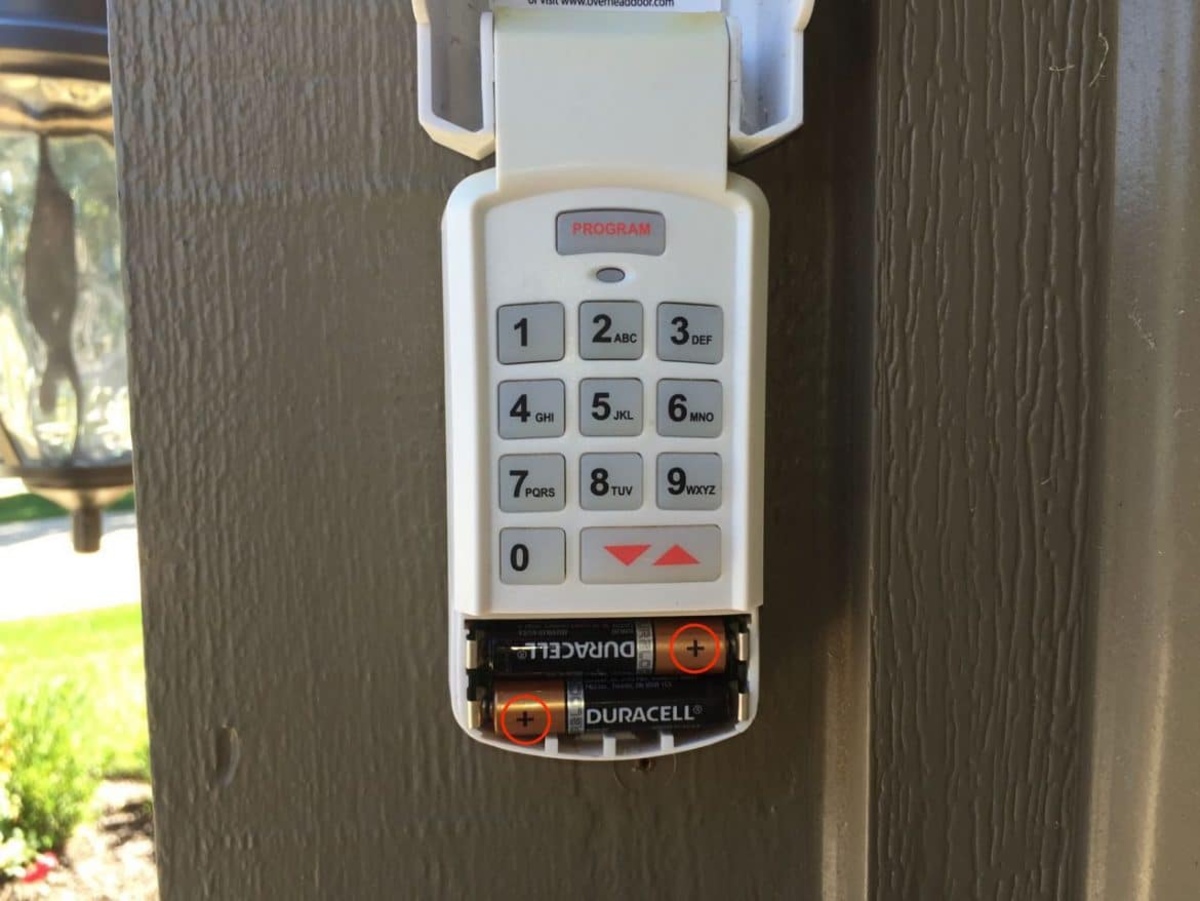
- If your keypad has a backlight feature, make sure it is functioning properly. If the backlight is not working, check the battery or consult the keypad’s instruction manual for troubleshooting tips.
- If your programming code contains letters along with numbers, refer to the keypad’s instruction manual to find out how to enter letters on the keypad.
- If the new programming code does not work after multiple attempts, double-check that you followed the steps correctly. If the issue persists, consult your garage door opener’s support or contact a professional for assistance.
- If your keypad uses a battery, remember to replace it periodically to ensure the keypad functions properly. Consult the instruction manual for the battery replacement procedure and recommended battery type.
- If you need to program multiple access codes for family members or temporary guests, refer to the keypad’s instruction manual to learn how to add and delete codes.
Remember, each garage door keypad may have slight variations in the programming process, so it’s important to consult the specific instructions for your keypad model.
By following these additional tips and troubleshooting steps, you can overcome common challenges and ensure that your garage door keypad is programmed correctly and functioning smoothly.
Conclusion
Congratulations! You have successfully reprogrammed your garage door keypad. By following the step-by-step instructions in this guide, you have ensured convenient and secure access to your garage. Whether you needed to update your existing code, sync your keypad with a new garage door opener, or simply enhance the security of your garage, reprogramming your garage door keypad is a straightforward process that can be done with ease.
Remember, the exact steps may vary depending on the make and model of your garage door keypad, so be sure to consult the instruction manual specific to your keypad. Additionally, always prioritize safety when working with your garage door. If you encounter any issues or feel uncertain about any step in the reprogramming process, it’s best to seek professional assistance.
Now that your garage door keypad is reprogrammed with a new access code, you can enjoy the convenience of wireless entry and the peace of mind that comes with a secure garage. Whether you’re coming home after a long day or allowing visitors temporary access, your garage door keypad will make accessing your garage a breeze.
Thank you for reading our guide on how to reprogram your garage door keypad. We hope that this article has been helpful in assisting you with the reprogramming process. If you have any further questions or need additional assistance, feel free to consult your keypad’s instruction manual or contact a professional. Enjoy the convenience and security of your reprogrammed garage door keypad!
Frequently Asked Questions about How To Reprogram Garage Door Keypad
Was this page helpful?
At Storables.com, we guarantee accurate and reliable information. Our content, validated by Expert Board Contributors, is crafted following stringent Editorial Policies. We're committed to providing you with well-researched, expert-backed insights for all your informational needs.


0 thoughts on “How To Reprogram Garage Door Keypad”