Articles
How To Install Garage Door Keypad
Modified: October 20, 2024
Learn how to install a garage door keypad easily with our detailed step-by-step articles. Enhance the security and convenience of your garage with a keypad entry system.
(Many of the links in this article redirect to a specific reviewed product. Your purchase of these products through affiliate links helps to generate commission for Storables.com, at no extra cost. Learn more)
Introduction
Welcome to our comprehensive guide on how to install a garage door keypad. A garage door keypad is a convenient and secure way to access your garage without the need for keys or remote controls. With a keypad installed, you can easily enter a personalized code to open and close your garage door.
Installing a garage door keypad is a relatively straightforward process that can be completed in just a few steps. In this article, we will walk you through the entire installation process, from gathering the necessary tools to programming your desired code.
But before we dive into the installation steps, there are a few things to keep in mind. Firstly, it’s important to check if your garage door opener is compatible with a keypad. Most modern garage door openers are designed to work with keypads, but it’s always a good idea to consult your manufacturer’s instructions or contact their customer support to confirm compatibility.
Secondly, it’s crucial to prioritize safety during the installation process. Make sure to disconnect the power to your garage door opener and follow all safety precautions outlined in the manufacturer’s instructions. If you are unsure about any aspect of the installation, it’s best to consult a professional to ensure a safe and proper installation.
Now that we have covered the important points, let’s get started with the first step: gathering the necessary tools and equipment.
Key Takeaways:
- Installing a garage door keypad is a straightforward process that enhances convenience and security. Prioritize safety, gather necessary tools, and follow step-by-step instructions for a hassle-free installation.
- Choosing the right location, preparing the keypad, and connecting it to the garage door opener are crucial steps. Test the keypad, program the access code, and enjoy the convenience of secure garage access.
Step 1: Gather the necessary tools and equipment
Before you begin the installation process, it’s important to gather all the necessary tools and equipment. Having everything prepared and readily available will make the installation process much smoother and efficient.
Here is a list of the tools and equipment you will need:
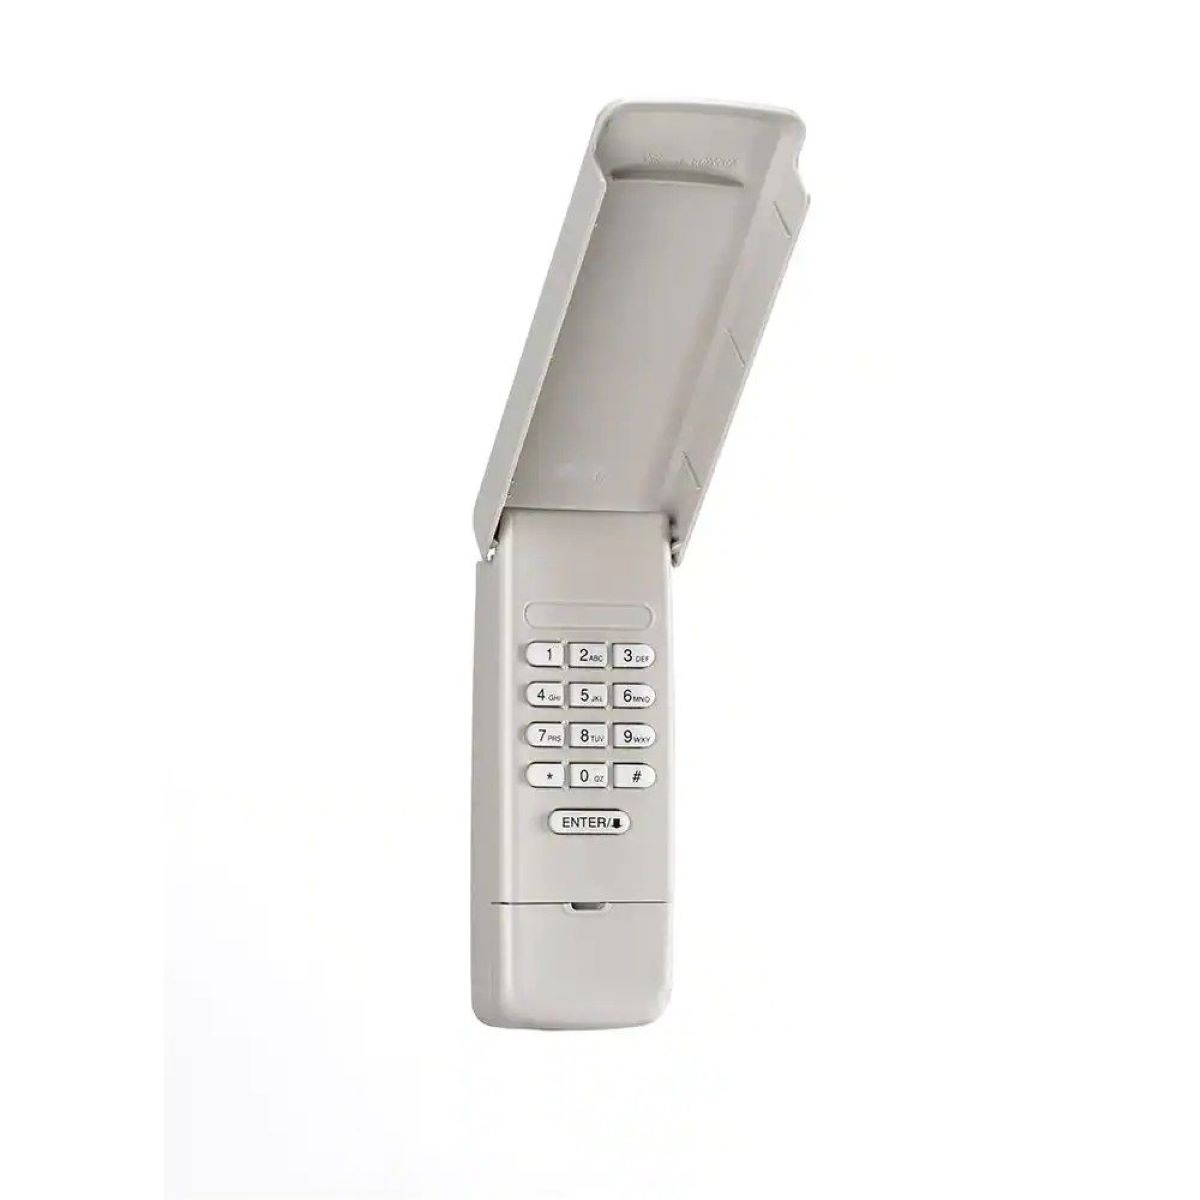
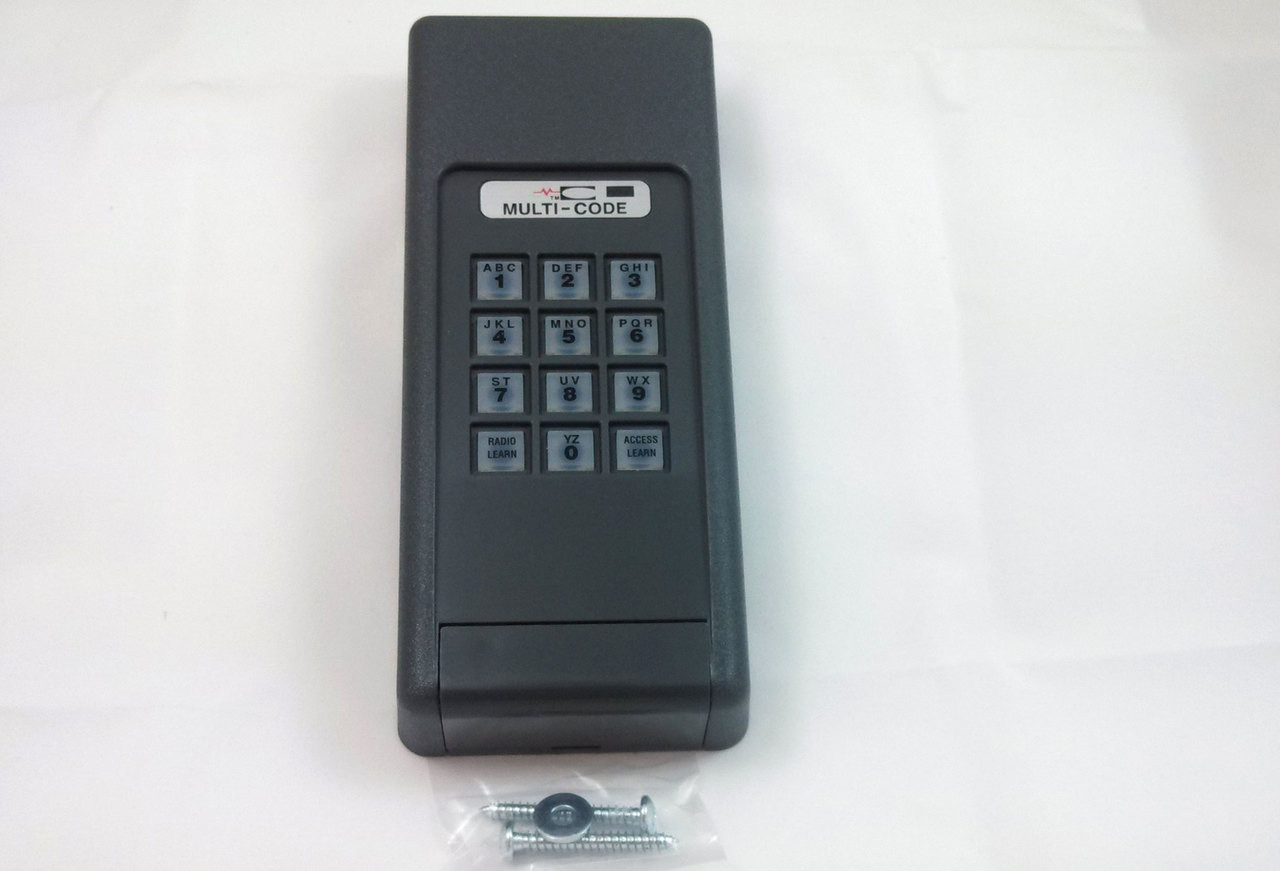
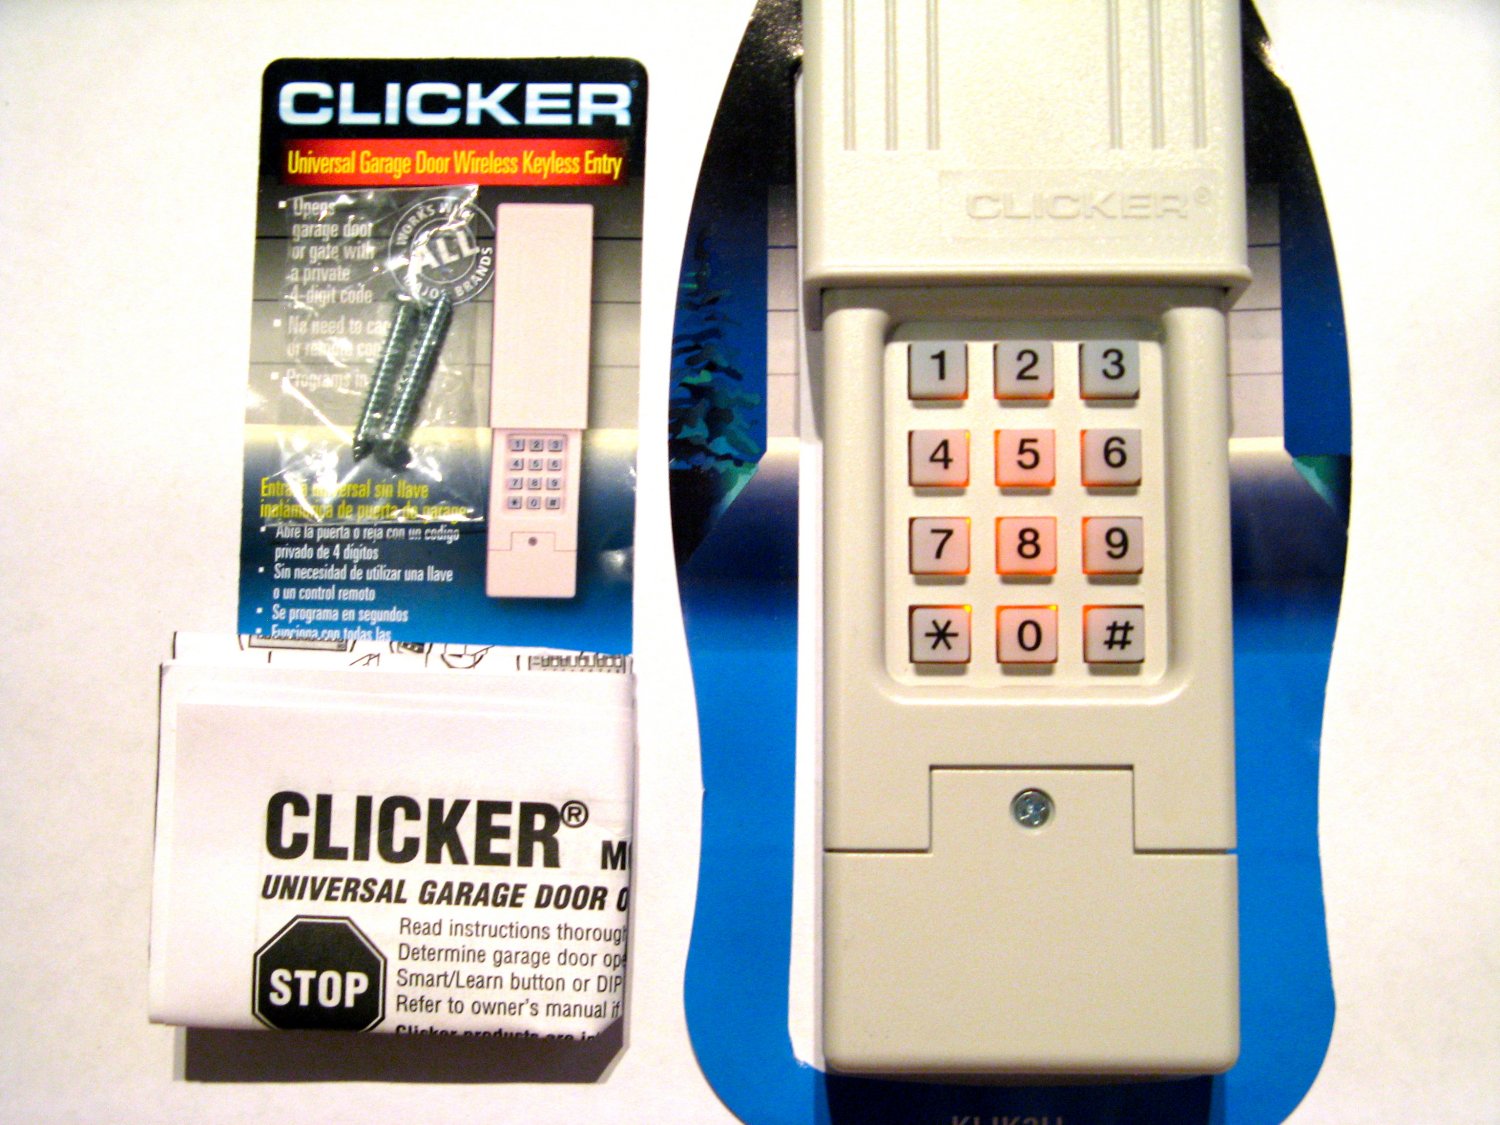
- A garage door keypad kit: Make sure to purchase a keypad kit that is compatible with your garage door opener. The kit typically includes the keypad, mounting hardware, screws, and batteries.
- A screwdriver: You will need a screwdriver to remove the cover of your garage door opener and mount the keypad on the wall.
- A ladder: Depending on the height of your garage ceiling and the location where you plan to install the keypad, you may need a ladder to reach the desired spot.
- Batteries: Most garage door keypad kits require batteries for operation. Check the keypad kit’s instructions to determine the type and number of batteries needed.
- Masking tape or pencil: You will need masking tape or a pencil to mark the location where you plan to mount the keypad.
Once you have gathered all the necessary tools and equipment, you are ready to move on to the next step: determining the location for the garage door keypad.
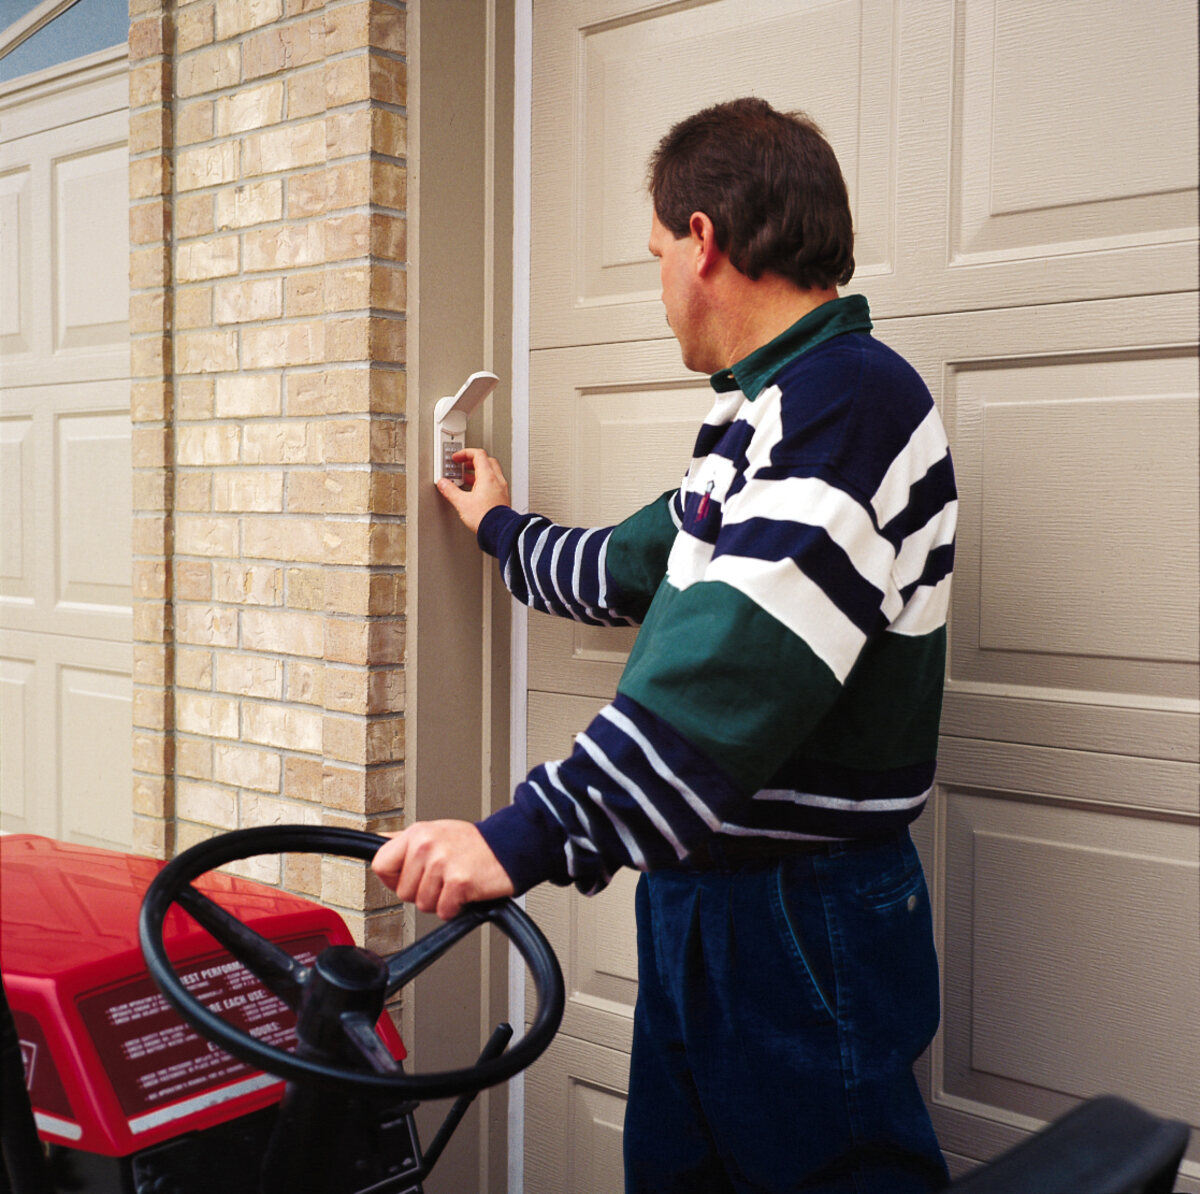
Step 2: Determine the location for the garage door keypad
Choosing the right location for your garage door keypad is essential for convenience and functionality. Here are a few factors to consider when deciding on the placement:
1. Accessibility: The keypad should be easily accessible from outside the garage, allowing you to enter the code without any difficulty. Consider the most convenient location, such as near the door leading to your garage or a frequently used entry point.
2. Visibility: Ensure that the keypad is visible and well-lit, especially during nighttime. This will make it easier to enter the code accurately, even in low-light conditions.
3. Weather protection: Select a location that provides some degree of weather protection, such as under an overhang or near a wall that offers some coverage. This will help prevent the keypad from being exposed to excessive rain, snow, or direct sunlight, which can affect its durability.
4. Height: Consider the height at which you want to mount the keypad. It should be comfortably accessible for all users, including children and individuals with mobility limitations.
Once you have considered these factors, use masking tape or a pencil to mark the desired location on the wall. This will serve as a guide for the installation process.
Keep in mind that different garage door keypad models may have specific installation requirements or guidelines provided by the manufacturer. It’s always a good idea to consult the instruction manual or online resources for your particular keypad model to ensure the correct placement and installation.
With the location determined, you are now ready to move on to the next step: preparing the garage door keypad for installation.
Step 3: Prepare the garage door keypad for installation
Before mounting the garage door keypad, you need to prepare it for installation. This step involves a few simple tasks to ensure smooth and hassle-free installation.
1. Open the keypad: Carefully unpack your garage door keypad kit and remove the keypad from its packaging. Check that all the necessary components are included and in good condition.
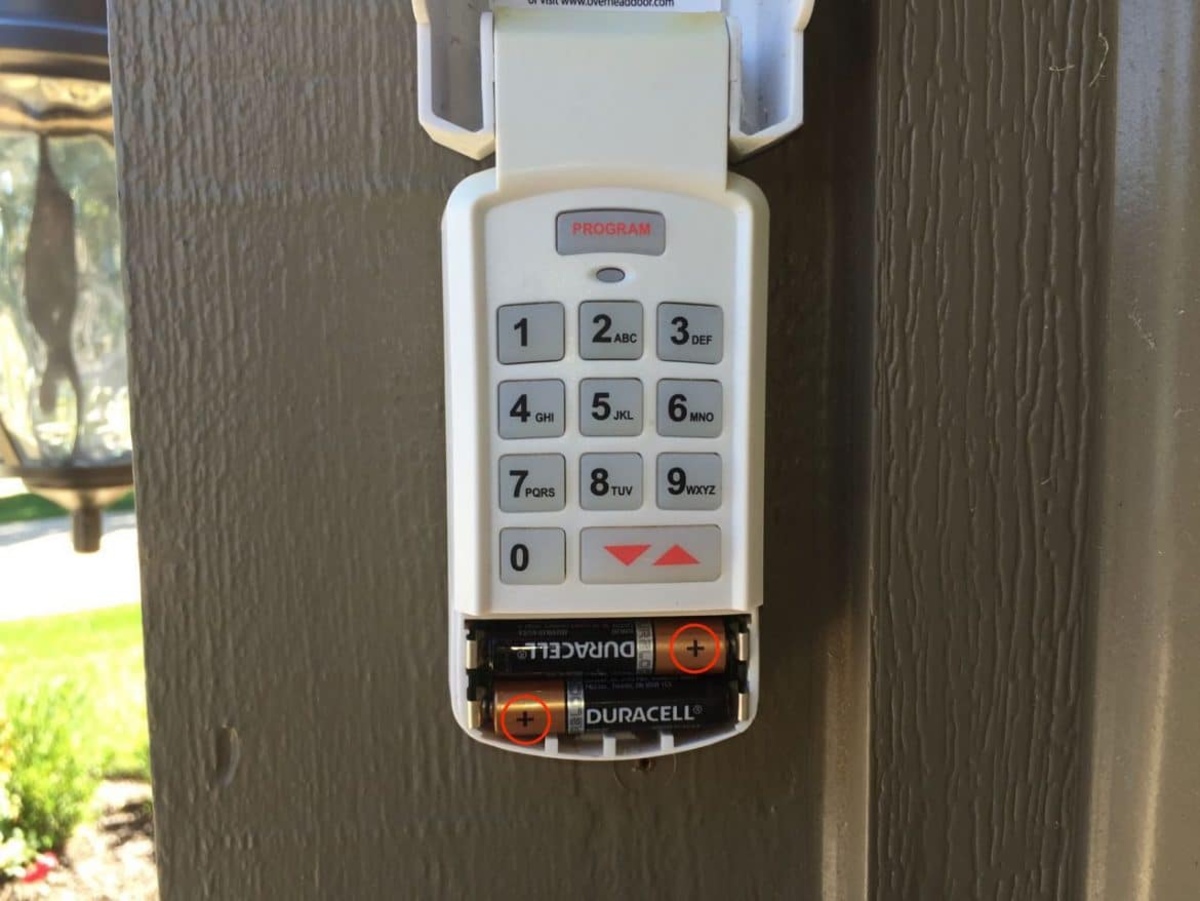
2. Insert batteries: Most garage door keypads require batteries for operation. Check the instructions provided with your keypad to determine the type and number of batteries needed. Open the battery compartment of the keypad and insert the batteries as specified, ensuring that they are properly aligned.
3. Power On/Off: Some keypads have a power switch or button that needs to be turned on to activate the keypad. Locate the power switch or button and turn it on if required.
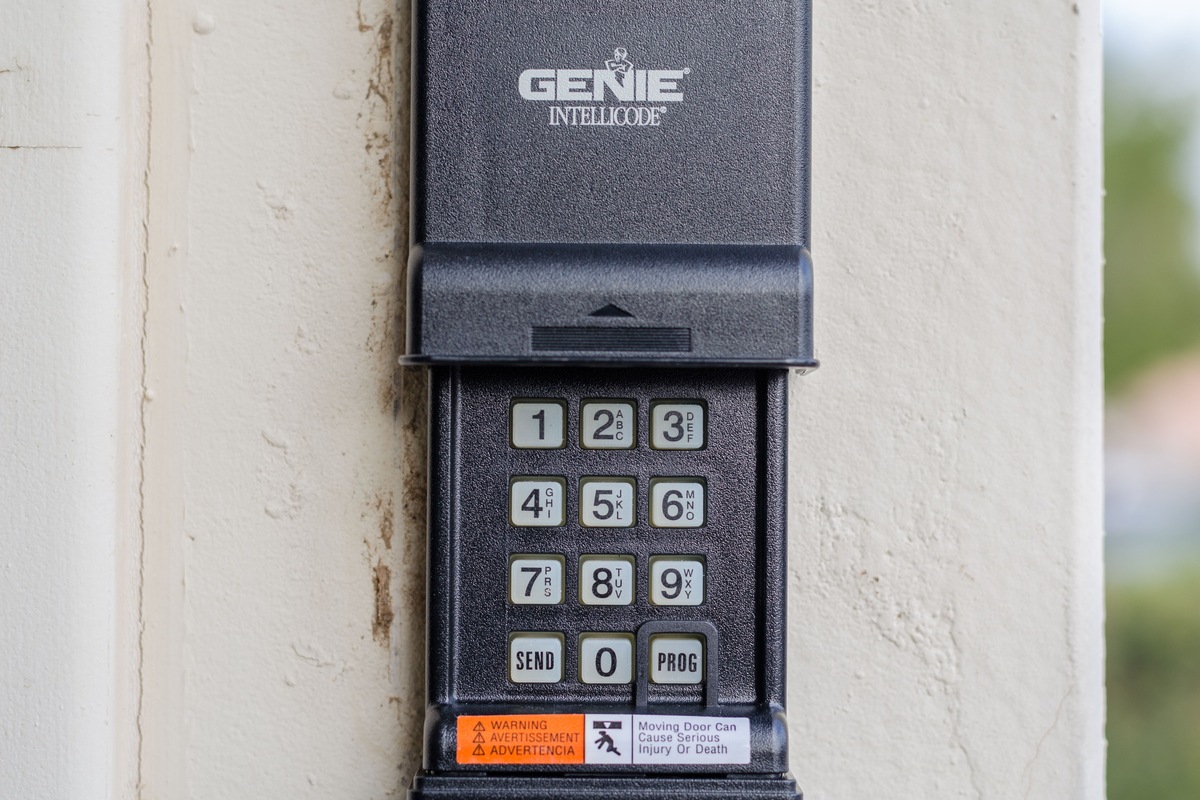
4. Program mode: Depending on the keypad model, you may need to put the keypad in programming mode before installation. Refer to the instruction manual or the manufacturer’s website for specific instructions on how to enter programming mode. This will allow you to set up the keypad with your desired code later on.
5. Familiarize yourself with the keypad: Take a moment to familiarize yourself with the keypad’s layout, buttons, and functions. This will make it easier to program the desired code and use the keypad once it’s installed.
By following these preparation steps, you ensure that the garage door keypad is ready for installation. With the keypad prepared, you can now proceed to the next step: mounting the keypad on the wall.
Before installing a garage door keypad, make sure to read the manufacturer’s instructions carefully and ensure that the keypad is compatible with your specific garage door opener model.
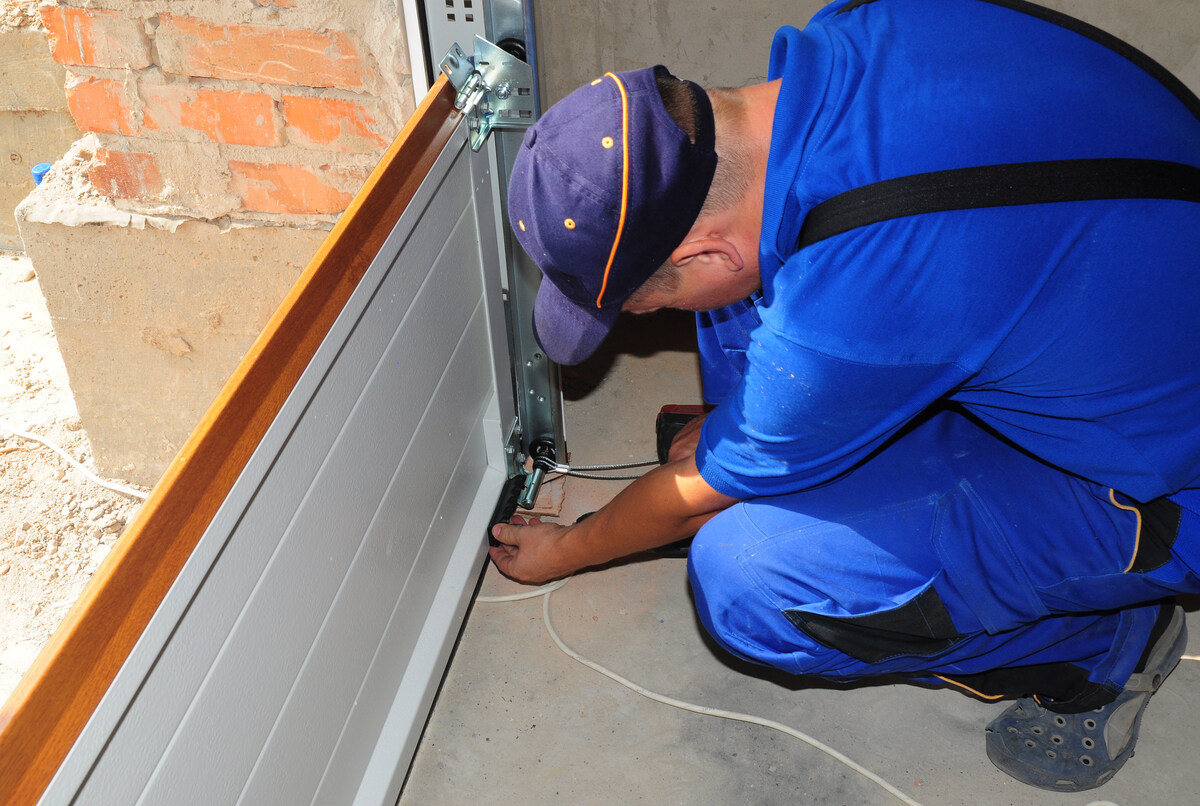
Step 4: Mount the keypad on the wall
Now that you have your garage door keypad prepared, it’s time to mount it on the wall at the designated location. Follow these steps to ensure a secure and proper installation:
1. Position the keypad: Hold the keypad against the wall at the marked location. Ensure that it is level and aligned properly. Use a level tool to double-check the alignment and adjust as needed.
2. Mark the mounting holes: Once you are satisfied with the position of the keypad, use a pencil or marker to mark the locations for the mounting holes. These marks will serve as a guide for drilling or screwing in the keypad.
3. Drill pilot holes (if necessary): Depending on the type of wall surface, you may need to drill pilot holes before securing the keypad. This is especially important for brick, concrete, or other solid surfaces. Use a drill bit that is compatible with the size of the screws provided with the keypad kit. Drill the holes at the marked locations, ensuring that they are deep enough to securely hold the screws.
4. Mount the keypad: Place the keypad back against the wall, aligning the mounting holes with the pilot holes (if drilled). Insert the screws provided with the keypad kit through the mounting holes and into the wall or pilot holes. Use a screwdriver to tighten the screws until the keypad is securely mounted on the wall. Take care not to overtighten the screws as this may damage the keypad or the wall.
5. Double-check the alignment: Once the keypad is mounted, step back and double-check the alignment and levelness. Make any necessary adjustments to ensure that the keypad is securely in place and visually appealing.
With the garage door keypad now mounted on the wall, you have completed a significant step of the installation process. The next step involves connecting the keypad to the garage door opener, which we will explore in the following section.
Read more: How To Program A Keypad Garage Door Opener
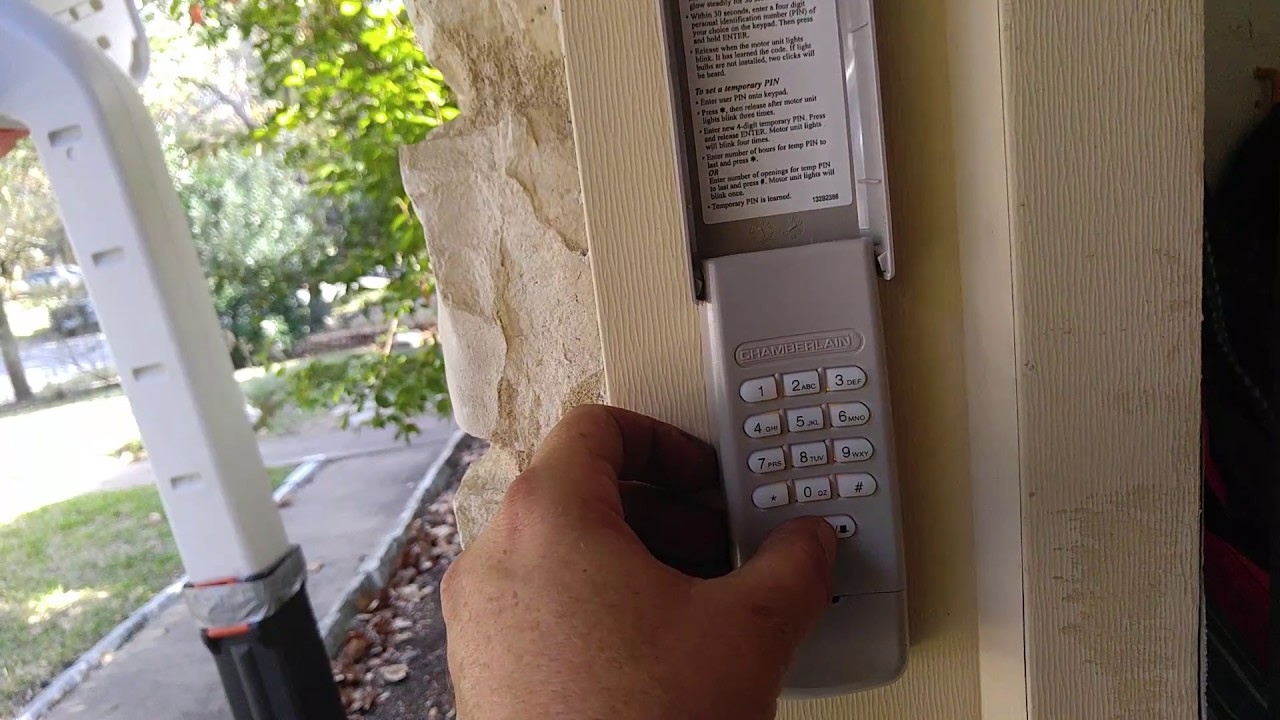
Step 5: Connect the keypad to the garage door opener
Now that the garage door keypad is securely mounted on the wall, it’s time to connect it to your garage door opener. This step involves wiring the keypad to the opener unit to establish communication and functionality.
Before you begin, ensure that the power to the garage door opener is turned off. Safety should always be the top priority during any electrical installation.
Follow these steps to connect the keypad to the garage door opener:
1. Locate the connection terminals: On the garage door opener unit, look for the connection terminals designated for the keypad. These terminals are usually labeled for easy identification. Refer to the manufacturer’s instructions or the keypad kit’s documentation for specific details on where to find the connection terminals.
2. Strip the wires: If your keypad kit comes with wires, strip the ends of the wires to expose a small section of the copper conductor. This will allow for a secure connection between the keypad and the opener.
3. Connect the wires: Insert the stripped ends of the keypad wires into the corresponding connection terminals on the garage door opener. Typically, there will be two terminals: one for the positive (+) wire and one for the negative (-) wire. Make sure to match the correct wire colors to the terminals.
4. Secure the connections: Once the wires are inserted into the terminals, tighten the terminal screws to secure the connections. Ensure that the wires are properly seated and there is no loose connection. This will ensure reliable communication between the keypad and the garage door opener.
5. Test the connections: Before proceeding, turn on the power to the garage door opener. Test the connections by entering a code on the keypad and pressing the appropriate buttons to open or close the garage door. Verify that the keypad and opener are communicating effectively, and the garage door responds accordingly.
By following these steps, you will successfully connect the keypad to your garage door opener. The next and final step involves testing the keypad and programming your desired access code.
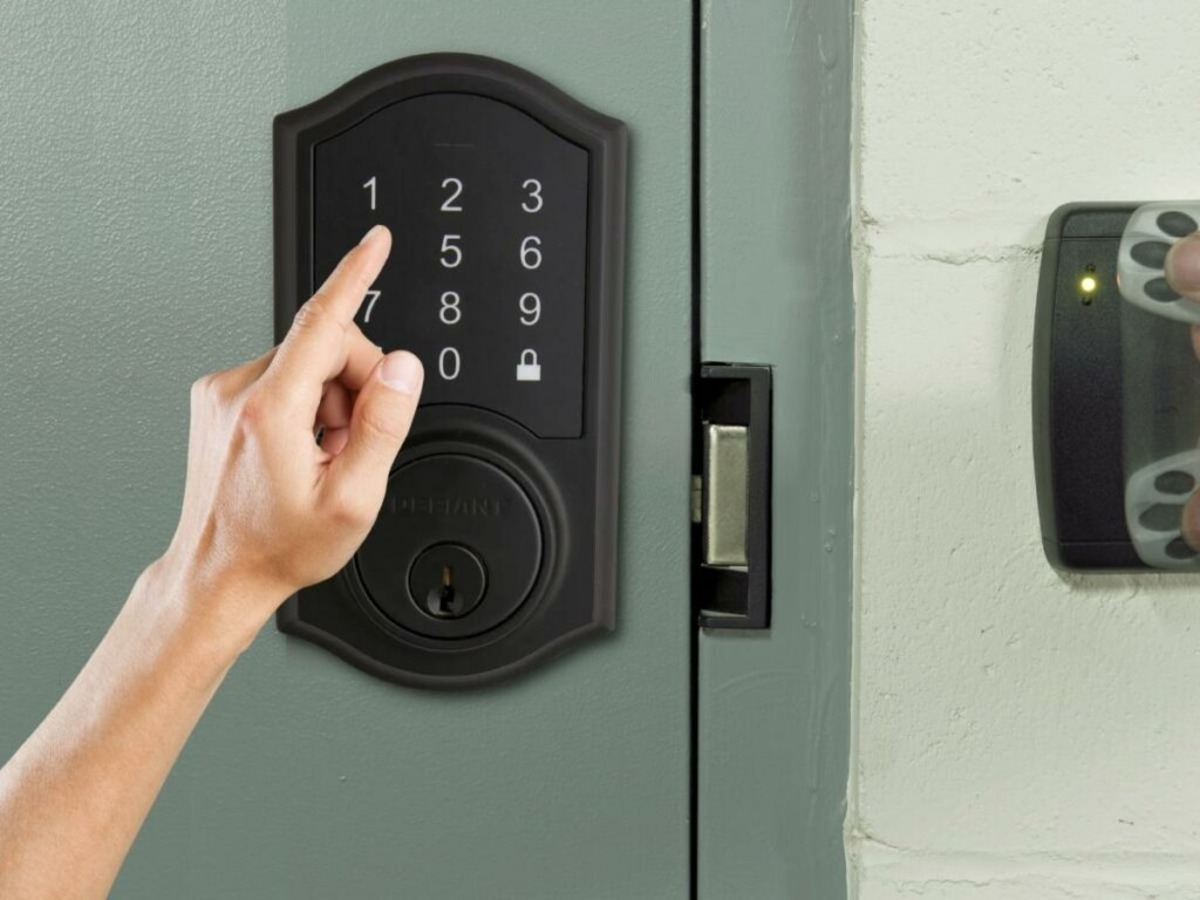
Step 6: Test the keypad and program the desired code
With the garage door keypad securely mounted and connected to the garage door opener, it’s time to test the keypad’s functionality and program your desired access code. Follow these steps to ensure that the keypad is working correctly:
1. Power on the keypad: If you turned off the power to the garage door opener during the installation process, turn it back on now. This will provide power to the keypad and allow it to function.
2. Enter programming mode: Refer to the instruction manual or the manufacturer’s website for your specific keypad model to enter programming mode. This typically involves pressing a specific sequence of buttons or a dedicated “programming” button on the keypad.
3. Set the access code: Once in programming mode, you can now set your desired access code. This code will be used to open and close the garage door. Follow the keypad’s instruction manual to enter your desired code. It is often a combination of numbers or a customized pattern.
4. Test the keypad: After programming the access code, exit the programming mode and test the keypad’s functionality. Enter your programmed access code and press the appropriate buttons to open or close the garage door. Verify that the garage door responds to the code and operates smoothly.
5. Adjust settings if necessary: If you encounter any issues during testing, consult the keypad’s instruction manual or the manufacturer’s customer support for troubleshooting steps. It may be necessary to reprogram the access code or adjust certain settings to ensure optimal performance.
6. Memorize and share the access code: Once the keypad is tested and working properly, it’s important to memorize your access code and share it with trusted individuals who need to use the garage door. Ensure that the code is easy to remember but not easily guessable for security purposes.
By following these steps, you will successfully test the garage door keypad and program your desired access code. Enjoy the convenience and secure access provided by your newly installed keypad!
With the installation process complete, it’s important to keep the keypad in good working condition by regularly replacing batteries and performing any necessary maintenance as outlined in the instruction manual. This will ensure that your garage door keypad remains reliable and functional for years to come.
Conclusion
Congratulations! You have successfully completed the installation of your garage door keypad. By following the steps outlined in this guide, you have ensured convenient and secure access to your garage without the need for keys or remote controls. With your new keypad, you can effortlessly open and close your garage door using a personalized access code.
Throughout the installation process, it’s important to prioritize safety. Always consult the manufacturer’s instructions and follow their guidelines to ensure a safe and proper installation. If you are unsure about any aspect of the installation or encounter any difficulties, it’s wise to seek the assistance of a professional garage door technician.
Remember to periodically check the batteries in your keypad and replace them as needed to maintain optimal functionality. Additionally, keep the keypad clean from dust and debris to prevent any interference with the buttons or sensors.
A garage door keypad adds convenience and peace of mind to your daily routine. It eliminates the hassle of carrying keys or looking for misplaced remote controls. Whether you’re arriving home or granting access to guests or family members, the keypad provides a simple and secure way to operate your garage door.
We hope this comprehensive guide has helped you successfully install your garage door keypad. Enjoy the convenience and security it brings to your life, and may your garage door hassle be a thing of the past!
Frequently Asked Questions about How To Install Garage Door Keypad
Was this page helpful?
At Storables.com, we guarantee accurate and reliable information. Our content, validated by Expert Board Contributors, is crafted following stringent Editorial Policies. We're committed to providing you with well-researched, expert-backed insights for all your informational needs.


0 thoughts on “How To Install Garage Door Keypad”