Articles
How To Reprogram Linear Garage Door Opener
Modified: May 6, 2024
Looking for articles on how to reprogram your linear garage door opener? Check out our comprehensive guide to easily reset and update your opener's settings.
(Many of the links in this article redirect to a specific reviewed product. Your purchase of these products through affiliate links helps to generate commission for Storables.com, at no extra cost. Learn more)
Introduction
Welcome to our comprehensive guide on how to reprogram a linear garage door opener. A garage door opener is a convenient device that allows you to effortlessly open and close your garage door with just the click of a button. However, there are times when you may need to reprogram your garage door opener, such as when you move into a new home or when you want to change the access codes for security reasons.
Reprogramming your linear garage door opener may seem like a daunting task, but fear not! In this article, we will walk you through the step-by-step process of reprogramming your linear garage door opener, ensuring that you can easily and successfully update the access codes to keep your garage secure.
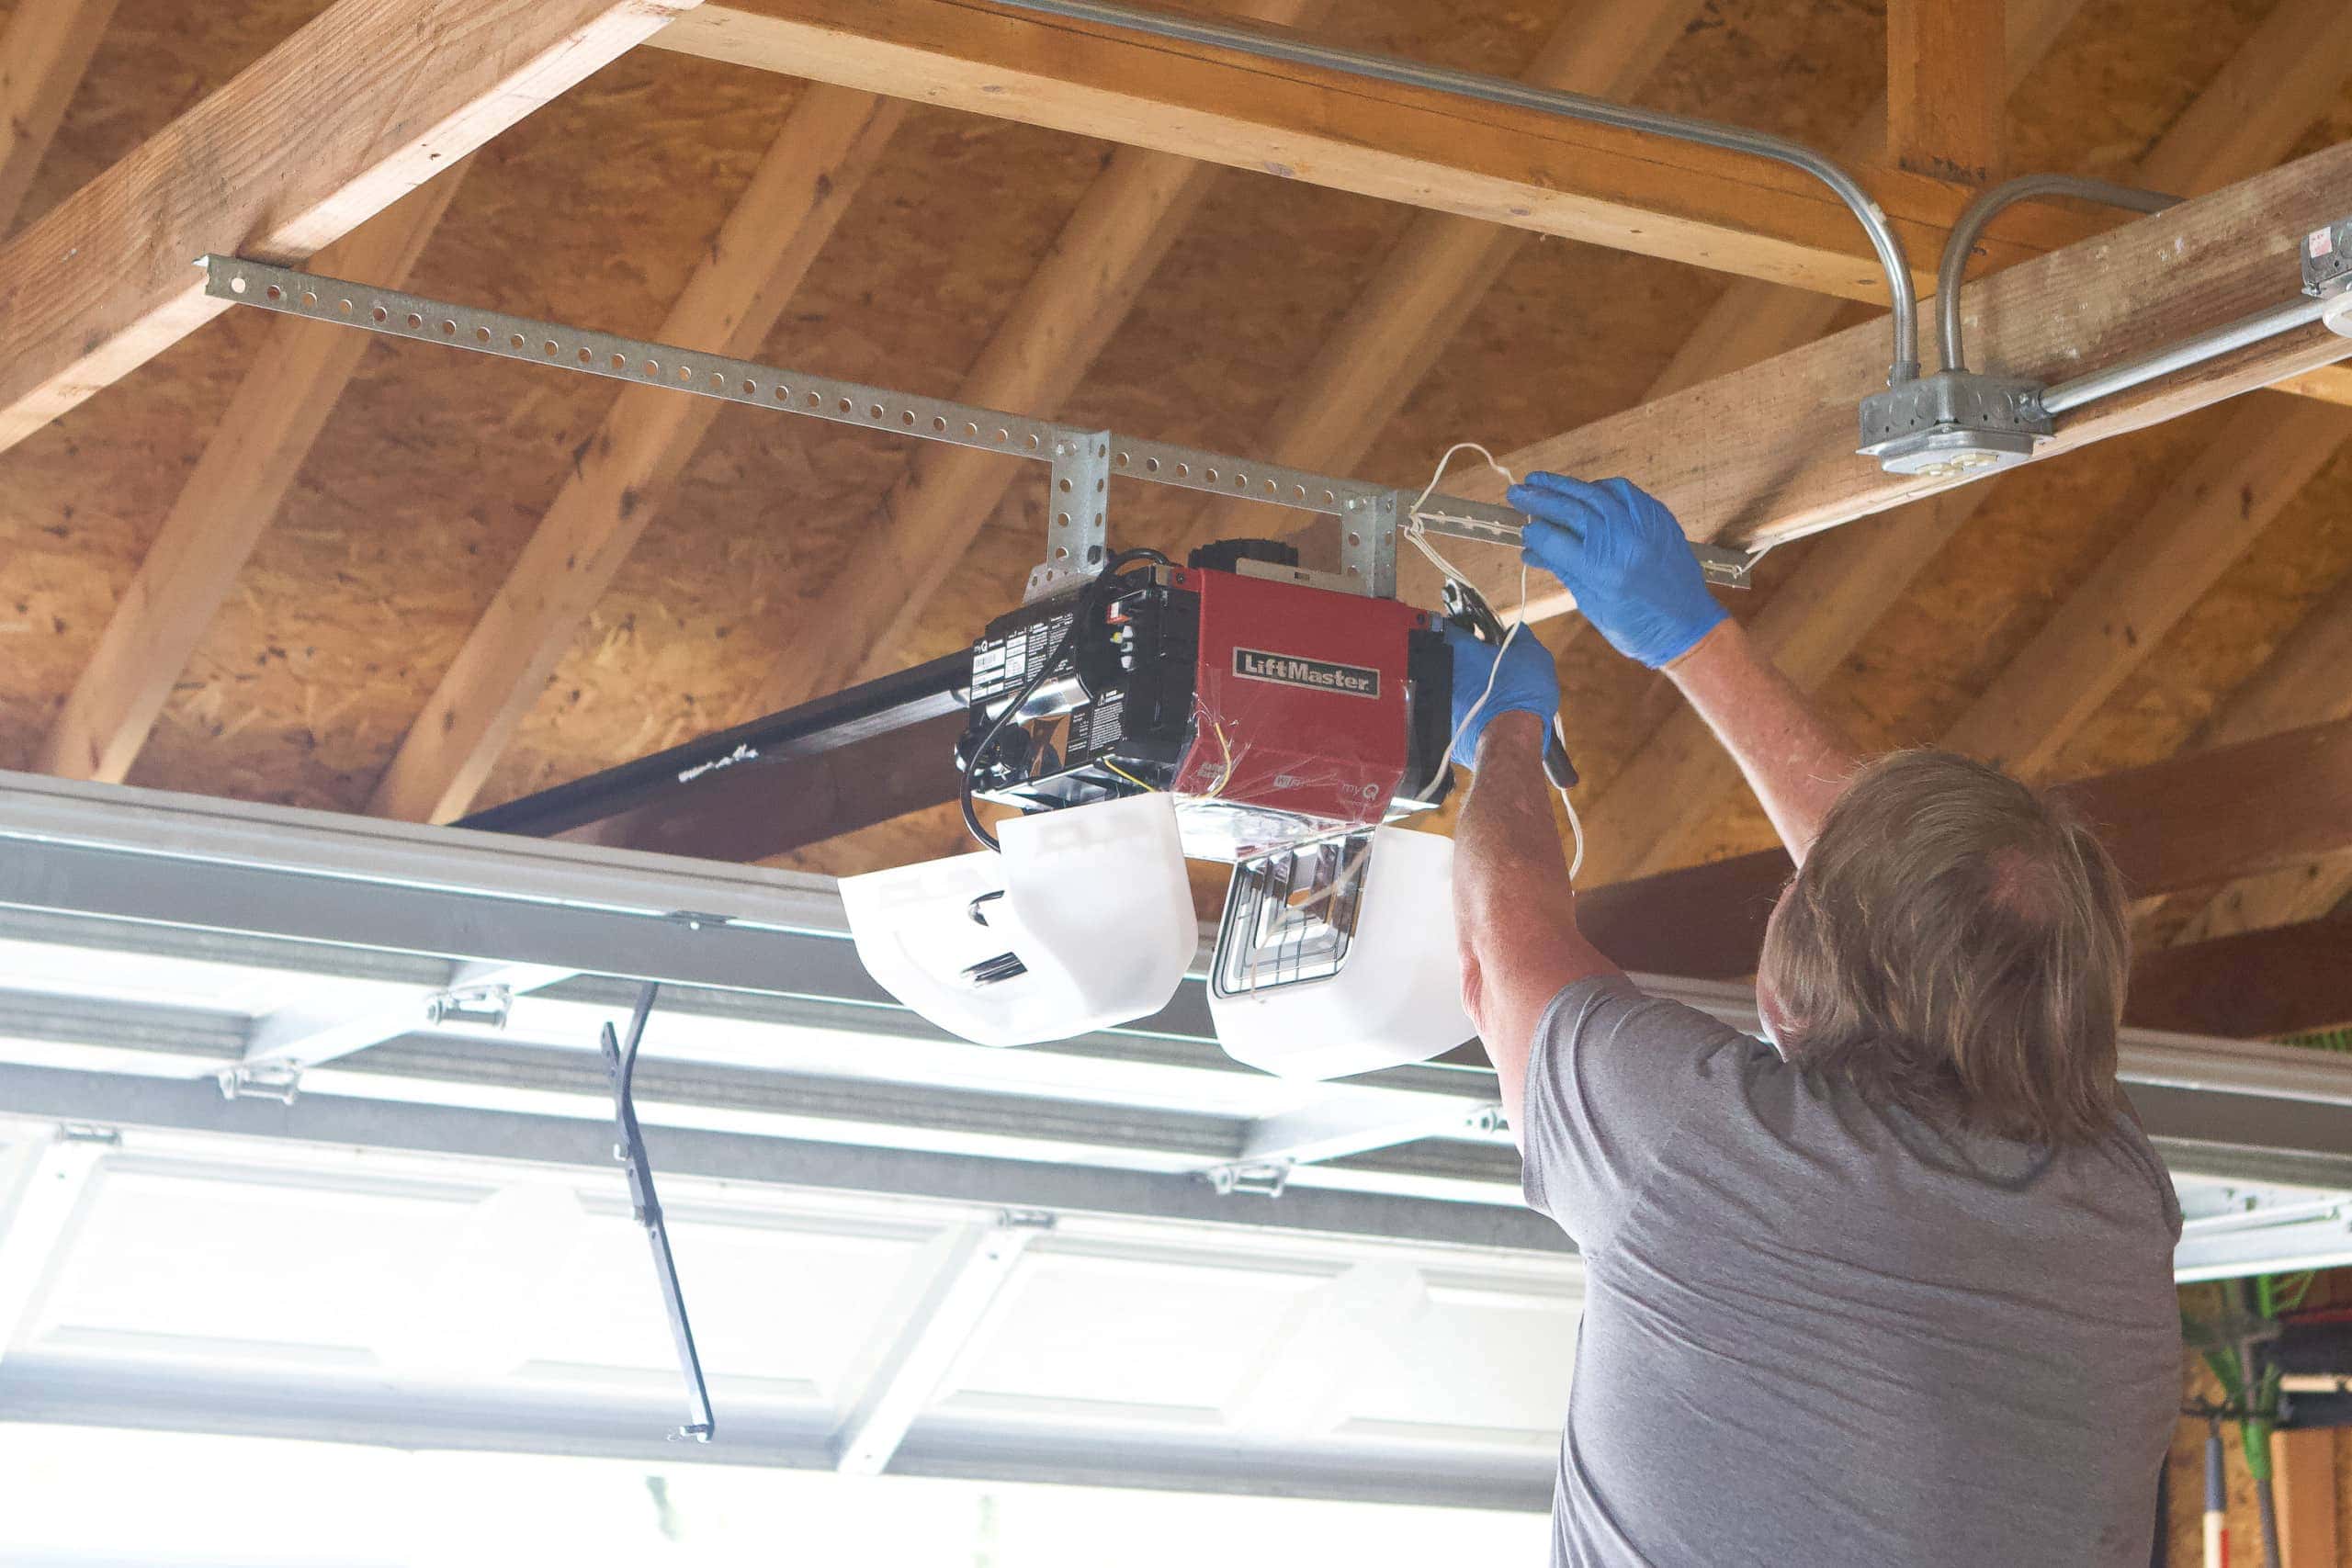
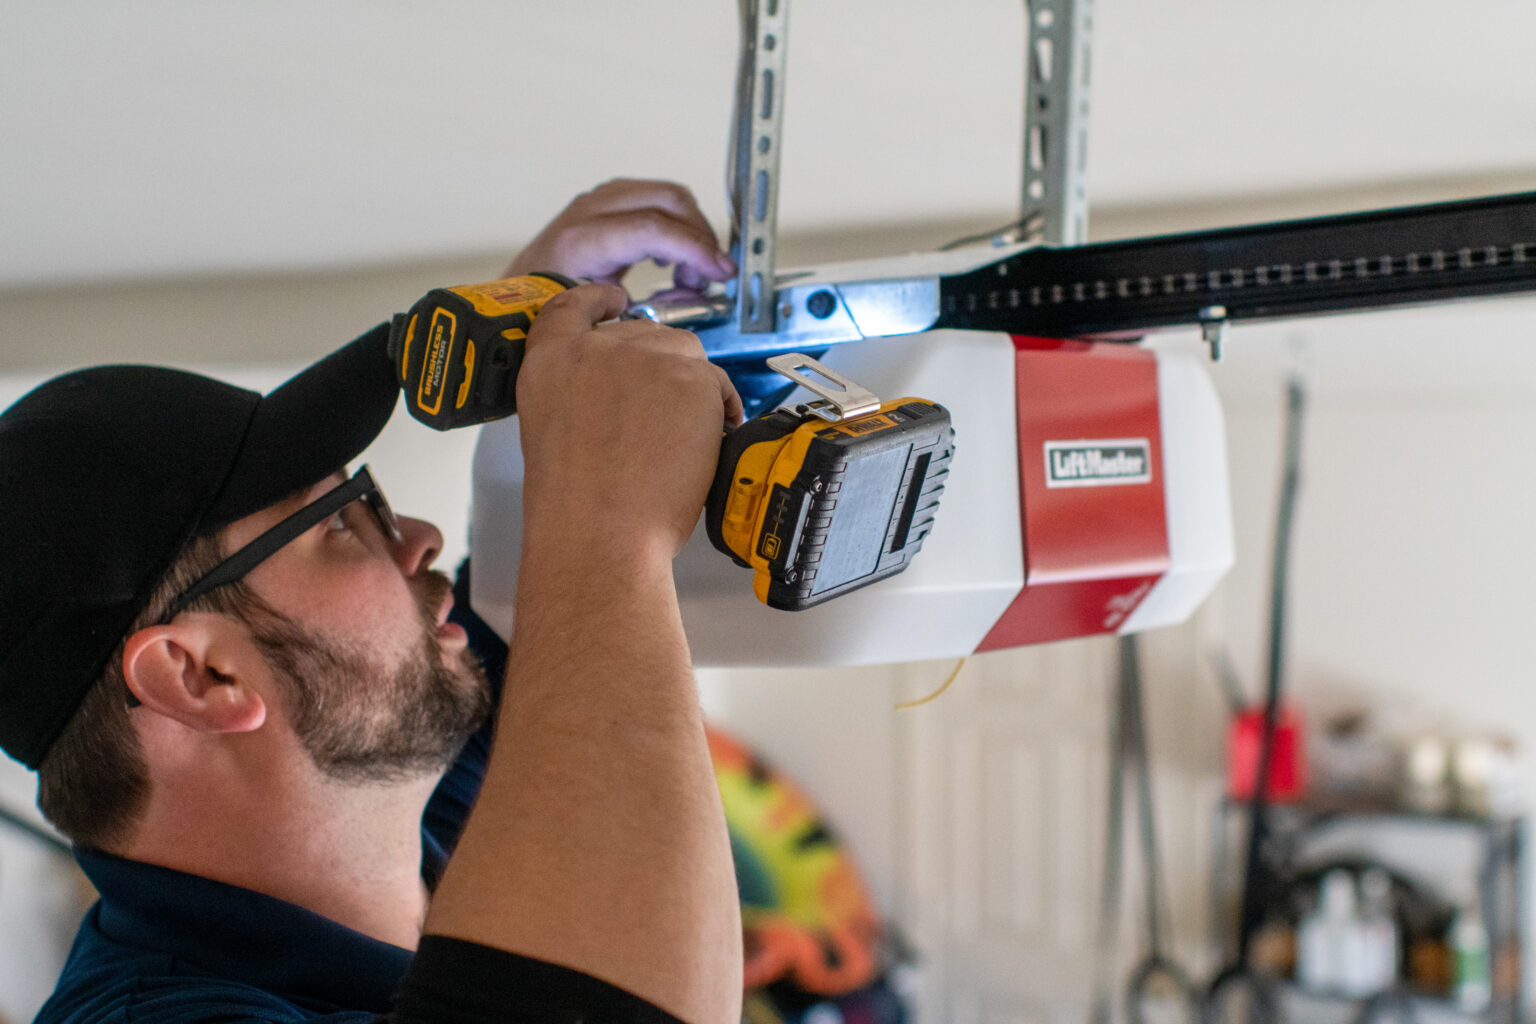
Before we dive into the nitty-gritty details of reprogramming, it’s important to gather all the necessary tools and materials. You will need a ladder, a screwdriver, and the instruction manual for your specific linear garage door opener model. Having these items on hand will help facilitate a smooth reprogramming process.
Now that you’re ready to reprogram your linear garage door opener, let’s proceed to the next step!
Key Takeaways:
- Reprogramming a linear garage door opener is a manageable task that enhances security and convenience. Gather tools, clear memory, and program new access codes for a smooth process.
- Testing the new access codes is crucial to ensure proper functionality. Follow the step-by-step guide and refer to the instruction manual for a hassle-free reprogramming experience.
Read more: How To Reprogram A Garage Door Opener
Step 1: Gather necessary tools and materials
Before you can begin the process of reprogramming your linear garage door opener, it’s important to gather all the necessary tools and materials. Here’s a list of what you will need:
- A sturdy ladder: Since your garage door opener is mounted on the ceiling, you’ll need a ladder to access it safely. Make sure the ladder is stable and secure before climbing up.
- A screwdriver: You will need a screwdriver to remove the cover of your garage door opener and access the programming buttons or switches.
- The instruction manual: Each linear garage door opener model may have slightly different reprogramming instructions. Locate the instruction manual that came with your specific model or find it online if you no longer have a physical copy.
Once you have gathered these tools and materials, you’ll be well-prepared to move on to the next step of reprogramming your linear garage door opener. Remember to keep the instruction manual handy throughout the process, as it will provide valuable guidance for your specific model.
With everything in place, you’re ready to start reprogramming your linear garage door opener. Let’s move on to the next step!
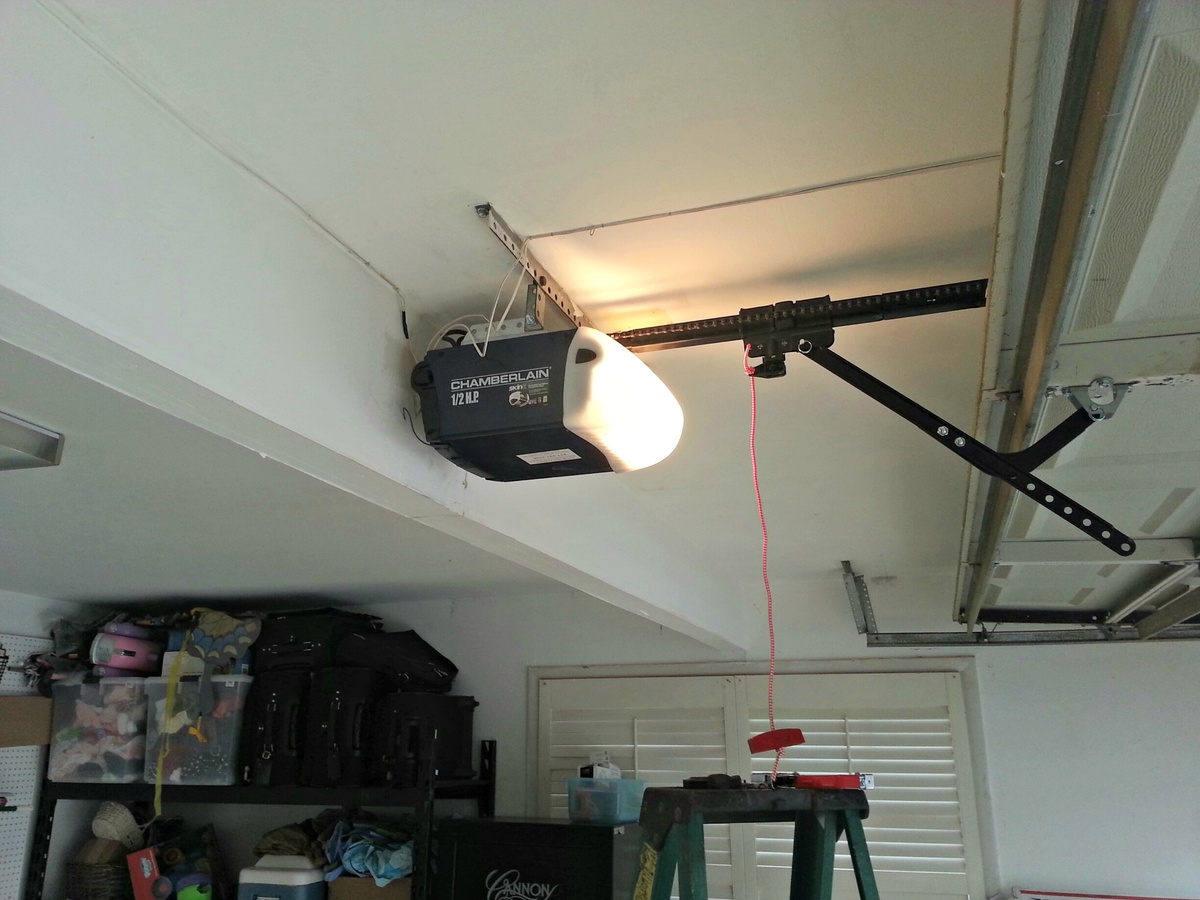
Step 2: Locate the “Learn” or “Smart” button
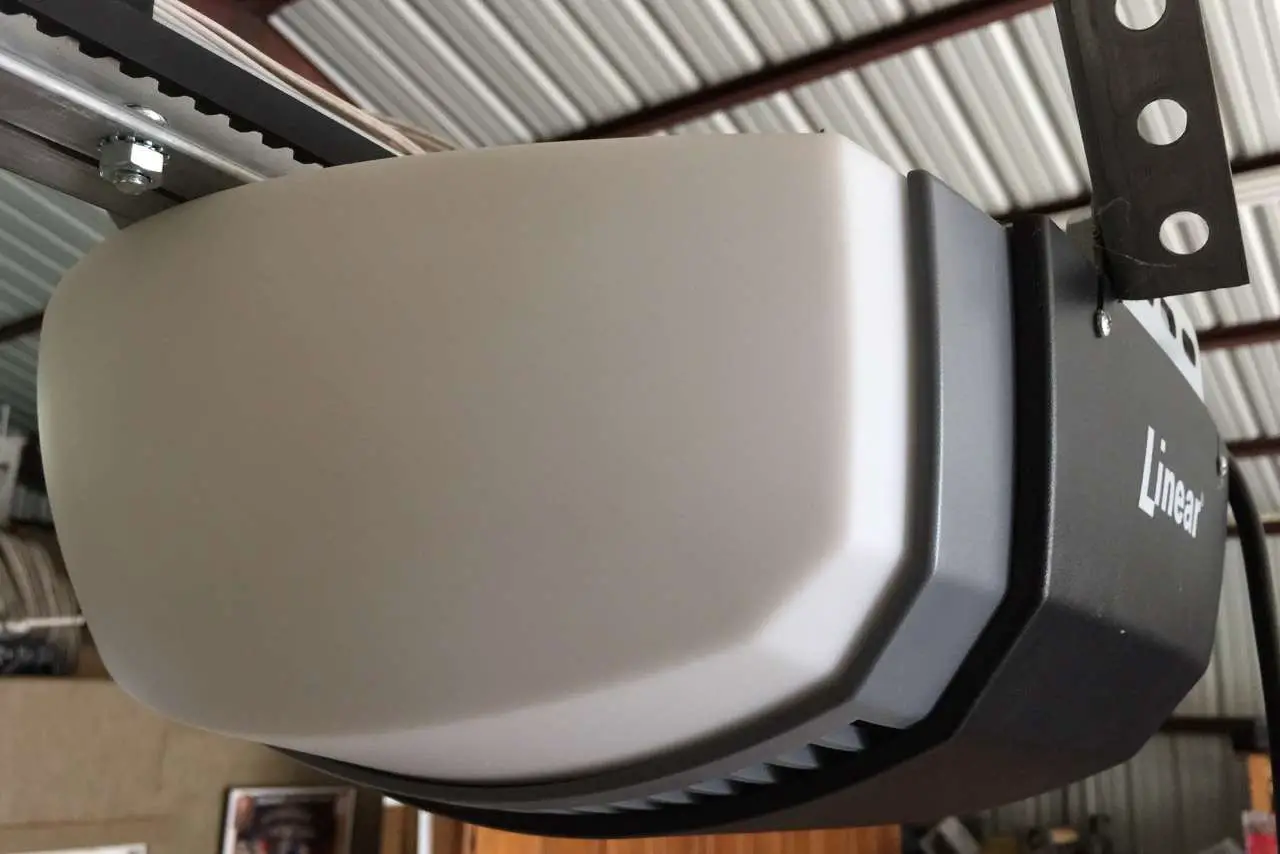
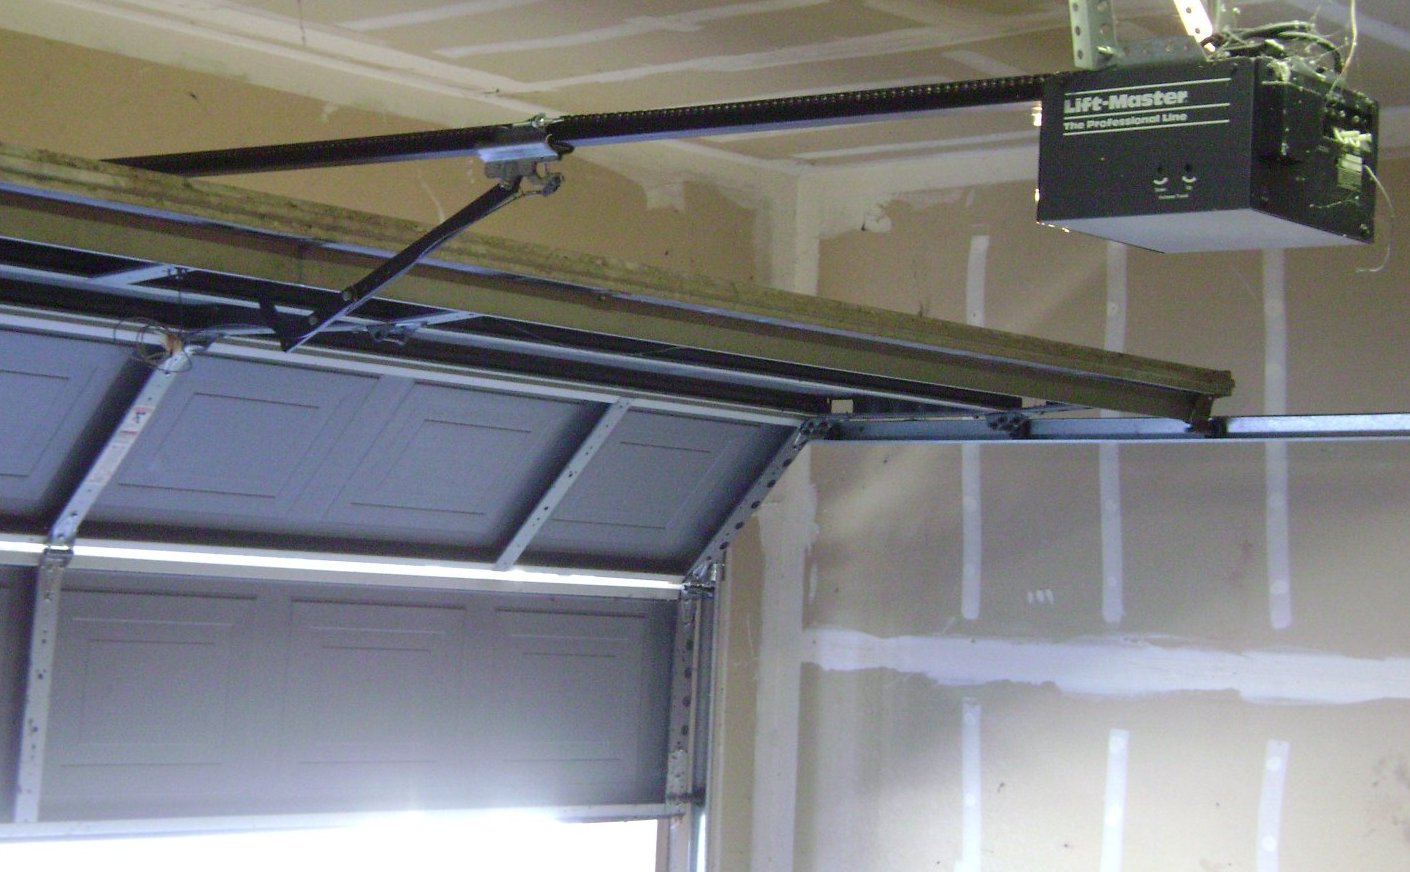
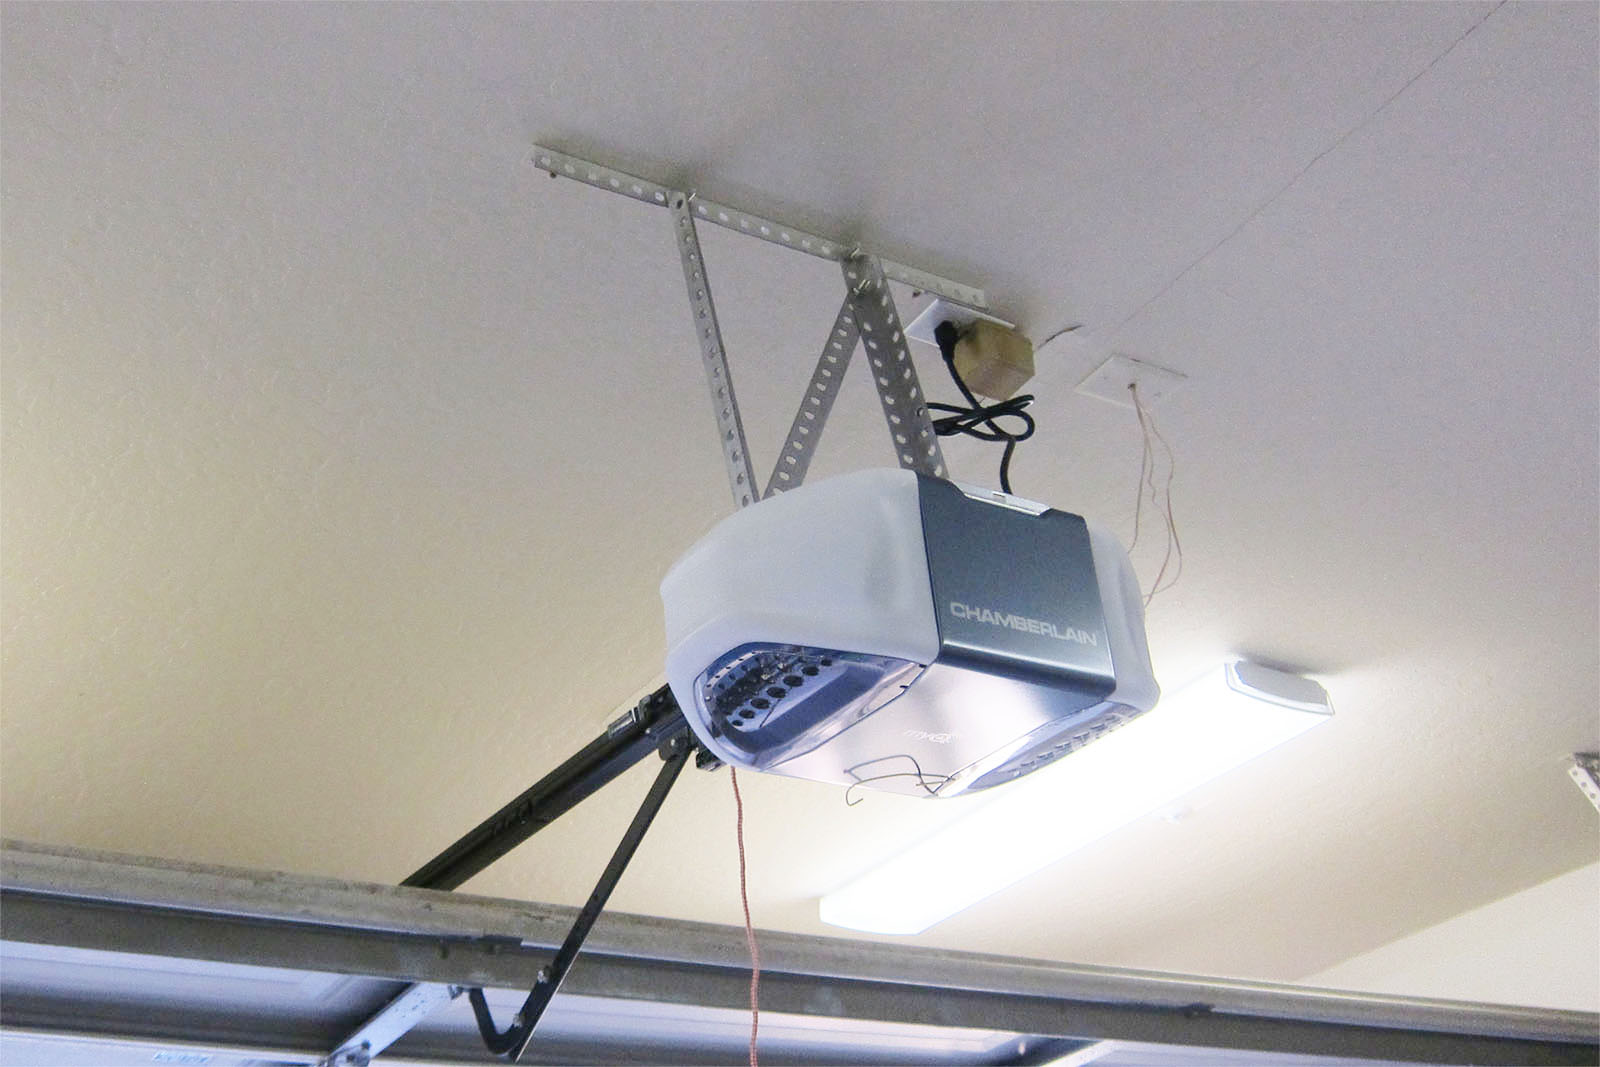
Now that you have gathered your tools and materials, the next step in reprogramming your linear garage door opener is to locate the “Learn” or “Smart” button. This button is typically found on the back or side of the opener motor unit.
The “Learn” or “Smart” button is an essential component of your garage door opener as it is used to trigger the programming mode. By pressing this button, you will be able to put your opener into a state where it is ready to receive new access codes.
To find the “Learn” or “Smart” button, start by taking a close look at the motor unit of your linear garage door opener. The location of this button may vary depending on the model and manufacturer. Look for a small, rectangular button that is typically labeled with “Learn” or “Smart.”
If you are having difficulty locating the button, refer to the instruction manual provided with your linear garage door opener. It will include specific instructions and diagrams that will guide you to the exact position of the “Learn” or “Smart” button.
Once you have successfully located the “Learn” or “Smart” button, you’re one step closer to reprogramming your linear garage door opener. In the next step, we’ll discuss how to clear the opener’s memory to prepare it for programming. Let’s dive in!
Step 3: Clear the opener’s memory
After locating the “Learn” or “Smart” button on your linear garage door opener, the next step in the reprogramming process is to clear the opener’s memory. Clearing the memory ensures that any old access codes or programming settings are erased, making way for the new codes you will be programming.
To clear the opener’s memory, follow these steps:
- Make sure your garage door is closed.
- Press and hold down the “Learn” or “Smart” button on the opener. Hold it down until the indicator light on the opener turns off. This usually takes about 10 seconds.
- Release the button. The indicator light should now turn back on, indicating that the opener’s memory has been cleared.
It’s important to note that clearing the opener’s memory will remove all existing access codes from the system. This means that any remote controls or keypads that were previously programmed will no longer work. You will need to reprogram them later in the process to regain control of your garage door.
With the opener’s memory successfully cleared, you’re now ready to move on to the next step: putting the opener into programming mode. Stay tuned!
When reprogramming a linear garage door opener, make sure to follow the specific instructions provided in the user manual. Typically, this involves pressing a combination of buttons on the remote and the opener itself to sync them together.
Step 4: Put the opener into programming mode
Now that you have cleared the memory of your linear garage door opener, it’s time to put it into programming mode. This mode allows the opener to receive and store new access codes for your remote controls or keypads.
To put your opener into programming mode, follow these instructions:
- Make sure your garage door is closed.
- Locate the “Learn” or “Smart” button on your linear garage door opener.
- Press the “Learn” or “Smart” button once. The indicator light on the opener should begin to blink, indicating that the opener is now in programming mode.
It’s important to note that the blinking light may vary depending on the model of your linear garage door opener. Some models may have a single blinking light, while others may have multiple lights that blink in specific patterns. Refer to your instruction manual for more precise information on the indicator light.
With the opener now in programming mode, it’s time to proceed to the next step: programming the opener with your desired access codes. We’ll cover that in detail in the next step. Let’s keep the momentum going!
Read more: Who Makes Linear Garage Door Openers
Step 5: Program the opener
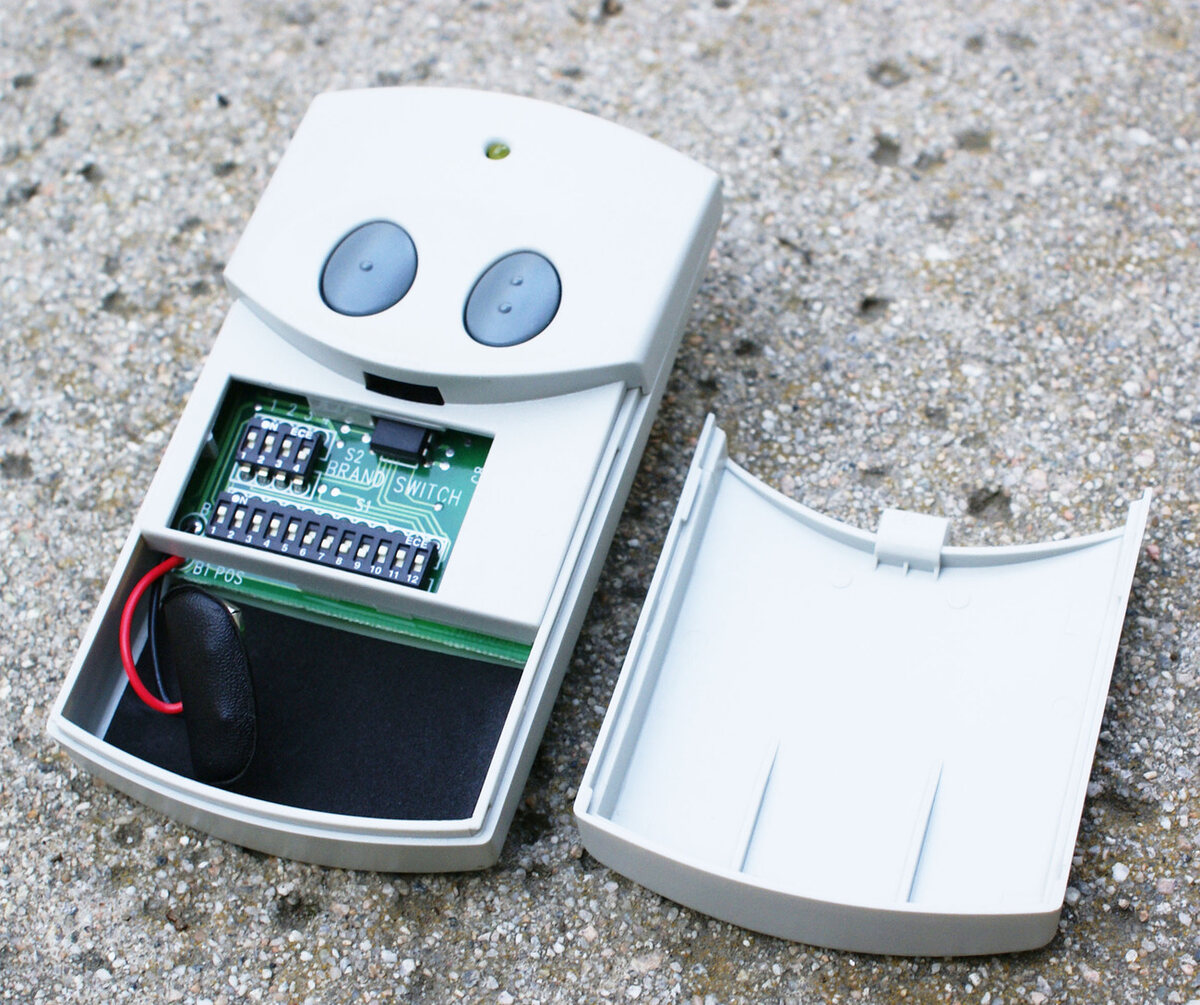
With your linear garage door opener in programming mode, it’s time to start programming your desired access codes. This step will allow you to sync your remote controls or keypads with the opener, enabling you to operate your garage door with the new codes.
Follow these instructions to program the opener:
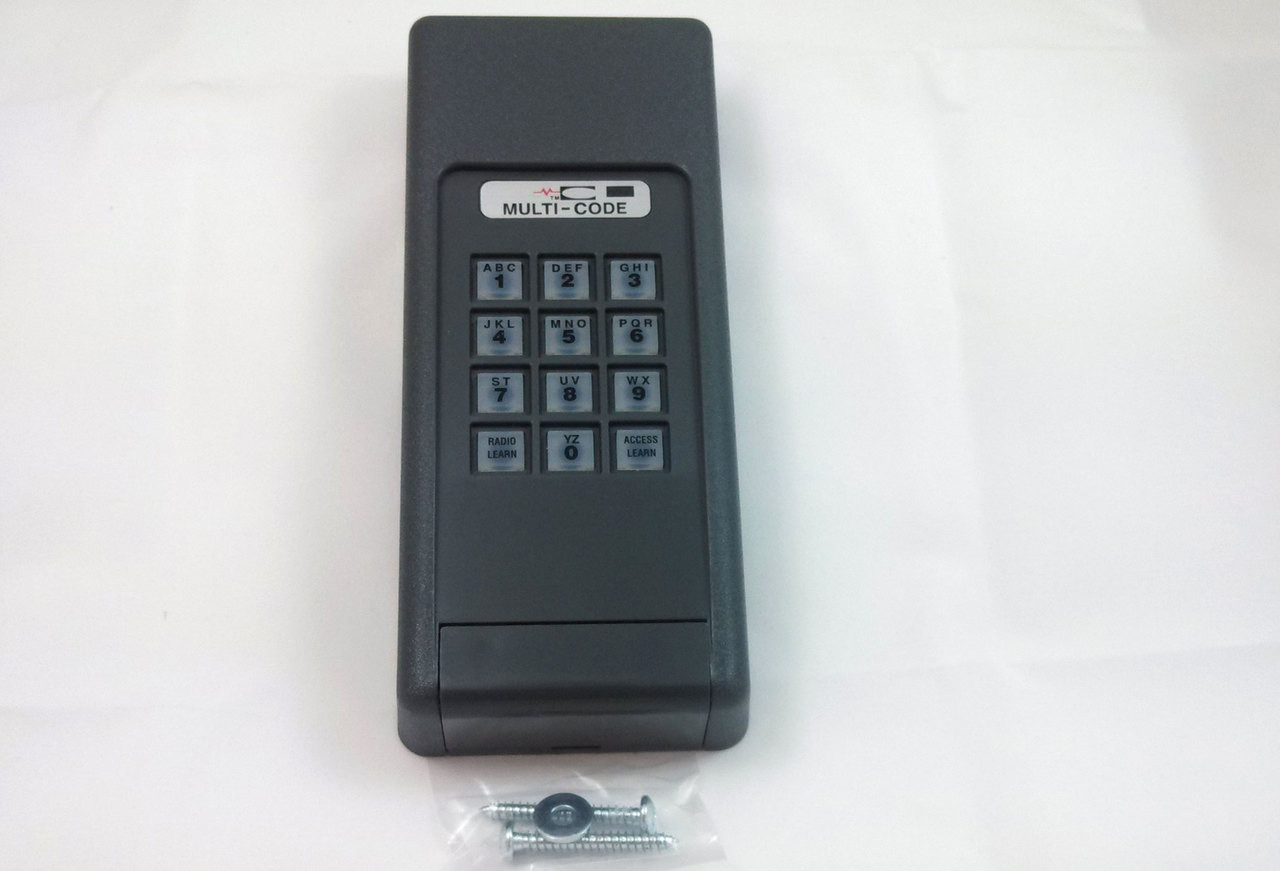
- Decide on the new access code you want to program for your garage door opener. This can be a combination of numbers, letters, or a mix of both.
- On your remote control or keypad, enter the new access code that you’ve chosen.
- Once you’ve entered the code, press the “Learn” or “Smart” button on the opener. The indicator light on the opener should flash once or twice, indicating that the new access code has been successfully programmed.
- Test the new access code by pressing the corresponding button on your remote control or keypad. The garage door should open or close accordingly.
- Repeat this process for each additional remote control or keypad you want to program with the new access code.
It’s important to program each remote control or keypad separately to ensure that they are all synced with the opener and can operate the garage door effectively.
With the opener now programmed with the new access codes, it’s time to move on to the final step: testing the new code to ensure that everything is working properly. Let’s wrap things up!
Step 6: Test the new code
After programming your linear garage door opener with the new access codes, it’s crucial to test the codes to ensure they are functioning correctly. Testing the new code will help you verify that your remote controls or keypads are successfully communicating with the opener and that the garage door responds accordingly.
- Stand inside your garage and make sure the garage door is closed.
- Press the button on one of your programmed remote controls or keypads to activate the garage door opener.
- Observe the garage door as it opens or closes in response to the code. Listen for any unusual noises or delays in the operation.
- Repeat the process with each of your programmed remote controls or keypads to ensure they all function correctly.
If the garage door does not respond to a particular code, or if you encounter any issues during the testing process, refer to your instruction manual for troubleshooting tips. It is possible that there may be interference or other factors affecting the communication between the opener and the remote control or keypad.
By thoroughly testing the new code, you can have peace of mind knowing that your reprogrammed linear garage door opener is functioning correctly and providing the security and convenience you desire.
With the testing phase complete, you have successfully reprogrammed your linear garage door opener! Congratulations on completing all the necessary steps. Now, you can enjoy the enhanced security and effortless access to your garage.
Remember to keep your instruction manual in a safe and easily accessible place for future reference. If you ever need to reprogram your opener again or encounter any issues, you can refer back to the manual for assistance.
Thank you for following our step-by-step guide on how to reprogram a linear garage door opener. We hope this article has been helpful, and we wish you all the best in your garage door reprogramming endeavors!
Conclusion
Reprogramming a linear garage door opener may seem like a complex task, but with the right tools and instructions, it can be a straightforward process. By following the steps outlined in this guide, you can easily reprogram your linear garage door opener and update the access codes to enhance the security of your garage.
Remember that it’s important to gather the necessary tools and materials before you start. Having a ladder, screwdriver, and the instruction manual handy will make the process smoother and more efficient.
Throughout the reprogramming process, be sure to locate the “Learn” or “Smart” button on your linear garage door opener. This button is the key to putting your opener into programming mode and allowing it to receive new access codes.
Clearing the opener’s memory is an essential step to ensure that any old access codes are removed. This step paves the way for programming new codes that you desire.
Putting the opener into programming mode is necessary to sync your remote controls or keypads with the opener. This step allows you to program your desired access codes and regain control of your garage door.
Once you have successfully programmed the opener with the new access codes, don’t forget to test them. Testing is crucial to ensure that everything is functioning correctly and that the garage door responds appropriately to the new codes.
In conclusion, reprogramming a linear garage door opener is a manageable task that can greatly enhance the security and convenience of your home. By following the steps outlined in this guide and referring to your instruction manual, you can successfully reprogram your opener and enjoy the peace of mind that comes with a secure garage.
We hope this comprehensive guide has been informative and helpful. If you have any additional questions or need further assistance, don’t hesitate to consult your instruction manual or reach out to a professional for support. Happy reprogramming!
Now that you've mastered reprogramming your garage door opener, why not dive deeper into related upgrades? For those keen on optimizing home entry points, our article on the latest garage door designs offers fresh ideas for 2024. Meanwhile, tech enthusiasts will appreciate our guide on integrating home automation systems. Both pieces provide useful insights for enhancing convenience and security at home.
Frequently Asked Questions about How To Reprogram Linear Garage Door Opener
Was this page helpful?
At Storables.com, we guarantee accurate and reliable information. Our content, validated by Expert Board Contributors, is crafted following stringent Editorial Policies. We're committed to providing you with well-researched, expert-backed insights for all your informational needs.


0 thoughts on “How To Reprogram Linear Garage Door Opener”