Articles
How To Change Batteries In Garage Door Keypad
Modified: March 1, 2024
Learn how to change the batteries in your garage door keypad with our helpful articles. Ensure smooth functioning of your keypad.##
(Many of the links in this article redirect to a specific reviewed product. Your purchase of these products through affiliate links helps to generate commission for Storables.com, at no extra cost. Learn more)
Introduction
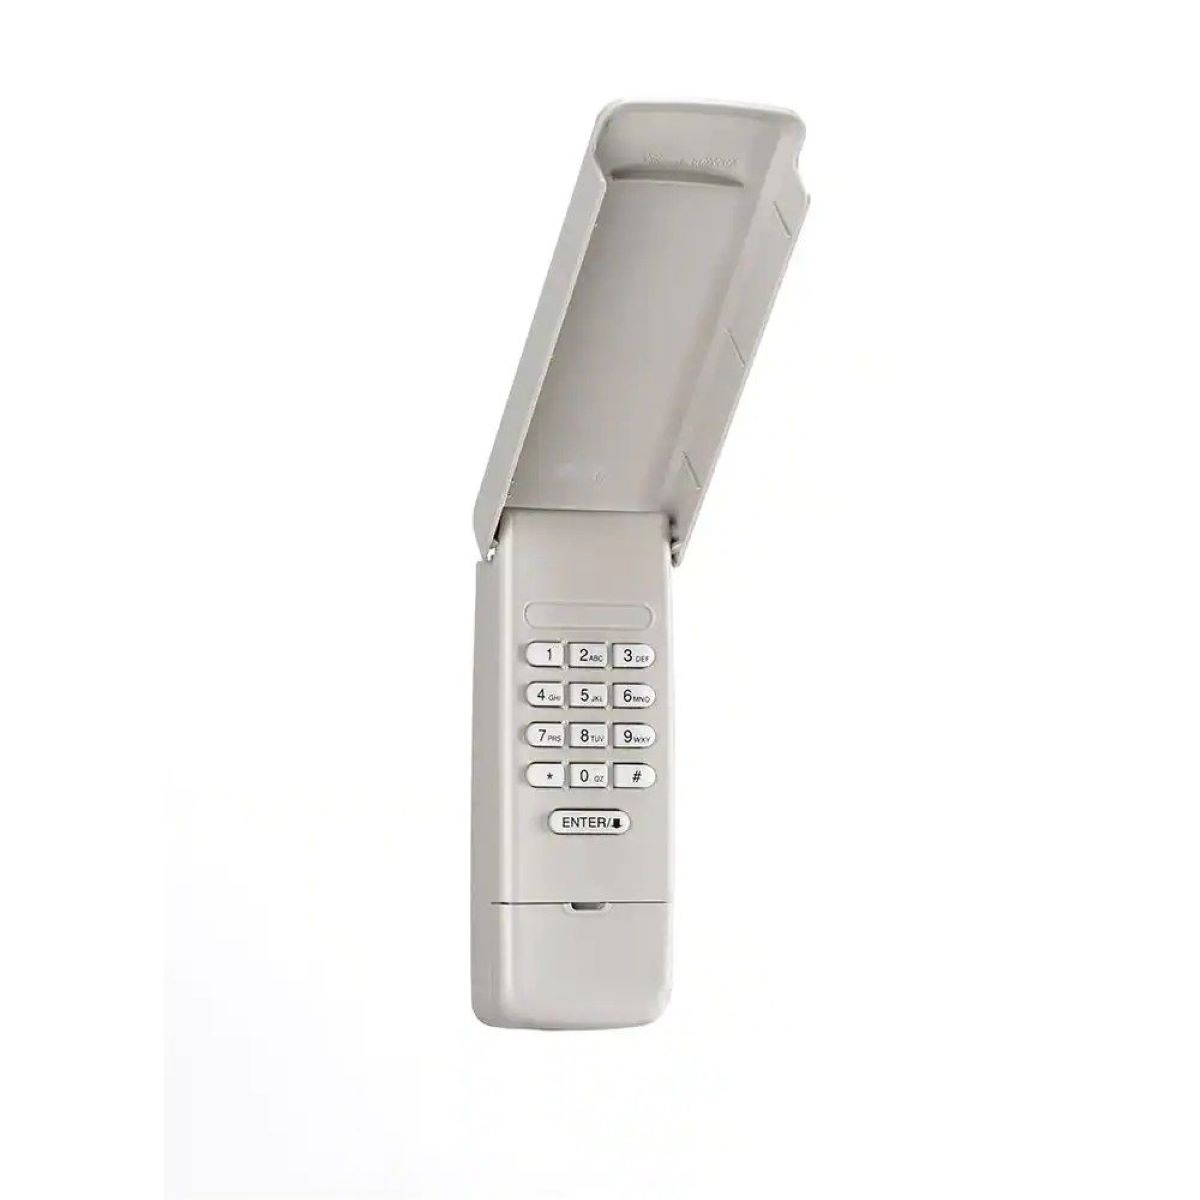
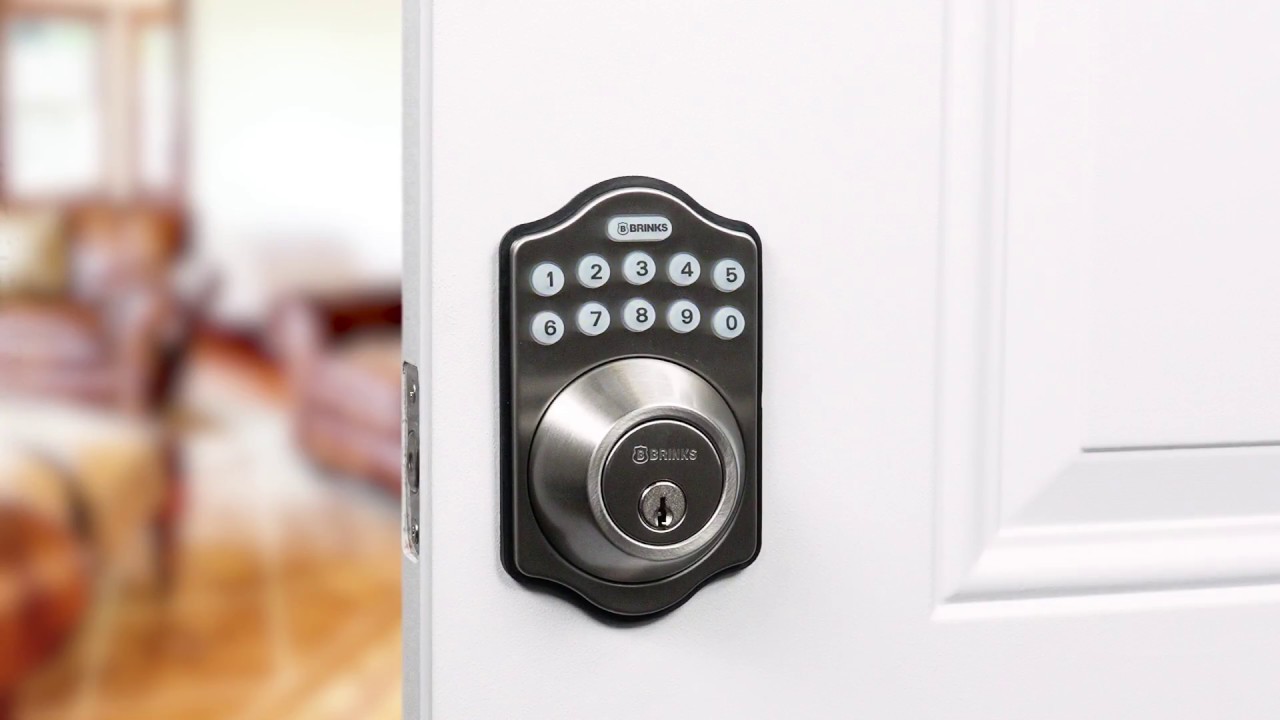
Welcome to the world of garage door keypads! These handy devices allow you to conveniently open and close your garage door without the need for a physical key or remote control. They provide an added layer of security and convenience, allowing you to enter your garage with a personalized PIN code.
Like any electronic device, garage door keypads require a power source to function properly. Most keypads are powered by batteries, which can eventually run out of juice and need to be replaced. Fortunately, changing the batteries in your garage door keypad is a relatively simple task that can be done in just a few steps.
In this article, we will guide you through the process of changing the batteries in your garage door keypad, ensuring that it continues to function seamlessly. So, grab your tools and let’s get started!
Key Takeaways:
- Easily maintain the functionality of your garage door keypad by following simple steps to change the batteries. Enjoy the convenience and security it provides without any hassle.
- Keep your garage door keypad in optimal working condition by regularly checking and replacing the batteries. Ensure seamless access to your garage and maintain property security.
Step 1: Gather the necessary tools
Before you begin the process of changing the batteries in your garage door keypad, it’s important to gather the necessary tools. Here’s what you’ll need:
- Small screwdriver: Most garage door keypads have a small screw that secures the battery compartment. A small screwdriver will be needed to remove this screw and open the compartment.
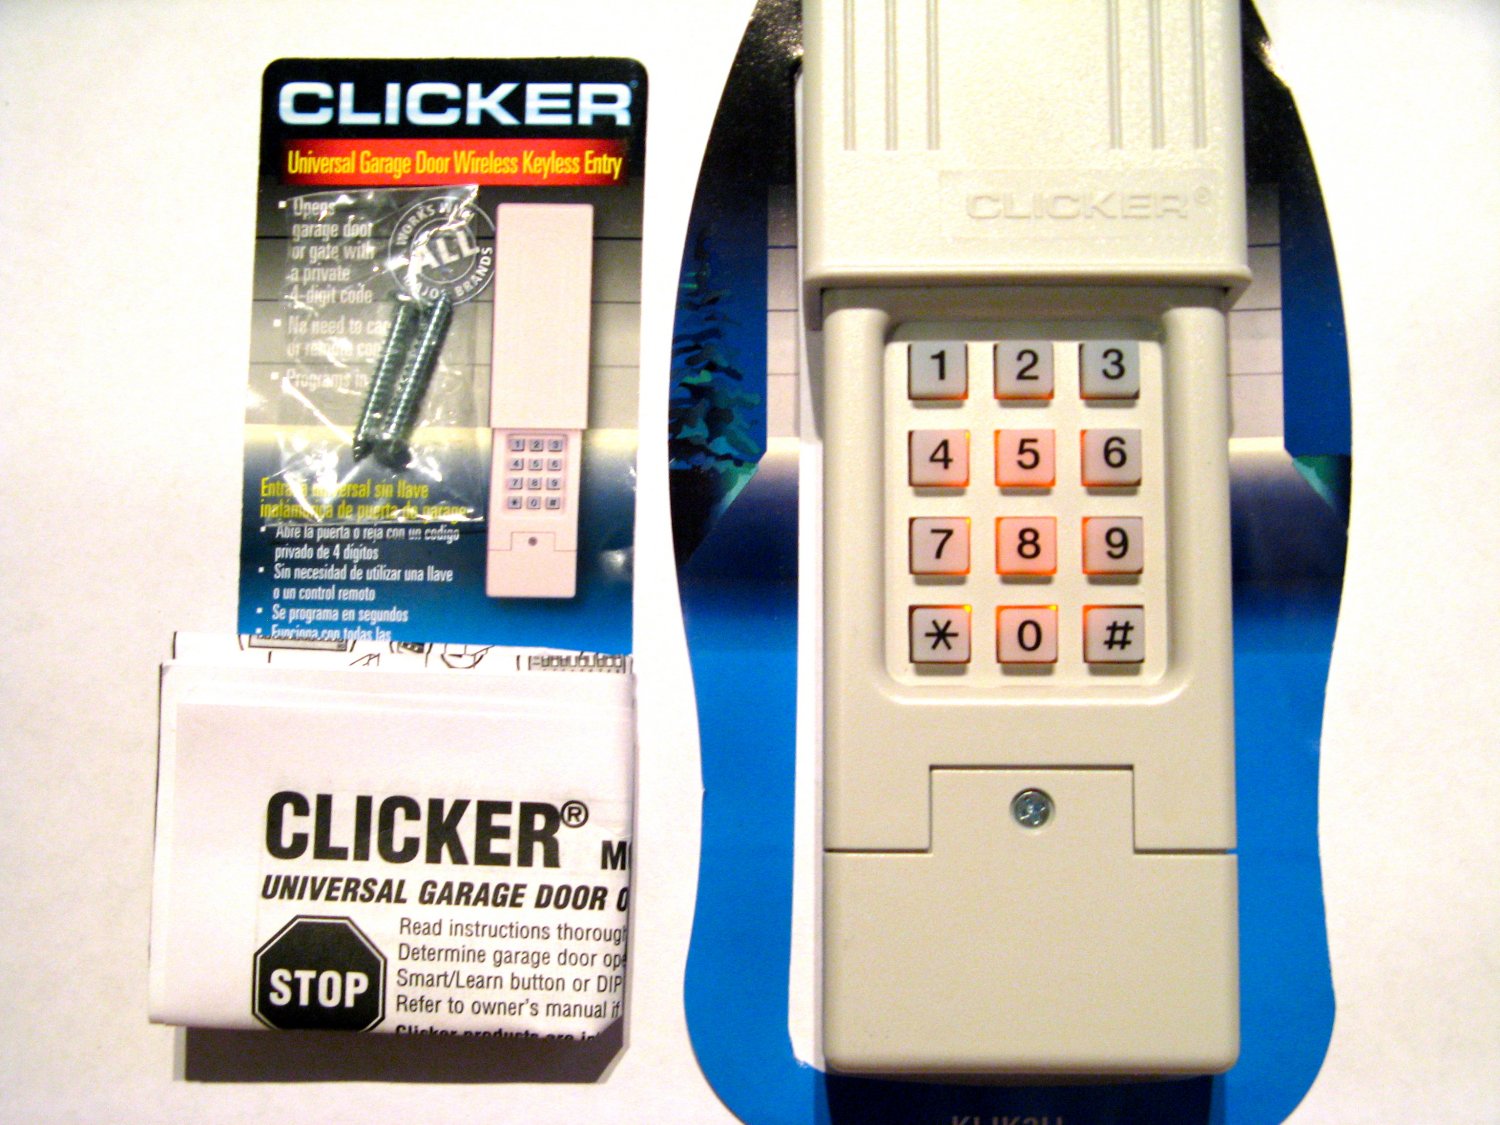
- New batteries: Determine the type and quantity of batteries required for your specific keypad. Commonly, garage door keypads use AA or AAA batteries, but it’s always best to double-check the user manual or the labeling on the keypad to ensure you have the correct batteries.
- Disposable gloves (optional): While not necessary, wearing disposable gloves can help protect your hands from any dirt or grime that may be present in the battery compartment.
Once you have gathered these tools, you are ready to move on to the next step of the process: locating the battery compartment.
Step 2: Locate the battery compartment
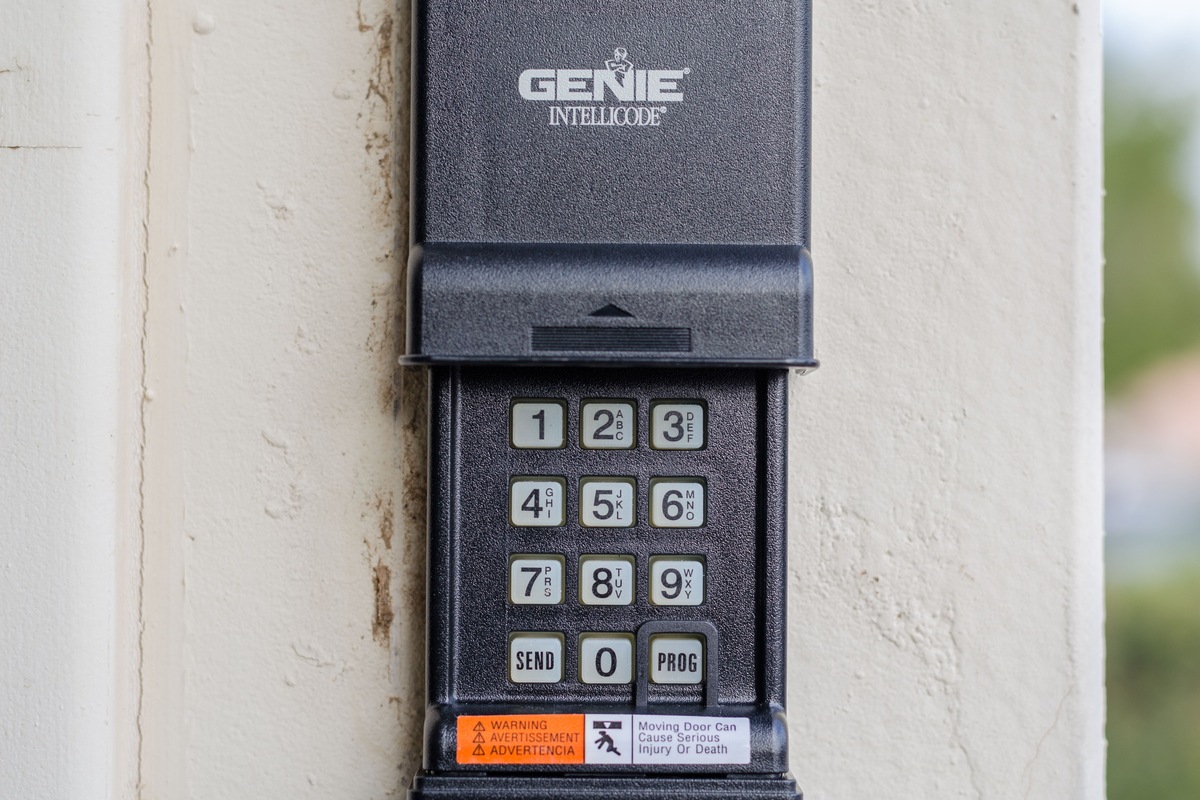
Now that you have your tools ready, it’s time to locate the battery compartment on your garage door keypad. The location of the battery compartment may vary depending on the make and model of your keypad, but there are a few common places to check:
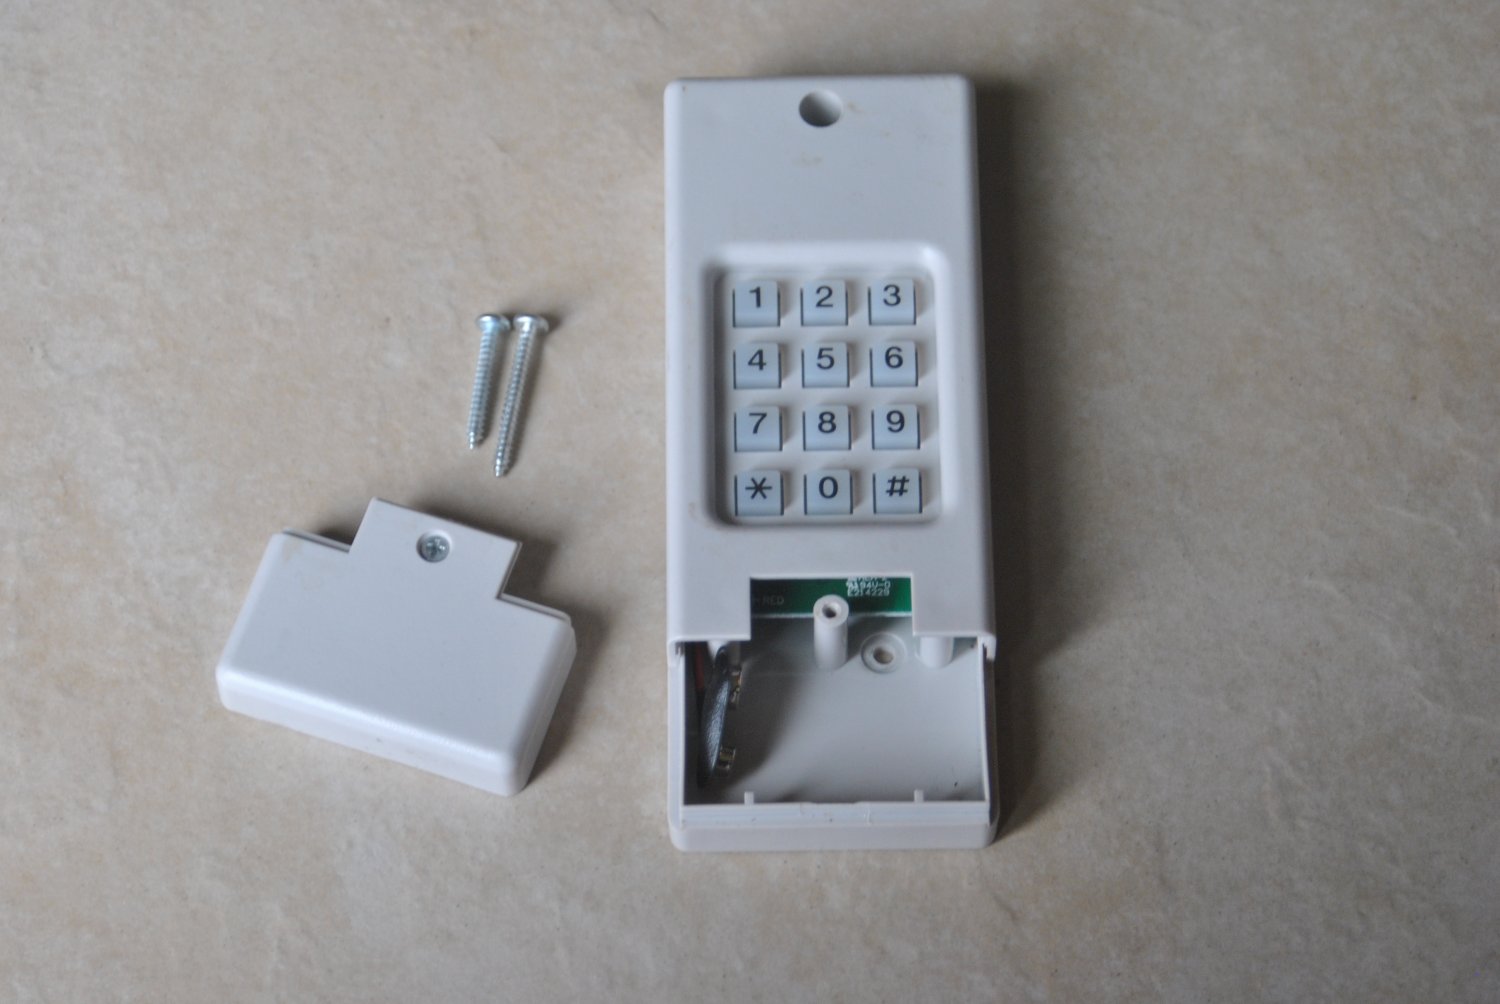
- Look on the back of the keypad: Many keypads have the battery compartment located on the backside, which is easily accessible when the keypad is removed from the wall or surface it is mounted on.
- Search the bottom or side of the keypad: Some keypads have the battery compartment on the bottom or side. Look for a small panel that can be opened to access the batteries.
- Check the front of the keypad: In some cases, the battery compartment may be located on the front of the keypad, usually hidden behind a removable cover or faceplate.
If you are having trouble locating the battery compartment, refer to the user manual for your specific keypad. The manual should provide detailed instructions and diagrams to help you find the exact location.
Once you have located the battery compartment, you are ready to move on to the next step: opening the battery compartment.
Step 3: Open the battery compartment
With the battery compartment located, it’s time to open it up. Follow these steps to access the batteries in your garage door keypad:
- Using a small screwdriver, gently loosen and remove any screws that are securing the battery compartment. Place the screws in a safe place to avoid losing them.
- If your keypad does not have screws, look for any tabs or latches that may be holding the battery compartment closed. Use your fingers or a flat-head screwdriver to gently pry open the compartment.
- Be cautious when opening the battery compartment to avoid damaging any delicate components inside. Take your time and exert gentle pressure as needed.
Once the battery compartment is open, you will have clear access to the old batteries inside. It’s important to properly dispose of the old batteries according to your local regulations. Now, let’s move on to the next step: removing the old batteries.
Step 4: Remove the old batteries
Now that the battery compartment is open, it’s time to remove the old batteries from your garage door keypad. Follow these steps to safely remove the old batteries:
- Inspect the battery compartment to locate the position of the old batteries.
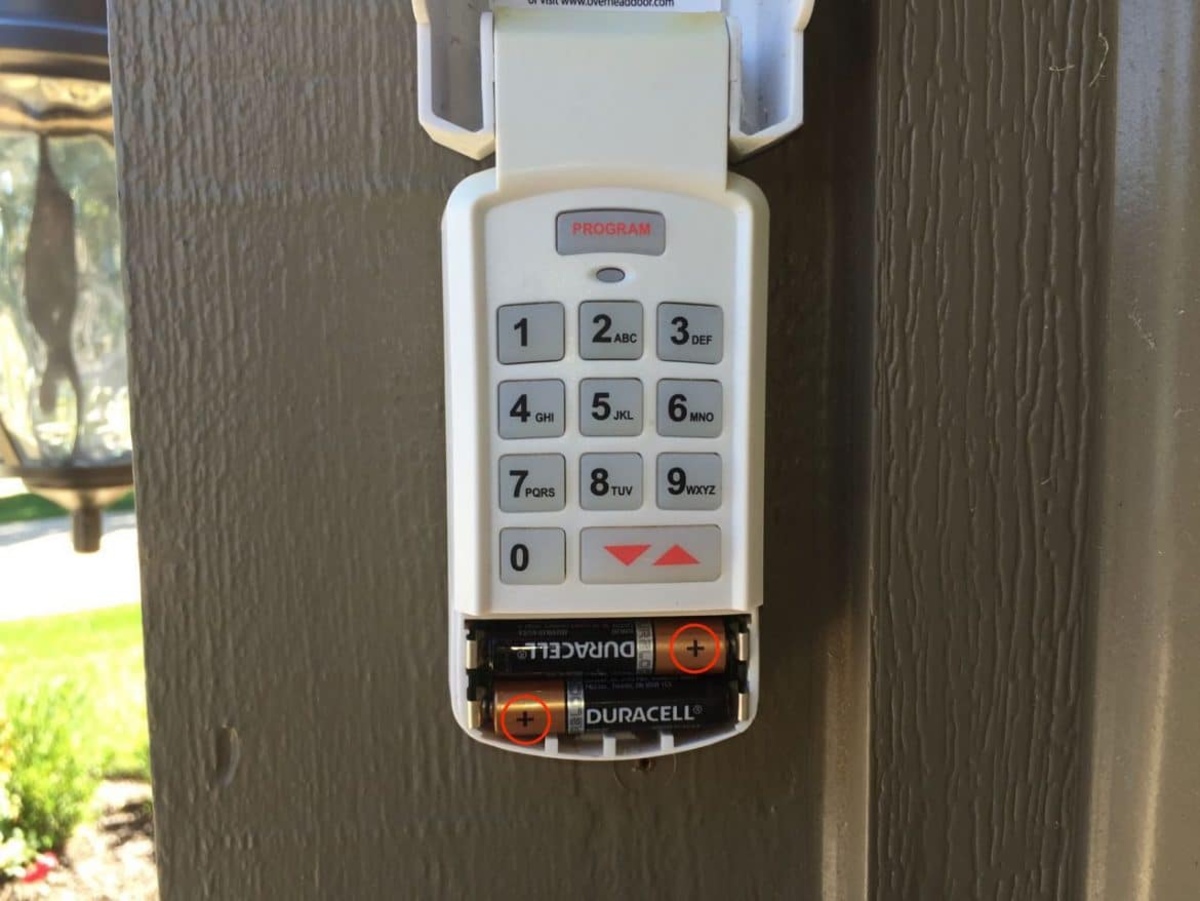
- Identify the battery orientation. Most keypads will have markings indicating the correct direction the batteries should be inserted. Make a note of this to ensure proper installation of the new batteries.
- Using your fingers or a small tool, gently lift the old batteries out of the compartment. Be careful not to damage or bend any connectors or springs inside the compartment.
- If the batteries are stuck, give them a gentle wiggle or tap the keypad gently to loosen them. Do not force the batteries out, as this may cause damage to the keypad or the batteries themselves.
- Once the old batteries are successfully removed, set them aside for proper disposal. It is important to recycle used batteries according to your local regulations.
With the old batteries removed, you are now ready for the next step: inserting the new batteries.
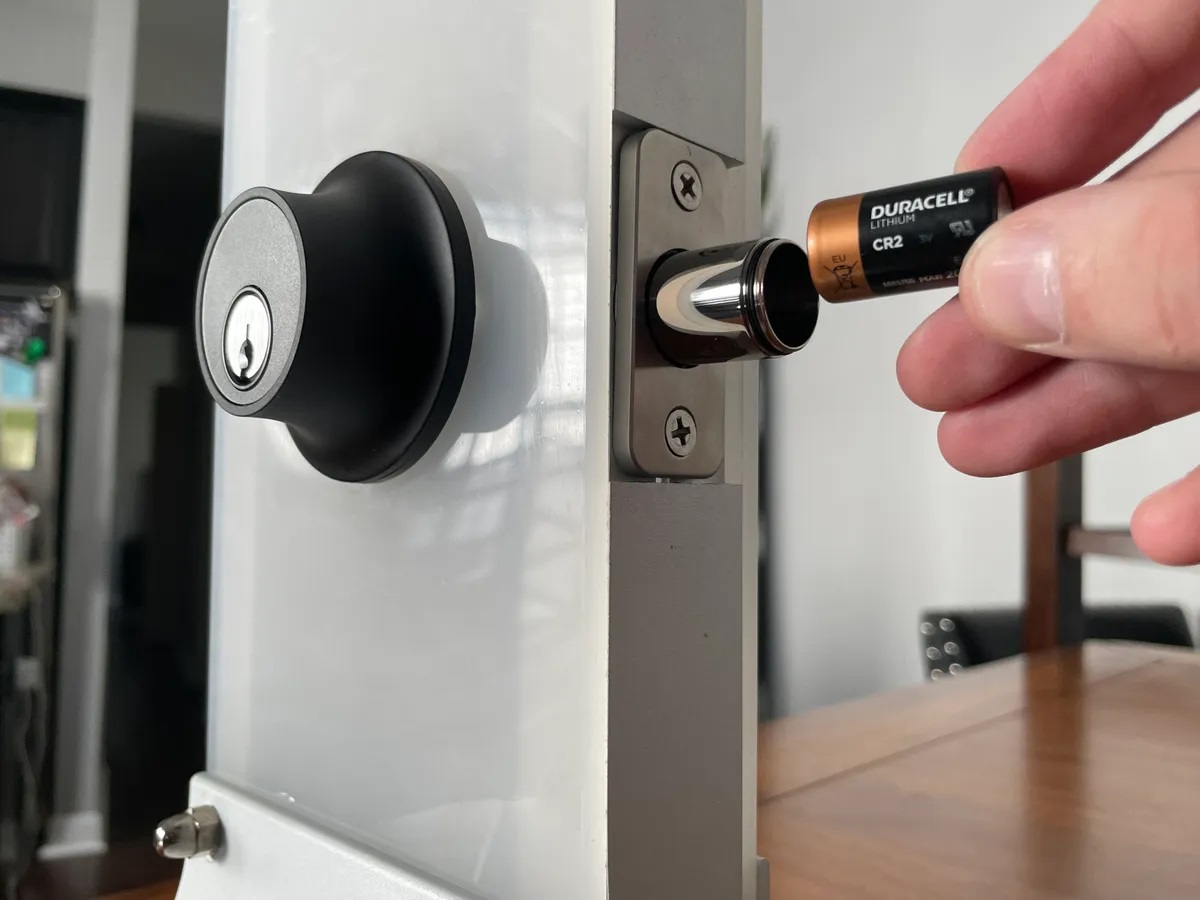
Before changing the batteries in your garage door keypad, make sure to have the correct type and size of batteries on hand. Typically, garage door keypads use standard AA or AAA batteries. Always follow the manufacturer’s instructions for opening the keypad and replacing the batteries to avoid damaging the device.
Step 5: Insert the new batteries
Now that the old batteries are removed, it’s time to insert the new ones into your garage door keypad. Follow these steps to properly insert the new batteries:
- Take your new batteries and check their orientation. Look for the positive (+) and negative (-) symbols on the batteries and align them with the markings inside the battery compartment.
- Starting with the first battery, position it in the compartment, making sure it is aligned correctly with the markings and connectors. Push down gently to secure the battery in place.
- Repeat the same process for the remaining batteries, ensuring they are inserted in the correct orientation.
- Double-check that all batteries are securely in place and making proper contact with the connectors inside the compartment.
- If required, reattach any clips or latches that hold the battery compartment in place. Alternatively, if your keypad uses screws, carefully insert and tighten them using a small screwdriver.
With the new batteries inserted, the battery compartment is ready to be closed. Let’s move on to the next step: closing the battery compartment.
Step 6: Close the battery compartment
Now that the new batteries are securely in place, it’s time to close the battery compartment on your garage door keypad. Follow these steps to properly close the compartment:
- If you removed any screws to open the battery compartment, take them and carefully insert them back into their respective holes. Use a small screwdriver to tighten them, but be careful not to overtighten.
- If your keypad has tabs or latches, align them with the corresponding slots on the battery compartment and gently push until you hear a click or feel the compartment securely close.
- Ensure that the battery compartment is completely closed and that there are no visible gaps or openings.
Properly closing the battery compartment is essential to ensure the batteries remain in place and make proper contact with the keypad’s components. With the battery compartment closed, it’s time to move on to the final step: testing the keypad functionality.
Step 7: Test the keypad functionality
With the new batteries installed and the battery compartment securely closed, it’s time to test the functionality of your garage door keypad. Follow these steps to ensure that the keypad is working correctly:
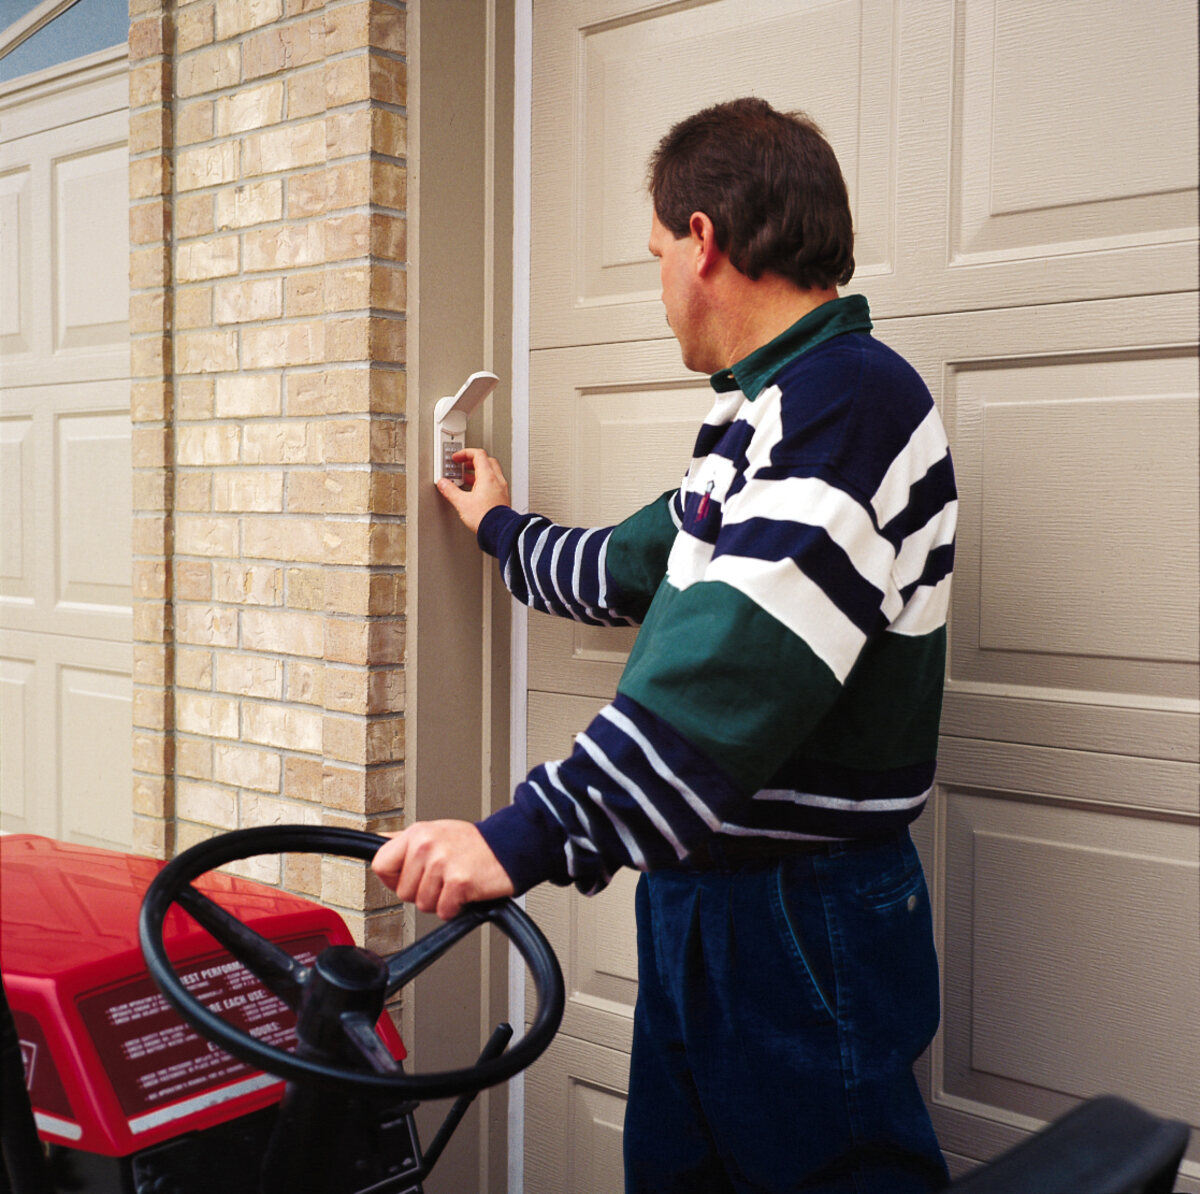
- Stand within a reasonable proximity to your garage door.
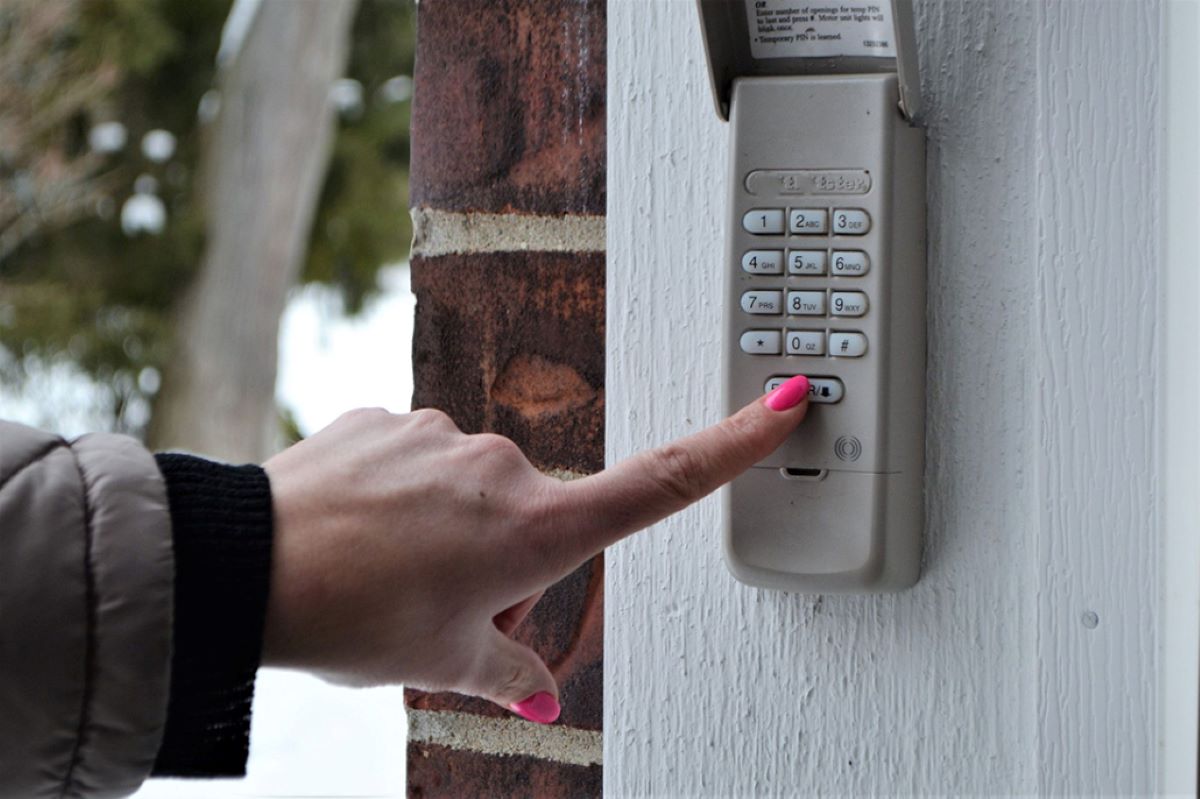
- Enter your personalized PIN code on the keypad, following the instructions provided by the manufacturer.
- Listen for any audible signals or look for any visual indicators on the keypad that indicate that it is communicating with the garage door opener.
- Observe the garage door to see if it responds by opening or closing when the correct code is entered.
- If the garage door responds as expected, congratulations! Your keypad is functioning properly with the new batteries.
- If the garage door does not respond or there are any issues with the keypad functionality, double-check the battery installation and make sure the batteries are correctly inserted.
- If the problem persists, consult the user manual or contact the manufacturer for further troubleshooting assistance.
By following these steps and testing the keypad functionality, you can ensure that your garage door keypad is ready to serve its purpose of convenient access to your garage.
Congratulations! You have successfully changed the batteries in your garage door keypad. Now you can enjoy the added convenience and security of a properly functioning keypad.
Conclusion
Changing the batteries in your garage door keypad is a simple task that can be done in just a few steps. By following the process outlined in this article, you can ensure that your keypad continues to function seamlessly, providing you with the convenience and security you need.
Remember, before you start the battery replacement process, gather the necessary tools such as a small screwdriver and new batteries. Locate the battery compartment on your keypad, and carefully open it using the appropriate method. Remove the old batteries, taking care to note their orientation and dispose of them properly. Insert the new batteries, ensuring they are positioned correctly, and securely close the battery compartment.
Finally, test the keypad functionality by entering your personalized PIN code and observing the response of your garage door. If everything is working properly, then you have successfully completed the battery replacement process.
Regularly checking and changing the batteries in your garage door keypad is essential to maintain its functionality. This ensures that you never get locked out of your garage and that your property remains secure.
Now that you have the knowledge and skills to change the batteries in your garage door keypad, you can enjoy the convenience of easy access to your garage. So, don’t hesitate to follow these steps and keep your keypad in optimal working condition.
Maintaining your home ensures it stays in top shape, but do you know what tasks are crucial? Check out our guide on essential home maintenance for tips on keeping your space spotless. Meanwhile, protecting your haven should always be a priority; our insights on why robust home security is necessary can help safeguard your home. For those upgrading their garage, selecting the right accessories is crucial. Don’t miss our roundup of the best garage door keypads to enhance access to your garage effortlessly.
Frequently Asked Questions about How To Change Batteries In Garage Door Keypad
Was this page helpful?
At Storables.com, we guarantee accurate and reliable information. Our content, validated by Expert Board Contributors, is crafted following stringent Editorial Policies. We're committed to providing you with well-researched, expert-backed insights for all your informational needs.


0 thoughts on “How To Change Batteries In Garage Door Keypad”