Articles
How To Sanitize Attic From Rats
Modified: October 20, 2024
Learn effective tips for sanitizing your attic after a rat infestation. Our informative articles provide expert advice and step-by-step instructions to ensure a thorough cleanup and prevent future rodent problems.
(Many of the links in this article redirect to a specific reviewed product. Your purchase of these products through affiliate links helps to generate commission for Storables.com, at no extra cost. Learn more)
Introduction
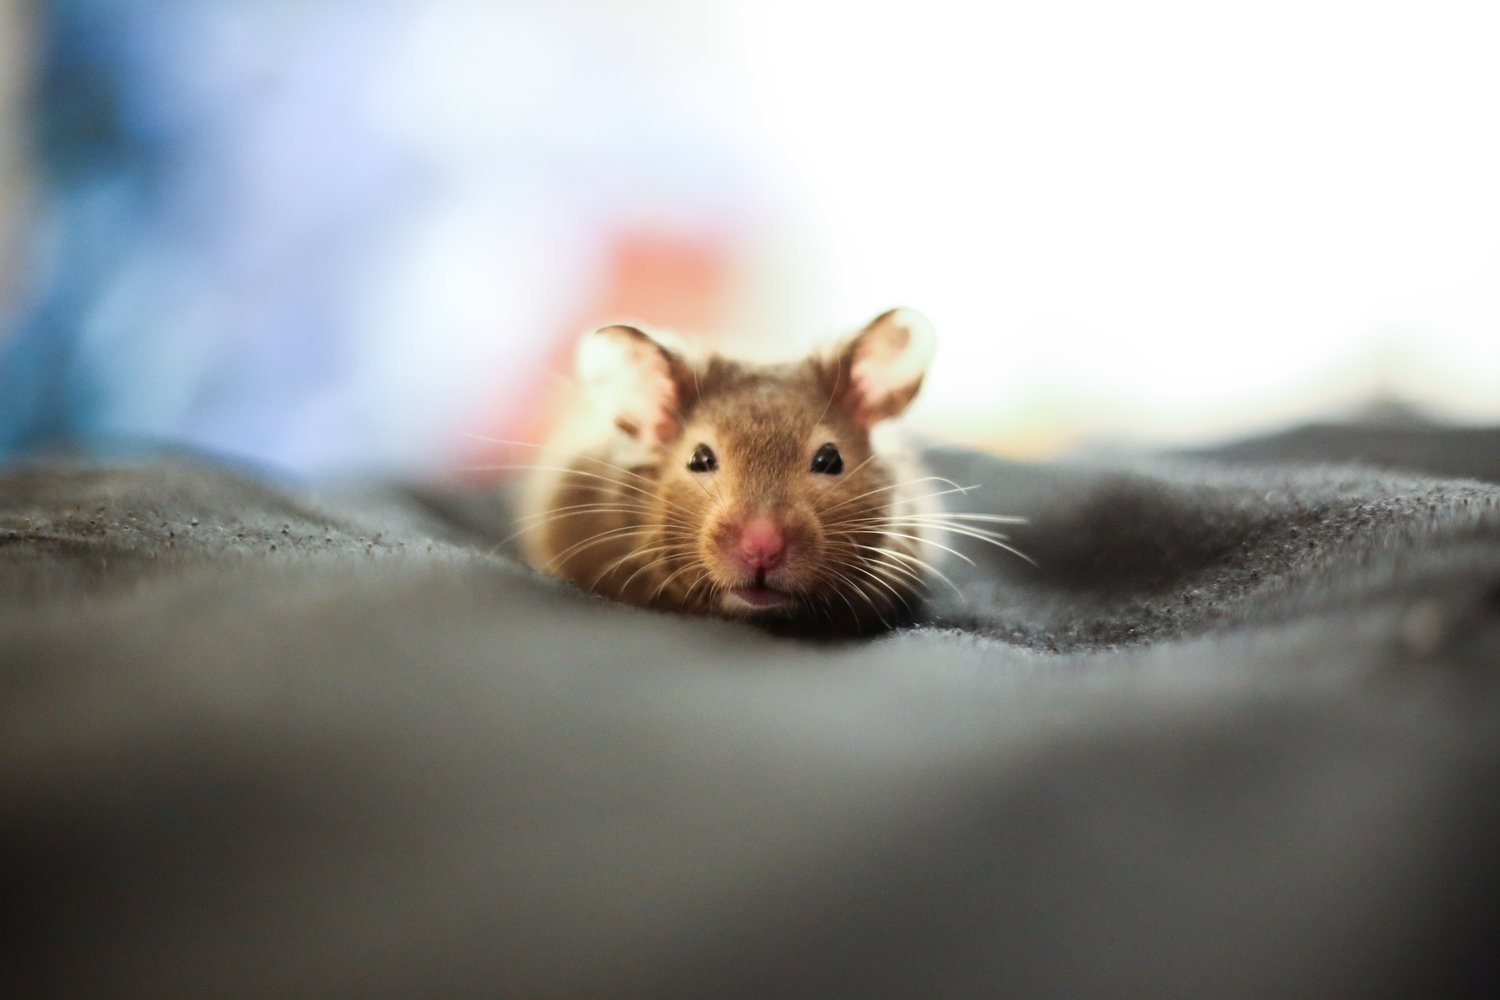
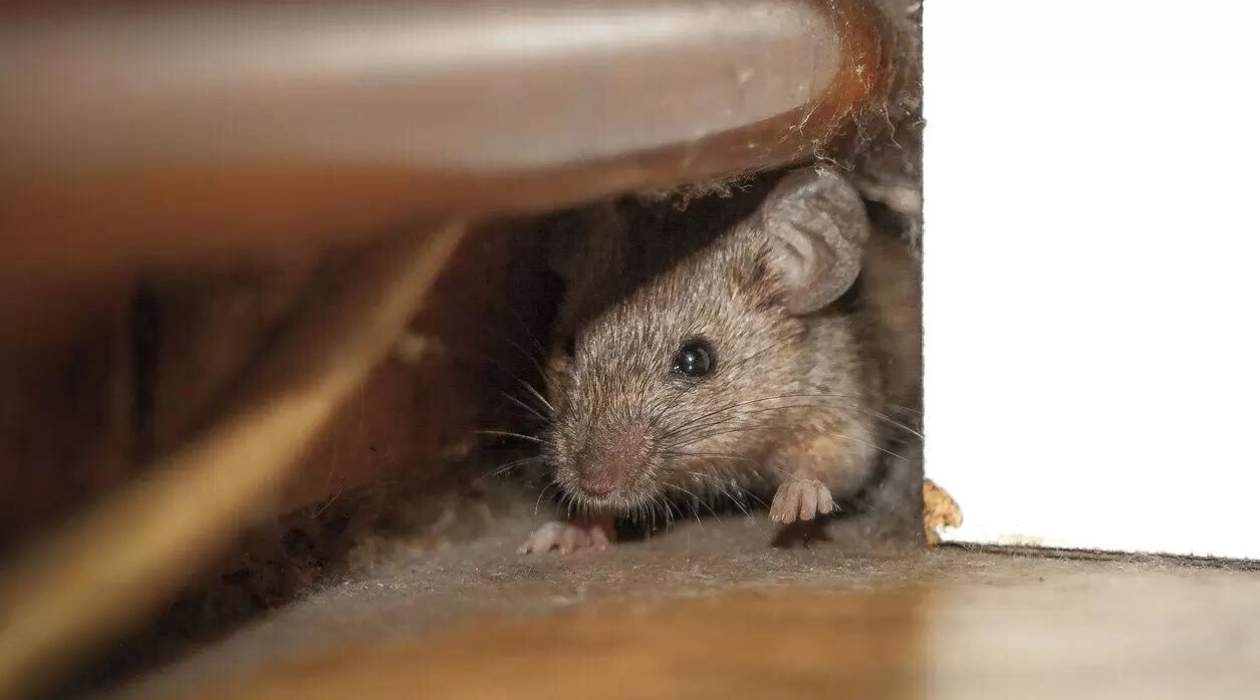
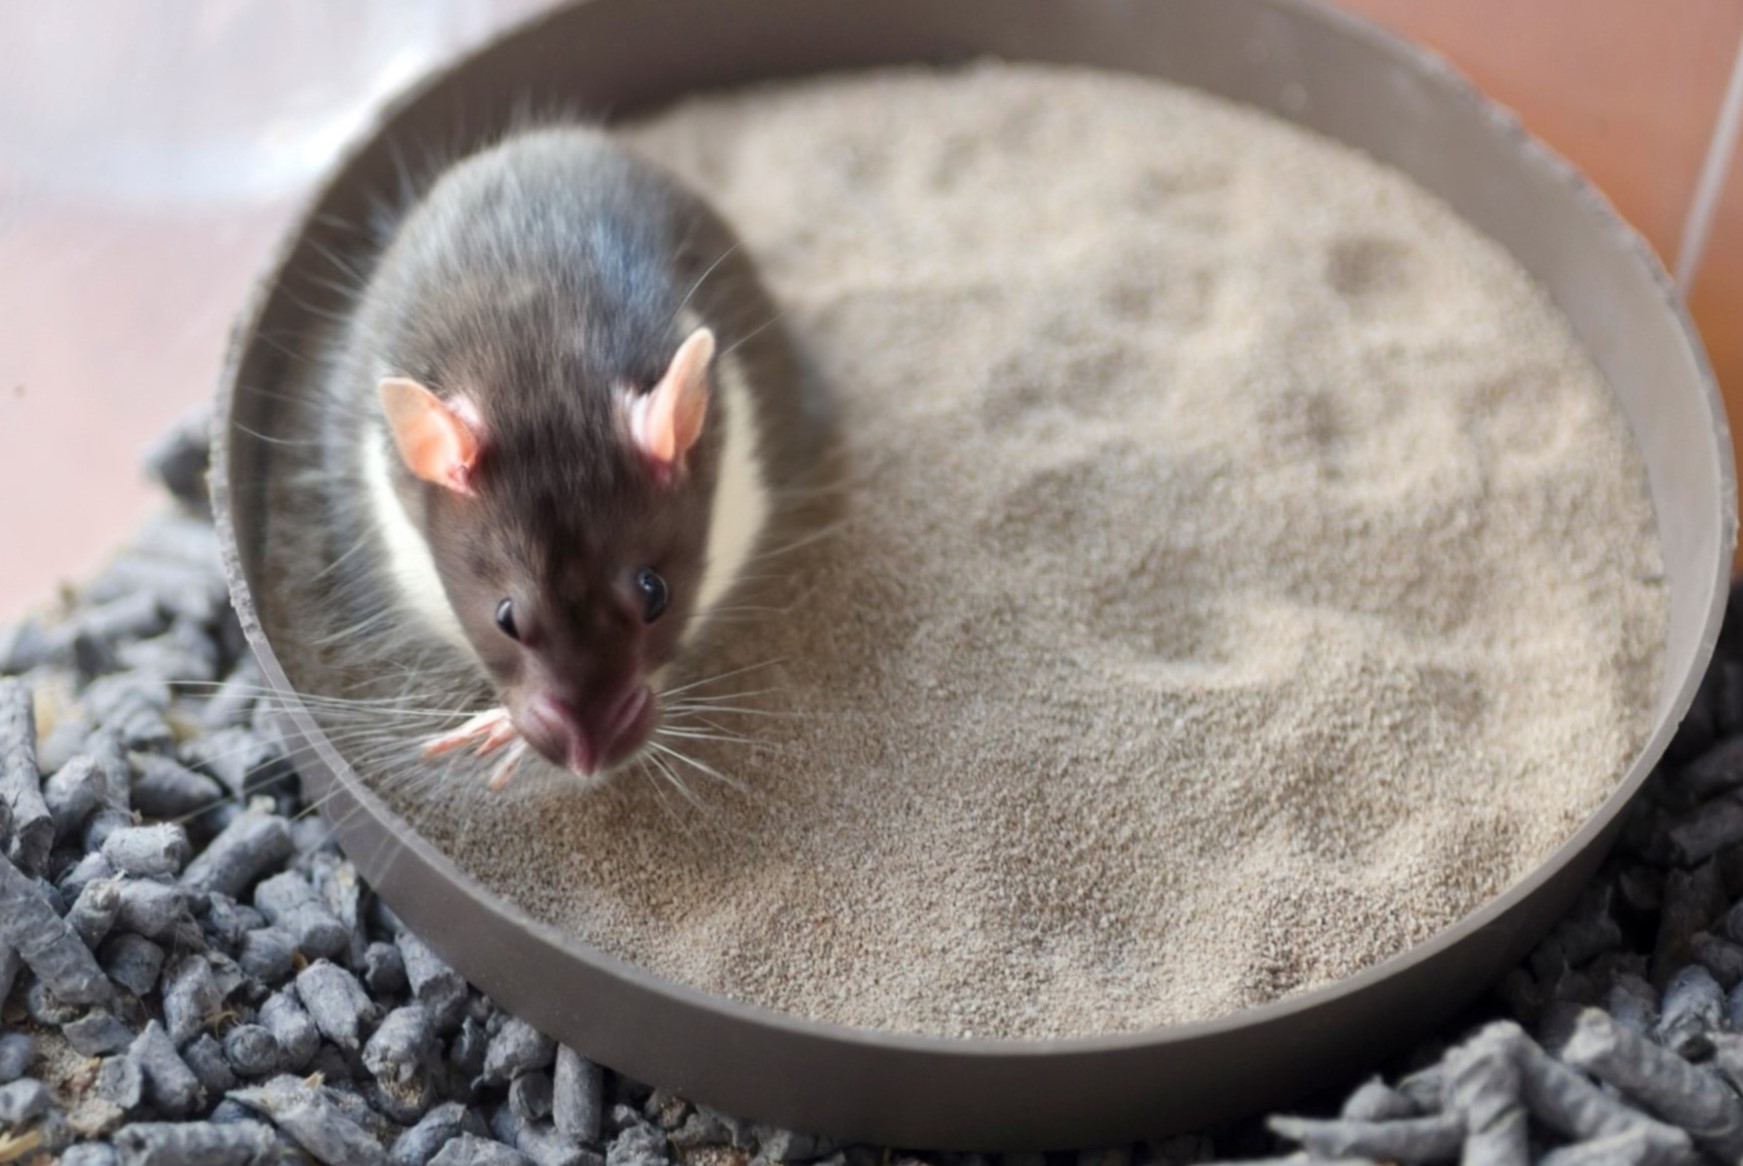
Welcome to our comprehensive guide on how to sanitize your attic after a rat infestation. Dealing with rats in your attic can be a stressful and unpleasant experience. Not only can they cause damage to your property, but they can also pose serious health risks due to their droppings and urine. Properly sanitizing your attic after rats have been present is crucial to ensure the safety and well-being of your household.
In this article, we will walk you through the step-by-step process of sanitizing your attic and eliminating any potential health hazards left behind by the rodents. We will provide you with useful tips, expert advice, and insights on the best practices to follow.
Before we begin, it’s important to mention that if you are unsure or uncomfortable doing the sanitization process yourself, it is recommended to seek professional help. They have the knowledge, experience, and equipment to properly clean and sanitize your attic.
Now, let’s dive into the steps you need to take to effectively sanitize your attic after a rat infestation.
Key Takeaways:
- Properly sanitizing your attic after a rat infestation is crucial for ensuring a safe and healthy living environment. From wearing protective gear to disinfecting affected areas, each step plays a vital role in eliminating potential health hazards.
- By following the comprehensive guide, you can effectively sanitize your attic and minimize the chances of re-infestation. Remember to prioritize safety, dispose of rat waste properly, and monitor for any signs of re-infestation to maintain a rat-free environment.
Step 1: Prepare the necessary supplies
The first step in sanitizing your attic after a rat infestation is to gather all the necessary supplies. Here is a list of items you will need:
- Protective clothing: Wear thick gloves, coveralls, a mask, and safety goggles to protect yourself from direct contact with rat droppings and other pathogens.
- Trash bags: Use heavy-duty trash bags for disposing of contaminated materials.
- Cleaning solution: Choose a disinfectant that is specifically formulated for cleaning areas contaminated by rodents. Look for one that is effective against bacteria, viruses, and other pathogens.
- Scrub brush and sponges: These will be used to scrub and clean surfaces in your attic.
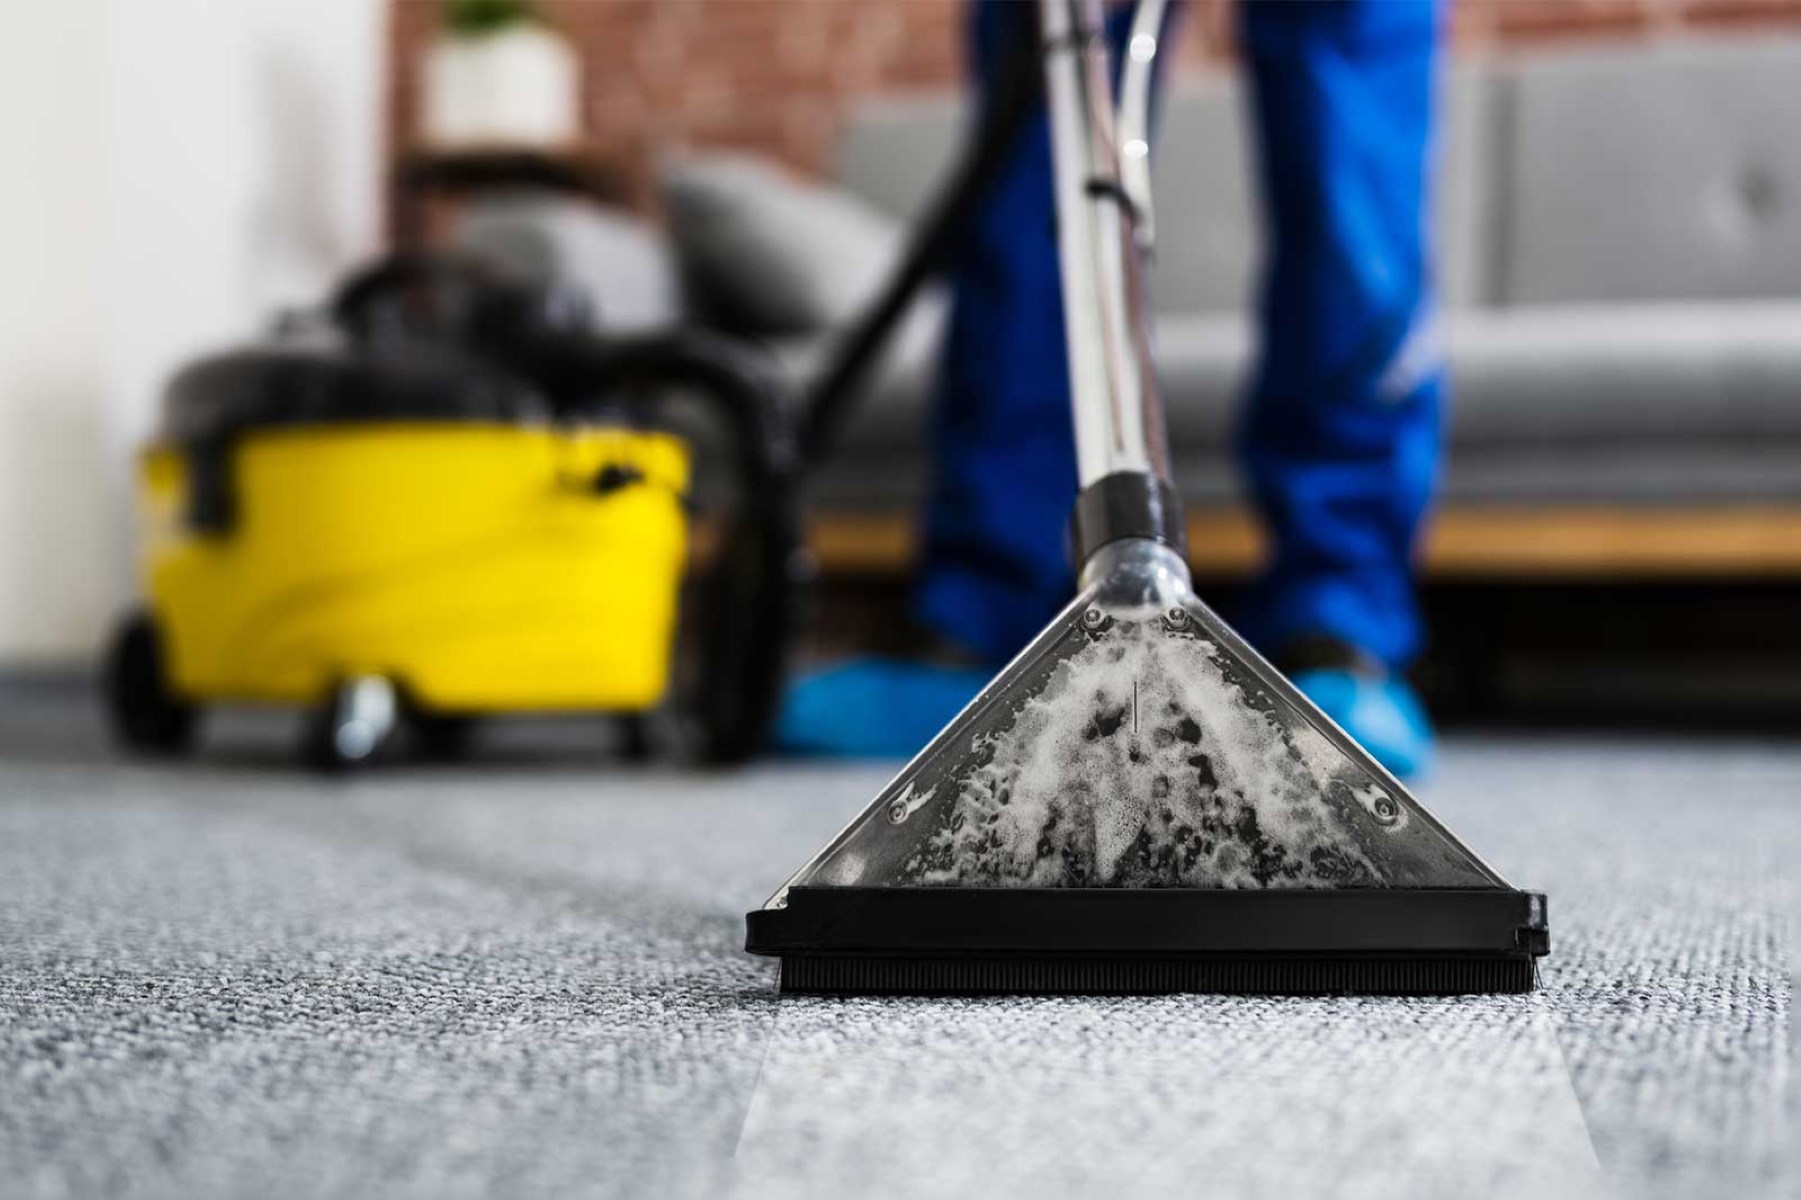
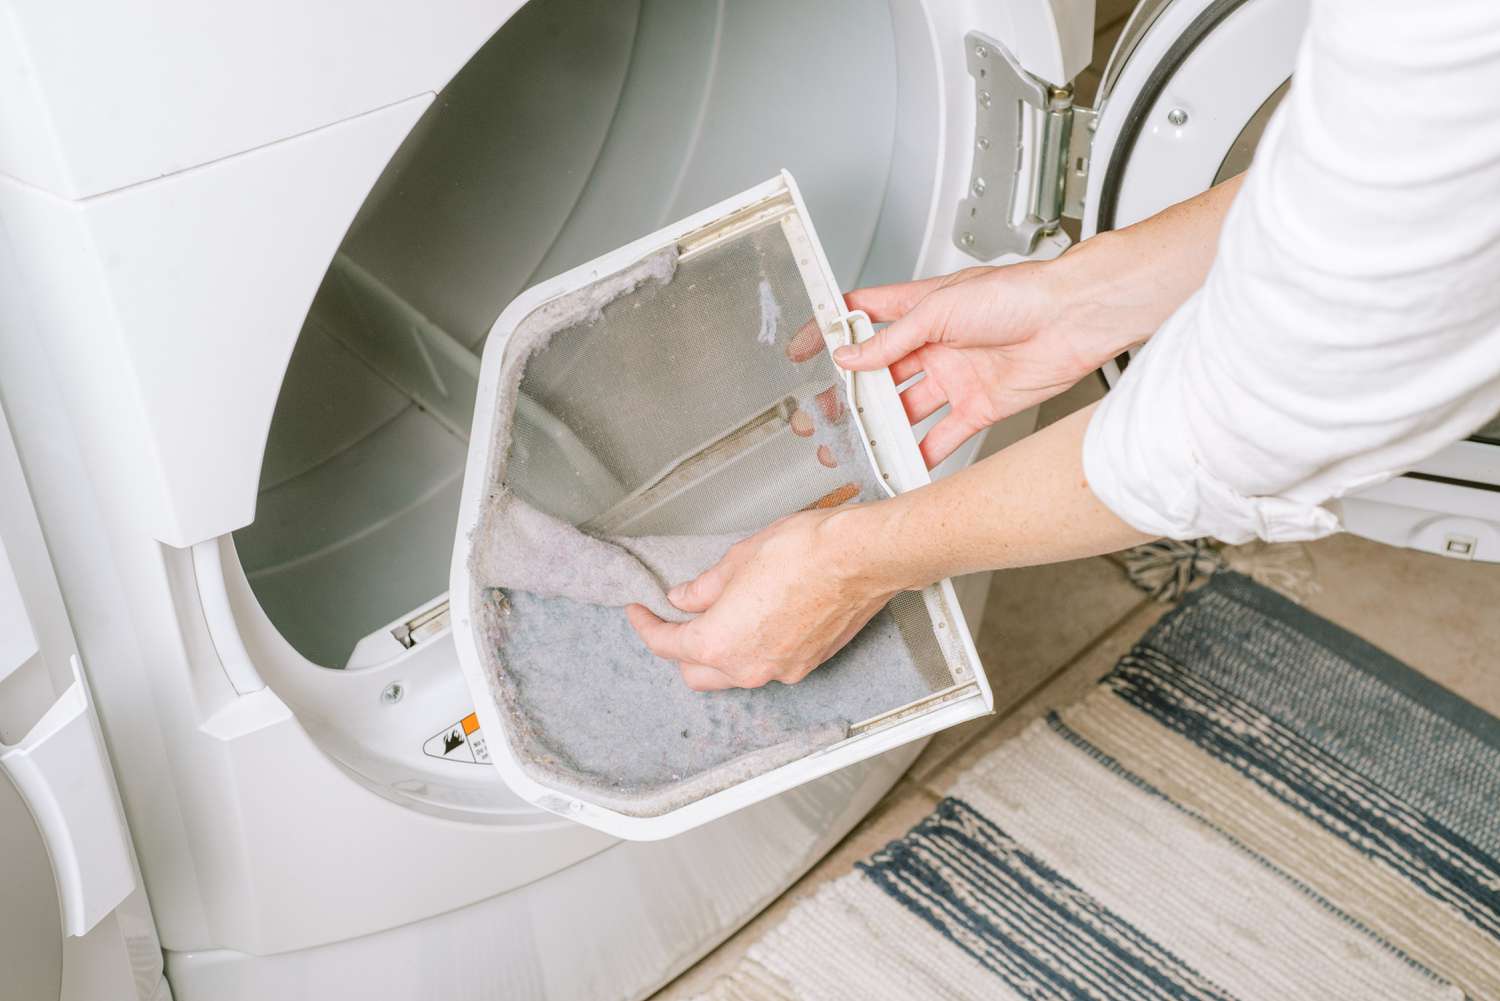
- Vacuum cleaner: A powerful vacuum cleaner with a HEPA filter is essential for removing dust, debris, and rat droppings.
- Plastic sheeting: Use plastic sheeting to cover the attic entrance and create a containment area to minimize the spread of contaminants during the cleaning process.
Once you have gathered all the necessary supplies, you are ready to proceed to the next step.
Step 2: Wear proper protective gear
Before you start cleaning and sanitizing your attic, it is crucial to protect yourself from potential health hazards. Rats can carry various diseases, and their droppings can contain harmful bacteria, viruses, and parasites.
Here are the essential protective gear items you should wear:
- Thick gloves: Use heavy-duty gloves to prevent direct contact with rat droppings or any contaminated surfaces. Make sure the gloves cover your hands and wrists completely.
- Coveralls or disposable clothing: Wear coveralls or disposable clothing to minimize the risk of cross-contamination. Avoid wearing your regular clothes, as they may become soiled with rat droppings or urine.
- Mask: Use a mask or respirator to protect yourself from inhaling airborne particles, dust, or allergens present in the attic. Look for a mask that is N95-rated or higher for optimal protection.
- Safety goggles: Shield your eyes from any potential debris or contaminants by wearing safety goggles.
Properly wearing protective gear is essential for your safety during the cleaning process. Avoid touching your face or any other part of your body while working in the attic, as this could lead to potential contamination.
Remember to wash your hands thoroughly with soap and water after removing your protective gear to ensure any lingering contaminants are removed.
Now that you are properly geared up, let’s move on to the next step.
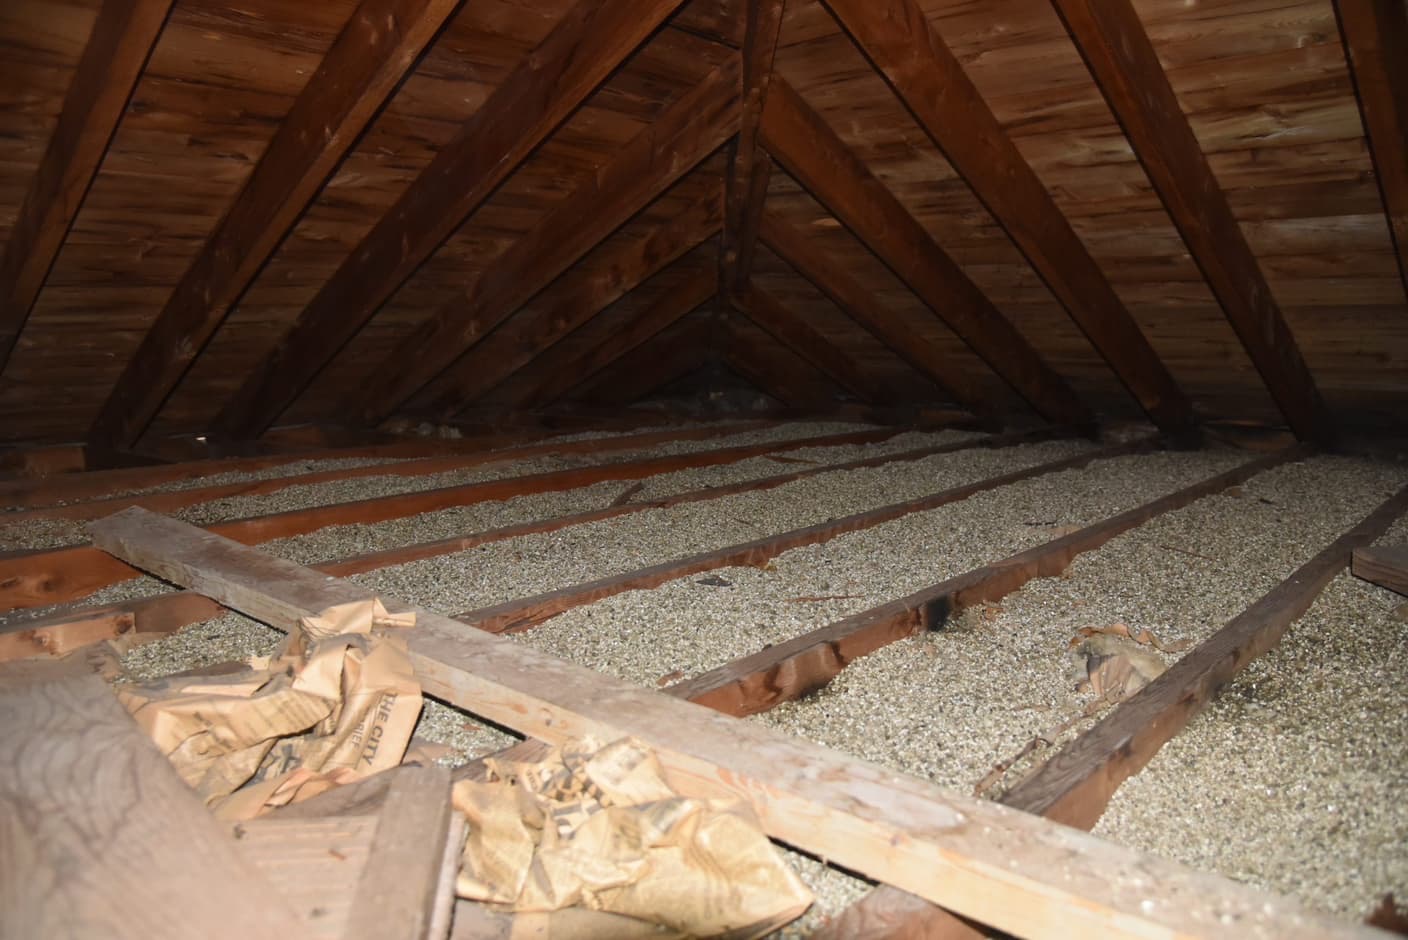
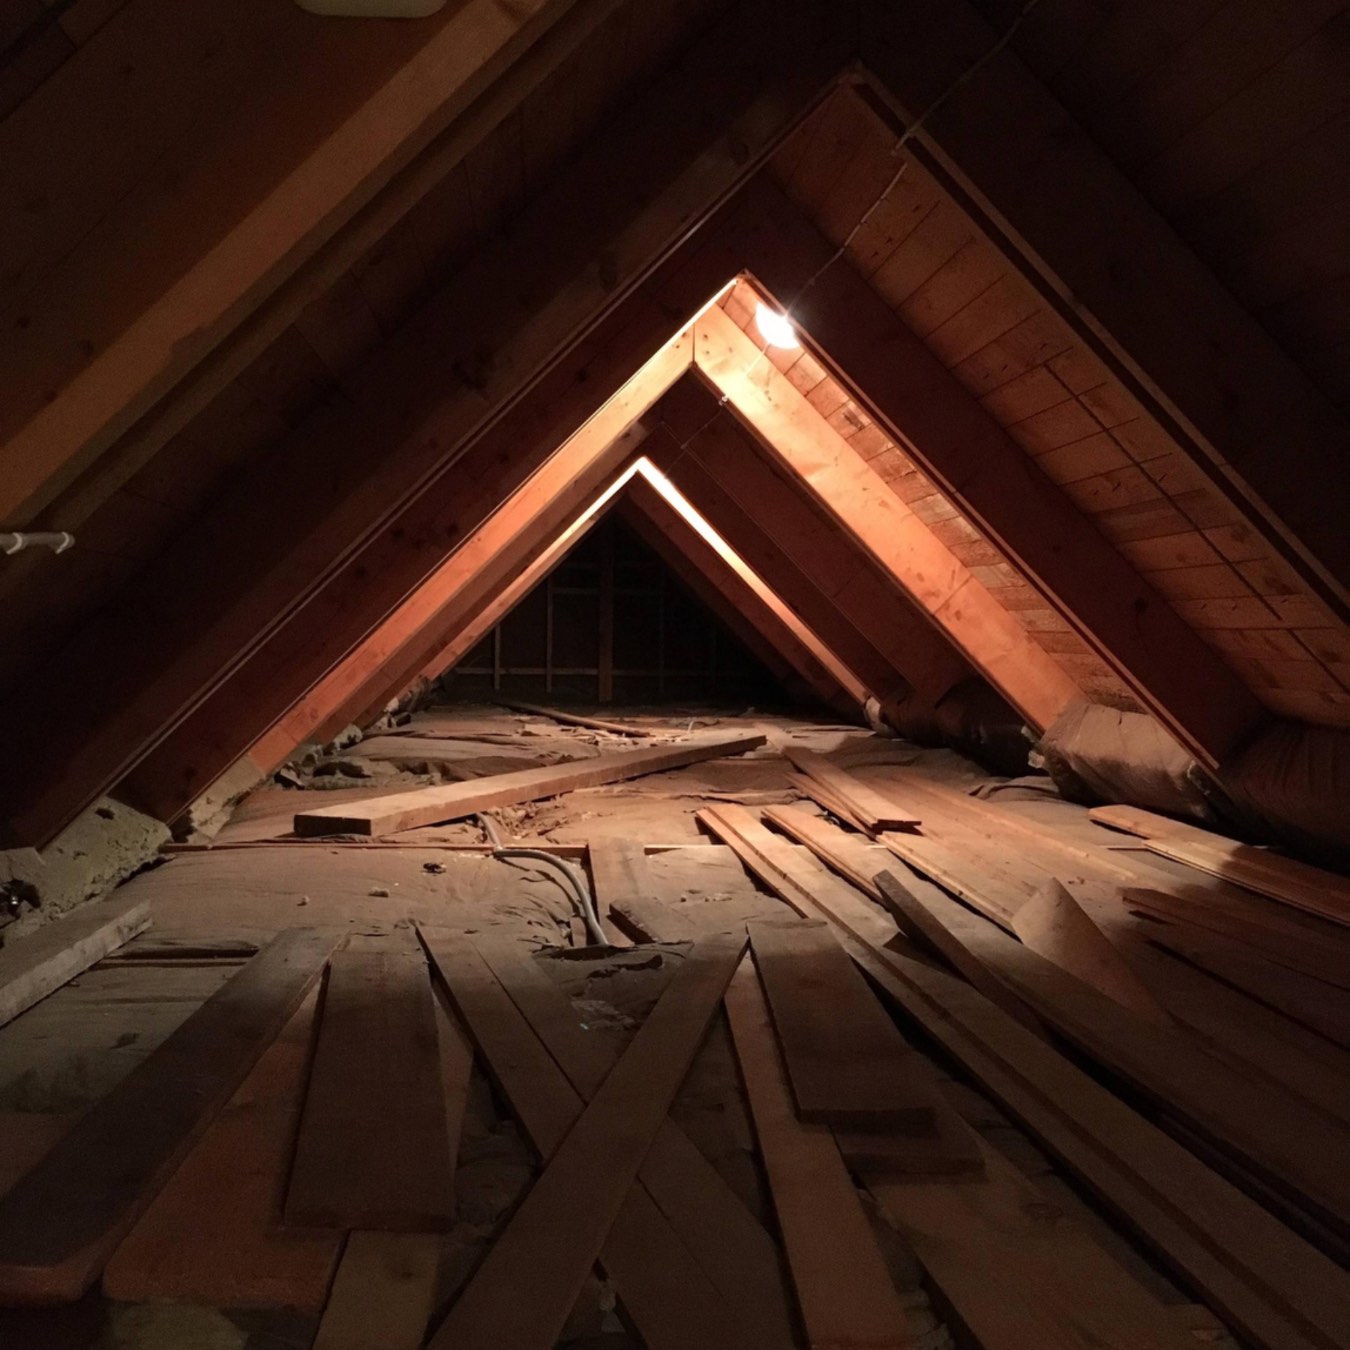
Step 3: Remove any debris and contaminated materials
Once you have your protective gear on, it’s time to start clearing out the attic and removing any debris and contaminated materials left behind by the rats. This step is crucial to create a clean and safe environment.
Here’s how to go about it:
- Start by clearing away any clutter and objects that may have accumulated in the attic. This includes boxes, old furniture, and other items that could provide hiding places for rats or be contaminated.
- Wear your gloves and use trash bags to collect and dispose of any rat droppings, urine stains, and nesting materials. Be careful not to stir up dust or spread contaminants around.
- Pay close attention to areas where rats are likely to nest or hide, such as insulation, crawl spaces, and corners. Use a dustpan or scoop to collect the waste and place it directly into sealed trash bags.
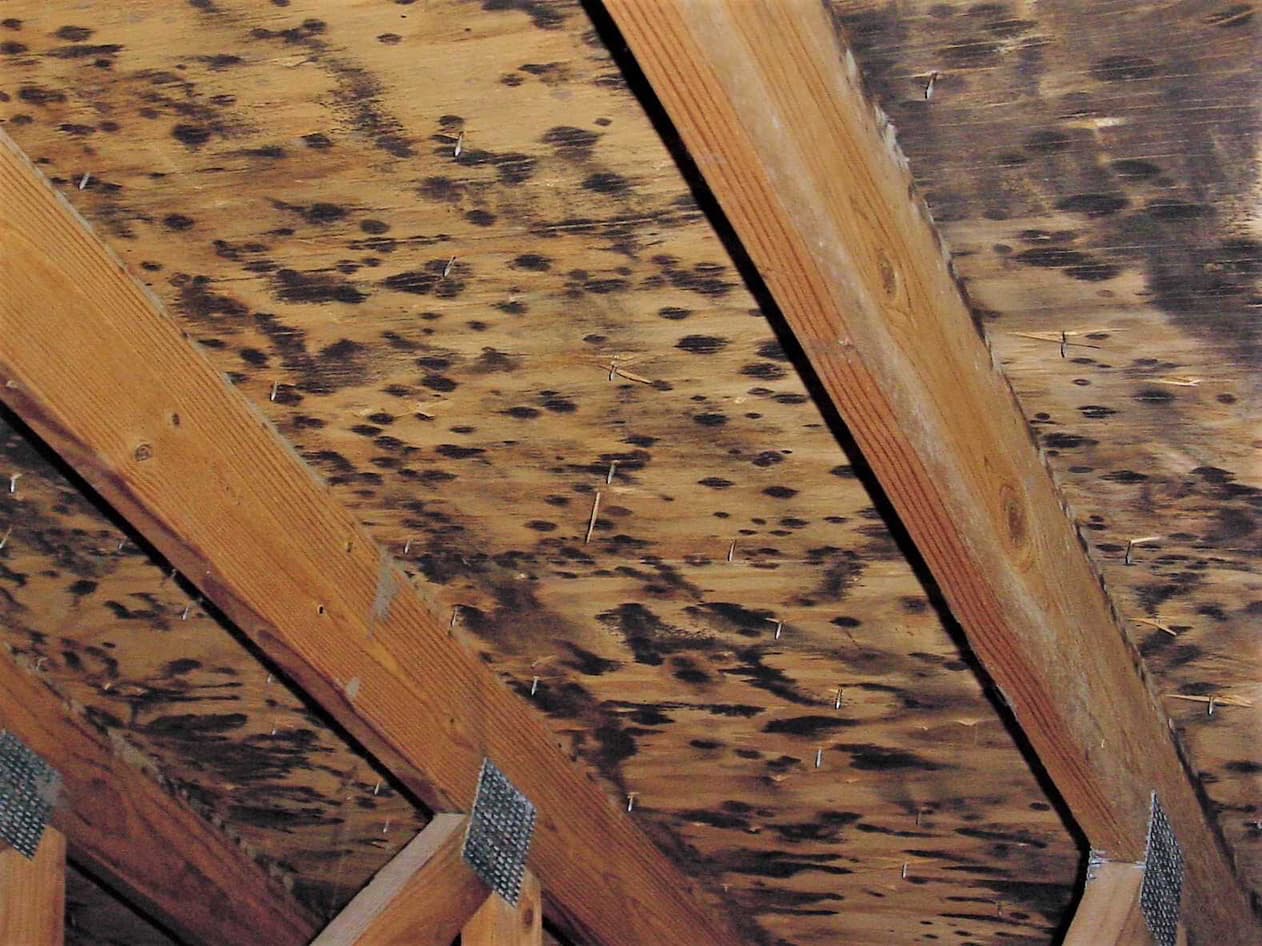
- Inspect the attic for any signs of damage caused by the rats. Look for chewed wires, torn insulation, or gnawed wood. These areas may need to be repaired or replaced to prevent future infestations.
- Take extra caution when handling insulation as it may be contaminated with rat droppings. If possible, consider removing and replacing heavily soiled insulation to ensure a thorough cleaning.
Remember to seal the trash bags tightly to prevent any leakage. Properly dispose of the bags according to your local regulations.
By removing debris and contaminated materials, you are eliminating potential hiding places and reducing the risk of further infestations or health hazards in your attic.
Next, we will move on to the next step, which involves thoroughly vacuuming the attic.
Step 4: Vacuum the entire attic thoroughly
After removing debris and contaminated materials, it’s time to thoroughly vacuum the entire attic to eliminate any remaining dust, dirt, and potentially harmful particles.
Here’s how to properly vacuum your attic:
- Use a vacuum cleaner with a HEPA (High-Efficiency Particulate Air) filter. HEPA filters are designed to trap small particles, including allergens and bacteria, ensuring a thorough cleaning.
- Start from the highest point in the attic and work your way down, vacuuming all surfaces, including walls, floors, and rafters. Pay special attention to areas where rat activity was prevalent.
- Gently vacuum insulation, if it’s safe to do so, to remove any dust or debris that may have settled on it.
- Don’t forget to vacuum corners, crevices, and hard-to-reach areas where rat droppings or debris may have accumulated.
- Take your time and make multiple passes to ensure a thorough cleaning. Avoid rushing through the process as this may lead to ineffective cleaning.
- Empty the vacuum cleaner bag or canister immediately after finishing and dispose of the contents in a sealed trash bag.
By vacuuming the attic, you are effectively removing any remaining contaminants, allergens, and dust, further minimizing health risks.
Now that you have thoroughly vacuumed the attic, let’s move on to the next step, which involves disinfecting the affected areas.
After removing rats from the attic, sanitize the area by using a mixture of water and bleach to clean surfaces. Seal any entry points to prevent reinfestation.
Read more: How To Get Rid Of Rat Smell In The Attic
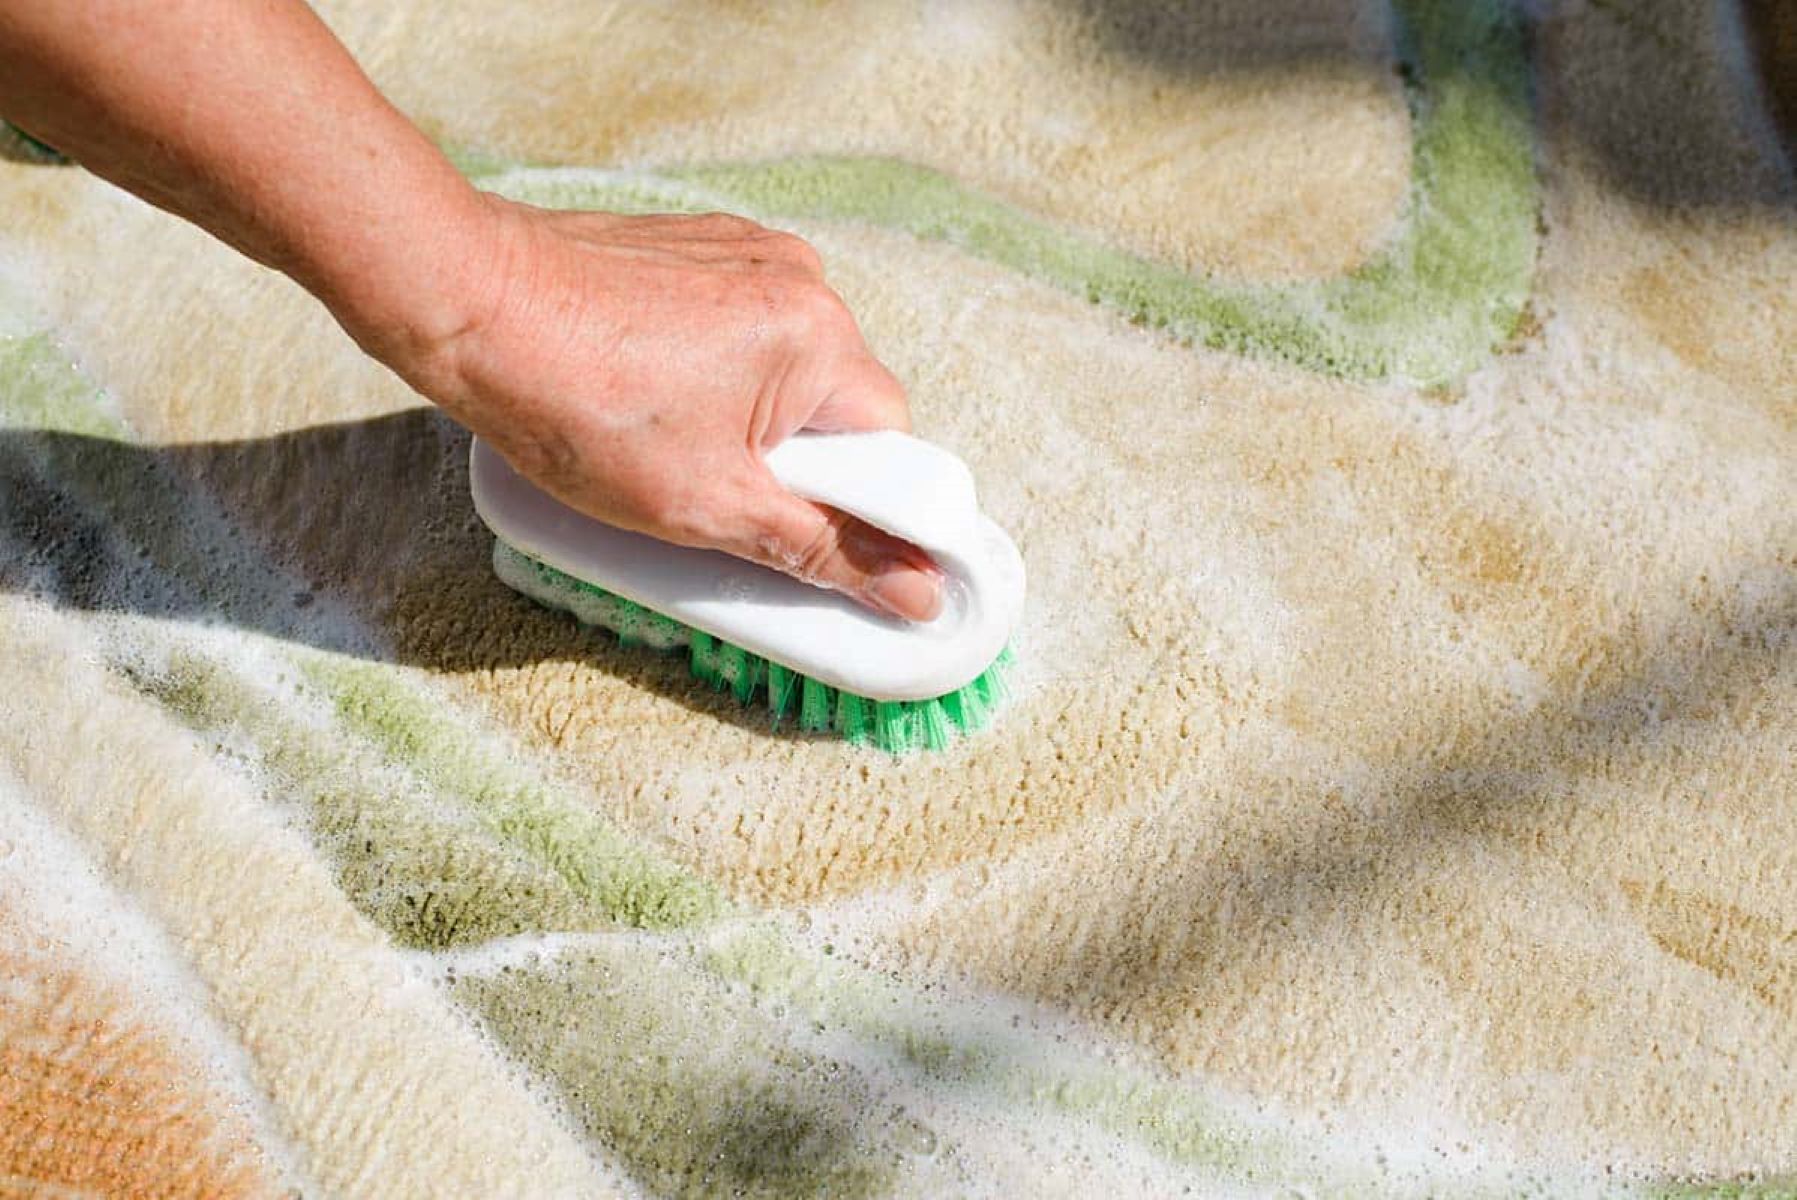
Step 5: Disinfect the affected areas
Disinfecting the affected areas of your attic is a crucial step in ensuring a safe and hygienic environment after a rat infestation. This will help eliminate any remaining bacteria, viruses, or potential pathogens left behind by the rodents.
Follow these steps to properly disinfect the affected areas:
- Choose a disinfectant specifically formulated for cleaning areas contaminated by rodents. Look for one that is effective against bacteria, viruses, and other pathogens.
- Read and follow the instructions on the disinfectant label carefully, including any safety precautions or dilution ratios.
- Using a scrub brush or sponge, apply the disinfectant solution to all surfaces that were affected by rat droppings, urine, or nesting materials.
- Pay extra attention to areas where rat activity was prevalent, such as nesting sites, corners, and entry points.
- Allow the disinfectant to sit on the surfaces for the recommended contact time specified by the manufacturer.
- After the contact time has elapsed, thoroughly rinse the treated areas with clean water to remove any residue or excess disinfectant.
- Ensure proper ventilation in the attic to facilitate drying and prevent the growth of mold or mildew.
By disinfecting the affected areas, you are effectively eliminating any remaining pathogens and reducing the risk of potential health hazards.
Once you have completed the disinfection process, it’s time to move on to the next step, which involves sealing off entry points and cleaning the exterior.
Step 6: Seal off entry points and clean the exterior
After sanitizing the interior of your attic, it’s important to take preventive measures to ensure that rats or other rodents cannot re-enter your home. This step involves sealing off entry points and cleaning the exterior of your property.
Follow these steps to properly seal off entry points and clean the exterior:
- Inspect the exterior of your home and identify any potential entry points that rats may use to access your attic. Common entry points include gaps or cracks in the walls, vents, and gaps around pipes or utility lines.
- Seal off these entry points using steel wool, caulk, or other appropriate materials. Ensure that the seals are tight and secure to prevent rodents from re-entering your attic.
- Trim any overhanging branches or shrubs that could provide easy access for rodents to climb onto your roof.
- Clean the exterior of your property, paying attention to areas near the attic, such as eaves, gutters, and downspouts. Remove any debris or clutter that could attract rodents or provide hiding places.
- Dispose of any garbage or food waste in sealed containers to minimize the possibility of attracting rats back to your property.
- Consider installing rodent deterrents, such as motion-activated lights or ultrasonic devices, to deter rats from approaching your home.
By sealing off entry points and cleaning the exterior, you are taking proactive measures to prevent future infestations and ensure the long-term cleanliness and safety of your home.
Now that you have sealed off entry points and cleaned the exterior, let’s move on to the next step, which involves the proper disposal of rat waste.
Step 7: Dispose of rat waste properly
Proper disposal of rat waste is essential to prevent the spread of diseases and to maintain a sanitary environment. Follow these steps to dispose of rat waste safely and effectively:
- Wear protective gloves and a mask while handling rat waste to minimize direct contact and inhalation of any potential pathogens.
- Use a shovel or scooper to collect the rat droppings and contaminated materials. Place them directly into a double-sealed plastic bag to prevent any leakage.
- Tie the bag tightly to ensure it is securely sealed and will not release any odors or contaminants.
- Check with your local waste management guidelines to determine the proper disposal method for rat waste. Some areas may require you to dispose of it in specific designated bins or follow other specific instructions.
- If allowed, you can also dispose of the bagged rat waste in your regular trash bin. However, be sure to inform the waste collection staff that the bag contains rat waste, so they can handle it accordingly.
- Thoroughly wash your hands with soap and water after handling and disposing of rat waste to ensure proper hygiene.
Properly disposing of rat waste is crucial to prevent the spread of diseases and maintain a clean and healthy environment. By following these steps, you are taking necessary precautions to protect yourself and others from potential health risks.
Now that you have properly disposed of rat waste, let’s move on to the final step, which involves monitoring for any signs of re-infestation.
Step 8: Monitor for any signs of re-infestation
Even after completing the sanitization process and taking preventive measures, it’s important to remain vigilant and monitor for any signs of re-infestation. Rats are resilient and can find their way back into your attic if entry points are not properly sealed or if conducive conditions still exist.
Here’s how to effectively monitor for signs of re-infestation:
- Regularly inspect your attic for any indications of rat activity, such as droppings, urine stains, chewed wires, or gnawed materials. Early detection is key to preventing a full-blown infestation.
- Set up traps or baits in strategic areas to monitor and capture any rats that might have returned. Check the traps regularly and dispose of any captured rodents according to local regulations.
- Keep an eye out for signs of rat pathways or nests, such as greasy smudges along walls or shredded materials.
- Maintain good sanitation practices in and around your home. Store food properly, seal garbage bins tightly, and eliminate any potential food sources that may attract rats.
- If you notice any suspicious signs indicating a re-infestation, it’s crucial to take immediate action. Contact professional pest control services to assess the situation and implement appropriate measures.
By actively monitoring for signs of re-infestation, you can address any potential issues early on and prevent a full-scale rat problem from reoccurring.
Congratulations! You have now completed the process of sanitizing your attic after a rat infestation. By following these steps and implementing preventive measures, you have ensured a clean, safe, and rodent-free environment in your attic.
Remember, if you’re uncertain or uncomfortable performing these tasks yourself, it is always best to seek professional help. They have the expertise and equipment to ensure a thorough and effective cleaning process.
Thank you for reading our comprehensive guide on how to sanitize your attic after rats. We hope that this information has been helpful in guiding you through the necessary steps. Stay vigilant, and may your attic remain rat-free!
Read more: How To Deter Rats From The Patio
Conclusion
Sanitizing your attic after a rat infestation is a crucial step in maintaining a safe and healthy living environment. Rats can not only cause damage to your property but also pose significant health risks due to their droppings and urine. By following the steps outlined in this guide, you can effectively sanitize your attic and minimize the chances of re-infestation.
Throughout the process, it’s important to prioritize your safety by wearing proper protective gear, such as gloves, coveralls, masks, and safety goggles. Additionally, using the right cleaning supplies, including disinfectants and a vacuum cleaner with a HEPA filter, will help ensure a thorough cleaning.
From removing debris and contaminated materials to disinfecting the affected areas, each step plays a vital role in eliminating potential health hazards and creating a clean environment. Sealing off entry points and cleaning the exterior of your property will further prevent rats from re-entering your attic.
Properly disposing of rat waste and monitoring for any signs of re-infestation are crucial post-sanitization steps. Maintaining good sanitation practices and addressing any signs of rat activity promptly will help prevent future infestations.
Remember that if you are unsure, uncomfortable, or facing a severe rat infestation, it is always advisable to seek professional assistance. They possess the expertise and equipment necessary to sanitize your attic effectively.
By following this comprehensive guide, you have taken the necessary steps to create a rat-free and healthy environment in your attic. Enjoy the peace of mind that comes with knowing your home is clean, safe, and protected from rodents.
Thank you for reading, and we wish you success in your rat sanitation endeavors!
Frequently Asked Questions about How To Sanitize Attic From Rats
Was this page helpful?
At Storables.com, we guarantee accurate and reliable information. Our content, validated by Expert Board Contributors, is crafted following stringent Editorial Policies. We're committed to providing you with well-researched, expert-backed insights for all your informational needs.


0 thoughts on “How To Sanitize Attic From Rats”