Home>Articles>How To Install A Ceiling Fan Without Attic Access

Articles
How To Install A Ceiling Fan Without Attic Access
Modified: April 22, 2024
Learn how to install a ceiling fan without attic access with our step-by-step articles. Avoid the hassle and get your fan up and running in no time.
(Many of the links in this article redirect to a specific reviewed product. Your purchase of these products through affiliate links helps to generate commission for Storables.com, at no extra cost. Learn more)
Introduction
Welcome to our comprehensive guide on how to install a ceiling fan without attic access. Ceiling fans not only provide a stylish addition to your home decor, but they also help circulate air, keeping your space cool and comfortable during the hot summer months. While installing a ceiling fan can seem like a daunting task, especially if you don’t have attic access, it is actually a relatively straightforward process that can be accomplished with the right tools and a little bit of patience.
In this article, we will provide you with a step-by-step guide on how to install a ceiling fan without attic access. We will walk you through the necessary tools and materials you will need, as well as the preparation steps, the actual installation process, and some troubleshooting tips. By the end of this guide, you will have the knowledge and confidence to install a ceiling fan in any room of your home, without the need for attic access.
Before we begin, it’s important to note that electrical work can be dangerous if not performed correctly. If you are not comfortable working with electrical wiring or unsure about any steps in the installation process, it is always best to consult a licensed electrician. Safety should always be your top priority, so please follow all safety precautions outlined in this guide and use caution throughout the installation process.
Now, let’s gather our tools and get started on installing your new ceiling fan!
Key Takeaways:
- Installing a ceiling fan without attic access is a manageable task with the right tools and preparation. Prioritize safety, follow the step-by-step process, and enjoy improved comfort and aesthetics in your living space.
- Troubleshooting tips for common issues like wobbling, noisy operation, and inconsistent airflow can help you overcome challenges during installation. Seek professional assistance if needed to ensure the proper functioning of your ceiling fan.
Tools and Materials Needed
Before you begin the installation process, it is important to gather all the necessary tools and materials. Having everything on hand will ensure a smooth and efficient installation. Here is a list of the tools and materials you will need:
- Step ladder: A sturdy step ladder will provide you with the necessary height to safely access the ceiling area.
- Ceiling fan kit: Purchase a ceiling fan kit that includes the fan itself, mounting brackets, screws, and any other necessary components.
- Screwdriver: A screwdriver, preferably a Phillips head screwdriver, will be needed to secure various parts of the ceiling fan.
- Wire strippers: Wire strippers are essential for removing the insulation from electrical wires, allowing for proper connection.
- Electrical tape: Electrical tape is used to insulate and secure wire connections, preventing any potential hazards.
- Wire connectors: Wire connectors, also known as wire nuts, are used to securely join electrical wires together.
- Circuit tester: A circuit tester will help you ensure that the power is turned off before working with electrical components.
- Pliers: Pliers are useful for bending and twisting wires, as well as holding small parts during the installation process.
- Adjustable wrench: An adjustable wrench is necessary for tightening and loosening nuts and bolts.
Having these tools and materials readily available will make the installation process much easier and more efficient. It’s always a good idea to double-check that you have everything on the list before you begin, as it can be frustrating to realize you’re missing a crucial tool halfway through the installation. Once you have gathered all the necessary items, you’re ready to move on to the next step of preparing for the installation.
Preparing for Installation
Before you begin installing your ceiling fan, it’s important to take a few preparatory steps to ensure a smooth and safe installation process. Here are the key steps you should follow:
- Safety precautions: Safety should always be your top priority when working with electricity. Make sure you turn off the power to the room or area where you will be installing the ceiling fan. Additionally, wear protective goggles and gloves to protect yourself from any potential hazards.
- Locating the ceiling joists: Ceiling fans need to be securely mounted to the ceiling joists to ensure stability. To find the ceiling joists, you can use a stud finder or tap on the ceiling until you hear a solid, dense sound. Mark the location of the ceiling joists to guide the installation process.
- Measuring and marking the placement: Determine the ideal location for your ceiling fan. Consider factors such as the room’s layout, the distance from other fixtures, and the optimal airflow. Once you have decided on the placement, use a pencil or marker to mark the location of the ceiling fan’s mounting bracket.
- Turning off the power: Before you start working with the electrical wiring, it’s crucial to turn off the power. Locate the circuit breaker that controls the electricity to the room where you will be installing the ceiling fan and switch it off. Double-check that the power is indeed off by using a circuit tester to test the wires.
By taking these preparatory steps, you can ensure that the installation process goes smoothly and safely. Safety precautions should never be overlooked when working with electricity, and locating the ceiling joists and marking the placement will make the installation more precise. Lastly, turning off the power before working with the electrical wiring is crucial to avoid any accidents or electrical shocks.
Now that you’re prepared and ready to begin the installation process, let’s move on to the actual steps of installing your ceiling fan.
When installing a ceiling fan without attic access, use a brace designed for ceiling fans to support the weight. Follow the manufacturer’s instructions carefully for a safe and secure installation.
Installing the Ceiling Fan
Now that you’ve completed the preparatory steps, it’s time to install your ceiling fan. Follow these step-by-step instructions to ensure a successful installation:
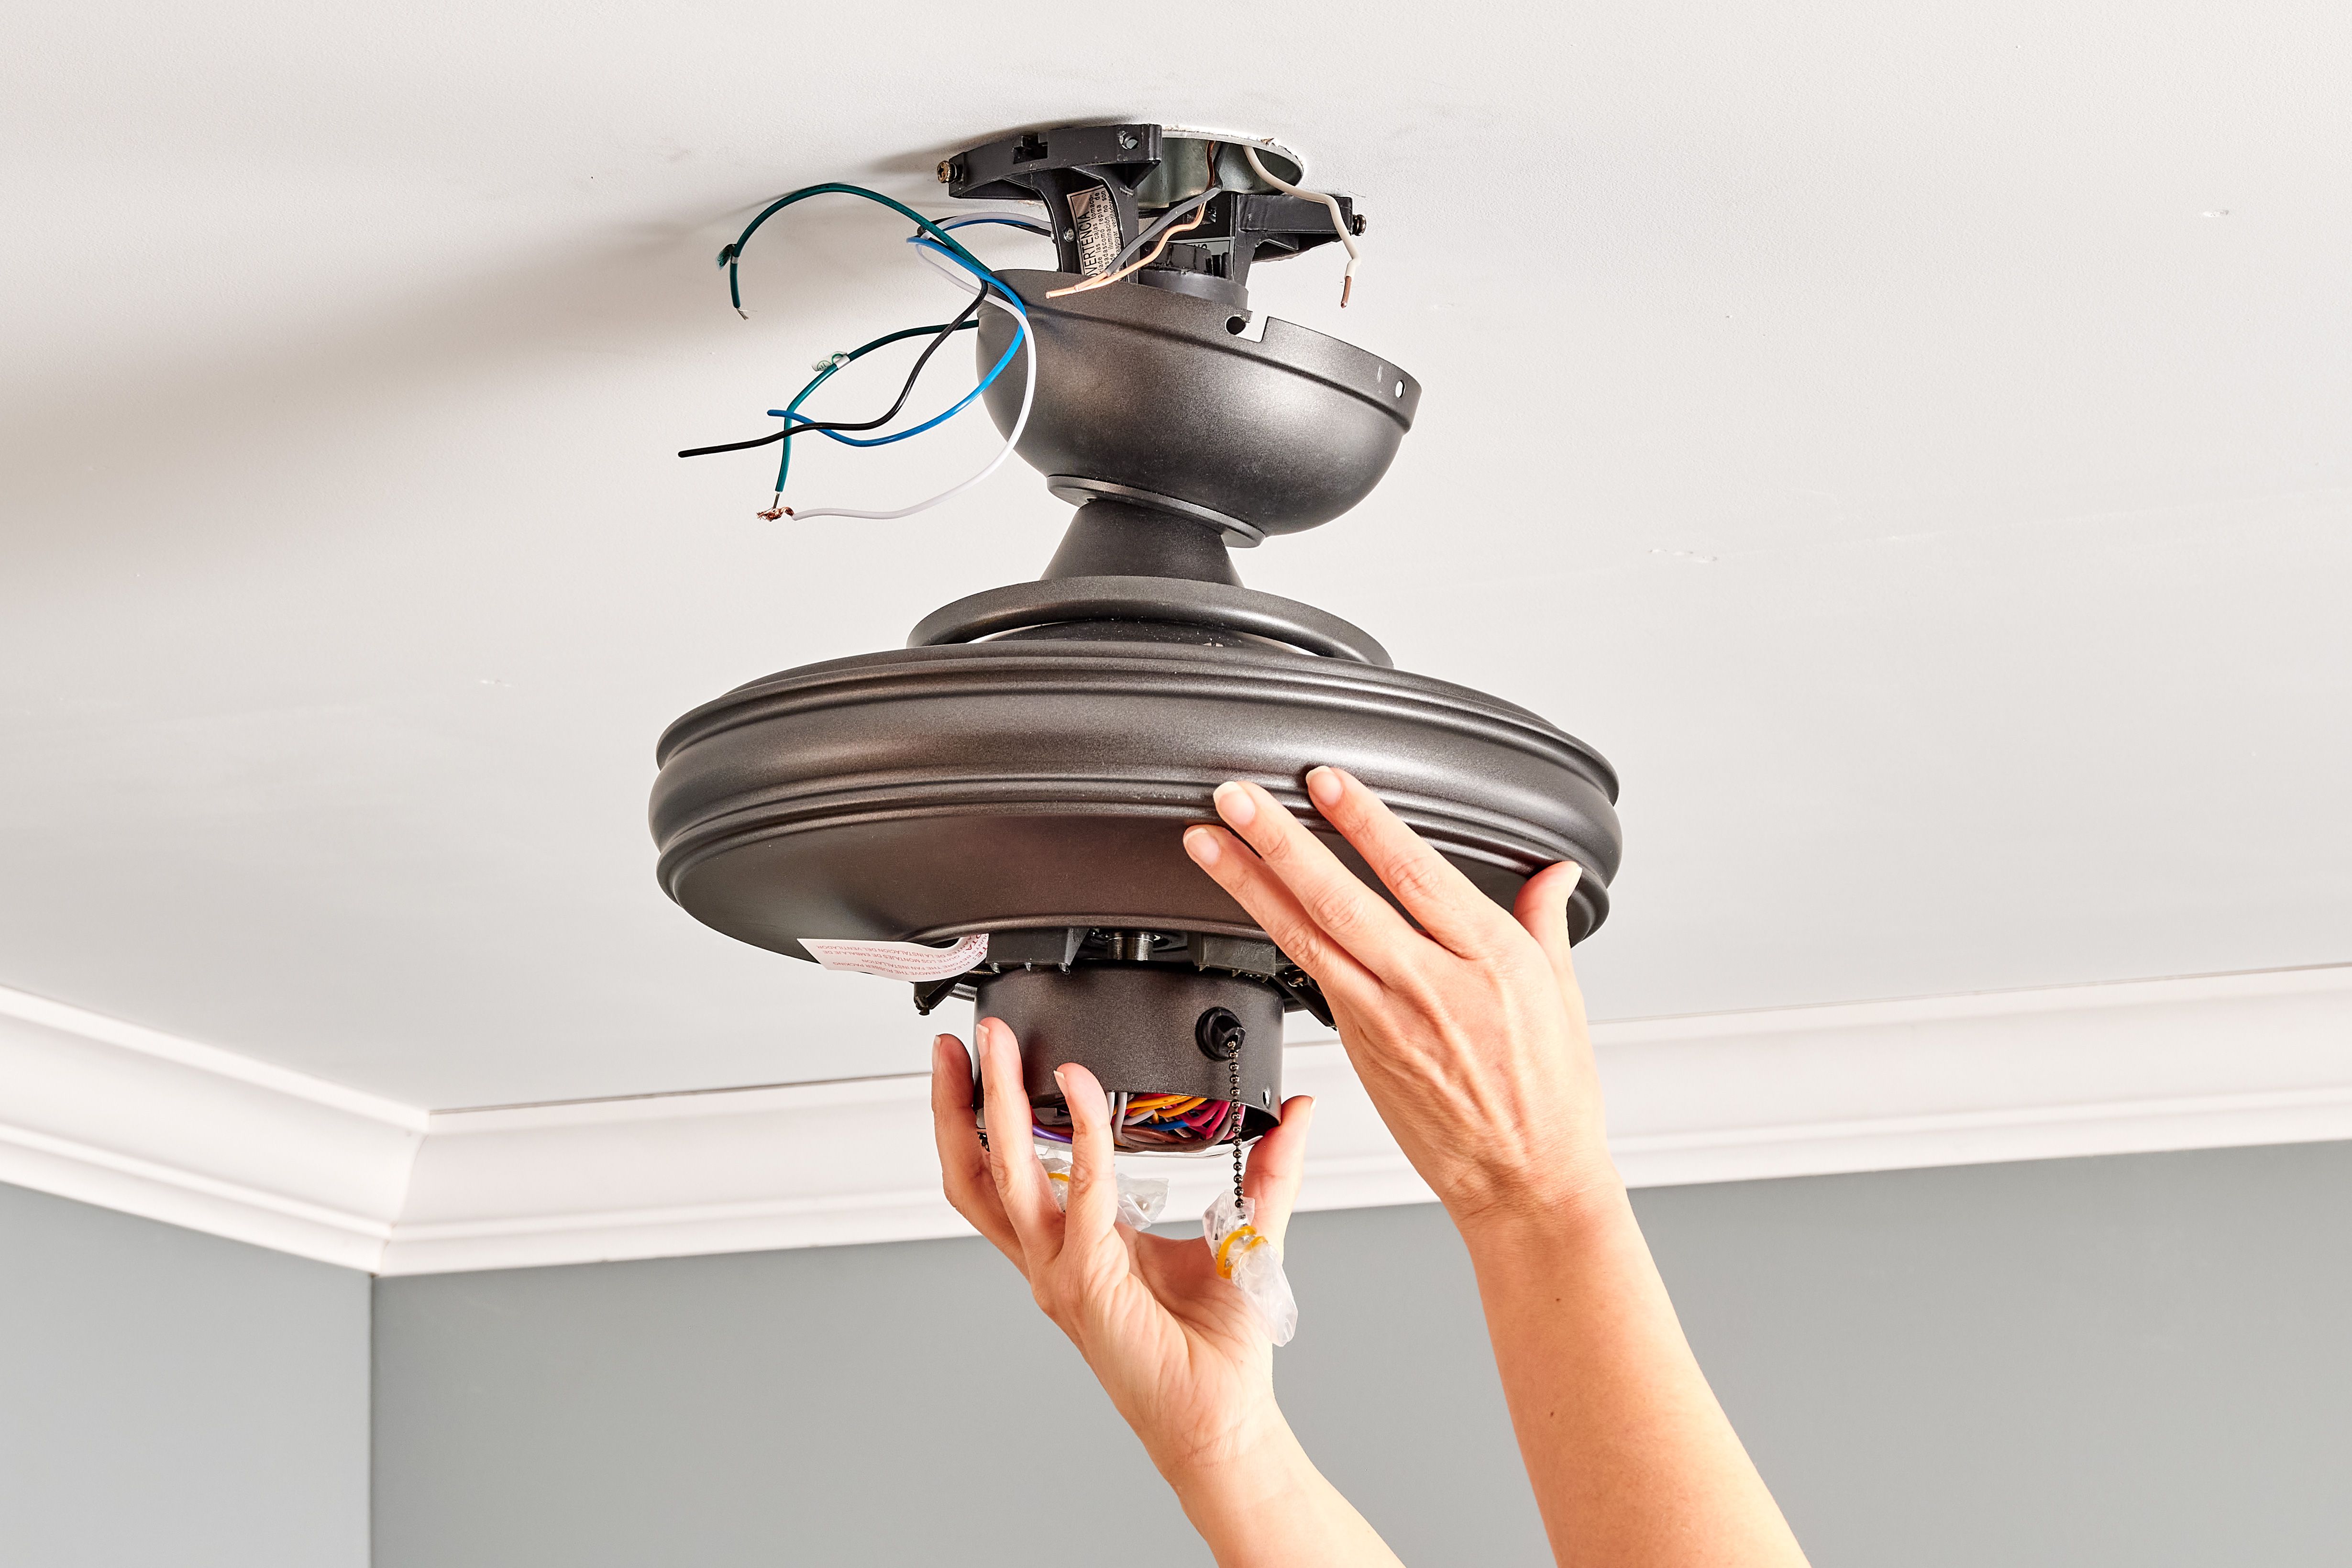
- Mounting the ceiling fan bracket: Begin by attaching the ceiling fan bracket to the ceiling joists. Use the mounting hardware provided in the ceiling fan kit and follow the manufacturer’s instructions. Ensure that the bracket is securely fastened and level. This step is crucial as it provides the foundation for the rest of the installation.
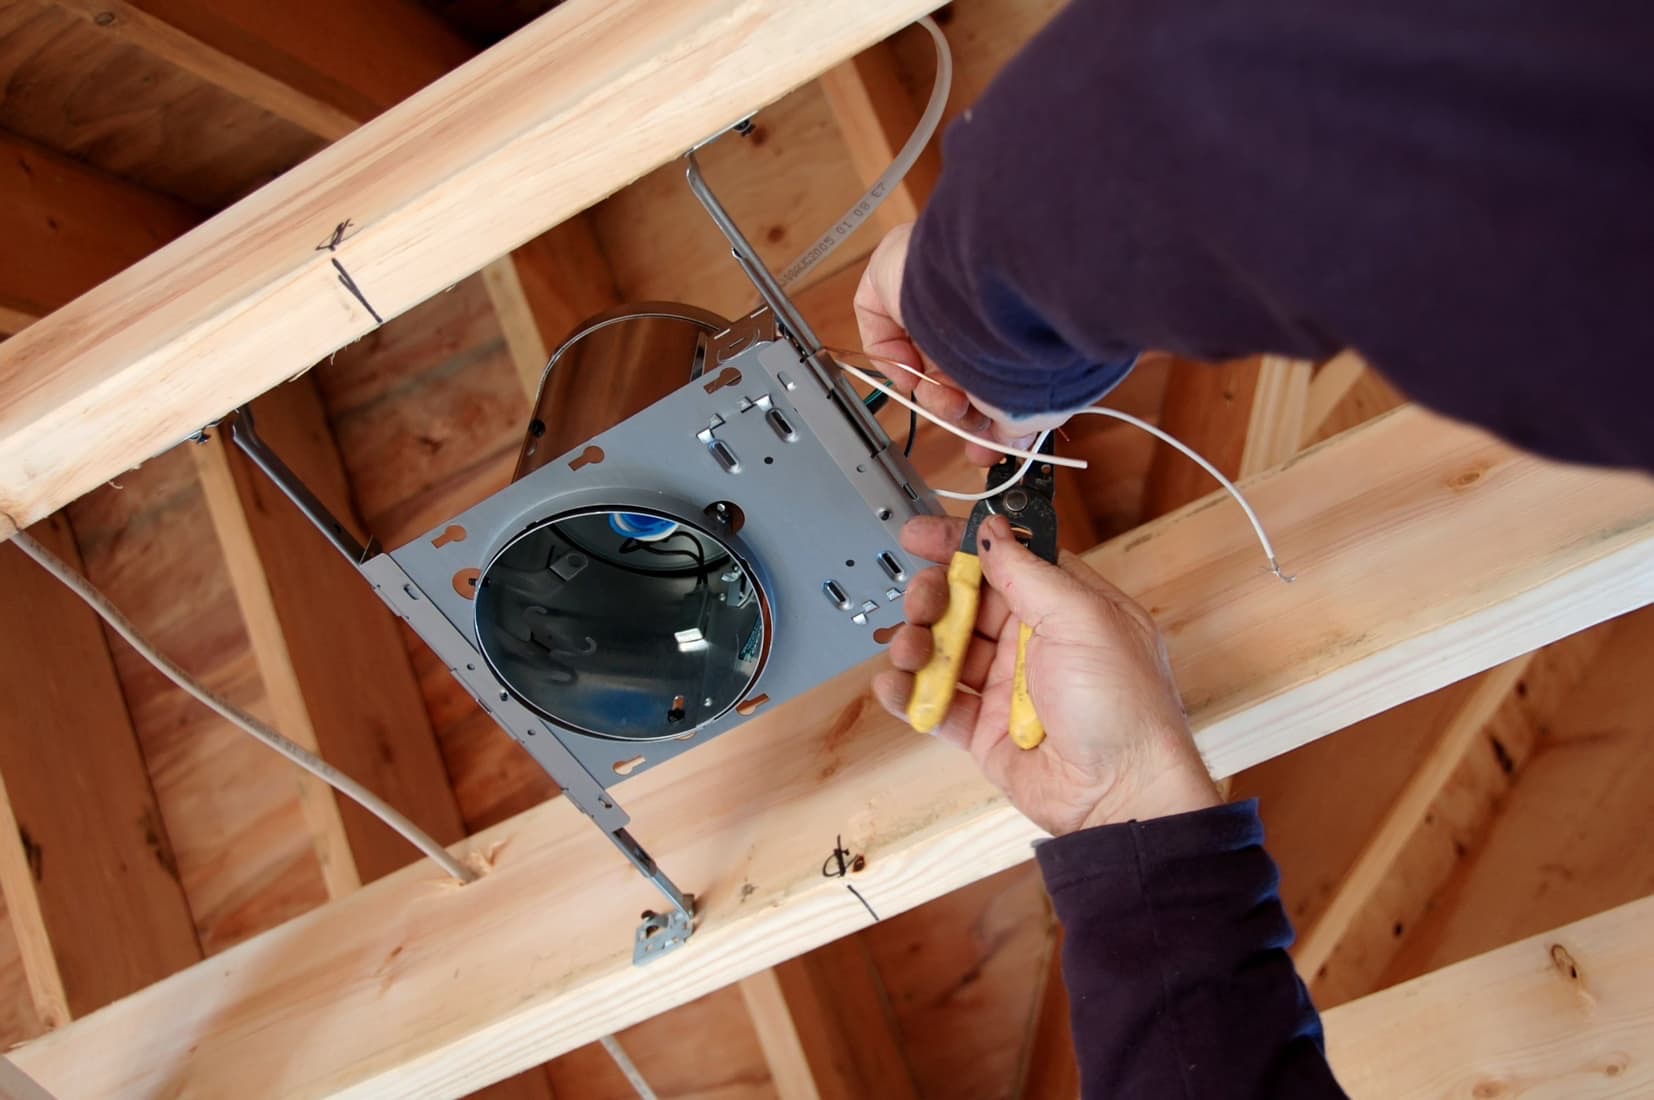
- Connecting the electrical wiring: Carefully feed the electrical wires from the ceiling through the center of the ceiling fan bracket. Next, strip the insulation from the ends of the wires using wire strippers. Match the corresponding wires (typically black to black, white to white, and green or copper for grounding) and twist them together. Secure the connections using wire connectors and wrap them with electrical tape. Follow the manufacturer’s instructions for specific wiring guidelines.
- Securing the fan blades: Attach the fan blades to the motor housing using the screws provided. Make sure the blades are evenly spaced and securely fastened. Double-check that all screws are tightened properly, but be careful not to overtighten as this can cause damage to the blades or motor.
- Attaching the light fixture (if applicable): If your ceiling fan has a light fixture, attach it according to the manufacturer’s instructions. Connect the wires from the light fixture to the corresponding wires inside the fan assembly. Use wire connectors and electrical tape to secure the connections. Again, follow the manufacturer’s guidelines for specific instructions.
- Testing the installation: Once you have completed all the necessary connections and attachments, it’s time to test the installation. Turn on the power at the circuit breaker and use the fan and light switches to check if everything is functioning correctly. Check for any wobbling or unusual noise coming from the fan. If you notice any issues, turn off the power and make the necessary adjustments.
By following these steps carefully and adhering to the manufacturer’s instructions, you can successfully install your ceiling fan without attic access. Take your time during the installation process and ensure that each step is properly completed before moving on to the next. Patience and attention to detail will result in a safe and reliable installation.
With the ceiling fan installed, you can now enjoy improved air circulation and added comfort in your living space. If you encounter any difficulties or uncertainties during the installation, it’s always best to consult a licensed electrician for assistance.
Troubleshooting Tips
While the installation process for a ceiling fan without attic access is generally straightforward, you may encounter some common problems along the way. Here are a few troubleshooting tips that can help you overcome these issues:
- Wobbling or unbalanced fan: If your ceiling fan wobbles or is unbalanced, there are a few possible solutions. Start by ensuring that all the blades are properly secured with the screws. Use a balancing kit, available at most home improvement stores, to adjust the weight distribution of the blades. You can also try adjusting the positioning of the blades to achieve better balance.
- Noisy operation: If your ceiling fan is making unusual or excessive noise, it may be due to loose parts. Carefully check all the screws and connections to ensure they are properly tightened. Lubricating the motor and moving parts with a few drops of oil can also help reduce noise. If the problem persists, contact the manufacturer for further assistance.
- Inconsistent airflow: If your ceiling fan is not producing a strong and consistent airflow, check that the blades are set at the correct angle. Each blade should be tilted slightly upward to maximize the airflow. Additionally, ensure that the fan is spinning in the correct direction for the season. In the summer, the blades should rotate counterclockwise to create a cooling breeze, while in the winter, they should rotate clockwise to circulate warm air.
- Electricity not working: If your ceiling fan fails to turn on or operate, first check that the power is turned on at the circuit breaker and that the wall switch is in the “on” position. If the power is on, inspect all the connections to make sure they are secure. Use a circuit tester to check for any faulty wiring or loose connections. If you are still unable to resolve the issue, consult a licensed electrician.
Remember, troubleshooting is part of the installation process, and it’s important not to get discouraged if you encounter any problems. By carefully inspecting and addressing the issues, you can ensure that your ceiling fan operates smoothly and efficiently.
If you have followed all the troubleshooting steps and are still unable to resolve the problem, it is always wise to seek professional assistance. A licensed electrician can help diagnose and fix any underlying issues to ensure the proper operation and safety of your ceiling fan.
Congratulations on successfully installing your ceiling fan! Enjoy the improved comfort and functionality it brings to your living space.
Conclusion
Installing a ceiling fan without attic access may seem like a challenging task, but with the right tools, materials, and knowledge, it can be accomplished successfully. In this guide, we have provided you with a comprehensive step-by-step process to help you install your ceiling fan with ease and confidence.
We began by outlining the tools and materials you will need for the installation, including a step ladder, ceiling fan kit, screwdriver, wire strippers, electrical tape, wire connectors, circuit tester, pliers, and an adjustable wrench. These tools are essential for a smooth and efficient installation process.
We then discussed the importance of taking safety precautions and preparing for the installation by locating the ceiling joists, measuring and marking the placement, and turning off the power. These steps ensure a secure and stable installation while minimizing any potential risks.
The actual installation process involved mounting the ceiling fan bracket, connecting the electrical wiring, securing the fan blades, attaching the light fixture (if applicable), and testing the installation. By following these steps carefully and adhering to the manufacturer’s instructions, you can achieve a successful installation.
We also provided troubleshooting tips for common issues that may arise during the installation process. Wobbling or unbalanced fans, noisy operation, inconsistent airflow, and electrical problems are some of the problems you may encounter. By following the troubleshooting tips and seeking professional assistance if needed, you can overcome these challenges and ensure the proper functioning of your ceiling fan.
In conclusion, installing a ceiling fan without attic access is a manageable task that can enhance the comfort and aesthetics of your living space. With the knowledge and guidance provided in this guide, you have the necessary tools to tackle this project with confidence.
Remember to prioritize safety throughout the installation process, and don’t hesitate to seek professional help if you are unsure or uncomfortable with any aspect of the installation. Now, go ahead and enjoy the benefits of your newly installed ceiling fan!
Frequently Asked Questions about How To Install A Ceiling Fan Without Attic Access
Was this page helpful?
At Storables.com, we guarantee accurate and reliable information. Our content, validated by Expert Board Contributors, is crafted following stringent Editorial Policies. We're committed to providing you with well-researched, expert-backed insights for all your informational needs.


0 thoughts on “How To Install A Ceiling Fan Without Attic Access”