Articles
How To Remove Old Insulation From Attic
Modified: January 8, 2024
Learn the best methods for removing old insulation from your attic in this informative article. Ensure your home is properly insulated with our helpful tips.
(Many of the links in this article redirect to a specific reviewed product. Your purchase of these products through affiliate links helps to generate commission for Storables.com, at no extra cost. Learn more)
Introduction
Welcome to our comprehensive guide on how to remove old insulation from your attic. Over time, insulation can become worn, damaged, or less effective at regulating temperature, leading to energy inefficiency and increased utility bills. Removing old insulation is an important step in improving the overall energy efficiency of your home and creating a healthier living environment.
Before diving into the removal process, it’s essential to understand the different types of insulation you may encounter in your attic. These include loose-fill insulation, such as fiberglass or cellulose, batt insulation, and foam insulation. Each type requires a specific approach for safe and effective removal.
In this article, we’ll guide you through the step-by-step process of removing old insulation from your attic. We’ll cover the necessary materials, the assessment of insulation type, preparation of the attic space, and different methods for removing loose-fill, batt, and foam insulation. Additionally, we’ll provide tips on how to clean up the attic space and dispose of the old insulation safely.
Before starting any insulation removal project, it’s important to prioritize safety. Make sure to wear appropriate protective gear, such as gloves, goggles, and a dust mask, to protect yourself from potential hazards like dust, mold, and asbestos. If you have any doubts about the condition of the insulation or if there is a presence of hazardous materials, it’s best to consult a professional.
Now, let’s gather our materials and dive into the step-by-step process of removing old insulation from your attic.
Key Takeaways:
- Safely removing old insulation from your attic involves assessing the type of insulation, gathering necessary materials, and following specific removal methods for loose-fill, batt, and foam insulation. Prioritize safety and thorough cleanup for a healthier living environment.
- Properly disposing of old insulation is crucial for environmental safety. Contact your waste management facility for disposal guidelines and consider recycling options. By following local regulations, you can ensure a cleaner and more energy-efficient home.
Read more: How To Remove Old Attic Insulation
Step 1: Gather necessary materials
Before you begin the insulation removal process, it’s important to gather all the necessary materials. Having the right tools and equipment on hand will ensure that the process goes smoothly and efficiently. Here are the essential materials you’ll need:
- Protective gear: As mentioned earlier, safety should be a priority. Make sure to have gloves, goggles, and a dust mask to protect yourself from dust, mold, and other contaminants.
- Coveralls or old clothing: Wearing coveralls or clothes that you don’t mind getting dirty is essential to keep your clothes clean from insulation fibers and dust.
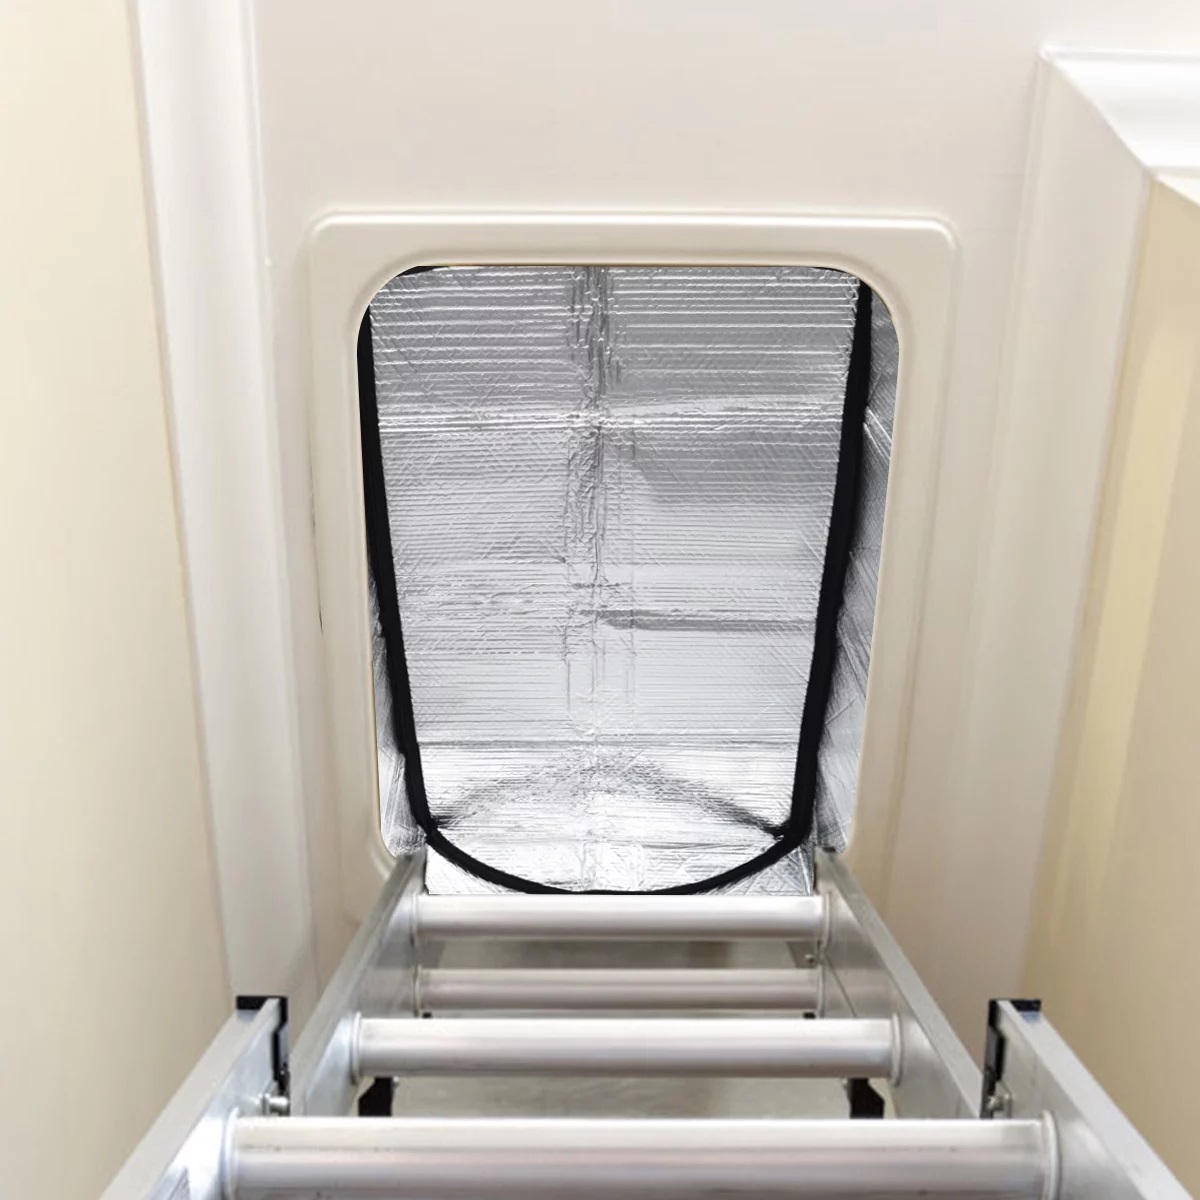
- Ladder: Depending on the height of your attic, you’ll need a ladder to access the space safely. Make sure the ladder is sturdy and in good condition.
- Utility knife: A utility knife will come in handy for cutting through any batt insulation or other materials that need to be removed.
- Vacuum cleaner: A heavy-duty vacuum cleaner with a HEPA filter is essential for cleaning up dust, debris, and loose insulation.
- Insulation removal bags or garbage bags: You’ll need sturdy bags to collect and dispose of the old insulation properly.
- Broom or brush: A broom or brush can be useful for sweeping away any remaining debris or dust from the attic space.
- Flashlight: A flashlight will help you navigate and inspect the attic space, especially in areas with limited lighting.
- Plastic sheeting: If you’re dealing with loose-fill insulation, having plastic sheeting to cover and protect any items or areas in the attic will prevent the insulation from spreading.
By ensuring you have these materials on hand, you’ll be well-prepared to tackle the insulation removal process. With the necessary tools and protective gear, you can proceed to the next step: assessing the type of insulation in your attic.
Step 2: Assess the type of insulation
Before you begin removing the insulation from your attic, it’s important to assess the type of insulation present. Different types of insulation require different removal methods and precautions. Here are the main types of insulation you may encounter:
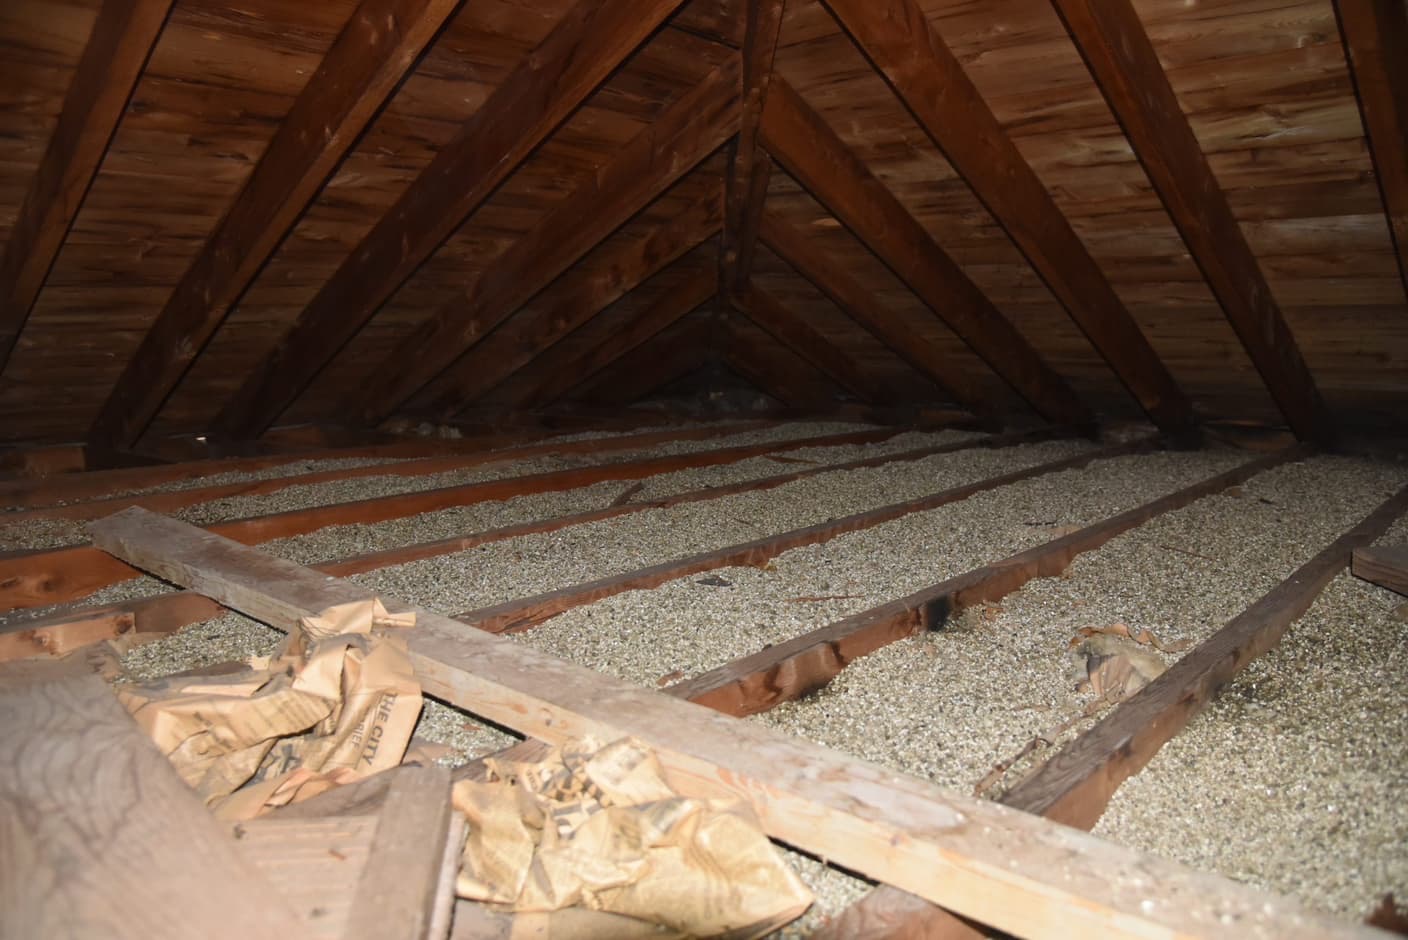
- Loose-fill insulation: This type of insulation is typically made of small particles, such as fiberglass or cellulose, which are blown or poured into the attic space. Loose-fill insulation can settle over time and may need to be removed if it has become compressed, damaged, or contaminated.
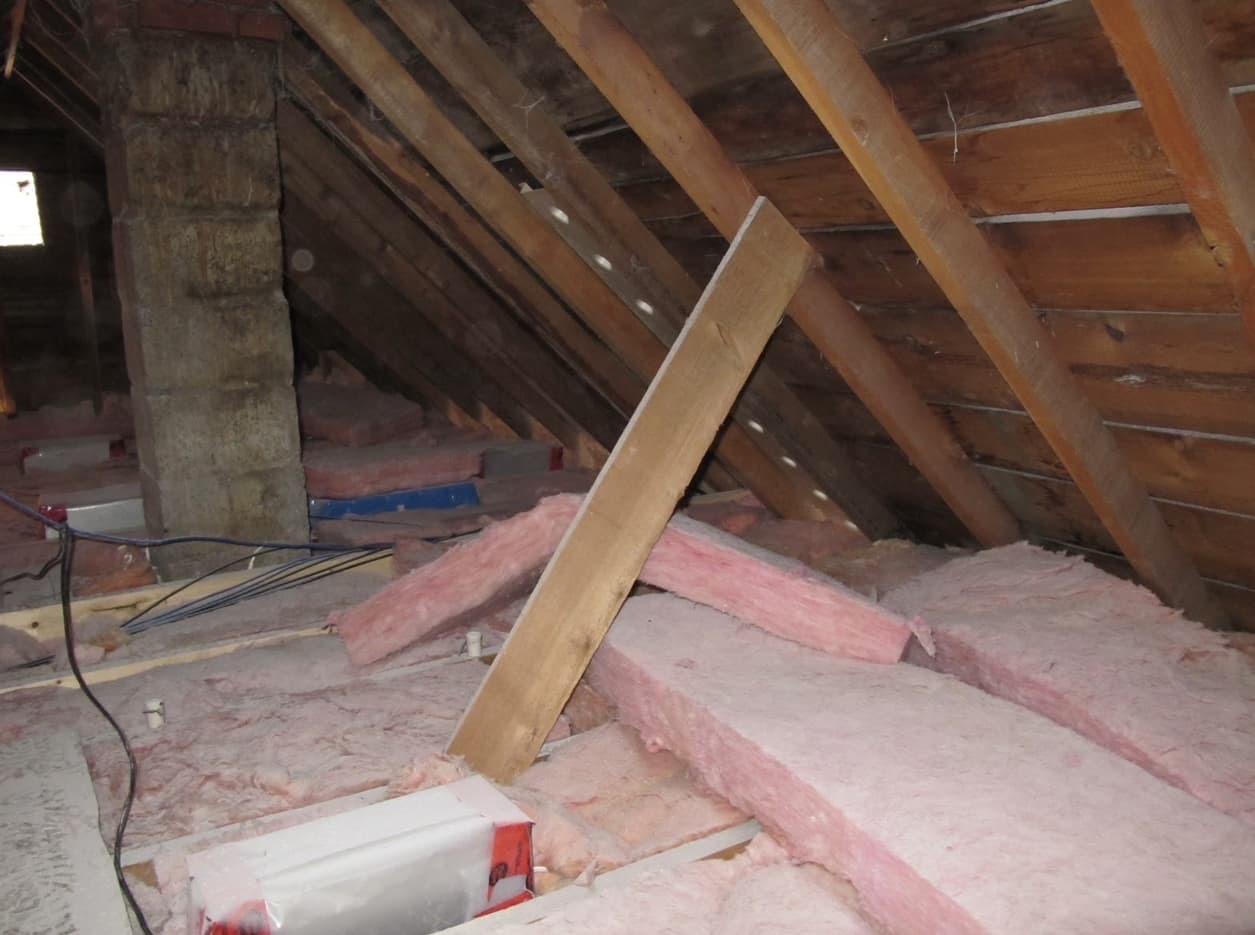
- Batt insulation: Batt insulation comes in pre-cut panels or rolls made of materials like fiberglass or mineral wool. It is installed between wall studs, floor joists, or rafters. Batt insulation may need to be removed if it has become damp, moldy, or is deteriorating.
- Foam insulation: Foam insulation is typically sprayed or injected into wall cavities or applied as rigid foam boards. It provides excellent insulation and air sealing properties. Removing foam insulation can be more challenging and may require professional assistance.
To assess the type of insulation in your attic, you can visually inspect the material and its characteristics. Loose-fill insulation will appear as small particles or fibers, while batt insulation will be in the form of panels or rolls. Foam insulation will be harder and more rigid in texture. If you’re unsure or need confirmation, a professional insulation contractor or inspector can help identify the type of insulation in your attic.
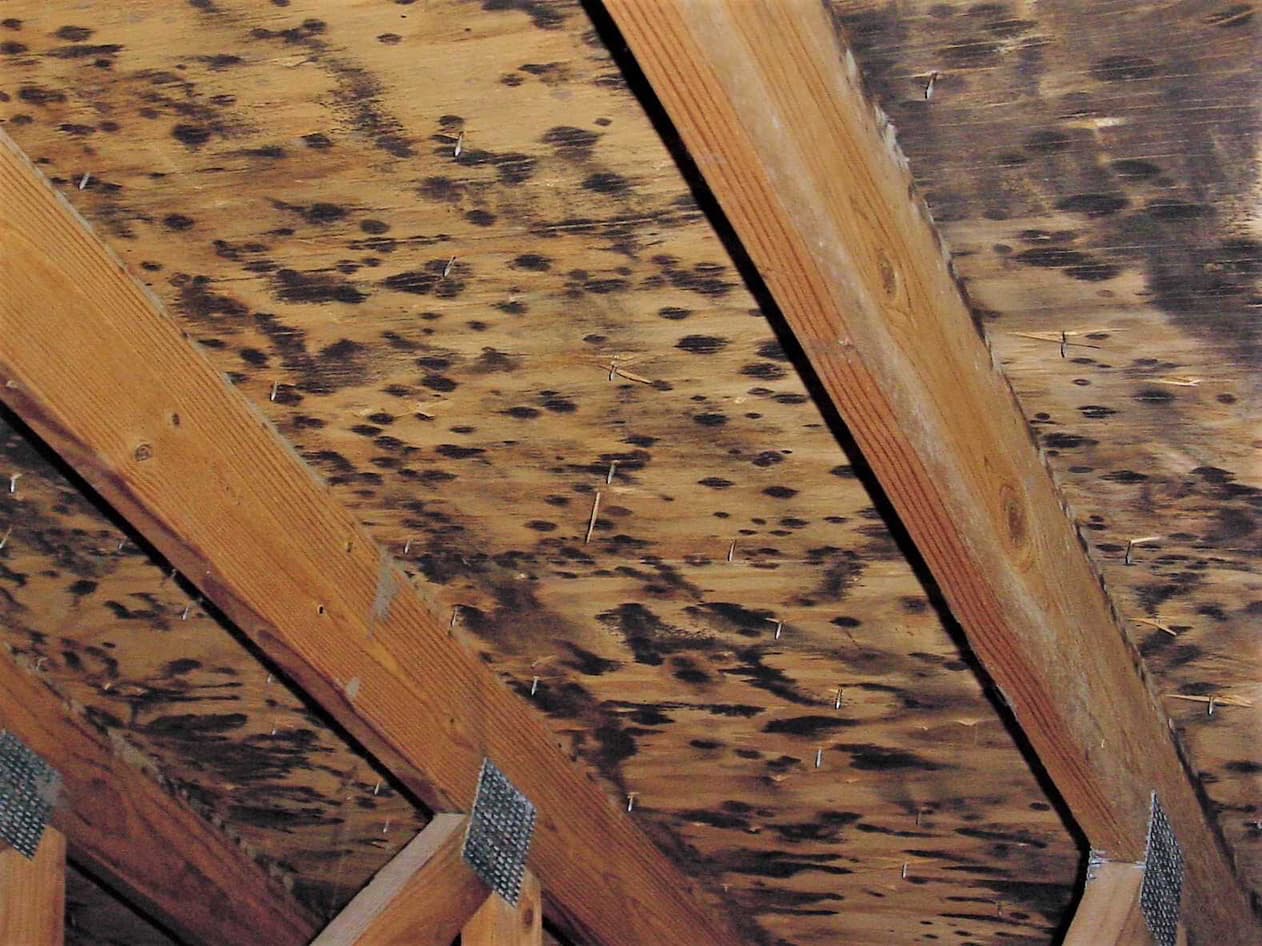
Additionally, it’s crucial to look for signs of damage or contamination. Insulation that has been water-damaged, infested with pests, or covered in mold should be removed to prevent further issues and ensure the health and safety of your home.
By assessing the type and condition of the insulation, you’ll be better equipped to proceed with the appropriate removal method. In the next step, we’ll guide you through the preparation of the attic space before starting the insulation removal process.
Step 3: Prepare the attic space
Before you begin removing the old insulation from your attic, it’s important to properly prepare the attic space. This ensures a safer and more efficient removal process. Here are the steps to follow:
- Clear the area: Remove any items or obstructions from the attic space to create a clear and open working area. This includes boxes, furniture, and any other belongings that may be stored in the attic. Clearing the area will make it easier to access the insulation and prevent any potential damage to your items.
- Protect valuable items: If there are valuable items in the attic that you can’t move, cover them with plastic sheeting or tarps to protect them from dust and debris during the removal process.
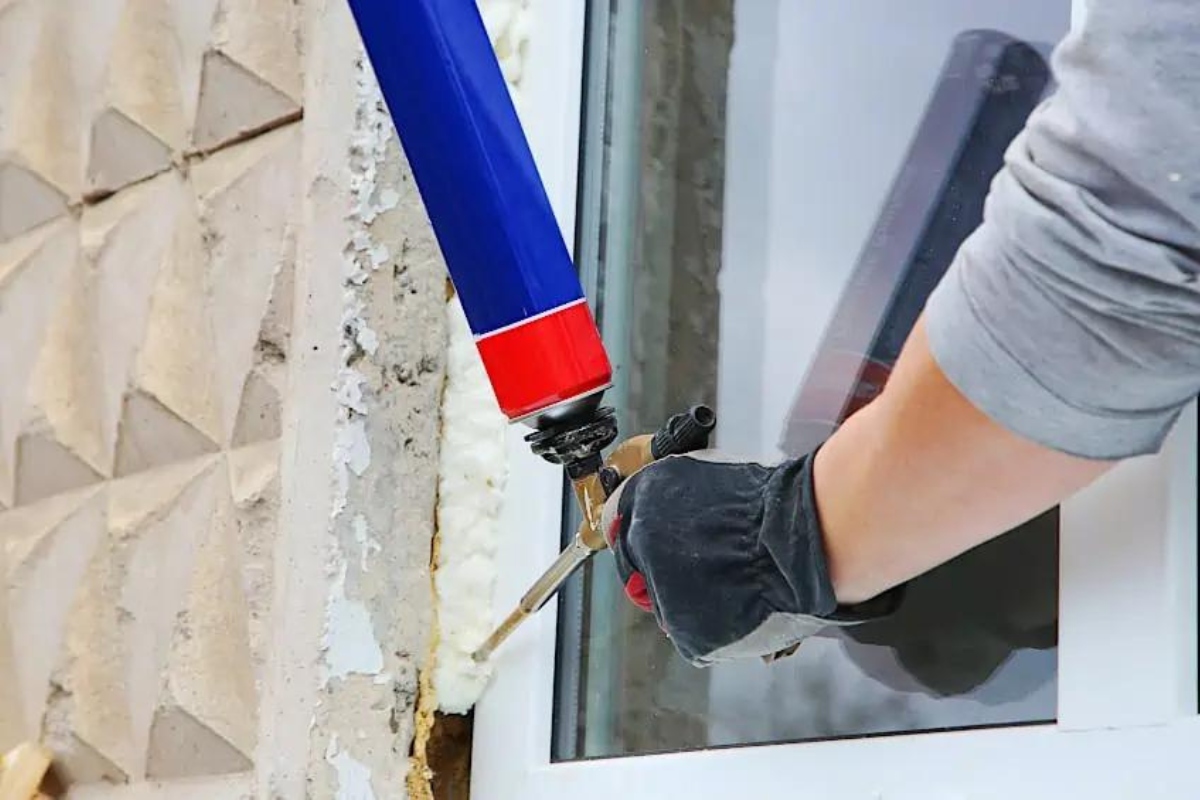
- Seal off vents and openings: Close off any vents or openings in the attic to prevent insulation fibers and dust from spreading throughout the rest of your home. Use plastic sheeting or cardboard to cover vents and seal any gaps or cracks in the attic walls or ceiling.
- Set up ventilation: Attics can become hot and stuffy, especially during the insulation removal process. Make sure to set up proper ventilation, such as fans or open windows, to allow for adequate airflow and reduce the buildup of dust and particles.
- Use protective barriers: Lay down plastic sheeting or tarps on the attic floor to create a barrier between the insulation and the floor. This makes it easier to collect and dispose of the removed insulation without contaminating the underlying materials.
By taking the time to properly prepare the attic space, you’ll minimize the risk of spreading insulation fibers and dust to other areas of your home and protect valuable items from potential damage. Once the attic space is cleared and protected, you’re ready to move on to the next step: safely removing loose-fill insulation.
Step 4: Safely remove loose-fill insulation
Loose-fill insulation, such as fiberglass or cellulose, is commonly used in attics to provide thermal insulation. However, over time, loose-fill insulation can settle, become compressed, or become contaminated with dust, debris, or pests. Removing loose-fill insulation requires careful handling to minimize health risks and prevent the spread of particles. Here’s a step-by-step guide:
- Put on protective gear: Before starting the removal process, put on protective gear, including gloves, goggles, and a dust mask, to protect yourself from the insulation fibers and dust.
- Work in small sections: Divide the attic space into smaller sections to make the removal process more manageable. Start from one corner and work your way across to ensure thorough removal.
- Use a shovel or scoop: Carefully use a shovel or scoop to gather the loose-fill insulation into a large garbage bag or insulation removal bag. Avoid excessive agitation or stirring up the insulation to prevent the spread of particles.
- Vacuum with a HEPA filter: After removing the bulk of the loose-fill insulation, vacuum the remaining area using a vacuum cleaner equipped with a HEPA filter. This will help capture any fine particles that may have escaped during the removal process. Take care not to disturb the insulation further with the vacuum.
- Double-bag and seal the insulation: Once the insulation has been removed, double-bag it using heavy-duty garbage bags or insulation removal bags. Make sure to seal the bags securely to minimize the release of particles.
- Clean and sanitize: Thoroughly clean the attic space using a broom or brush to remove any remaining debris or dust. If necessary, sanitize the area with a mild detergent or disinfectant to eliminate any lingering contaminants.
It’s important to note that loose-fill insulation may contain substances like asbestos, especially in older homes. If you suspect asbestos in your attic insulation, it’s crucial to contact a professional asbestos abatement company for safe removal.
By following these steps, you can safely and effectively remove loose-fill insulation from your attic. However, if you’re unsure or uncomfortable with handling the removal process, it’s always best to consult a professional insulation contractor for assistance.
Next, we’ll move on to removing batt insulation from your attic in step 5.
Use a vacuum with a HEPA filter to remove old insulation from the attic. This will help contain dust and debris, making the process cleaner and safer.
Step 5: Remove batt insulation
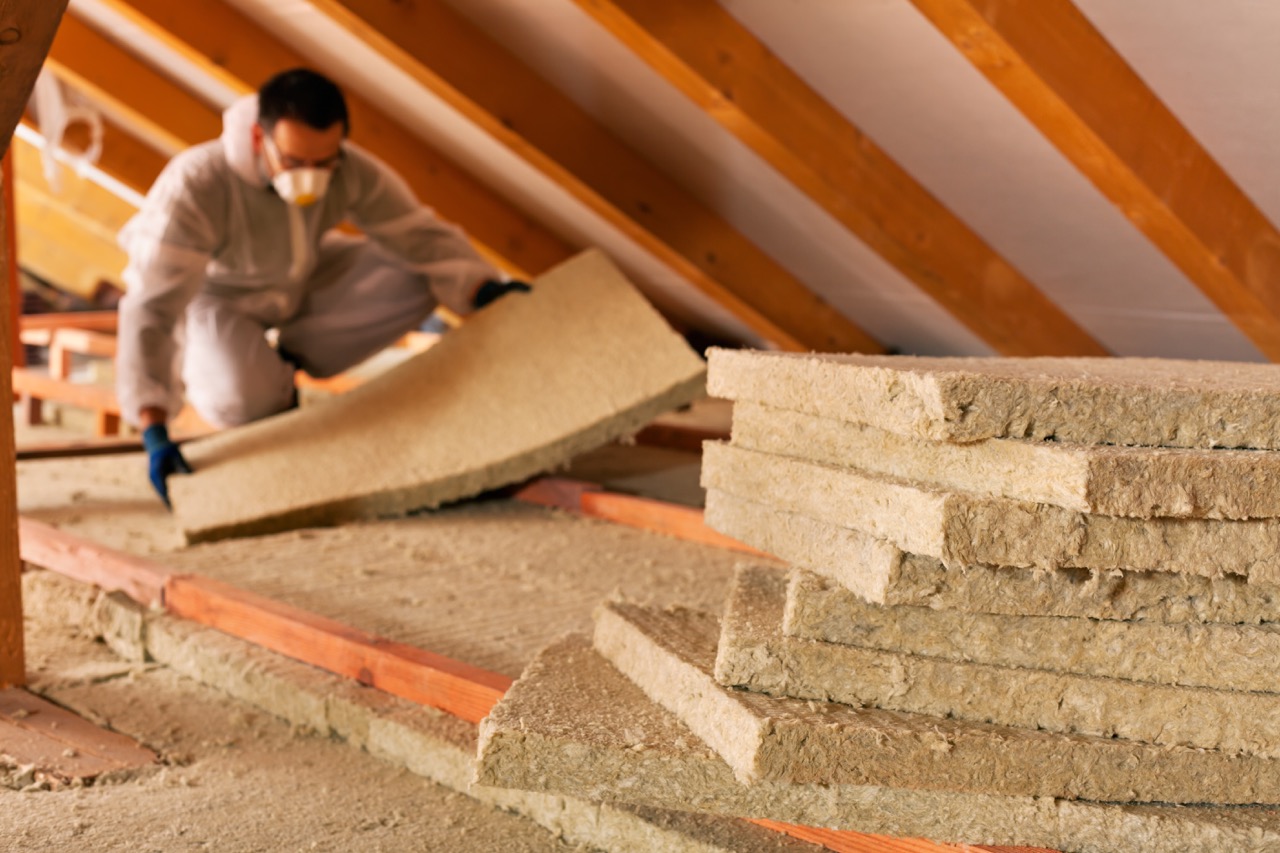
Batt insulation is commonly found in attics and is typically made of fiberglass or mineral wool. Over time, batt insulation can become damaged, moldy, or deteriorated, affecting its effectiveness. Removing batt insulation requires careful handling to prevent the release of fibers into the air. Follow these steps to safely remove batt insulation from your attic:
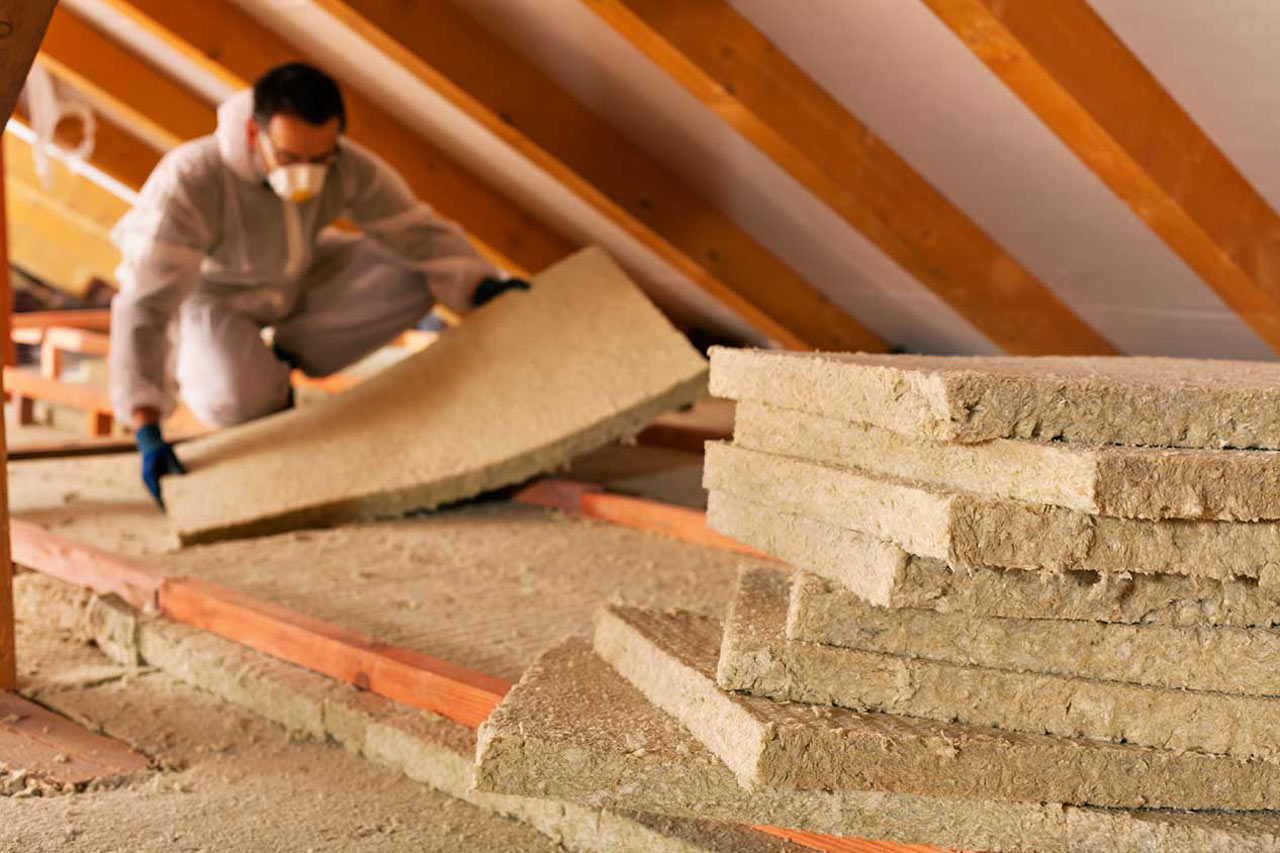
- Put on protective gear: Before you start removing batt insulation, put on protective gear, including gloves, goggles, and a dust mask, to protect yourself from the fiberglass fibers.
- Inspect the insulation: Conduct a thorough inspection of the batt insulation to identify any areas that are damaged, moldy, or deteriorated. Work on removing these sections first.
- Cut and remove: Use a utility knife to cut through the batt insulation and carefully remove it, section by section. Cut the insulation into manageable pieces to make removal easier.
- Place in garbage bags: As you remove the batt insulation, place it directly into heavy-duty garbage bags. This will prevent the fibers from spreading throughout the attic and your home. Seal the bags tightly to minimize any potential release of particles.
- Vacuum with a HEPA filter: After removing the batt insulation, use a vacuum cleaner fitted with a HEPA filter to clean up any loose fibers or dust that may have been released during the removal process. Be thorough in your vacuuming to ensure a clean and safe environment.
- Dispose of properly: Dispose of the sealed bags containing the batt insulation according to your local regulations and guidelines. Contact your local waste management facility to determine the proper disposal methods for insulation materials.
It’s important to handle batt insulation with care, as the fiberglass fibers can irritate the skin, eyes, and respiratory system. If you encounter significant amounts of damaged or moldy batt insulation, or if you are uncomfortable with the removal process, it is recommended to seek professional assistance.
By following these steps, you can safely remove batt insulation and create a cleaner and more energy-efficient attic space. In the next step, we’ll explore the removal of foam insulation, should it be present in your attic.
Step 6: Remove foam insulation
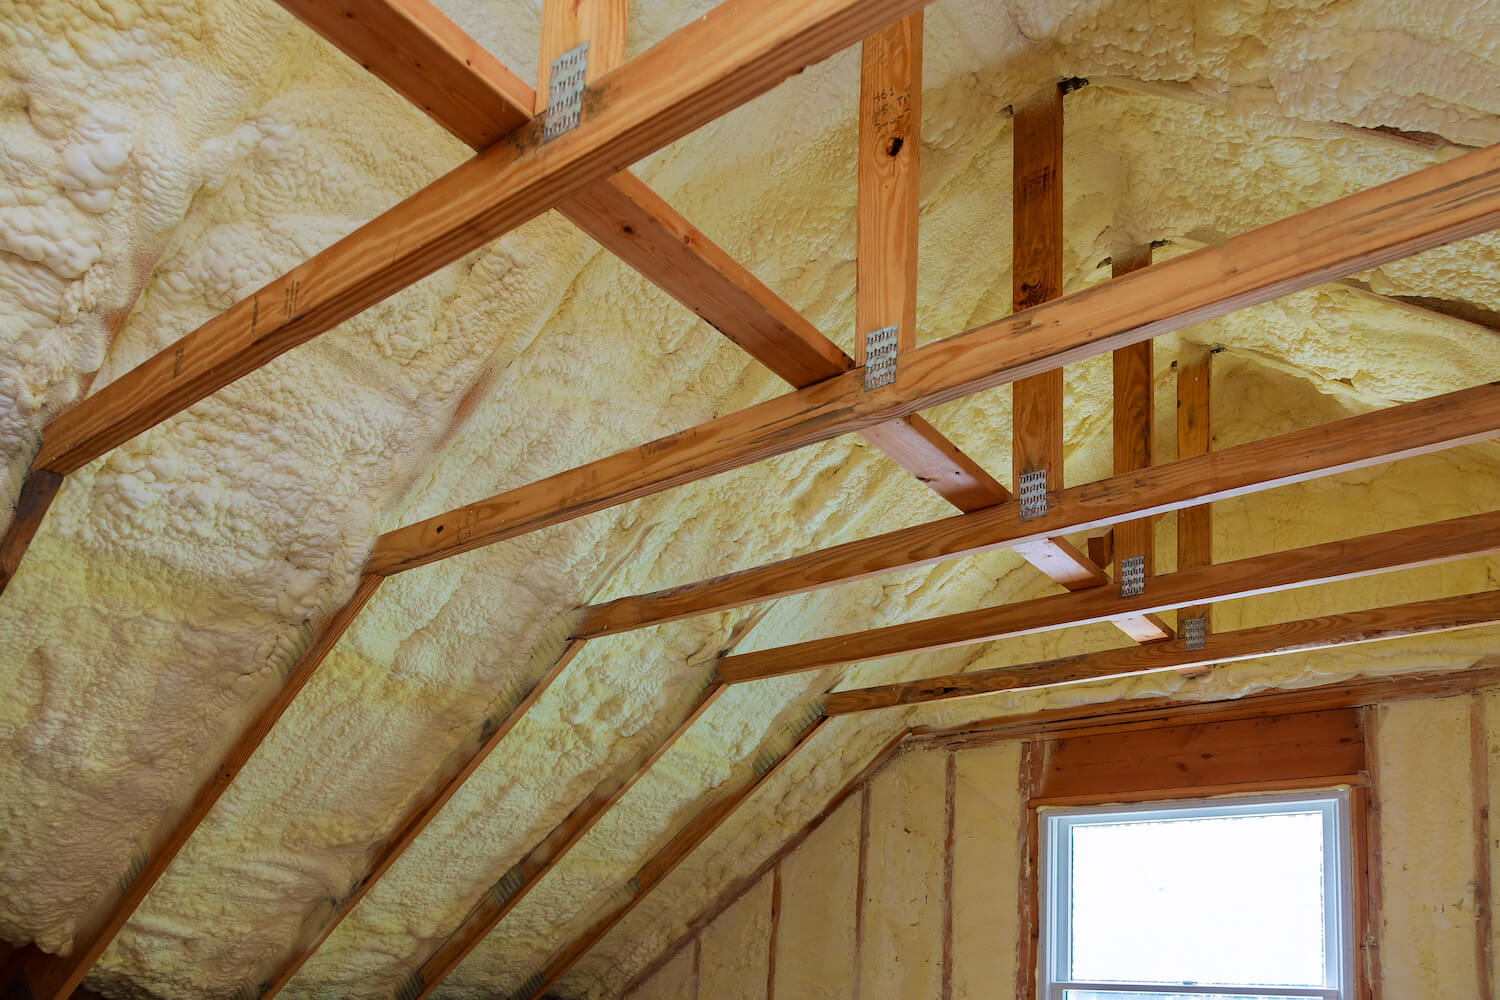
Foam insulation, whether it’s sprayed or installed as rigid foam boards, provides excellent insulation and air sealing properties. However, there may be instances where you need to remove foam insulation from your attic, such as if it has become damaged, deteriorated, or needs replacement. Removing foam insulation requires careful consideration and may be best handled by a professional. Here are some steps to guide you through the process:
- Assess the foam insulation: Before proceeding with the removal, assess the condition of the foam insulation. Determine if the entire installation needs to be removed or if only specific areas require attention. In some cases, spot repairs may be sufficient without a complete removal.
- Contact a professional: Removing foam insulation, especially sprayed foam, can be complex and potentially hazardous. It is recommended to contact a professional insulation contractor who has the expertise and the necessary equipment for safe removal.
- Consult local regulations: Foam insulation removal may be subject to specific local regulations and guidelines. Check with your local authorities to ensure compliance with any legal requirements or permits that may be necessary for the removal process.
- Consider the type of foam insulation: Different types of foam insulation may require different removal techniques. Open-cell foam, which is softer and more flexible, may be easier to remove in sections. Closed-cell foam, which is denser and more rigid, may need to be cut, broken, or scraped away carefully.
- Follow professional guidelines: If you have chosen to remove the foam insulation yourself, make sure to follow professional guidelines and recommendations. These may include wearing appropriate protective gear, using proper tools for removal, and taking precautions to minimize the release of particles or fumes.
- Dispose of properly: Proper disposal of foam insulation is crucial. Check with your local waste management facility for guidelines on how to dispose of foam insulation responsibly and in compliance with regulations.
Due to the complexity and potential risks involved in removing foam insulation, it is strongly recommended to consult a professional insulation contractor who can thoroughly assess the situation and provide safe and efficient removal.
By taking the necessary precautions and seeking professional guidance, you can ensure the proper removal of foam insulation from your attic. In the next step, we’ll cover the cleanup process to leave your attic space in a clean and orderly condition.
Step 7: Clean up the attic space
Once you have successfully removed the old insulation from your attic, it’s essential to clean up the space thoroughly. Cleaning up the attic will not only leave it looking tidy but will also help eliminate any remaining dust, debris, or particles. Here are the steps to follow:
- Vacuum the area: Use a vacuum cleaner with a HEPA filter to vacuum the entire attic space. Pay attention to corners, crevices, and hard-to-reach areas where dust and debris may have accumulated.
- Sweep or brush surfaces: After vacuuming, use a broom or brush to sweep or brush surfaces, including rafters, beams, and floorboards. This will help dislodge any remaining dust or particles that may have been missed by the vacuum cleaner.
- Wipe down surfaces: Dampen a cloth or sponge with mild detergent mixed with water and wipe down any exposed surfaces, such as walls or beams, to remove any lingering dust or residue.
- Inspect for any remaining debris: Take a thorough look around the attic space to ensure there are no remaining debris or insulation remnants that may have been missed during the cleanup. Remove any remaining debris carefully.
- Check for pests or signs of infestation: While cleaning up, keep an eye out for any signs of pest activity or infestation, such as droppings or nesting materials. Take appropriate measures to address any pest issues before proceeding.
- Ensure proper ventilation: Once the cleanup is complete, ensure that the attic space has proper ventilation. Open windows or use fans to promote airflow and minimize the buildup of moisture or stale air.
By thoroughly cleaning the attic space, you create a fresh and dust-free environment. This will not only improve the air quality but also provide a clean surface for any future insulation installation or other projects in the attic.
Now that your attic is cleaned up, it’s time to move on to the final step: disposing of the old insulation properly.
Step 8: Dispose of old insulation properly
Proper disposal of old insulation is crucial to ensure environmental safety and comply with local regulations. The type of insulation you have removed will determine the appropriate method of disposal. Here are some guidelines to follow:
- Contact your waste management facility: Reach out to your local waste management facility to inquire about specific guidelines on disposing of insulation materials. They will provide you with information on approved disposal methods and any requirements or restrictions in your area.
- Bag and seal the insulation: Bag the removed insulation securely using heavy-duty garbage bags or insulation removal bags. Double-bagging may provide an extra layer of protection. Make sure the bags are tightly sealed to prevent the release of particles during transportation.
- Label the bags (if required): Some waste management facilities might require you to label the bags containing insulation materials. Check with your local regulations to determine if labeling is necessary and follow the provided instructions.
- Arrange for pickup or drop-off: Depending on local regulations, you may need to schedule a pickup or drop-off of the sealed bags at a designated disposal site. Follow the instructions provided by your waste management facility to arrange for proper disposal.
- Recycle if possible: Certain types of insulation, such as fiberglass, may be recyclable. Check with recycling centers in your area to see if they accept insulation materials for recycling. Proper recycling reduces the environmental impact and promotes sustainability.
- Avoid illegal dumping: It is essential to dispose of insulation properly and responsibly. Illegal dumping can harm the environment and may result in penalties or fines. Always follow the approved disposal methods and regulations to ensure compliance.
By following these steps and adhering to local regulations, you can ensure that the old insulation from your attic is disposed of in an environmentally-friendly and safe manner.
Congratulations! By completing this final step, you have successfully removed and disposed of the old insulation from your attic. This not only improves energy efficiency but also creates a cleaner and healthier living environment in your home.
Remember, if you have any doubts or concerns about the insulation removal process, it’s always best to consult with a professional insulation contractor who can provide expert guidance and assistance.
We hope this guide has been helpful in guiding you through the process of removing old insulation from your attic. Enjoy the benefits of a well-insulated and comfortable home!
Read more: How To Remove Blown-in Insulation In Attic
Conclusion
Removing old insulation from your attic is a crucial step in maintaining a well-insulated and energy-efficient home. By following the step-by-step guide outlined in this article, you can safely and effectively remove different types of insulation, including loose-fill, batt, and foam insulation. Prioritizing safety, gathering the necessary materials, assessing the type of insulation, and preparing the attic space are essential first steps in the removal process.
For loose-fill insulation, carefully gather the particles into bags and use a vacuum cleaner with a HEPA filter to ensure a thorough cleanup. When dealing with batt insulation, wear protective gear, cut and remove it section by section, and dispose of it properly in sealed bags. Removing foam insulation may require professional assistance due to its complexity and potential hazards. Contacting a professional insulation contractor is recommended for safe and efficient removal.
After completing the insulation removal process, take the time to clean up the attic space meticulously. Vacuum, sweep, and wipe down surfaces to eliminate any remaining dust or debris. Remember to dispose of the old insulation responsibly, following local regulations and guidelines. Contact your waste management facility for instructions on proper disposal methods or recycling options.
By removing old insulation and creating a clean and well-prepared attic space, you are taking a significant step towards a more efficient and healthy home. Whether you are preparing for a new insulation installation or addressing the need for insulation replacement, these steps will help improve energy efficiency and create a more comfortable living environment.
If you have any doubts or concerns about the insulation removal process, it’s always wise to consult with a professional. They can provide expert guidance tailored to your specific situation and ensure that the removal is performed safely and effectively.
We hope this comprehensive guide has provided you with the knowledge and confidence to embark on your insulation removal journey. Enjoy the benefits of a well-maintained and energy-efficient home!
Frequently Asked Questions about How To Remove Old Insulation From Attic
Was this page helpful?
At Storables.com, we guarantee accurate and reliable information. Our content, validated by Expert Board Contributors, is crafted following stringent Editorial Policies. We're committed to providing you with well-researched, expert-backed insights for all your informational needs.


0 thoughts on “How To Remove Old Insulation From Attic”