
Articles
How To Remove Trusses From Attic
Modified: February 24, 2024
Learn how to safely remove trusses from your attic with these informative articles. Gain the knowledge and confidence to tackle this project on your own.
(Many of the links in this article redirect to a specific reviewed product. Your purchase of these products through affiliate links helps to generate commission for Storables.com, at no extra cost. Learn more)
Introduction
Welcome to this comprehensive guide on how to remove trusses from your attic. If you’re in the process of renovating your home, expanding your living space, or simply need to clear out your attic, knowing how to properly remove trusses is essential. Trusses are structural elements that support the roof and distribute its weight evenly. They are typically made of wood or metal and are designed to withstand significant loads.
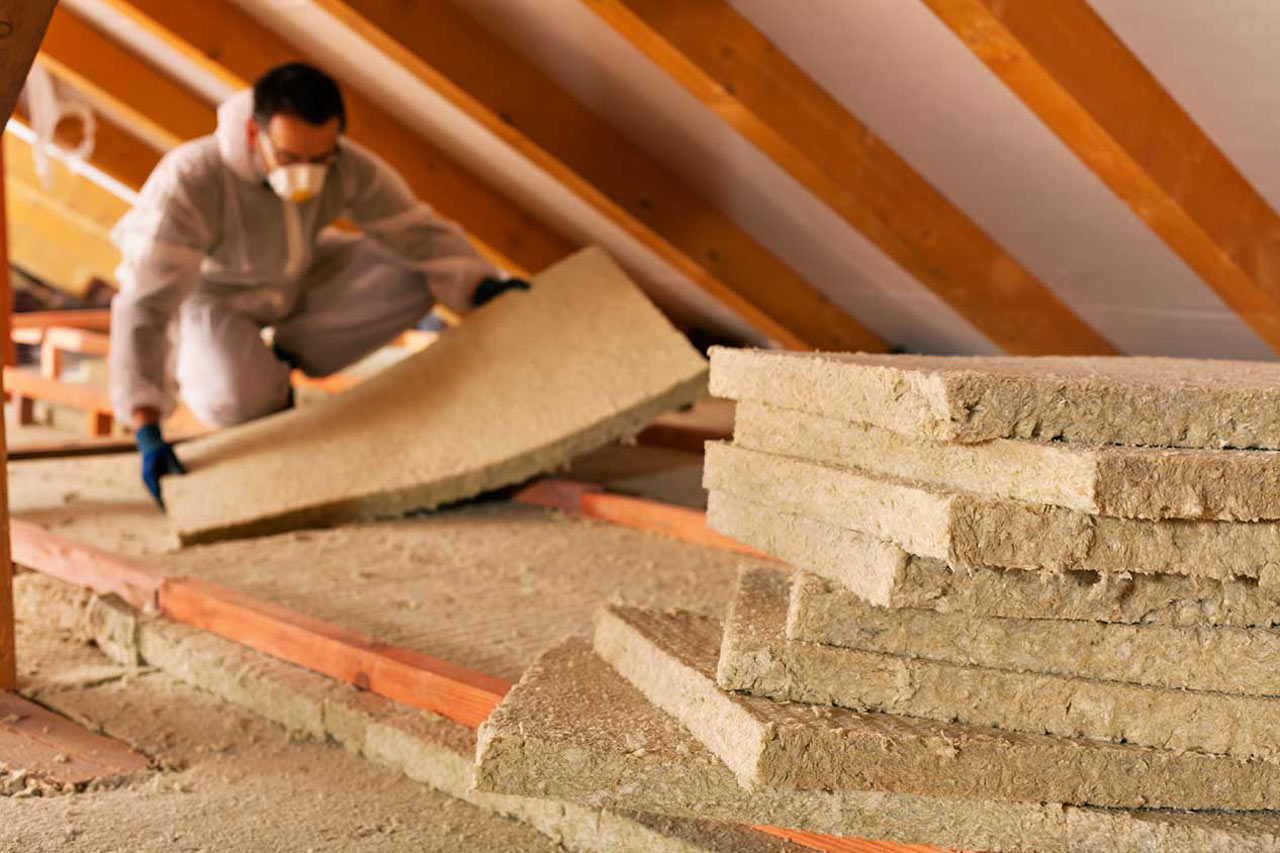
Before you begin the truss removal process, it’s important to consider a few important safety precautions. Working in an attic can be challenging, as it usually involves navigating small spaces and potentially hazardous materials. It’s crucial to wear appropriate protective gear, such as gloves, goggles, and a dust mask, to avoid injury and exposure to insulation or other substances.
Additionally, make sure to have a solid understanding of the attic’s layout and any potential electrical or plumbing systems that may be present. If you’re unsure about any aspect of the truss removal process or if the trusses are interconnected with the structural integrity of your home, consult a professional engineer or contractor for guidance.
Now, let’s dive into the step-by-step process of removing trusses from your attic. Just remember to take your time, work safely, and consider your specific circumstances and needs as you undertake this project.
Key Takeaways:
- Safety First!
Prioritize safety by wearing protective gear, inspecting the attic, turning off electricity, and working in pairs. Proper ventilation and securing the attic access are crucial for a safe truss removal process. - Responsible Disposal
After removing and disassembling the trusses, ensure proper disposal by exploring recycling or donation options. Always follow local regulations and maintain environmental responsibility for a sustainable outcome.
Read more: What Is An Attic Truss
Safety Precautions
When it comes to working in your attic and removing trusses, safety should always be your top priority. Here are some important safety precautions to keep in mind:
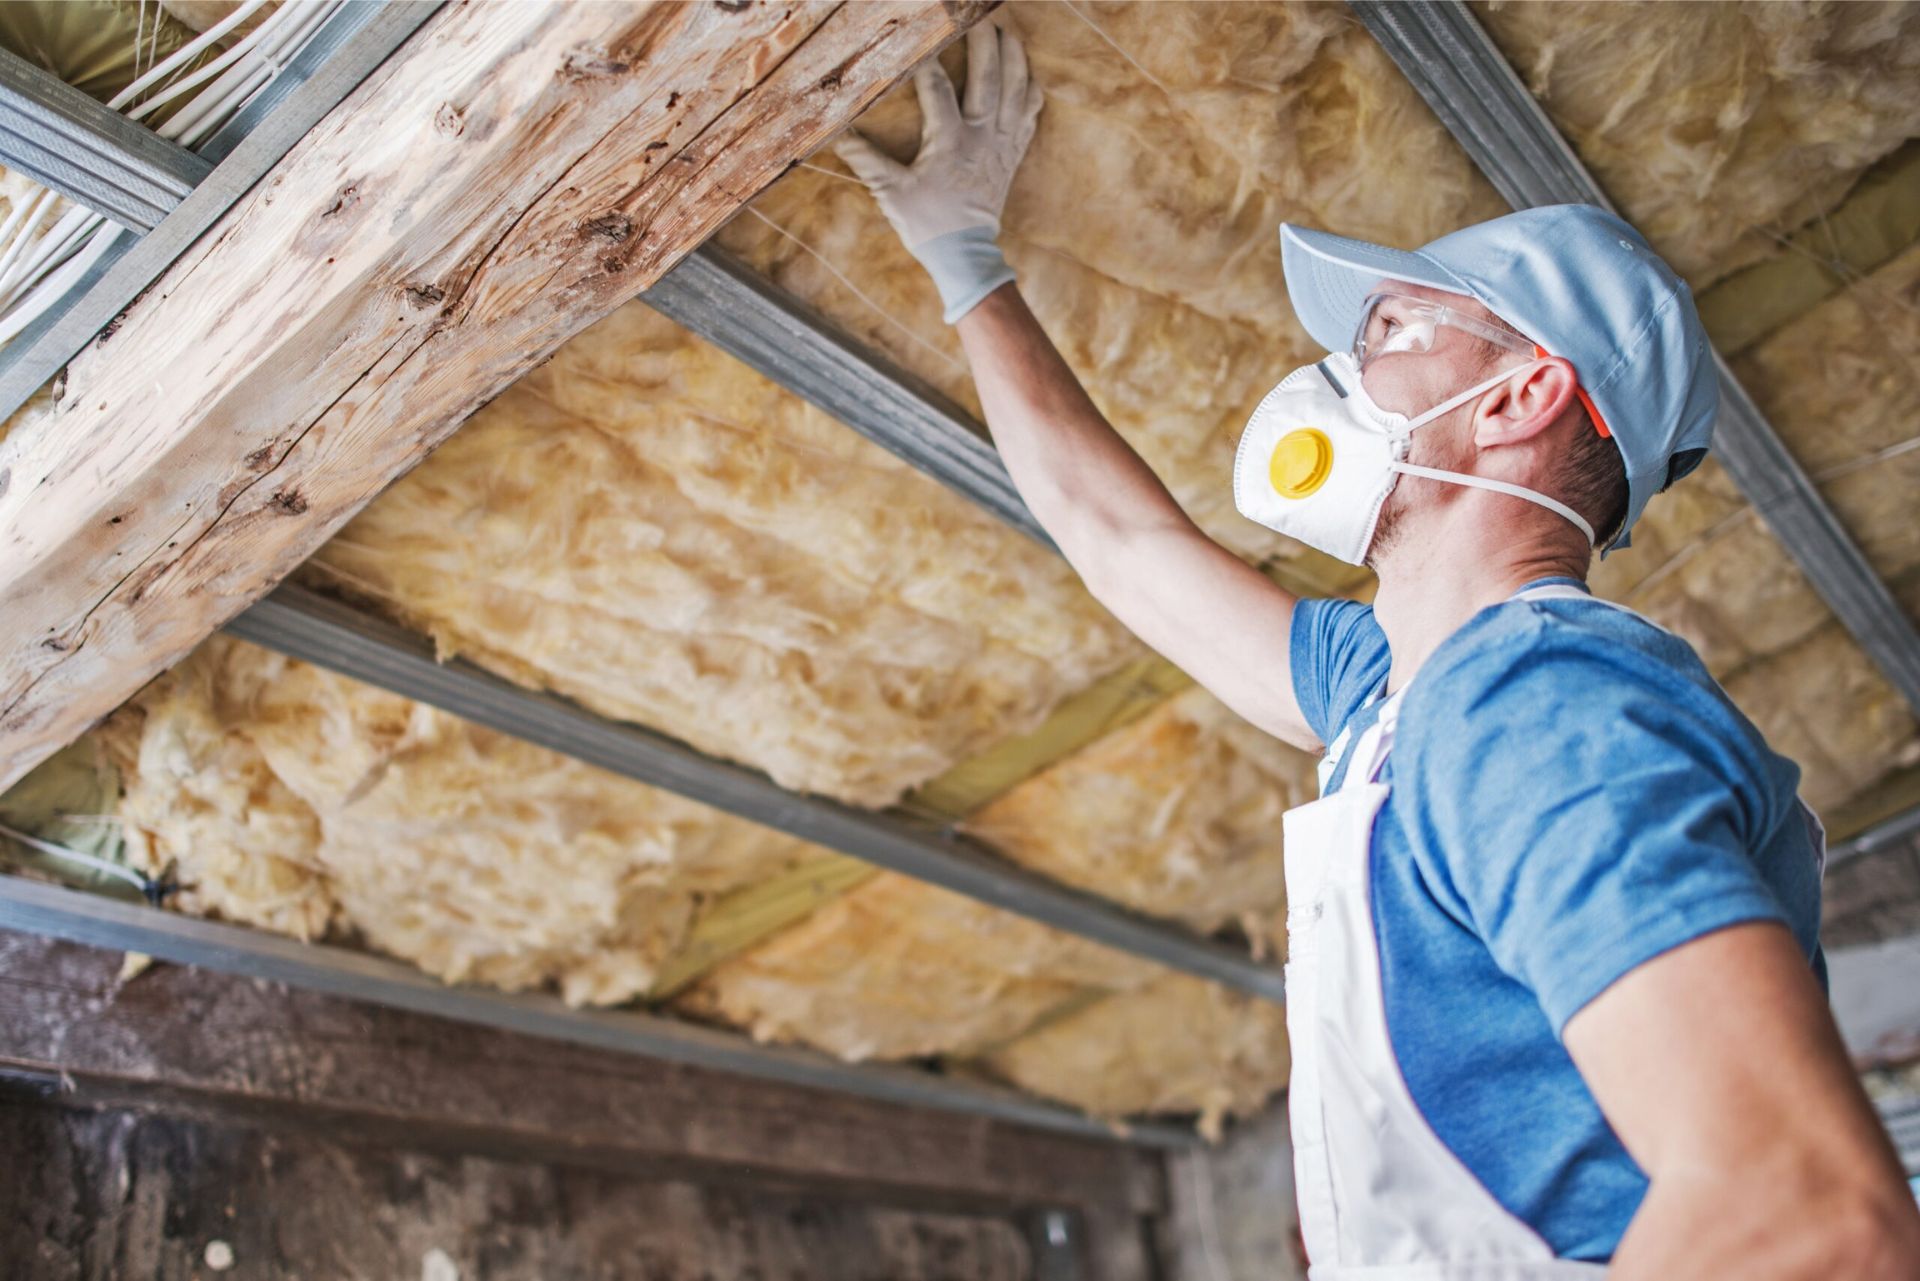
- Wear protective gear: Before entering the attic, make sure to wear appropriate protective gear to shield yourself from potential hazards. This includes sturdy gloves, safety goggles to protect your eyes from debris, and a mask to prevent inhalation of insulation particles or dust.
- Inspect the attic: Before starting the truss removal process, thoroughly inspect the attic for any potential hazards. Look out for loose wires, nails, or other sharp objects that can cause injuries. Ensure that you have adequate lighting to navigate the space safely.
- Check for asbestos: If your home was built before the 1980s, there is a possibility that your attic insulation contains asbestos. Asbestos is a harmful substance that can cause serious health issues when disturbed. If you suspect the presence of asbestos, contact a professional asbestos abatement company to handle the removal process.
- Turn off electricity: Before working in the attic, turn off the electricity to avoid any accidental shocks. If you’re unsure about which circuits power the attic, it’s best to turn off the main electrical panel to ensure your safety.
- Work in pairs: Whenever possible, it’s recommended to have a partner with you when working in the attic. A second person can provide assistance in case of emergencies, help with heavy lifting, and ensure your safety throughout the process.
- Proper ventilation: Attics can become extremely hot, especially during the summer months. Make sure there is proper ventilation in the attic to prevent overheating and exhaustion. Consider using fans or opening windows to improve airflow.
- Secure the attic access: To prevent accidental falls, ensure that the attic access point is secured properly. Use a sturdy ladder to access the attic and make sure it is placed on a stable surface. If the access hatch is not secure, consider installing a barrier or gate to prevent anyone from accidentally falling into the attic.
- Take breaks and stay hydrated: Attic work can be physically demanding, so it’s important to take regular breaks and stay hydrated. Dehydration and exhaustion can lead to poor decision-making and increased risk of accidents.
By following these safety precautions, you can minimize the risk of accidents and injuries while removing trusses from your attic. Remember to prioritize safety at all times and consult professionals if needed.
Tools and Materials Needed
Before you begin the process of removing trusses from your attic, it’s important to gather the necessary tools and materials. Having the right equipment on hand will make the task easier and more efficient. Here are the tools you’ll need:
- Protective Gear: As mentioned earlier, ensure you have the appropriate safety gear, including gloves, goggles, and a dust mask, to protect yourself from potential hazards.
- Ladder: You’ll need a sturdy ladder to access your attic safely. Choose a ladder that is appropriate for the height of your attic and ensure it is stable and securely positioned.
- Flashlight: Attics can be dimly lit, so a reliable flashlight is essential for illuminating the space and helping you see clearly.
- Utility Knife: A utility knife will come in handy for cutting through any materials, such as insulation or packaging, that may obstruct your progress.
- Hammer: A standard claw hammer will be useful for removing nails or fasteners that may be holding the trusses in place.
- Wrench or Pliers: Depending on the type of fixtures or components attached to the trusses, you may need a wrench or pliers to disconnect them.
- Power Drill: If there are any screws or bolts securing the trusses, a power drill with appropriate screwdriver or drill bit attachments will make the removal process faster and easier.
- Saw: In some cases, you may need a saw to cut through sections of the trusses or other materials in your attic. Choose a saw that is suitable for the task at hand, such as a reciprocating saw or a handsaw.
- Tarp or Drop Cloth: To protect your flooring or other items in your home from debris or dust, lay down a tarp or drop cloth in the area where you will be removing the trusses.
- Disposable Bags or Containers: Have disposal bags or containers at hand to collect and properly dispose of any debris, insulation, or other materials that you remove from the attic.
By gathering these tools and materials before you start, you’ll be well-prepared to tackle the task of removing trusses from your attic. Make sure to use them safely and according to the manufacturer’s instructions.
Step 1: Clearing the Attic Space
Before you can begin removing trusses from your attic, you need to ensure that the space is clear and ready for work. This step is crucial for your safety and the success of the truss removal process. Here’s how to clear the attic space:
- Remove any stored items: Clear out any stored items or belongings in the attic. This includes boxes, furniture, or any other objects that may obstruct your movement or make the removal process difficult. Take care to properly organize and label these items for future use or disposal.
- Cover or protect valuable items: If there are any valuable items or objects that you cannot remove from the attic, cover or protect them with a tarp or drop cloth. This will shield them from debris, dust, or potential damage during the truss removal process.
- Clean up debris: Sweep or vacuum the attic to remove any loose debris, such as dust, dirt, or small pieces of insulation. Use a damp cloth or mop to wipe down surfaces and remove any accumulated grime or cobwebs.
- Check for potential hazards: Inspect the attic for signs of mold, mildew, or pest infestations. If you find any such issues, it’s best to address them before proceeding with the truss removal. Consider hiring professionals if you are unsure how to handle these situations.
- Ensure adequate lighting: Attics can be dark and poorly lit. If necessary, install additional lighting fixtures or bring in portable work lights to ensure proper visibility during the truss removal process. This will help you navigate safely and perform tasks more efficiently.
- Clear pathways: Create clear pathways within the attic, allowing for easy movement and access to the trusses. Remove any tripping hazards, such as exposed nails or loose wires, and ensure that there are no obstacles blocking your way.
- Open windows or use ventilation: If the attic lacks proper ventilation, consider opening windows or using fans to improve airflow. This will help prevent the buildup of excessive heat and provide fresh air as you work.
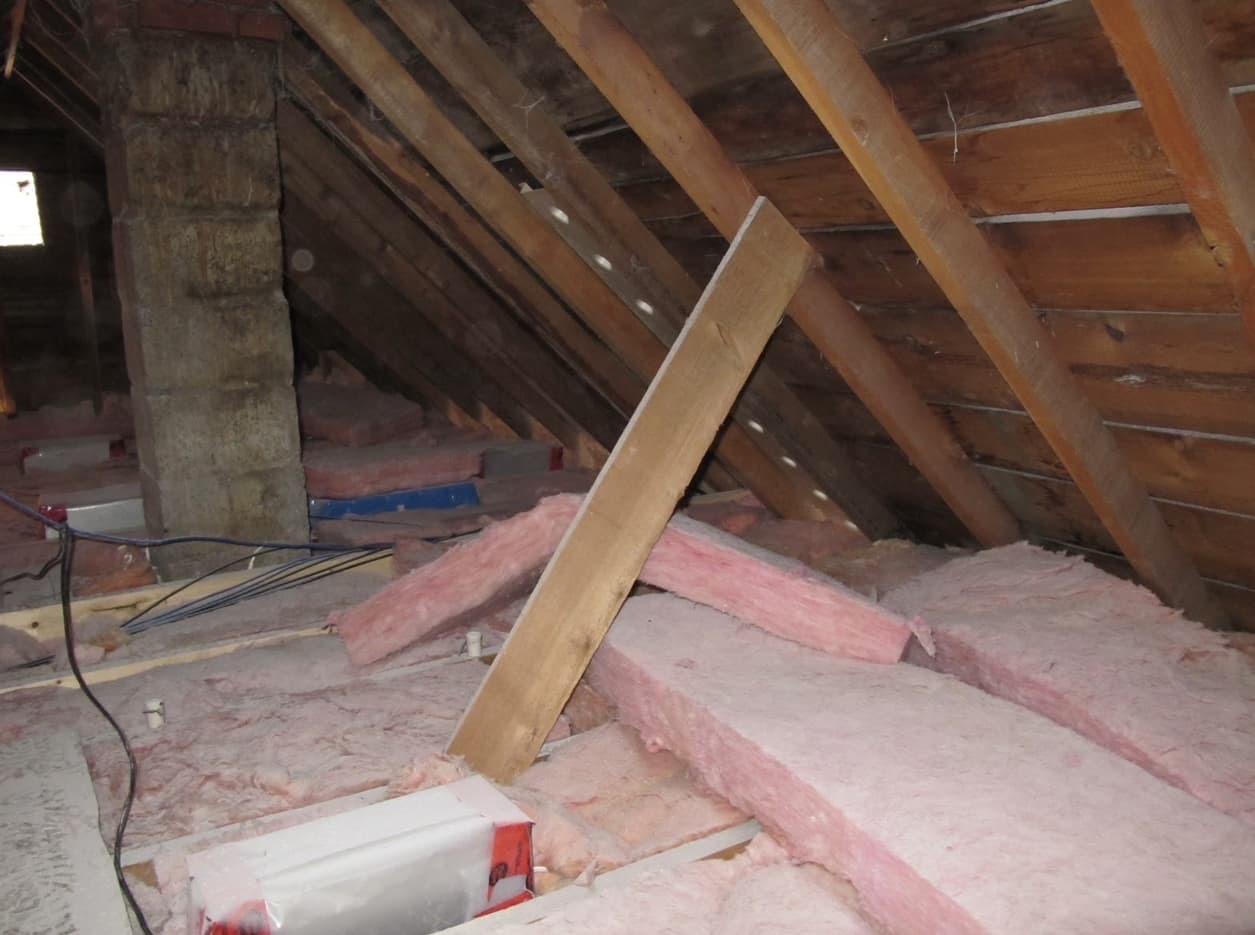
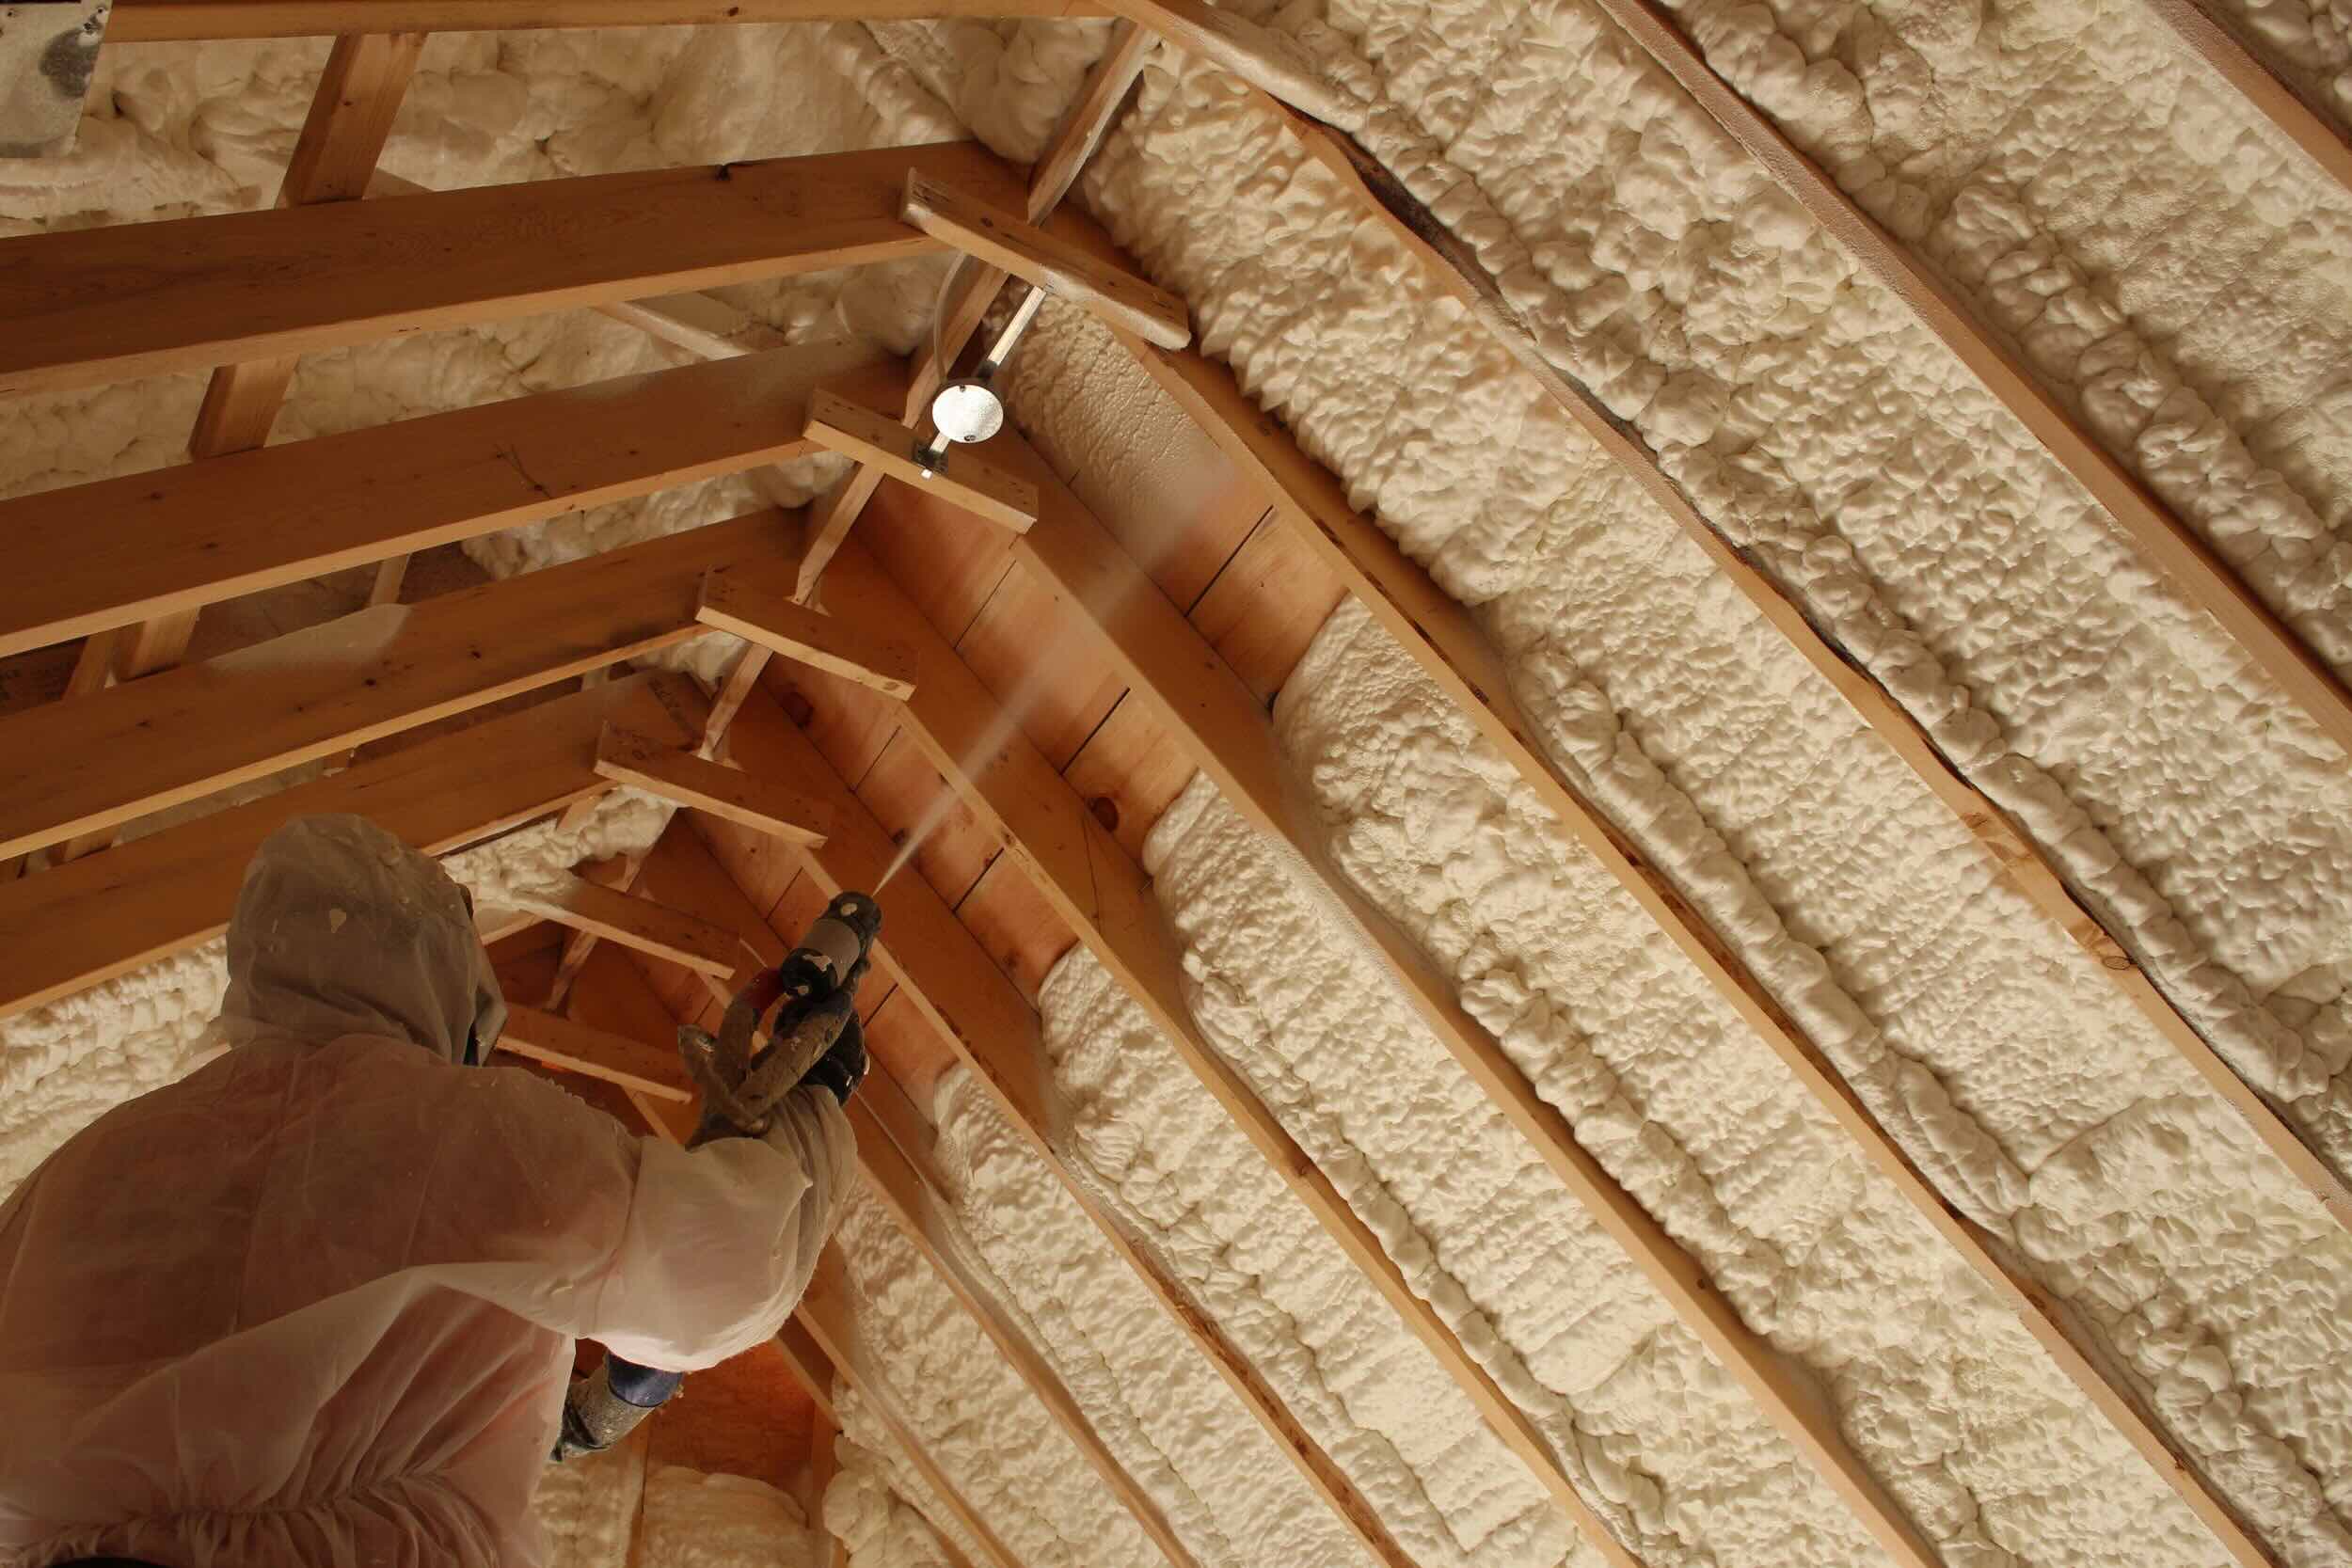
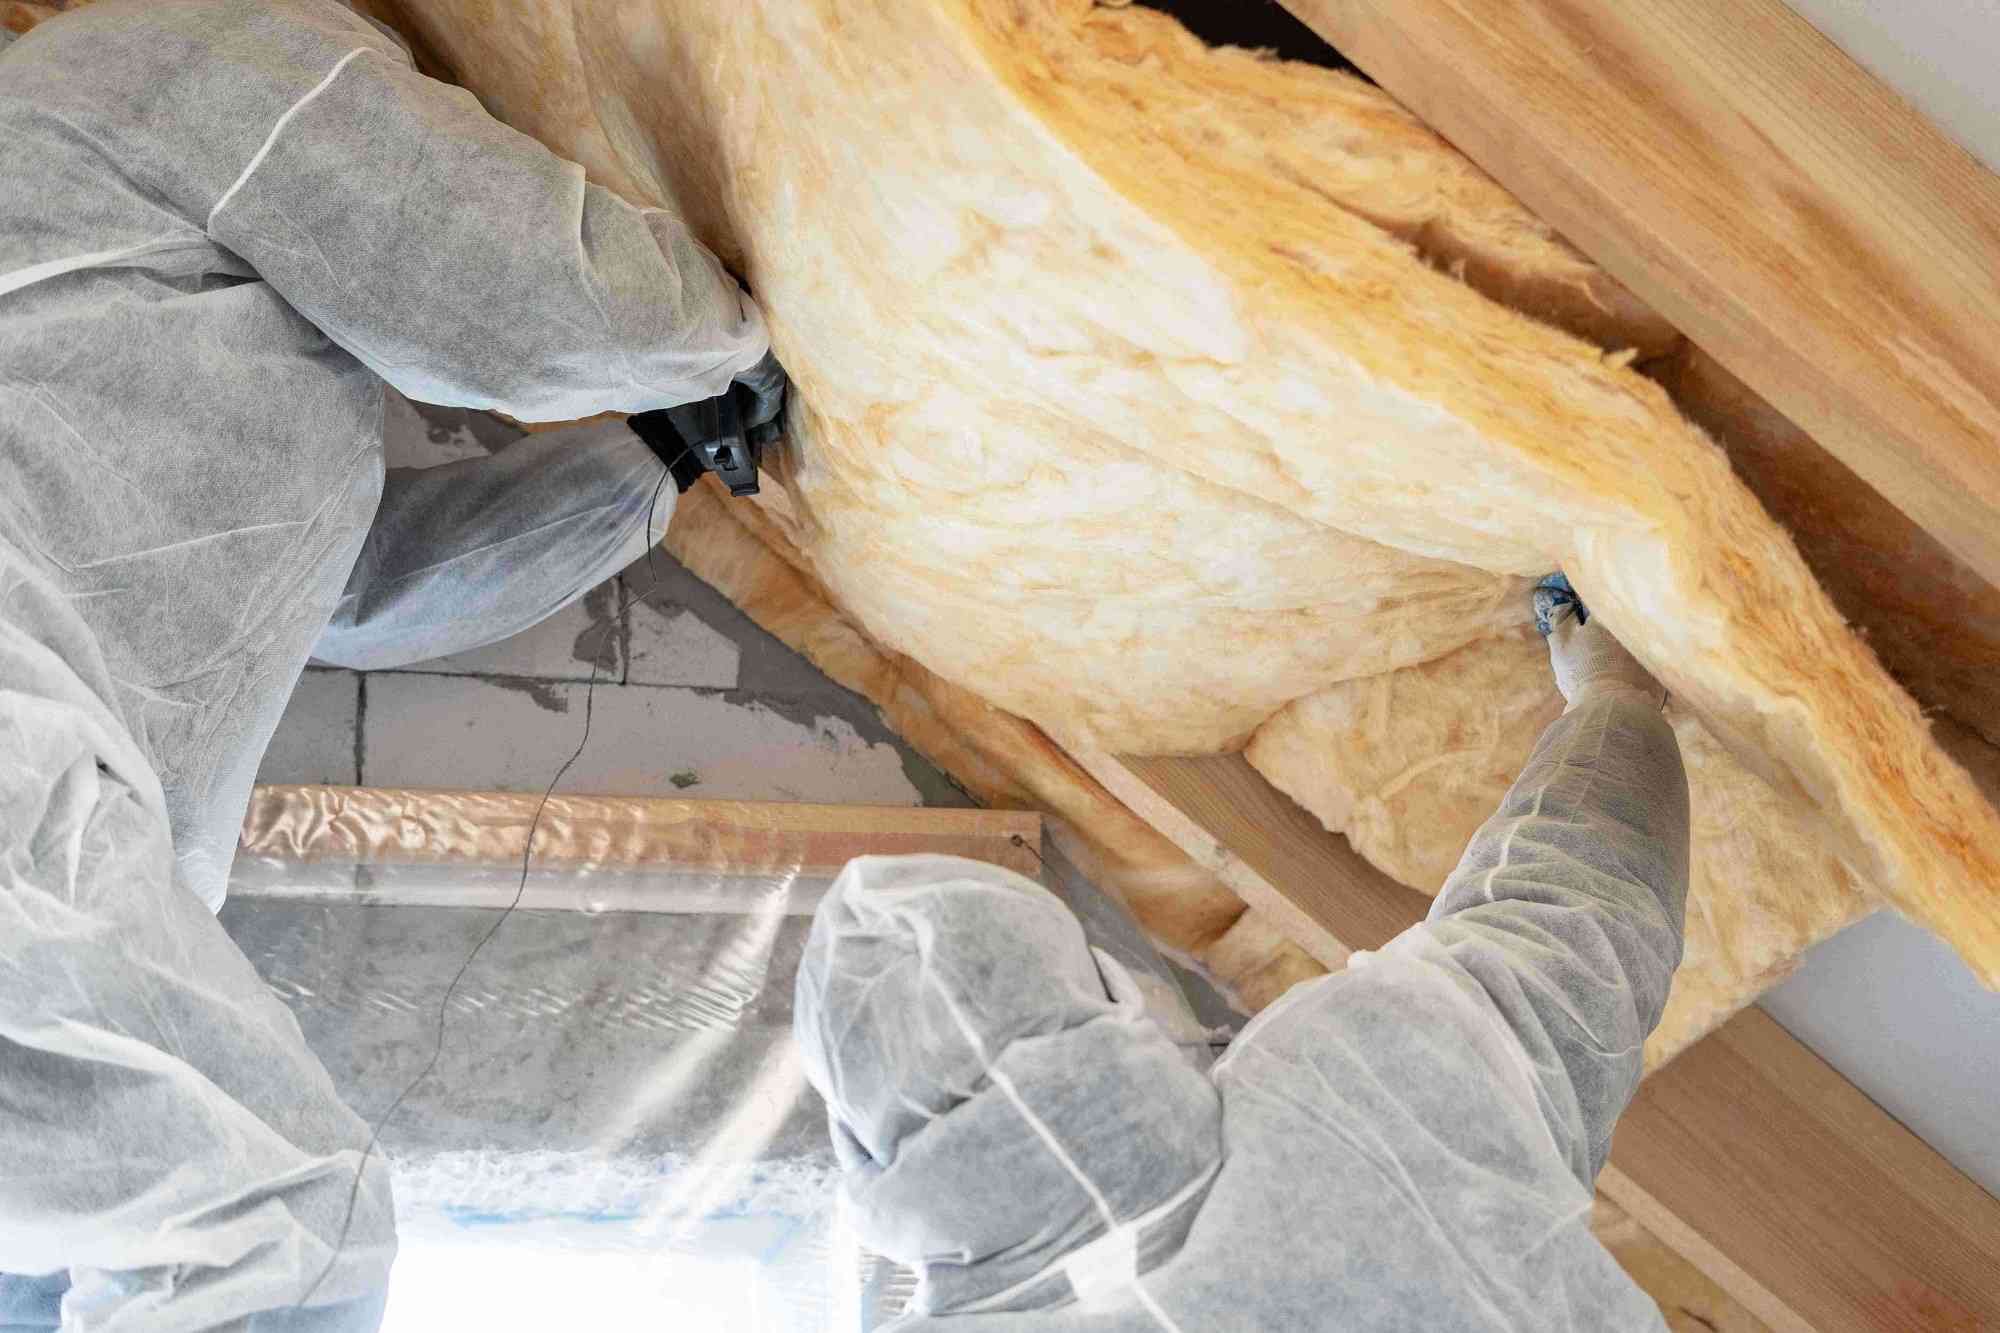
- Secure loose insulation: If there is loose insulation in the attic, secure it or remove it to prevent it from obstructing your work area. Pay attention to safety guidelines regarding insulation materials, as some types may contain harmful substances like asbestos.
By following these steps and clearing the attic space before you start, you’ll create a safe and organized environment for removing trusses. Remember to prioritize safety, take breaks when needed, and have a plan in place for disposing of any waste materials or debris.
Step 2: Identifying the Trusses
Once you have cleared and prepared the attic space, the next step in removing trusses is to identify their location. Identifying the trusses will help you determine the best approach for removal and ensure that you remove the correct structural elements. Here’s how to identify the trusses in your attic:
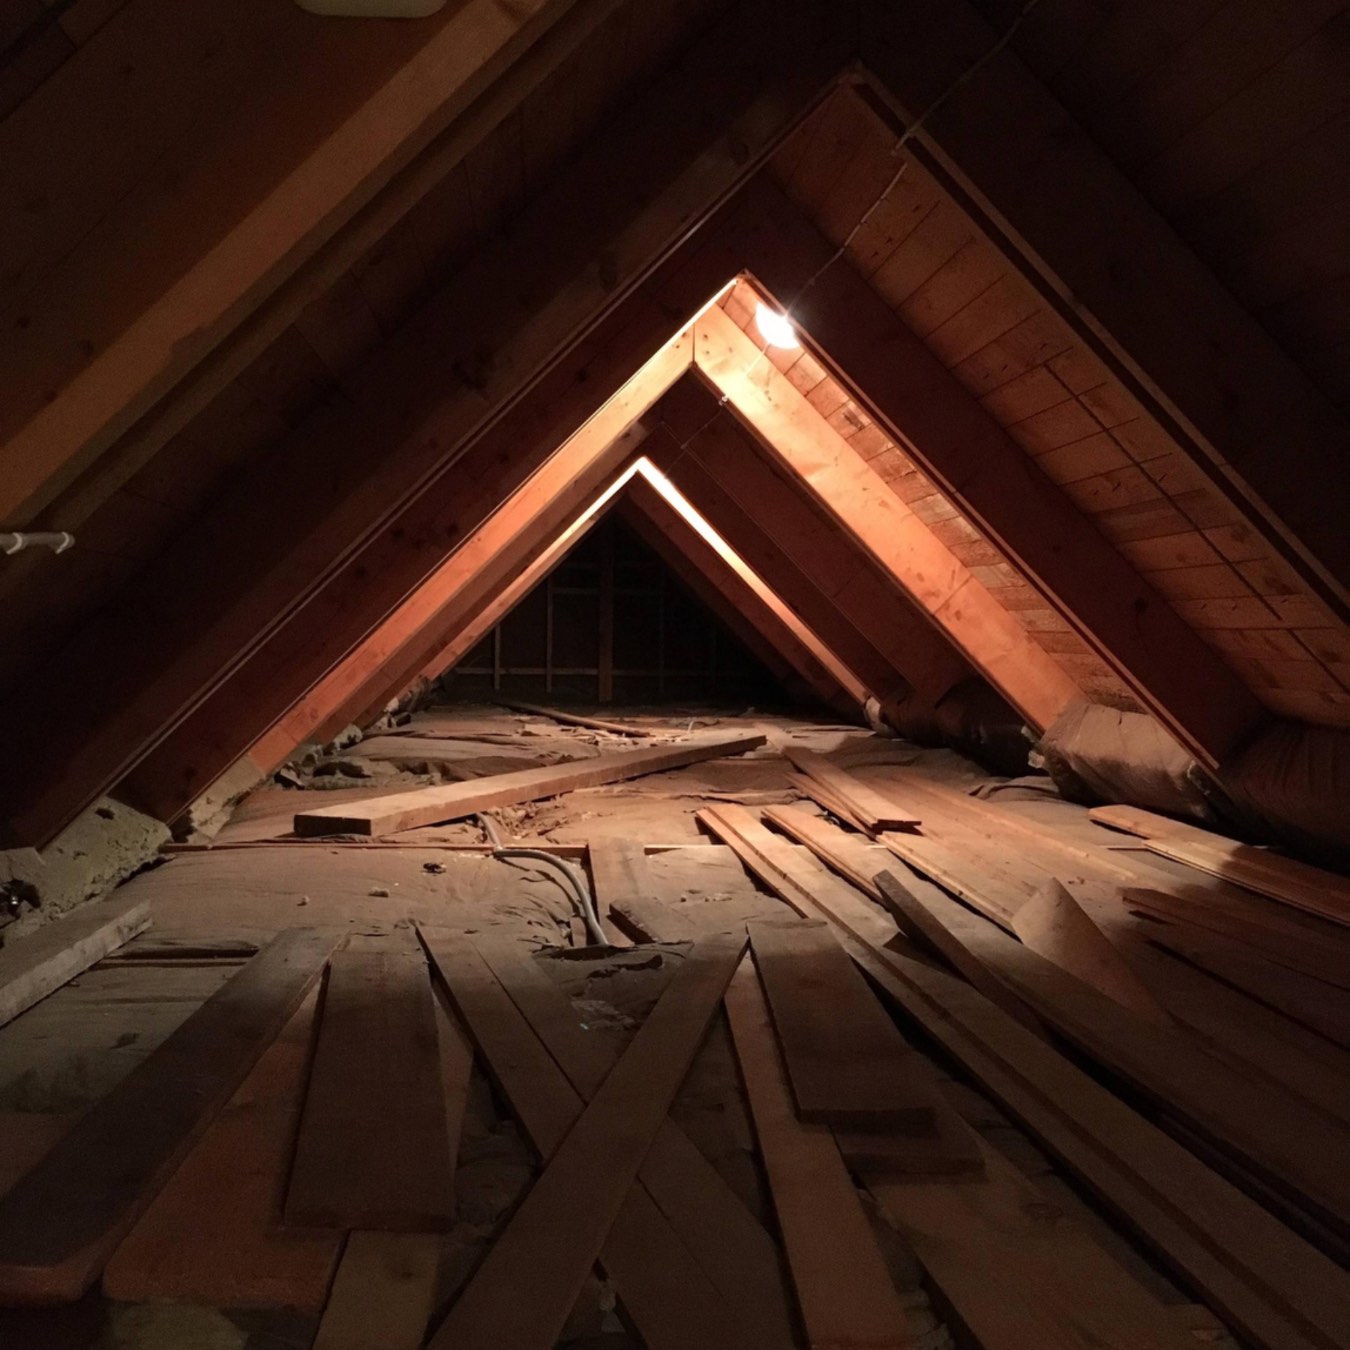
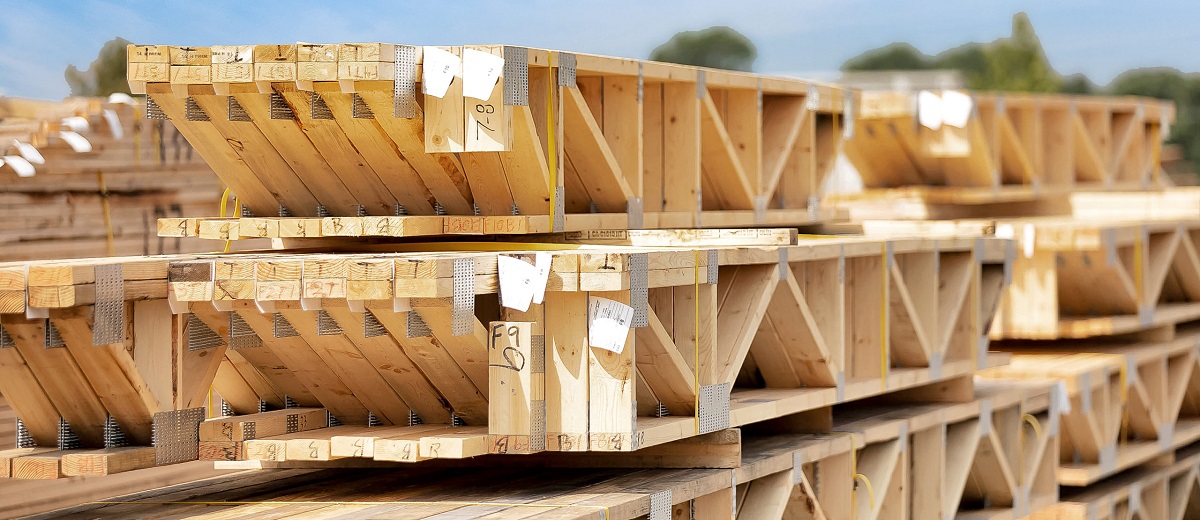
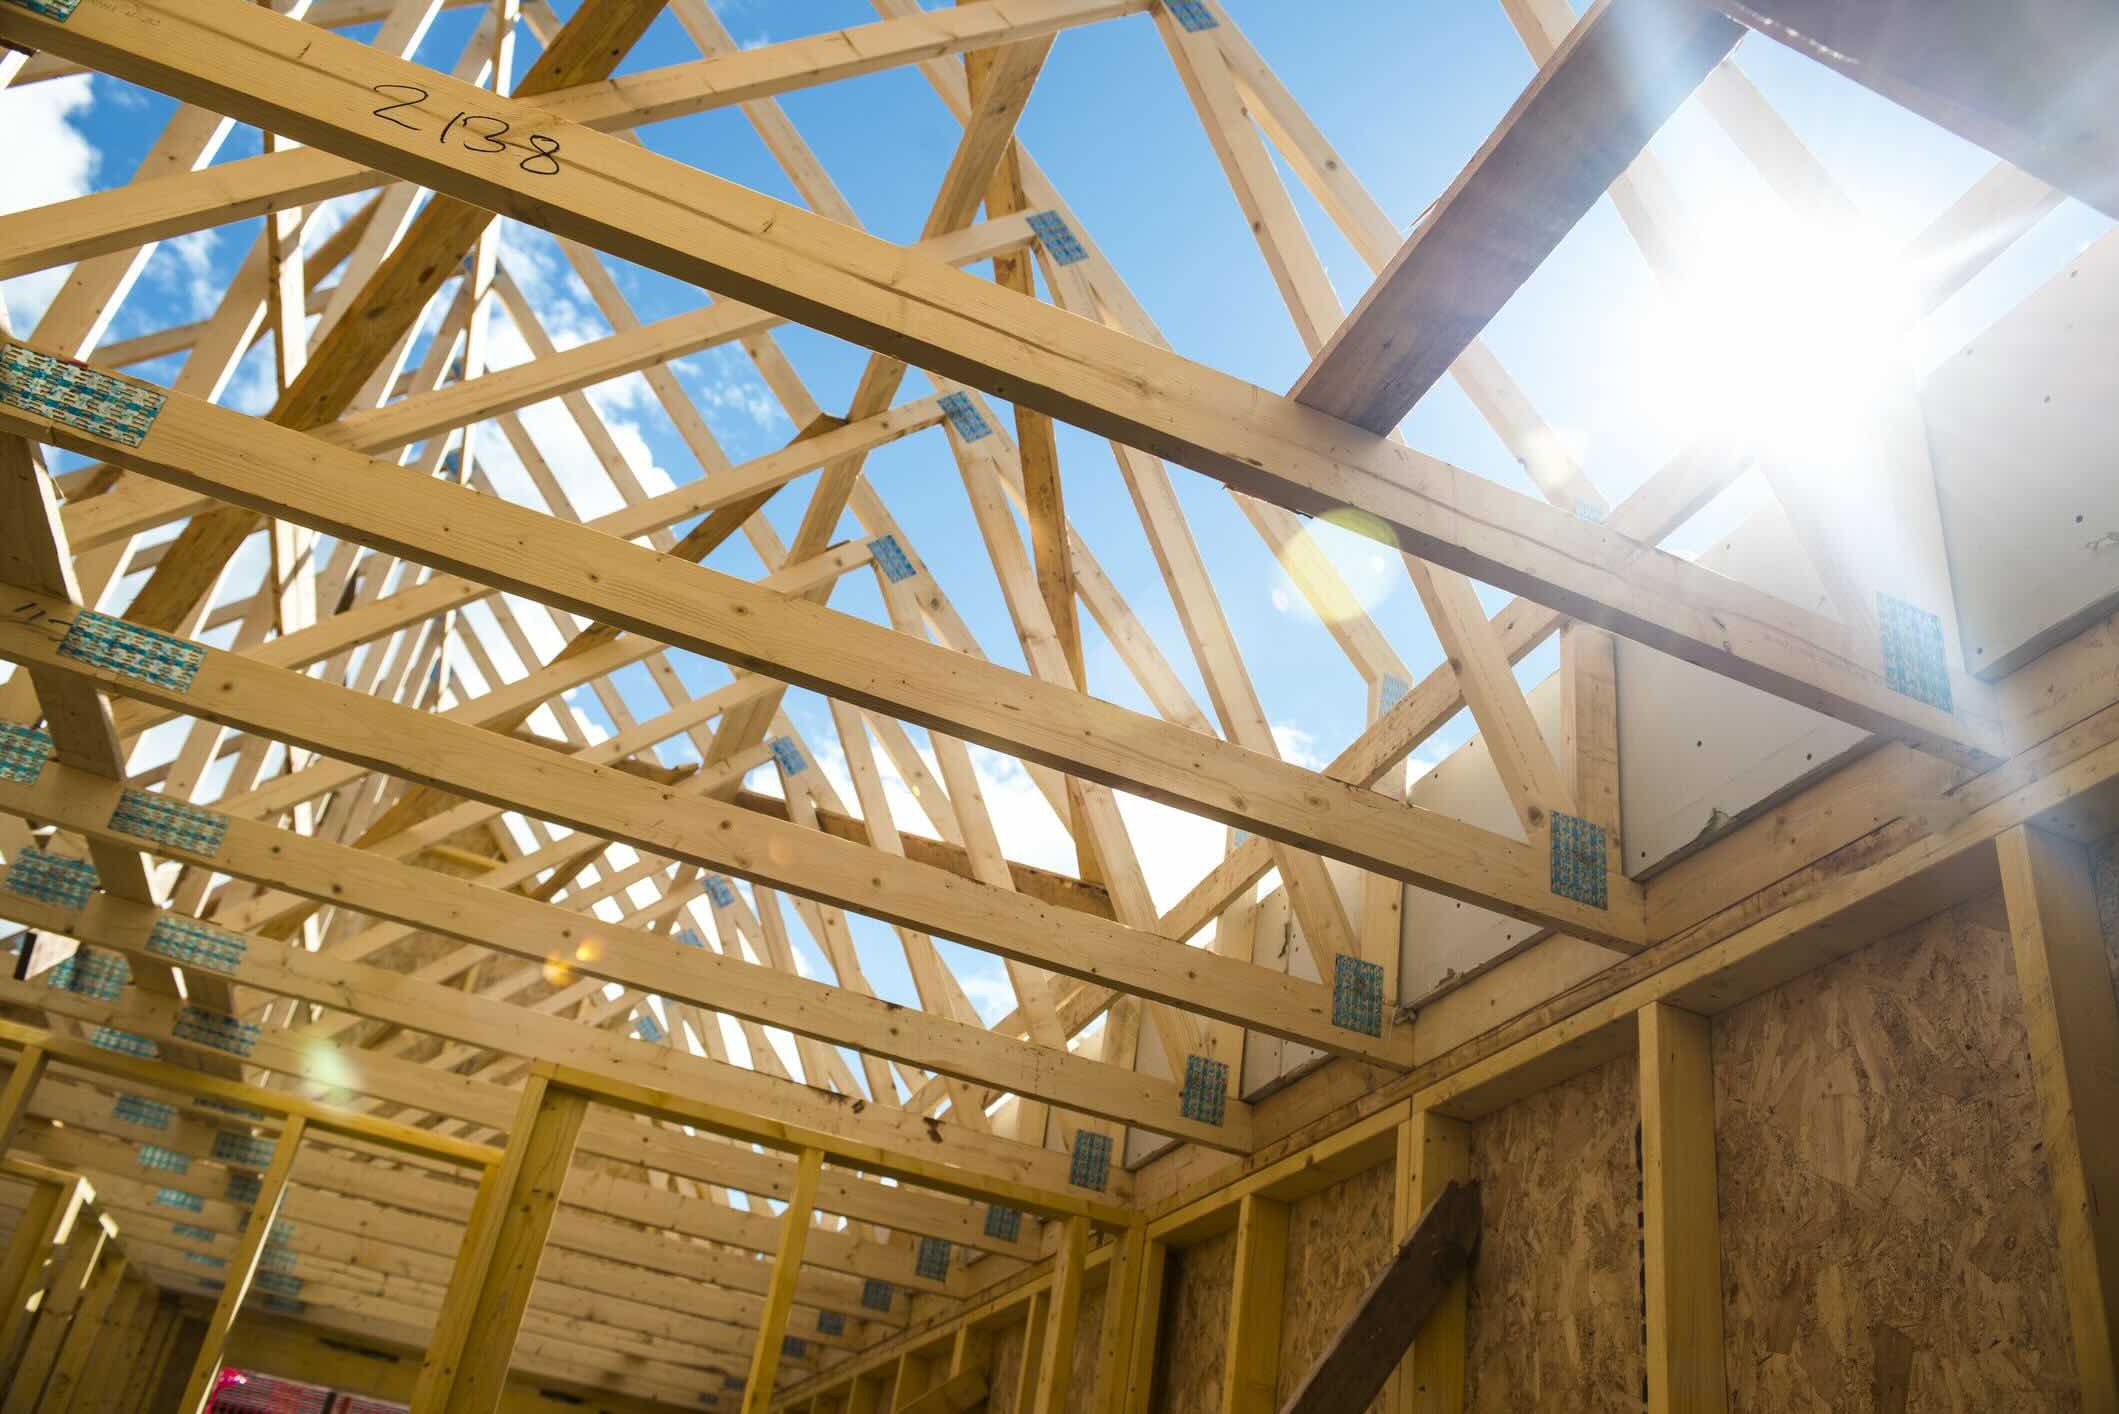
- Observe the roof structure: Take a close look at the roof structure from inside the attic. Trusses are typically triangular-shaped frameworks that span the width of the roof and provide support. They are often made of wooden beams or metal components. Identify the pattern of trusses and note their positioning throughout the attic.
- Look for load-bearing walls: Trusses rest on load-bearing walls, which are typically thicker and sturdier than non-load-bearing walls. Identify the load-bearing walls in your attic by examining the construction plans or consulting a professional if needed.
- Note any obstacles: Identify any obstacles or fixtures that may be attached to the trusses, such as light fixtures, HVAC ducts, or electrical wiring. This will help you plan for their removal or make adjustments to the truss removal process.
- Check for bracing: Trusses are often braced at specific intervals to provide additional support. Look for diagonal or horizontal braces connecting the trusses to other structural elements. Take note of the locations of these braces, as they may need to be removed or adjusted during the truss removal process.
- Measure truss spacing: Measure the spacing between trusses to determine their size and configuration. This information will be useful when it comes to disassembling or replacing the trusses. Record the measurements for reference during the removal process.
- Inspect for any damage: Assess the condition of the trusses and look for signs of damage, such as rotting wood, cracks, or corrosion in metal trusses. If you notice any significant damage, consult a professional to determine the best course of action for repair or replacement.
- Take photographs or make diagrams: To ensure accuracy and ease of reference, take photographs or create diagrams that clearly show the location of the trusses and any important details. This will serve as a helpful visual aid during the truss removal process.
By carefully identifying the trusses in your attic, you’ll have a better understanding of their layout and be able to plan the truss removal process more effectively. Remember to document important details and consult with professionals if you have any questions or concerns about the structural integrity or removal procedure.
Before removing trusses from the attic, consult a structural engineer to ensure it’s safe. Use proper lifting equipment and work with a partner to avoid injury. Always wear protective gear and follow safety guidelines.
Read more: How To Remove Vermiculite From Attic
Step 3: Removing any Attached Fixtures or Components
Before you can proceed with removing the trusses from your attic, it’s important to detach any fixtures or components that may be attached to them. Fixtures such as light fixtures, HVAC ducts, electrical wiring, or insulation may be connected to the trusses, and removing them first will make the truss removal process easier. Here’s how to remove attached fixtures or components:
- Turn off electricity: Before working on any electrical fixtures or components, ensure that the electricity is turned off at the main electrical panel. This will prevent the risk of electrocution.
- Disconnect electrical fixtures: If there are light fixtures or electrical wiring attached to the trusses, carefully disconnect them following proper electrical safety procedures. Turn off the circuit connected to the fixture and use appropriate tools, such as pliers or screwdrivers, to loosen and remove the electrical connections.
- Remove HVAC ducts: If there are HVAC ducts running along or attached to the trusses, detach them carefully. Use a wrench or pliers to loosen and remove any nuts or bolts securing the ducts to the trusses. Take note of the duct connections and mark them for reinstallation if necessary.
- Address insulation: If insulation is obstructing the trusses, carefully move or remove it. Insulation may be attached with staples or other fasteners, so use a utility knife or staple remover to disconnect it from the trusses. Take care not to damage the insulation or create excessive dust in the process.
- Detach any other fixtures: Take note of any other fixtures or components that may be attached to the trusses, such as ceiling fans or ventilation systems. Follow the appropriate procedures to disconnect and remove these fixtures, ensuring that all connections and fasteners are securely loosened or removed.
- Organize and label components: As you remove the fixtures and components, organize and label them for future reinstallation or disposal. Use zip-top bags or containers to keep small parts together, and clearly label them for easy identification.
- Remove fasteners: Once the fixtures and components are detached, use a hammer or screwdriver to remove any nails, screws, or other fasteners that may be securing them to the trusses. Take care to avoid damaging the trusses or surrounding materials.
By removing attached fixtures and components, you’ll make the truss removal process smoother and safer. Take your time to ensure that all connections are properly disconnected, and store the fixtures and components carefully for reuse or appropriate disposal. With this step complete, you’ll be ready to move on to the next stage of removing the trusses from your attic.
Step 4: Detaching the Trusses from the Attic Walls
With any attached fixtures or components removed, you can now focus on detaching the trusses from the attic walls. This step requires careful planning and execution to ensure a safe and successful truss removal. Here’s how to detach the trusses from the attic walls:
- Assess the truss connections: Examine how the trusses are connected to the attic walls. Most trusses will be fastened using metal connector plates or brackets. Identify the specific type of connection used in your attic to determine the best approach for detachment.
- Support the trusses: Before removing any fasteners, it’s important to provide temporary support for the trusses. This can be done using sturdy temporary support posts or a bracing system. Make sure the supports are secure and can withstand the weight of the trusses.
- Remove fasteners: Gradually remove the fasteners holding the trusses to the attic walls. This may involve unscrewing bolts or removing nails. Use appropriate tools such as a wrench or hammer to safely detach the trusses. Take care not to damage the surrounding materials or compromise the structural integrity of the attic.
- Work in sections: It may be more manageable to detach the trusses in sections rather than all at once. Start from one end of the attic and work your way towards the other end, removing one truss at a time. This will help maintain stability and make the overall process more efficient.
- Have assistance if needed: Depending on the size and weight of the trusses, it may be necessary to have a partner or additional assistance to safely detach and lower them. This will reduce the risk of accidents or injuries during the truss removal process.
- Double-check connections and stability: Once a truss is detached, double-check the connections on the remaining trusses to ensure they are still secure. Also, periodically assess the stability of the temporary supports to confirm they are holding up effectively.
- Document and label: As you remove the trusses, take photographs or create diagrams to document their positions and connections. This documentation will be helpful for future reference or if you need to replace the trusses. Label the trusses accordingly for proper identification.
By detaching the trusses from the attic walls carefully and methodically, you’ll be able to safely remove them without causing damage to the surrounding structures or compromising the overall stability of the attic. Take your time and ensure that each truss is properly supported before removing any fasteners. With this step completed, you’re one step closer to completely removing the trusses from your attic.
Step 5: Disassembling the Trusses
After detaching the trusses from the attic walls, the next step is to disassemble them. Disassembling the trusses will involve separating the individual components, such as beams or metal connectors, from each other. This step is essential if you plan on reusing or recycling the truss materials. Here’s how to disassemble the trusses:
- Carefully remove any remaining attachments: Check for any remaining attachments or fasteners on the trusses and remove them using appropriate tools. This may include nails, screws, or metal connector plates.
- Inspect for reusable components: Examine the trusses to identify any components that are in good condition and can be reused. This may include solid beams, metal connectors, or other structural elements. Set aside these reusable components for future projects or repairs.
- Take apart the truss sections: Begin by separating the trusses into smaller sections. This can be done by removing any bolts or screws that hold the sections together. Use a wrench, screwdriver, or appropriate tools to disassemble the connections between the truss components.
- Label and organize the disassembled components: As you disassemble the trusses, label and organize the components for ease of reference. This will be particularly useful if you plan to reuse the materials or donate them to others who may need them.
- Remove any remaining nails or fasteners: Check each component for any remaining nails, screws, or fasteners. Ensure that all of these are completely removed to avoid injury or damage when handling or storing the disassembled truss pieces.
- Dispose of damaged or unusable components: If any truss components are damaged or deemed unsalvageable, dispose of them properly according to local regulations. This may involve taking them to a designated recycling center or coordinating with a waste management service.
- Consider salvaging lumber for other projects: If the trusses are made of wood, you may be able to salvage the lumber for other projects. Carefully remove nails or fasteners from the lumber and store it in a dry and protected area for future use.
- Securely store the disassembled components: Once the trusses are disassembled, securely store the components in a designated area. Keep them organized and protected from moisture or other potential sources of damage.
By following these steps to disassemble the trusses, you can maximize the reuse and recycling potential of the truss materials. Remember to handle the components carefully to avoid injury, properly dispose of any damaged or unusable components, and store the salvaged materials for future projects. With the trusses disassembled, you’re nearing the completion of the truss removal process in your attic.
Step 6: Properly Disposing of the Trusses
Once the trusses have been removed and disassembled, the final step is to properly dispose of them. Proper disposal ensures that the truss materials are handled responsibly, whether they are recycled or disposed of as waste. Here’s how to properly dispose of the trusses:
- Check local regulations: Before disposing of the trusses, check with your local authorities or waste management services to understand the regulations and guidelines for disposal. Different areas may have specific rules regarding the recycling or disposal of construction materials.
- Recycling options: Explore recycling options for the truss materials. Trusses made of wood or metal can often be recycled and turned into new products. Contact local recycling centers or scrap metal yards to inquire about their acceptance of trusses and any requirements they may have.
- Donation opportunities: Consider donating the trusses if they are in good condition and can be reused. Contact local charities, Habitat for Humanity, or other organizations that specialize in accepting building materials. They may be able to repurpose the trusses for future construction projects.
- Arrange for professional disposal: If recycling or donation options are not available or feasible, arrange for professional disposal of the trusses. Contact waste management services or hire a professional junk removal company to properly dispose of the trusses in accordance with local regulations.
- Separate recyclable and non-recyclable materials: If you are recycling the trusses, separate the recyclable materials, such as metal connectors, from the non-recyclable materials, such as treated or painted wood. This will facilitate the recycling process and ensure that the components are properly processed.
- Transportation considerations: If you are disposing of the trusses yourself, consider the transportation logistics. Trusses can be large and heavy, so ensure that you have appropriate equipment, such as a truck or trailer, to safely transport them to the recycling or disposal facility.
- Dispose of any associated waste: During the truss removal process, there may be associated waste, such as insulation, nails, or packaging materials. Dispose of these waste materials separately, following local guidelines for their proper handling and disposal.
- Maintain environmental responsibility: Throughout the disposal process, prioritize environmental responsibility. Minimize waste, recycle materials whenever possible, and choose disposal methods that have the least impact on the environment.
By properly disposing of the trusses, you ensure that they are handled in a responsible manner, either through recycling or appropriate waste management practices. Following local regulations and exploring recycling or donation options will help minimize the environmental impact and promote sustainability. With the trusses disposed of properly, you can complete the truss removal project with the satisfaction of responsible waste management.
Read more: How To Remove Mold From Attic
Conclusion
Congratulations! You have successfully learned how to remove trusses from your attic. By following the step-by-step process outlined in this guide, you have gained the knowledge and tools necessary to safely and efficiently remove trusses while prioritizing safety and environmental responsibility.
Throughout the process, you started by preparing the attic space, ensuring your safety and creating a clear working environment. You then identified the trusses and removed any attached fixtures or components, allowing for easier access and detachment. By carefully detaching the trusses from the attic walls and disassembling them, you were able to separate the individual components and potentially salvage reusable materials.
Finally, you learned how to properly dispose of the trusses, exploring recycling and donation options, or arranging for professional disposal. By following local regulations and considering environmental responsibility, you ensured that the trusses were handled responsibly and minimized their impact on the environment.
Removing trusses from your attic can be a challenging task, but with careful planning, attention to safety, and proper disposal methods, you have successfully completed the process. Whether you were renovating your home, expanding your living space, or simply clearing out your attic, removing trusses is a significant step towards achieving your goals.
Remember, if you ever feel unsure or overwhelmed with the truss removal process, it’s always best to consult a professional engineer or contractor who can provide guidance and expertise specific to your situation.
Thank you for taking the time to learn how to remove trusses from your attic. We hope this guide has been informative and helpful. Good luck with your project!
Frequently Asked Questions about How To Remove Trusses From Attic
Was this page helpful?
At Storables.com, we guarantee accurate and reliable information. Our content, validated by Expert Board Contributors, is crafted following stringent Editorial Policies. We're committed to providing you with well-researched, expert-backed insights for all your informational needs.


0 thoughts on “How To Remove Trusses From Attic”