Articles
How To Sanitize A Dryer
Modified: October 20, 2024
Learn the best methods and tips for sanitizing your dryer with this informative article. Keep your dryer clean and germ-free for optimal performance and peace of mind.
(Many of the links in this article redirect to a specific reviewed product. Your purchase of these products through affiliate links helps to generate commission for Storables.com, at no extra cost. Learn more)
Introduction:
Welcome to our comprehensive guide on how to sanitize a dryer. While many of us regularly clean the lint trap, it’s equally important to sanitize the entire dryer to ensure it remains free from bacteria, germs, and other contaminants. Not only does this help maintain the performance and efficiency of the dryer, but it also helps prevent any potential health hazards.
Regularly sanitizing your dryer is especially crucial if you share the machine with others or if you have children or pets in your household. Bacteria and germs can easily accumulate within the drum, lint trap, and ventilation system, creating an unhygienic environment. By following the steps outlined in this guide, you can keep your dryer clean, fresh-smelling, and free from any potential health risks.
Before diving into the process of sanitizing your dryer, let’s discuss why it’s important to do so.
Key Takeaways:
- Regularly sanitizing your dryer prevents bacteria, allergens, and fire hazards, ensuring clean and efficient laundry while promoting a healthy living environment for your family.
- By following the step-by-step process and using the necessary materials, you can effectively sanitize your dryer, extend its lifespan, and enjoy fresh, hygienic laundry for years to come.
Read more: How To Sanitize Rugs
Why is it important to sanitize your dryer?
Sanitizing your dryer is crucial for several reasons:
- Prevent bacteria and germs: Over time, your dryer drum, lint trap, and ventilation system can become a breeding ground for bacteria, germs, and other contaminants. These microorganisms can lead to unpleasant odors, allergies, and even respiratory problems. By regularly sanitizing your dryer, you can eliminate these harmful substances and ensure a clean and healthy environment for your laundry.
- Eliminate allergens: Dryers can accumulate allergens such as dust mites, pet dander, and pollen. These allergens can trigger allergies and respiratory issues, especially for individuals who are sensitive or have asthma. Sanitizing your dryer helps remove these allergens, keeping your laundry fresh and reducing the risk of allergic reactions.
- Extend the lifespan of your dryer: Regular maintenance and sanitation can help prolong the life of your dryer. Bacteria and germs can cause corrosion and damage to internal components, leading to breakdowns and expensive repairs. By keeping your dryer sanitized, you can ensure optimal performance and avoid costly replacements.
- Prevent fire hazards: Lint buildup is a common cause of dryer fires. When the lint trap is not cleaned properly, it can obstruct airflow and cause the dryer to overheat. Sanitizing your dryer includes thorough cleaning of the lint trap and the ventilation system, reducing the risk of fire hazards.
- Improve energy efficiency: A sanitized dryer operates more efficiently, saving you energy and money. When there is lint or debris clogging the ventilation system, the dryer needs to work harder to dry your clothes, resulting in higher energy consumption. Regularly sanitizing your dryer helps maintain proper airflow, maximizing efficiency and reducing energy costs.
Now that you understand the importance of sanitizing your dryer, let’s move on to the materials you’ll need to get started.
Materials needed:
Before you begin the process of sanitizing your dryer, gather the following materials:
- Microfiber cloth or soft cloth: This is used for cleaning the exterior of the dryer.
- Lint brush or vacuum attachment: This tool helps remove lint from the lint trap and the ventilation system.
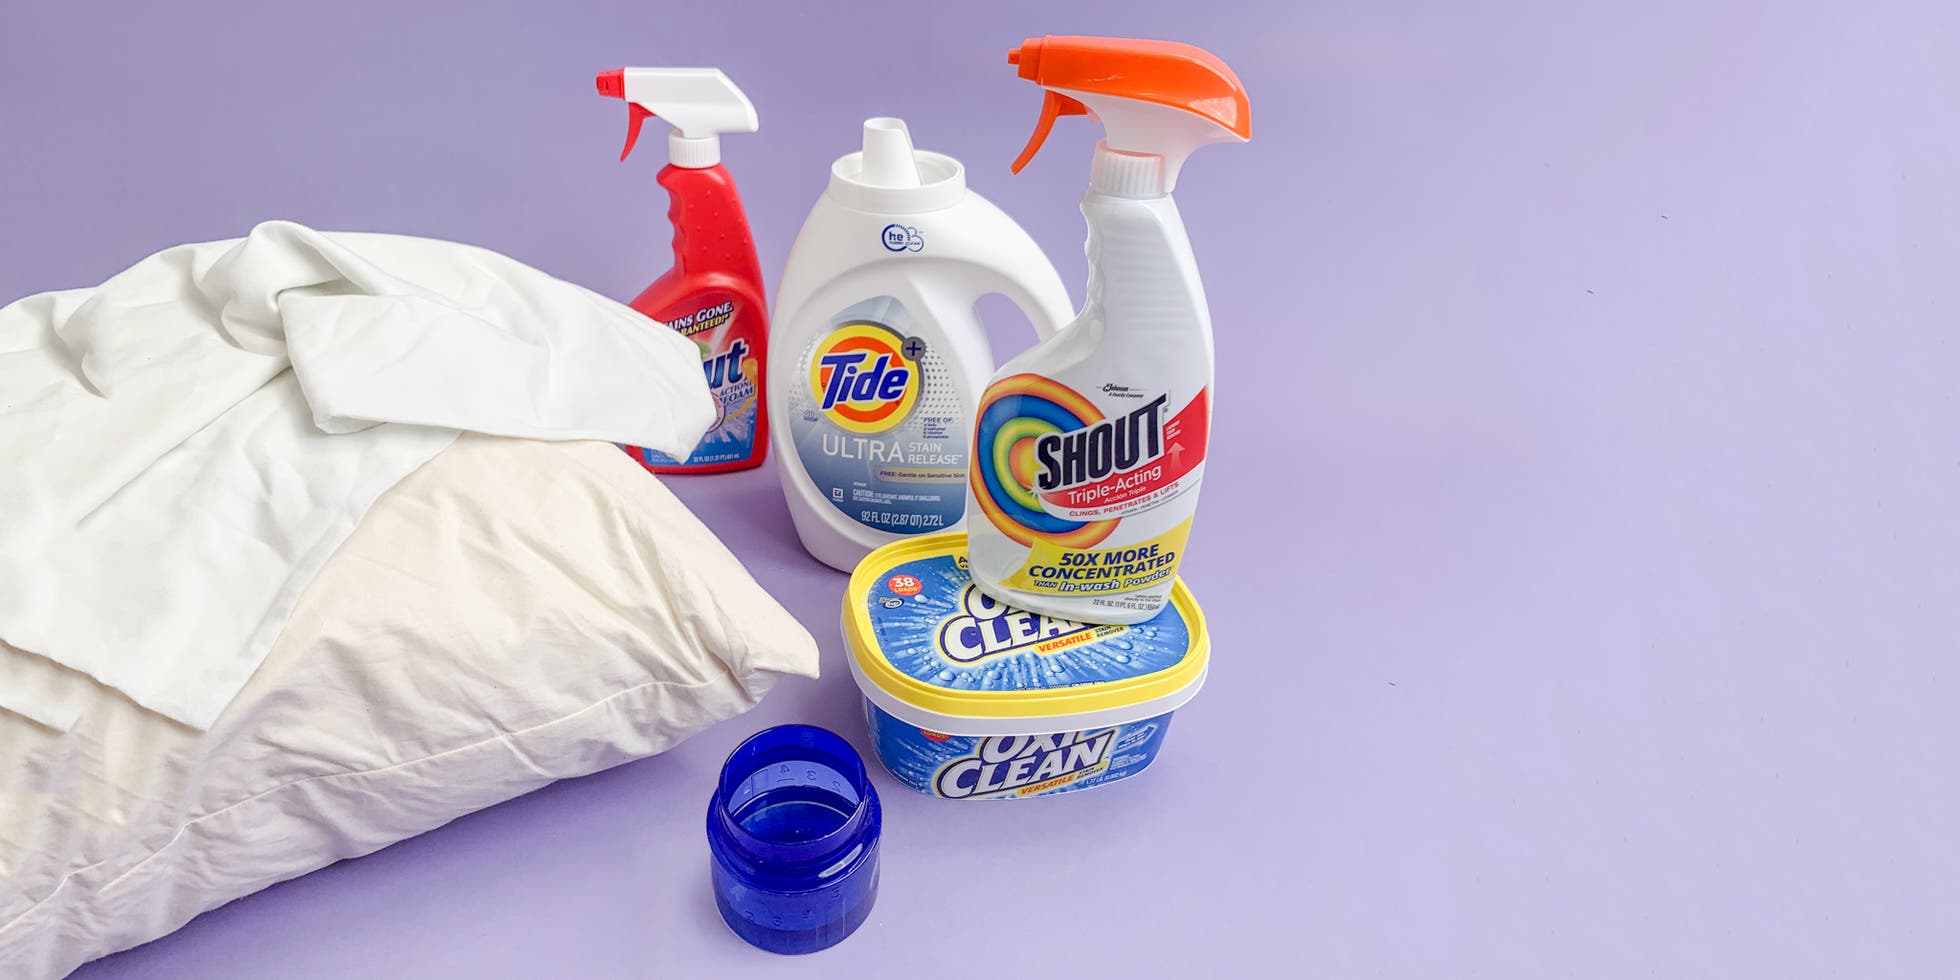
- Warm, soapy water: Prepare a solution of mild detergent and water for cleaning the interior of the dryer.
- Disposable gloves: Wearing gloves helps protect your hands from any harsh chemicals or bacteria during the cleaning process.
- Vinegar or hydrogen peroxide: These household items are effective natural sanitizers that can kill bacteria and eliminate odors.
- Cotton swabs: These are useful for reaching tight areas and cleaning delicate parts of the dryer.
- Screwdriver: You may need a screwdriver to remove any panels or parts for thorough cleaning.
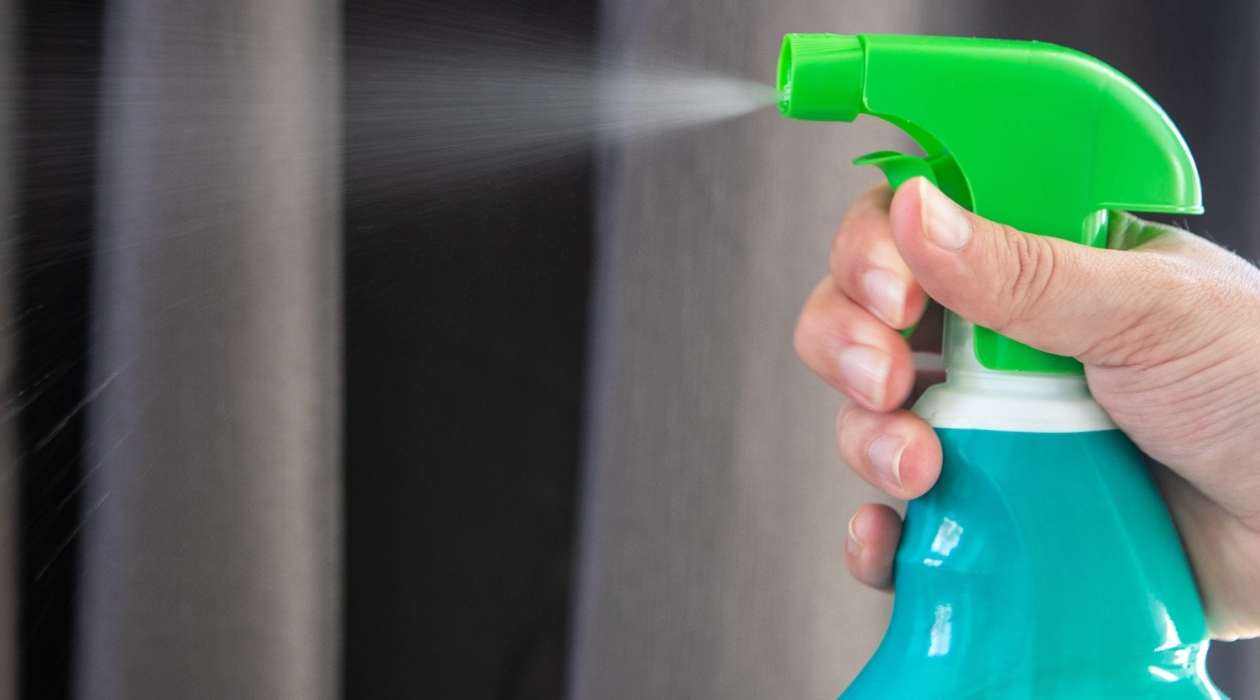
- Sanitizing spray or wipes: These can be used to sanitize the exterior of the dryer and high-touch areas.
Having these materials on hand will ensure that you have everything you need to successfully sanitize your dryer. With the materials ready, let’s move on to the step-by-step process of cleaning and sanitizing your dryer.
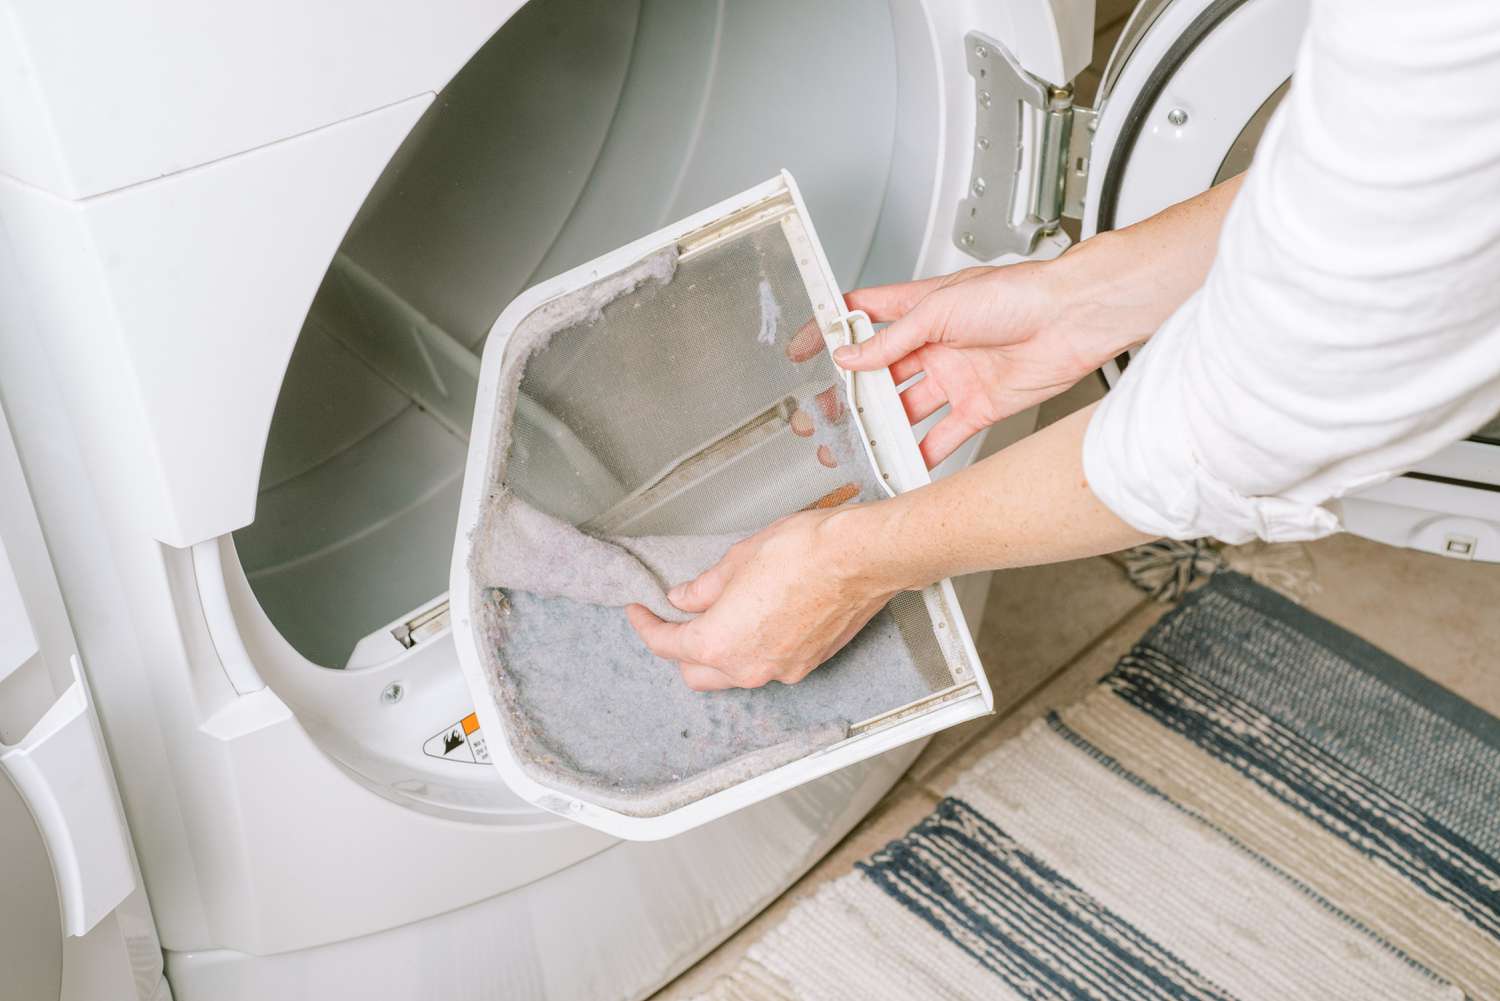
Step 1: Cleaning the lint trap
The first step in sanitizing your dryer is to clean the lint trap. This is an essential part of the dryer that collects lint and debris during the drying process. A clogged or dirty lint trap can hinder the proper airflow and increase the risk of fire hazards. Follow these steps to clean the lint trap:
- Locate the lint trap. It is typically found on the top or inside the dryer door.
- Remove the lint trap from the dryer. Depending on the model, you may need to pull it straight up, slide it out, or press a release button.
- Dispose of the accumulated lint by either throwing it in the trash or composting it.
- Inspect the lint trap for any residue or buildup. If you notice any stubborn lint or debris, use a lint brush or vacuum attachment to remove it.
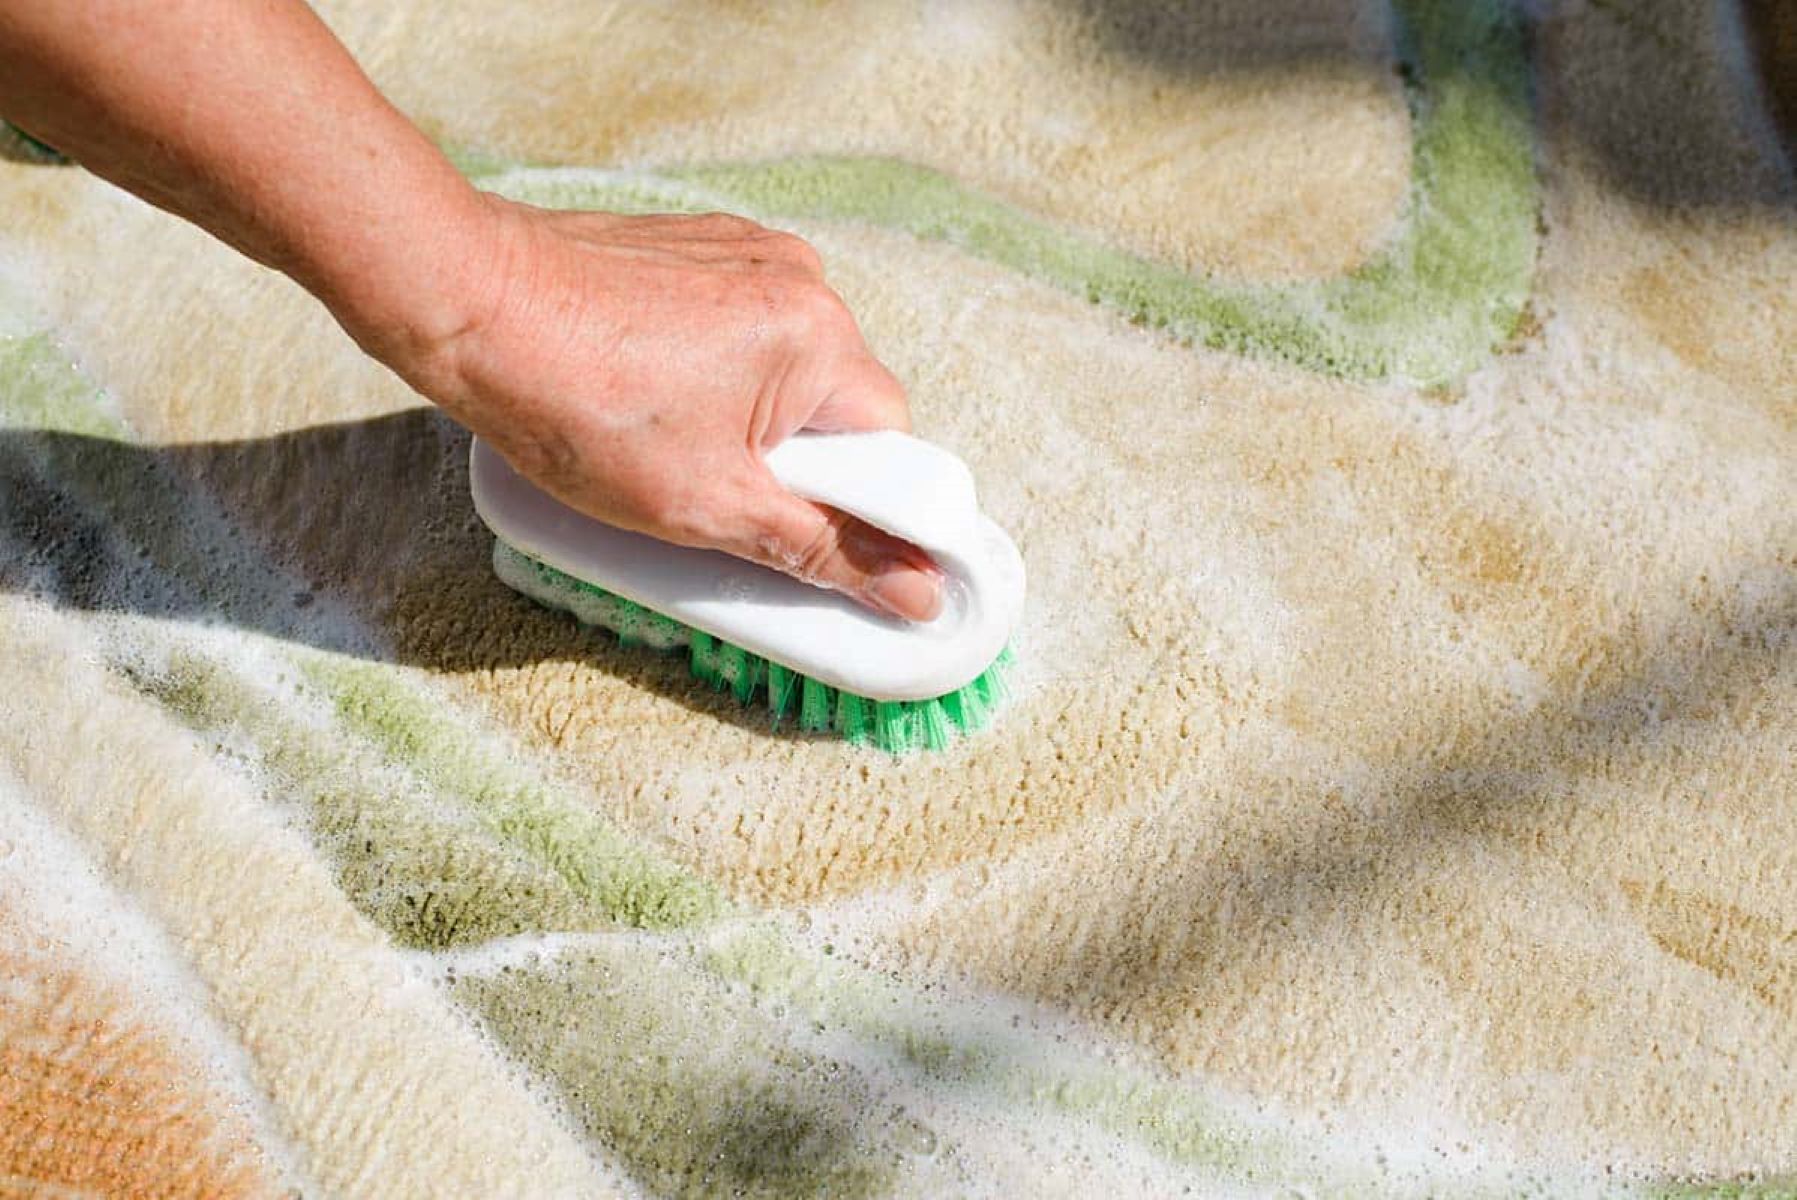
- Wash the lint trap with warm, soapy water. Use a microfiber cloth or soft brush to gently scrub away any remaining dirt or residue. Rinse thoroughly and allow it to dry completely before placing it back in the dryer.
- Once the lint trap is clean and dry, reinsert it into the dryer, ensuring it fits securely.
By regularly cleaning the lint trap, you can prevent lint buildup, maintain optimal airflow, and reduce the risk of fire hazards. Now that the lint trap is clean, let’s move on to the next step: cleaning the exterior of the dryer.
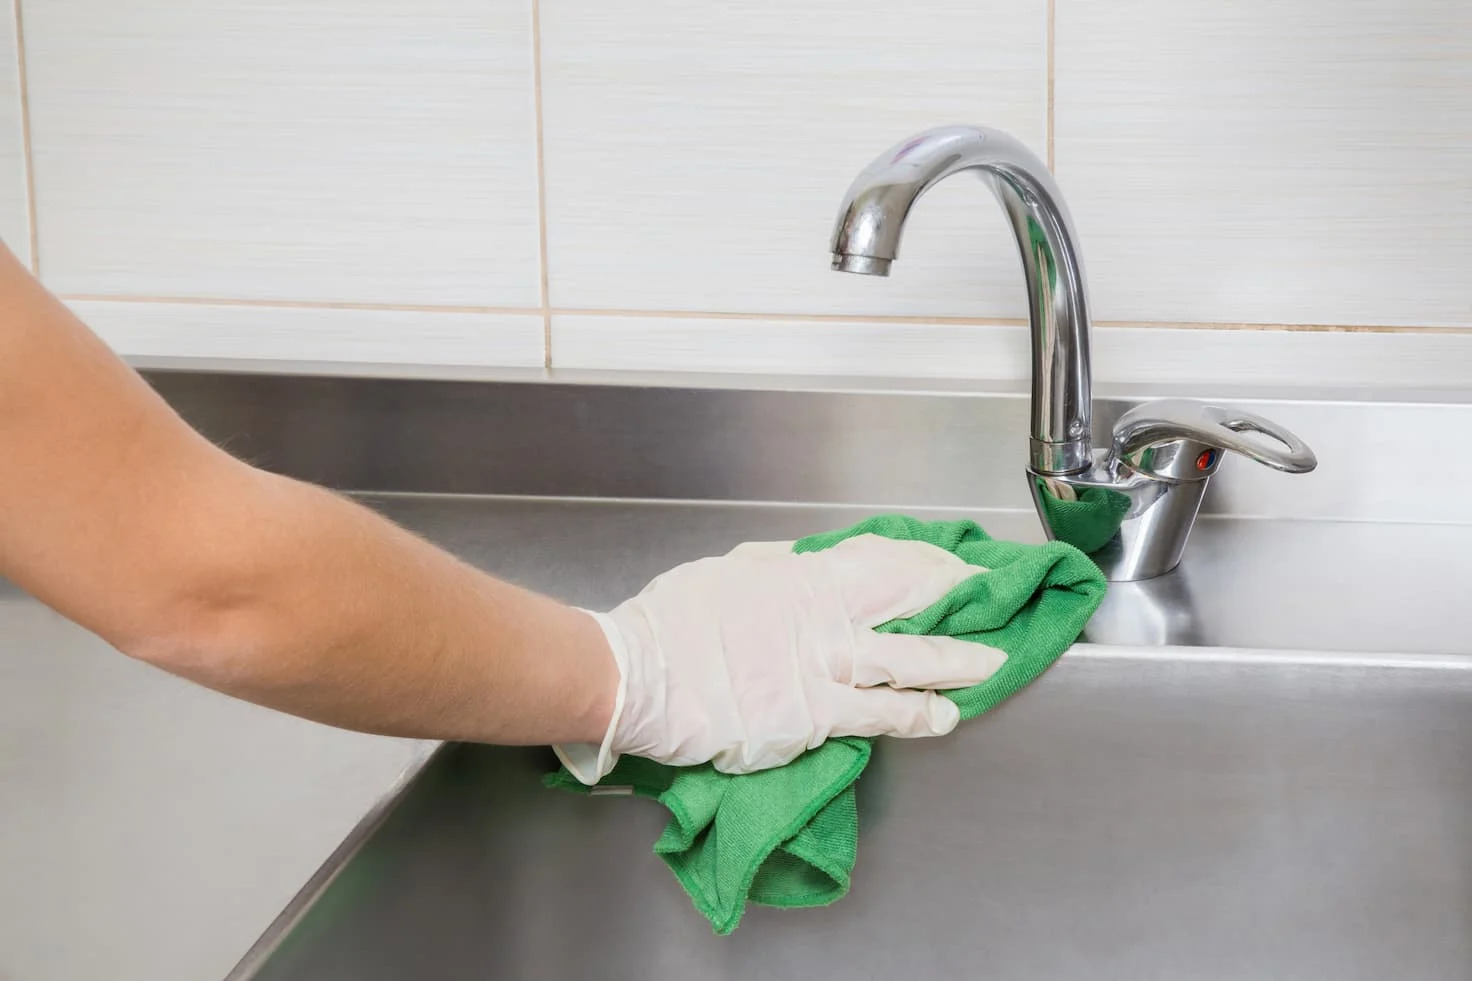
Step 2: Exterior cleaning
After cleaning the lint trap, it’s time to focus on the exterior of your dryer. This step will help remove any dust, dirt, or grime that has accumulated on the surface. Follow these steps to clean the exterior of your dryer:
- Unplug the dryer or ensure it is disconnected from the power source.
- Start by wiping down the exterior surfaces with a dry microfiber cloth or a soft cloth. This will help remove any loose dust or debris.
- Prepare a mixture of warm, soapy water by adding a few drops of mild detergent to a bucket or bowl.
- Moisten a clean cloth with the soapy water and wring out any excess liquid to avoid dripping.
- Gently wipe down the exterior surfaces of the dryer, paying special attention to areas that may be more prone to dirt or fingerprints.
- If there are stubborn stains or marks on the exterior, dip a cotton swab in the soapy water and use it to clean those areas.
- Rinse the cloth with clean water and wring out any excess liquid. Use the damp cloth to wipe away any soap residue from the dryer.
- Dry the exterior surfaces thoroughly with a clean, dry cloth.
Once the exterior of your dryer is clean and dry, you can move on to the next step: sanitizing the drum.
Clean the lint trap after every use to prevent buildup and reduce the risk of fire. Use a vacuum attachment to remove lint from the vent and exhaust hose every 6 months.
Read more: How To Sanitize A Hot Tub
Step 3: Sanitizing the drum
Now that the exterior of your dryer is clean, it’s time to focus on sanitizing the drum. This step is essential to remove any bacteria, germs, or odors that may have accumulated inside the dryer. Follow these steps to sanitize the drum:
- Start by ensuring that the dryer is empty and free of any laundry or debris.
- Prepare a sanitizing solution by combining equal parts vinegar and water in a spray bottle or bowl. Alternatively, you can use hydrogen peroxide diluted with water.
- Spray the sanitizing solution directly onto a clean cloth or use a cloth dampened with the solution.
- Wipe the interior of the drum, paying close attention to areas where dirt and residue may be present.
- If there are stubborn stains or buildup, allow the sanitizing solution to sit on the affected areas for a few minutes to loosen the dirt.
- Gently scrub the inside of the drum with a soft brush or cloth to remove any remaining residue.
- For hard-to-reach areas, use a cotton swab soaked in the sanitizing solution to ensure thorough cleaning.
- Once the drum is clean and sanitized, wipe it dry with a clean cloth or allow it to air dry completely.
Sanitizing the drum of your dryer helps eliminate bacteria, germs, and unpleasant odors, ensuring a fresh and hygienic environment for your laundry. With the drum sanitized, we can now move on to cleaning the ventilation system.
Step 4: Cleaning the ventilation system
Cleaning the ventilation system of your dryer is an important step to ensure proper airflow and prevent lint buildup. Follow these steps to clean the ventilation system:
- Start by locating the dryer vent on the back of your dryer. It is usually connected to a hose or duct that leads to the outside of your home.
- Disconnect the dryer vent from the back of your dryer. You may need to use a screwdriver to loosen any clamps or screws holding it in place.
- Inspect the dryer vent for any noticeable buildup of lint or debris. If you see any, use a lint brush or vacuum attachment to carefully remove it. You can also consider using a specialized dryer vent cleaning kit for a more thorough cleaning.
- Next, take a look at the vent hose or duct that leads to the outside. Check for any clogs or obstructions and remove them if necessary.
- Use the lint brush or vacuum attachment to clean the vent hose or duct, ensuring it is free from any lint or debris.
- Reconnect the dryer vent to the back of your dryer and secure it in place using clamps or screws.
- Finally, ensure that the vent cover on the outside of your home is clear of any obstructions or debris that may hinder proper airflow.
Regularly cleaning the ventilation system of your dryer helps maintain optimal airflow, reduces the risk of fire hazards, and improves the overall efficiency of the machine. With the ventilation system clean, we can move on to the last step: reassembling and finalizing the process.
Step 5: Reassembling and final steps
Now that you have completed the cleaning and sanitizing process for your dryer, it’s time to reassemble the components and take a few final steps to ensure everything is in order. Follow these steps:
- Reattach the lint trap securely in its designated spot within the dryer.
- Ensure that all screws, clamps, or fasteners used during the cleaning process are tightened and secure.
- Plug the dryer back into the power source or reconnect it, if necessary.
- Before using the dryer, run it on a no-heat or air-only cycle for a few minutes to remove any remaining dust or particles. This will also help ensure that everything is functioning properly.
- Dispose of any cleaning materials, such as used cloths, gloves, or cleaning solution, properly.
- Take a moment to clean the area around the dryer, including the floor and nearby surfaces, to remove any dust or lint that may have accumulated during the cleaning process.
- Consider scheduling regular maintenance and cleaning sessions for your dryer to ensure continued performance and efficiency.
Congratulations! You have successfully sanitized your dryer and ensured a clean and healthy environment for your laundry. By following these steps regularly, you can prolong the life of your dryer, prevent fire hazards, and maintain optimal drying performance.
Remember, when it comes to maintenance and sanitization, your dryer is an essential appliance that requires attention and care. By dedicating a little time and effort, you can enjoy fresh, clean, and well-performing laundry for years to come.
Thank you for reading this comprehensive guide on how to sanitize your dryer. Happy cleaning!
Conclusion
Sanitizing your dryer is an important aspect of home maintenance to ensure clean and hygienic laundry. By following the steps outlined in this guide, you can effectively remove bacteria, germs, and odors from your dryer, contributing to a healthier living environment for you and your family.
Throughout the cleaning process, you learned the significance of each step, from cleaning the lint trap to sanitizing the drum and cleaning the ventilation system. Regularly performing these tasks not only enhances the performance and lifespan of your dryer but also reduces fire hazards and improves energy efficiency.
Remember to use the necessary materials, such as microfiber cloths, lint brushes, soapy water, and sanitizing solutions, to achieve the best results. Additionally, it is crucial to reassemble the components correctly and conduct a final check to ensure everything is secure and functioning properly.
By incorporating regular dryer sanitization into your household routine, you can enjoy fresh, hygienic, and properly functioning laundry while maintaining a safe and healthy environment for your family. Don’t forget to schedule regular maintenance and cleaning sessions to keep your dryer in optimal condition.
We hope this comprehensive guide has provided you with the necessary information to effectively sanitize your dryer. Now it’s time to put these steps into action and enjoy the benefits of a clean and hygienic dryer.
Thank you for taking the time to read this guide. Happy sanitizing!
Frequently Asked Questions about How To Sanitize A Dryer
Was this page helpful?
At Storables.com, we guarantee accurate and reliable information. Our content, validated by Expert Board Contributors, is crafted following stringent Editorial Policies. We're committed to providing you with well-researched, expert-backed insights for all your informational needs.
0 thoughts on “How To Sanitize A Dryer”