Articles
How To Clean A Brass Sink
Modified: August 16, 2024
Discover effective techniques and tips for cleaning a brass sink with this informative article. Keep your sink shiny and free of tarnish with our expert advice.
(Many of the links in this article redirect to a specific reviewed product. Your purchase of these products through affiliate links helps to generate commission for Storables.com, at no extra cost. Learn more)
Introduction
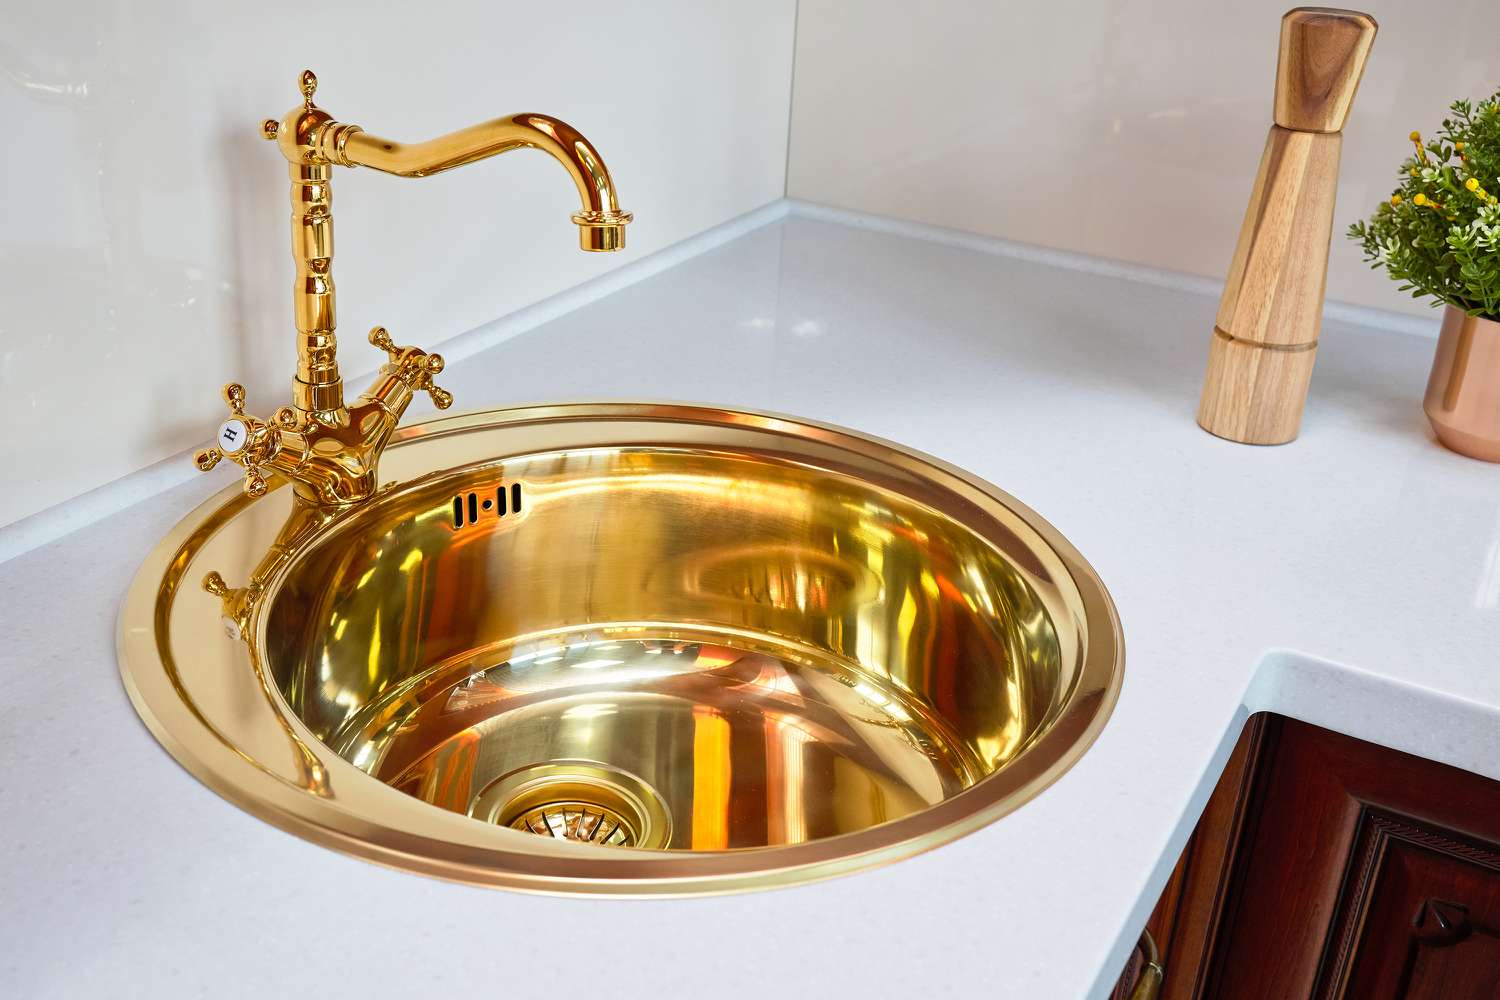
Brass sinks are not only beautiful additions to any kitchen or bathroom, but they also add a touch of elegance and sophistication to the space. However, over time, brass sinks can accumulate grime, tarnish, and mineral deposits, which can diminish their shine and beauty. To ensure that your brass sink maintains its original luster and remains in pristine condition, regular cleaning is essential.
In this article, we will provide you with a step-by-step guide on how to clean a brass sink effectively. We will walk you through the materials you will need and the process to follow for optimal results. By following these simple steps, you can restore the brilliance of your brass sink and make it the centerpiece of your kitchen or bathroom once again.
Before we dive into the cleaning process, it’s important to note that brass sinks can be delicate and easily damaged if not handled properly. Therefore, it is vital to use gentle cleaning methods and avoid abrasive materials that can scratch the surface of the sink.
Now that we have set the stage, let’s gather the necessary materials to clean your brass sink and make it shine like new!
Key Takeaways:
- Regular cleaning and gentle methods are essential to maintain the luster of brass sinks. Avoid abrasive materials and follow the step-by-step guide for effective cleaning and restoration.
- Incorporate regular polishing to enhance the shine and protect brass sinks from future tarnish. Remember to follow manufacturer’s instructions and research appropriate care methods for different brass finishes.
Read more: How To Clean Brass Chandelier
Materials Needed
Cleaning a brass sink requires a few basic materials that are readily available. Before you begin the cleaning process, make sure you have the following items:
- Mild dish soap or brass cleaner: Look for a non-abrasive cleanser specifically designed for brass surfaces. Avoid using harsh chemicals or abrasive cleaners, as they can damage the finish of the sink.
- Lemon or vinegar: These natural acidic substances can help remove tarnish and mineral deposits from the brass sink.
- Soft cloth or sponge: Use a soft cloth or sponge to apply the cleaning solution and gently scrub the sink. Avoid using abrasive scrubbers or steel wool, as they can scratch the surface of the sink.
- Microfiber cloth or towel: This cloth will be used to dry and polish the sink after cleaning.
- Baking soda: Baking soda is a mild abrasive that can help remove stubborn stains and grime from the sink.
- Toothbrush or soft-bristle brush: A toothbrush or soft-bristle brush can be used to clean hard-to-reach areas and crevices of the sink.
- Protective gloves: Optional, but recommended for those with sensitive skin or allergies to cleaning agents.
Now that you have gathered all the necessary materials, you are ready to begin cleaning your brass sink. Follow the step-by-step process outlined in the next section to achieve optimal results.
Step 1: Prepare the Sink
Before you start cleaning your brass sink, it’s important to prepare the area and protect surrounding surfaces. Follow these steps to ensure a smooth and efficient cleaning process:
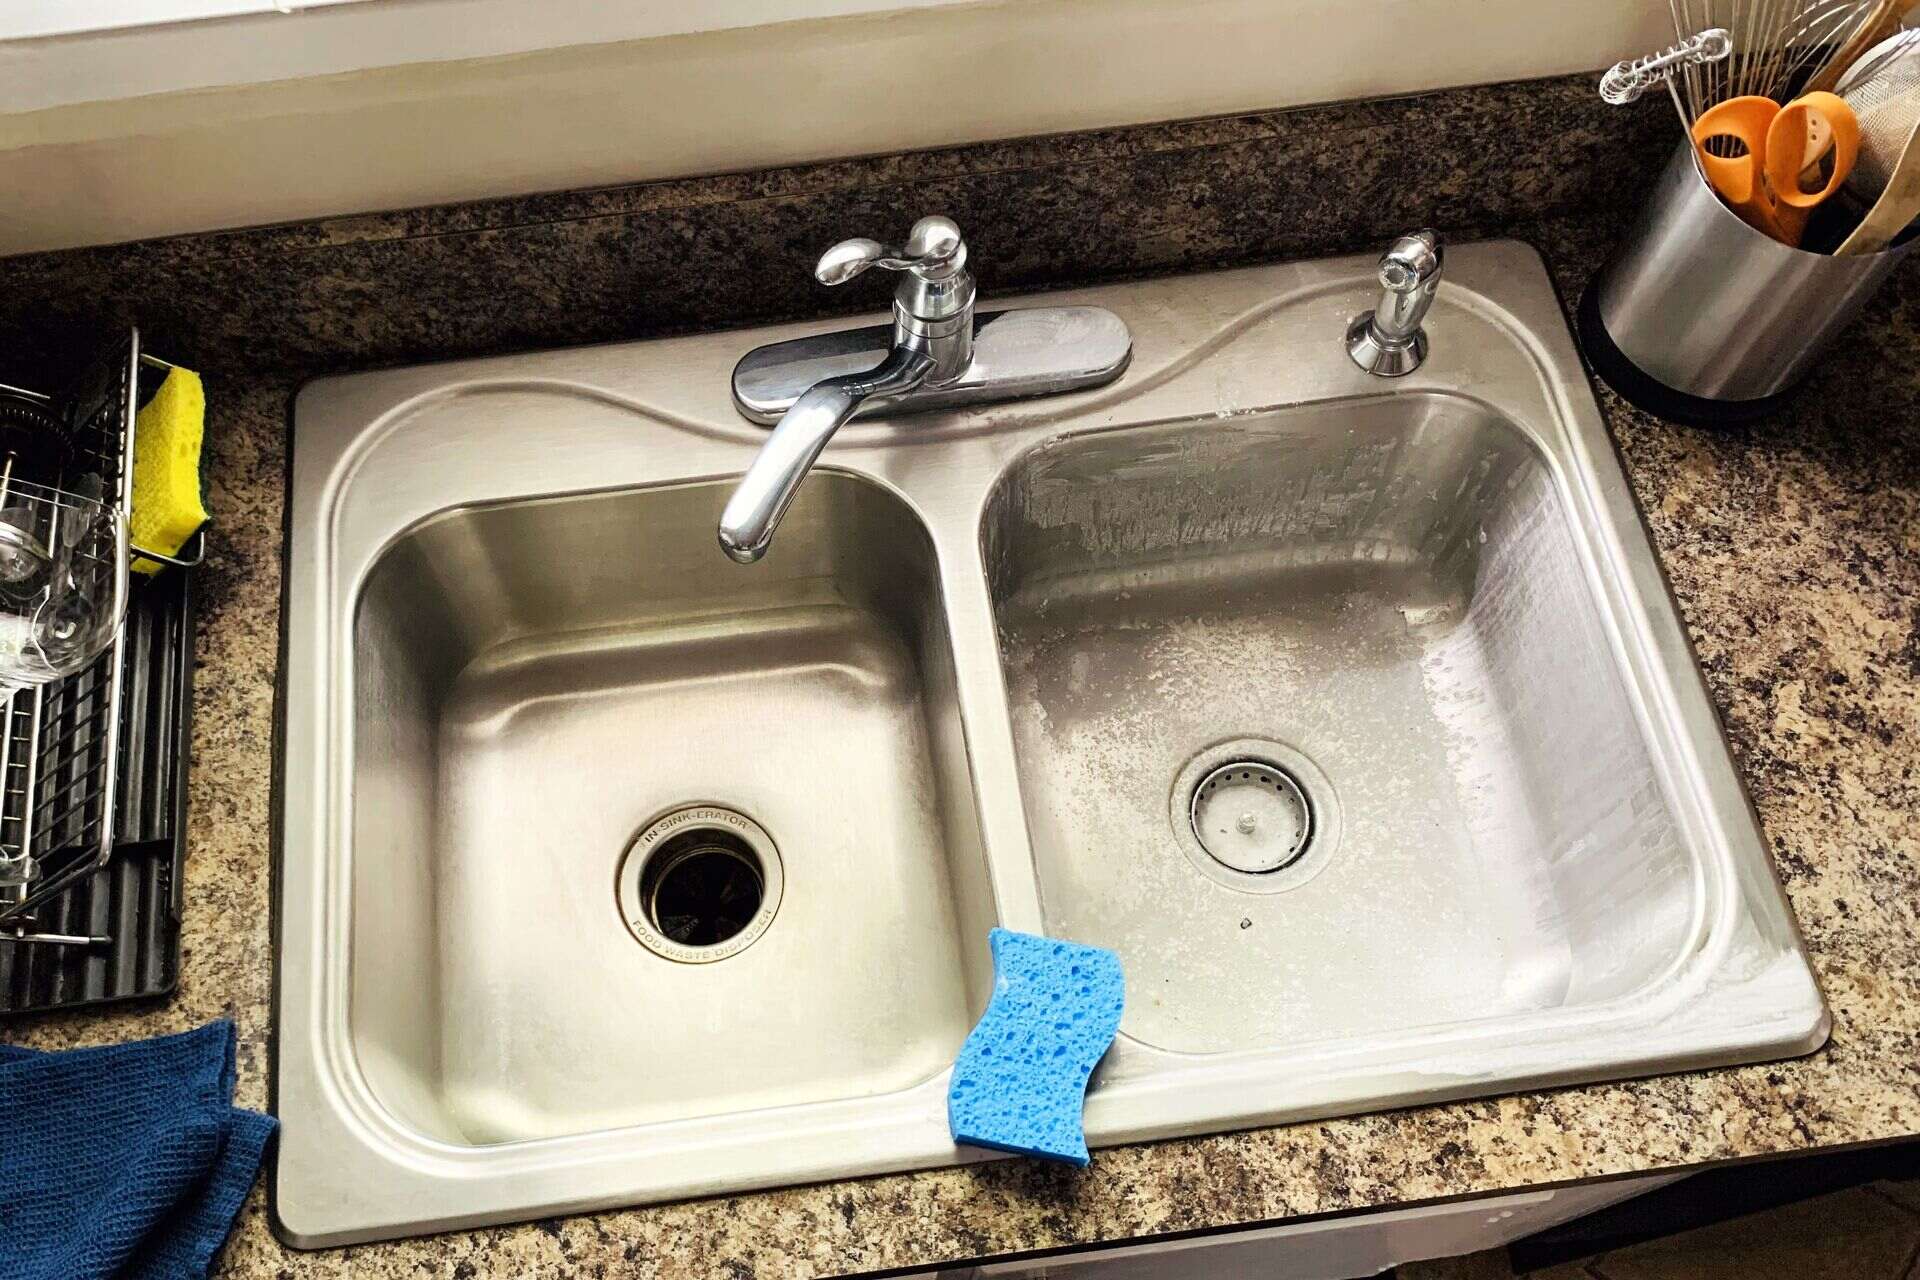
- Clear the sink: Remove any dishes, utensils, or debris from the sink. This will allow you to clean the entire surface of the sink without any obstructions.
- Protect nearby surfaces: If your brass sink is installed in a countertop, use a towel or plastic sheet to cover the surrounding area. This will prevent any cleaning solution from accidentally damaging the countertop or any other nearby surfaces.
- Put on protective gloves: While this step is optional, wearing protective gloves can help prevent any skin irritation or allergies that may arise from contact with cleaning agents.
By taking these precautions, you are setting the stage for a hassle-free cleaning process and ensuring that no damage occurs to any surrounding surfaces or your skin.
Now that you have prepared the sink, it’s time to move on to the next step: creating a cleaning solution. Continue reading to learn more.
Step 2: Create a Cleaning Solution
Creating a gentle and effective cleaning solution is crucial to safely clean your brass sink without causing any damage. Follow these steps to prepare a homemade cleaning solution:
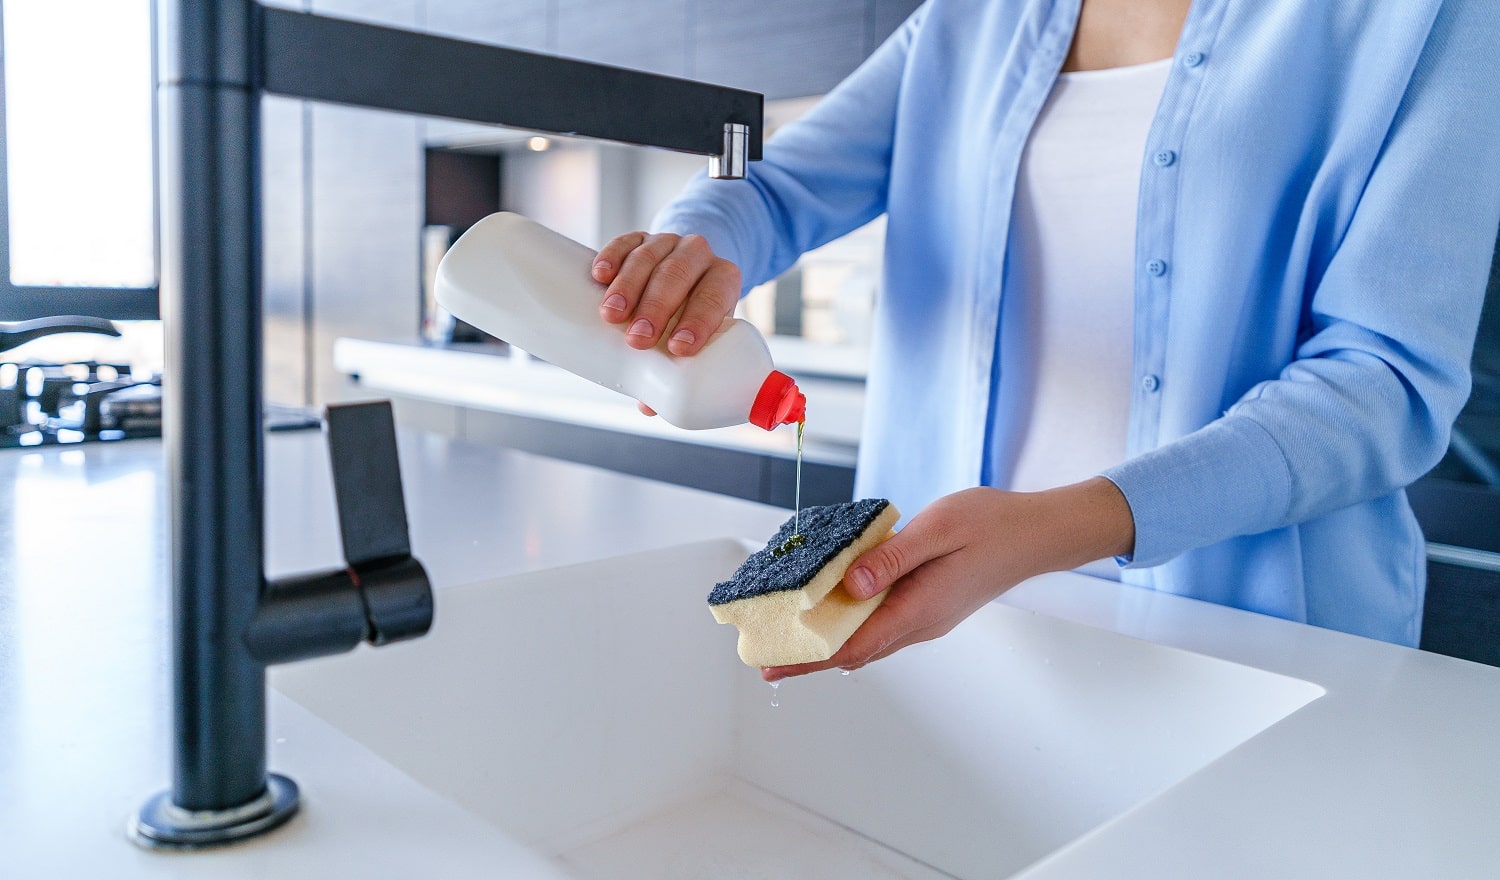
- Dilute mild dish soap: Fill a small bowl or bucket with warm water and add a few drops of mild dish soap. Ensure that the water is not too hot, as excessive heat can damage the brass sink.
- Add lemon or vinegar: To boost the cleaning power of the solution, squeeze the juice of half a lemon or add a few tablespoons of vinegar. The natural acidity helps remove tarnish and mineral deposits from the brass surface.
- Mix the solution: Gently stir the mixture to combine the dish soap, water, and lemon juice or vinegar. Make sure the ingredients are well mixed.
Alternatively, you can use a commercial brass cleaner or a specialized brass cleaning solution available on the market. Follow the instructions provided by the manufacturer for the correct usage and dilution ratio.
Now that your cleaning solution is ready, it’s time to move on to the next step: applying the solution to the brass sink. Continue reading to learn more.
Step 3: Apply the Cleaning Solution
With the cleaning solution prepared, it’s time to apply it to your brass sink. Follow these steps to effectively apply the solution and start removing dirt and grime:
- Soak a soft cloth or sponge: Dip a soft cloth or sponge into the cleaning solution. Make sure the cloth or sponge is saturated but not dripping with the solution.
- Gently apply the solution: Start by gently applying the cleaning solution to the entire surface of the brass sink. Pay extra attention to areas with visible tarnish, stains, or mineral deposits.
- Let the solution sit: Allow the cleaning solution to sit on the brass sink’s surface for a few minutes. This will give the solution time to break down any dirt and grime, making it easier to remove.
Remember to work in small sections at a time to ensure that the cleaning solution does not dry on the sink’s surface. If needed, reapply the cleaning solution to stubborn areas and allow it to sit for a bit longer.
Now that the cleaning solution has had time to work its magic, it’s time to move on to the next step: scrubbing the sink. Continue reading to learn more.
To clean a brass sink, mix equal parts of vinegar and water, then apply the solution to the sink with a soft cloth. Rinse with water and dry thoroughly to prevent water spots. Avoid using abrasive cleaners that can damage the brass finish.
Read more: How To Clean Brass Stove Burners
Step 4: Scrub the Sink
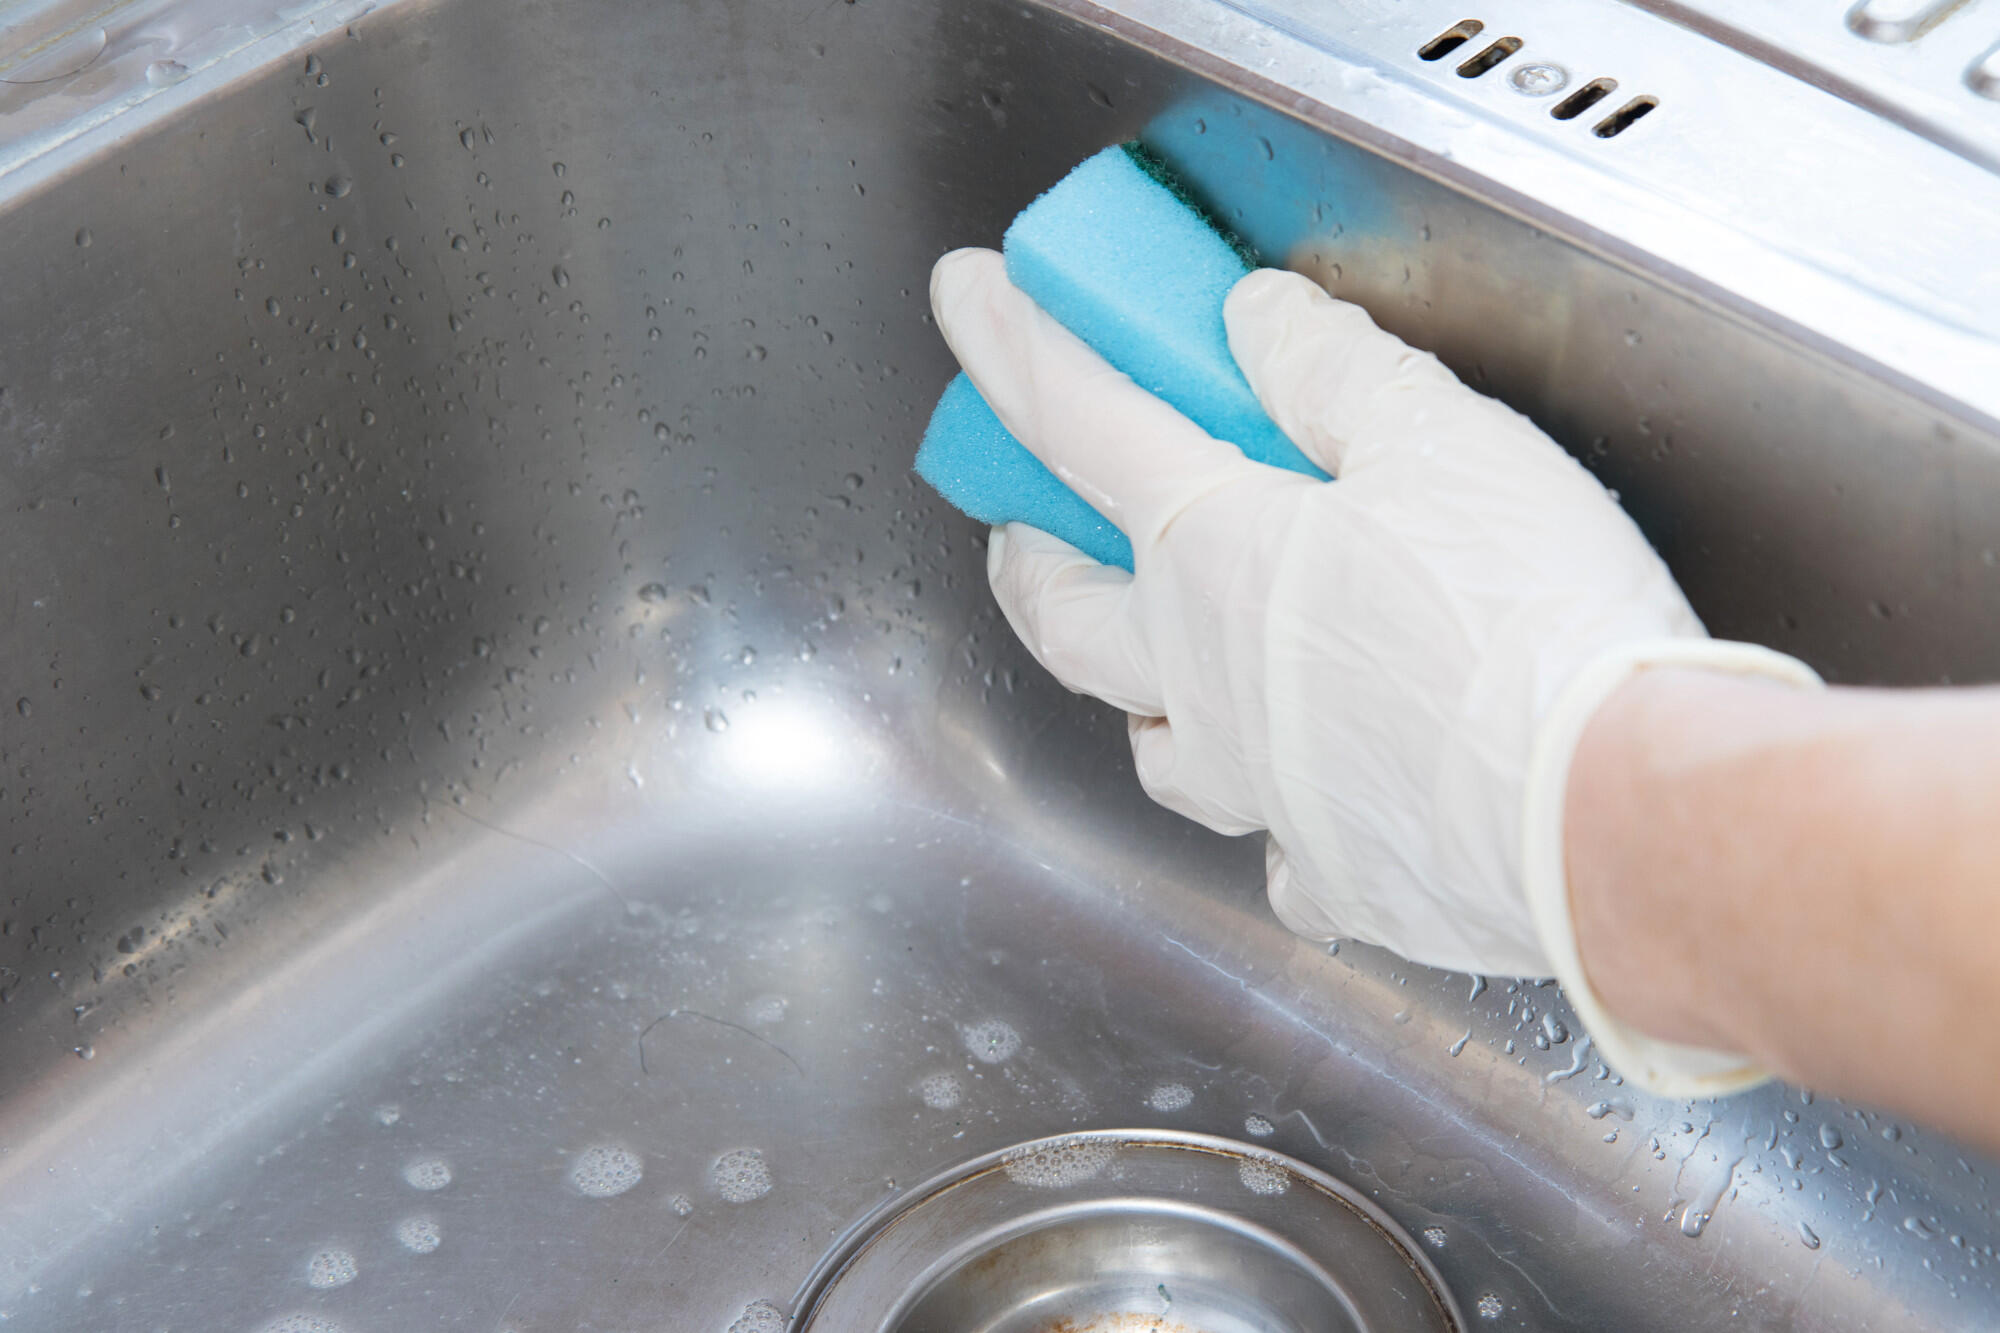
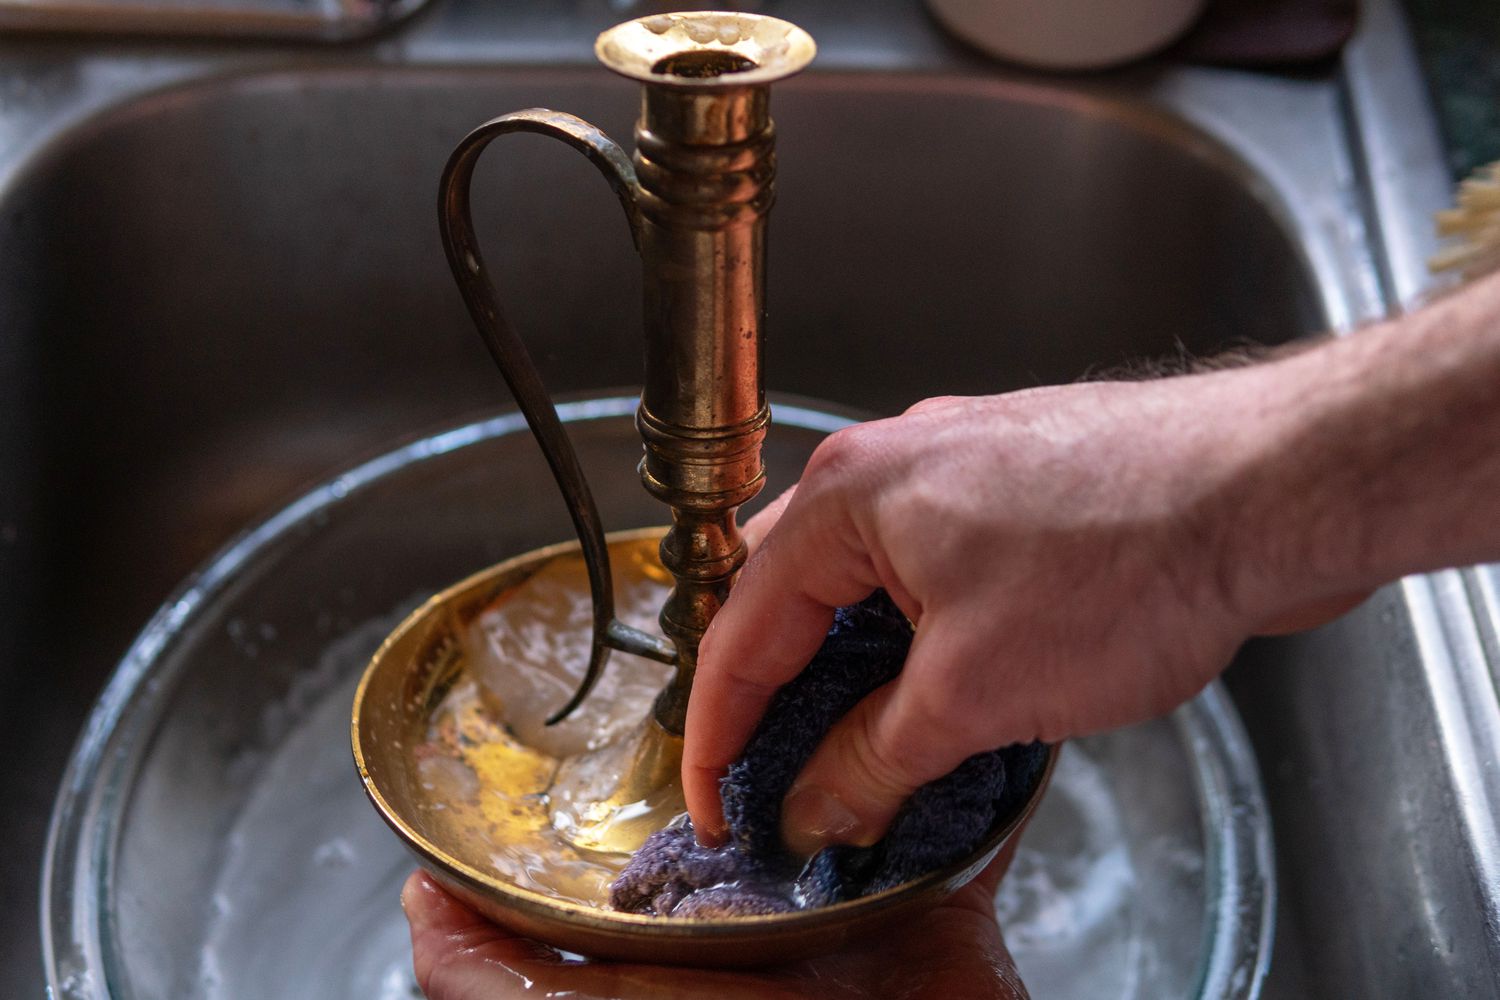
After allowing the cleaning solution to sit on the brass sink’s surface, it’s time to scrub away the dirt and grime. Follow these steps to effectively scrub the sink and restore its shine:
- Use a soft cloth or sponge: Take a soft cloth or sponge and gently scrub the brass sink in circular motions. Apply slight pressure to remove any stubborn stains or tarnish, but be careful not to scrub too hard, as it can scratch the sink’s surface.
- Focus on problem areas: Pay extra attention to areas with heavy tarnish, stains, or mineral deposits. Use gentle but firm scrubbing motions to break down and remove these tough spots.
- Reach difficult areas: For hard-to-reach areas or crevices in the sink, use a toothbrush or a soft-bristle brush. These tools can help remove dirt and grime from corners and edges.
- Continue scrubbing: Repeat the scrubbing process across the entire surface of the brass sink until all dirt, tarnish, and stains are removed. If necessary, apply more cleaning solution to stubborn areas and scrub again.
Remember to rinse your cloth or sponge frequently during the scrubbing process to remove dirt and grime. This ensures that you are effectively cleaning the sink and not just redistributing dirt.
Now that your brass sink is looking cleaner, it’s time to move on to the next step: rinsing the sink. Continue reading to learn more.
Step 5: Rinse the Sink
After scrubbing the brass sink to remove dirt, tarnish, and stains, it’s important to thoroughly rinse the sink to remove any remaining cleaning solution. Follow these steps to effectively rinse your brass sink:
- Use warm water: Turn on the faucet and allow warm water to flow into the sink. The warm water will help rinse away any residue from the cleaning solution.
- Rinse from top to bottom: Start rinsing the sink from the top and work your way down. This ensures that any remaining cleaning solution or debris is flushed away.
- Pay attention to corners and edges: Use your hand or a gentle stream of water to rinse corners and edges thoroughly. These areas often accumulate more cleaning solution or dirt during the scrubbing process.
- Check for residue: After rinsing the sink, inspect it closely to make sure there is no visible residue from the cleaning solution. If you notice any residue, rinse again or wipe it away with a clean, damp cloth.
Proper rinsing is essential to ensure that there are no traces of cleaning solution left on the brass sink’s surface. Leaving residue behind can cause discoloration or damage over time.
Now that you have successfully rinsed your brass sink, it’s time to move on to the final step: drying and polishing. Continue reading to learn more.
Step 6: Dry and Polish the Sink
Now that you have rinsed off the cleaning solution, it’s time to dry and polish your brass sink to bring out its natural shine. Follow these steps to effectively dry and polish your sink:
- Use a microfiber cloth or towel: Take a clean and dry microfiber cloth or towel and gently wipe the entire surface of the brass sink. This will remove any remaining moisture and leave the sink dry.
- Buff the sink: Once the sink is dry, use a separate clean microfiber cloth or towel to buff the surface of the brass. Apply light pressure and make small circular motions to bring out the shine of the sink.
- Apply brass polish (optional): If you want to further enhance the shine and luster of your brass sink, you can use a brass polish. Apply a small amount of brass polish to a soft cloth and gently rub it on the sink’s surface. Follow the manufacturer’s instructions for proper usage.
- Wipe away excess polish: After applying the brass polish, use a clean cloth to wipe away any excess polish from the sink. This will ensure that there is no residue left behind.
By drying and polishing your brass sink, you are not only removing any remaining moisture but also enhancing its appearance and protecting it from future tarnish or stains.
Now that your brass sink is clean, dry, and polished, take a step back and admire its renewed shine and beauty. Regular cleaning and maintenance will help preserve the brilliance and longevity of your brass sink for years to come.
Congratulations! You have successfully cleaned your brass sink and restored its original luster. With these simple steps, you can maintain the beauty and elegance of your sink, making it a focal point in your kitchen or bathroom.
Thank you for following this step-by-step guide on how to clean a brass sink. We hope this article has been helpful, and your brass sink now looks as good as new!
Conclusion
Cleaning a brass sink can seem like a daunting task, but with the right materials, techniques, and a little bit of time and effort, you can bring back its original shine and beauty. By following the step-by-step guide provided in this article, you now have the knowledge and tools to effectively clean and maintain your brass sink.
Remember, when cleaning a brass sink, it’s essential to use gentle cleaning solutions, avoid abrasive materials, and be mindful of the sink’s delicate surface. Regular cleaning and maintenance will help prevent tarnish, mineral deposits, and grime from building up, ensuring that your brass sink continues to be a stunning focal point in your kitchen or bathroom.
In addition to maintaining the cleanliness of your brass sink, it’s important to incorporate regular polishing to enhance its shine and protect it from future tarnish. Polishing your sink not only adds to its aesthetic appeal but also provides a barrier against moisture and other damaging elements.
Lastly, always remember to read and follow the manufacturer’s instructions for cleaning products or commercial cleaners, as some may have specific guidelines or precautions. Additionally, it’s worth noting that different types of brass finishes may require different cleaning methods, so it’s important to research and follow the appropriate care instructions for your particular sink.
We hope this article has been helpful in guiding you through the process of cleaning a brass sink. By dedicating a little time and effort to the maintenance of your sink, you can enjoy its timeless beauty and elegance for many years to come.
Thank you for reading, and happy cleaning!
Frequently Asked Questions about How To Clean A Brass Sink
Was this page helpful?
At Storables.com, we guarantee accurate and reliable information. Our content, validated by Expert Board Contributors, is crafted following stringent Editorial Policies. We're committed to providing you with well-researched, expert-backed insights for all your informational needs.

0 thoughts on “How To Clean A Brass Sink”