Articles
How To Secure A Floor Mirror
Modified: May 6, 2024
Discover the best articles on how to secure a floor mirror to keep it stable and safe in any room. Expert tips and step-by-step guides.
(Many of the links in this article redirect to a specific reviewed product. Your purchase of these products through affiliate links helps to generate commission for Storables.com, at no extra cost. Learn more)
Introduction
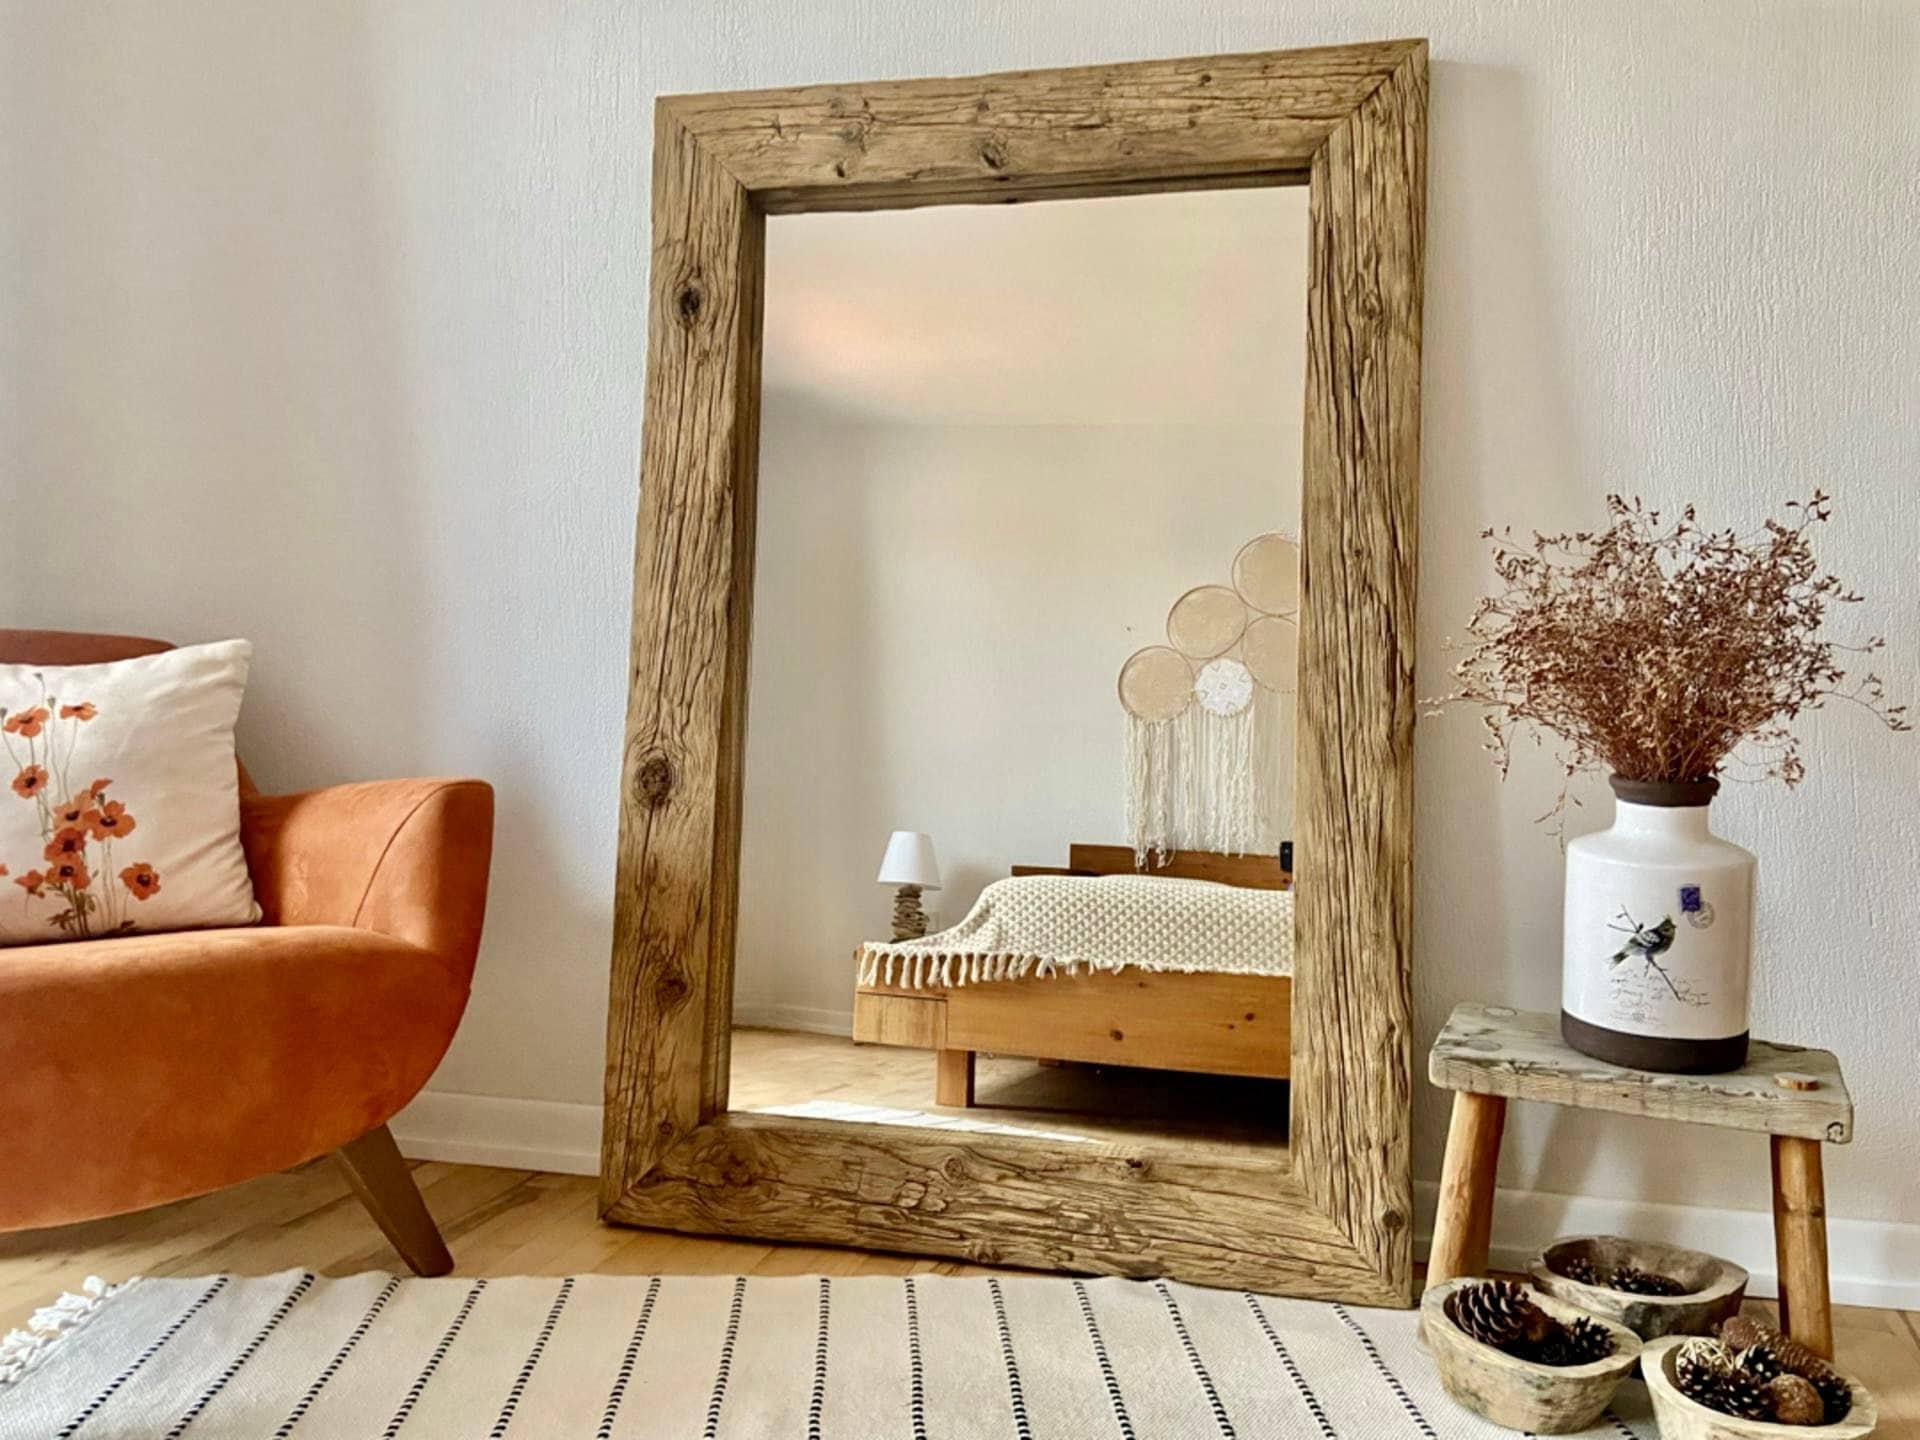
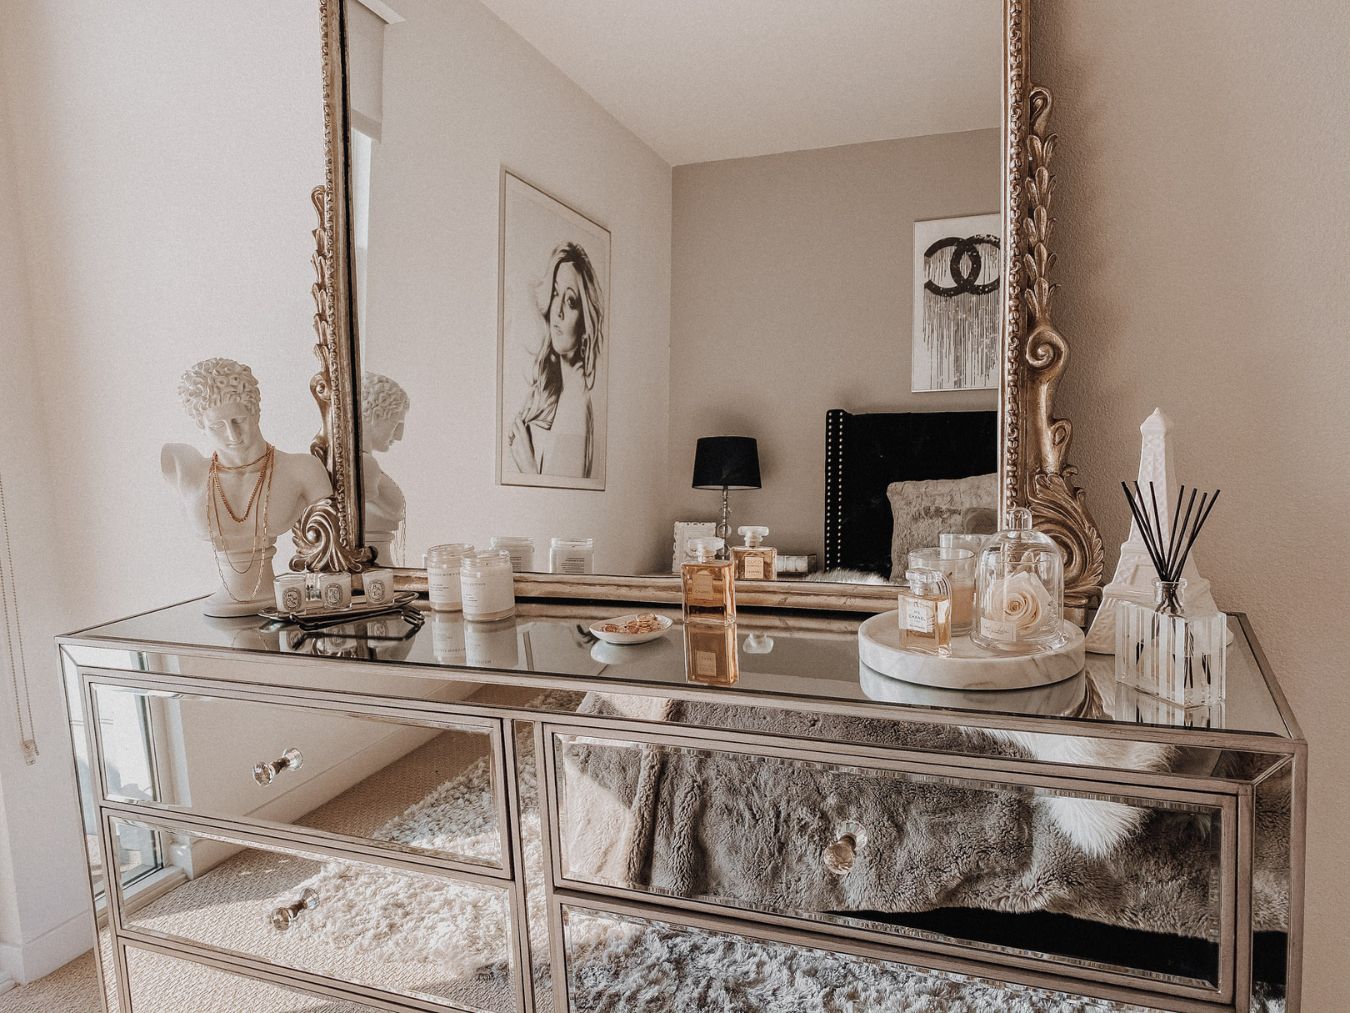
Having a floor mirror in your home can add a touch of elegance and functionality to any space. Whether you use it for getting ready in the morning, checking your outfit before you head out, or simply as a decorative element in your living room, a floor mirror can truly enhance the overall aesthetic of your home.
However, it’s important to ensure that your floor mirror is properly secured to prevent it from tipping over and causing accidents. Accidental tip-overs of floor mirrors can pose a serious safety risk, especially if they are not properly anchored to the wall or if they are not securely attached to the floor.
In this article, we will guide you through the process of securing a floor mirror to ensure the safety of your household. By following these steps, you can enjoy your floor mirror without any worries and have peace of mind knowing that it is securely in place.
Key Takeaways:
- Properly securing a floor mirror involves choosing the right location, anchoring it to the wall, using anti-tip straps, adding a safety film, and regular maintenance. These steps ensure safety and stability for your household.
- Educating household members about mirror safety, especially children, and discouraging rough play near the mirror are essential for preventing accidents. By implementing these measures, you can enjoy a safe and stylish space with your floor mirror.
Read more: How To Secure A Leaning Mirror On A Dresser
Step 1: Choosing the right location
The first step in securing a floor mirror is choosing the right location for it. It’s important to consider both the aesthetics and the safety aspects when deciding where to place your mirror.
Start by finding a sturdy and level surface to position the mirror. Avoid placing it on uneven flooring or near areas where it may be easily bumped or knocked over. It’s also essential to ensure that the mirror is not blocking any doorways or walkways, as this could pose a hazard in case of a fall.
Consider placing the mirror against a wall to provide additional stability. This will not only help in anchoring the mirror but will also prevent it from being accidentally bumped or pushed over. Look for a location that is away from heavy foot traffic and where it will have ample space to stand securely.
Another important consideration when selecting the location is the lighting. Position the mirror in an area where it will receive adequate natural light or where you can easily place additional lighting fixtures. This will ensure that you have good visibility when using the mirror and will prevent any accidents caused by poor lighting conditions.
Once you have chosen the ideal location for your floor mirror, move on to the next step to properly secure it to the wall.
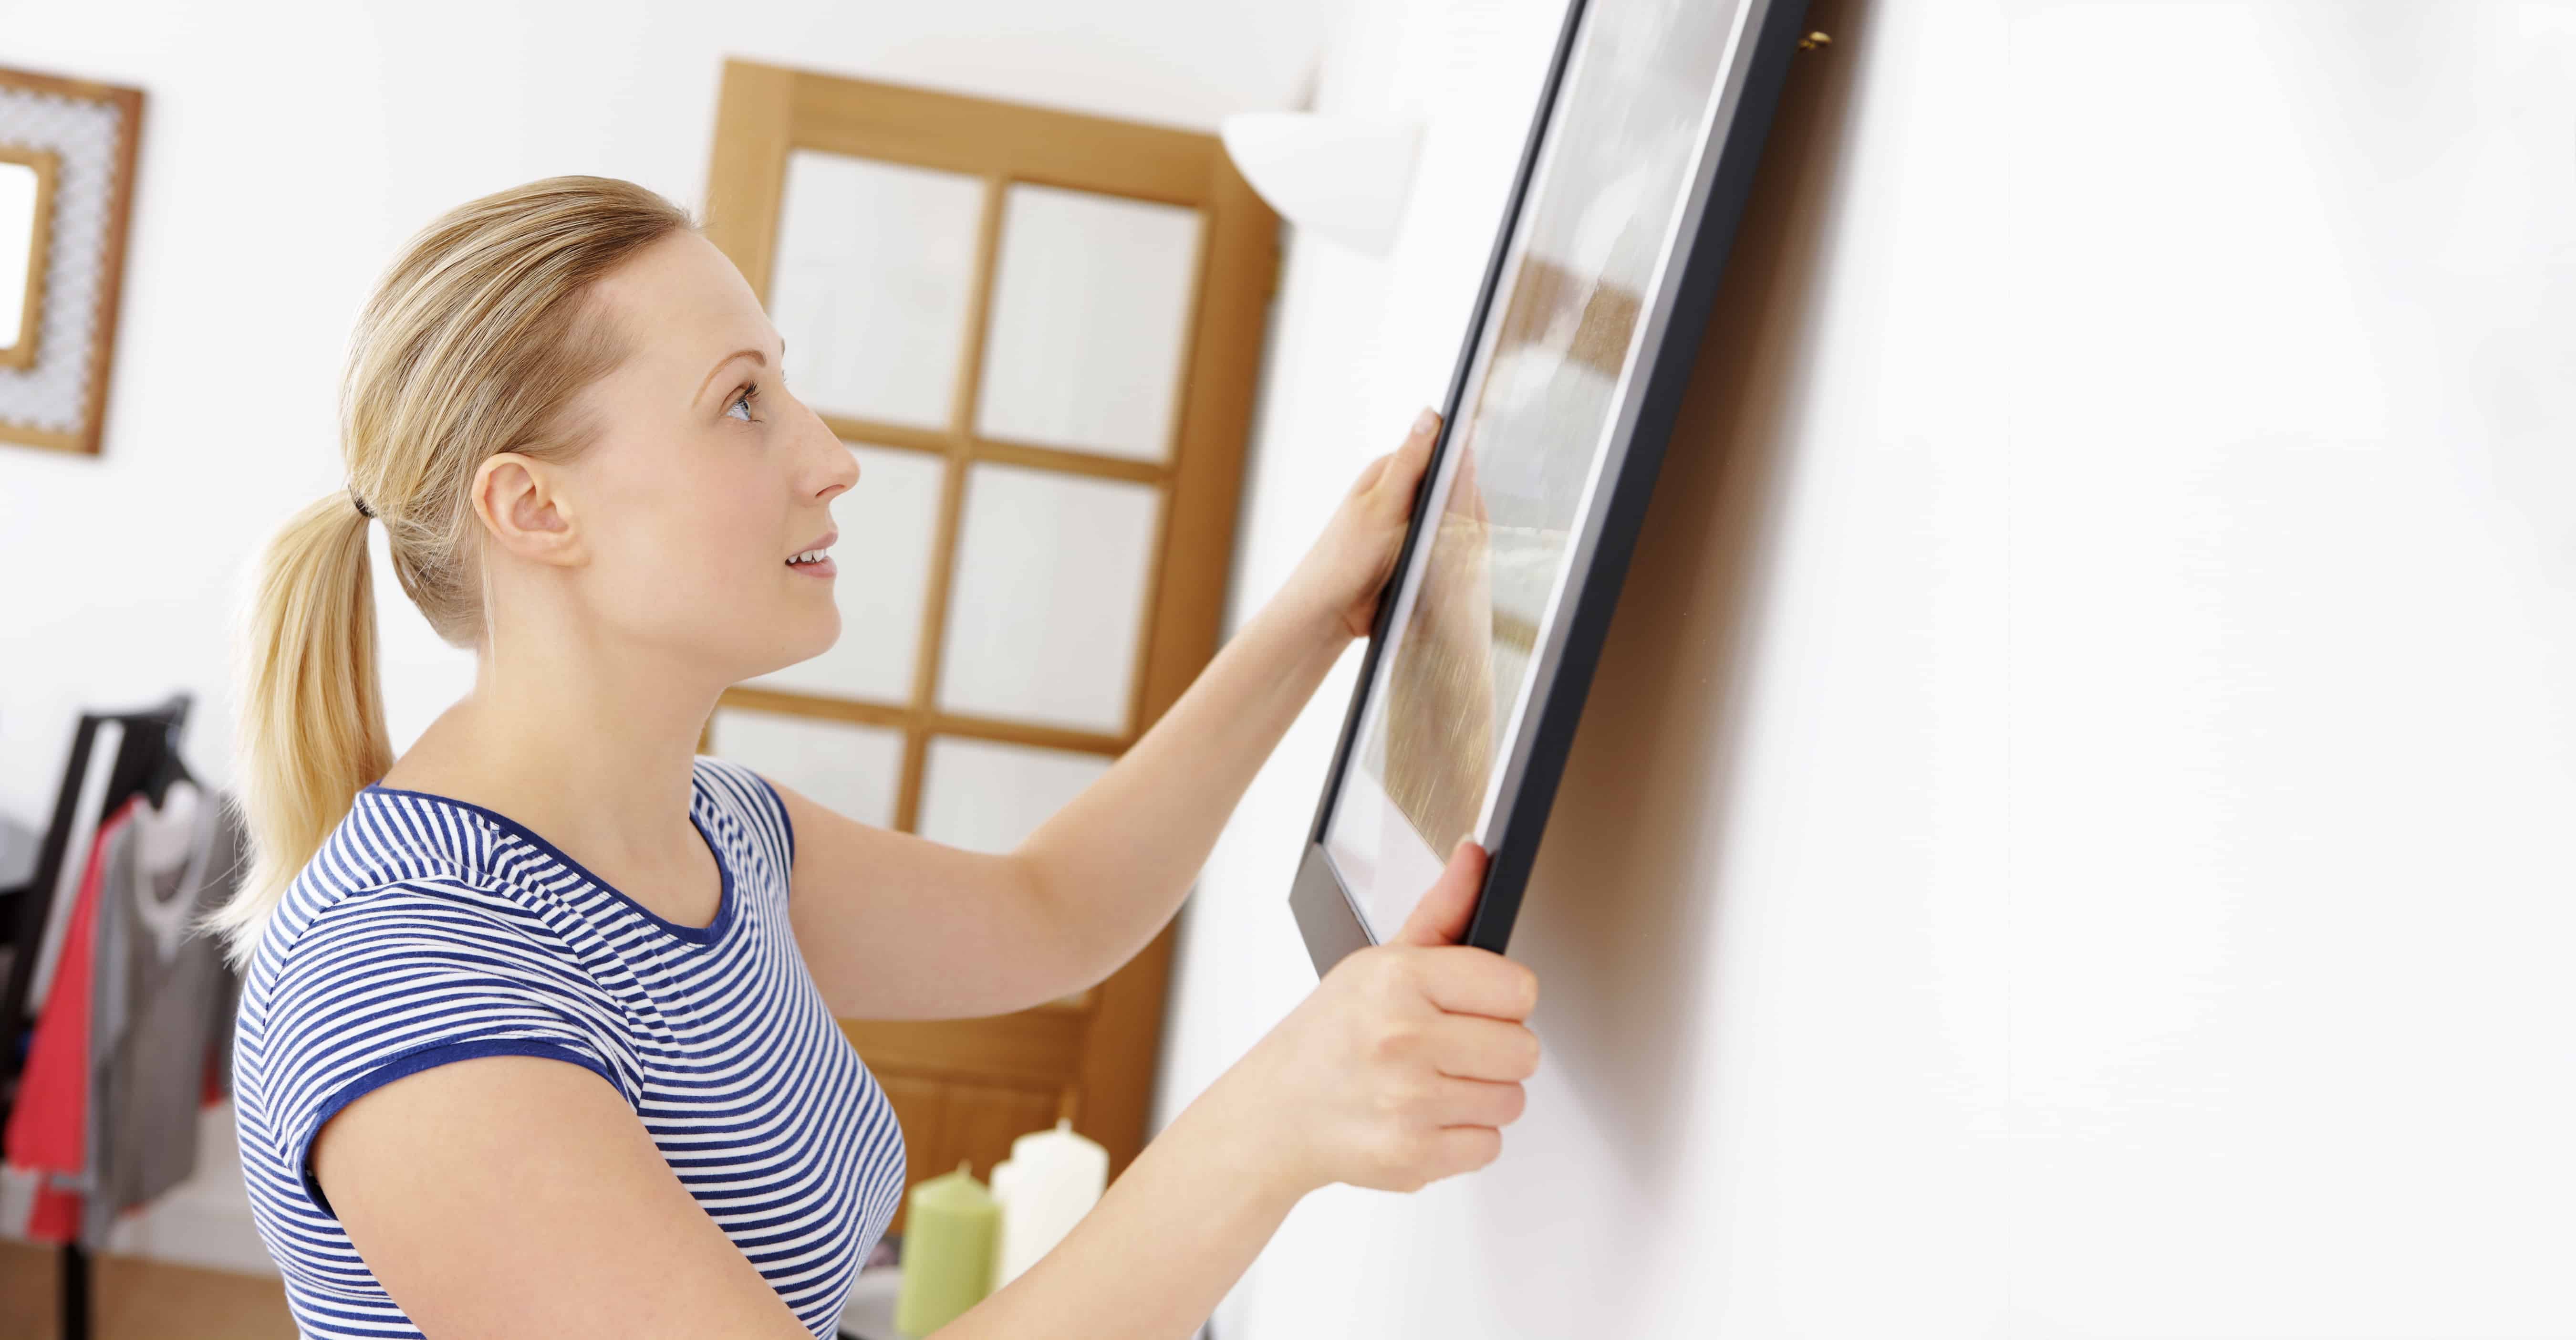
Step 2: Anchoring the mirror to the wall
When it comes to securing your floor mirror, anchoring it to the wall is a critical step for stability and safety. This will prevent the mirror from tipping over and potentially causing damage or injury.
Start by identifying the type of wall you have. If you have a drywall, you will need to locate the wall studs to ensure a secure anchor. Studs are the vertical beams behind the wall that provide extra support and stability. Use a stud finder to locate the studs, and mark them with a pencil.
Once you have located the studs, use a drill and screws to attach mirror brackets or D-ring hangers to the wall. Make sure the brackets or hangers are positioned securely into the studs for maximum stability. Follow the manufacturer’s instructions for proper installation.
If you have a concrete or masonry wall, you will need to use special wall anchors designed for these types of surfaces. These anchors provide a secure attachment point for the mirror. Again, follow the manufacturer’s instructions for proper installation.
Ensure that the brackets or hangers are level and securely attached to the wall. Once you have installed the brackets, carefully lift the mirror and place it onto the brackets. Be sure to have someone assist you in this step to avoid any accidents or damage to the mirror.
After the mirror is properly anchored to the wall, give it a gentle shake to ensure that it is secure. If it feels wobbly or unstable, readjust the brackets or hangers as necessary to achieve a secure fit.
Anchoring your mirror to the wall is an essential step in securing it and preventing accidents. Once you have completed this step, move on to the next one for an added layer of safety.
Step 3: Using anti-tip straps
While properly anchoring your floor mirror to the wall is a great step towards securing it, adding additional reinforcement with anti-tip straps adds an extra layer of safety and stability.
Anti-tip straps are designed to secure large furniture items, including floor mirrors, to the wall. These straps can help prevent the mirror from tipping over, especially in situations where it may be accidentally bumped or pulled by children or pets.
To use anti-tip straps, start by attaching one end of the strap to the back of the mirror or the mirror frame, using the provided screws or adhesive. Ensure that the attachment is secure and that the strap is pulled taut.
Next, locate a stud in the wall near the bottom of the mirror and attach the other end of the strap to the stud. If a stud is not available, use a drywall anchor or a wall anchor specifically designed for the weight of the mirror.
Make sure to position the strap in a way that it is not visible from the front when the mirror is in use. You can hide the strap behind the mirror or opt for a color that blends with the wall to make it less noticeable.
Once the strap is securely fastened, give the mirror a gentle tug to ensure that it is held firmly in place. Adjust the strap as necessary for a secure fit.
Using anti-tip straps provides an added level of security, especially in households with children or pets. It’s a proactive measure that can help prevent accidents and ensure the stability of your floor mirror.
With the mirror securely anchored to the wall and anti-tip straps in place, move on to the next step to further enhance the safety of your mirror.
When securing a floor mirror, use earthquake putty or adhesive strips to attach it to the wall or anchor it to the floor to prevent tipping over and causing injury.
Step 4: Adding a safety film
In addition to anchoring your floor mirror to the wall and using anti-tip straps, adding a safety film is another effective way to enhance the security of your mirror. A safety film acts as a protective layer that helps prevent the mirror from shattering in the event of an accidental impact.
To add a safety film to your floor mirror, start by thoroughly cleaning the mirror surface to ensure proper adhesion. Remove any dust, dirt, or fingerprints using a gentle glass cleaner and a soft, lint-free cloth.
Measure the dimensions of your mirror and cut the safety film accordingly. Ensure that the film is slightly smaller than the mirror to allow for a seamless and secure fit.
Peel off the backing of the safety film and carefully apply it to the mirror surface, starting from one corner and pressing it down firmly as you go. Use a squeegee or a credit card to smooth out any air bubbles or wrinkles, ensuring a smooth and even application.
Once the safety film is applied, give it some time to properly bond with the mirror surface. Follow the manufacturer’s instructions for the recommended curing time.
A safety film adds an extra layer of protection, reducing the risk of injury in case the mirror shatters. It helps to hold together the broken pieces, preventing them from scattering and causing potential harm.
However, it’s important to note that while safety films can help minimize the risks, they do not guarantee complete protection. It is still essential to prevent the mirror from tipping over or being subjected to heavy impacts.
By combining the anchoring to the wall, anti-tip straps, and a safety film, you significantly enhance the safety and stability of your floor mirror. With these measures in place, move on to the next step for an additional method of securing your mirror.
Read more: How To Secure Floor Vents
Step 5: Securing the mirror with brackets
In addition to anchoring the mirror to the wall, another effective method to secure your floor mirror is by using brackets. Brackets provide additional support and stability, especially for larger and heavier mirrors.
Start by measuring the height at which you want the mirror to hang. Mark the desired height on the wall using a pencil. This will serve as a reference point for installing the brackets.
Next, hold one bracket against the wall at the marked height and use a level to ensure it is straight. Once aligned, mark the screw holes on the wall with a pencil.
Using a drill, create pilot holes at the marked screw hole locations. This will make it easier to attach the brackets securely to the wall.
Once the pilot holes are created, align the bracket over the holes and use screws to securely fasten it to the wall. Repeat the same process for the second bracket, ensuring it is level and aligned with the first bracket.
After the brackets are securely attached to the wall, carefully lift the mirror and place it onto the brackets. Make sure the mirror rests securely on the brackets and is level. If necessary, adjust the brackets to achieve a level position.
For an added layer of security, consider using adhesive or Velcro strips to securely attach the mirror to the brackets. This will help prevent any accidental sliding or dislodging of the mirror.
Securing the mirror with brackets provides extra stability and ensures that the mirror remains in place, even in high-traffic areas or situations where it may be bumped or jostled.
With the mirror properly secured using brackets, proceed to the final step for ongoing maintenance and inspection to ensure the continued safety and stability of your floor mirror.
Step 6: Regular maintenance and inspection
Once you have secured your floor mirror, it’s important to regularly maintain and inspect it to ensure its continued safety and stability. By following these maintenance practices, you can detect and address any potential issues before they become a safety hazard.
First and foremost, regularly check the integrity of the anchor points and brackets. Ensure that the screws or fasteners are tight and secure. If you notice any looseness or instability, immediately tighten the screws or seek professional assistance if needed.
Inspect the mirror itself for any cracks, signs of damage, or loose parts. Pay attention to the edges and corners, as they are more prone to stress and potential breakage. If you notice any damage, consider replacing the mirror or consult a professional to assess the repairability of the mirror.
Additionally, periodically check the wall anchor points and ensure they are still secure. Over time, wall anchors may loosen or degrade. If needed, reinforce the anchor points to maintain the stability of the mirror.
Clean the mirror surface regularly to maintain visibility and prevent buildup of dust, dirt, or smudges. Use a gentle glass cleaner and a soft, lint-free cloth to wipe the mirror. Avoid using abrasive cleaners or rough materials that could scratch the mirror surface.
If you have children or pets in the household, educate them about the importance of not climbing or hanging on the mirror. Reinforce the message of mirror safety to prevent accidents or damage caused by unintended force or playing near the mirror.
Finally, periodically reassess the positioning of the mirror to ensure that it is still in a safe and optimal location. Check for any changes in the surroundings or furniture arrangement that may increase the risk of the mirror being bumped or knocked over.
By conducting regular maintenance and inspection of your floor mirror, you can address any potential issues before they compromise the safety and stability of the mirror. Stay vigilant and prioritize the safety of your household, making your floor mirror a beautiful and secure addition to your home.
Conclusion
Securing your floor mirror is a crucial step in ensuring the safety of your household. By following the steps outlined in this guide, you can protect your mirror from tipping over and causing potential accidents or damage.
Choosing the right location for your mirror sets the foundation for its stability. Anchoring the mirror to the wall using brackets or hangers provides a strong and secure attachment point. Using anti-tip straps adds an extra layer of protection, reducing the risk of tip-overs. Applying a safety film helps prevent the mirror from shattering in the event of an impact. And finally, regularly maintaining and inspecting the mirror ensures its continued safety and stability.
Remember, while these steps significantly enhance the security of your floor mirror, it is important to remain cautious and take precautions to prevent accidents. Educate household members about mirror safety, especially children, and discourage any climbing or rough play near the mirror.
By implementing these measures and being proactive in securing your floor mirror, you can enjoy its beauty and functionality without the worry of accidents or instability. Take the necessary steps to protect your household and create a safe and stylish space with your floor mirror.
Now that you've learned how to secure a floor mirror safely, consider broadening your knowledge on protecting your entire home. Ensuring personal and property safety extends beyond mere decorations; securing your living space is vital. Our piece on home safety strategies offers invaluable insights. It covers everything you need to maintain peace of mind in your sanctuary.
Frequently Asked Questions about How To Secure A Floor Mirror
Was this page helpful?
At Storables.com, we guarantee accurate and reliable information. Our content, validated by Expert Board Contributors, is crafted following stringent Editorial Policies. We're committed to providing you with well-researched, expert-backed insights for all your informational needs.


0 thoughts on “How To Secure A Floor Mirror”