Articles
How To Cut Mirrors
Modified: October 19, 2024
Learn the best techniques for cutting mirrors with these informative articles. Master the art of mirror cutting and create stunning pieces for your home or business.
(Many of the links in this article redirect to a specific reviewed product. Your purchase of these products through affiliate links helps to generate commission for Storables.com, at no extra cost. Learn more)
Introduction
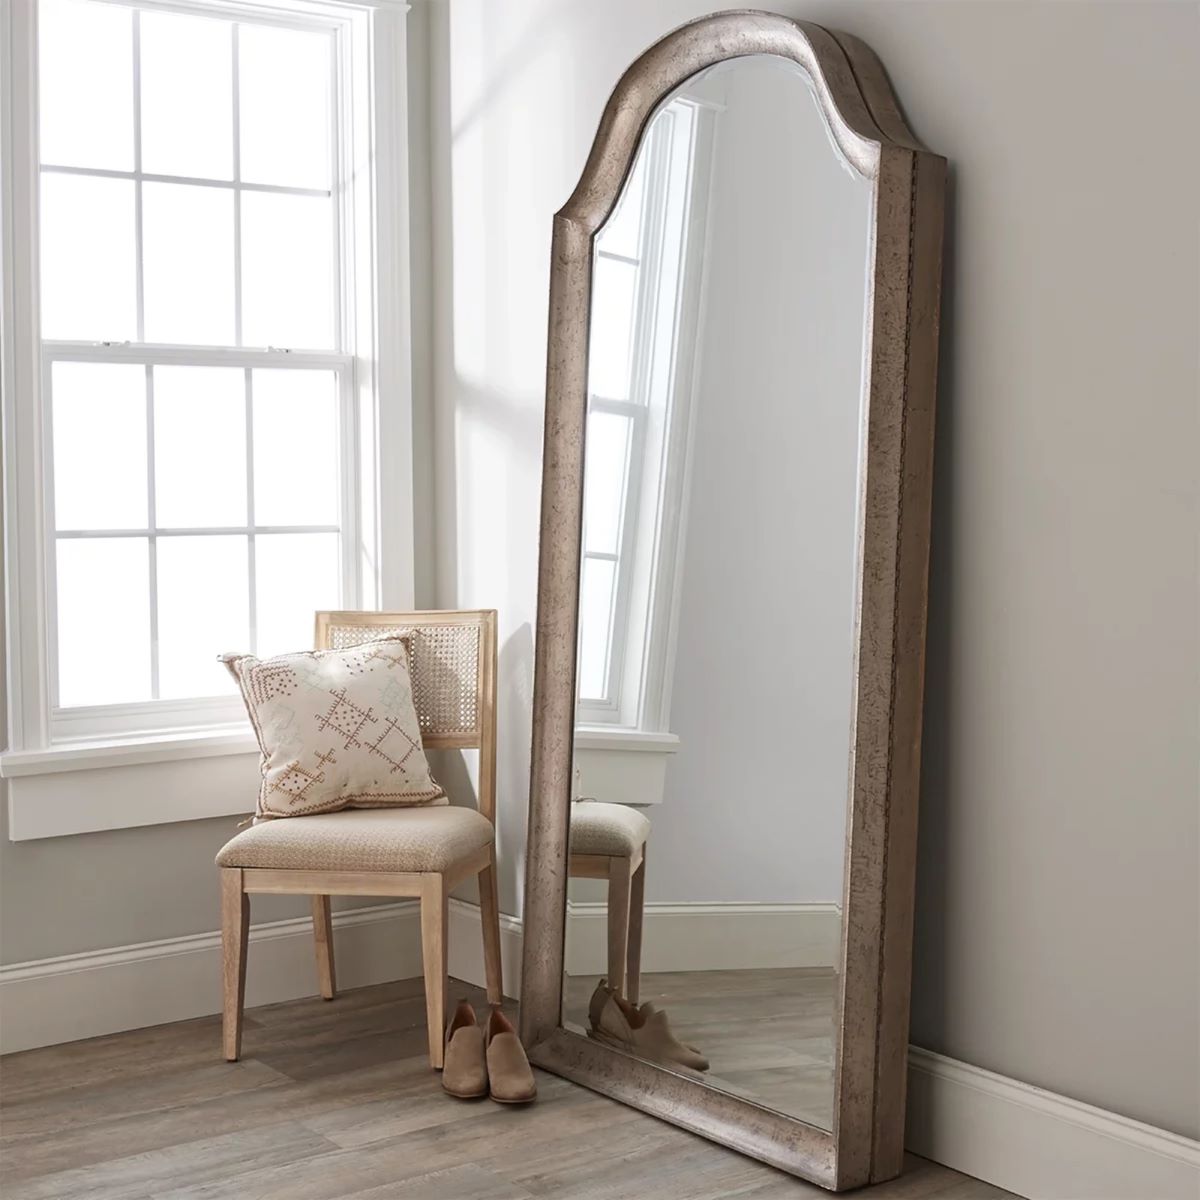
Have you ever found the perfect mirror for your home, only to discover that it doesn’t quite fit in the desired space? Or, perhaps you want to create a unique, custom-sized mirror for a specific project. In these situations, knowing how to cut mirrors can save you time and money.
Although cutting glass may seem intimidating, with the right tools and techniques, it can be a straightforward process. In this article, we will walk you through the step-by-step guide on how to cut mirrors effectively. Whether you’re a DIY enthusiast or a professional, this article will provide you with the knowledge and skills to handle the task with confidence.
Before diving into the cutting process, let’s first discuss the essential tools you’ll need:
- Glass Cutter
- Straightedge
- Marker or Glass Scorer
- Safety Gloves
- Safety Glasses
- Masking Tape
- Protective Surface
- Cotton Gloves
Now that you have the necessary tools, let’s move on to choosing the right glass cutter for the job.
Key Takeaways:
- Cutting mirrors is a manageable task with the right tools and techniques. From choosing the right glass cutter to executing proper cutting techniques, attention to detail and safety are essential for successful mirror cutting.
- Prioritizing safety, avoiding common mistakes, and adding finishing touches are crucial for achieving clean and precise cuts. With patience and precision, cutting mirrors can be a rewarding and creative endeavor.
Necessary Tools
When it comes to cutting mirrors, having the right tools is crucial to achieving clean and precise cuts. Here are the essential tools you’ll need:
- Glass Cutter: The glass cutter is the primary tool for cutting mirrors. It features a sharp, diamond- or carbide-tipped wheel that scores the surface of the glass.
- Straightedge: A straightedge, such as a ruler or a level, is used to guide the glass cutter along a straight line. It ensures accuracy and prevents the cutter from deviating.
- Marker or Glass Scorer: A marker or glass scorer is used to create guide marks on the mirror. These marks indicate where the glass will be cut and help you maintain a straight line.
- Safety Gloves: Safety gloves are essential to protect your hands from potential cuts or injuries. Choose gloves that offer a good grip and dexterity without compromising safety.
- Safety Glasses: Safety glasses are a must to protect your eyes from any glass shards or debris that might be generated during the cutting process.
- Masking Tape: Masking tape is used to create a protective layer on the mirror’s surface before cutting. It helps prevent chipping and safeguards the adjoining areas.
- Protective Surface: A sturdy and flat surface, such as a workbench or a table covered with a soft cloth, provides a safe and stable workspace for cutting the mirror.
- Cotton Gloves: Cotton gloves are useful for handling the mirror, as they prevent fingerprints and smudges on the surface.
Having these tools ready and easily accessible will make the mirror cutting process smoother and more efficient. Now that you have the necessary tools, let’s move on to choosing the right glass cutter for the job.
Choosing the Right Glass Cutter
When it comes to cutting mirrors, selecting the right glass cutter is essential for achieving clean and precise cuts. Here are some factors to consider when choosing the right glass cutter:
- Type of Cutter: There are different types of glass cutters available, such as oil-filled cutters, pistol grip cutters, and self-lubricating cutters. Consider your personal preference and comfort level when selecting the type that suits you best.
- Tipped Wheel: The wheel of the glass cutter is often made of either diamond or carbide. Diamond-tipped wheels are more durable and suitable for cutting mirrors. Carbide-tipped wheels, on the other hand, are more affordable but may wear out faster.
- Size: Glass cutters come in various sizes, typically ranging from 3mm to 12mm. For cutting typical mirrors, a cutter with a 6mm to 8mm wheel size is generally suitable.
- Grip and Comfort: Look for a glass cutter with a comfortable grip that allows for a firm and steady hold. Ergonomic designs with rubberized handles can provide better control and reduce hand fatigue during the cutting process.
- Quality: Invest in a high-quality glass cutter from a reputable brand. While it may cost more initially, it will provide more accurate and consistent results, ensuring that your mirror cutting projects are successful.
Before using the glass cutter, make sure the wheel is sharp and free from any debris or damage. Dull wheels or wheels with nicks can result in uneven scoring, making it difficult to achieve clean cuts.
It’s also worth mentioning that some glass cutters come with additional features, such as built-in oil reservoirs or self-lubricating mechanisms. These features can help reduce friction and improve the overall cutting experience.
Taking the time to choose the right glass cutter based on these factors will greatly impact the quality and ease of cutting mirrors. Once you have selected the perfect glass cutter, you are ready to move on to preparing the mirror for cutting.
Preparing the Mirror
Before you begin cutting the mirror, it’s essential to properly prepare the surface to ensure smooth and successful cuts. Here are the steps to follow when preparing the mirror:
- Clean the Mirror: Start by cleaning the mirror thoroughly to remove any dirt, dust, or fingerprints. Use a glass cleaner and a lint-free cloth to wipe the surface gently.
- Apply Masking Tape: To protect the mirror from chipping and to create a guide for your cutting line, apply strips of masking tape along the areas where you will be cutting. This will help prevent the glass from cracking or splintering during the cutting process.
- Mark the Cutting Line: Using the marker or glass scorer, carefully mark the cutting line on the masking tape. Ensure that the line is straight and aligned with your desired measurement.
- Double Check Measurements: Before proceeding, double-check your measurements to ensure accuracy. Remember the old adage: “Measure twice, cut once.” This step will save you from any future errors or mistakes.
By properly preparing the mirror before cutting, you create a barrier to protect the glass and establish a clear cutting line. Now that the mirror is ready, it’s time to move on to the next step: measuring and marking.
Measuring and Marking
Accurate measurements and precise markings are crucial when cutting mirrors to ensure that the final result fits perfectly into your intended space. Follow these steps to measure and mark the mirror:
- Measure the Space: Use a measuring tape to determine the dimensions of the area where the mirror will be placed. Take both the width and height measurements, allowing for any desired margins or borders.
- Transfer the Measurements: On the mirror’s masking tape, mark the measurements using a ruler or straightedge. Use a pencil or marker to make small, visible marks along the top and bottom for the width and along the sides for the height.
- Create the Cutting Line: Connect the marked points with a straight line using the ruler or straightedge. Ensure that the line is straight and aligned with your desired measurements. This line will serve as a guide when cutting the mirror.
- Double-check the Dimensions: Before proceeding, double-check your measurements to ensure accuracy. Confirm that the cutting line corresponds with the desired dimensions. Adjust if necessary.
When marking the mirror, it’s important to use a pencil or marker that is easily visible on the masking tape. This will help you maintain precision during the cutting process.
Remember, accuracy is key at this stage. Taking the time to measure and mark the mirror properly will result in a clean, well-fitted final product. Now that the mirror is measured and marked, it’s time to move on to the cutting process itself.
Read more: How To Cut Glass
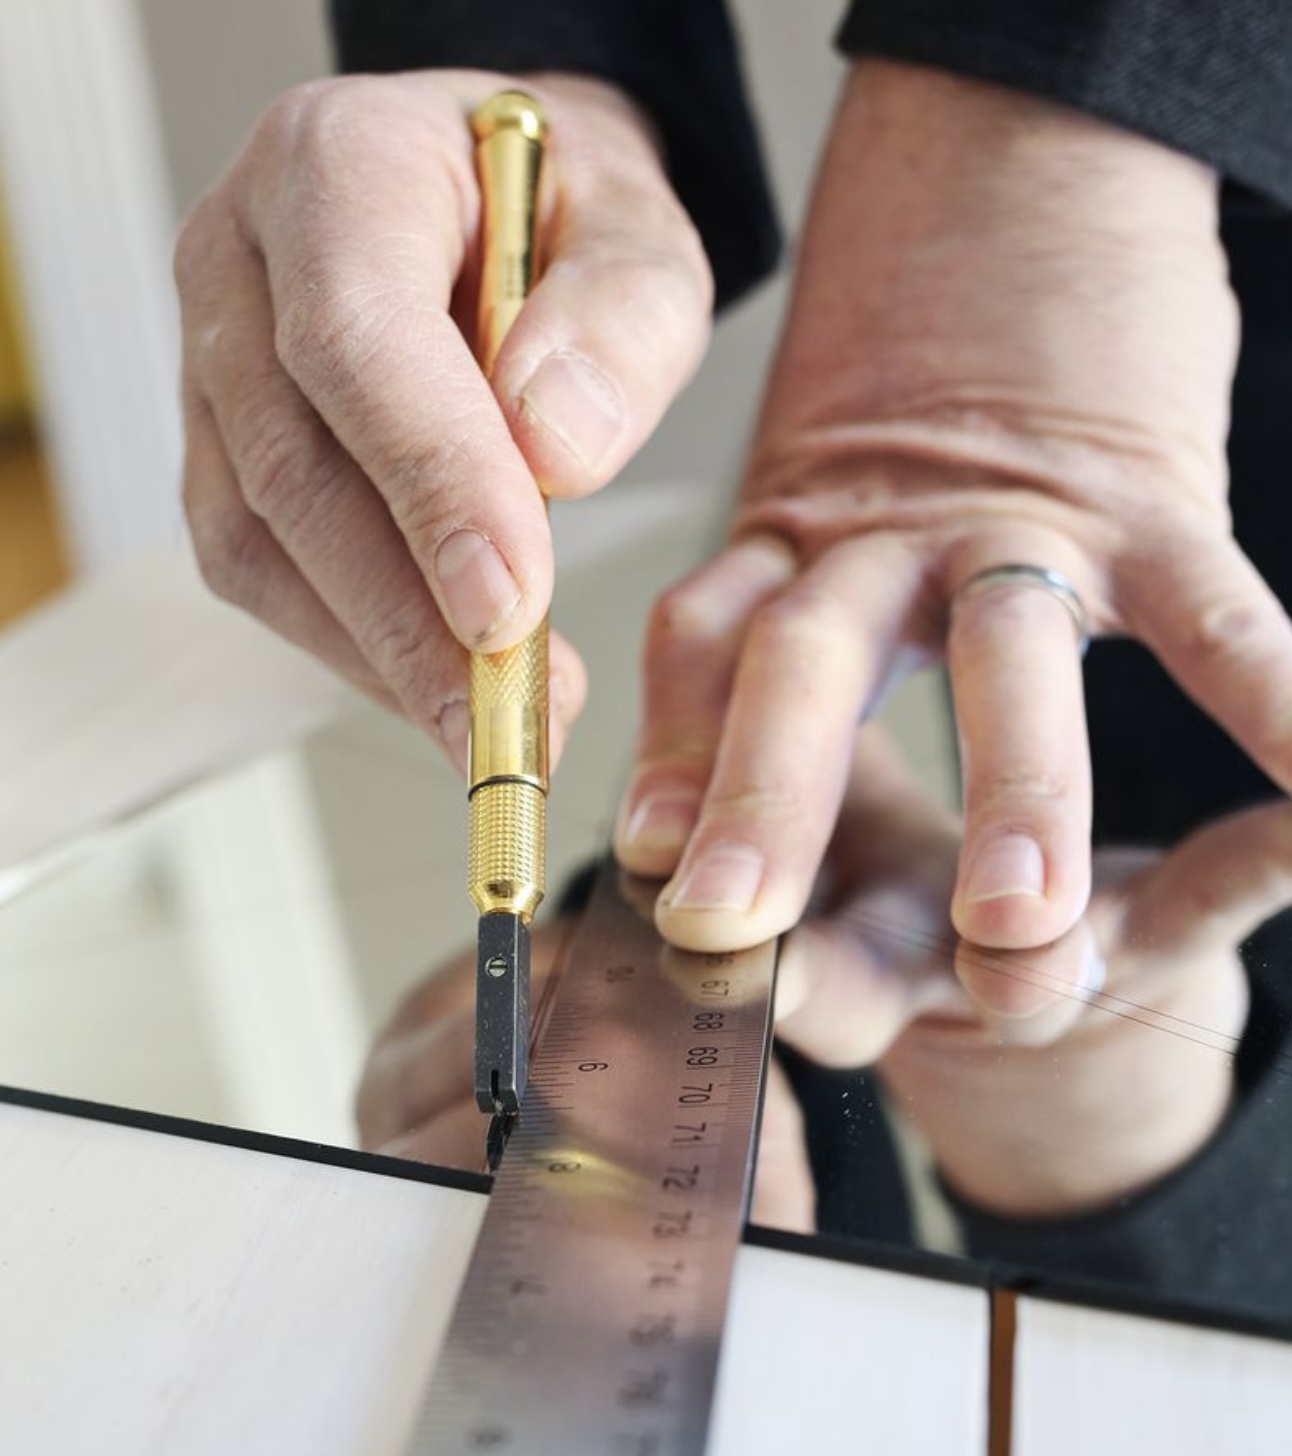
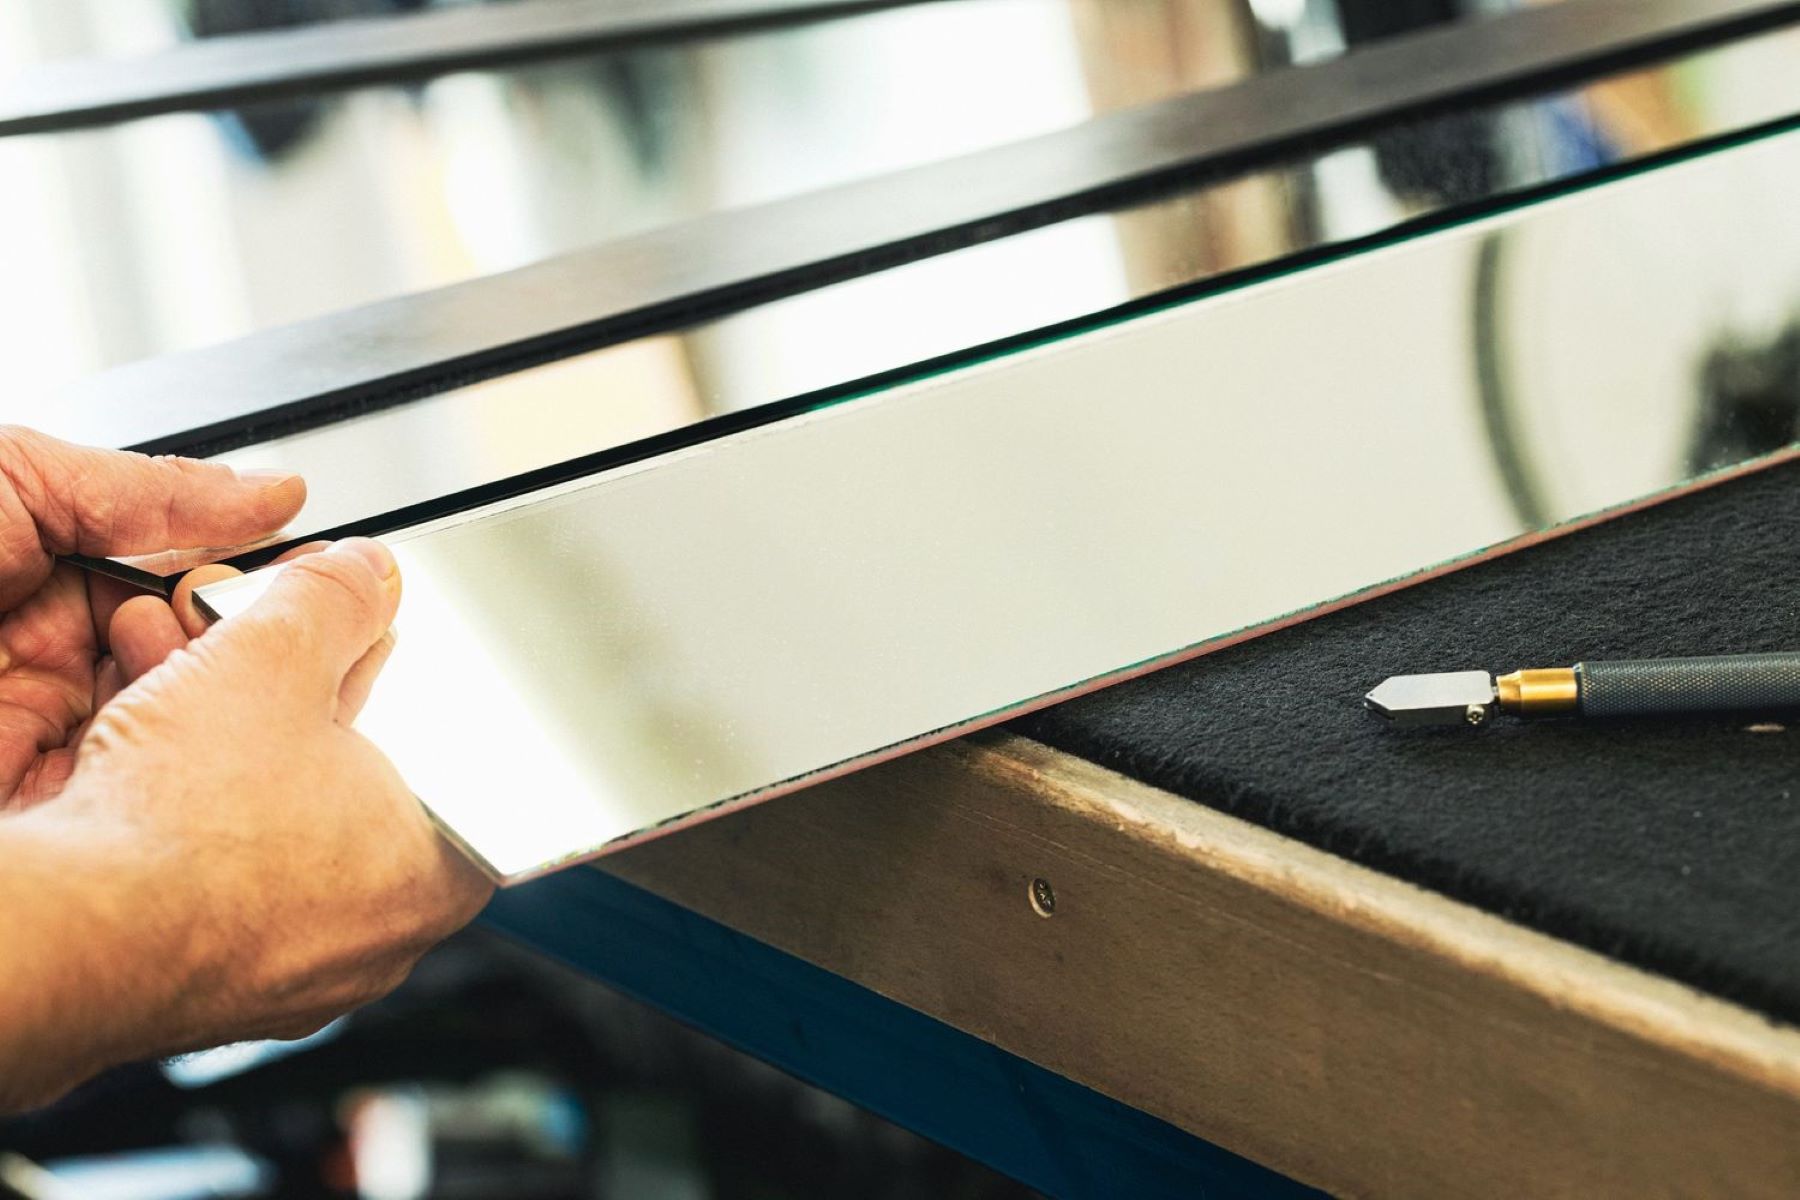
Cutting the Mirror
With the mirror properly prepared and marked, it’s time to begin the cutting process. Follow these steps to cut the mirror:
- Position the Mirror: Place the mirror on a flat and stable surface, ensuring it is securely supported to prevent any movement during the cutting process.
- Hold the Glass Cutter: Firmly hold the glass cutter in your dominant hand. Position your fingers comfortably on the handle, ensuring a secure grip without applying excessive pressure.
- Align the Cutter: Align the glass cutter’s wheel with the marked cutting line on the masking tape. Make sure the wheel is in contact with the glass but not pressing down too hard.
- Score the Glass: Applying even pressure, smoothly and steadily run the glass cutter along the cutting line. It’s important to maintain a constant speed and avoid stopping or lifting the cutter during the scoring process.
- Controlled Pressure: Use controlled pressure to ensure that the cutter makes a clear and distinct score on the mirror’s surface. Apply enough pressure to create a visible score line, but avoid excessive force that could damage or crack the glass.
- Score the Full Length: Score along the entire length of the cutting line in one continuous motion. If necessary, you can score the line multiple times to ensure a proper cut.
- Remove the Masking Tape: Once the cutting line is scored, carefully remove the masking tape from the mirror, revealing the scored line.
It’s important to note that when using a glass cutter, you are not cutting through the mirror, but rather creating a controlled break on the surface. The quality of the score line is crucial for successful cutting.
Now that you have scored the mirror, it’s time to move on to properly cutting the mirror along the scored line using specific cutting techniques.
When cutting mirrors, always wear safety goggles to protect your eyes from shards. Use a glass cutter to score the mirror, then carefully break along the score line. Sand the edges to smooth them out.
Proper Cutting Techniques
Now that you have scored the mirror, it’s time to execute proper cutting techniques to ensure clean and accurate cuts. Follow these steps for the cutting process:
- Support the Mirror: Place a soft cloth or towel underneath the scored line to provide support and prevent the glass from breaking prematurely.
- Apply Pressure: Using both hands, firmly grasp each side of the mirror along the scored line. Apply gentle, even pressure in an outward and downward motion to snap the glass along the score line.
- Controlled Breaking: By maintaining consistent pressure and using controlled force, you can guide the break along the scored line. The goal is to achieve a smooth, clean break without any jagged edges or chipping.
- Work in Sections: If cutting a large mirror or making multiple cuts, consider working in smaller sections. Score and break one section at a time, then move on to the next. This approach reduces the risk of the glass breaking unpredictably or in an unintended way.
- Filing the Edges: After the mirror is cut, use a file or sandpaper to smooth any rough or sharp edges. Gently file the edges in a downward motion to create a smooth surface.
Remember to take your time and work patiently during the cutting process. Rushing or applying excessive force can lead to uneven breaks or damage the mirror. It’s important to maintain control and follow the scored line precisely.
Once you have cut the mirror, you can move on to the final steps: adding finishing touches and considering safety considerations.
Finishing Touches
After successfully cutting the mirror, there are a few finishing touches you can apply to ensure a polished and professional look. Follow these steps to add the finishing touches:
- Smooth the Edges: Use a fine-grit sandpaper or a glass file to smooth any rough edges along the cut line. Gently sand the edges in a back-and-forth motion until they are smooth to the touch.
- Clean the Mirror: Once you have smoothed the edges, clean the mirror again to remove any dust or debris. Use a glass cleaner and a lint-free cloth to wipe the surface clean, leaving it free of smudges or fingerprints.
- Apply Adhesive Backing: If the mirror will be mounted or installed, consider applying adhesive backing or mirror clips for added stability. These accessories will help secure the mirror in place and prevent it from shifting or coming loose.
- Protect the Edges: To prevent the edges from becoming damaged or chipped, consider applying edge protectors. These can be purchased in various materials, such as rubber or plastic, and they provide an extra layer of protection for the edges of the mirror.
- Inspect for Imperfections: Take a moment to inspect the cut edges and the overall quality of the mirror. If you notice any chips, cracks, or other imperfections, it may be necessary to recut or replace the mirror.
By following these finishing touches, you can enhance the appearance and durability of the cut mirror. Whether you are using the mirror for decorative purposes or functional use, these steps will contribute to a professional and aesthetically pleasing result.
Now that you have completed the cutting process and added the finishing touches, it’s important to consider safety considerations before concluding the project.
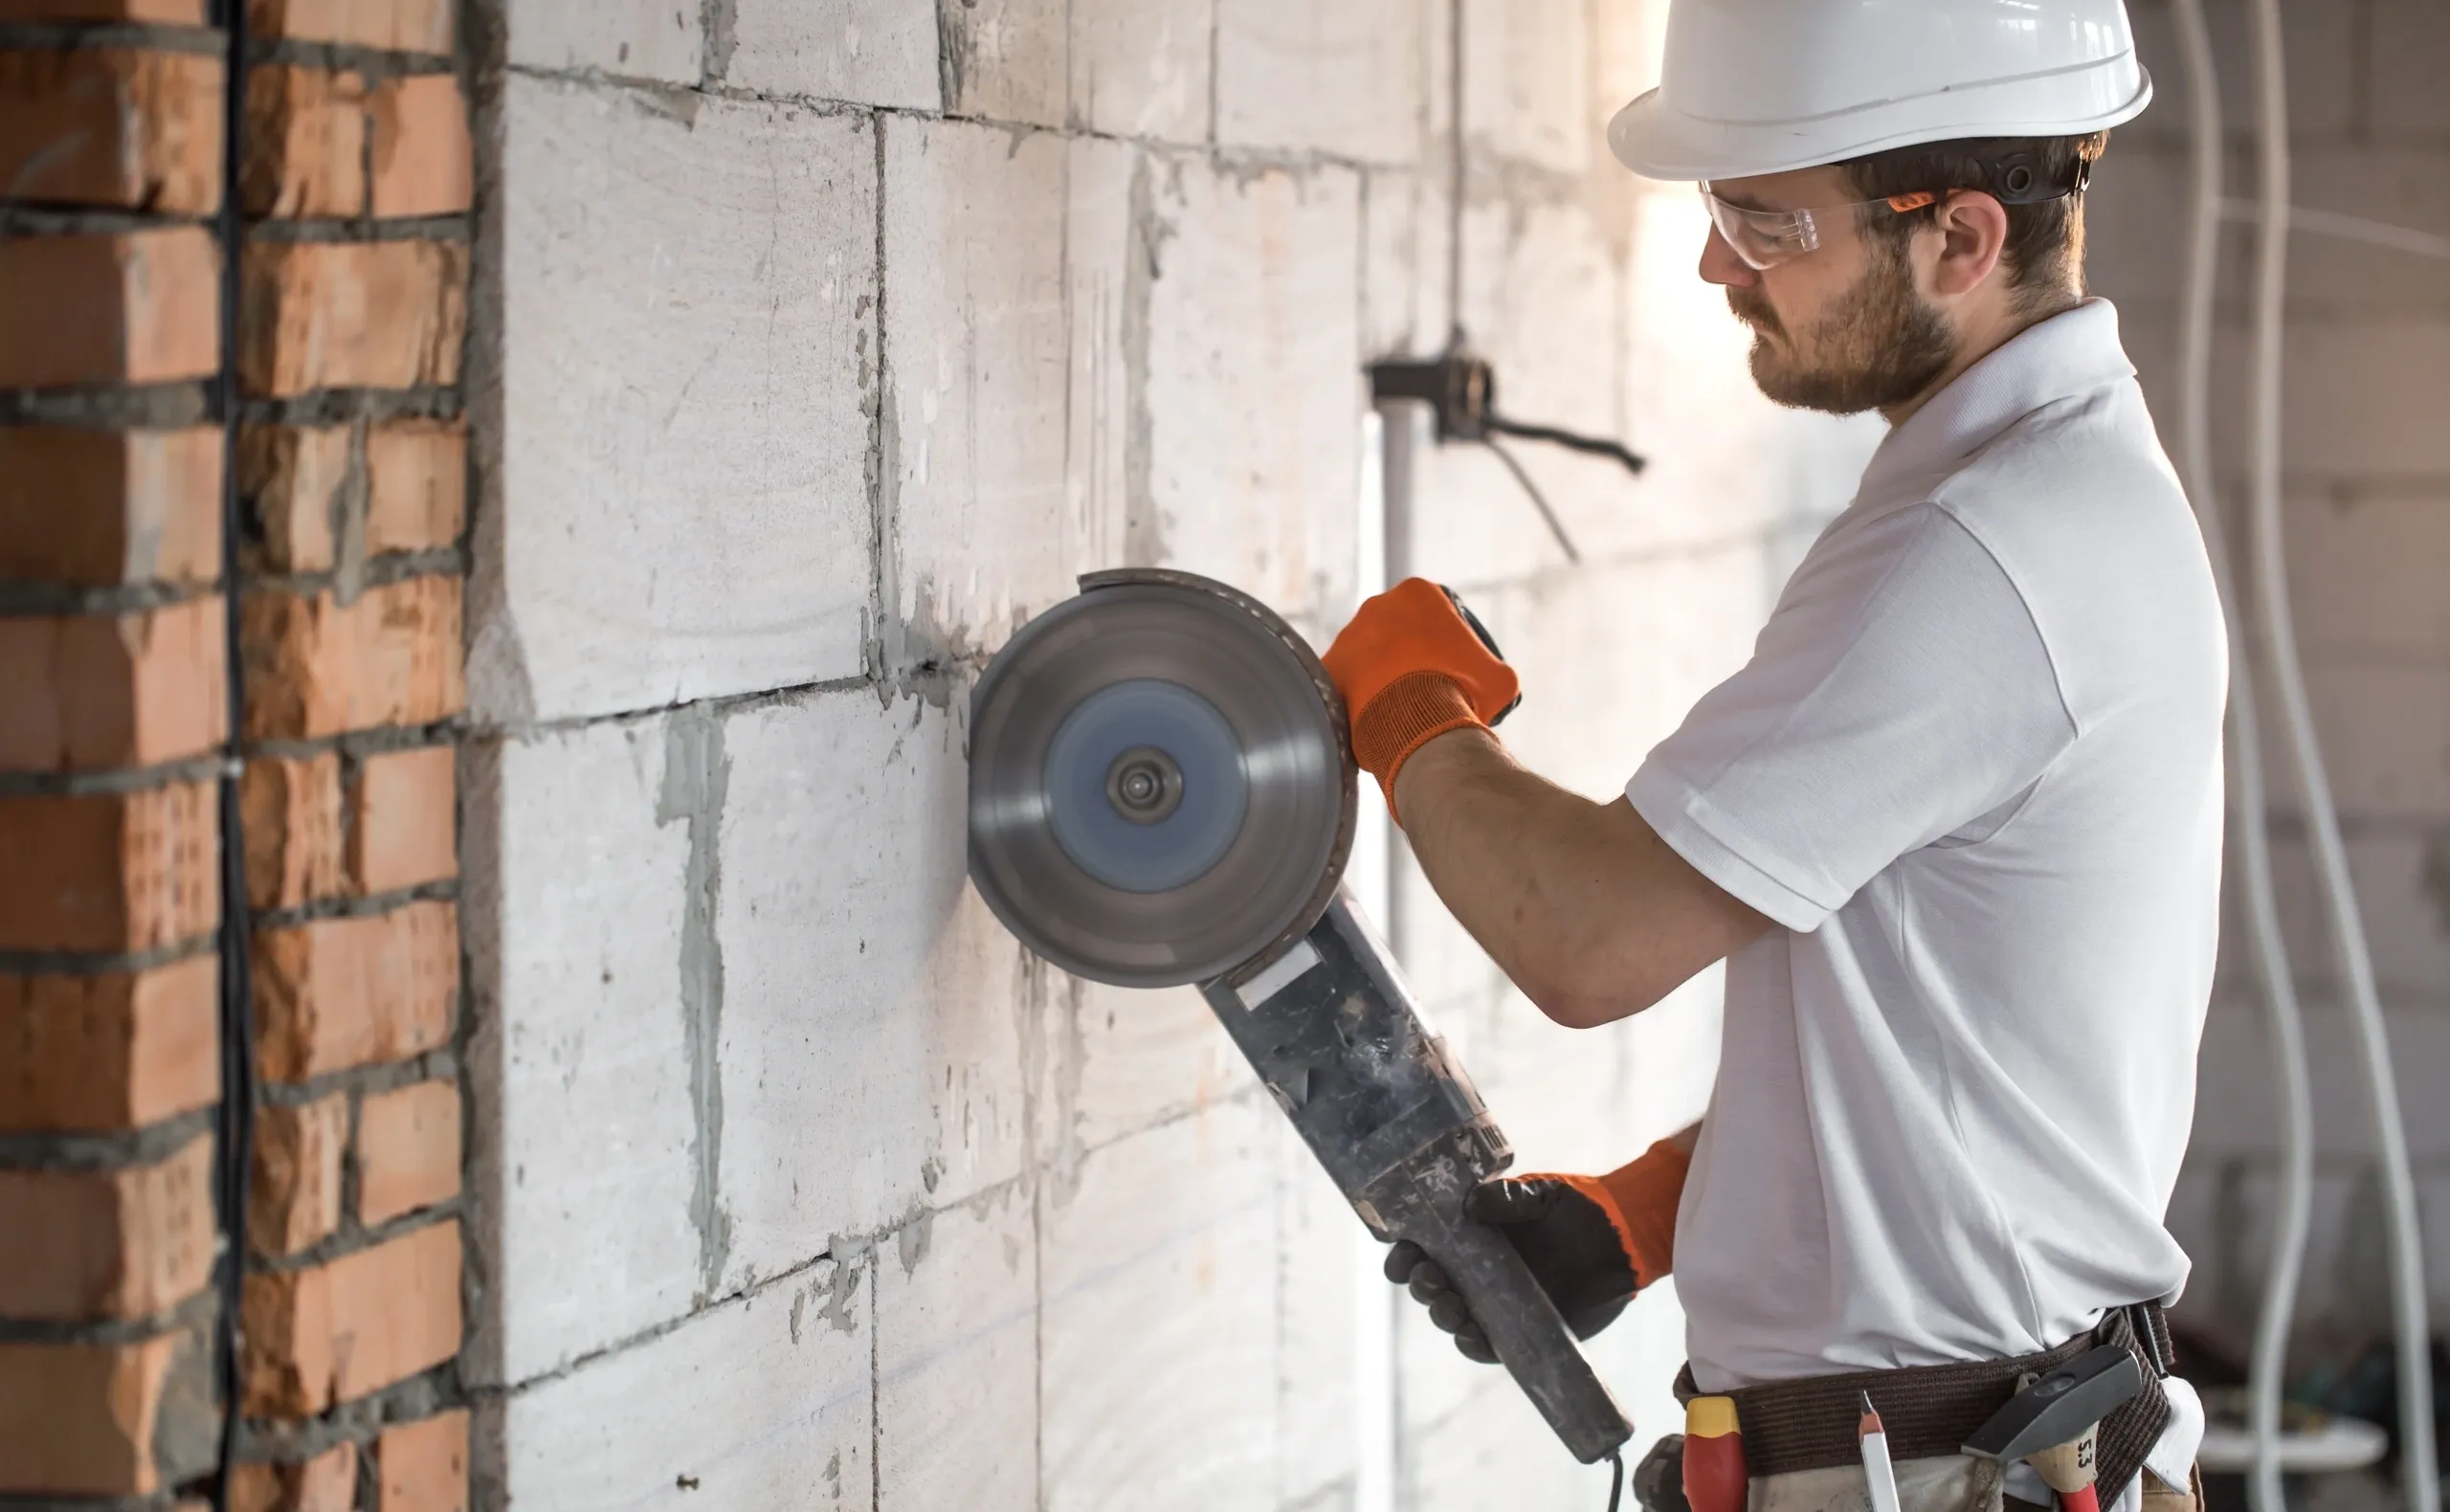
Safety Considerations
When it comes to cutting mirrors, safety should always be a top priority. Follow these safety guidelines to ensure a safe working environment:
- Protective Gear: Always wear safety gloves and safety glasses to protect your hands and eyes from potential cuts or injuries. These essential safety items will shield you from glass shards or debris.
- Secure the Work Area: Make sure the work area is clean, well-lit, and free from any obstacles or distractions. This will minimize the risk of accidents and ensure you have a clear space to work in.
- Steady Cutting Surface: Ensure the mirror is placed on a stable and flat surface to prevent it from shifting or moving during the cutting process. This will help you maintain control and prevent accidents.
- Proper Handling: Always handle the mirror with care to avoid dropping or mishandling it. Glass can be fragile and dangerous if not handled properly.
- Dispose of Glass Safely: Dispose of any glass shards or excess pieces in a safe and appropriate manner. Use a covered and puncture-resistant container to prevent injuries when discarding the glass.
- Familiarize Yourself with First Aid: In case of any accidents or injuries, it’s essential to be familiar with basic first aid techniques. Knowing how to treat cuts or injuries will ensure immediate care and prevent further complications.
By following these safety considerations, you can minimize the risk of accidents and maintain a safe working environment while cutting mirrors. Remember, it’s always better to prioritize safety over speed or convenience.
Now that we’ve covered the necessary safety considerations, let’s take a look at common mistakes to avoid during the mirror cutting process.
Read more: How To Cut A Carpet
Common Mistakes to Avoid
When cutting mirrors, it’s important to be aware of common mistakes that can lead to subpar results or potential accidents. Avoiding these mistakes will help ensure a successful mirror cutting project. Here are some common mistakes to steer clear of:
- Inaccurate Measurements: Double-check your measurements before marking and cutting the mirror. Making mistakes in measurements can result in an ill-fitting mirror or wasted materials.
- Excessive Pressure: Applying too much pressure with the glass cutter can lead to uneven scoring or even breaking the glass prematurely. Use a controlled and steady amount of pressure to achieve a clean score line.
- Uncontrolled Breaking: Lack of control during the breaking process can result in an uneven break or jagged edges. Apply even force and guide the break along the scored line to achieve a clean and straight cut.
- Neglecting Safety Gear: Failure to wear proper safety gloves and safety glasses can lead to injuries from glass shards or debris. Always protect yourself by wearing the appropriate safety gear.
- Rushing the Process: Cutting mirrors requires patience and attention to detail. Avoid rushing through the process, as it can lead to mistakes or accidents. Take your time and work carefully.
- Using Dull Tools: Using a dull glass cutter can result in uneven scoring and rough cuts. Ensure your glass cutter is sharp or replace the cutting wheel when necessary.
By being aware of these common mistakes and taking the necessary precautions, you can avoid unnecessary frustrations and achieve clean, accurate cuts when working with mirrors.
Now that you are aware of the common mistakes to avoid, let’s conclude with a brief summary of the mirror cutting process.
Conclusion
Cutting mirrors may seem like a daunting task, but with the right tools, techniques, and safety precautions, it can be a rewarding and successful project. By following the step-by-step guide outlined in this article, you can confidently cut mirrors for various purposes, whether it’s for customizing a mirror to fit a specific space or creating unique pieces for your home.
Start by gathering the necessary tools, including a glass cutter, straightedge, marker, safety gloves, safety glasses, masking tape, protective surface, and cotton gloves. Choose a glass cutter that suits your preferences and ensures clean scoring. Prepare the mirror by cleaning it and applying masking tape while marking the cutting line accurately. Measure and mark the mirror with precision, double-checking your measurements for accuracy.
Once the mirror is prepared, use proper cutting techniques by aligning the glass cutter with the marked line and scoring the glass evenly and firmly. Follow this by applying controlled pressure to break the glass along the scored line. Smooth the edges, clean the mirror, and consider adding adhesive backing or edge protectors for a professional finish.
Throughout the entire process, prioritize safety by wearing protective gear, securing the work area, and handling the glass with care. Avoid common mistakes such as inaccurate measurements, excessive pressure, and neglecting safety precautions.
Remember, cutting mirrors requires patience and attention to detail. Take your time and work with precision to achieve the best results. By following these guidelines, you’ll be able to cut mirrors confidently and create stunning custom pieces for your home or projects.
Now that you have the knowledge and skills to cut mirrors, it’s time to unleash your creativity and embark on your mirror-cutting journey. Enjoy the process, stay safe, and have fun creating beautiful mirrors!
Frequently Asked Questions about How To Cut Mirrors
Was this page helpful?
At Storables.com, we guarantee accurate and reliable information. Our content, validated by Expert Board Contributors, is crafted following stringent Editorial Policies. We're committed to providing you with well-researched, expert-backed insights for all your informational needs.


0 thoughts on “How To Cut Mirrors”