Articles
How To Secure Toilet To Floor
Modified: August 28, 2024
Learn how to securely attach a toilet to the floor with our informative articles. Gain peace of mind knowing your bathroom fixtures are safe and stable.
(Many of the links in this article redirect to a specific reviewed product. Your purchase of these products through affiliate links helps to generate commission for Storables.com, at no extra cost. Learn more)
Introduction
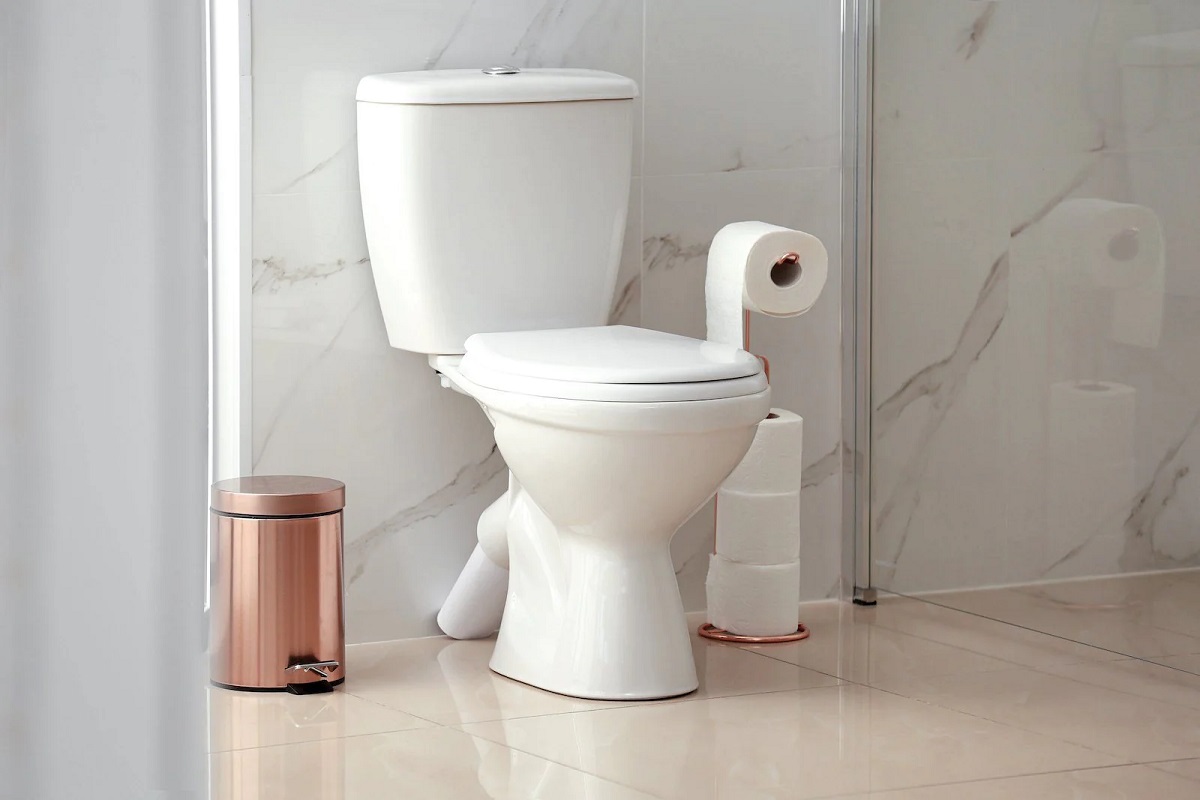
Securing a toilet to the floor is an important step in bathroom installation or renovation. A securely attached toilet not only ensures stability but also prevents leaks and potential damage to the floor. Whether you are replacing an old toilet or installing a new one, properly securing it is crucial for the longevity and functionality of the bathroom fixtures.
In this article, we will walk you through the step-by-step process of securing a toilet to the floor. We will cover everything from gathering the necessary tools and materials to reconnecting the water supply. By following these steps, you can confidently complete the task yourself, saving time and money on professional assistance.
Before we dive into the details, let’s take a moment to understand why securing a toilet is so important. A securely attached toilet minimizes the risk of wobbling or shifting, which can cause discomfort and potential damage to the floor. Additionally, a properly secured toilet prevents leaks around the base, which can lead to water damage and unpleasant odors.
Now that we understand the importance of securing a toilet let’s get started with the step-by-step process. Before you begin, make sure you have all the necessary tools and materials ready. This will help streamline the installation process and ensure you have everything you need within arm’s reach.
Key Takeaways:
- Properly securing a toilet to the floor is crucial for stability, preventing leaks, and ensuring the longevity of bathroom fixtures. Following the step-by-step process and taking necessary precautions can lead to a successful and reliable installation.
- From gathering the necessary tools and materials to reconnecting the water supply and testing the toilet, each step in the installation process plays a vital role in achieving a secure and leak-free toilet. Attention to detail and careful alignment are key to a successful installation.
Read more: How To Secure Floor Vents
Step 1: Gather the necessary tools and materials
Before securing a toilet to the floor, it is essential to gather all the necessary tools and materials. Having everything prepared beforehand will make the installation process much smoother and efficient. Here is a list of tools and materials you will need:
- Adjustable wrench
- Screwdriver (flathead and Phillips head)
- Plumber’s putty
- Level
- Toilet wax ring
- Closet bolts with nuts and washers
- Water supply line
- Bucket or pan
- Old rags or towels
Once you have gathered all the necessary tools and materials, ensure that the water supply to the toilet is turned off. This can usually be done by shutting off the supply valve located behind or near the toilet. It is essential to have the water supply turned off to avoid any potential leaks during the installation process.
Having the tools and materials ready will not only save you time but also allow you to focus on the installation process without interruptions. With all the necessary items in place, you are now ready to proceed to the next step: preparing the area for toilet installation.
Step 2: Prepare the area
Before securing the toilet to the floor, it is important to properly prepare the area to ensure a smooth and successful installation. Follow these steps to prepare the area:
- Clear the space: Remove any items or obstacles near the toilet area. This includes rugs, mats, and other bathroom accessories that may obstruct the installation process.
- Protect the floor: Lay down a towel or plastic sheet to protect the floor from any dirt, debris, or potential water spills that may occur during the installation process. This will make cleanup easier and prevent any damage to the floor.
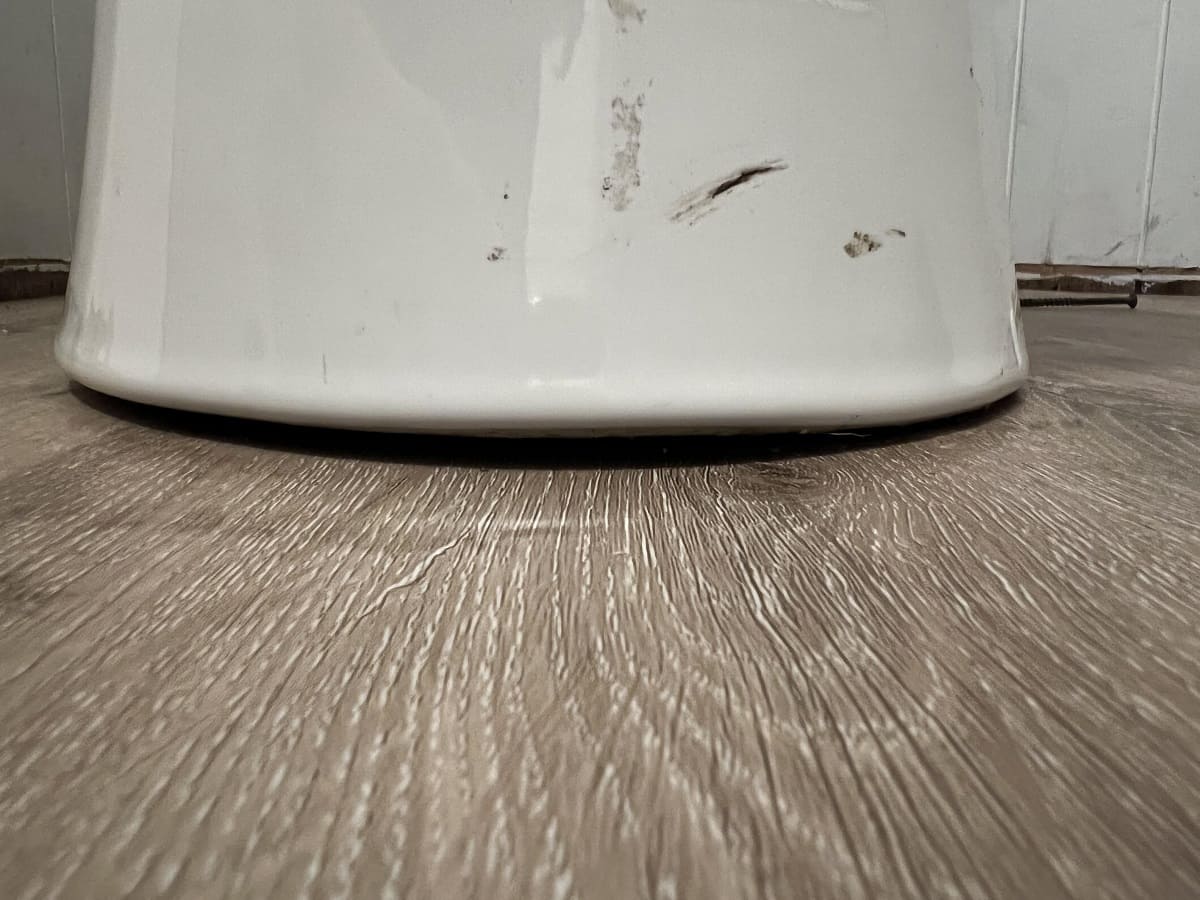
- Inspect the flange: Take a moment to inspect the toilet flange, which is the circular or square fitting that connects the toilet to the waste pipe. Ensure that it is in good condition, securely attached to the floor, and free from any cracks or damage. If you notice any issues with the flange, it is recommended to replace it before proceeding with the installation.
- Clean the flange and floor: Thoroughly clean the flange and the surrounding area to remove any dirt, debris, or remnants of the previous wax ring. Use a brush or a damp cloth to clean the flange, ensuring a clean and tight seal during installation.
By properly preparing the area, you create a clean and stable foundation for the toilet installation. Taking the time to clear the space, protect the floor, inspect the flange, and clean the area will help ensure a successful and secure installation process. With the area prepared, you are now ready to move on to the next step: removing the toilet.
Step 3: Remove the toilet
To secure a toilet to the floor, the first step is to remove the existing toilet. Removing the toilet may seem like a daunting task, but with the right approach, it can be done easily. Follow these steps to remove the toilet:
- Turn off the water supply: Before removing the toilet, it is important to turn off the water supply. Locate the shut-off valve behind or near the toilet and turn it clockwise to shut off the water flow. Once the water supply is turned off, flush the toilet to drain as much water as possible from the tank and bowl.
- Disconnect the water supply line: Use an adjustable wrench to loosen the nut connecting the water supply line to the bottom of the toilet tank. Once loosened, carefully remove the water supply line from the tank and place a bucket or pan underneath to catch any remaining water.
- Remove the tank: Locate the bolts securing the tank to the bowl and use a screwdriver or wrench to loosen and remove them. Once the bolts are removed, lift the tank carefully and set it aside.
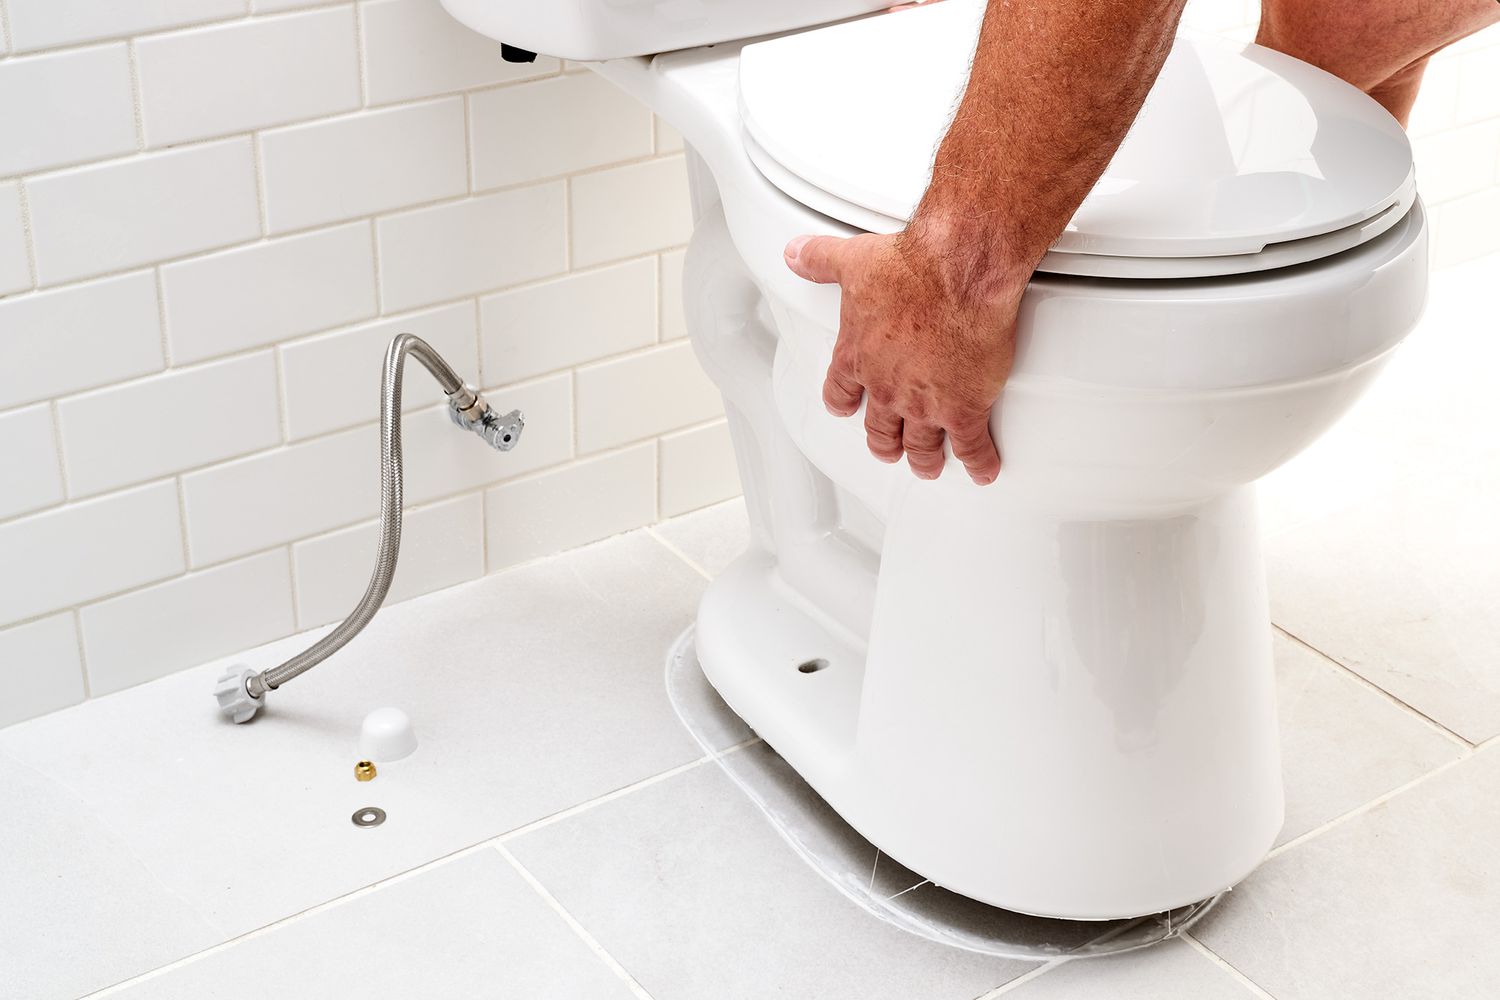
- Remove the bowl: With the tank removed, the next step is to remove the bowl. Start by disconnecting the bolts securing the bowl to the floor. These bolts are usually covered by bolt caps that can be pried off with a screwdriver. Once the bolts are exposed, use a wrench to loosen and remove them.
- Lift and remove the bowl: With the bolts removed, carefully lift the bowl straight up to detach it from the floor flange. Be cautious as the bowl may be heavy. Place the bowl onto a towel or plastic sheet to avoid damaging the floor.
Once the toilet is removed, it is important to inspect the flange and the subfloor for any damage or wear. Look for signs of rot, corrosion, or any cracks in the flange. If any issues are found, it is recommended to repair or replace them before proceeding with the installation.
With the old toilet removed and the flange and subfloor inspected, you are now ready to move on to the next step: inspecting the flange and subfloor.
Step 4: Inspect the flange and subfloor
After removing the old toilet, it is crucial to inspect the flange and subfloor before proceeding with the toilet installation. This step ensures that the flange and subfloor are in good condition and able to support the new toilet securely. Follow these steps to inspect the flange and subfloor:
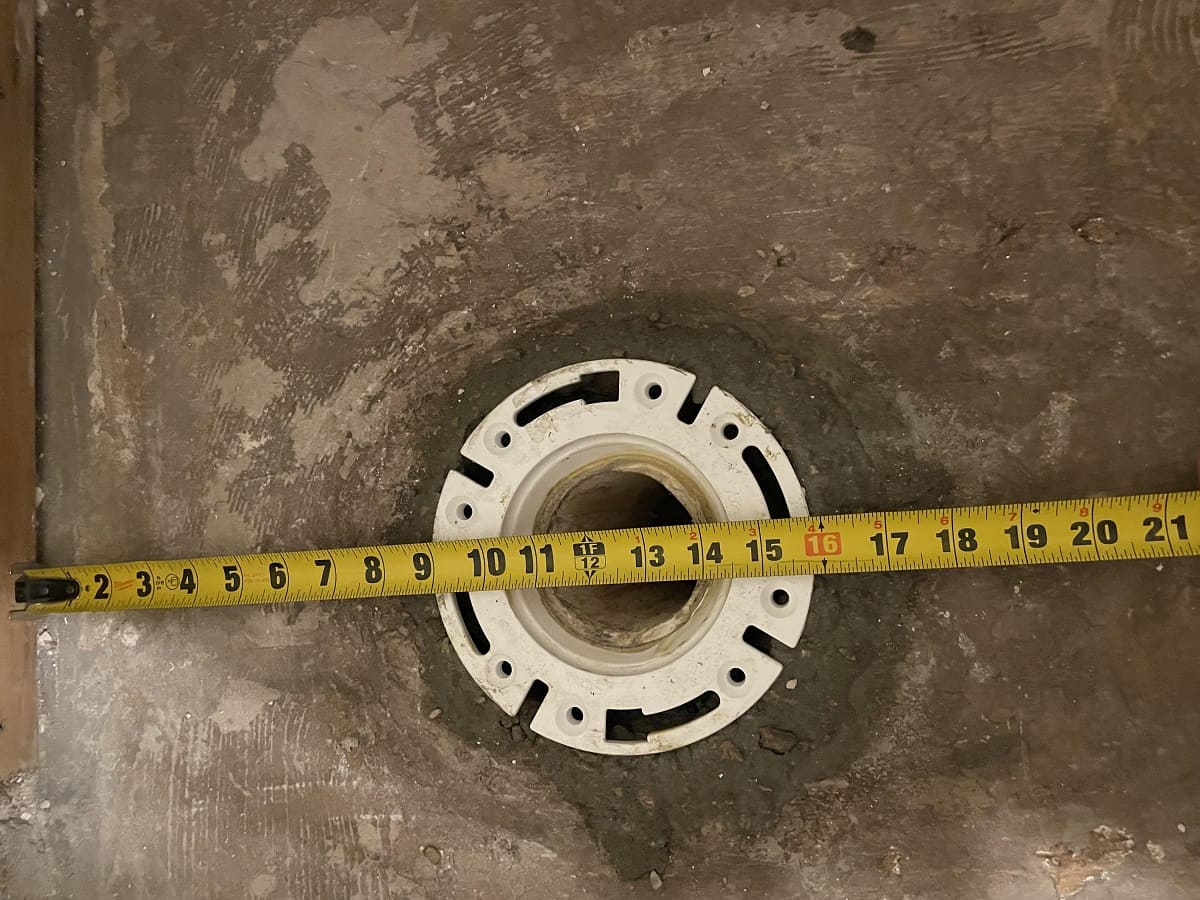
- Examine the flange: Take a close look at the flange, which is the fitting that connects the toilet to the waste pipe. Check for any signs of damage, such as cracks, chips, or corrosion. Make sure that the flange is securely attached to the floor and flush with the surrounding surface. If you notice any issues with the flange, it is recommended to repair or replace it before continuing with the installation.
- Check the subfloor: Inspect the subfloor around the flange area for any signs of damage, like rot, moisture, or deterioration. Ensure that the subfloor is sturdy and able to support the toilet’s weight. If you encounter any structural damage, it is advisable to make the necessary repairs or reinforce the subfloor before moving forward.
- Measure the flange height: Use a measuring tape to determine the height of the flange above the finished floor level. This measurement is essential to ensure proper installation and achieve a level toilet. Most flanges are generally about 1/4 inch to 1/2 inch above the floor level, allowing room for the wax ring to create a watertight seal.
Inspecting the flange and subfloor is a critical step to ensure a secure and stable installation of the new toilet. By addressing any issues with the flange and ensuring the stability of the subfloor, you can prevent future problems and ensure the longevity of the toilet installation. Once you are satisfied with the inspection, you can move on to the next step: installing the wax ring.
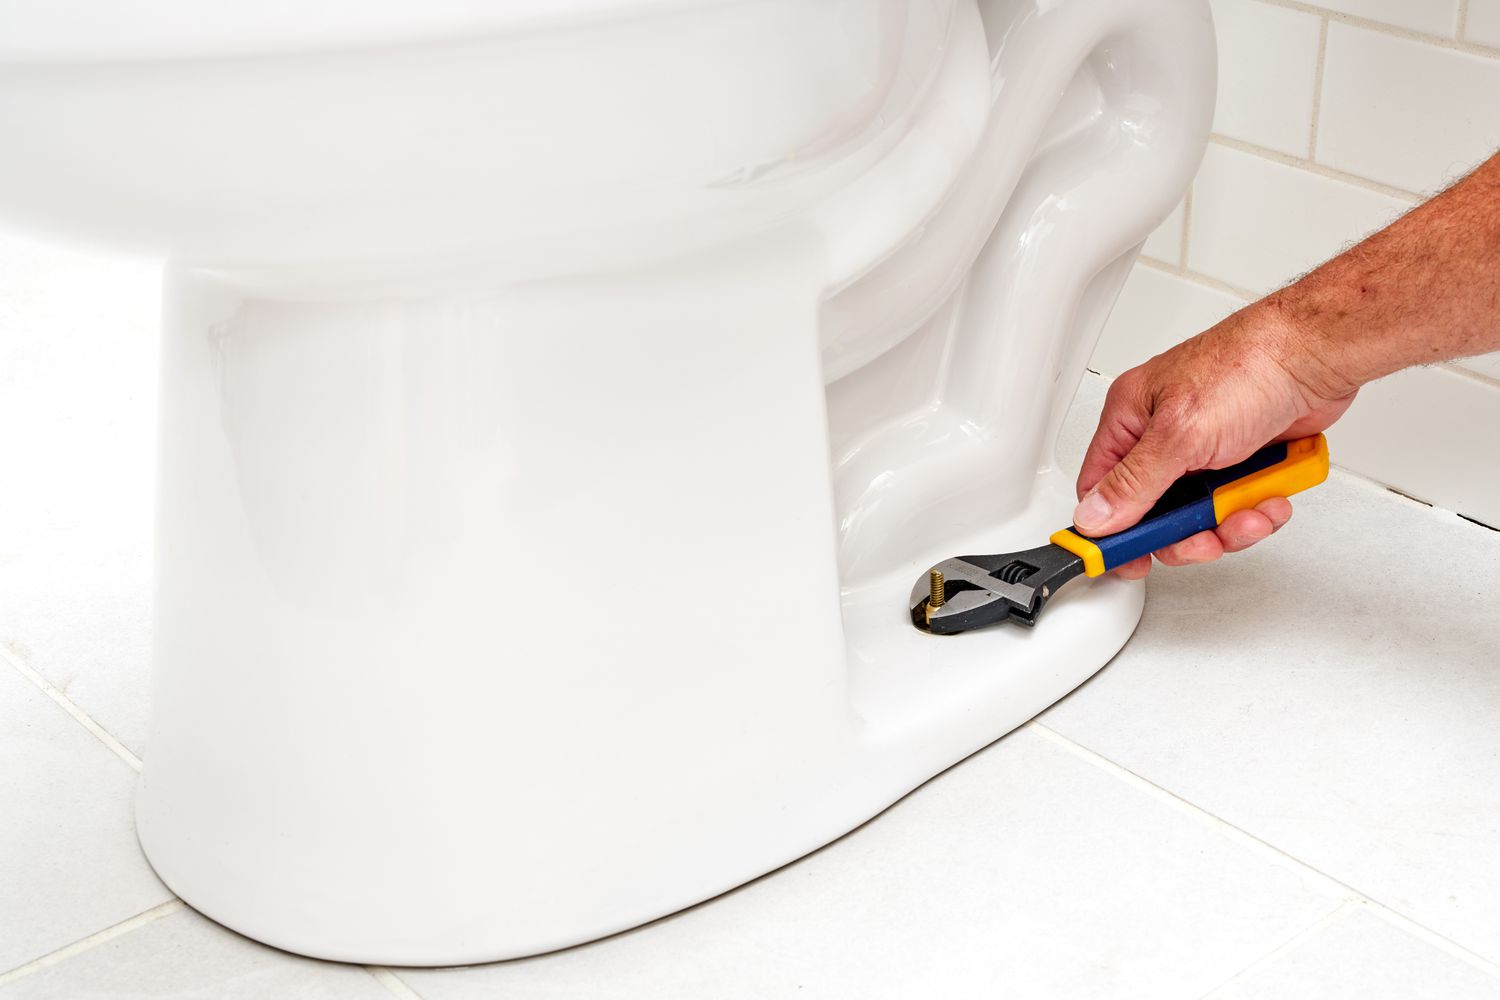
Use a wrench to tighten the bolts at the base of the toilet to secure it to the floor. Check for any rocking or movement before and after tightening.
Read more: How To Secure A Floor Mirror
Step 5: Install the wax ring
Installing a wax ring is an essential step in securing a toilet to the floor. The wax ring creates a watertight seal between the toilet flange and the toilet base, preventing leaks and odors. Follow these steps to install the wax ring:
- Choose the right wax ring: Select a wax ring that is compatible with your toilet and flange. There are different sizes and types available, so ensure that you choose the correct one for your specific toilet model.
- Position the wax ring: Place the wax ring on the flange, making sure that the round or tapered end is facing up. Gently press it down onto the flange to create a tight seal.
- Align the wax ring: Carefully align the wax ring with the bolt holes on the flange. Ensure that the wax ring is centered and sits flush with the flange surface.
- Inspect the wax ring position: Double-check that the wax ring is properly seated and aligned. This will help ensure a secure fit and prevent any leaks.
The wax ring is a crucial component of the toilet’s installation, providing a watertight seal between the toilet and the flange. It is important to take your time and ensure that the wax ring is properly positioned to achieve a secure and leak-free connection. With the wax ring in place, you are now ready to move on to the next step: securing the toilet to the floor.
Step 6: Secure the toilet to the floor
Securing the toilet to the floor is a critical step to ensure stability and prevent any movement or wobbling. Follow these steps to secure the toilet to the floor:
- Place the toilet bowl: Carefully lower the toilet bowl onto the wax ring, ensuring that the bolt holes align with the bolts on the flange. Gently press down on the bowl to compress the wax ring and create a tight seal.
- Align the toilet bowl: Adjust the position of the toilet bowl to ensure it is aligned properly with the wall and floor. Use a level to check that the bowl is level both front-to-back and side-to-side. Make any necessary adjustments by gently rocking the bowl until it is level.
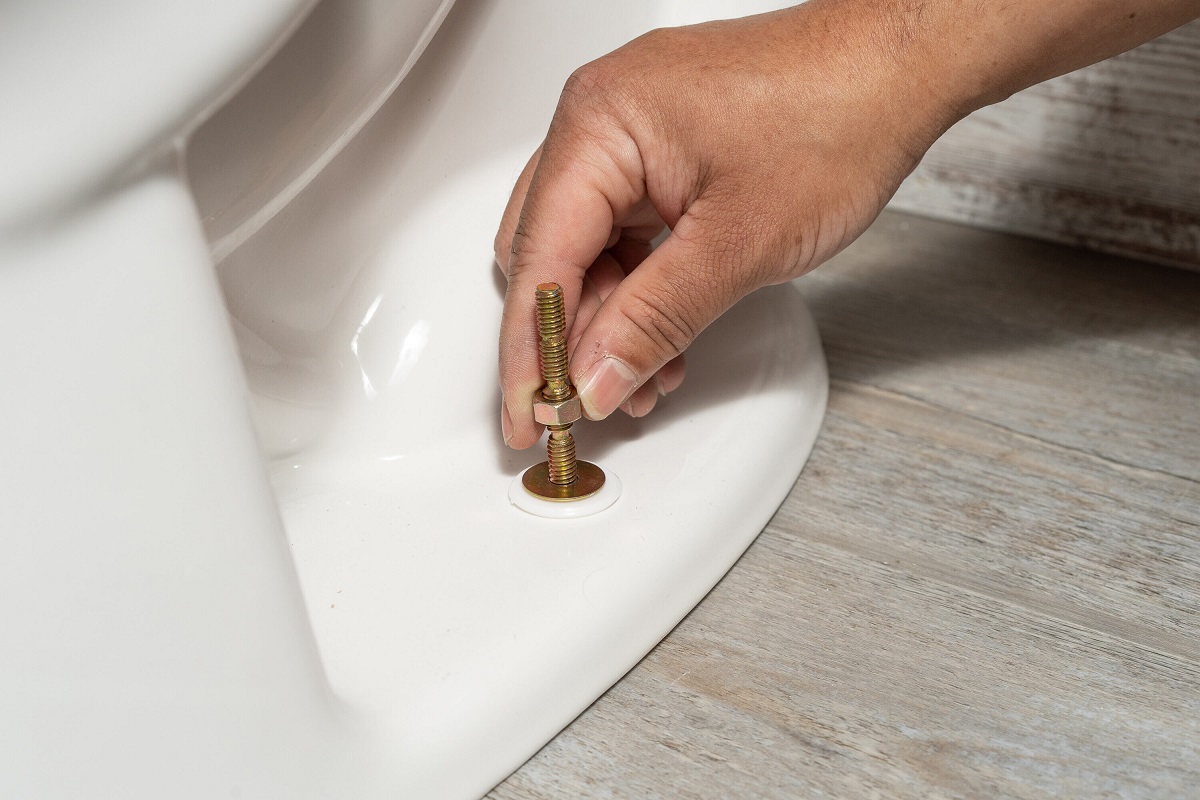
- Secure the toilet: With the toilet bowl in the correct position, place washers over the bolts on the flange, followed by the nuts. Tighten the nuts gradually, alternating between sides, to ensure even pressure and prevent cracks or damage to the toilet bowl. Avoid over-tightening, as it may cause the toilet to crack.
- Trim the bolts: If the bolts extend above the nuts, use a hacksaw or a bolt cutter to trim them down to the appropriate length. Leaving too much bolt exposed can interfere with the placement of the toilet tank.
By securely fastening the toilet to the floor, you ensure stability and prevent any potential movement or leaks. Take your time during this step to ensure that the toilet is properly aligned and firmly secured. With the toilet securely in place, we can move on to the final step: reconnecting the water supply and testing the toilet.
Step 7: Reconnect water supply and test the toilet
After securing the toilet to the floor, the final step is to reconnect the water supply and test the toilet’s functionality. Follow these steps to complete the installation process:
- Reconnect the water supply line: Take the water supply line and reconnect it to the bottom of the toilet tank. Use an adjustable wrench to tighten the nut securely, ensuring a leak-free connection.
- Turn on the water supply: Slowly turn on the water supply valve, allowing the tank to refill. Keep an eye out for any leaks around the water supply line and the base of the toilet. If you notice any leaks, tighten the connections further or consider replacing any faulty components.
- Flush and test the toilet: Once the tank is filled, give the toilet a test flush. Check for proper flushing action and listen for any unusual sounds. Observe the base of the toilet for any signs of leakage. If everything looks and sounds good, you have successfully installed the toilet.
- Cleanup and final touches: Clean up any excess water or debris around the toilet and the installation area. Remove the protective covering from the floor and discard it properly. Replace any rugs or mats that were moved during the installation. Polish the toilet surface, if needed, to give it a clean and shiny appearance.
With the water supply reconnected and the toilet successfully tested, you have completed the process of securing the toilet to the floor. Congratulations! You can now enjoy a stable and functional toilet that contributes to the overall comfort and convenience of your bathroom.
Remember, if you encounter any issues during the installation process or have concerns about the toilet’s functionality, it is always recommended to seek professional assistance. A licensed plumber or experienced professional can provide expert guidance and ensure a safe and reliable installation.
By following these step-by-step instructions, you have gained the necessary knowledge to securely attach a toilet to the floor. Whether you are replacing an old toilet or installing a new one, the proper installation will give you peace of mind and a well-functioning bathroom fixture.
Conclusion
Securing a toilet to the floor is a crucial step in bathroom installation or renovation. By following the step-by-step process outlined in this article, you can confidently and successfully secure a toilet, ensuring stability, preventing leaks, and maintaining the functionality of your bathroom fixtures.
From gathering the necessary tools and materials to reconnecting the water supply and testing the toilet, each step plays a vital role in achieving a secure and reliable installation. Taking the time to properly prepare the area, inspect the flange and subfloor, and install the wax ring sets the foundation for a stable and leak-free toilet.
The process of securing the toilet to the floor requires attention to detail and careful alignment. By following the recommended steps, you can avoid common mistakes and achieve a secure and level installation. It is always important to remember to turn off the water supply and take necessary safety precautions throughout the process.
If you ever feel unsure or encounter any challenges during the installation, do not hesitate to seek professional assistance. A licensed plumber or experienced professional can offer guidance, ensure proper installation, and address any concerns you may have.
By securing a toilet to the floor, you not only enhance the functionality of your bathroom but also contribute to the longevity of your plumbing system. A properly secured toilet minimizes the risk of wobbling or shifting, prevents leaks, and maintains the overall integrity of your bathroom.
Remember, the installation process may vary depending on the specific toilet model or your plumbing setup. Always refer to the manufacturer’s instructions for your specific toilet and consult with professionals when needed.
With the knowledge and understanding gained from this article, you are now equipped with the skills to confidently secure a toilet to the floor. Enjoy the satisfaction and peace of mind that come with a securely installed toilet, and may your bathroom be a place of comfort and convenience for years to come.
Frequently Asked Questions about How To Secure Toilet To Floor
Was this page helpful?
At Storables.com, we guarantee accurate and reliable information. Our content, validated by Expert Board Contributors, is crafted following stringent Editorial Policies. We're committed to providing you with well-researched, expert-backed insights for all your informational needs.


0 thoughts on “How To Secure Toilet To Floor”