Articles
How To Set Temp On VEVOR Heat Press
Modified: January 5, 2024
Learn how to set the temperature on your VEVOR heat press with our informative articles. Get step-by-step instructions and optimize your heat press for perfect results.
(Many of the links in this article redirect to a specific reviewed product. Your purchase of these products through affiliate links helps to generate commission for Storables.com, at no extra cost. Learn more)
Introduction
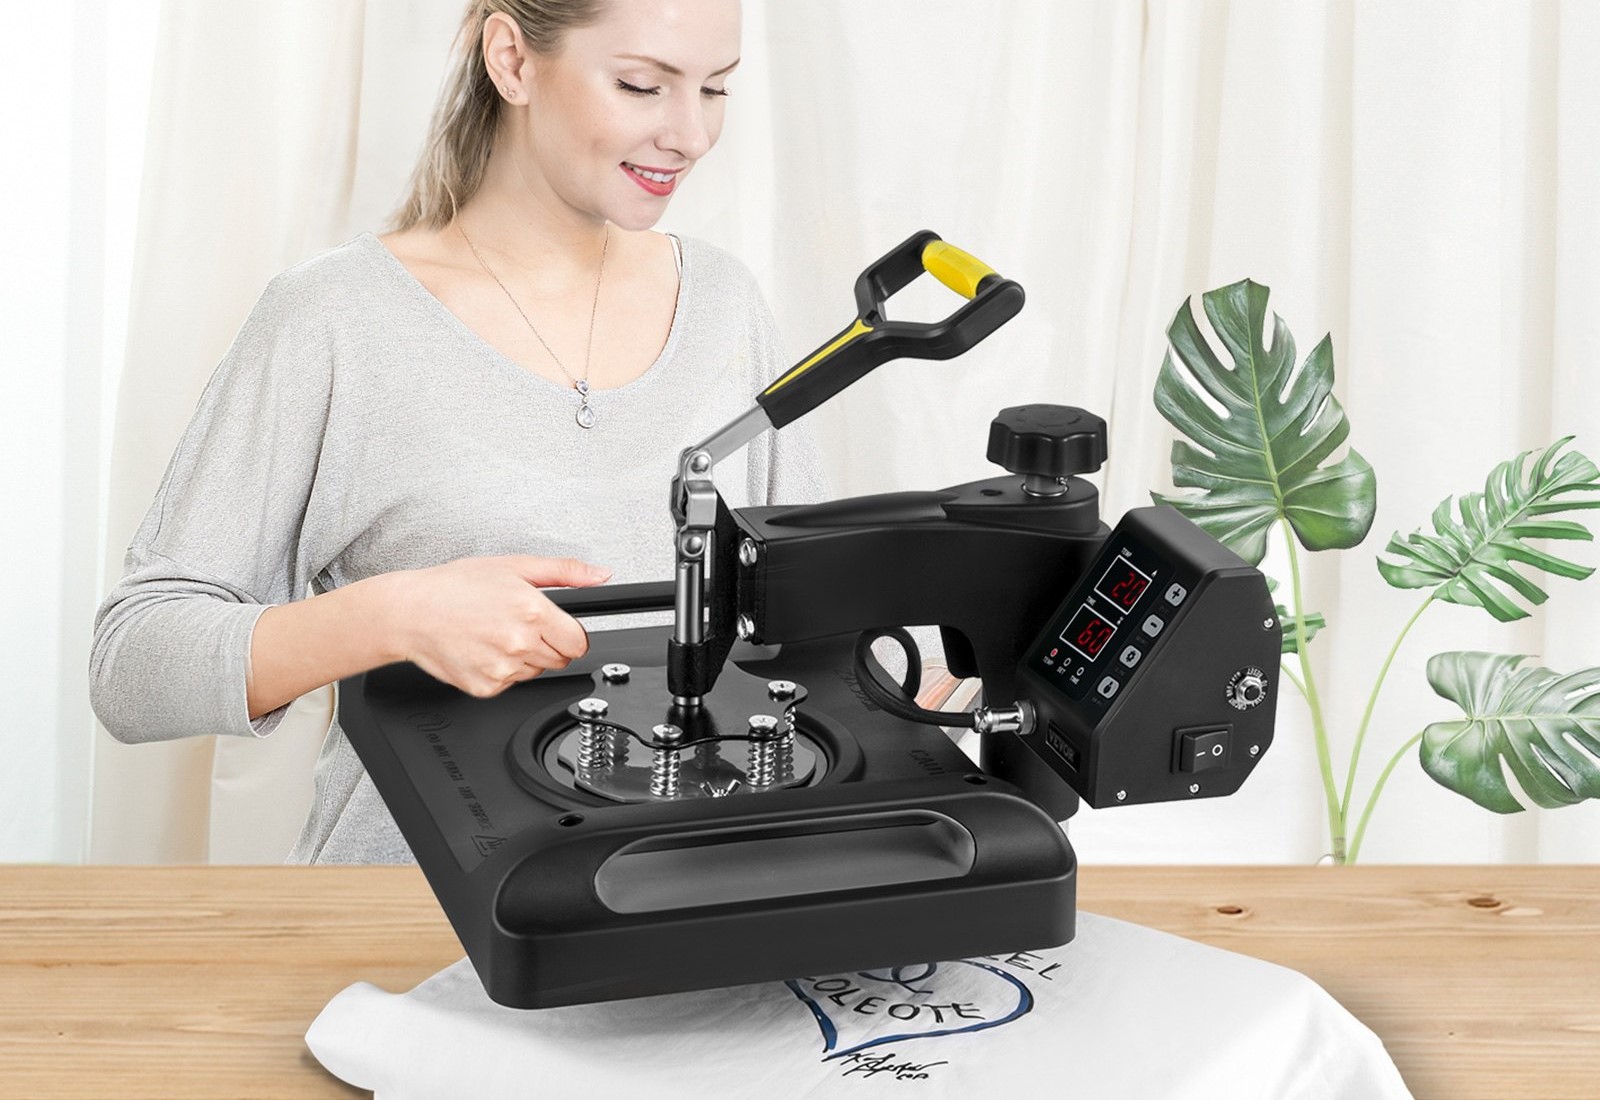
Welcome to our guide on how to set the temperature on the VEVOR Heat Press. Whether you are a craft enthusiast or a professional in the printing industry, the VEVOR Heat Press is a versatile and powerful tool that allows you to create beautiful designs on a variety of materials. One of the key factors in achieving successful heat transfers is setting the correct temperature on the heat press.
In this article, we will walk you through the step-by-step process of setting the temperature on your VEVOR Heat Press, ensuring that you achieve optimal results with every project. By following our instructions and tips, you’ll be able to create stunning designs on fabrics, garments, and other heat-transferrable materials.
But first, let’s briefly discuss why setting the temperature correctly is so important. The VEVOR Heat Press works by applying heat and pressure to transfer designs or images onto different materials. The temperature is a crucial factor as it determines how effectively the heat transfers to the material, allowing the design to adhere and become permanent.
If the temperature is too low, the design may not transfer at all, resulting in a poor-quality or incomplete image. On the other hand, if the temperature is too high, it can damage the material, causing discoloration, scorching, or even melting.
By setting the temperature accurately, you ensure that the heat is evenly distributed, creating a smooth and vibrant design without damaging the material. So, let’s dive into the steps to set the temperature on your VEVOR Heat Press and unleash your creativity!
Key Takeaways:
- Mastering the temperature setting process on your VEVOR Heat Press is crucial for vibrant and long-lasting heat transfers. Follow the step-by-step guide to unleash your creativity and achieve professional results on various materials.
- Properly cooling and finishing your design is essential for achieving professional-grade results. By following the steps, you can ensure that your design is securely adhered to the material, free from any imperfections, and ready to be displayed or used.
Read more: How To Use VEVOR Heat Press
Step 1: Powering On the VEVOR Heat Press
Before you can start setting the temperature on your VEVOR Heat Press, you need to power it on. Follow these simple steps to get started:
- Locate the power switch on the VEVOR Heat Press. It is usually located on the side or at the back of the machine.
- Ensure that the heat press is plugged into a power source.
- Turn on the power switch to activate the machine.
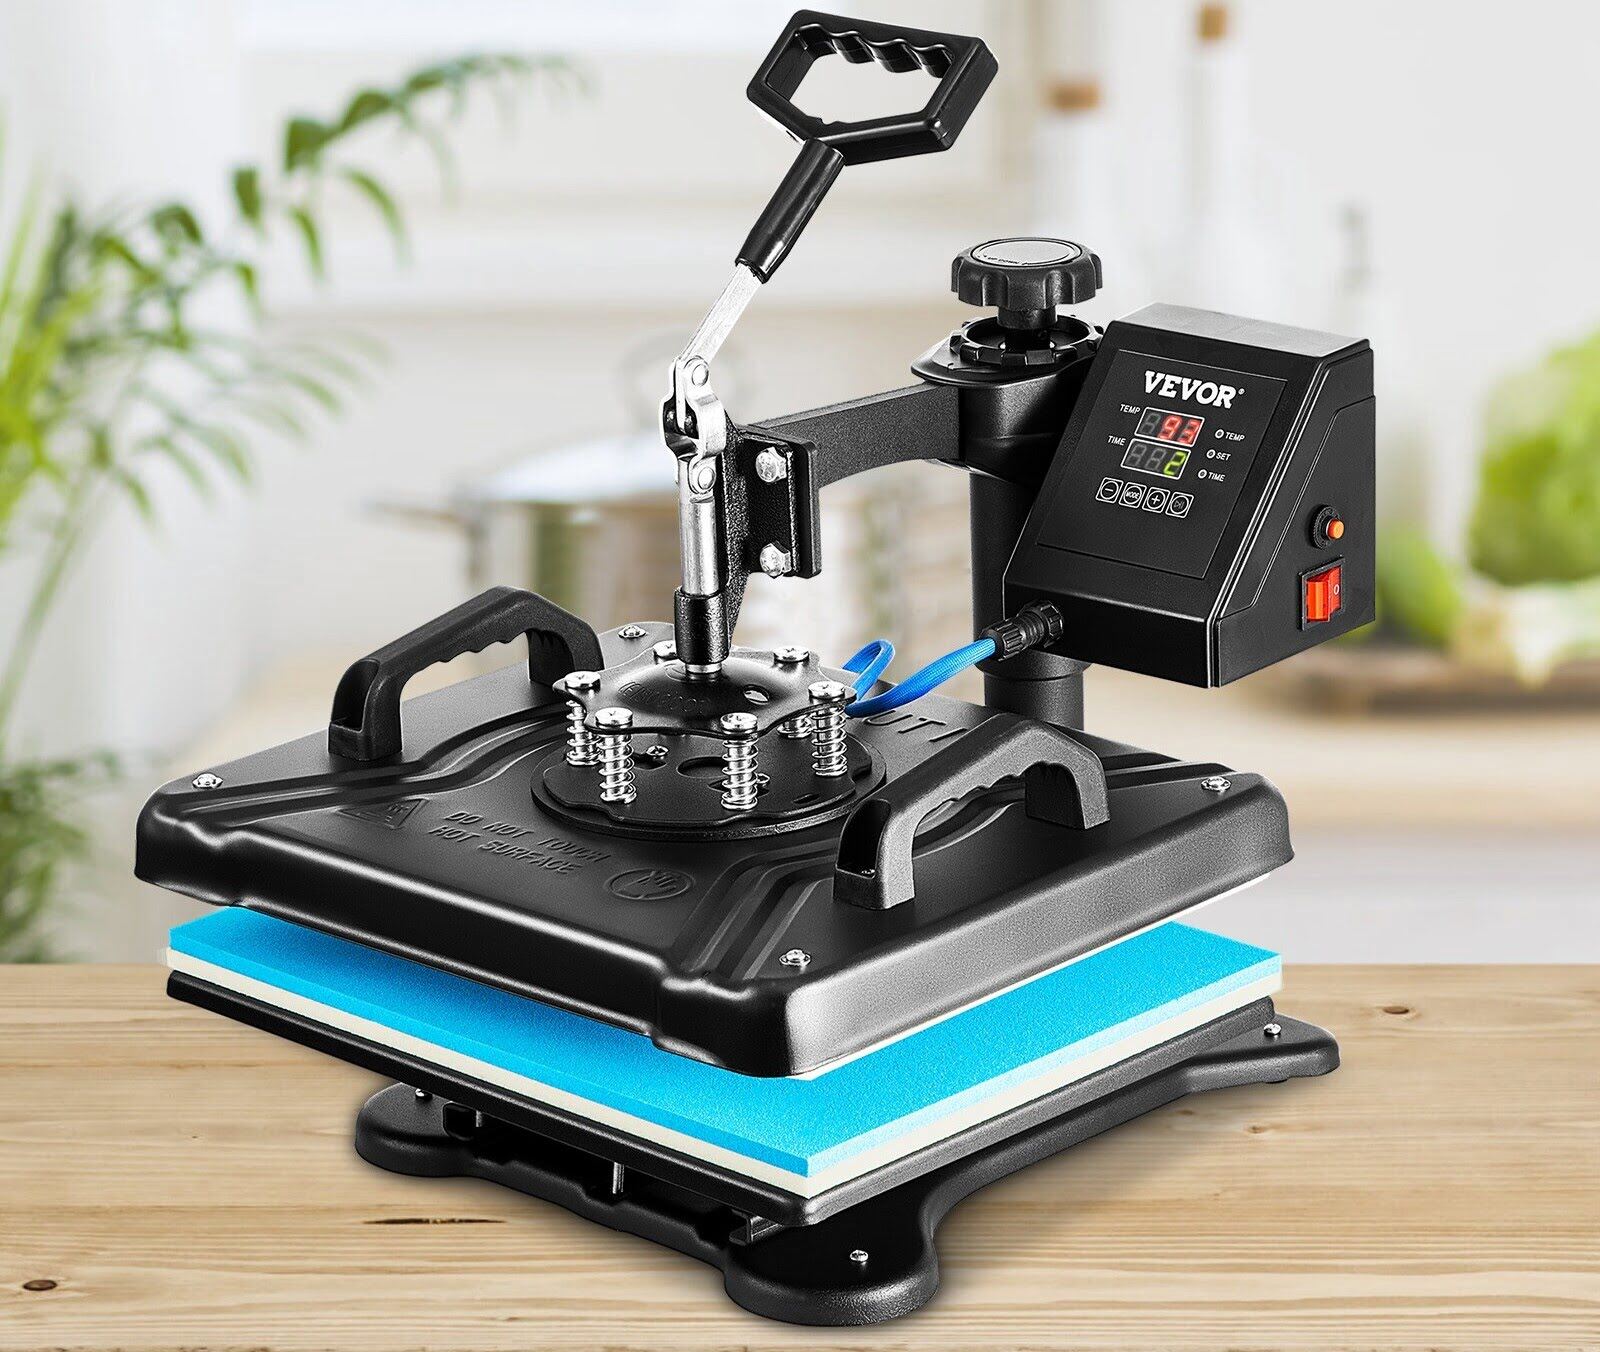
- You may also find an LCD control panel on the VEVOR Heat Press that allows you to adjust various settings, including temperature, time, and pressure. If your heat press has this feature, familiarize yourself with the controls for easier operation.
By following these steps, you will successfully power on your VEVOR Heat Press and be ready to start the temperature setting process. Keep in mind that different models of VEVOR Heat Presses may have slightly different power-on procedures, so consult your user manual for specific instructions if needed.
Step 2: Preparing the Transfer Material
Once you have powered on your VEVOR Heat Press, the next step is to prepare the transfer material. The transfer material is the surface onto which you will place your design for heat transfer. Here’s how you can prepare it:
- Choose the appropriate material for your heat transfer project. The VEVOR Heat Press can be used on a variety of materials such as fabrics, garments, ceramic, metal, and more.
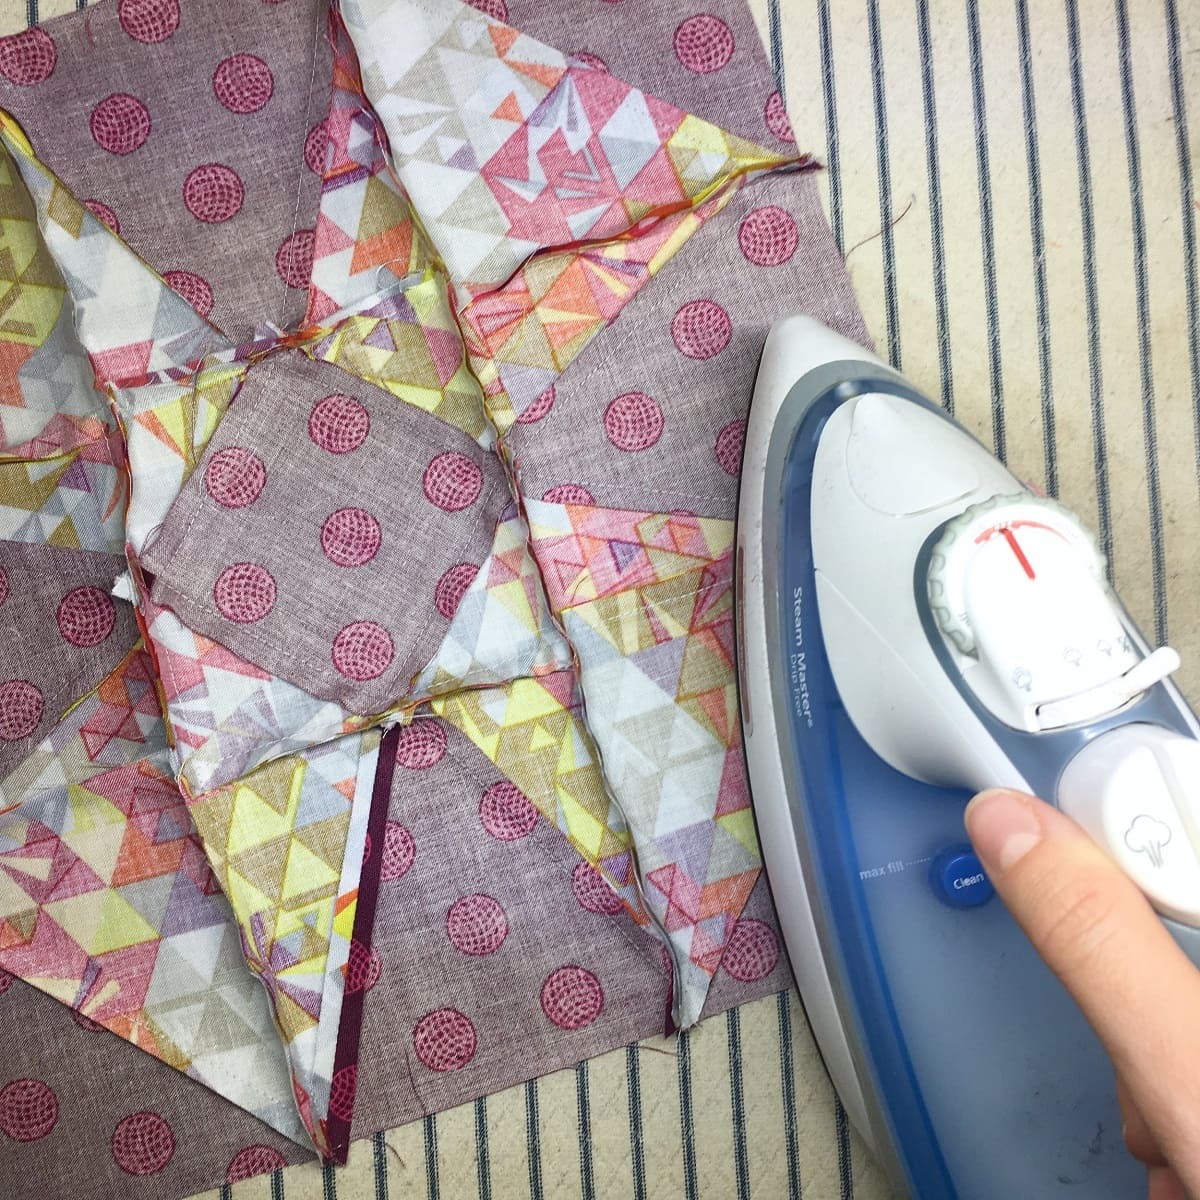
- If you are using fabric, make sure it is clean and free from any wrinkles or creases. Ironing the fabric beforehand can help create a smooth surface for heat transfer.
- If you are using other materials such as ceramic or metal, ensure that they are clean and free from dust or debris.
- Position the transfer material on the lower platen of the VEVOR Heat Press, making sure it is centered before proceeding to the next step.
Preparing the transfer material is essential to ensure the best results from your heat transfer process. By starting with a clean and well-prepared surface, you minimize the chances of any imperfections or issues with the final design. Take the time to properly prepare your transfer material, and you will be one step closer to creating stunning heat transfers with your VEVOR Heat Press.
Step 3: Setting the Temperature on the VEVOR Heat Press
Now that you have your VEVOR Heat Press powered on and the transfer material prepared, it’s time to set the temperature. Follow these steps to ensure you set the temperature correctly:
- Refer to the user manual for your specific model of VEVOR Heat Press to determine the appropriate temperature range for the material you are using. Different materials require different temperature settings to achieve optimal results.
- Locate the temperature control knob or button on the VEVOR Heat Press. It is usually labeled “Temperature” or “Temp.”
- Turn the temperature control knob clockwise or press the “+” button to increase the temperature. Similarly, turn the knob counterclockwise or press the “-” button to decrease the temperature.
- Gradually adjust the temperature to the desired setting, ensuring that it falls within the recommended range for your specific material.
- Some VEVOR Heat Press models may have a digital display that allows you to directly input the desired temperature. If your heat press has this feature, simply input the temperature using the provided controls.
- Allow the heat press to reach the set temperature. The LCD display or temperature indicator light will usually indicate when the desired temperature has been reached.
Setting the temperature correctly is crucial for achieving successful heat transfers. The recommended temperature varies depending on the material, so referring to the user manual and following the steps above will ensure that you set the appropriate temperature for your specific project. Once the desired temperature is reached, you are ready to move on to the next steps of the heat transfer process.
Step 4: Adjusting the Time and Pressure Settings
Now that you have set the temperature on your VEVOR Heat Press, the next step is to adjust the time and pressure settings. These settings play a crucial role in ensuring proper heat transfer and adherence of your design to the transfer material. Follow these steps to adjust the time and pressure settings:
- Refer to the user manual for your VEVOR Heat Press to determine the recommended time and pressure settings for the material you are using. Different materials require different time and pressure settings to achieve optimal results.
- Locate the time control knob or button on the VEVOR Heat Press. It is usually labeled “Time” or “Timer.”
- Turn the time control knob clockwise or press the “+” button to increase the time. Similarly, turn the knob counterclockwise or press the “-” button to decrease the time.
- Gradually adjust the time to the recommended setting for your specific material.
- Next, adjust the pressure settings based on the thickness and type of material you are using. Most VEVOR Heat Press models have a pressure adjustment knob or lever.
- Turn the pressure adjustment knob clockwise to increase the pressure or counterclockwise to decrease it. If your heat press has a lever, simply move it to the appropriate position to achieve the desired pressure.
It is important to note that the time and pressure settings may vary based on the specific heat transfer material you are using. Following the manufacturer’s recommendations ensures that your design transfers effectively and adheres properly to the material. Setting the correct time and pressure will result in vibrant and long-lasting heat transfers.
Once you have adjusted the time and pressure settings, you are now ready to move on to the next steps of the heat transfer process, which involve placing and aligning your design on the transfer material.
When setting the temperature on a VEVOR heat press, always refer to the recommended temperature settings for the specific type of material you are working with. Use a reliable thermometer to verify the accuracy of the heat press temperature.
Read more: How To Use VEVOR 5-In-1 Heat Transfer Press
Step 5: Placing and Aligning Your Design on the Transfer Material
With the temperature, time, and pressure settings properly adjusted on your VEVOR Heat Press, it’s time to place and align your design on the transfer material. This step ensures that your design is positioned correctly for optimal heat transfer. Follow these steps to place and align your design:
- Prepare your design by either printing it on transfer paper or cutting it out from heat transfer vinyl.
- Carefully position your design on the transfer material. Ensure that it is centered and aligned as per your desired placement.
- Smooth out any wrinkles or air bubbles on the transfer material and design. A flat and even surface is crucial for achieving the best results.
- Once you are satisfied with the placement and alignment, you can secure the design in place using heat-resistant tape. This will prevent it from shifting during the heat transfer process.
Take your time to ensure accurate placement and alignment to achieve the desired outcome. Remember that the quality of your heat transfer relies on the precision in positioning the design. By following these steps and taking care in placing and aligning your design, you will be ready to move on to the next step of pressing your design onto the material.
Step 6: Pressing Your Design onto the Material
Now that your design is properly positioned on the transfer material, it’s time to press it onto the material using your VEVOR Heat Press. Follow these steps to ensure a successful heat transfer:
- Close the heat press by lowering the upper platen carefully. Ensure that the design and transfer material are sandwiched between the upper and lower platens.
- Apply even pressure by locking the heat press in place. The pressure adjustment knob or lever should be securely locked to maintain consistent pressure throughout the transfer process.
- Refer to your transfer material’s recommended time and temperature settings. Set the timer on your VEVOR Heat Press to the specified time for a successful transfer.
- Once the timer goes off, lift the upper platen to release the pressure and carefully remove the transfer material from the lower platen.
- Immediately peel off the transfer material while it is still warm. If using transfer paper, follow the instructions on whether to peel while hot or wait for it to cool down.
- Take care when removing the transfer material to avoid smudging or smearing the design.
When pressing your design onto the material, it is essential to follow the recommended time and temperature guidelines. This ensures the proper adhesion of the design to the material. Be sure to handle the transfer material with care to prevent any damage or distortion to the design.
With the transfer complete, you’re ready to move on to the next step: removing the transfer material from the material.
Step 7: Removing the Transfer Material
After successfully pressing your design onto the material using your VEVOR Heat Press, it’s time to remove the transfer material. This step ensures that your design is cleanly and seamlessly transferred onto the material. Follow these steps to remove the transfer material:
- Allow the transferred material to cool down for a few seconds to a minute; this will depend on the specific transfer material.
- Gently and carefully peel off the transfer material from the material’s surface. Start from one corner and slowly peel back to avoid peeling the design along with it.
- If you encounter any resistance or find that the design is not fully transferred, stop peeling and place the transfer material back onto the material’s surface.
- Reapply pressure using the VEVOR Heat Press for an additional few seconds, following the recommended time and temperature settings for your specific transfer material.
- Once the additional pressing is complete, allow the material to cool down again before attempting to peel off the transfer material.
- Continue this process until the design is fully transferred onto the material.
Removing the transfer material requires patience and precision. Take your time to ensure that the design is cleanly transferred, without any parts sticking to the transfer material. If you encounter any issues during the removal process, don’t hesitate to repeat the pressing step to ensure a successful transfer.
With the transfer material removed, it’s time to proceed to the final step: properly cooling and finishing your design.
Step 8: Properly Cooling and Finishing Your Design
After removing the transfer material, it’s crucial to properly cool and finish your design. This step ensures that the transferred design sets and adheres to the material, resulting in a long-lasting and professional-looking outcome. Follow these steps to properly cool and finish your design:
- Allow the material to cool down completely. This cooling process allows the design to set in place.
- Once cooled, gently inspect the design for any imperfections or areas that may require touch-ups.
- If necessary, reapply heat and pressure using the VEVOR Heat Press on the specific areas that need additional adhesion or correction. Be sure to use a heat-resistant protective sheet to prevent any scorching or damage to the material.
- After any touch-ups or corrections, allow the material to cool down again.
- Once the design is fully cooled and set, remove any heat-resistant tape that was used to secure the transfer material during the pressing process.
- Inspect the finished design for any remaining transfer material residue or marks.
- If there is any residue or marks, carefully clean the design using a lint-free cloth or sponge and an appropriate cleaning solution recommended for the material.
- Lastly, make sure to follow any additional finishing instructions provided by the manufacturer of the transfer material, such as washing or curing, to maintain the longevity of the design.
Properly cooling and finishing your design is essential for achieving professional-grade results. By following these steps, you can ensure that your design is securely adhered to the material, free from any imperfections, and ready to be displayed or used.
Congratulations! You have now completed all the necessary steps to set the temperature on your VEVOR Heat Press and successfully create a heat transfer design. With this knowledge, you can continue to unleash your creativity and create stunning designs on various materials with your VEVOR Heat Press.
Remember, practice makes perfect, so don’t be afraid to experiment and explore different techniques to enhance your heat transfer skills. Enjoy the process and have fun creating unique designs with your VEVOR Heat Press!
Conclusion
Congratulations on completing our comprehensive guide on how to set the temperature on the VEVOR Heat Press! By following the step-by-step instructions, you are now equipped with the knowledge and skills to achieve successful heat transfers on a variety of materials.
Setting the temperature correctly is the key to creating vibrant and long-lasting designs. Remember to consult your user manual for specific instructions and recommendations based on the material you are using. Take the time to prepare the transfer material, align your design accurately, apply the right amount of time and pressure, and properly cool and finish your design for optimum results.
The VEVOR Heat Press is a versatile tool that opens up a world of creativity. Whether you’re creating customized t-shirts, personalized tote bags, or unique home decor items, mastering the temperature setting process will help you achieve professional and delightful outcomes.
As you gain experience and confidence with your VEVOR Heat Press, don’t be afraid to experiment with different materials and designs. Each project is an opportunity to refine your skills and unlock your artistic potential.
Remember to have fun throughout the process and enjoy the satisfaction of creating impressive heat transfer designs. With your VEVOR Heat Press and the knowledge gained from this guide, you are well on your way to creating stunning and personalized creations that will leave a lasting impression.
So, go ahead and get started – let your imagination take flight and unleash your creativity with the VEVOR Heat Press!
Frequently Asked Questions about How To Set Temp On VEVOR Heat Press
Was this page helpful?
At Storables.com, we guarantee accurate and reliable information. Our content, validated by Expert Board Contributors, is crafted following stringent Editorial Policies. We're committed to providing you with well-researched, expert-backed insights for all your informational needs.


0 thoughts on “How To Set Temp On VEVOR Heat Press”