Articles
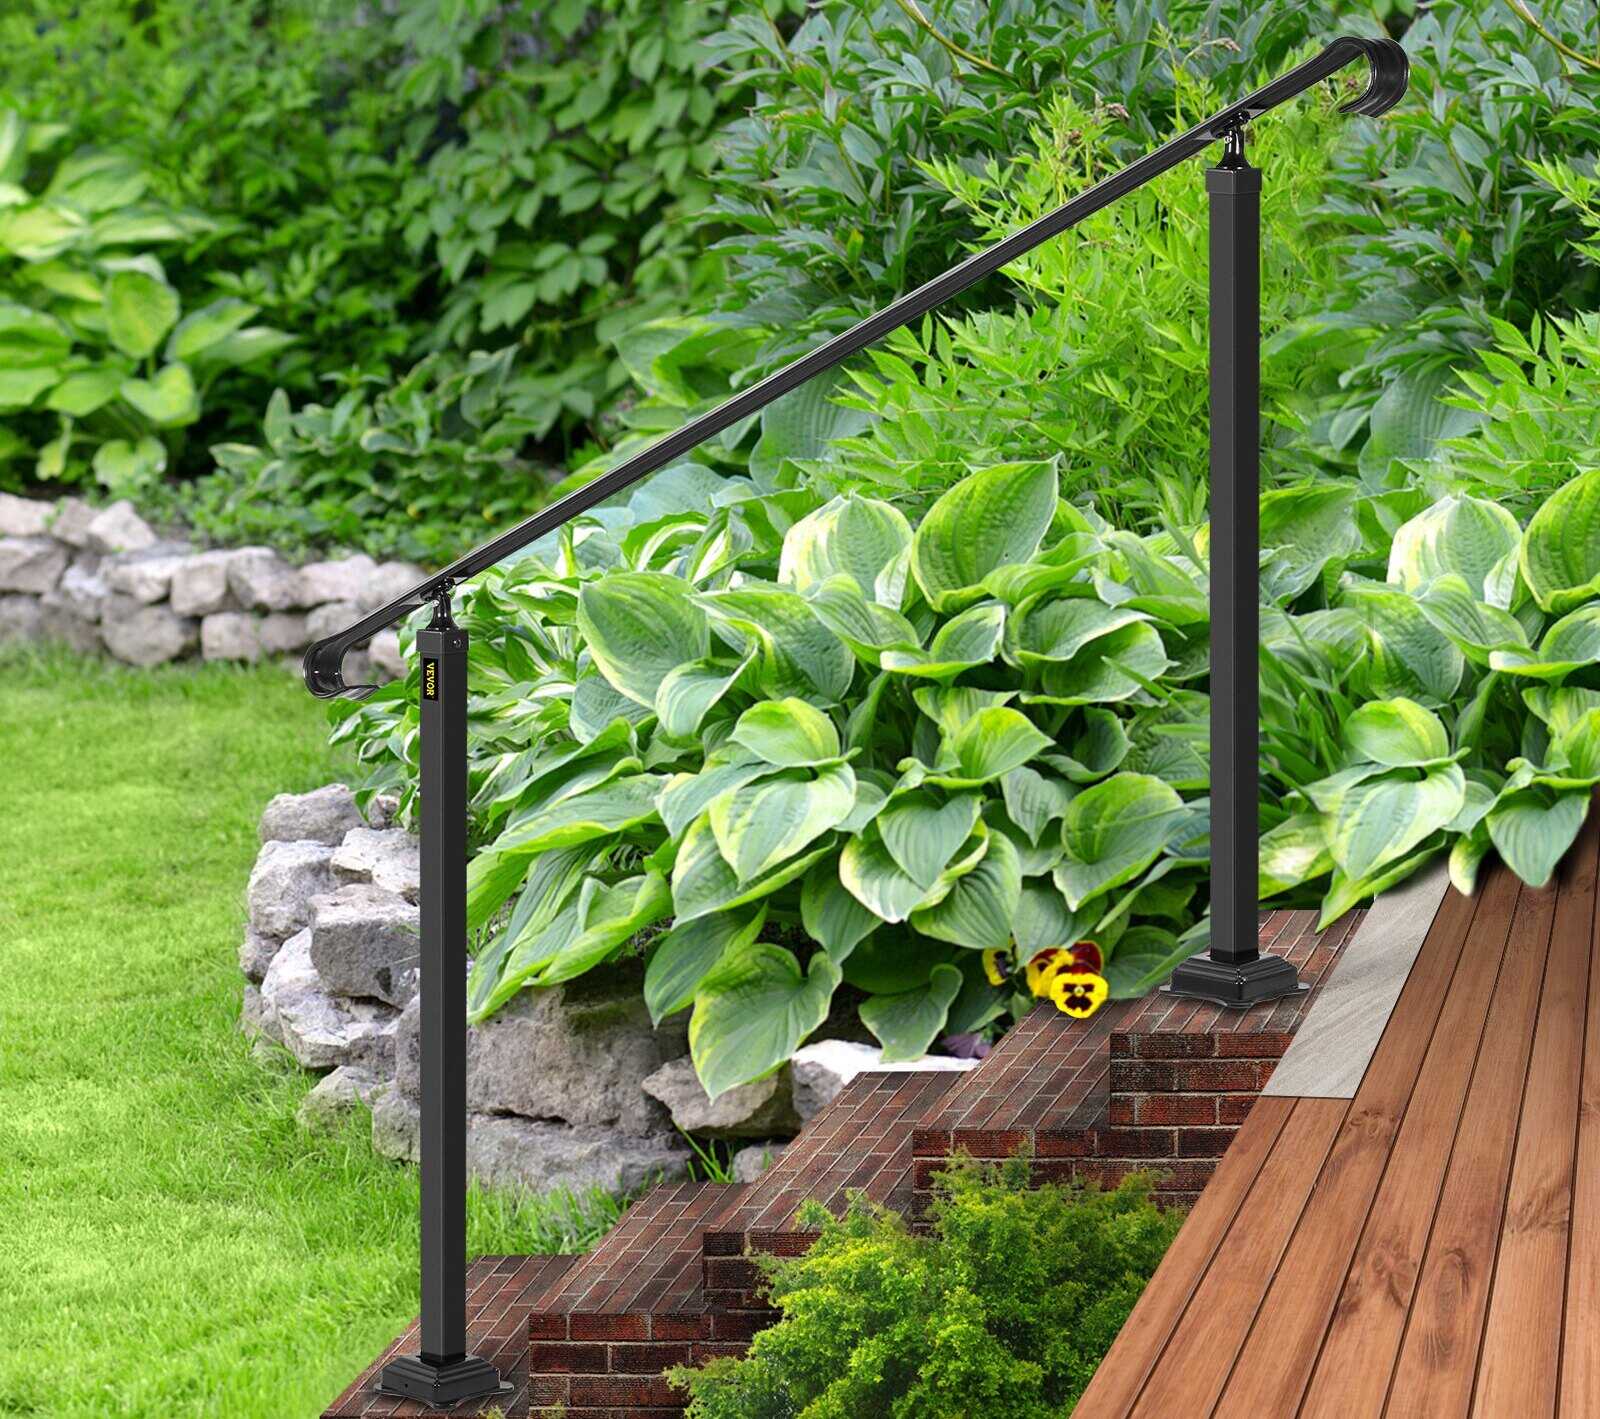
How To Install VEVOR Handrail
Modified: October 22, 2024
Learn how to install VEVOR Handrail with our informative articles. Step-by-step instructions and helpful tips to ensure a successful installation process.
(Many of the links in this article redirect to a specific reviewed product. Your purchase of these products through affiliate links helps to generate commission for Storables.com, at no extra cost. Learn more)
Introduction
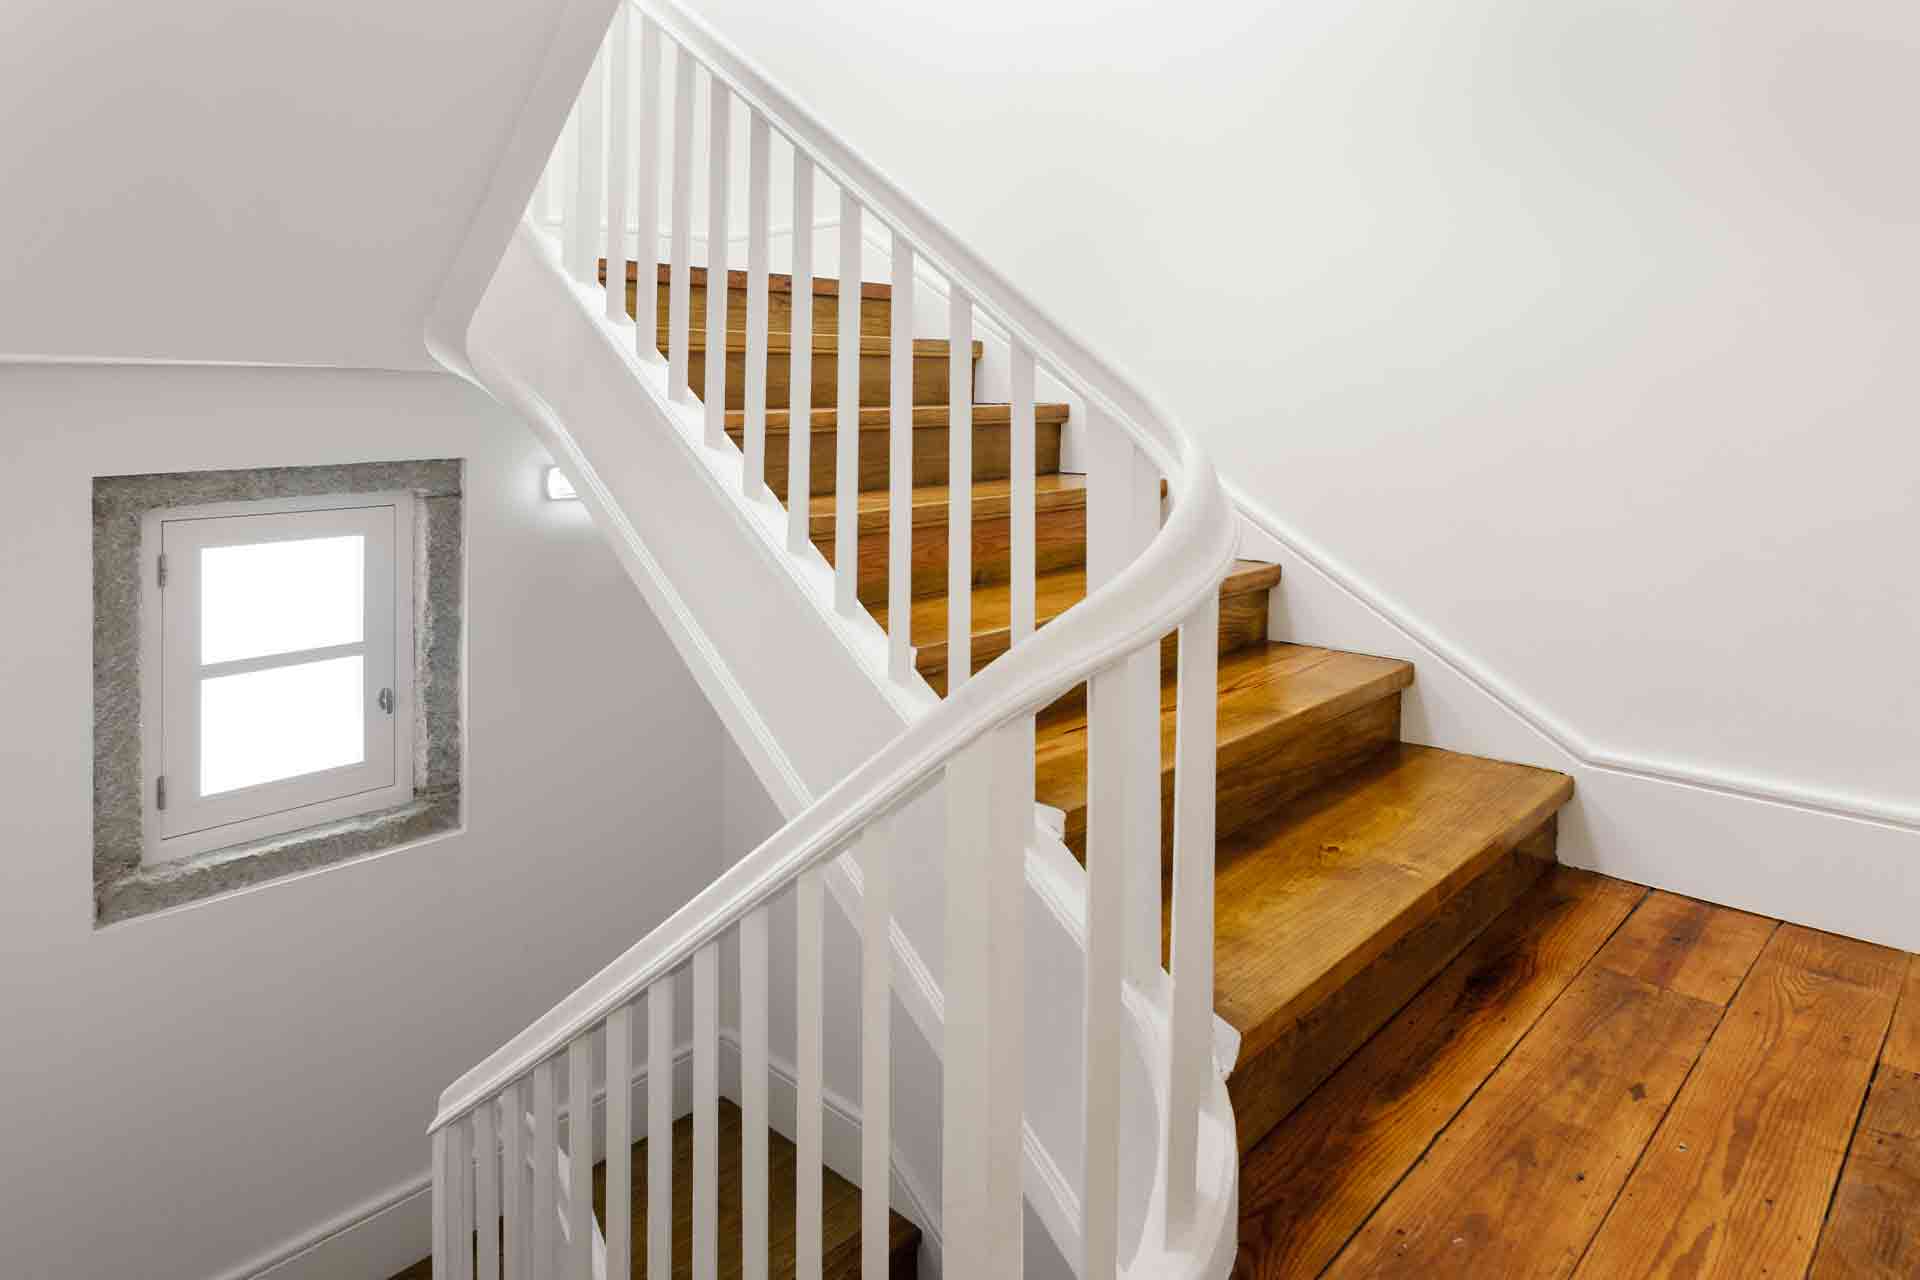
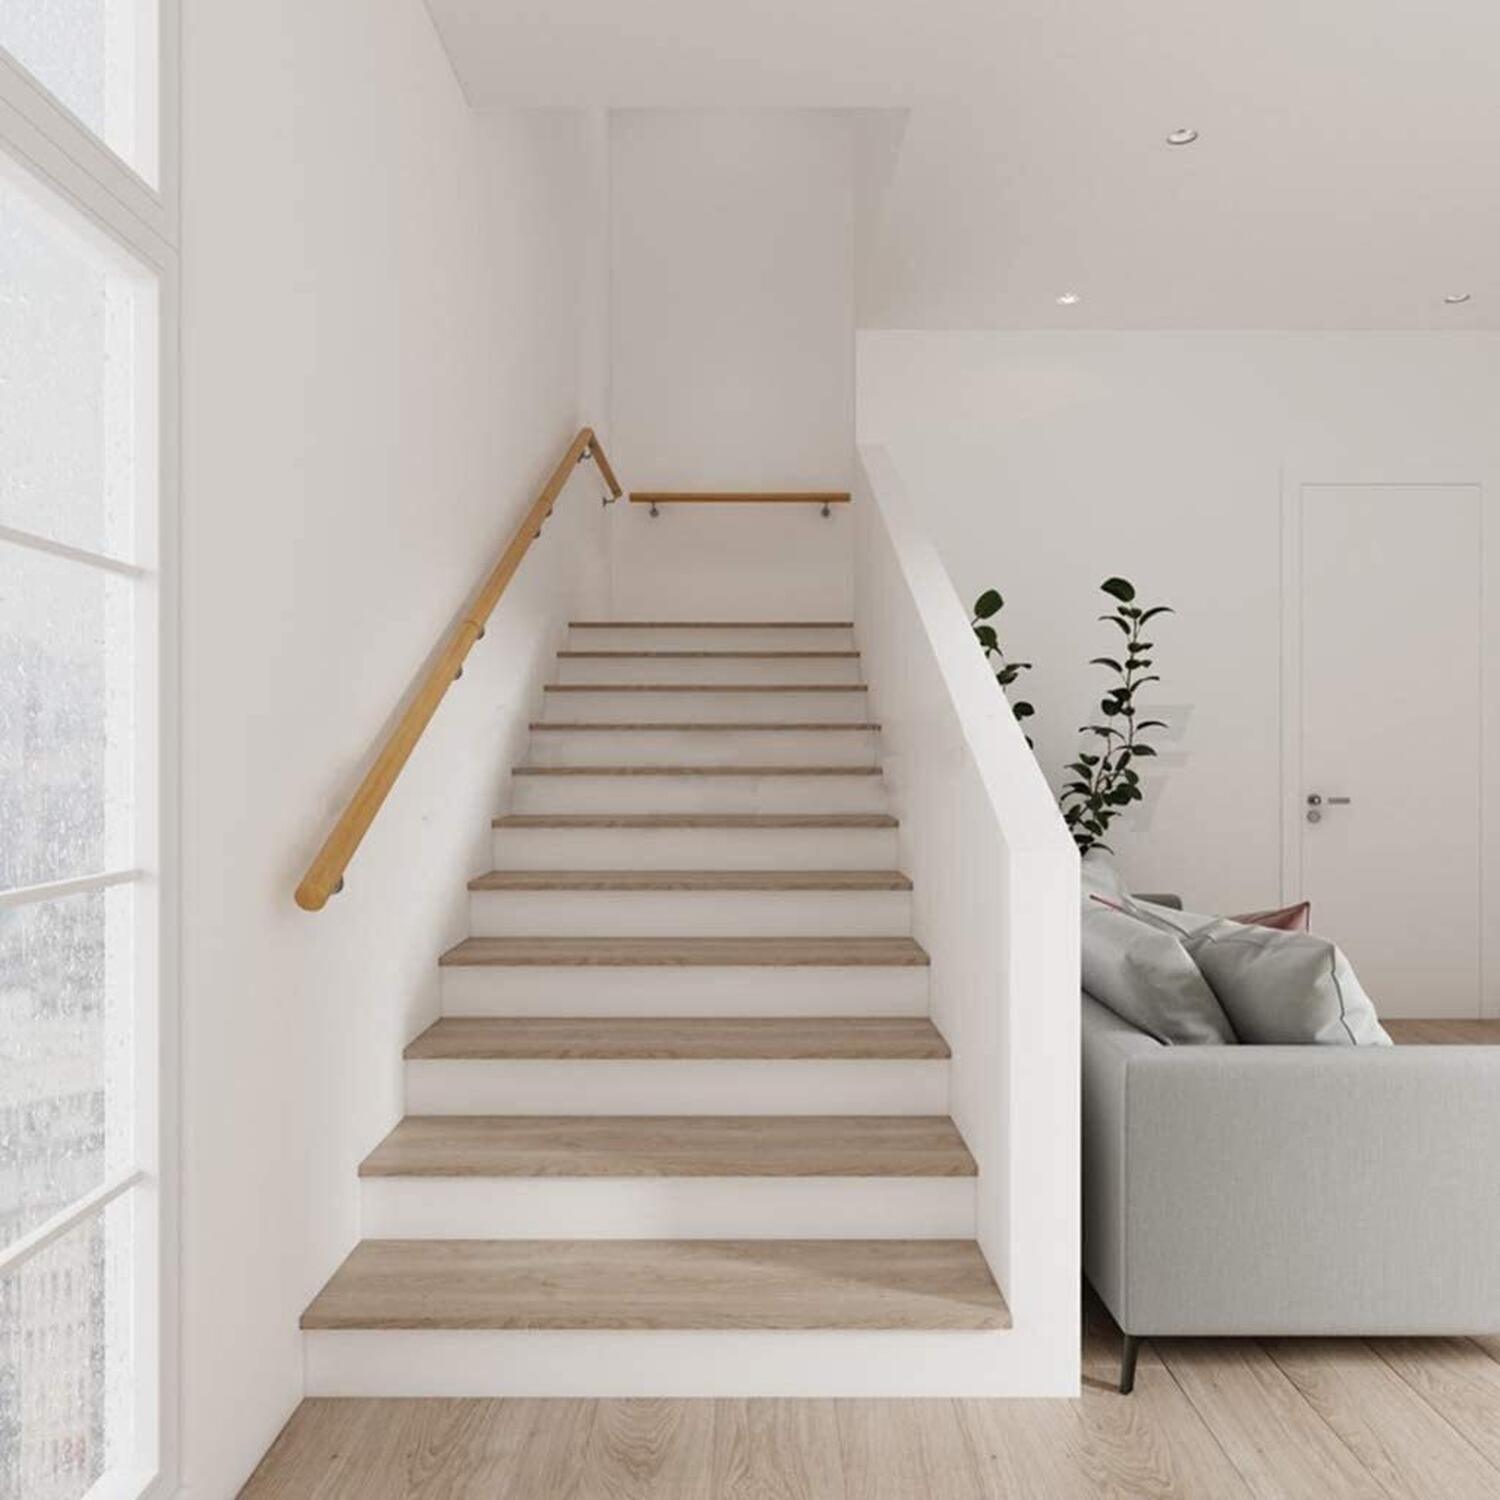
Installing a handrail is an essential safety measure for any staircase or elevated platform. It provides stability and support while ascending or descending, particularly for those with mobility challenges or in need of assistance. Whether you are renovating your home, adding a new set of stairs, or simply upgrading an existing handrail, this article will guide you through the process of installing a VEVOR handrail.
VEVOR handrails are known for their durability, stylish design, and ease of installation. With clear instructions and a few basic tools, you can have a secure and functional handrail installed in no time. In this article, we will walk you through the step-by-step process, highlighting the materials needed and providing helpful tips along the way.
Before you begin the installation process, it is important to ensure that you have the necessary materials and tools on hand. This will make the installation process more efficient and prevent any delays or interruptions. Let’s take a look at what you will need.
Key Takeaways:
- Installing a VEVOR handrail is a straightforward process that enhances safety and accessibility for any staircase or elevated platform. Prioritize accuracy and safety, and enjoy the added style and functionality it brings to your space.
- With clear instructions and basic tools, you can confidently install a VEVOR handrail. Ensure stability by checking the tightness of screws and testing the handrail’s support. Stay safe and enjoy the benefits of a secure installation!
Read more: How To Install Handrails On Stairs
Materials Needed
Before you start installing your VEVOR handrail, make sure you have the following materials on hand:
- VEVOR handrail kit: This will include the handrail itself, brackets, screws, and any necessary hardware.
- Tape measure: To accurately measure the placement of the handrail.
- Pencil: To mark the positions for the brackets.
- Screwdriver or drill: To secure the brackets and handrail to the wall.
- Level: To ensure that the handrail is installed straight and balanced.
- Stud finder: To locate the wall studs for secure bracket installation.
- Anchor bolts (if necessary): If your wall does not have studs, anchor bolts will provide additional support.
- Protective goggles and gloves: To protect yourself during the installation process.
Having these materials readily available will help streamline the installation process, making it easier and more efficient. Now that you have all the necessary materials, let’s move on to the step-by-step installation guide.
Step 1: Measure and Mark the Placement of the Handrail
The first step in installing your VEVOR handrail is to accurately measure and mark the placement of the handrail on the wall. This will ensure that it is installed at the correct height and aligns with the staircase or platform. Follow these steps:
- Using a tape measure, measure the desired height of the handrail from the floor. The recommended height is typically between 34 to 38 inches.
- Mark this measurement on the wall with a pencil. Make sure the mark is level and straight.
- If your staircase or platform has a bend or turn, measure and mark the corresponding angles or curves. This will help you determine the placement of the brackets.
Take your time with this step, as accurate measurements and markings are crucial for a secure and aesthetically pleasing handrail installation. Double-check your measurements and alignment before proceeding to the next step.
Step 2: Prepare the Handrail Brackets
Once you have measured and marked the placement of the handrail, it’s time to prepare the brackets that will support it. Follow these steps to ensure proper preparation:
- Take out the handrail brackets from the VEVOR handrail kit. Inspect them to make sure they are in good condition and free from any defects.
- Position each bracket on the wall at the marked locations, aligning them with the pencil marks you made in Step 1. Hold the bracket against the wall and use a pencil to mark the screw holes.
- If your wall has studs behind the drywall, make sure the brackets are aligned with them for added support. Use a stud finder to locate the studs, if necessary.
- If your wall does not have studs in the desired bracket placement area, you may need to use anchor bolts. Follow the manufacturer’s instructions to properly install the anchor bolts in the marked locations.
By properly preparing the handrail brackets, you ensure that they are in the correct positions and ready for installation. This will contribute to the stability and durability of your VEVOR handrail. Now that the brackets are prepared, let’s move on to attaching them to the wall.
Before installing the VEVOR Handrail, make sure to carefully measure and mark the placement of the handrail brackets to ensure proper support and stability. Use a level to ensure the handrail is installed straight and securely.
Step 3: Attach the Brackets to the Wall
With the handrail brackets prepared, it’s time to securely attach them to the wall. Follow these steps to ensure a strong and stable installation:
- Hold the first bracket against the wall, aligning it with the pencil marks and screw holes.
- Using a screwdriver or drill, insert screws through the bracket’s screw holes and into the wall. Make sure to tighten the screws firmly but avoid overtightening, as it may cause damage to the bracket or wall.
- If your wall has studs behind the drywall, drive the screws directly into the studs for added stability. Ensure that the bracket is level by using a level tool.
- Repeat the process for the remaining brackets, spacing them evenly along the length of the handrail. Make sure the brackets are installed at the same height and aligned with each other.
It is important to ensure that the brackets are securely attached to the wall. This will provide the necessary support for the handrail to withstand weight and pressure. Take your time with this step and double-check the alignment and stability of each bracket before moving on.
Step 4: Secure the Handrail to the Brackets
Now that the brackets are securely attached to the wall, it’s time to attach the handrail to them. Follow these steps to properly secure the handrail:
- Place the VEVOR handrail onto the brackets, sliding it onto the protruding ends.
- Make sure the handrail is centered and aligned with the brackets.
- Using the screws provided in the handrail kit, insert them through the holes in the brackets and into the handrail. Make sure to tighten the screws securely.
- Double-check the levelness of the handrail using a level tool. Adjust the position if necessary.
It is important to ensure that the handrail is properly secured to the brackets. This will provide stability and support, ensuring the handrail functions effectively. Take your time during this step and make any necessary adjustments to ensure a secure attachment.
With the handrail securely attached to the brackets, we can move on to the final step.
Step 5: Check the Stability of the Handrail
Before considering the installation process complete, it is crucial to check the stability of the handrail to ensure its effectiveness in providing support. Follow these steps to evaluate the stability of the handrail:
- Gently apply pressure to the handrail in various areas to test its sturdiness. Check for any wobbling or movement.
- Walk up and down the stairs or use the elevated platform while holding onto the handrail. Assess whether it provides the necessary support and feels secure.
- If you notice any instability or movement, double-check the tightness of the screws that secure the brackets and handrail. Use a screwdriver or drill to tighten them as needed.
If the handrail still feels unstable or does not provide the necessary support, you may need to reevaluate the installation process and make adjustments accordingly. It is essential that the handrail is secure and reliable to ensure the safety of those using it.
Congratulations! You have successfully installed your VEVOR handrail. By following these steps and ensuring the stability of the handrail, you have taken an important step in enhancing the safety and accessibility of your staircase or elevated platform.
Conclusion
Installing a VEVOR handrail is a straightforward process that can greatly enhance the safety and functionality of your staircase or elevated platform. By following the steps outlined in this article, you can ensure a secure and reliable installation.
Start by measuring and marking the placement of the handrail, taking into consideration the height and any curves or angles in your staircase. Prepare the handrail brackets and attach them to the wall, making sure they are aligned and securely fastened. Next, secure the handrail to the brackets, ensuring it is centered and level. Finally, check the stability of the handrail by applying pressure and testing its ability to provide support.
Throughout the installation process, it is important to prioritize safety and accuracy. Take your time with each step, double-check measurements and alignments, and make any necessary adjustments to ensure a secure installation.
A VEVOR handrail not only enhances the safety of your stairs or platform but also adds an element of style to your space. With its durable construction and stylish design, it is an excellent choice for any home or commercial setting.
Now that you are equipped with the knowledge and steps needed to install a VEVOR handrail, you can confidently take on this project and enjoy the benefits of a secure and aesthetically pleasing handrail.
Remember, if you ever need to make alterations or reposition the handrail in the future, consult the manufacturer’s instructions or seek professional assistance to ensure a proper and safe installation.
Stay safe and enjoy the added safety and convenience that a VEVOR handrail provides!
Frequently Asked Questions about How To Install VEVOR Handrail
Was this page helpful?
At Storables.com, we guarantee accurate and reliable information. Our content, validated by Expert Board Contributors, is crafted following stringent Editorial Policies. We're committed to providing you with well-researched, expert-backed insights for all your informational needs.


0 thoughts on “How To Install VEVOR Handrail”