Articles
How To Set Up A SimpliSafe Smoke Detector
Modified: February 24, 2024
Learn how to set up a SimpliSafe smoke detector in a few easy steps with our informative articles. Ensure your home is protected from smoke and fire.
(Many of the links in this article redirect to a specific reviewed product. Your purchase of these products through affiliate links helps to generate commission for Storables.com, at no extra cost. Learn more)
Introduction
Welcome to the ultimate guide on how to set up a SimpliSafe Smoke Detector! Having a smoke detector in your home is a crucial safety measure to protect you and your loved ones from the dangers of fire. SimpliSafe, a leading provider of home security systems, offers a range of smoke detectors that are easy to install and provide reliable protection.
In this article, we will take you through a step-by-step process of unboxing, installing, and connecting your SimpliSafe Smoke Detector. Whether you are a tech-savvy individual or a complete novice, this guide will help you get your smoke detector up and running in no time.
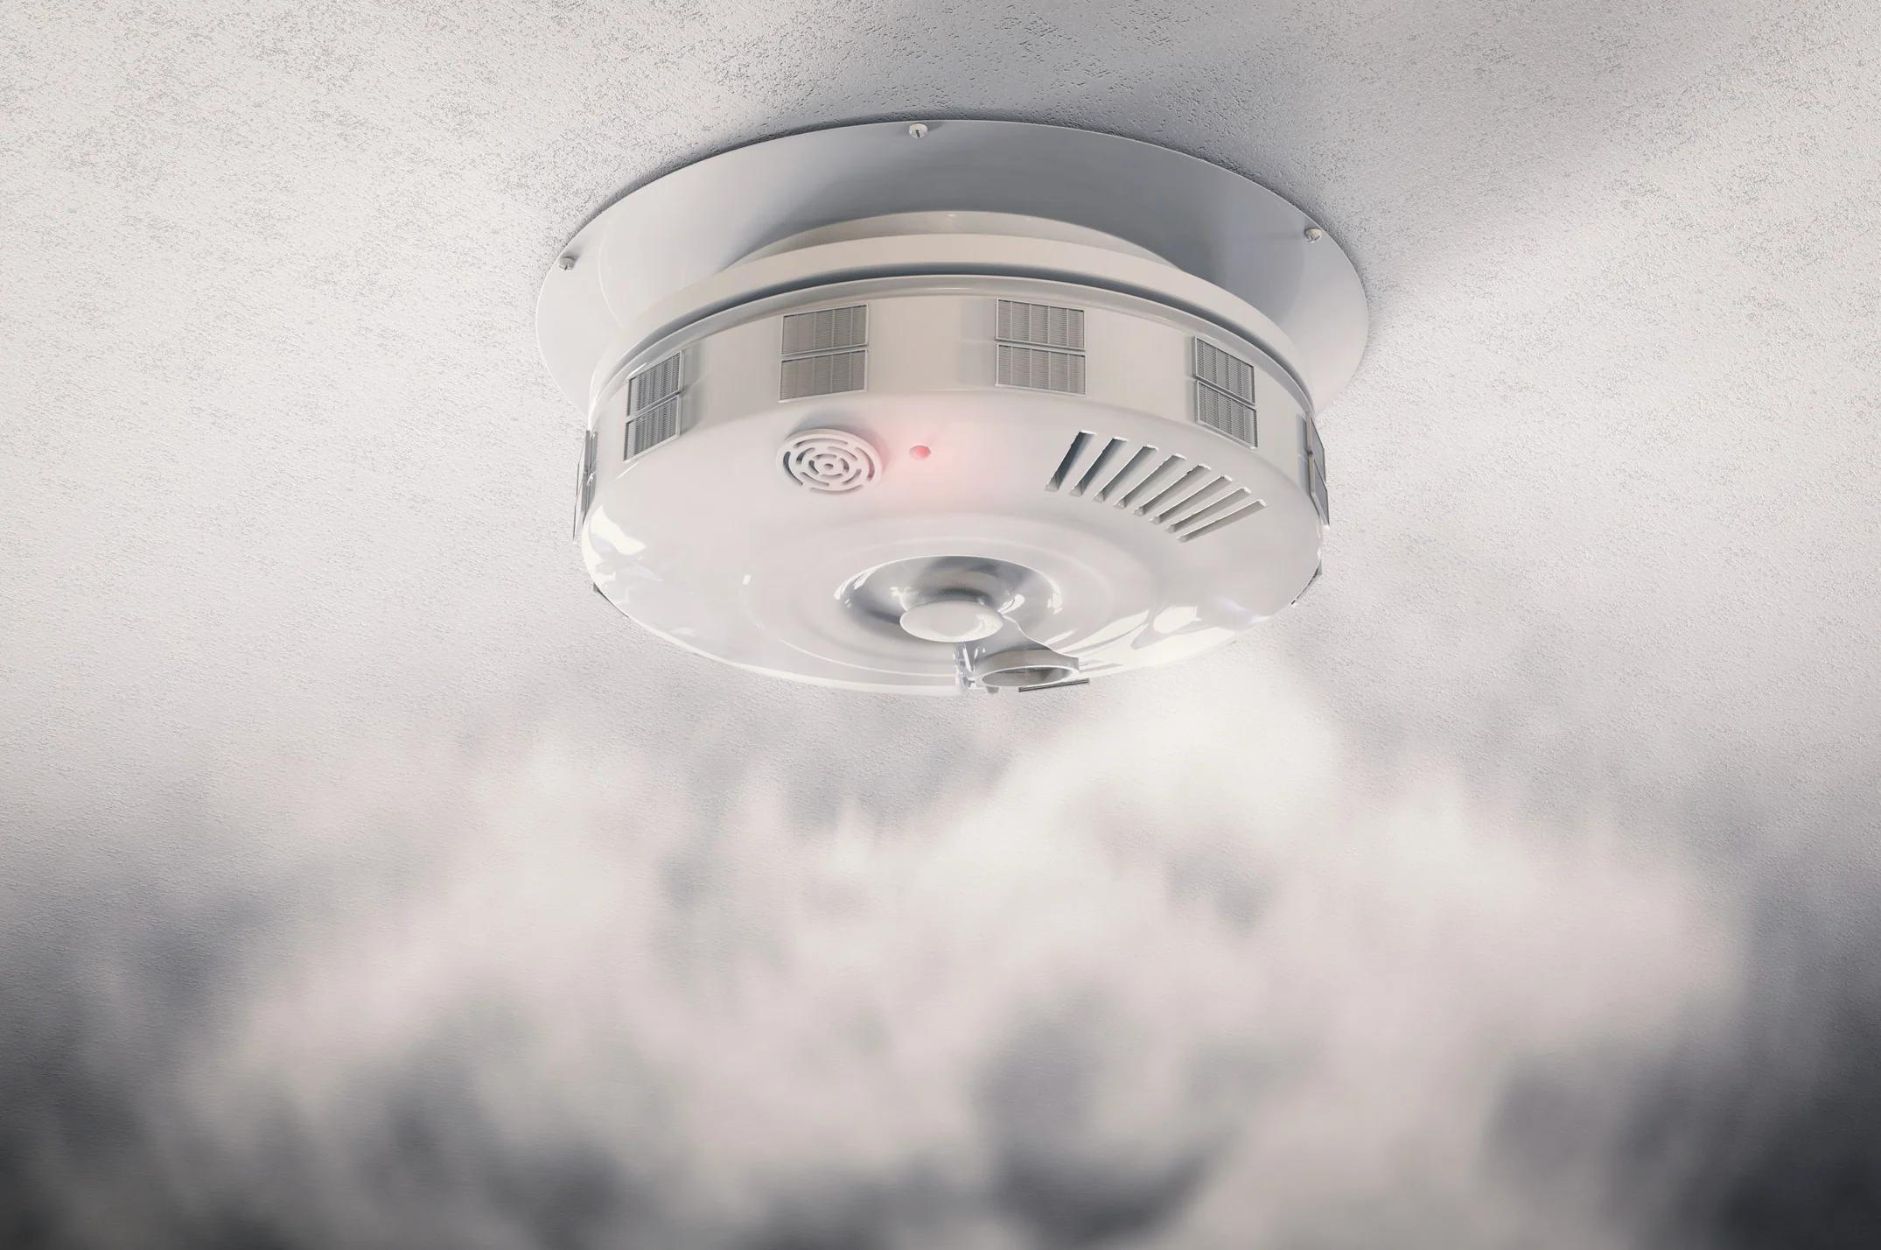
Before we dive into the installation process, let’s briefly discuss why having a smoke detector is so important. A smoke detector is designed to detect smoke particles in the air and sound an alarm to alert occupants of a potential fire. This early warning can save lives and give you the precious time needed to evacuate safely.
Choosing a high-quality smoke detector, such as the ones offered by SimpliSafe, is essential for reliable and accurate detection. SimpliSafe smoke detectors are equipped with advanced technology that can quickly sense smoke and trigger the alarm.
Now that we understand the importance of smoke detectors, let’s move on to the exciting part – setting up your SimpliSafe Smoke Detector. By following the steps outlined in this guide, you will gain peace of mind knowing that you have taken the necessary steps to protect your home and loved ones.
So, without further ado, let’s jump right into unboxing and installing your SimpliSafe Smoke Detector!
Key Takeaways:
- SimpliSafe Smoke Detectors are easy to install and offer advanced features for reliable home fire protection. By following the step-by-step guide, you can ensure your loved ones’ safety with a seamless setup process.
- Regular testing, customization, and troubleshooting are essential for maintaining the effectiveness of your SimpliSafe Smoke Detector. Embrace the peace of mind that comes with a well-maintained and reliable smoke detection system.
Step 1: Unboxing the SimpliSafe Smoke Detector
The first step in setting up your SimpliSafe Smoke Detector is to unbox the package. When you receive your smoke detector, carefully remove it from the packaging and ensure that you have all the necessary components.
Inside the box, you will find:
- The SimpliSafe Smoke Detector
- Batteries (usually already installed)
- Mounting plate
- Screws and anchors
- User manual and installation guide
Before proceeding further, it’s important to read through the user manual and familiarize yourself with the instructions. This will ensure that you have a clear understanding of the installation process and any specific requirements for your particular model of SimpliSafe Smoke Detector.
Once you have checked the contents and read the manual, you are ready to move on to the next step – checking the components.
Step 2: Checking the Components
After unboxing the SimpliSafe Smoke Detector, it is essential to check all the components to ensure that everything is in working order and nothing is missing or damaged.
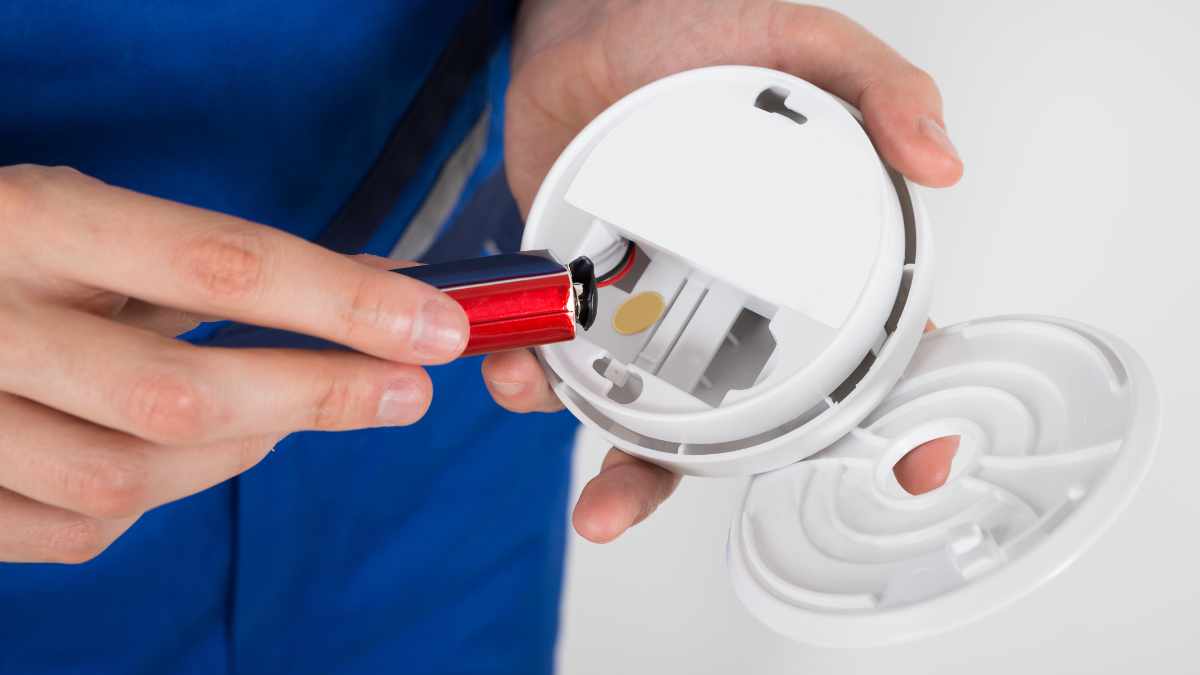
Start by inspecting the smoke detector itself. Check for any visible damage or defects. Make sure the batteries are properly inserted and that the device is functioning correctly. Most SimpliSafe smoke detectors come pre-installed with batteries, but if they are not, you will need to insert them at this point.
Next, examine the mounting plate. Ensure that it is in good condition and that all the necessary parts, such as screws and anchors, are present. The mounting plate is crucial for securely attaching the smoke detector to the ceiling or wall.
Take a quick look at the user manual and installation guide to confirm that you have received all the required components. Familiarize yourself with the instructions and any specific guidelines provided by SimpliSafe for your smoke detector model.
If you have any concerns or find that any parts are missing or damaged, it is important to contact SimpliSafe customer support before proceeding with the installation. They will be able to assist you and provide replacements if necessary.
Once you have verified that all the components are in order, you can proceed to the next step – installing the mounting plate.
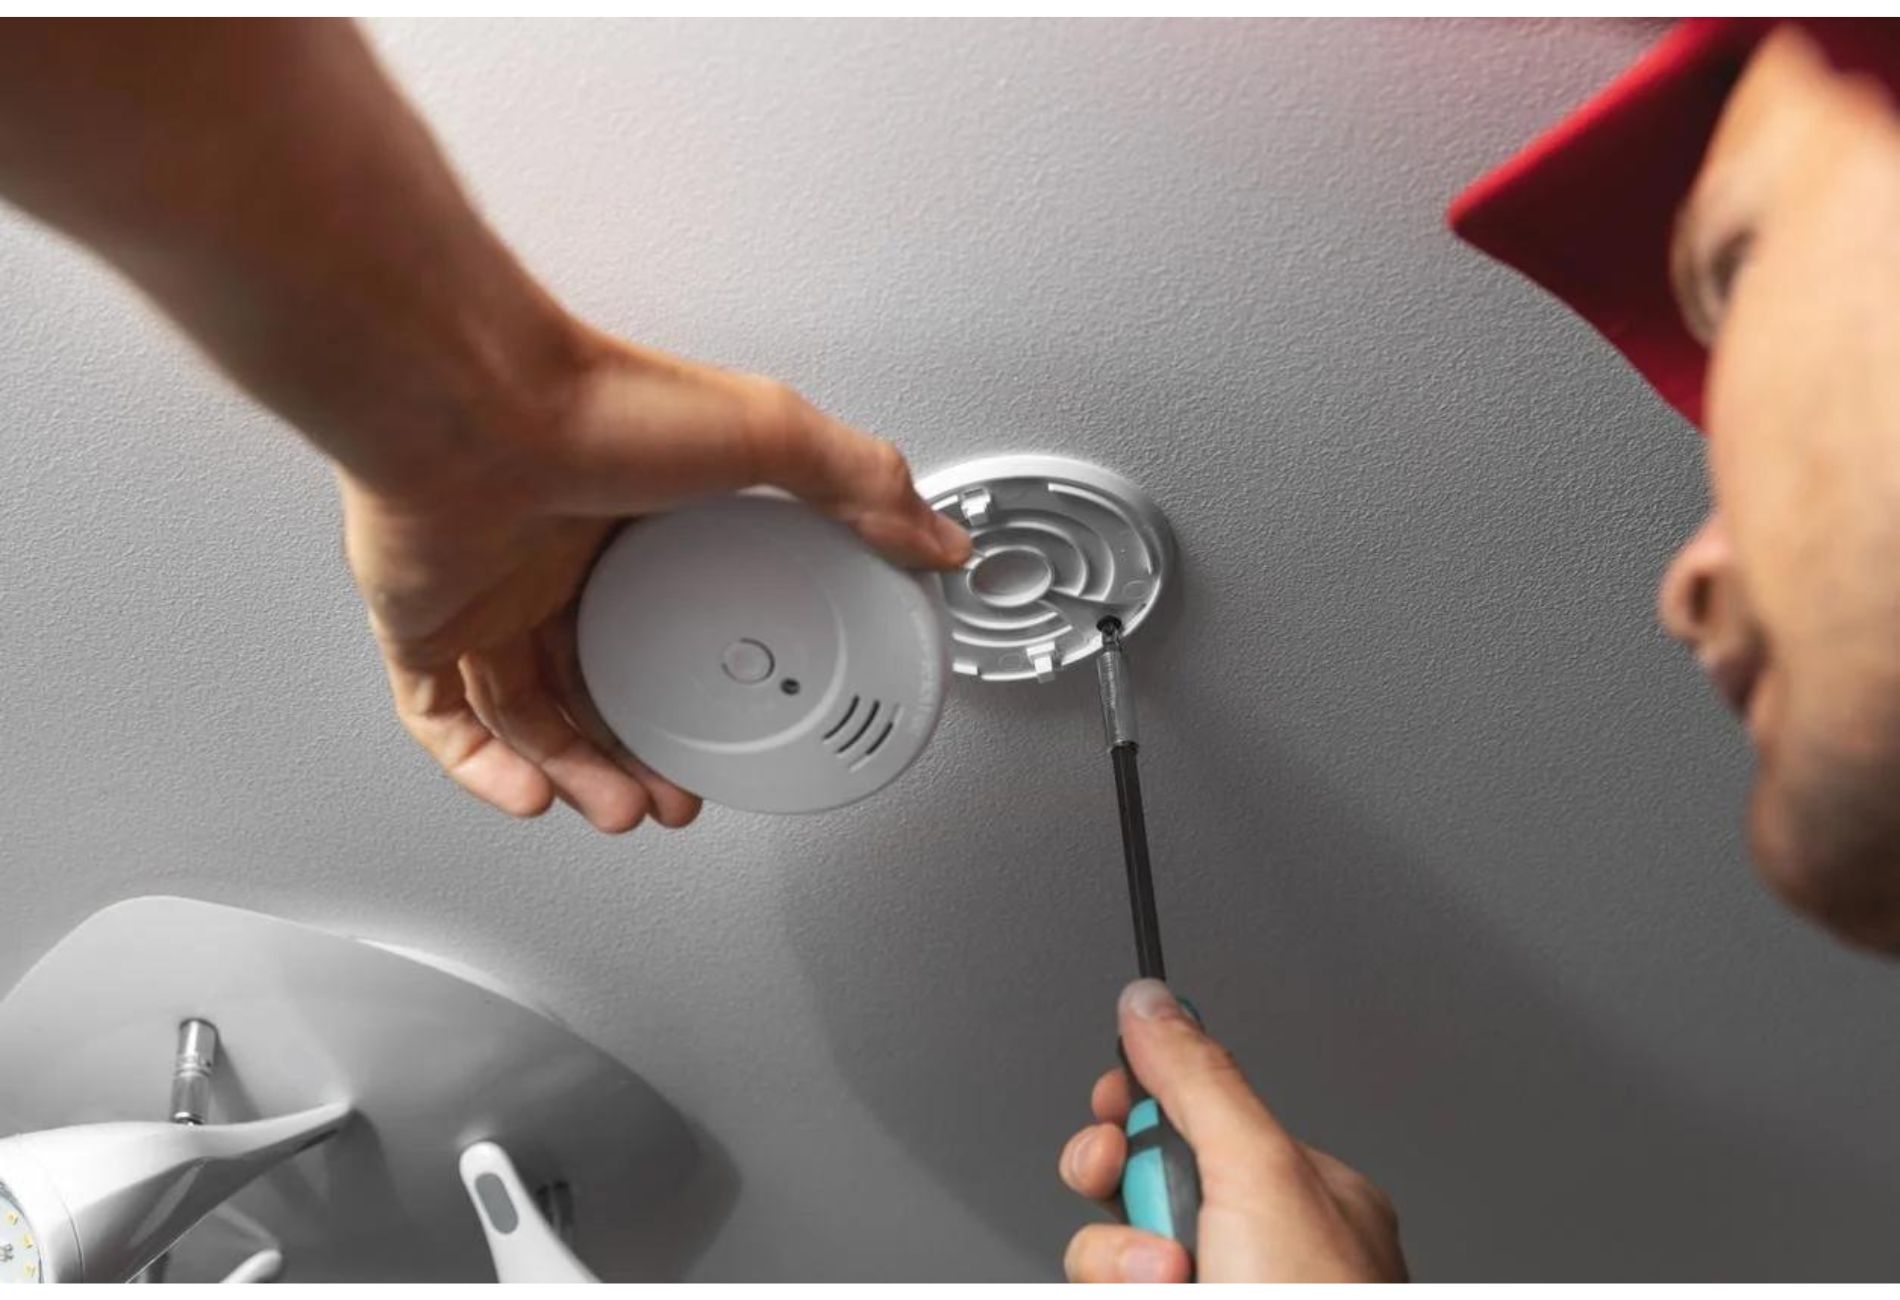
Step 3: Installing the Mounting Plate
Now that you have checked the components of your SimpliSafe Smoke Detector, it’s time to install the mounting plate. The mounting plate is what allows you to securely attach the smoke detector to the ceiling or wall.
First, choose a suitable location for your smoke detector. It should be installed on the ceiling in the center of the room or on the wall, at a height of around 4-6 inches from the ceiling. Make sure the location provides optimal coverage for detecting smoke particles.
Before you begin mounting the plate, ensure that the surface is clean and free from any dust or debris. This will help enhance the adhesive’s effectiveness and ensure a secure installation.
Next, take the mounting plate and remove the adhesive backing. Press the plate firmly against the desired location, making sure it is level. Apply gentle pressure to ensure it sticks securely to the surface.
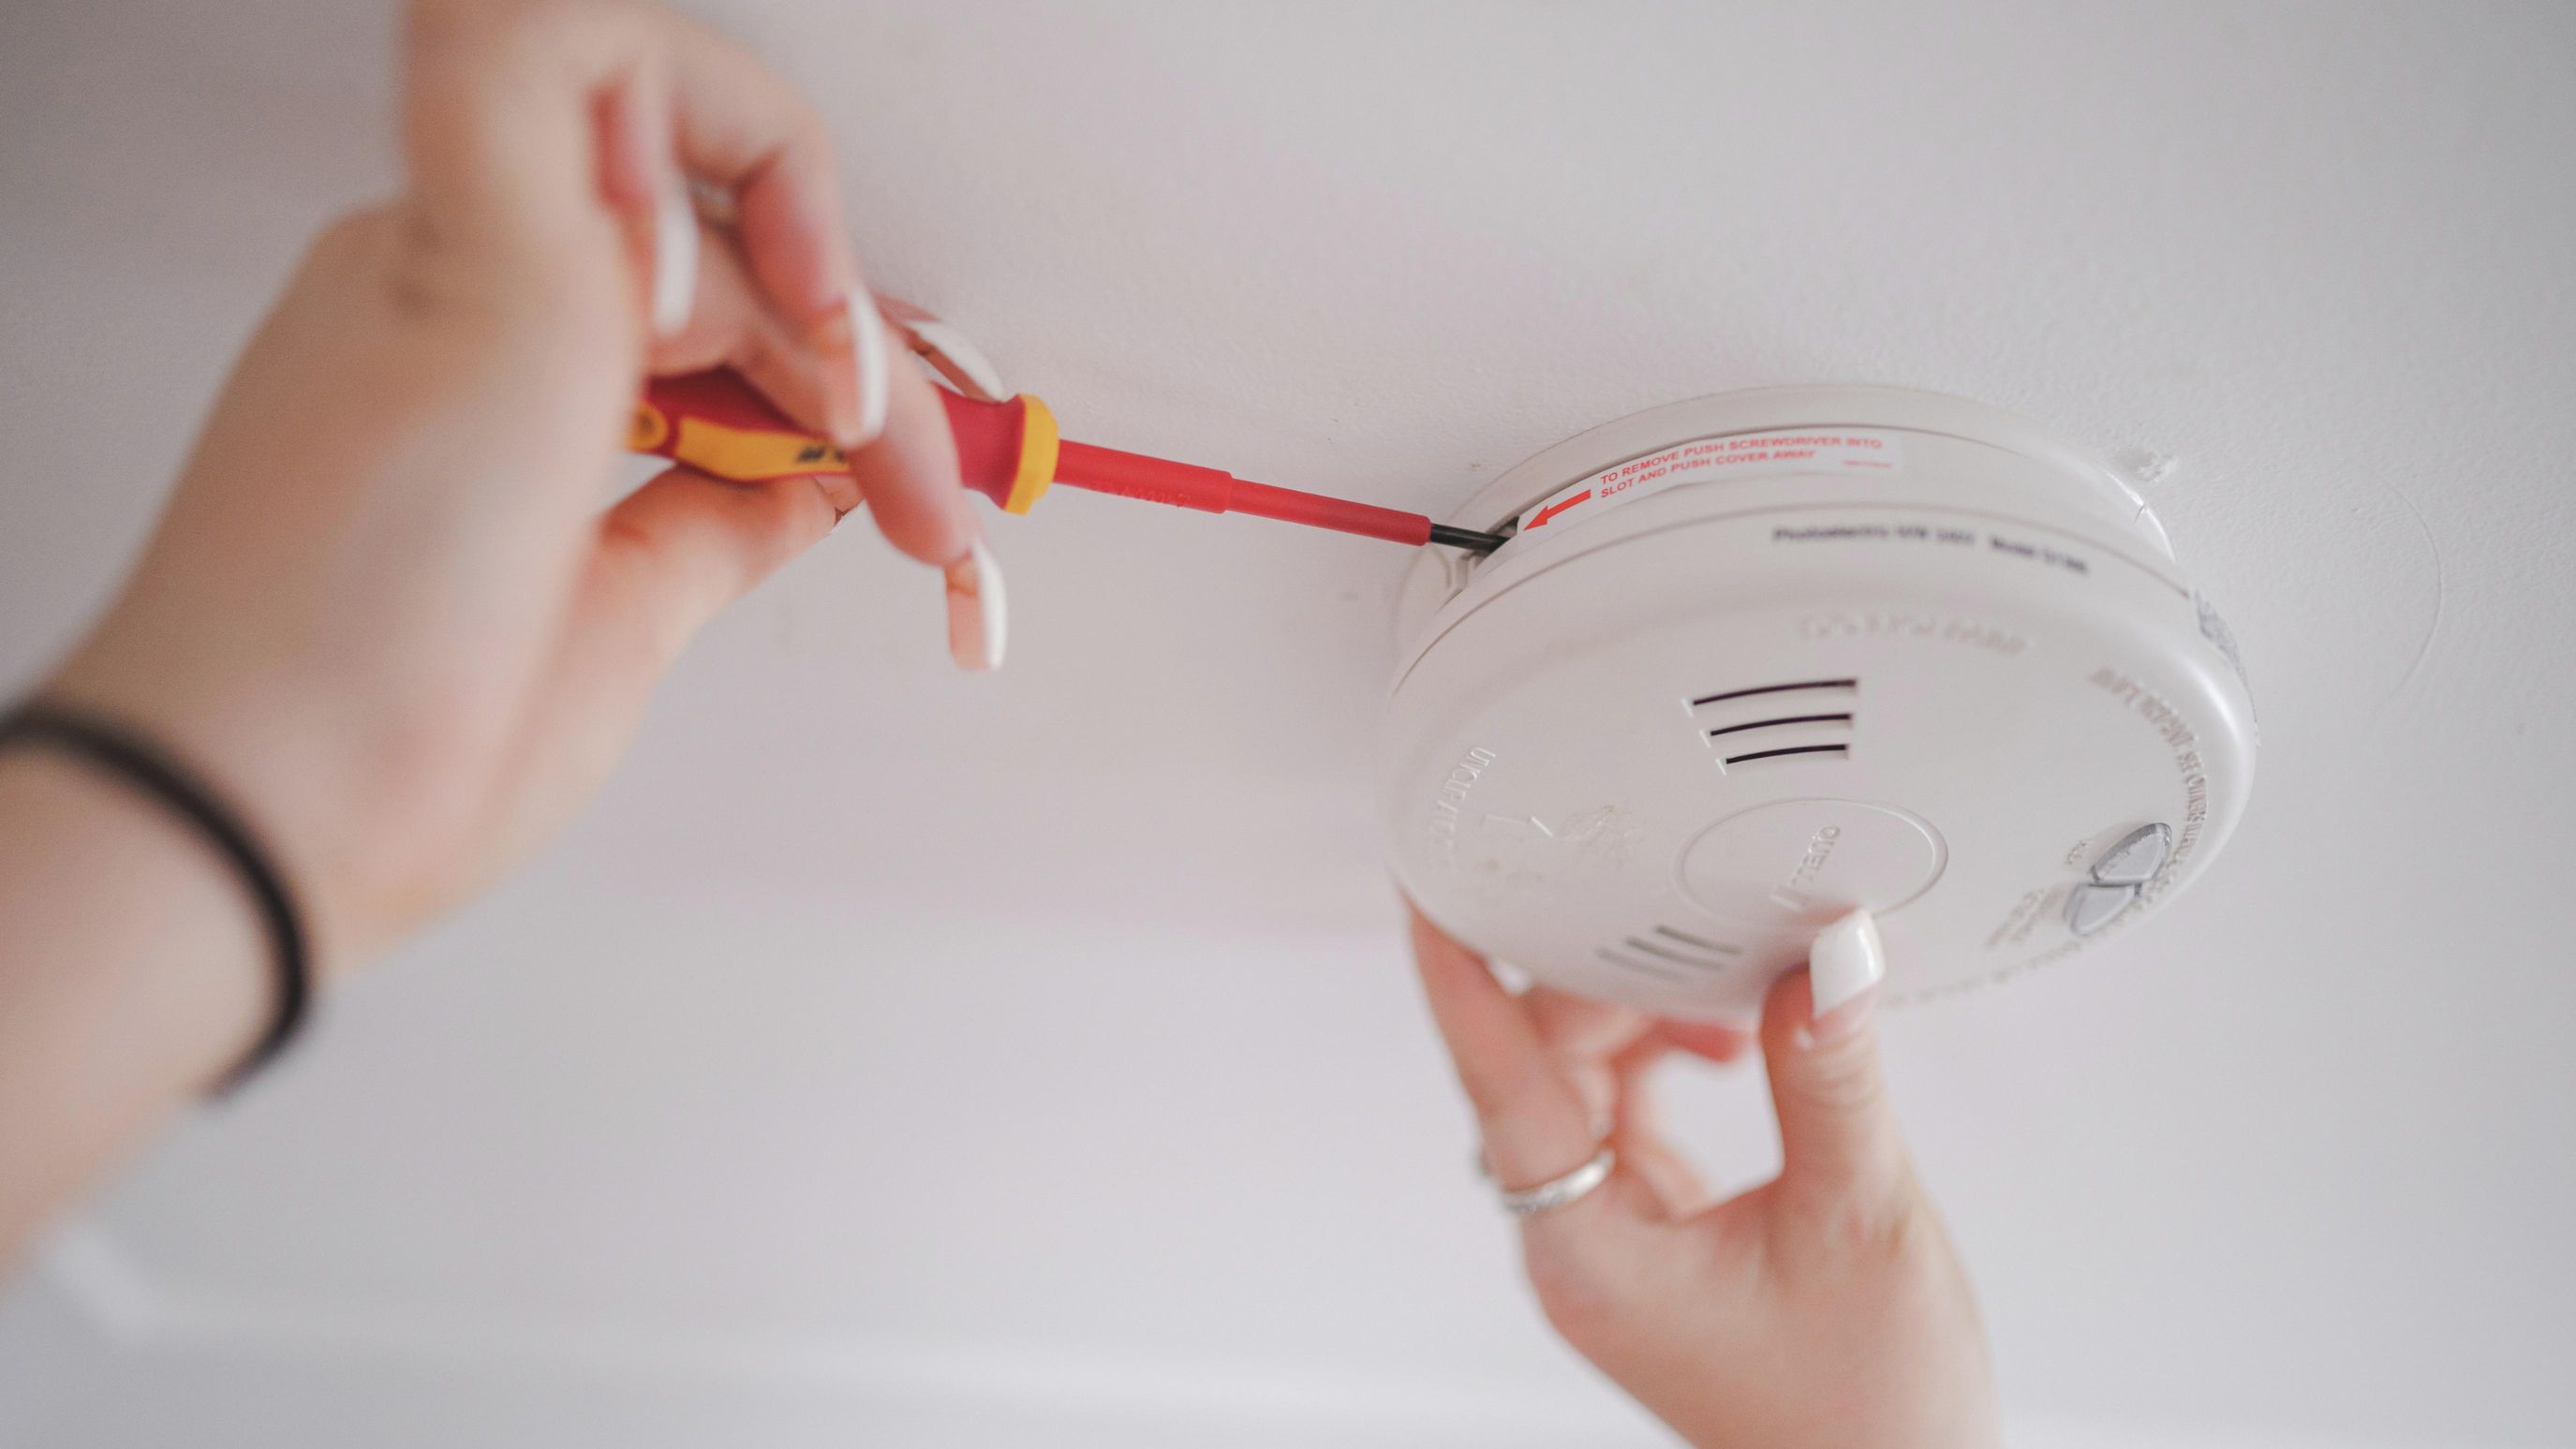
If your mounting plate utilizes screws and anchors, you will need to mark the locations for the screws on the surface. Use a pencil or marker to make small markings through the holes on the mounting plate. Then, remove the plate and drill holes at the marked points for the anchors.
Once the holes are drilled, insert the anchors and align the holes in the mounting plate with the anchors. Secure the plate to the surface by inserting the screws through the plate and into the anchors. Tighten the screws until the plate is firmly attached.
Double-check that the mounting plate is securely installed and level. It should not be loose or wobble when touched.
With the mounting plate successfully installed, you are now ready to proceed to the next step – connecting the smoke detector.
Step 4: Connecting the Smoke Detector
With the mounting plate securely installed, it’s time to connect the SimpliSafe Smoke Detector to the mount. This step involves attaching the smoke detector to the mounting plate and ensuring a proper connection.
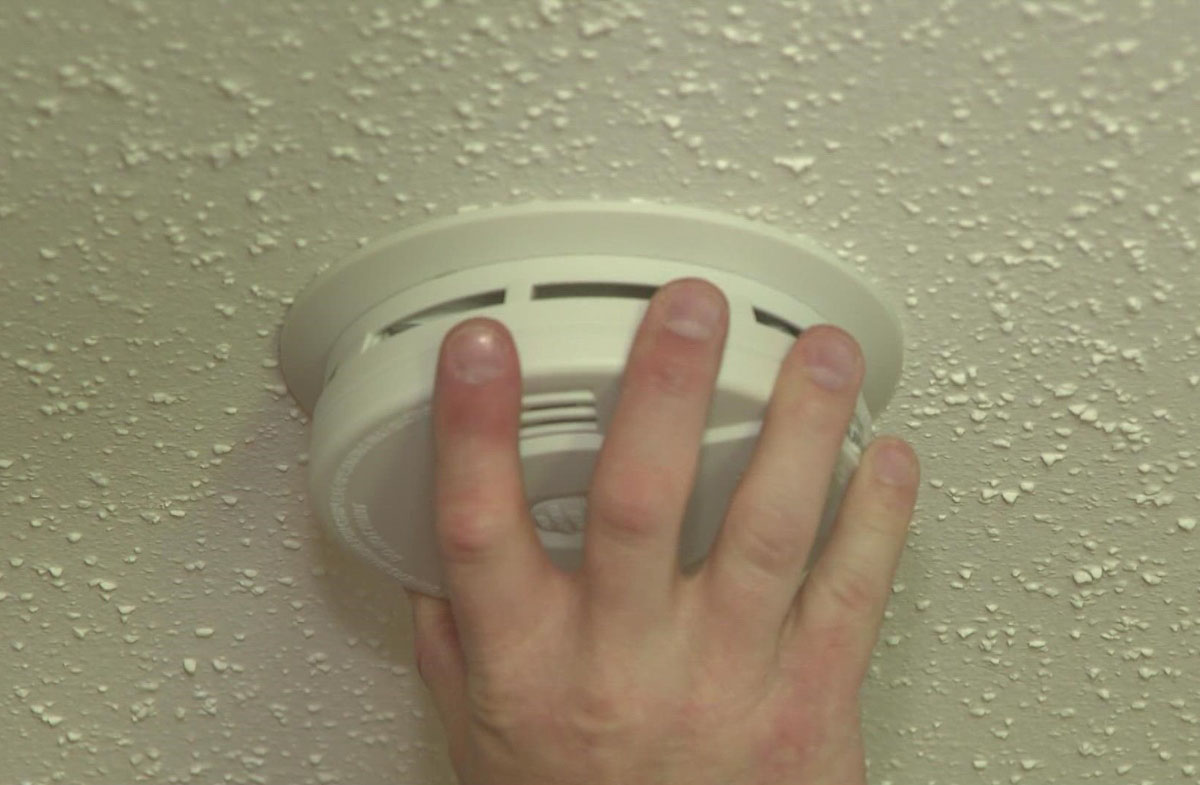
Begin by aligning the smoke detector with the mounting plate. Carefully position the smoke detector over the plate and gently twist it clockwise until it locks into place. You should feel a click or hear a small snapping sound to indicate that the smoke detector is securely attached.
Once the smoke detector is attached, give it a gentle tug to ensure that it is firmly fixed to the mounting plate and does not come off easily.
After connecting the smoke detector to the mount, it is important to activate it. Depending on the model, there may be a small switch or button on the side or bottom of the smoke detector that needs to be toggled or pressed.
Refer to the user manual or installation guide to locate and activate the smoke detector. This step is crucial as it ensures the smoke detector is ready to detect smoke and sound an alarm if necessary.
After activating the smoke detector, take a moment to double-check that it is properly positioned and securely attached to the mounting plate. It should be level and flush against the ceiling or wall.
Congratulations! You have successfully connected your SimpliSafe Smoke Detector to the mounting plate. Now, it’s time to move on to the next step – testing the smoke detector.
When setting up a SimpliSafe smoke detector, make sure to place it on the ceiling or high up on a wall, away from air vents or windows. Test the detector regularly to ensure it is functioning properly.
Read more: How To Smoke In A Room With A Smoke Detector
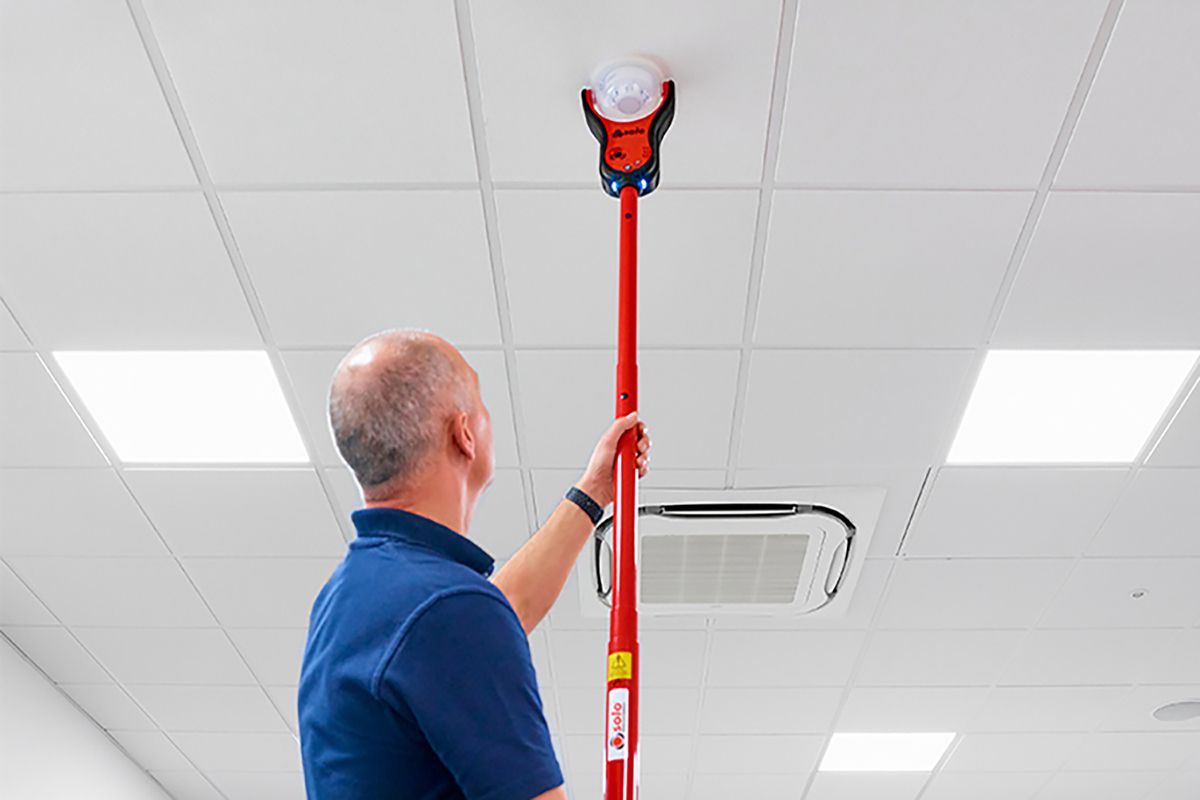
Step 5: Testing the Smoke Detector
Testing your SimpliSafe Smoke Detector is a crucial step in ensuring its proper functioning and your home’s safety. By conducting a test, you can verify that the smoke detector is effectively detecting smoke particles and triggering the alarm when needed.
Before performing the test, make sure that any open flames or sources of smoke, such as candles or cooking appliances, are extinguished or removed from the vicinity. This will prevent any false alarms or unnecessary activation of the smoke detector.
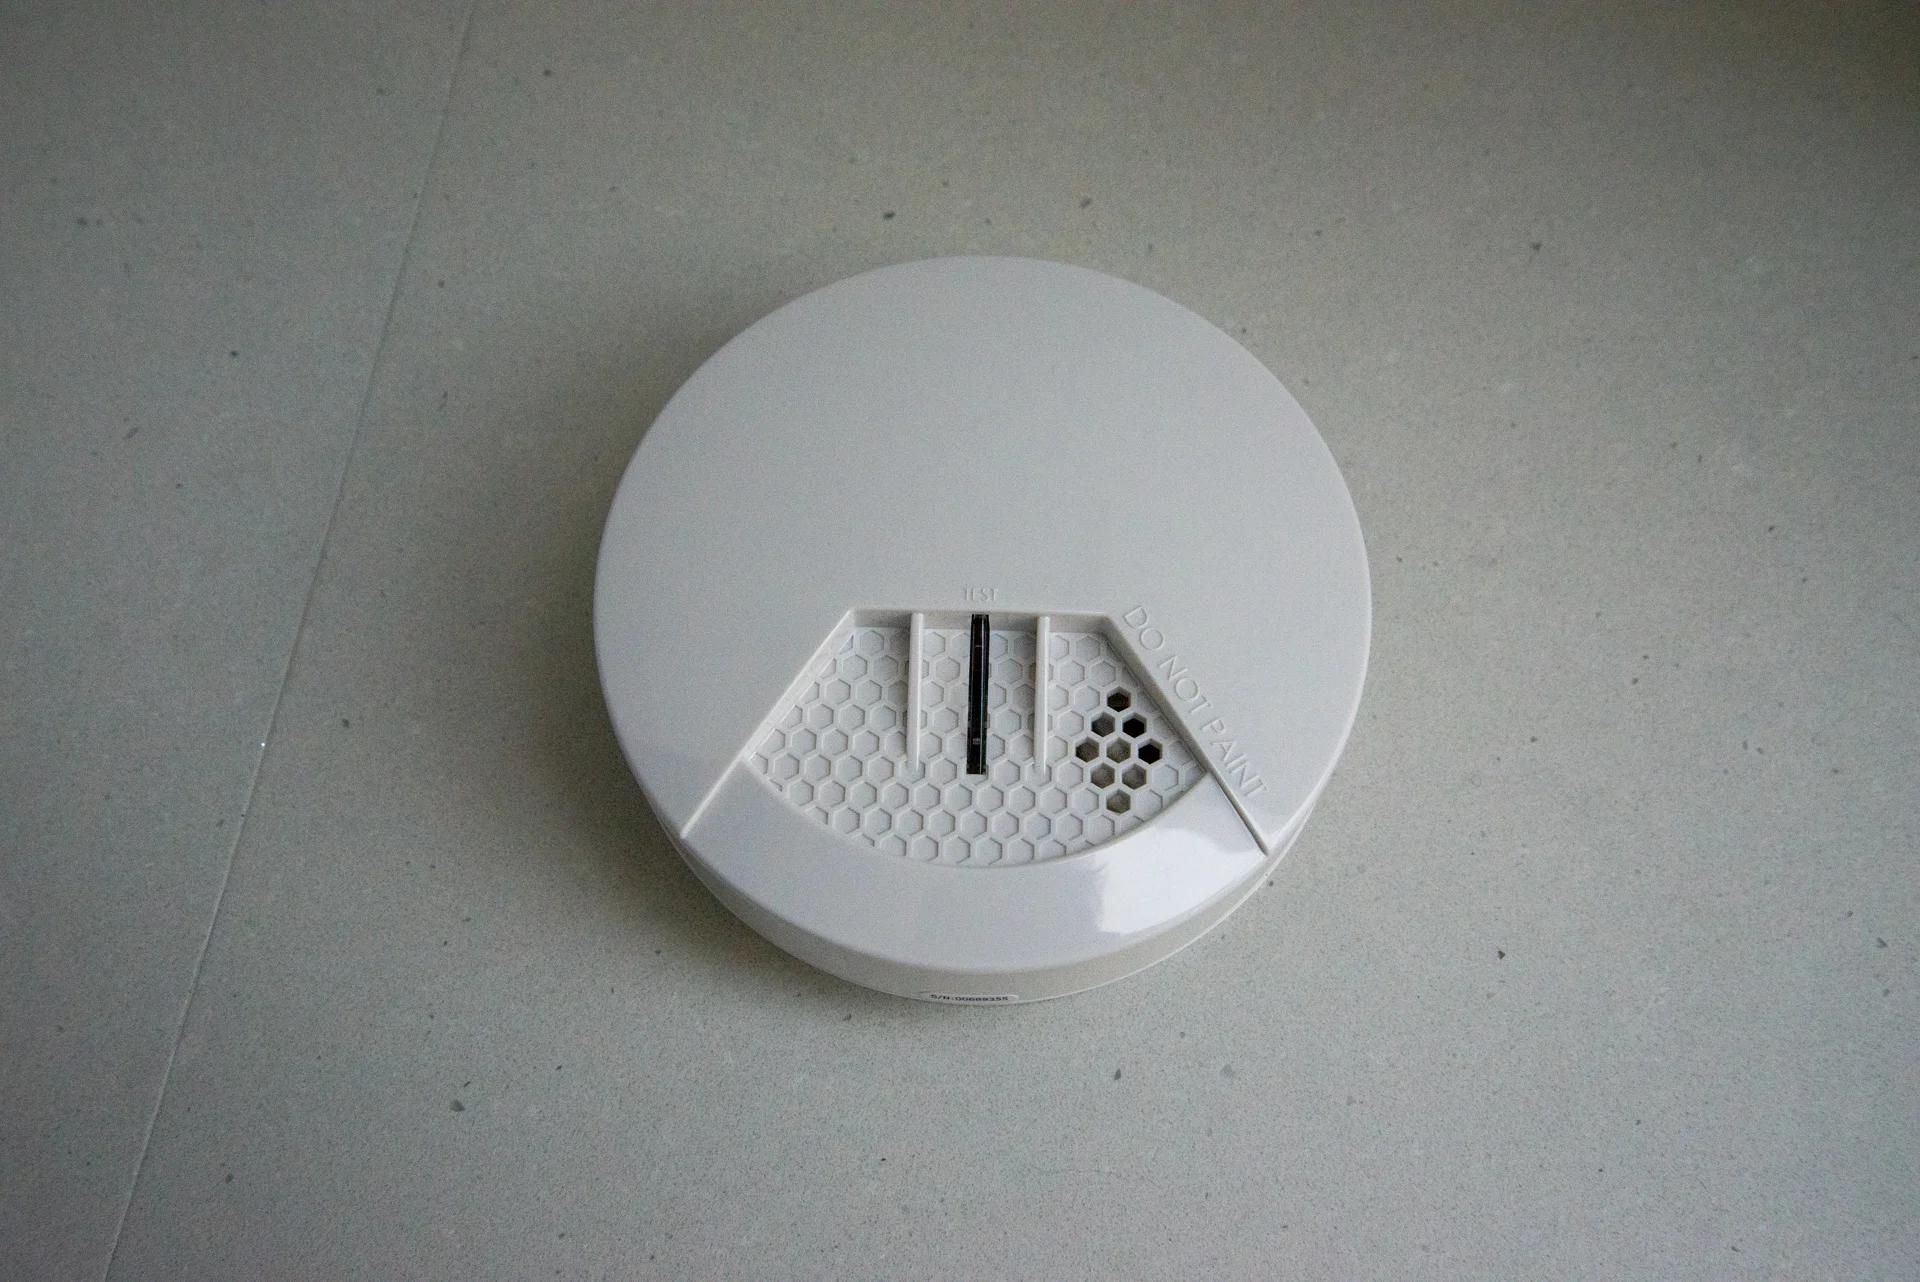
To begin the test, locate the test button on your SimpliSafe Smoke Detector. It is typically located on the front or side of the device and is labeled as “Test” or “Test/Silence.”
Press and hold the test button for a few seconds, and you should hear a loud alarm sound. This indicates that the smoke detector is functioning correctly and can effectively detect smoke in an emergency.
If the alarm sounds weak or does not activate at all, check the battery level of the smoke detector. Replace the batteries if necessary, following the instructions in the user manual or installation guide.
It’s important to conduct regular tests of your smoke detector to ensure its ongoing functionality. Experts recommend testing your smoke detector at least once a month to guarantee its effectiveness. Additionally, make sure to replace the batteries as needed and clean the smoke detector regularly to remove any dust or debris that could hinder its performance.
Now that you have successfully tested your SimpliSafe Smoke Detector, you can move on to the next step – connecting it to the SimpliSafe Base Station.
Step 6: Connecting to the SimpliSafe Base Station
Now that you have installed and tested your SimpliSafe Smoke Detector, it’s time to connect it to the SimpliSafe Base Station. The Base Station acts as the central control hub for all the sensors and devices in your SimpliSafe security system.
Before you begin the connection process, ensure that your SimpliSafe Base Station is set up and functioning correctly. This typically involves connecting the Base Station to power and your home’s Wi-Fi network, following the instructions provided with the Base Station.
Once your Base Station is ready, grab your SimpliSafe Smoke Detector and locate the Sync button. The Sync button is usually found on the side or back of the smoke detector.
Press and hold the Sync button on the smoke detector and wait for the LED lights on both the smoke detector and the Base Station to start blinking. This indicates that they are in pairing mode.
Now, go to your SimpliSafe Base Station and press the corresponding Pair button or Sync button. The Base Station and smoke detector will establish a wireless connection, and the LED lights will eventually stop blinking, indicating a successful pairing.
After the smoke detector is successfully connected to the Base Station, give it a few moments to sync and ensure that all the settings are updated.
During the connection process, it’s essential to keep the smoke detector within the range of the Base Station. If you encounter any issues or are unable to establish a connection, consult the troubleshooting section of the user manual or contact SimpliSafe customer support for assistance.
With your SimpliSafe Smoke Detector successfully connected to the Base Station, you can now move on to the next step – adjusting the smoke detector settings to suit your preferences.
Step 7: Adjusting Smoke Detector Settings
Now that your SimpliSafe Smoke Detector is connected to the Base Station, it’s time to customize the settings to meet your specific needs and preferences. Adjusting the smoke detector settings allows you to optimize its functionality and tailor it to your home environment.
Start by accessing the SimpliSafe mobile app or web portal, depending on the system you are using. These platforms provide convenient access to the settings and configuration options for your SimpliSafe security system, including the smoke detector.
In the settings menu, locate the smoke detector settings. Here, you can adjust various parameters such as sensitivity levels, notification preferences, and testing schedules.
1. Sensitivity Levels: Depending on your needs and the location of the smoke detector, you may want to adjust the sensitivity level. Higher sensitivity will detect even minor traces of smoke, while lower sensitivity may be appropriate for areas prone to false alarms, such as near kitchens or bathrooms.
2. Notification Preferences: Set up how you want to be notified in the event of a smoke detection. This could include receiving push notifications, text messages, or email alerts. You can also choose to receive notifications on specific devices or share alerts with trusted contacts or the monitoring service if you have opted for one.
3. Testing Schedule: Establish a regular testing schedule for your smoke detector to ensure it remains in working condition. Choose a day and time that is convenient for you and your household, and set up reminders to conduct the tests. Regular testing will help maintain the reliability of your smoke detector.
Remember, while it’s important to customize the smoke detector settings to suit your needs, it’s equally crucial to follow local regulations and safety guidelines. Ensure that your smoke detector meets the necessary certification standards and complies with any specific requirements in your area.
By adjusting the smoke detector settings, you can create a personalized experience that enhances the overall efficiency and effectiveness of your SimpliSafe Smoke Detector.
With the smoke detector settings adjusted, you are now ready to move on to the final step – troubleshooting any potential issues that may arise during installation or operation.
Step 8: Troubleshooting Tips
While setting up your SimpliSafe Smoke Detector, you may encounter some common issues or challenges. In this step, we will provide you with troubleshooting tips to help resolve these problems and ensure smooth operation of your smoke detector.
1. Check the batteries: If your smoke detector is not functioning correctly or not activating during testing, the first thing to check is the battery level. Replace the batteries with fresh ones if needed, and make sure they are properly inserted.
2. Verify the Wi-Fi connection: If your smoke detector is connected to a SimpliSafe Base Station that relies on Wi-Fi, ensure that the Base Station is properly connected to your home network. Check the Wi-Fi signal strength in the area where the smoke detector is installed to ensure a stable connection.
3. Confirm the placement: Ensure that the smoke detector is installed in the recommended location. If it’s too close to any sources of steam, smoke, or heat, it may result in false alarms. Adjust the placement if necessary, following the guidelines provided in the user manual.
4. Clean the smoke detector: Over time, dust, debris, or insects may accumulate within the smoke detector, affecting its performance. Use a soft brush or vacuum cleaner with a brush attachment to gently clean the exterior and interior of the smoke detector. Avoid using liquids or harsh cleaning agents.
5. Perform a system restart: If you are experiencing connectivity issues or the smoke detector is not responding to commands, try restarting your SimpliSafe Base Station. Power off the Base Station, wait for a few seconds, and then power it back on. Allow it to reconnect to the network and confirm if the issue is resolved.
6. Update the firmware: Check for any available firmware updates for your SimpliSafe Smoke Detector and Base Station. Keeping your devices up to date with the latest firmware ensures optimal performance and compatibility with the SimpliSafe system.
If none of these troubleshooting tips solve the problem or if you encounter any other issues, it’s advisable to consult the SimpliSafe customer support team. They are trained to assist you with any technical difficulties and provide further guidance based on your specific situation.
By following these troubleshooting tips, you can quickly resolve common issues and ensure that your SimpliSafe Smoke Detector is functioning properly, providing you with the utmost protection and peace of mind.
Congratulations! You have successfully completed the installation and troubleshooting process for your SimpliSafe Smoke Detector. Your home is now equipped with a reliable and efficient smoke detection system that will help keep you and your loved ones safe in case of an emergency.
Conclusion
Setting up a SimpliSafe Smoke Detector is a crucial step in ensuring the safety and security of your home and loved ones. By following the step-by-step guide provided in this article, you have learned how to unbox the smoke detector, check its components, install the mounting plate, connect the smoke detector, test its functionality, connect it to the SimpliSafe Base Station, adjust the settings, and troubleshoot any potential issues.
Having a working smoke detector is essential for early fire detection, allowing you to evacuate your home promptly and seek help. SimpliSafe smoke detectors are reliable, easy to install, and offer advanced features to enhance your home security system.
Remember to regularly test your smoke detector, replace batteries as needed, and keep it clean to ensure its ongoing effectiveness. Additionally, make use of the customization options available through the SimpliSafe app or web portal to tailor your smoke detector settings to suit your specific needs.
If you encounter any difficulties during the installation or operation of your SimpliSafe Smoke Detector, don’t hesitate to reach out to SimpliSafe customer support for assistance. They are available to provide guidance and help troubleshoot any issues you may encounter.
By taking the time to properly set up and maintain your smoke detector, you are taking an important step in safeguarding your home and protecting your loved ones from the dangers of fire. Embrace the peace of mind that comes with knowing you have a reliable smoke detection system in place, thanks to your SimpliSafe Smoke Detector.
Stay safe and be prepared!
Frequently Asked Questions about How To Set Up A SimpliSafe Smoke Detector
Was this page helpful?
At Storables.com, we guarantee accurate and reliable information. Our content, validated by Expert Board Contributors, is crafted following stringent Editorial Policies. We're committed to providing you with well-researched, expert-backed insights for all your informational needs.


0 thoughts on “How To Set Up A SimpliSafe Smoke Detector”