Articles
How To Stop A Smoke Detector From Chirping
Modified: February 24, 2024
Learn how to stop a smoke detector from chirping with these helpful articles.
(Many of the links in this article redirect to a specific reviewed product. Your purchase of these products through affiliate links helps to generate commission for Storables.com, at no extra cost. Learn more)
Introduction
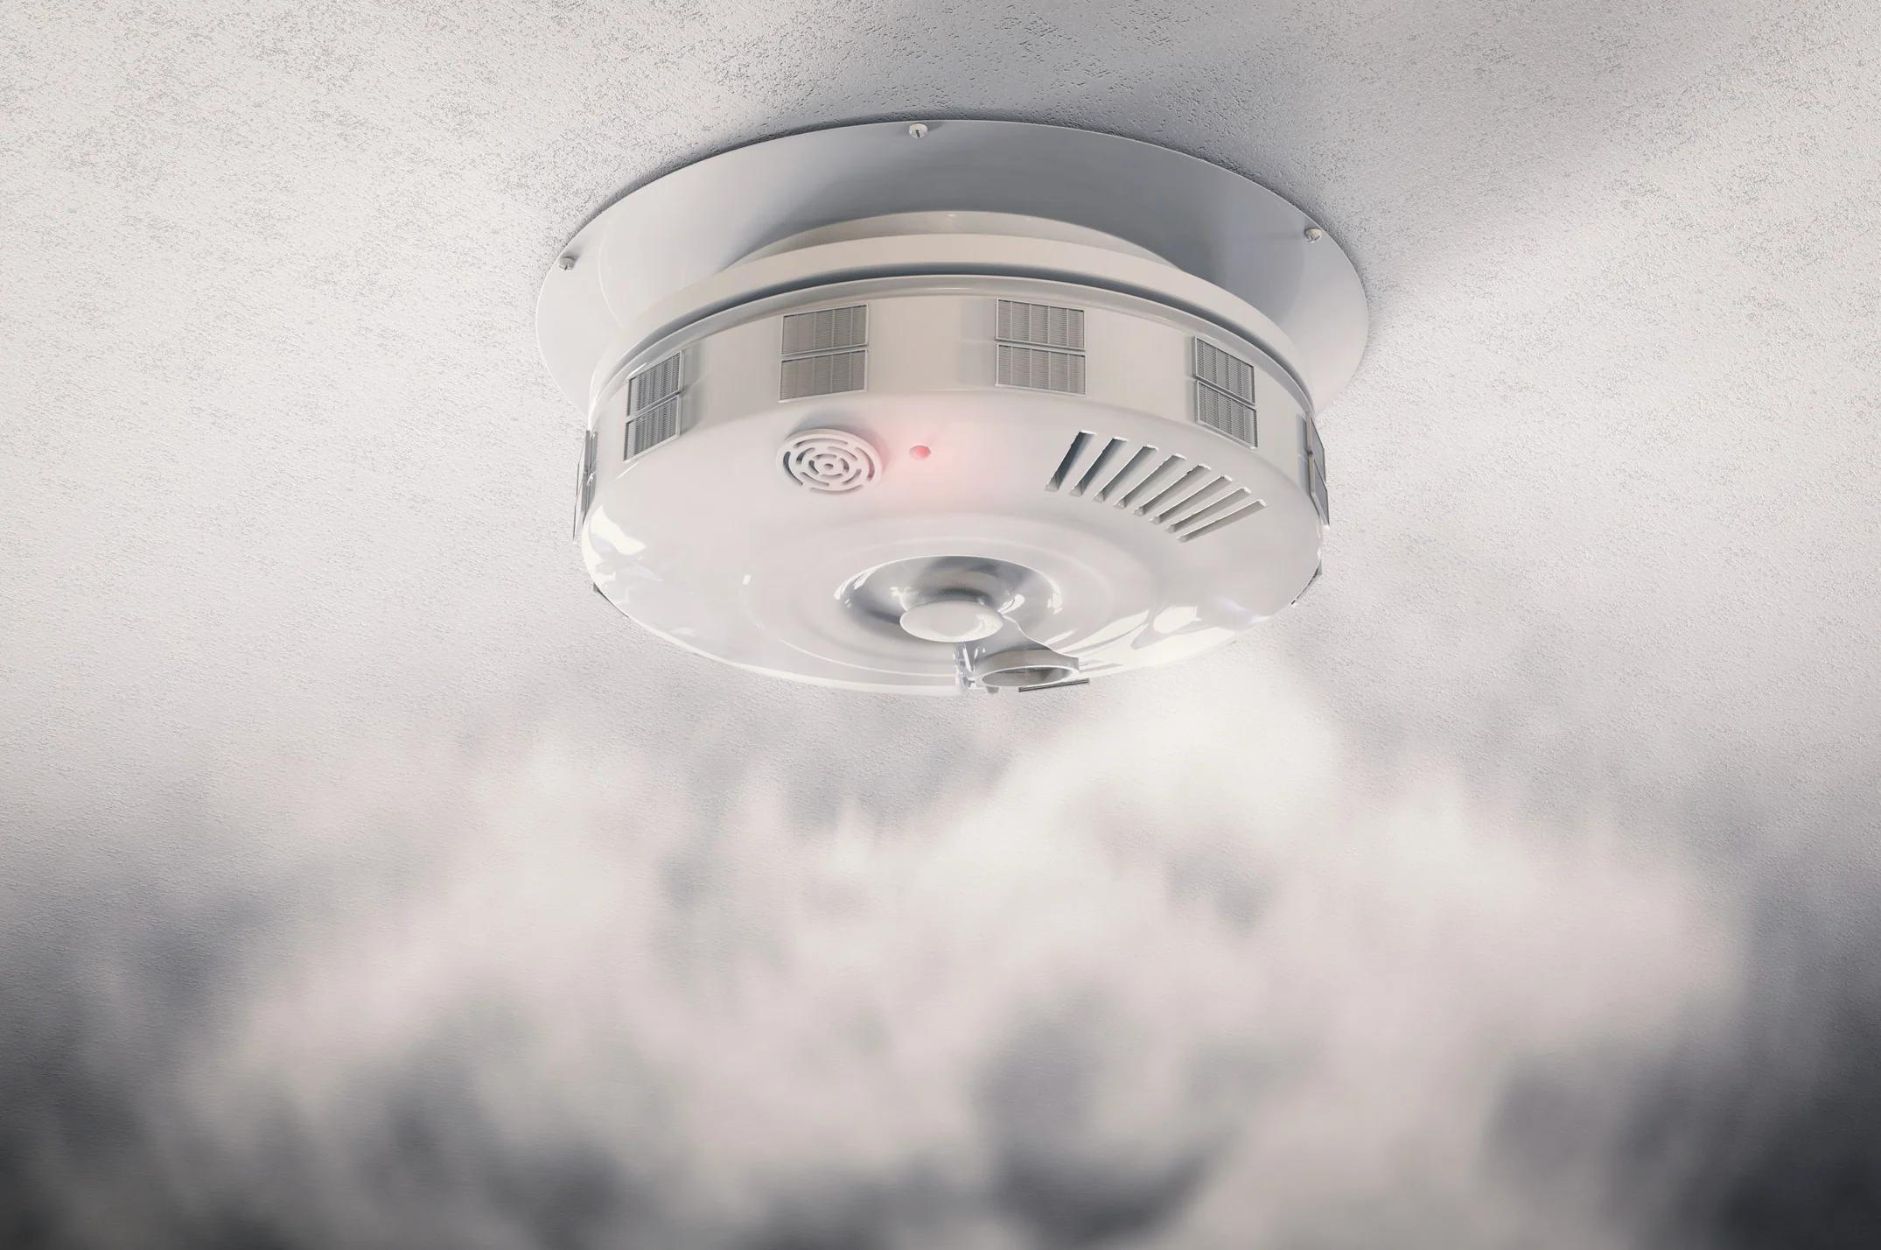
Smoke detectors are essential safety devices designed to alert us to the presence of smoke and potential fire hazards in our homes or workplaces. These devices play a crucial role in protecting lives and property. However, sometimes smoke detectors can become a nuisance when they start chirping or beeping unexpectedly.
If you’ve ever had a smoke detector constantly chirping, you know how frustrating it can be. The repetitive sound can disrupt sleep, create annoyance, and even cause anxiety. Luckily, there are several steps you can take to stop a smoke detector from chirping and restore a peaceful environment.
In this article, we will walk you through a step-by-step process to troubleshoot and resolve the issue of a smoke detector chirping. Whether it’s a low battery or a dirty sensor causing the problem, we will cover the necessary actions to rectify the situation. So, let’s dive in and discover how to silence that annoying chirping noise.
Key Takeaways:
- Don’t let a chirping smoke detector disrupt your peace. Identify, troubleshoot, and maintain your detector to ensure reliable fire detection and a tranquil living environment.
- Regularly test, clean, and replace batteries in your smoke detector to prevent annoying chirping and ensure optimal functionality. Seek professional support if issues persist.
Read more: Why Does A Smoke Detector Chirp?
Step 1: Identify the Issue
The first step in resolving any problem is to identify the root cause. When it comes to a chirping smoke detector, there are a few possible culprits that could be causing the issue:
- Low battery
- Intermittent power supply
- Expired detector
- Dirty or faulty sensor
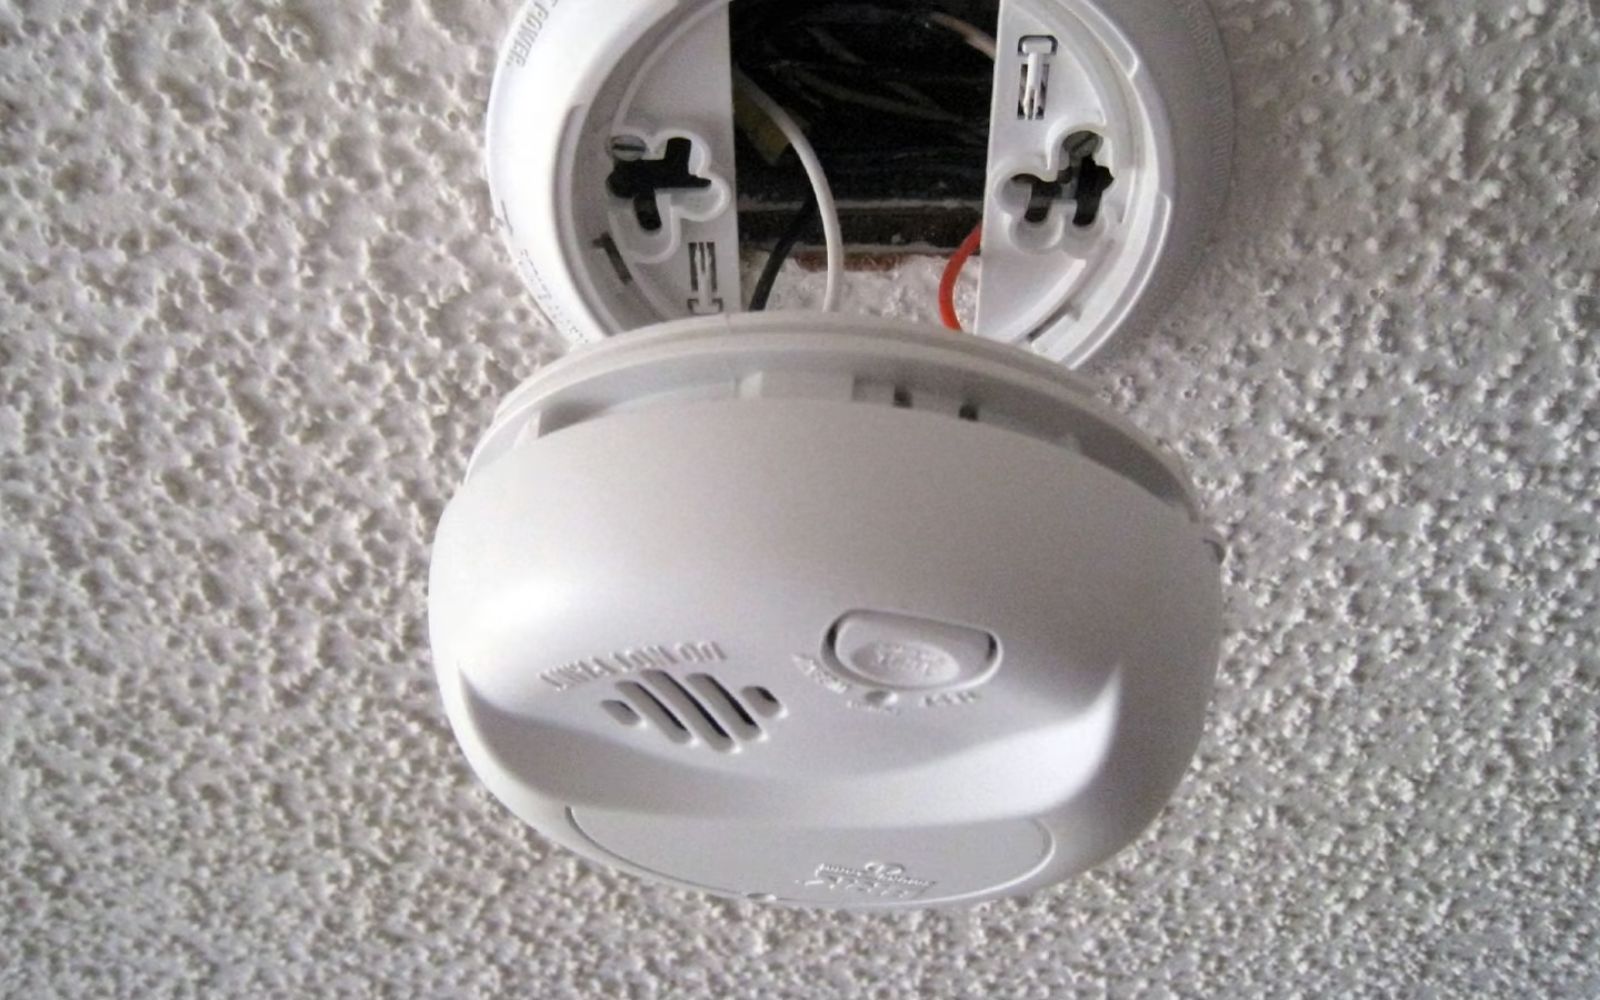
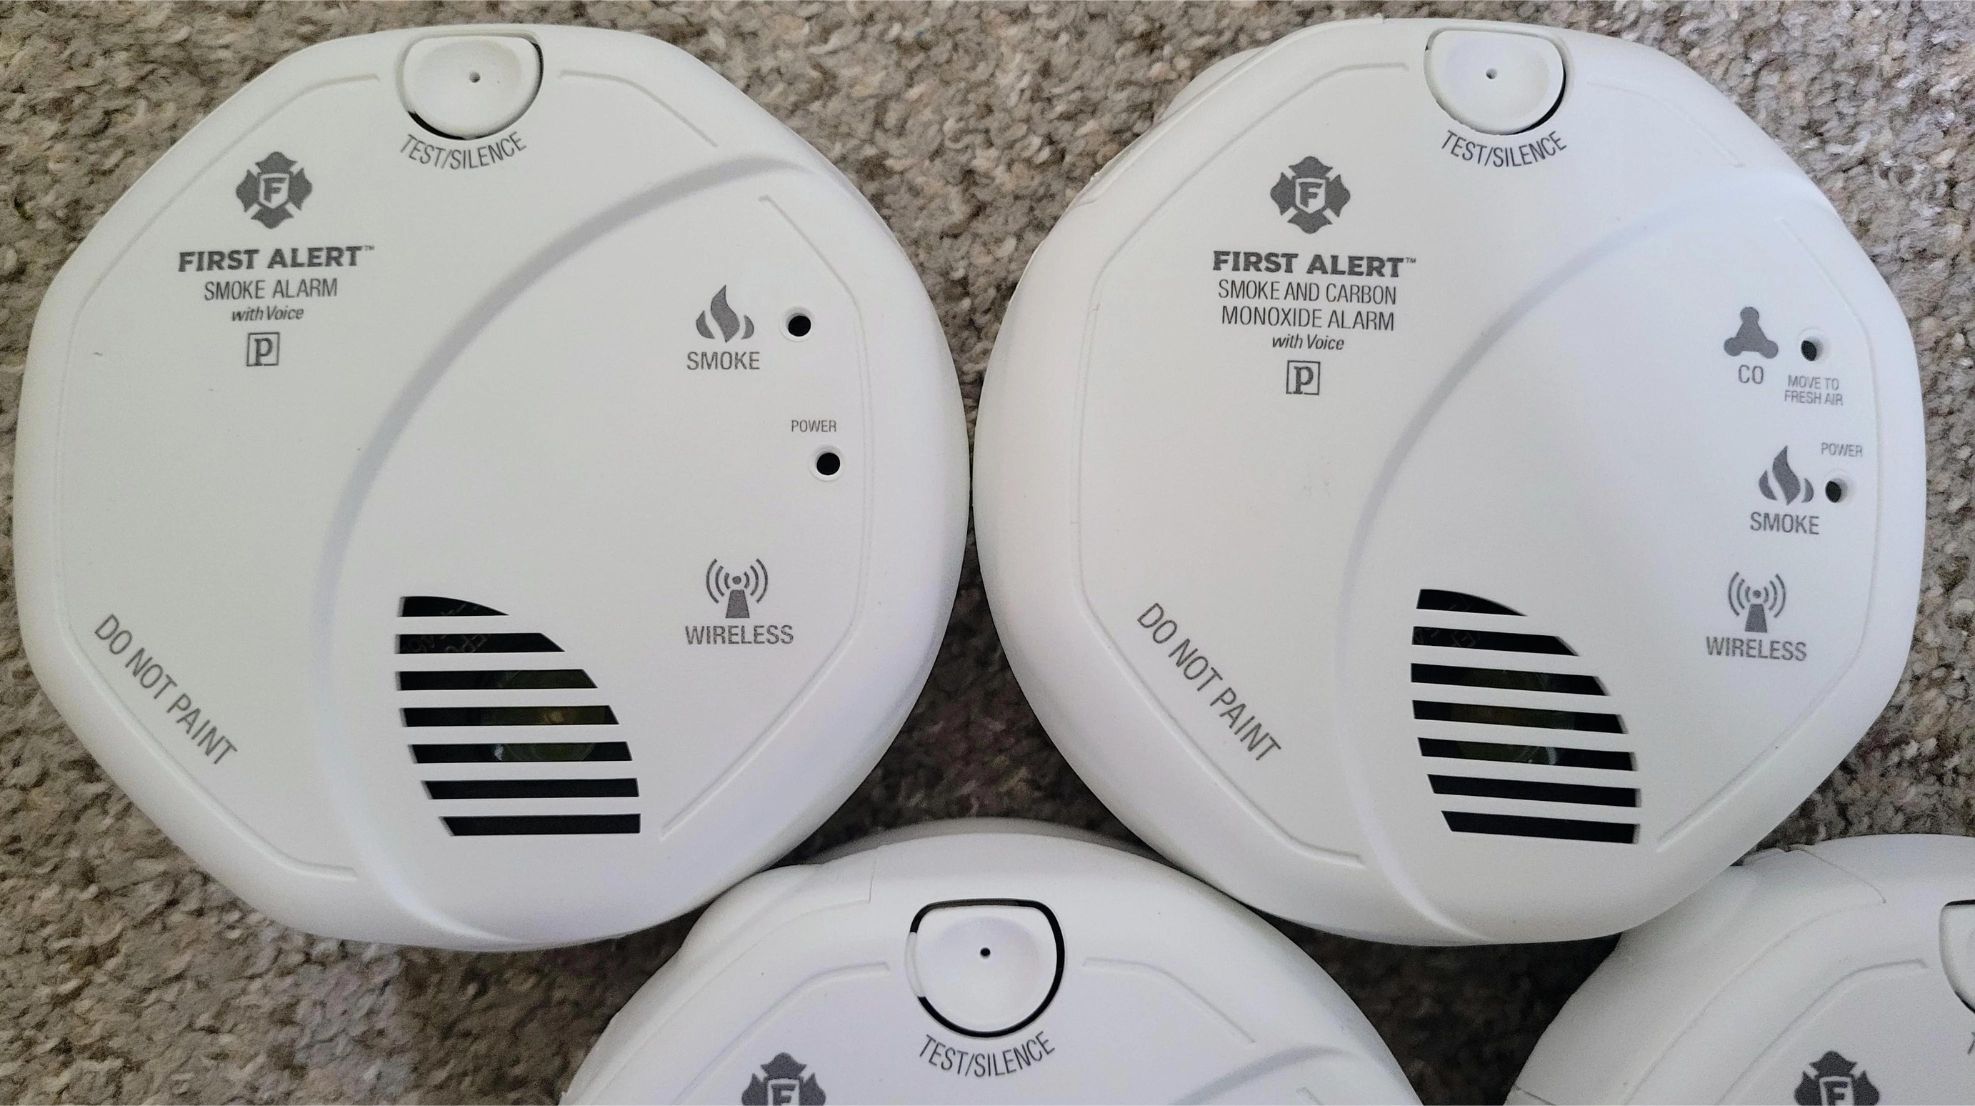
To begin, listen closely to the chirping sound and locate the smoke detector that is making the noise. It’s important to note that if you have multiple smoke detectors in your home or office, the chirping may not be coming from the closest one. Once you’ve identified the source of the chirping, you can proceed with troubleshooting.
If the chirping coincides with a power outage or flickering lights, it’s likely due to an intermittent power supply to the smoke detector. In this case, the issue may be with the wiring or the electrical circuit. It’s advisable to consult a professional electrician to fix the problem.
If the chirping occurs periodically and is accompanied by a flashing light, it could be an indication that the smoke detector has reached the end of its life span. Smoke detectors typically have a limited lifespan, usually between 8-10 years. Check the manufacturing date on the detector to determine if it’s time to replace it.
Alternatively, if the chirping is consistent and not related to power outages or an expired detector, the likely cause is a low battery. Most smoke detectors are equipped with a low battery indicator that emits a chirping sound to alert users. This is a safety feature, ensuring that the detector is always functioning properly. In the next step, we will explore how to check and replace the battery to stop the chirping.
Step 2: Check the Battery
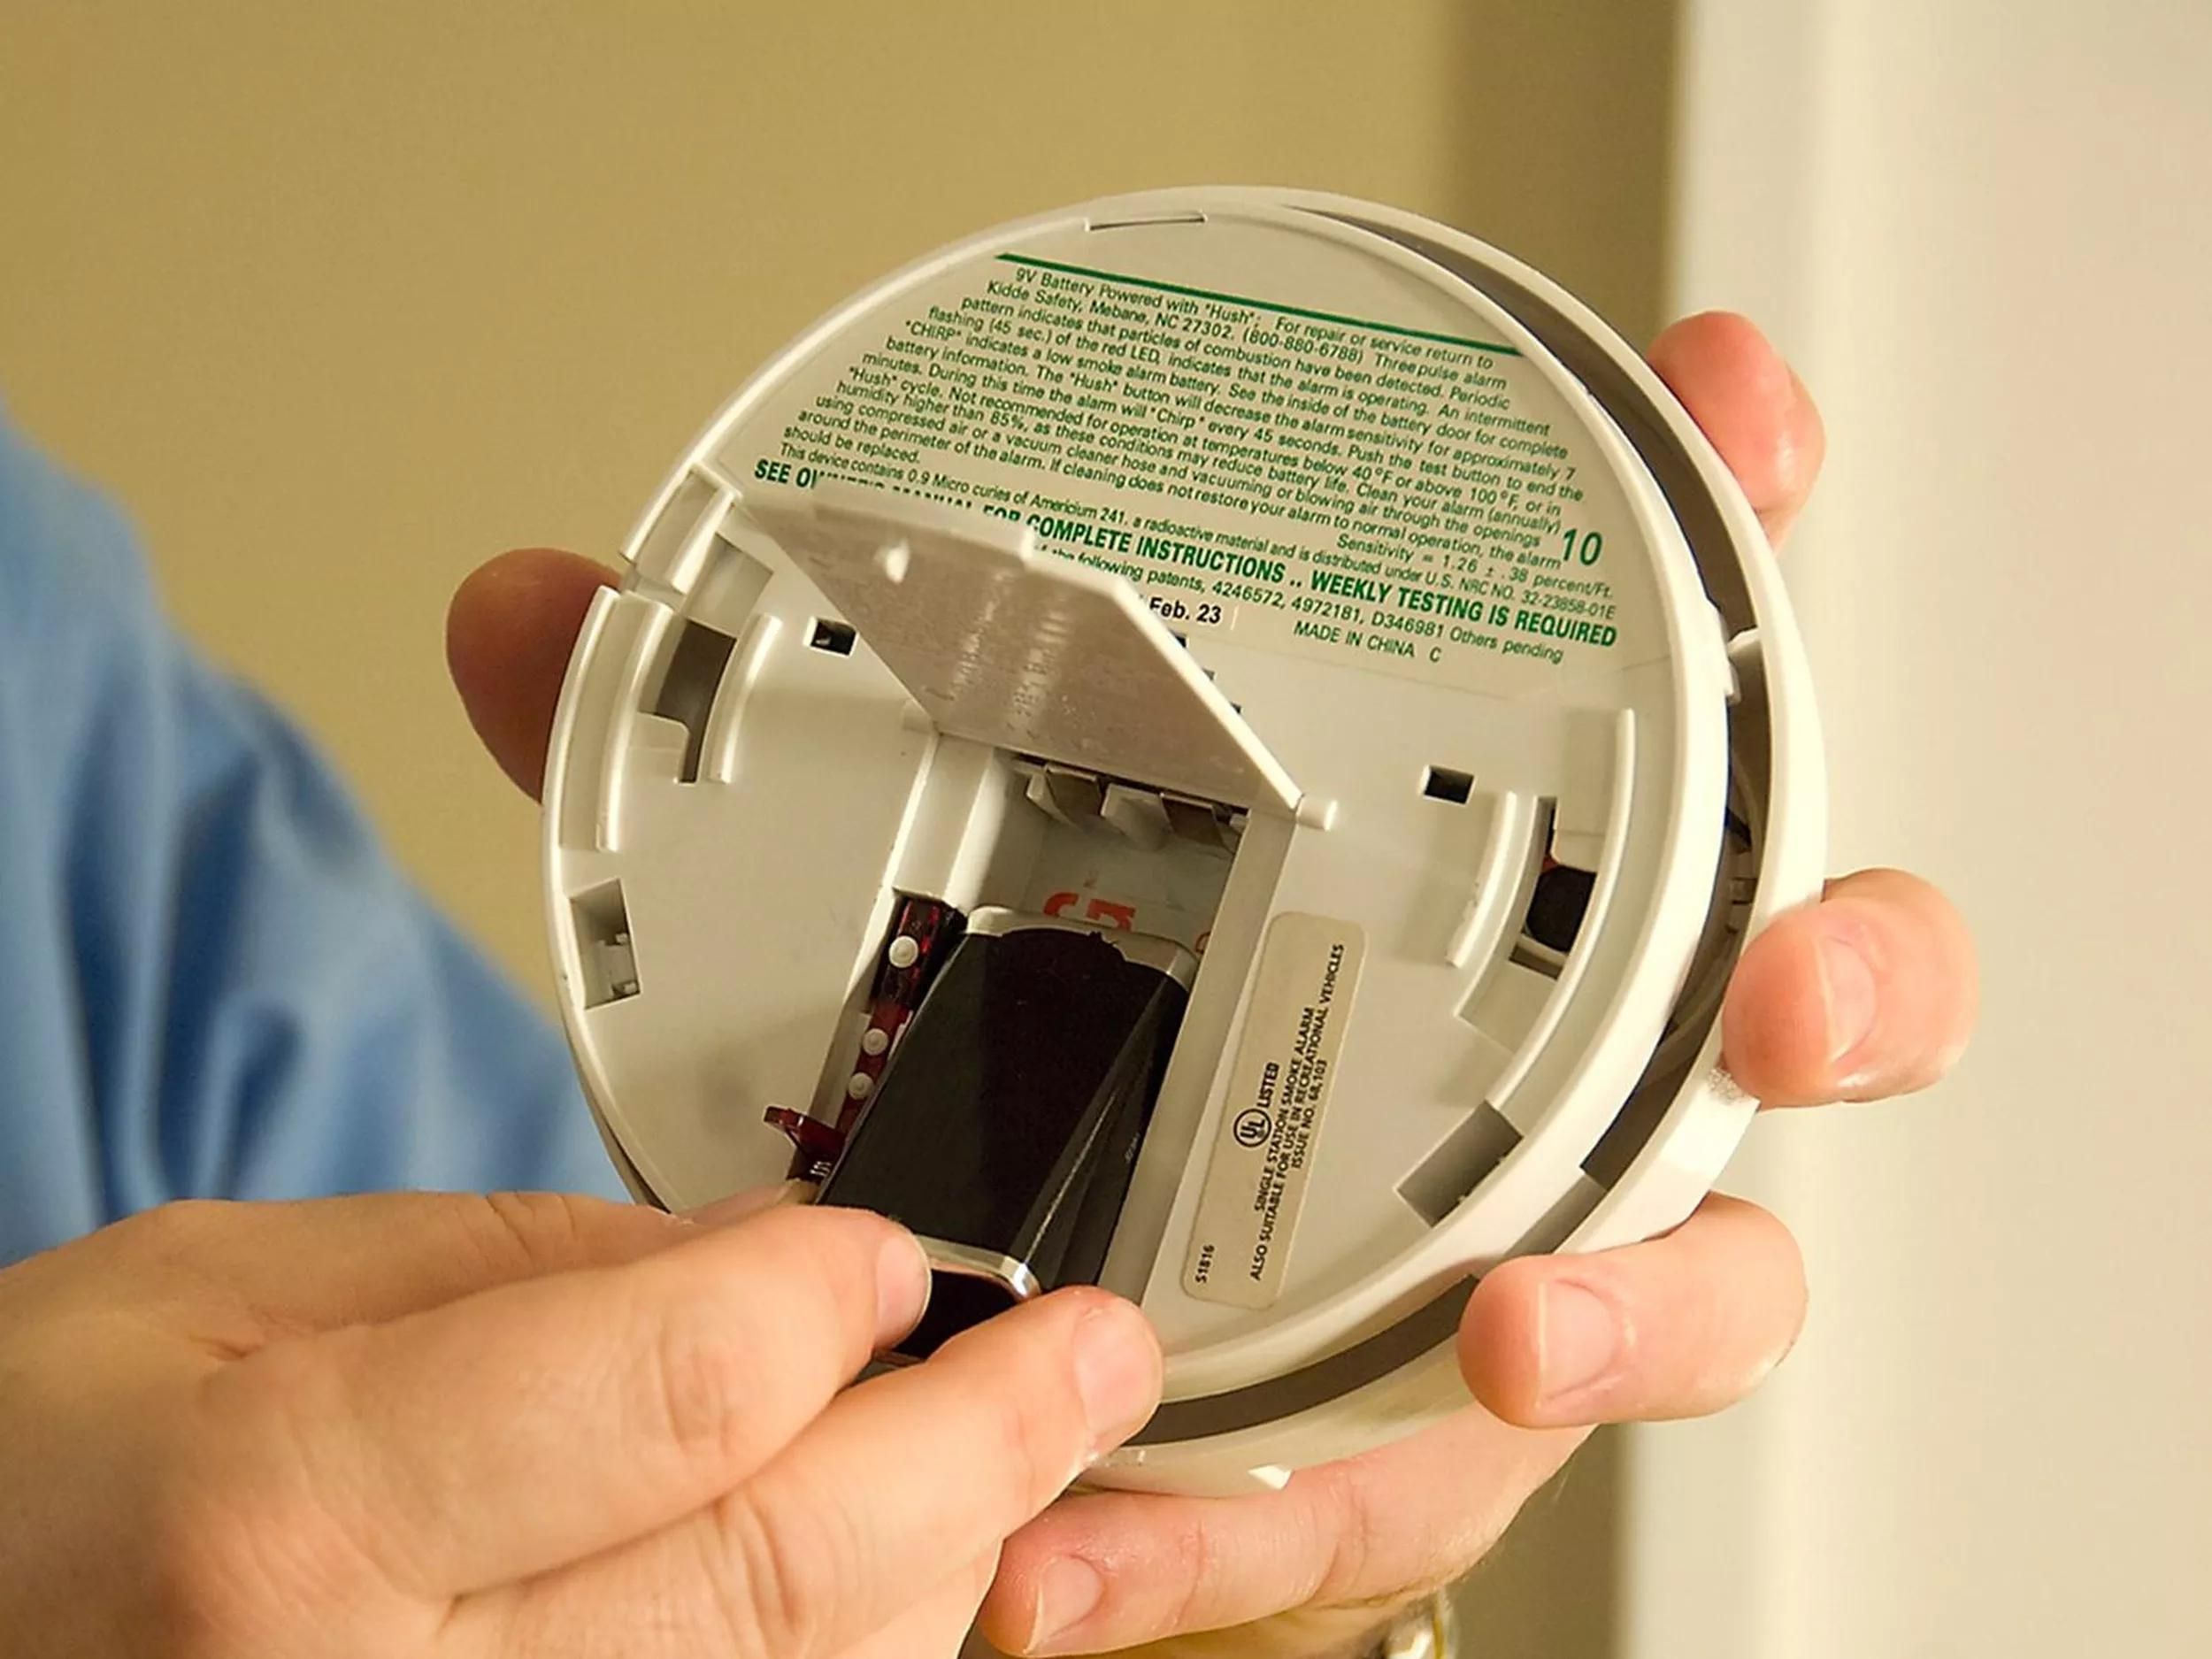
When a smoke detector is chirping, the first thing you should do is check the battery. A low battery is a common cause of the chirping sound. Follow these steps to check and replace the battery:
- Locate the battery compartment on the smoke detector. Depending on the model, it is usually on the back or side of the detector.
- Open the battery compartment by either sliding or pressing a latch.
- Take note of the type of battery required. Most smoke detectors use 9-volt batteries, but some may use AA or AAA batteries. Check the user manual or labels on the detector for specific instructions.
- Remove the old battery from the compartment and check its condition. If the battery is corroded or damaged, dispose of it properly.
- Insert a fresh battery into the compartment, making sure to match the polarity (+/-) correctly.
- Close the battery compartment securely and ensure it snaps or locks into place.
Once you have replaced the battery, listen closely to see if the chirping noise stops. In most cases, a new battery will resolve the issue and the smoke detector will function normally. However, if the chirping persists, proceed to the next step.
Note that it’s recommended to test your smoke detectors regularly, not just when they start chirping. This ensures their reliability in the event of a fire emergency. Many smoke detectors have a test button that you can press to verify their functionality.
Now that we’ve checked and replaced the battery, let’s move on to the next step and learn how to reset the smoke detector.
Step 3: Reset the Detector
If replacing the battery didn’t stop the chirping noise, the next step is to try resetting the smoke detector. Resetting the detector can help resolve any temporary glitches or errors. Here’s how you can reset the smoke detector:
- Locate the reset button on the smoke detector. It is usually a small, recessed button that may require a paperclip or a small tool to press.
- With the smoke detector powered on and the chirping sound present, press and hold the reset button for about 15-20 seconds.
- Release the reset button and wait for a few moments. You may hear a short beep or a resetting sound.
- Observe the smoke detector to see if the chirping noise stops. If it does, the reset was successful and the smoke detector should start functioning normally.
If the chirping continues after resetting the detector, there may be other underlying issues such as a dirty or faulty sensor. In the next steps, we will explore how to clean the detector and perform further troubleshooting if necessary.
It’s worth noting that some smoke detector models have specific reset instructions outlined in their user manual. If you can’t locate the reset button or encounter any difficulties, refer to the manufacturer’s guidelines for your specific model.
Now, let’s move on to step 4 and learn how to clean the smoke detector to eliminate any potential causes of the chirping sound.
If your smoke detector is chirping, try replacing the battery. If the chirping continues, clean the detector with a soft brush to remove dust and debris. If the problem persists, it may be time to replace the detector.
Step 4: Clean the Detector
If the smoke detector continues chirping after replacing the battery and resetting it, it’s possible that the sensor is dirty or obstructed. A dirty sensor can trigger false alarms and cause the smoke detector to chirp. Follow these steps to clean the detector:
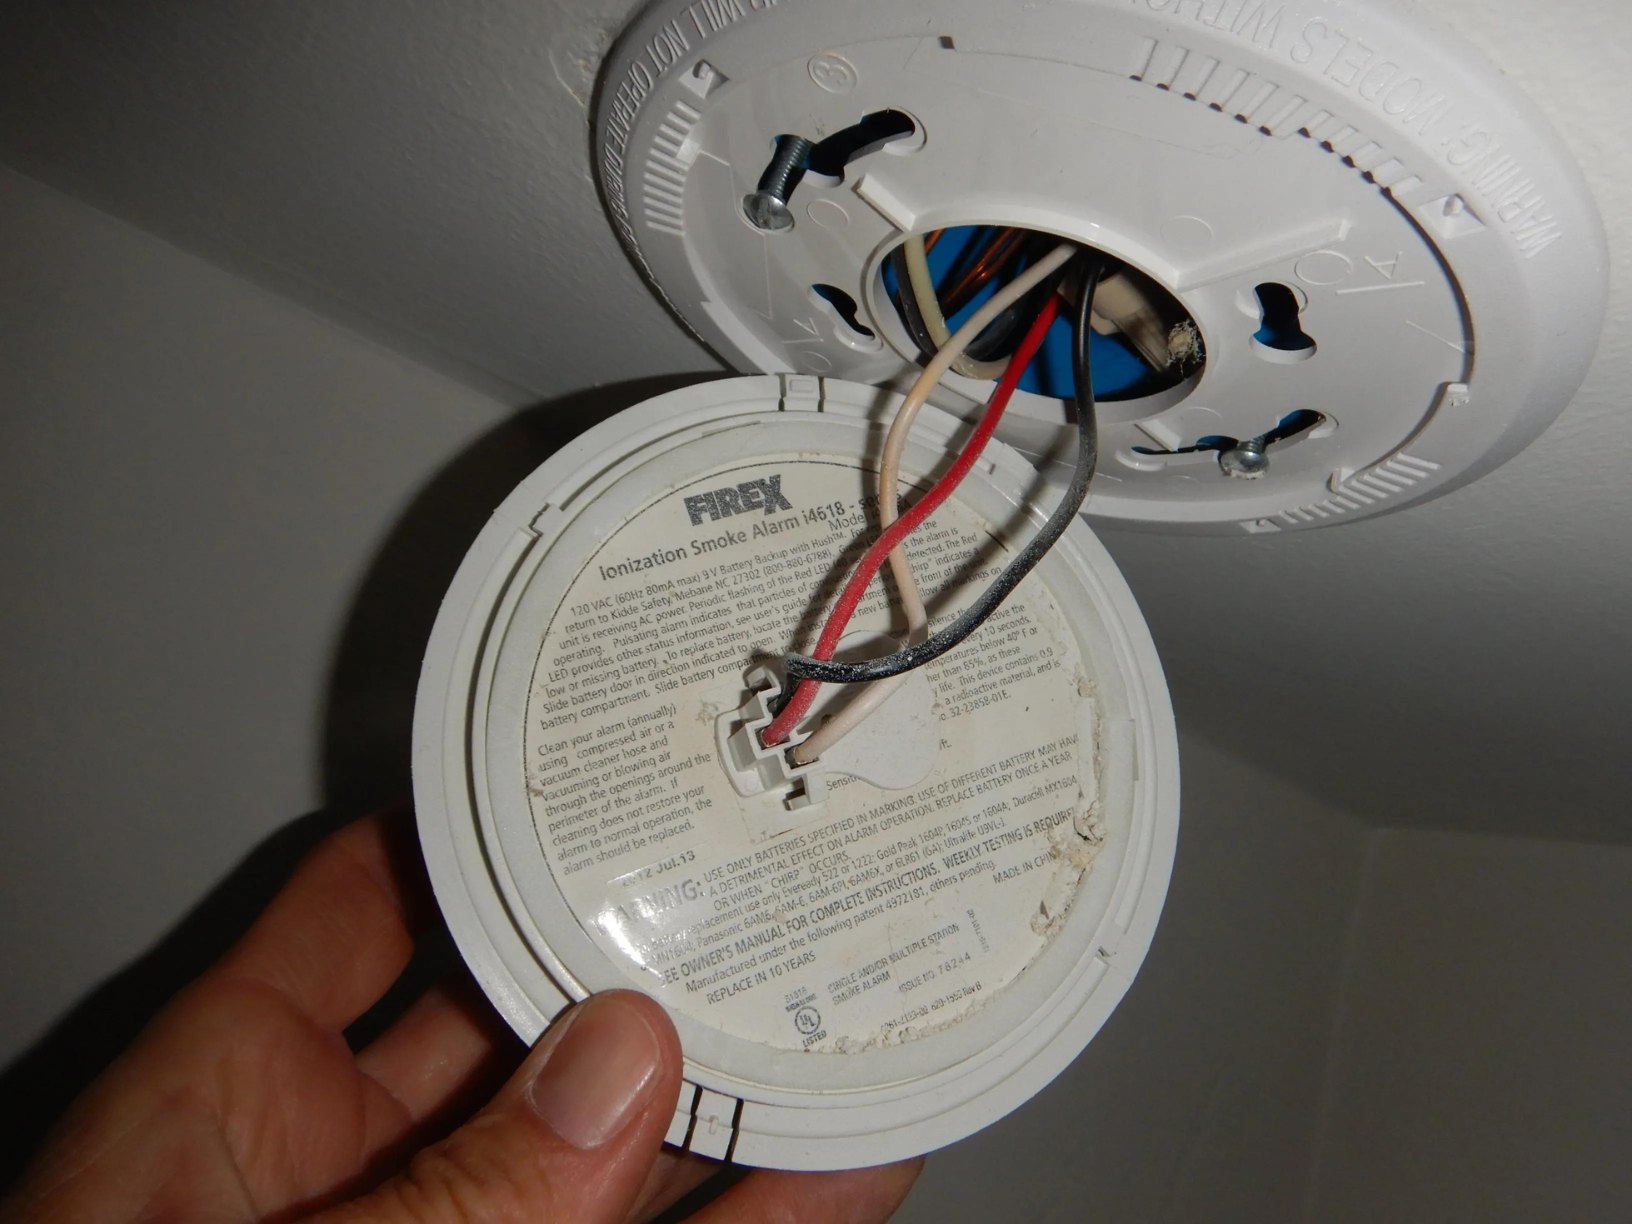
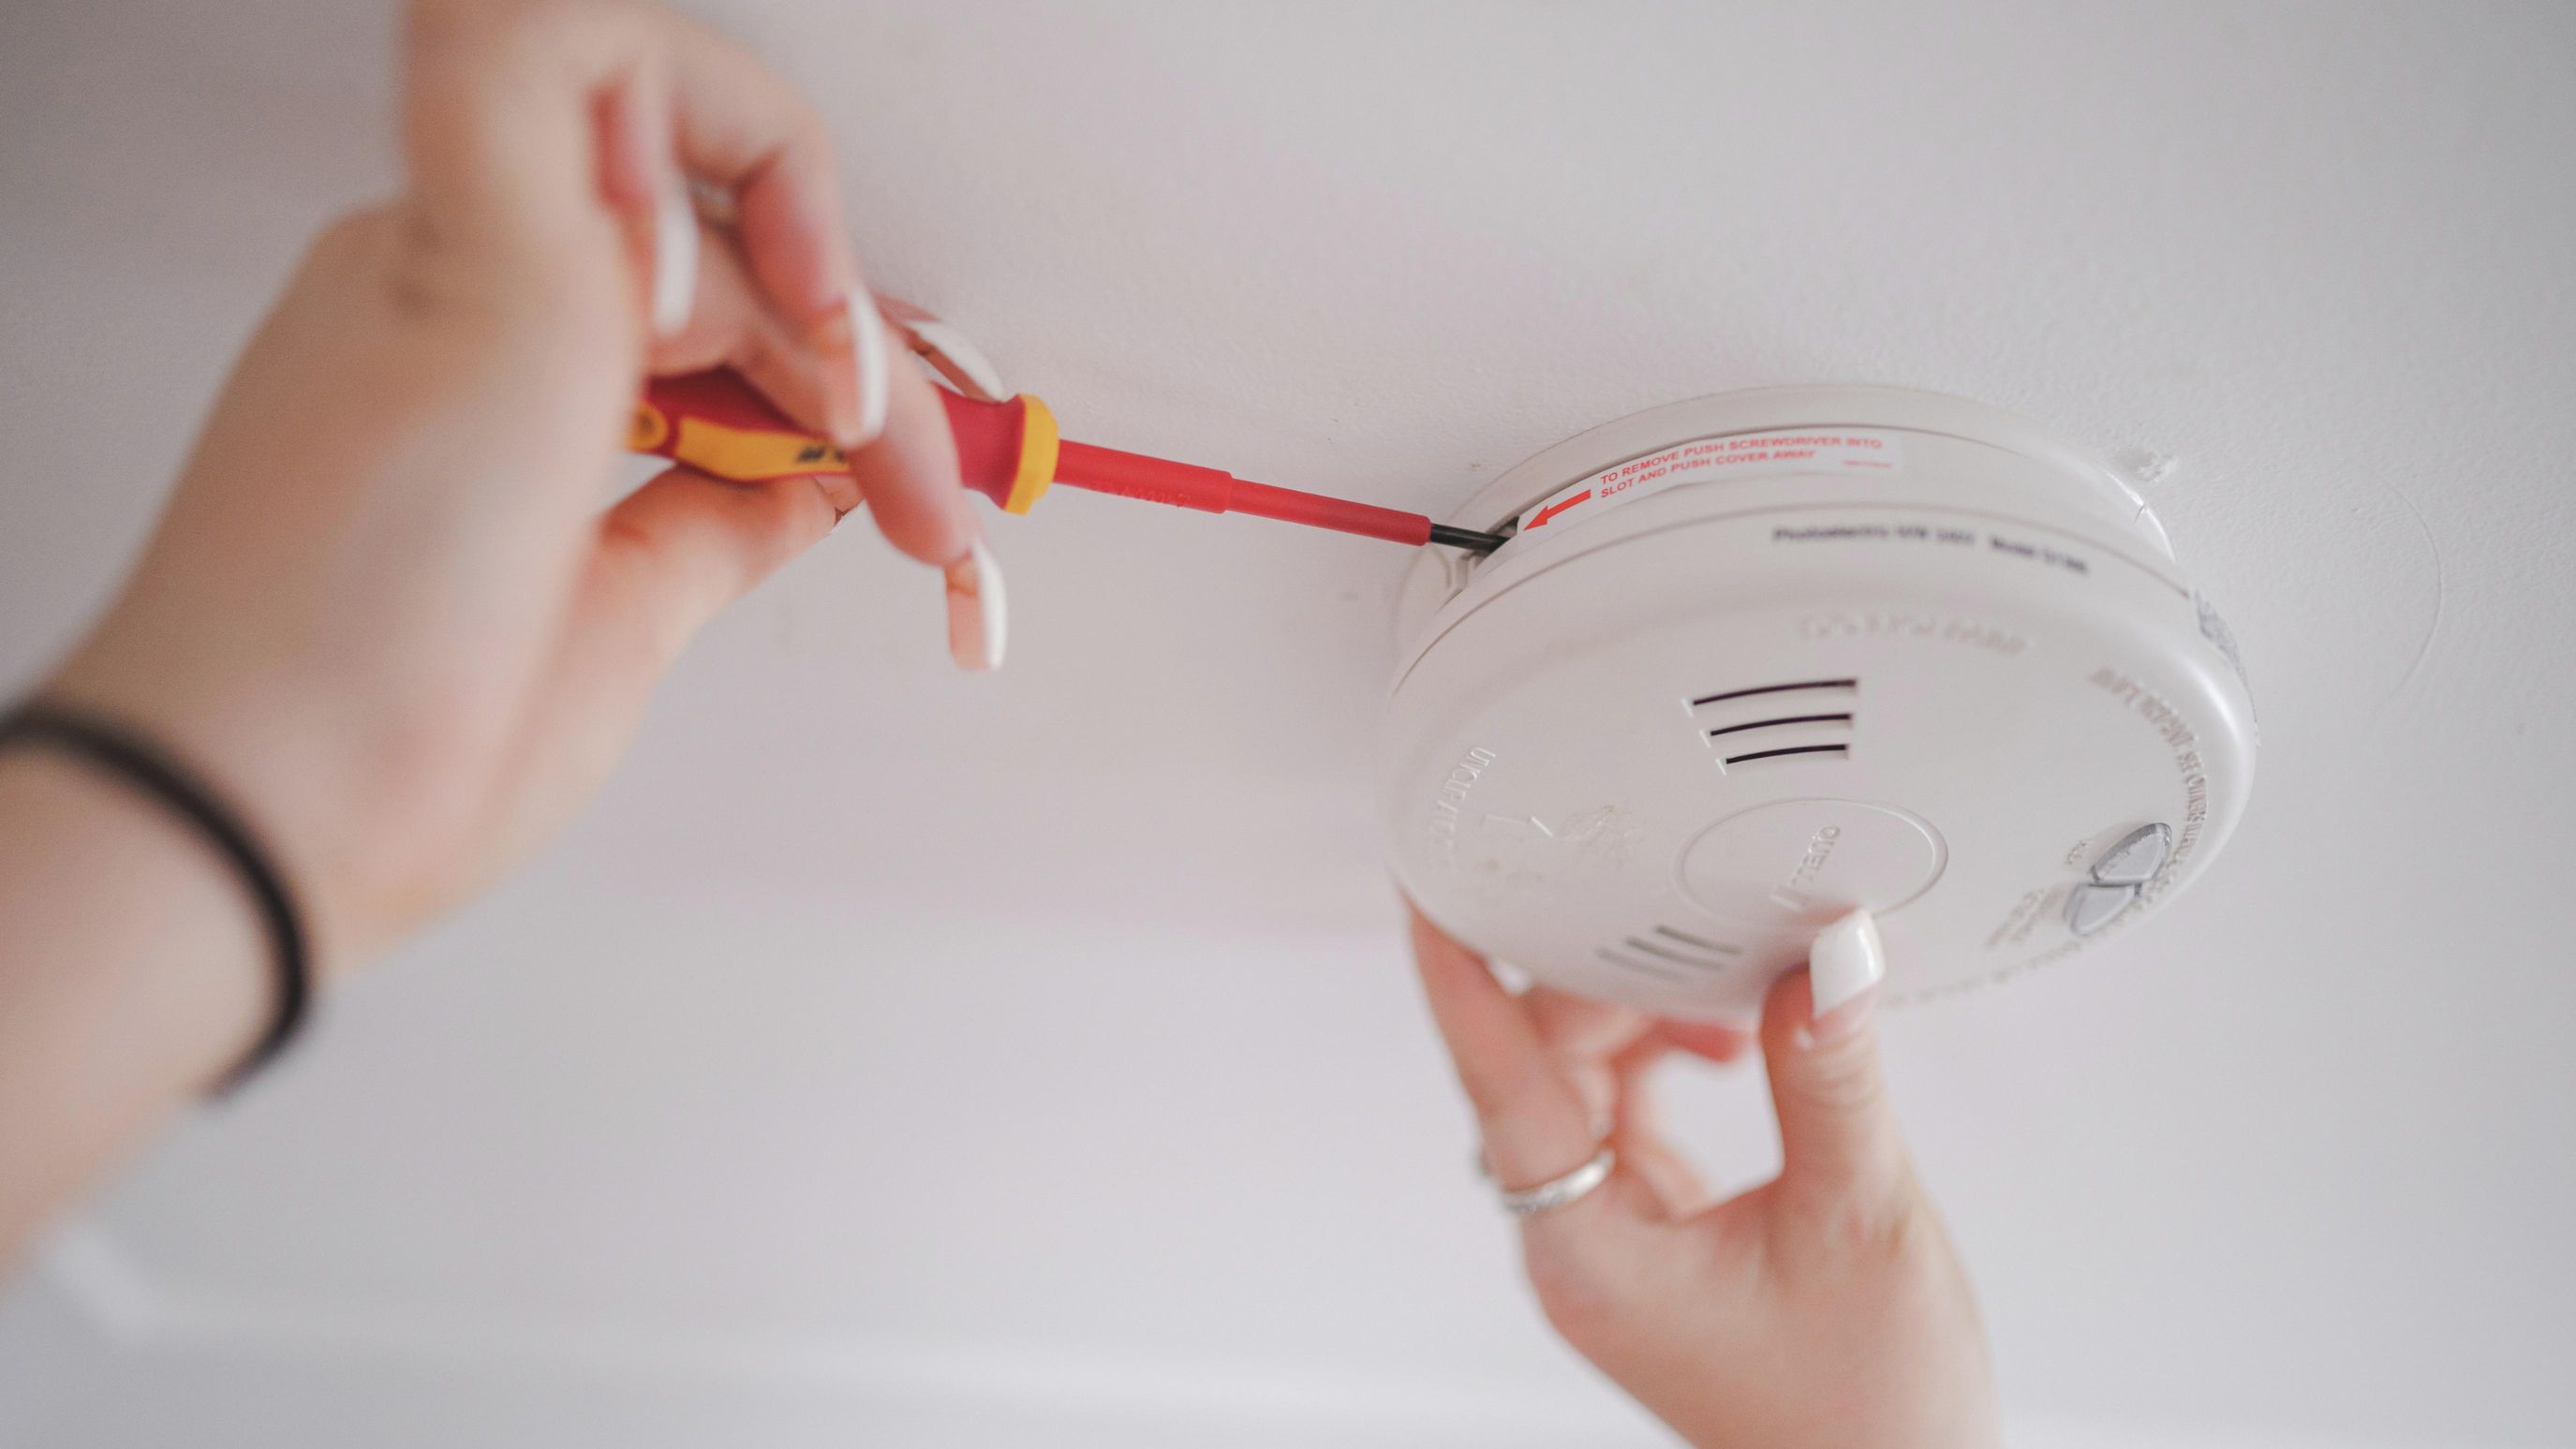
- Turn off the power to the smoke detector by disconnecting it from the electrical circuit or removing the batteries.
- Gently remove the smoke detector from its mounting bracket. Most detectors twist or slide off easily.
- Use a soft, dry cloth or a brush to remove any dust, debris, or cobwebs from the outer casing and vents of the smoke detector. Pay special attention to the sensor area.
- If the sensor appears dirty, you can use a can of compressed air or a vacuum cleaner with a brush attachment to carefully remove any accumulated dust or particles.
- Wipe the smoke detector with a slightly damp cloth to remove any remaining residue or dirt. Be sure not to saturate the detector with moisture.
- Allow the smoke detector to dry completely before reinstalling it.
- Once the smoke detector is clean and dry, reinsert it into the mounting bracket and secure it in place.
After cleaning the smoke detector, power it back on and listen for any chirping sounds. In many cases, a dirty sensor can cause false alarms and chirping. By cleaning the detector, you may resolve the issue and restore its proper functionality.
If the sound persists after cleaning the smoke detector, it’s necessary to proceed to the next step and test the detector to ensure its functionality.
Now that we’ve cleaned the detector, let’s move on to step 5 and learn how to test the smoke detector.
Read more: How To Stop Smoke Detector From Beeping
Step 5: Test the Detector
Testing your smoke detector is an essential step to ensure its proper functioning and reliability in detecting smoke or fire. Follow these steps to test the detector:
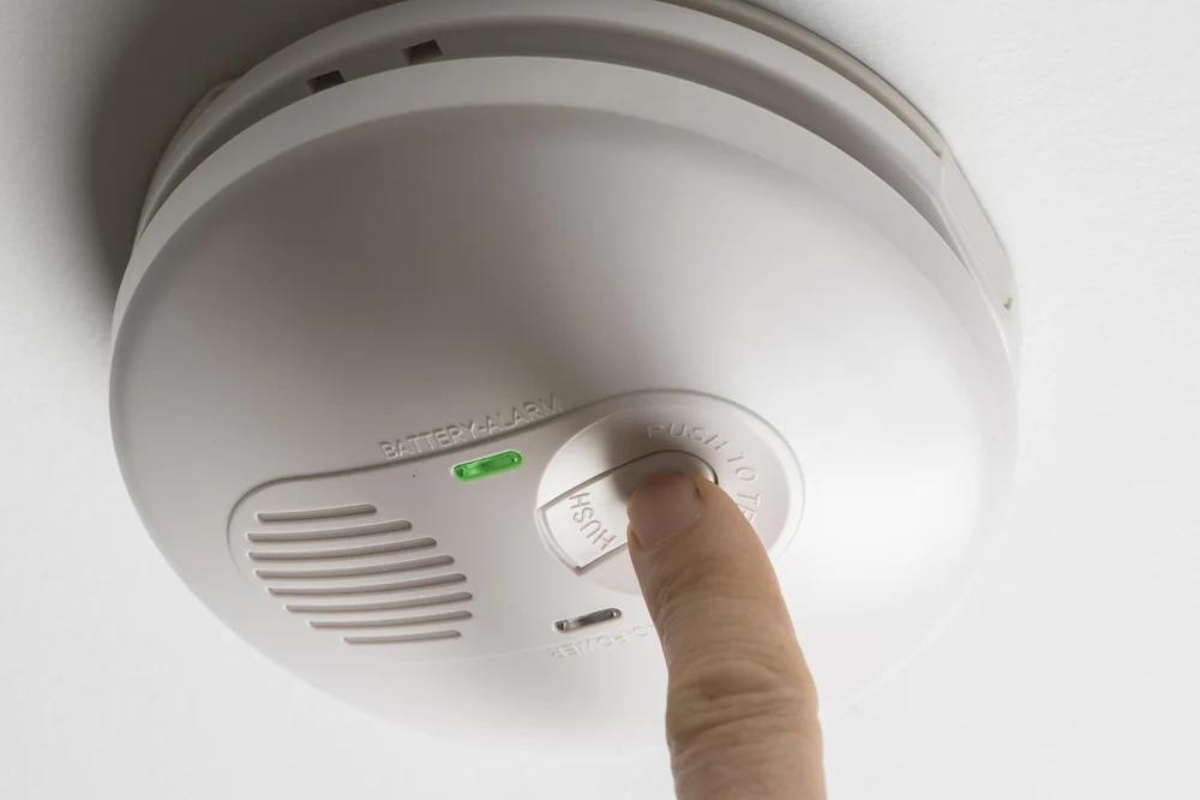
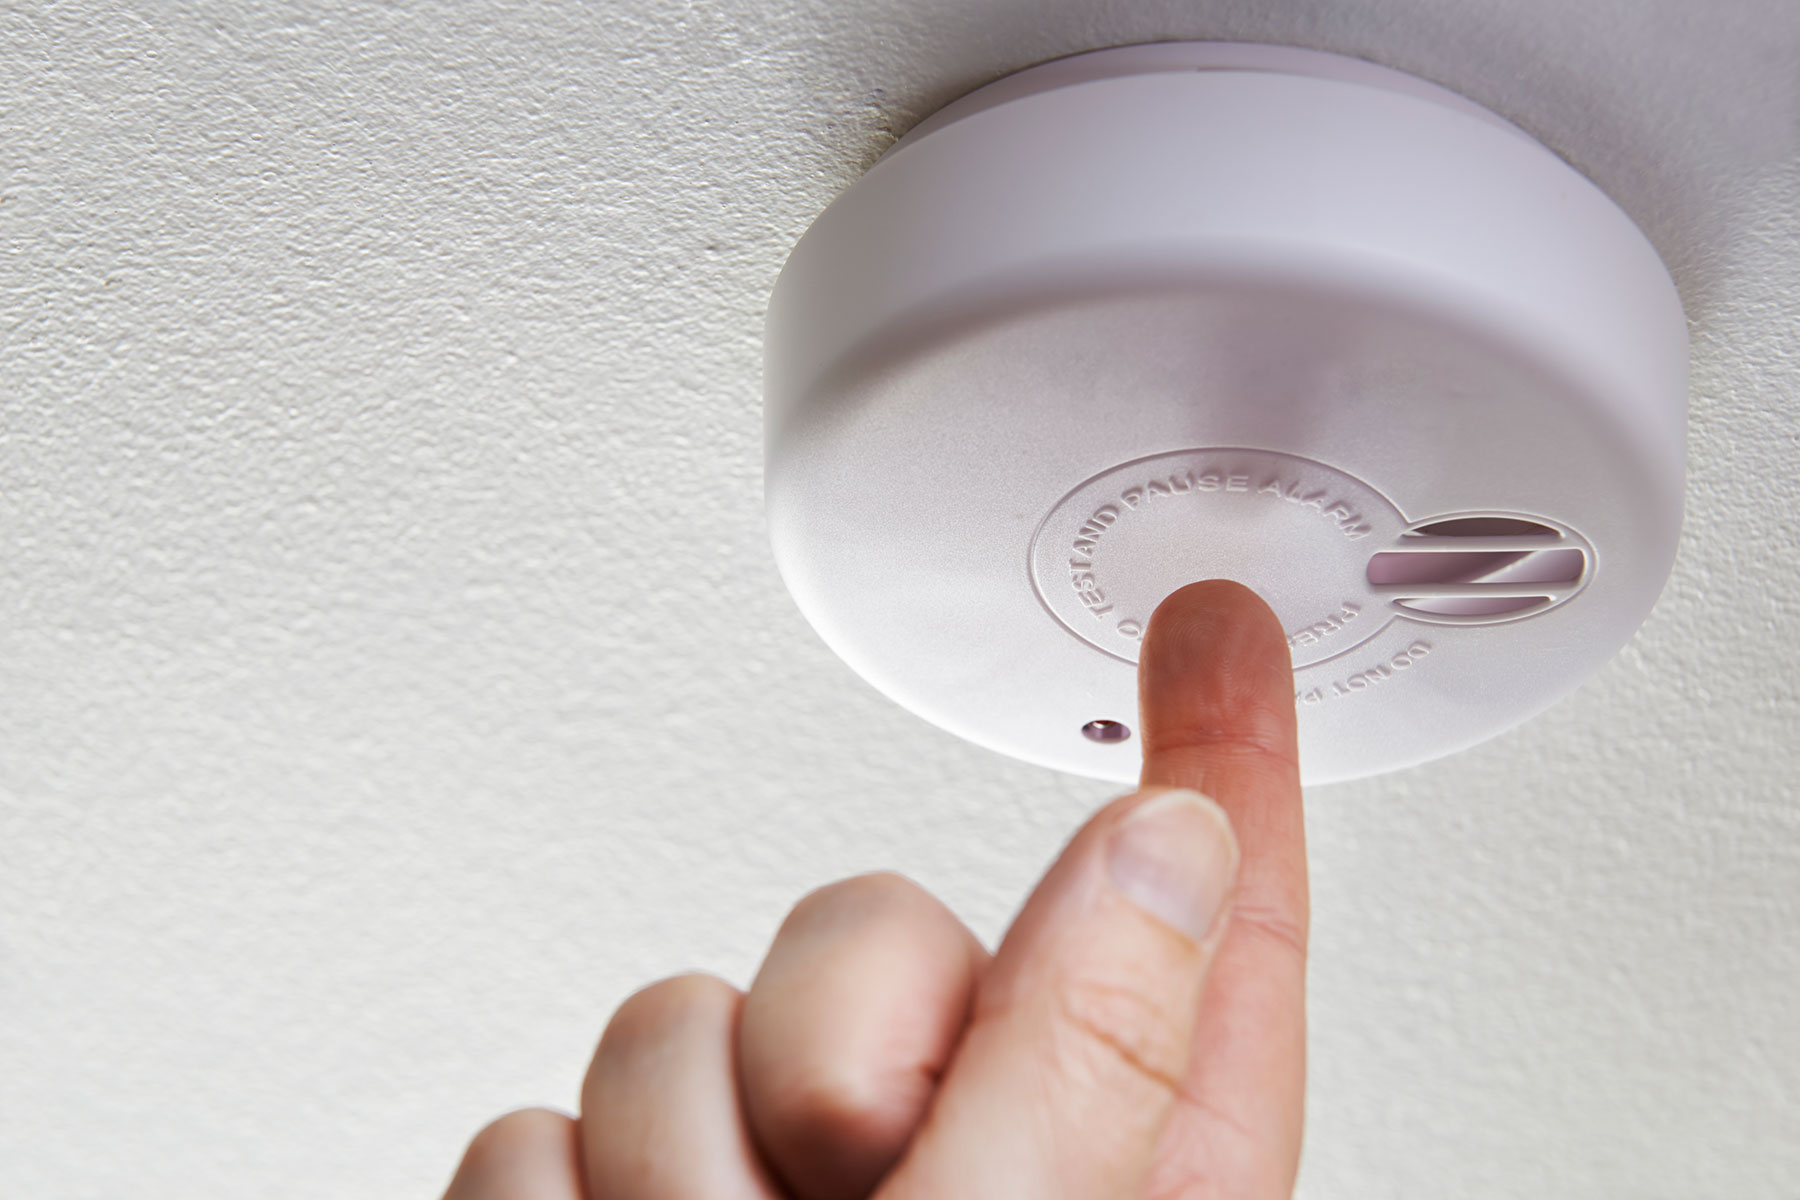
- Refer to the user manual or the labeling on the smoke detector to locate the test button. It is usually labeled as “test” or depicted with a bell symbol.
- Make sure the area around the smoke detector is clear of any smoke or debris that could interfere with the test.
- Press and hold the test button for a few seconds until you hear a loud, distinct alarm sound. The smoke detector may also flash its indicator lights.
- Observe the alarm sound and the flashing lights to ensure they are operating correctly. If the alarm sound is weak or there are no flashing lights, the smoke detector may require further inspection or replacement.
- If the alarm sound and flashing lights are functioning properly, release the test button to stop the test.
- Once you have completed the test, ensure that the smoke detector is reset and ready to detect smoke or fire.
Regularly testing your smoke detector is crucial for maintaining its effectiveness. It’s recommended to perform this test at least once a month to ensure the alarm and sensor are in good working order. This will help provide peace of mind knowing that you have a reliable smoke detection system in place.
If the smoke detector continues to chirp even after testing and following the previous steps, it’s best to contact the support or customer service of the smoke detector manufacturer. They can provide specific guidance or recommend further troubleshooting steps.
Now that we’ve tested the smoke detector, let’s move on to the final step and discuss what to do if further assistance is needed.
Step 6: Contact Support if Necessary
If you have followed all the previous steps and the smoke detector is still chirping, it may be time to seek professional support. Contacting the support or customer service of the smoke detector manufacturer can provide you with expert guidance and assistance in resolving the issue. Here’s what you can do:
- Refer to the user manual or the packaging of the smoke detector for the contact information of the manufacturer or their customer support.
- Reach out to their customer service via phone or email, explaining the problem you’re experiencing with the smoke detector.
- Provide them with the brand, model, and any relevant details about the smoke detector. This will help them understand the situation better and provide more accurate troubleshooting recommendations.
- Follow any specific instructions or troubleshooting steps provided by the support team.
- If the smoke detector is still under warranty, inquire about their warranty coverage and potential solutions, such as a replacement unit.
- If necessary, they may request you to send the smoke detector for inspection or recommend a professional technician to assist you.
Remember to be patient and cooperative during the support process. The manufacturer’s support team is trained to handle these situations and will work with you to resolve the chirping issue. They may also be able to address any concerns or questions you have about the smoke detector’s operation.
In some cases, they may determine that the smoke detector has reached the end of its lifespan and recommend replacing it with a new unit to ensure continued safety.
By seeking support when needed, you can ensure that your smoke detector functions optimally and provides reliable fire detection for your home or workplace.
Now that we’ve covered the troubleshooting steps and contacting support, let’s conclude our guide to stopping a smoke detector from chirping.
Conclusion
Dealing with a chirping smoke detector can be frustrating and disruptive, but by following the steps outlined in this guide, you can effectively troubleshoot and resolve the issue. Remember these key takeaways:
- Identify the issue by determining if it’s a low battery, intermittent power supply, expired detector, or dirty/faulty sensor.
- Check and replace the battery to see if that stops the chirping sound.
- Reset the smoke detector by pressing and holding the reset button to clear any glitches.
- Clean the smoke detector, ensuring the sensor and vents are free from dust, debris, or obstructions.
- Test the smoke detector regularly to verify its functionality and reliability.
- If all else fails, contact the support or customer service of the smoke detector manufacturer for further assistance.
Remember that smoke detectors are critical safety devices and should be properly maintained to ensure their effectiveness in detecting smoke or fire hazards. It’s important to follow the manufacturer’s instructions and guidelines for your specific smoke detector model.
By taking the necessary steps to address a chirping smoke detector, you can restore peace and tranquility to your living or working environment while ensuring the safety of yourself, your loved ones, and your property.
Lastly, be proactive and prioritize the regular maintenance of your smoke detectors to prevent issues before they arise. By doing so, you can have peace of mind, knowing that you have a reliable early warning system in place to protect you against potential fire emergencies.
Frequently Asked Questions about How To Stop A Smoke Detector From Chirping
Was this page helpful?
At Storables.com, we guarantee accurate and reliable information. Our content, validated by Expert Board Contributors, is crafted following stringent Editorial Policies. We're committed to providing you with well-researched, expert-backed insights for all your informational needs.


0 thoughts on “How To Stop A Smoke Detector From Chirping”