
Articles
How To Paint A Rock Fireplace
Modified: October 28, 2024
Learn how to paint your rock fireplace with our informative articles. Get step-by-step instructions and expert tips for a stunning transformation.
(Many of the links in this article redirect to a specific reviewed product. Your purchase of these products through affiliate links helps to generate commission for Storables.com, at no extra cost. Learn more)
Introduction
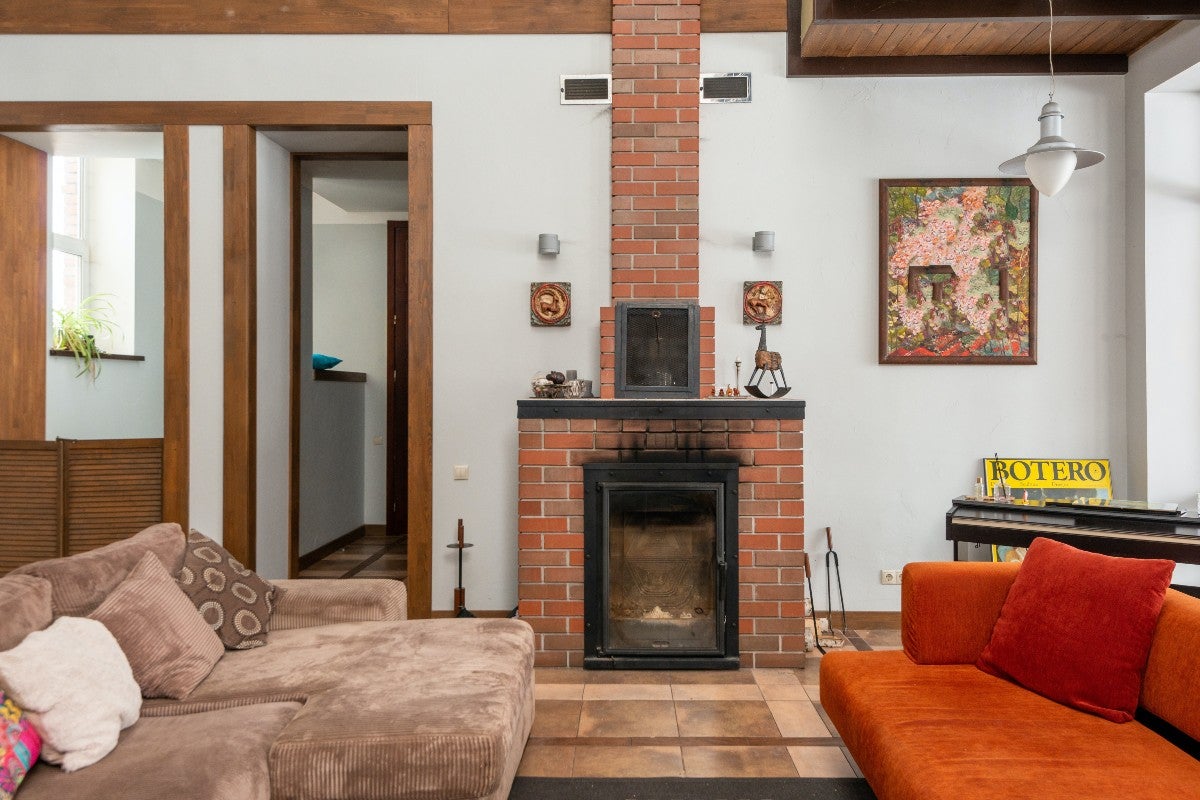
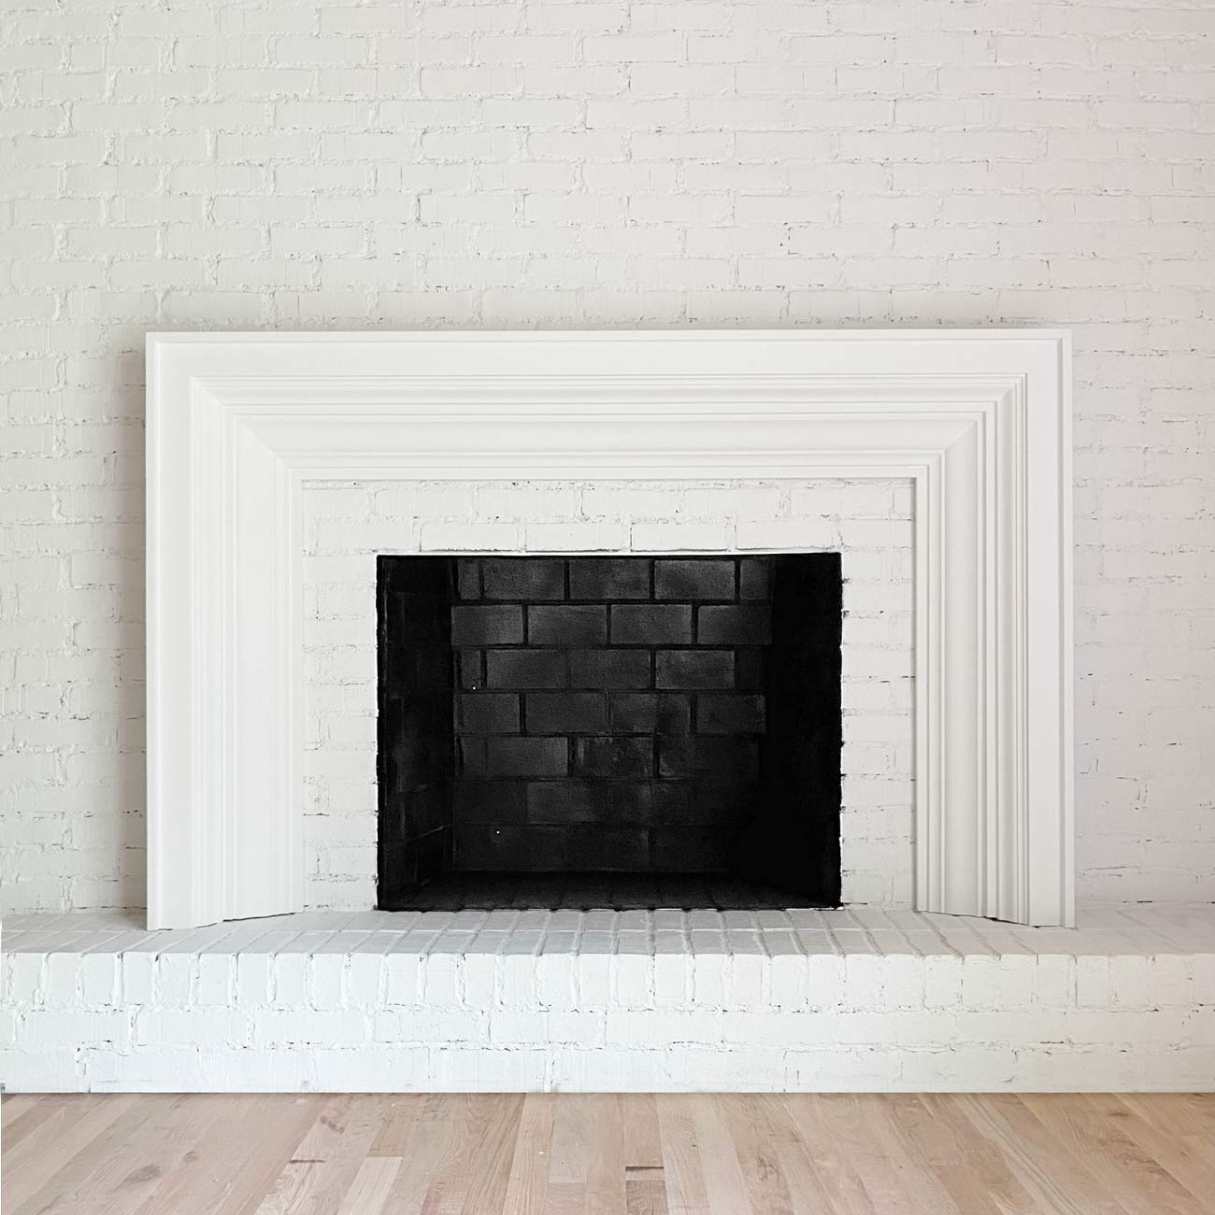
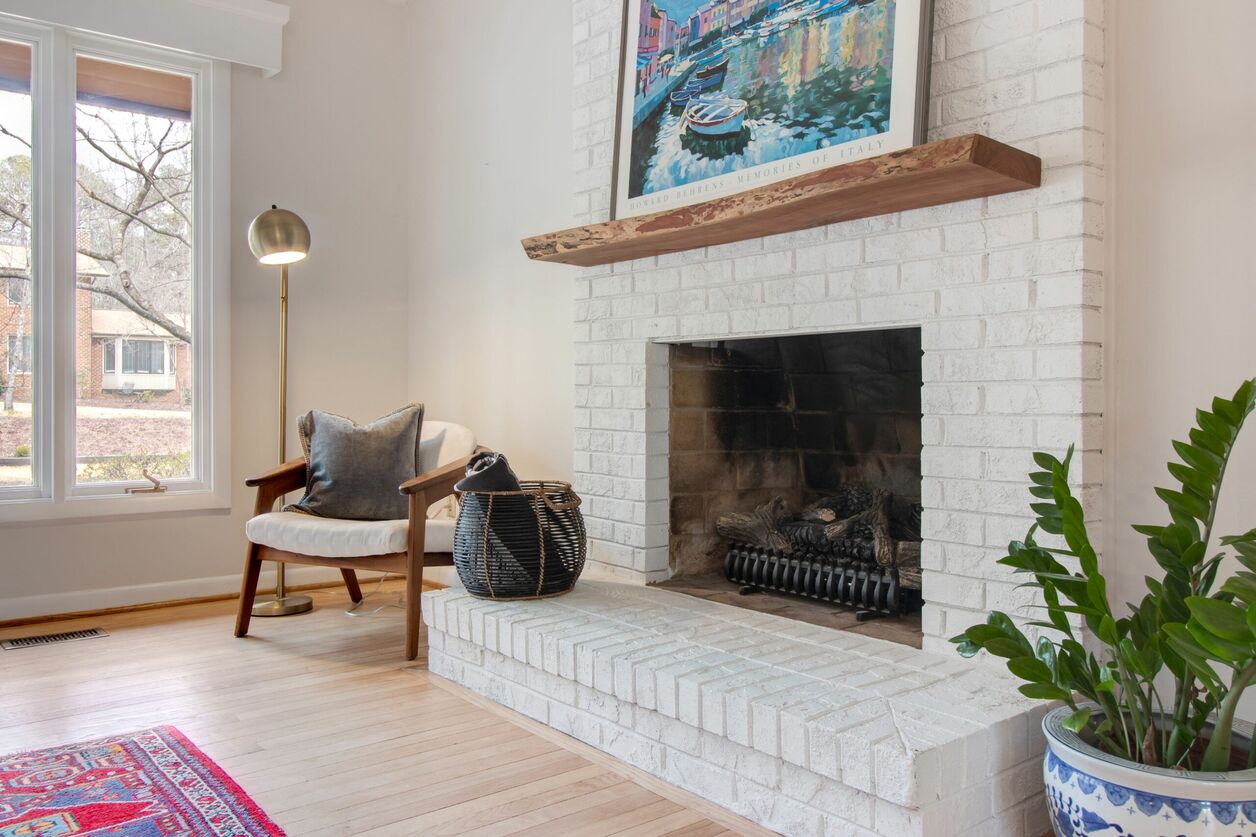
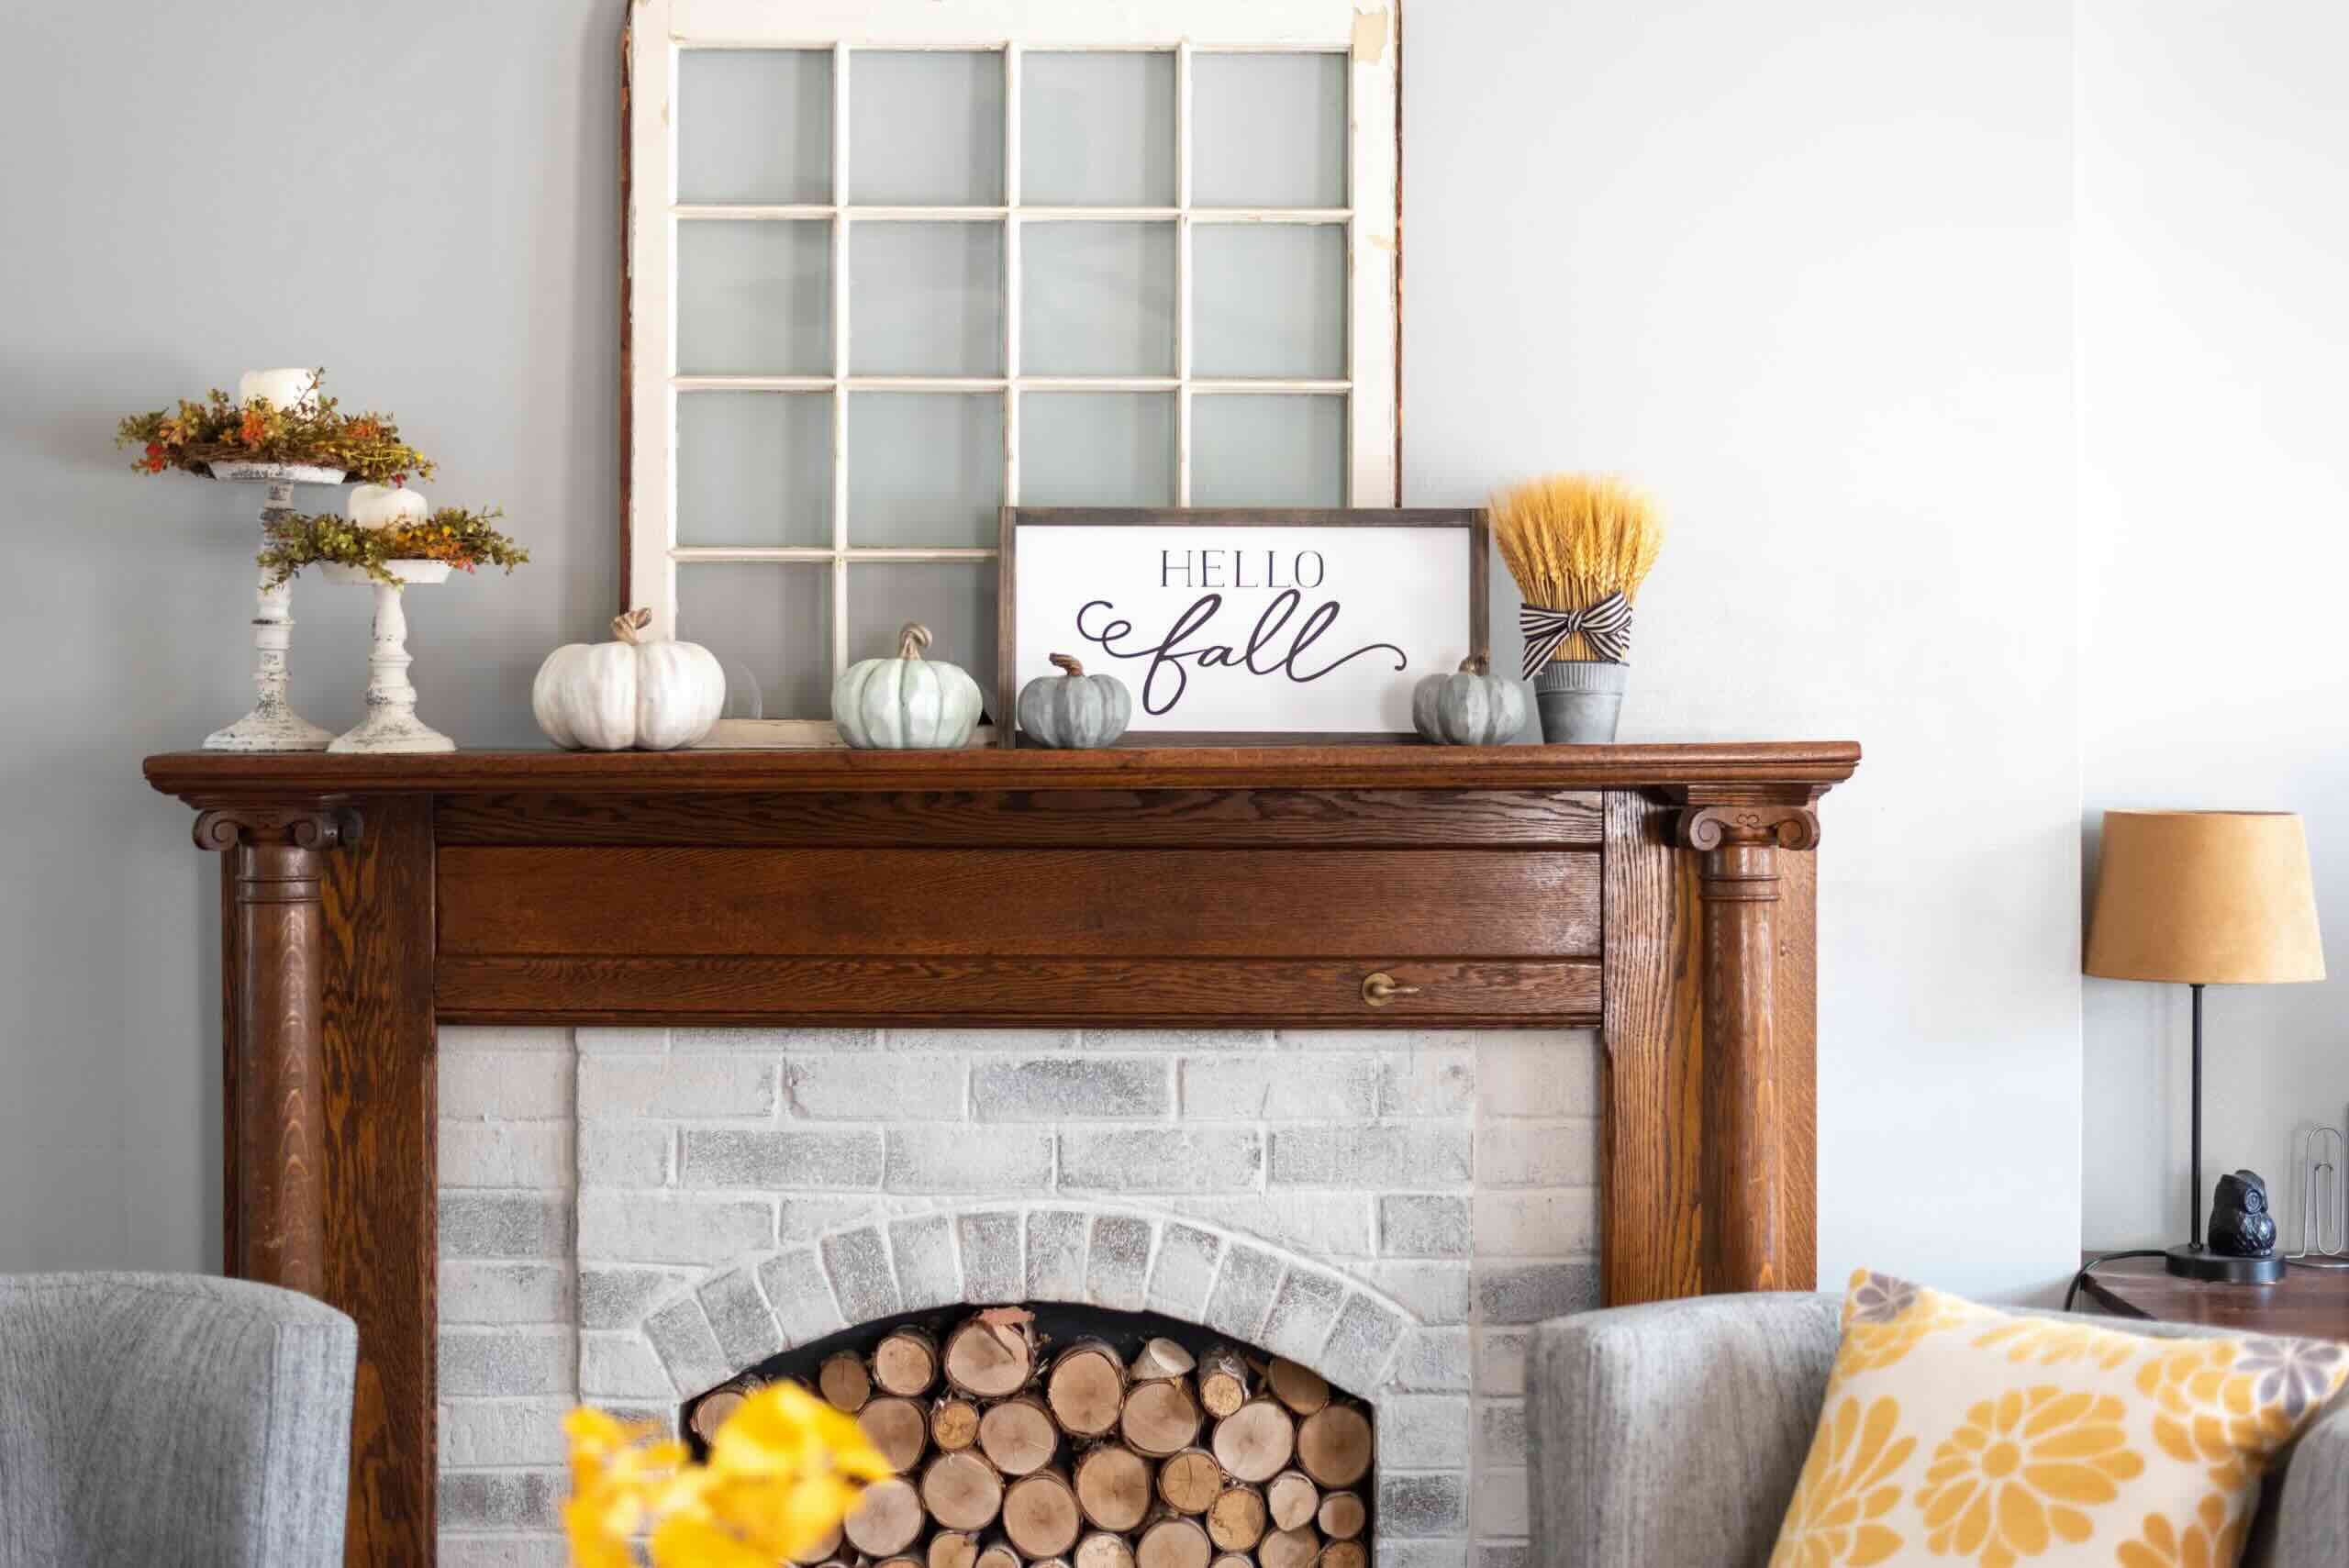
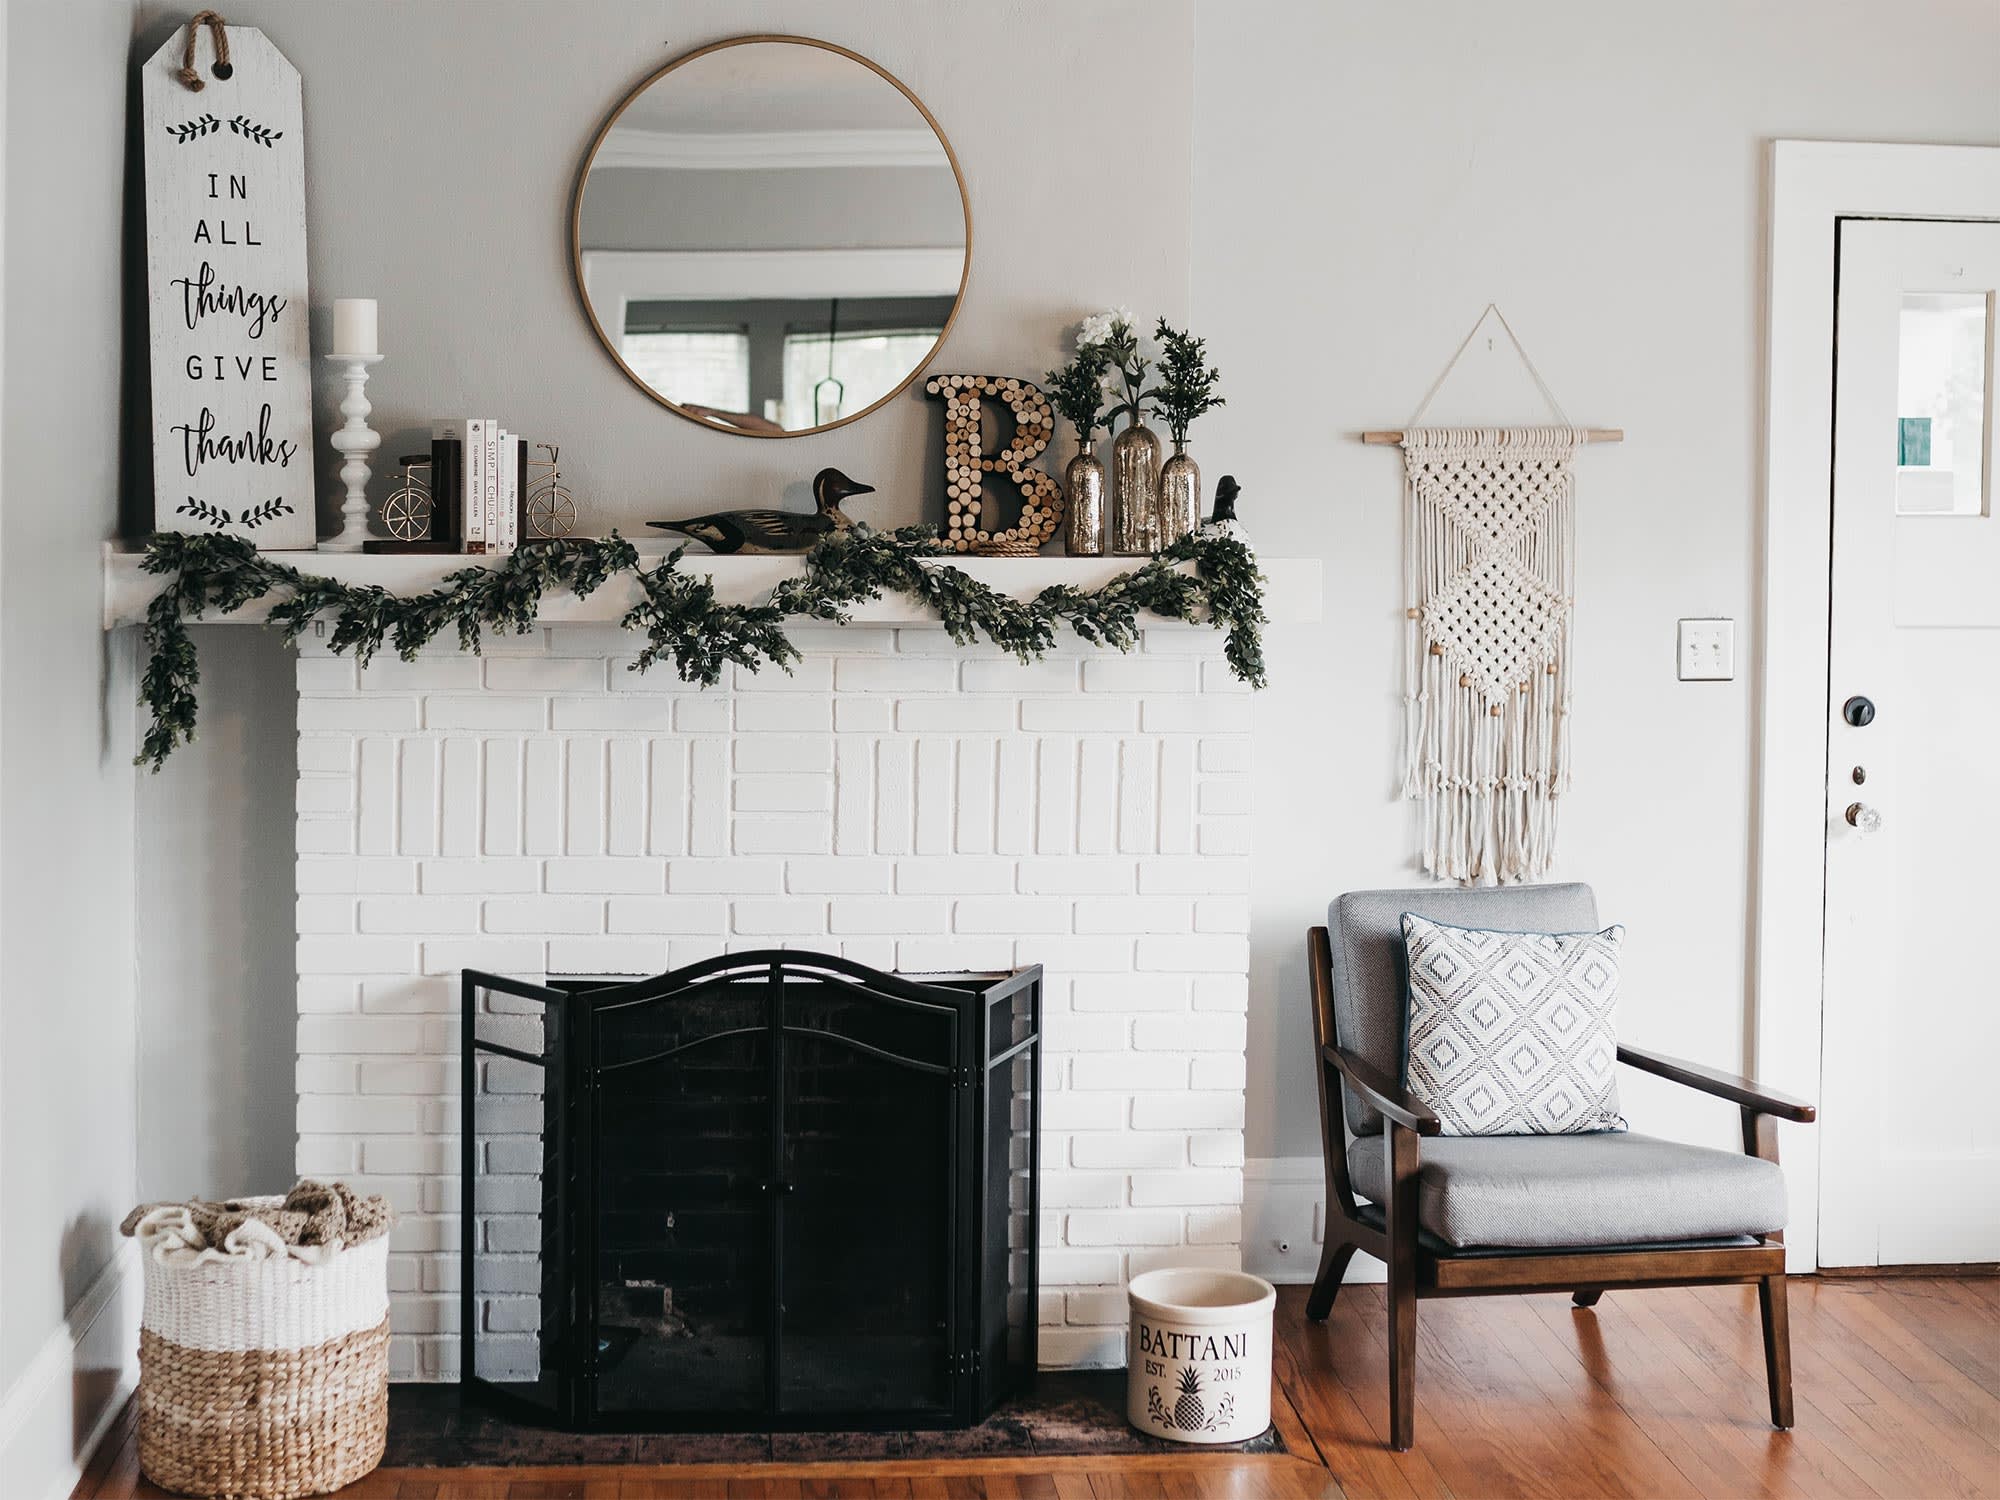
Having a rock fireplace in your home can add a natural and rustic charm to any room. However, over time, the color and appearance of the rocks may become dull or outdated. Instead of replacing the entire fireplace, why not consider painting it? Painting a rock fireplace can be a cost-effective way to transform its look and breathe new life into your space.
In this article, we will guide you through the process of painting a rock fireplace. From preparing the surface to choosing the right paint and applying various techniques, we’ll cover all the necessary steps to help you achieve a stunning result.
Before we dive into the details, let’s talk about the materials you’ll need for this project.
Key Takeaways:
- Transform your rock fireplace with paint to achieve a stunning, cost-effective update. From preparation to sealing, unleash your creativity and enjoy the process of breathing new life into your space.
- Choose the right paint, apply creative techniques, and seal for long-lasting beauty. Enjoy the transformation and make your rock fireplace a focal point that adds warmth and character to your room.
Read more: How To Paint Outdoor Rocks
Materials Needed
Before you begin painting your rock fireplace, it’s essential to gather all the necessary materials to ensure a smooth and successful project. Here are the materials you’ll need:
- Drop cloths or plastic sheets to protect the surrounding area from paint splatters.
- A bucket of warm water mixed with mild detergent for cleaning the rocks.
- A scrub brush or sponge to remove any dirt or debris from the rocks.
- A paint roller and brushes suitable for textured surfaces.
- A roller tray and paint trays for easy paint application.
- High-quality paint specifically designed for masonry surfaces. Choose a paint type suitable for your desired finish, such as latex, acrylic, or epoxy.
- Primer suitable for masonry surfaces, if necessary.
- Sandpaper or a sanding block to smooth any rough areas.
- Painter’s tape to protect areas you don’t want to paint, such as the hearth or nearby walls.
- A drop cloth or old newspapers to protect the floor.
- Paint thinner or mineral spirits for cleaning brushes and rollers.
- Optional: Mixing containers and paint additives for creating texture or a faux stone finish.
Before purchasing your materials, assess the size and condition of your rock fireplace to determine the quantity of paint and other supplies you’ll need.
Now that you have all the materials ready, let’s move on to the next step: preparing the fireplace for painting.
Preparing the Fireplace
Properly preparing your rock fireplace is crucial for a successful painting project. Follow these steps to ensure the surface is clean and ready for painting:
- Start by protecting the surrounding area with drop cloths or plastic sheets. Cover the floor, nearby furniture, and any other items that could be exposed to paint splatters.
- Remove any loose debris, such as dust, cobwebs, or loose rocks, from the fireplace. Use a brush or vacuum cleaner to clean the surface thoroughly.
- Inspect the rocks for any grease or stains. Mix a bucket of warm water with mild detergent and use a scrub brush or sponge to clean the rocks. Rinse with clean water and allow them to dry completely.
- If there are any rough or uneven areas on the rocks, use sandpaper or a sanding block to smooth them out. This will create a smoother surface for the paint to adhere to.
- For fireplace surfaces with existing paint or a glossy finish, consider using a primer designed for masonry surfaces. Apply the primer according to the manufacturer’s instructions and allow it to dry completely before proceeding.
- Use painter’s tape to mask off any areas you don’t want to paint, such as the hearth or nearby walls. Ensure the tape adheres properly to create clean lines.
Once you’ve completed these steps, your rock fireplace will be clean and properly prepared for painting. The next step is choosing the right paint for your project.
Choosing the Right Paint
When it comes to painting a rock fireplace, selecting the right paint is essential for achieving a long-lasting and aesthetic finish. Consider the following factors when choosing the paint for your project:
- Type of Paint: Opt for a high-quality paint specifically designed for masonry or textured surfaces. Latex or acrylic paints are commonly used for rock fireplaces due to their durability and ability to adhere well to rough surfaces. Epoxy paints are another option, offering exceptional durability and heat resistance.
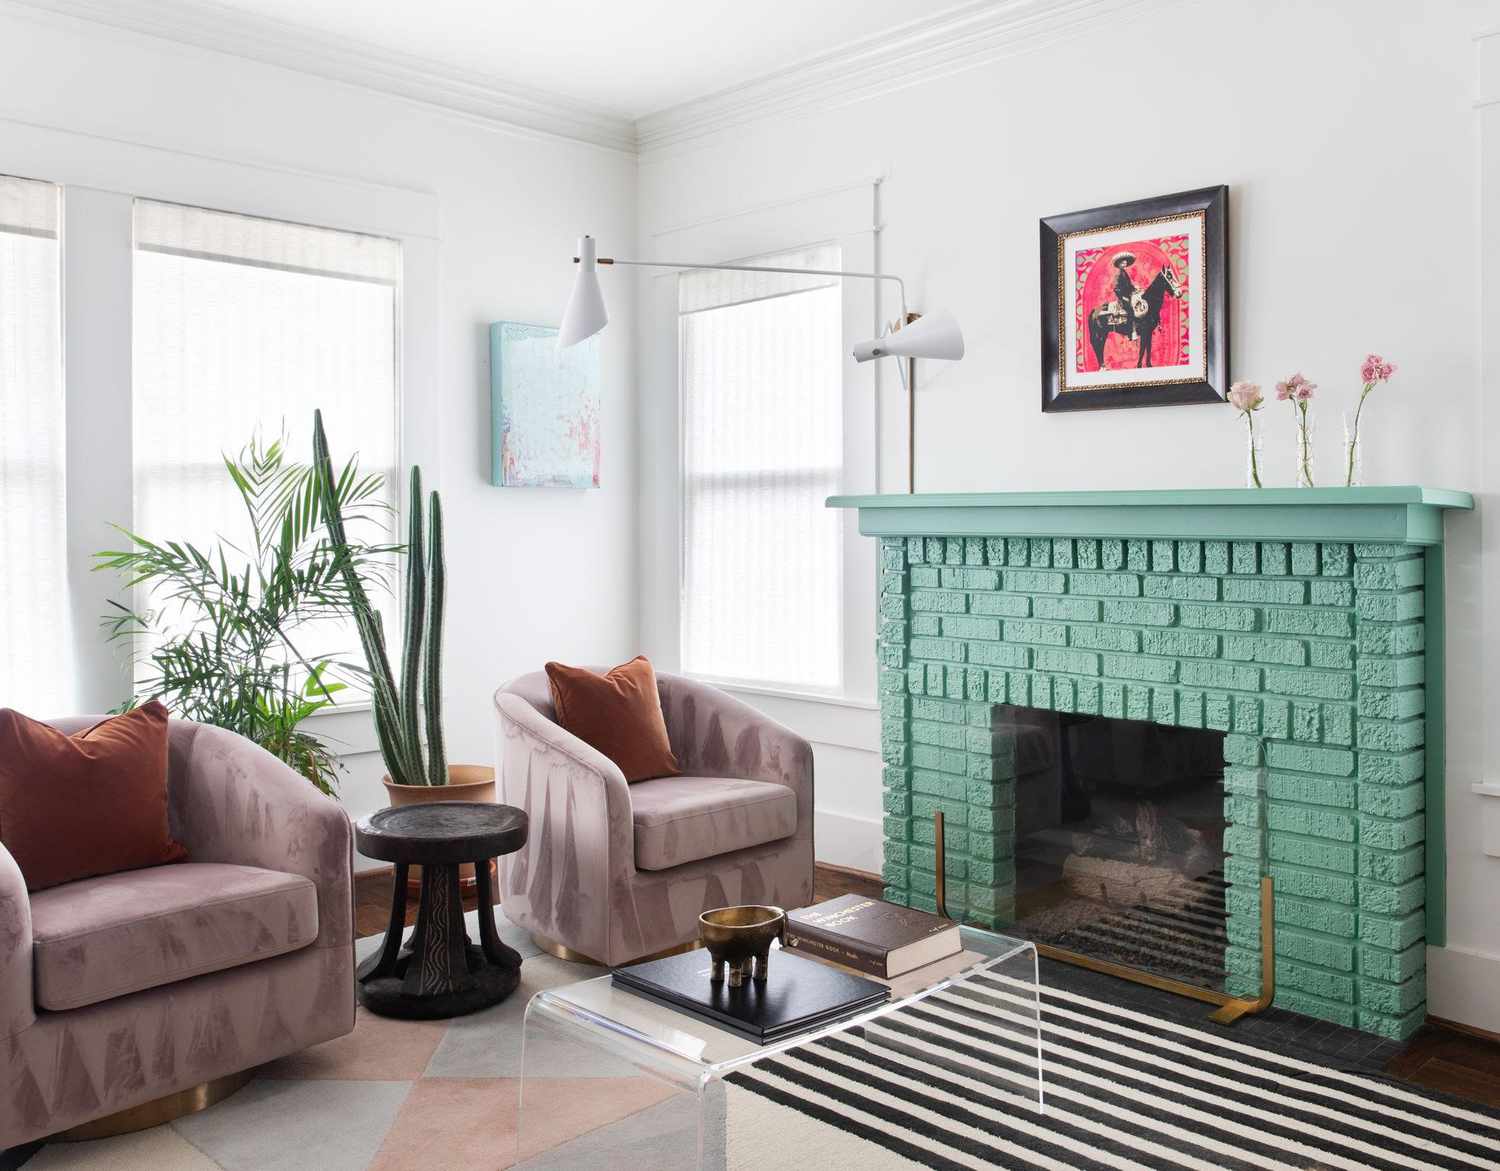
- Color: Select a color that complements your room’s overall aesthetic and desired ambiance. Neutral colors like whites, grays, or earth tones are popular choices for a timeless and versatile look. Alternatively, you can choose a bold color to make a statement or match your room’s color scheme.
- Finish: Consider the level of sheen or finish you want to achieve. Matte or flat finishes are ideal for hiding imperfections and achieving a natural look, while semi-gloss or high-gloss finishes offer a more polished and reflective appearance.
- Heat Resistance: If your fireplace generates a significant amount of heat, ensure that the paint you choose can withstand high temperatures. Look for heat-resistant paints specifically designed for use on fireplaces or wood-burning stoves.
- Durability: Since the fireplace is a high-traffic area prone to wear and tear, choose a paint that is durable and easy to clean. Consider paints with washable or stain-resistant properties to maintain the beauty of your fireplace in the long run.
Before making a final decision, it’s always a good idea to consult with a paint specialist or read customer reviews to ensure the paint you choose is suitable for your specific needs and the surface of your rock fireplace.
Now that you’ve chosen the right paint, it’s time to move on to the next step: applying a base coat.
Applying a Base Coat
Before you start painting your rock fireplace, applying a base coat is often recommended to ensure better coverage and adhesion of the paint. Follow these steps to apply a base coat:
- Start by stirring the paint thoroughly to ensure an even consistency.
- If your chosen paint requires dilution, carefully follow the manufacturer’s instructions to achieve the correct ratio. Use a mixing container for accurate measurements.
- Using a paint roller or brush suitable for textured surfaces, begin applying the base coat to the rocks. Work in small sections, starting at the top and working your way down.
- Apply the paint generously, making sure to cover each rock and crevice. Work the paint into the texture of the rocks, ensuring an even and consistent coating.
- If the rocks have deep crevices or cracks, use a brush to reach those areas and ensure full coverage.
- Allow the base coat to dry according to the manufacturer’s instructions. This typically takes around 24 hours, but it may vary depending on the type of paint used.
- Inspect the painted surface for any thin or missed areas, and apply a second coat if necessary. Ensure that the base coat is completely dry before applying additional layers.
- Once you’re satisfied with the base coat, allow it to cure fully before proceeding to the next steps. This may take a few days, so be patient and avoid touching or placing objects on the surface during this time.
By applying a base coat, you create a solid foundation for the rest of the painting process. This ensures better coverage and adhesion of subsequent layers and helps achieve a professional-looking finish.
With the base coat applied and cured, we can now move on to exploring different painting techniques to enhance the appearance of your rock fireplace.
When painting a rock fireplace, be sure to clean the surface thoroughly and use a high-quality primer designed for masonry. This will help the paint adhere properly and ensure a long-lasting finish.
Read more: How To Set Up Gas Fireplace With Rocks
Painting Techniques
Now that you’ve applied the base coat to your rock fireplace, it’s time to get creative with different painting techniques to add depth, texture, and visual interest. Here are a few techniques you can try:
- Dry Brushing: This technique involves using a dry brush with a minimal amount of paint on it. Lightly brush over the rocks in a random pattern, allowing the natural texture and color variations to show through. The dry brushing technique creates a weathered and rustic look.
- Sponging: Dip a natural sea sponge or a sponge brush into a different color of paint than the base coat. Gently dab the sponge onto the rocks, creating a mottled or stippled effect. Vary the pressure and amount of paint you apply to achieve the desired texture and depth.
- Aged or Distressed Look: If you want to achieve an aged or distressed appearance, consider using a faux finish technique. Apply a darker shade of paint over the base coat, and while it’s still wet, use a rag or cheesecloth to lightly rub and remove some of the paint. This technique creates a worn and weathered look.
- Color-Washing: Color-washing adds a translucent layer of color over the base coat, giving the rocks a subtle tint. Dilute a small amount of paint with water, and using a brush or rag, lightly apply the diluted paint over the rocks. The goal is to achieve a subtle wash of color that still allows the texture of the rocks to show through.
- Stencil Design: For a more intricate and customized look, consider using stencils to create patterns or designs on your rock fireplace. Use a contrasting paint color or even metallic paints to stencil the desired design onto the rocks. This technique allows you to add a unique touch to your fireplace.
Remember to experiment with different techniques on a small, inconspicuous area of your rock fireplace first to ensure that you achieve the desired effect. Techniques can be combined or modified to suit your personal style and preferences. The goal is to create a visually stunning and unique fireplace that complements your space.
Once you’re satisfied with the painting techniques you’ve used, the next step is to add texture to your rock fireplace.
Adding Texture
Adding texture to your rock fireplace can elevate its visual appeal and give it a more realistic and tactile look. Here are a few techniques you can use to enhance the texture:
- Rock Texture: If you want to mimic the look of natural rocks, consider using a texture additive or rock texture paint. These products contain particles that create a rough and textured surface, simulating the appearance of real rocks.
- Faux Stone Finish: To achieve a faux stone finish, use a combination of paint and a textured additive or specialized tools. Apply the textured paint mixture to the rocks using a brush or trowel, following the instructions on the product. Use different shades of paint to create depth and variation, mimicking the look of natural stone.
- Crackling: The crackling technique adds a weathered and aged look to the rocks. After applying a base coat, apply a crackle glaze or medium over the paint. As it dries, it will create fine cracks, giving the appearance of aged and weathered rocks.
- Spattering: Spattering involves flicking paint onto the rocks using a toothbrush or a brush with stiff bristles. Dip the brush into a contrasting color and then using your thumb, flick the bristles to create small specks of paint on the rocks. This technique adds texture and mimics the look of natural imperfections.
- Dragging: For a unique textured look, use a dry brush and lightly drag it across the surface in a random pattern. This technique creates subtle streaks and lines that add depth and texture to the rocks.
Remember to experiment with different techniques and adjust them according to your desired effect. Adding texture is a fun and creative way to enhance the appearance of your rock fireplace, giving it a more realistic and visually interesting look.
Once you’re satisfied with the added texture, the next step is to seal the paint for long-lasting protection.
Sealing the Paint
Sealing the paint on your rock fireplace is a crucial step to protect the surface and ensure its longevity. A sealant creates a barrier that prevents damage from moisture, dirt, and other elements. Follow these steps to seal the paint on your fireplace:
- Allow the painted surface to dry completely according to the paint manufacturer’s instructions. This typically takes at least 24 hours, but it may vary depending on the type of paint used and the ambient conditions.
- Choose a clear masonry sealant or topcoat designed for use on painted surfaces. Look for a sealant that is specifically formulated to protect against heat, moisture, and UV rays.
- Read and follow the application instructions provided by the sealant manufacturer. Some sealants may require dilution or mixing with other substances, so make sure to adhere to the recommended ratios.
- Using a brush or roller, apply the sealant in thin, even coats, working in small sections. Start at the top of the fireplace and work your way down, making sure to cover all painted areas.
- If you notice any drips or excess sealant, immediately wipe them away with a clean cloth or sponge to prevent them from drying and causing an uneven finish.
- Allow the first coat of sealant to dry completely before applying additional coats. This may take several hours or as recommended by the manufacturer.
- Apply additional coats of sealant as necessary, following the recommended drying times between each coat. Two to three coats are typically sufficient to provide adequate protection.
- Once the final coat is applied, allow the sealant to cure fully before using the fireplace or placing any items near the treated surface. Curing times may vary depending on the product, so refer to the manufacturer’s instructions.
Sealing the paint not only protects your rock fireplace but also enhances its appearance by providing a subtle sheen or satin finish. It’s an essential step in the painting process that ensures the longevity and durability of your newly painted fireplace.
With the paint sealed, it’s time for the final touches and cleanup.
Final Touches and Clean Up
As you reach the final stages of painting your rock fireplace, it’s important to pay attention to the finishing touches and ensure a clean and polished result. Here are some steps to consider:
- Carefully remove the painter’s tape from the fireplace once the paint and sealant are dry. Slowly peel the tape back at a 45-degree angle to avoid any damage to the painted surface.
- Inspect the painted surface for any smudges, drips, or imperfections. Use a small brush or sponge to touch up any areas that may need additional paint or blending.
- Wipe down the surrounding area with a damp cloth or sponge to remove any lingering dust or debris from the painting process.
- Clean your brushes and rollers with paint thinner or mineral spirits according to the manufacturer’s instructions. Properly clean and store your tools for future use.
- Dispose of any used paint cans, drop cloths, and other materials responsibly, following local regulations and guidelines.
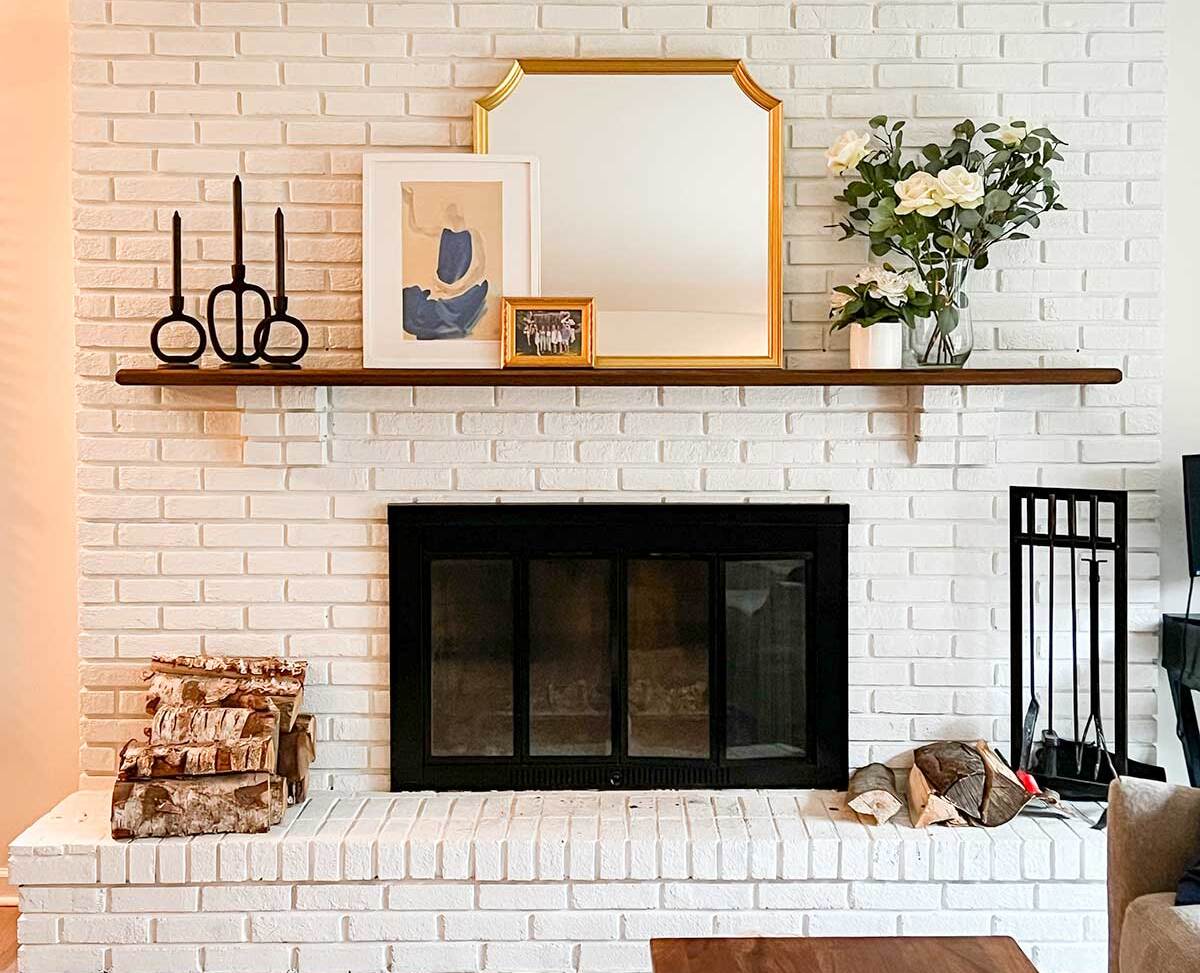
- Take a step back and admire your newly painted rock fireplace! Marvel at the transformation and the beauty it brings to your space.
Now that you’ve completed the final touches and clean up, it’s time to enjoy your refreshed rock fireplace. Admire the new colors, textures, and style it brings to your room, creating a focal point that adds warmth and character.
Remember, proper maintenance and periodic cleaning will help preserve the beauty of your painted fireplace. Follow the manufacturer’s instructions for cleaning the sealed surface, and avoid using harsh chemicals or abrasive materials that could damage the paint or sealant.
With your newfound knowledge and skills, you can confidently tackle any future painting projects and continue to enhance the beauty of your home.
Happy painting!
Read more: How To Paint Fireplace Insert
Conclusion
Painting a rock fireplace is a rewarding project that can completely transform the look and feel of a room. With the right materials, preparation, and techniques, you can achieve a stunning result that breathes new life into your space. Throughout this article, we’ve covered everything you need to know to paint your rock fireplace successfully. From gathering the necessary materials to preparing the surface, choosing the right paint, applying a base coat, exploring various painting techniques, adding texture, sealing the paint, and completing the final touches and clean up, each step is crucial in achieving a professional-looking finish. Remember to exercise creativity and experiment with different techniques to make your fireplace unique to your style. Whether you prefer a rustic, weathered look or a sleek, modern finish, there are painting techniques and textures that can satisfy your vision. It’s important to follow the manufacturer’s instructions for drying and curing times, as well as any recommended cleaning and maintenance guidelines to ensure the longevity of your painted rock fireplace. Proper care and periodic touch-ups can help preserve its beauty and keep it looking fresh for years to come. As you embark on this painting journey, don’t forget to enjoy the process. Take your time, be patient, and embrace the opportunity to transform a dull or outdated fireplace into a focal point that enhances the overall ambiance of your home. Now, armed with the knowledge and techniques provided, you can confidently embark on your rock fireplace painting project knowing that you have the tools to create a remarkable result. Get ready to infuse new life and style into your space with a beautifully painted rock fireplace.
Frequently Asked Questions about How To Paint A Rock Fireplace
Was this page helpful?
At Storables.com, we guarantee accurate and reliable information. Our content, validated by Expert Board Contributors, is crafted following stringent Editorial Policies. We're committed to providing you with well-researched, expert-backed insights for all your informational needs.
0 thoughts on “How To Paint A Rock Fireplace”