Home>Articles>How To Set Up Laundry Room Plumbing For A Washing Machine
Articles
How To Set Up Laundry Room Plumbing For A Washing Machine
Modified: October 20, 2024
Learn how to set up laundry room plumbing for a washing machine with our informative articles. Find step-by-step guides and expert tips to ensure a hassle-free installation.
(Many of the links in this article redirect to a specific reviewed product. Your purchase of these products through affiliate links helps to generate commission for Storables.com, at no extra cost. Learn more)
Introduction
Welcome to our comprehensive guide on how to set up laundry room plumbing for a washing machine. Whether you’re renovating your laundry space or adding a new washing machine, proper plumbing installation is crucial for optimal performance and functionality.
Having the right plumbing setup ensures a reliable water supply and efficient drainage system, allowing your washing machine to operate smoothly and provide you with clean, fresh clothes. In this article, we will walk you through the step-by-step process of setting up laundry room plumbing, ensuring that you have all the necessary knowledge and tools to get the job done right.
Before we dive into the details, it’s important to note that if you don’t have the experience or confidence to undertake this project, it’s best to hire a professional plumber. They have the expertise and equipment to handle any complications and ensure everything is done according to local building codes.
Now, let’s get started on transforming your laundry room into a functional, efficient space!
Key Takeaways:
- Transform your laundry room into a functional space by following our step-by-step guide to setting up plumbing for a washing machine. Ensure reliable water supply, efficient drainage, and proper connections for hassle-free laundry routines.
- Carefully assess your existing plumbing system, gather necessary tools and materials, and follow our expert tips to install water supply lines, drainage systems, and connect your washing machine. Enjoy a seamless laundry experience with clean, fresh clothes and minimal water-related mishaps.
Read more: How To Plumb A Washing Machine
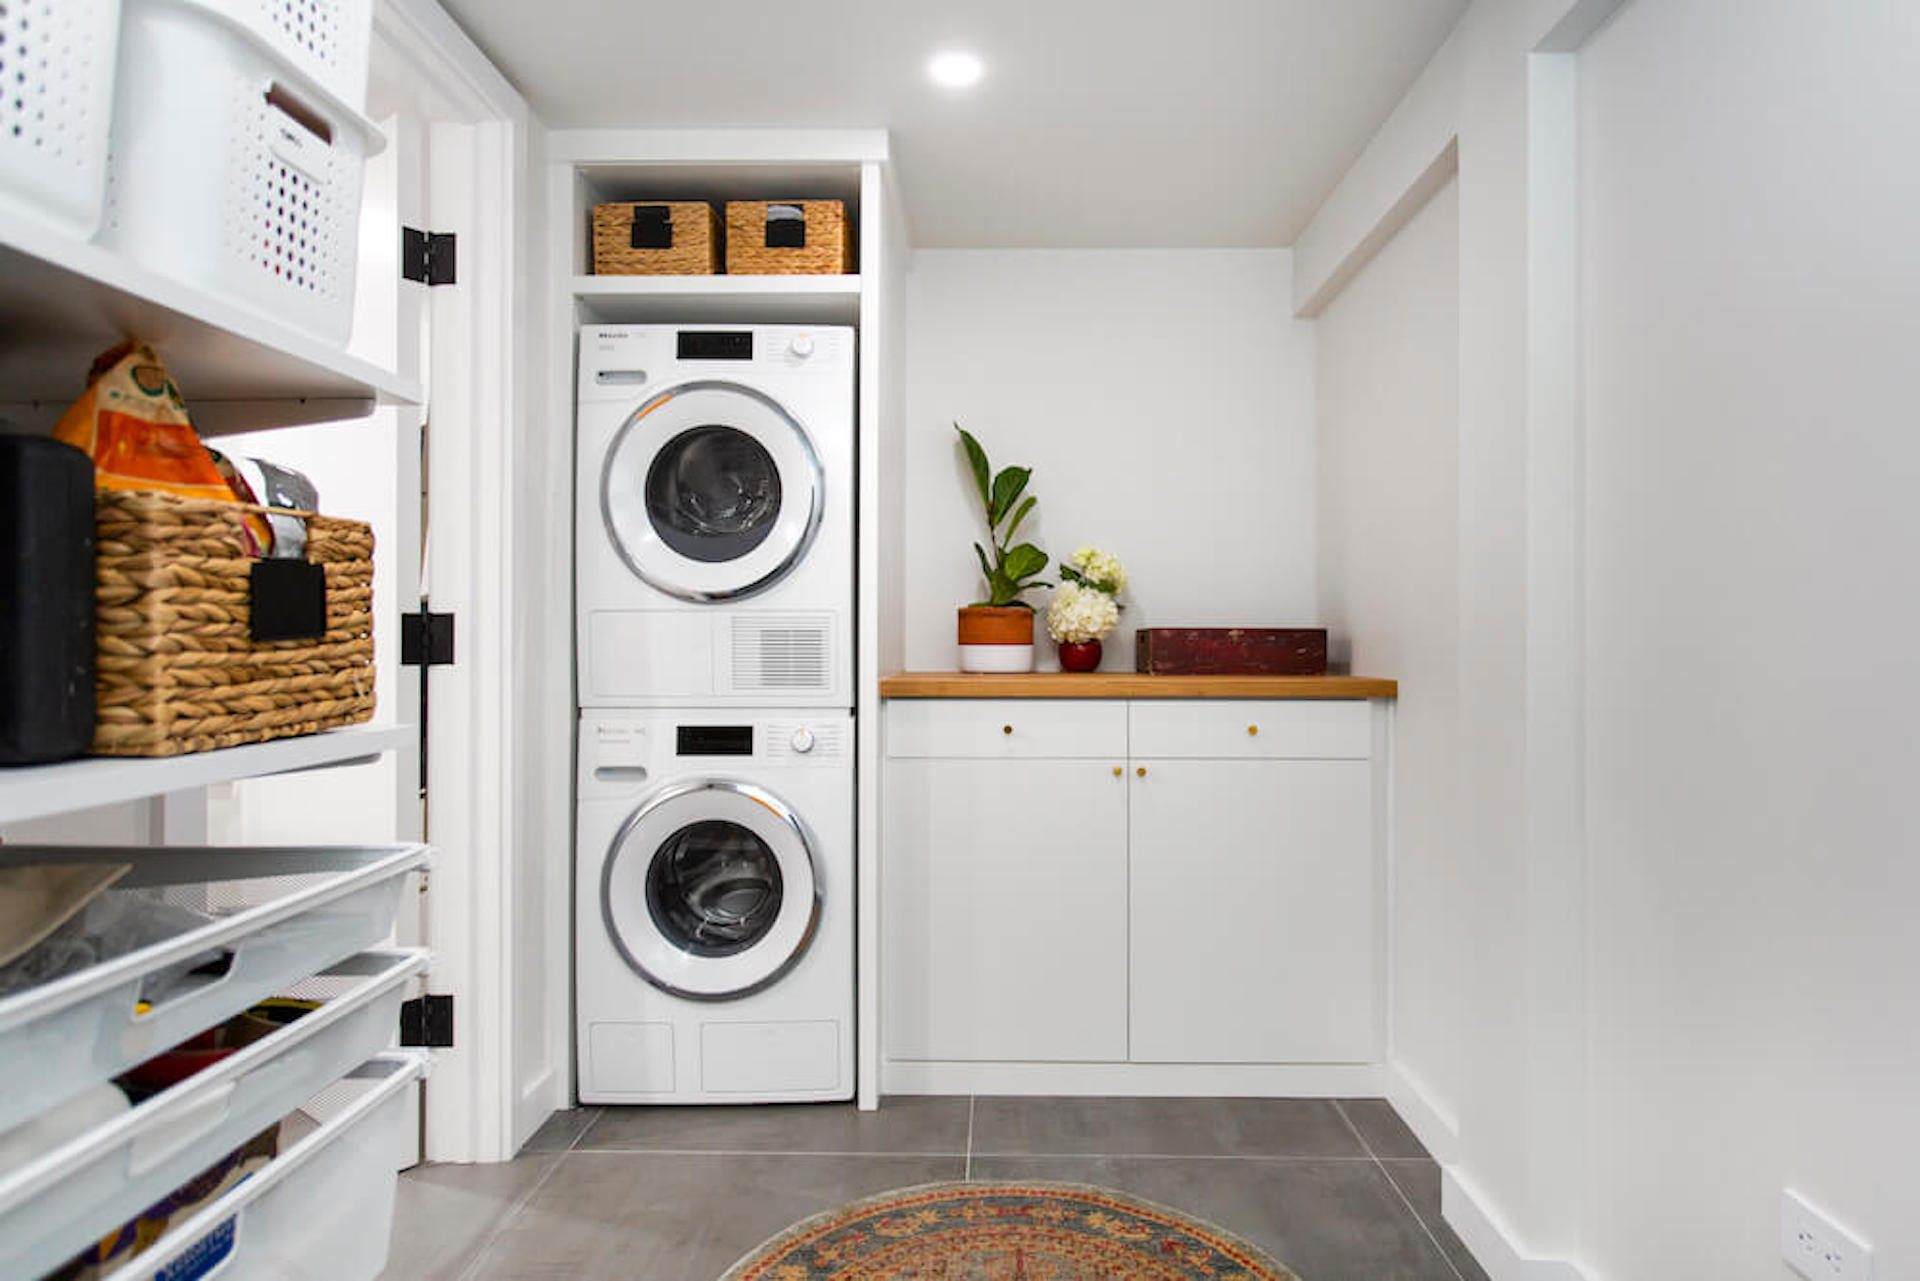
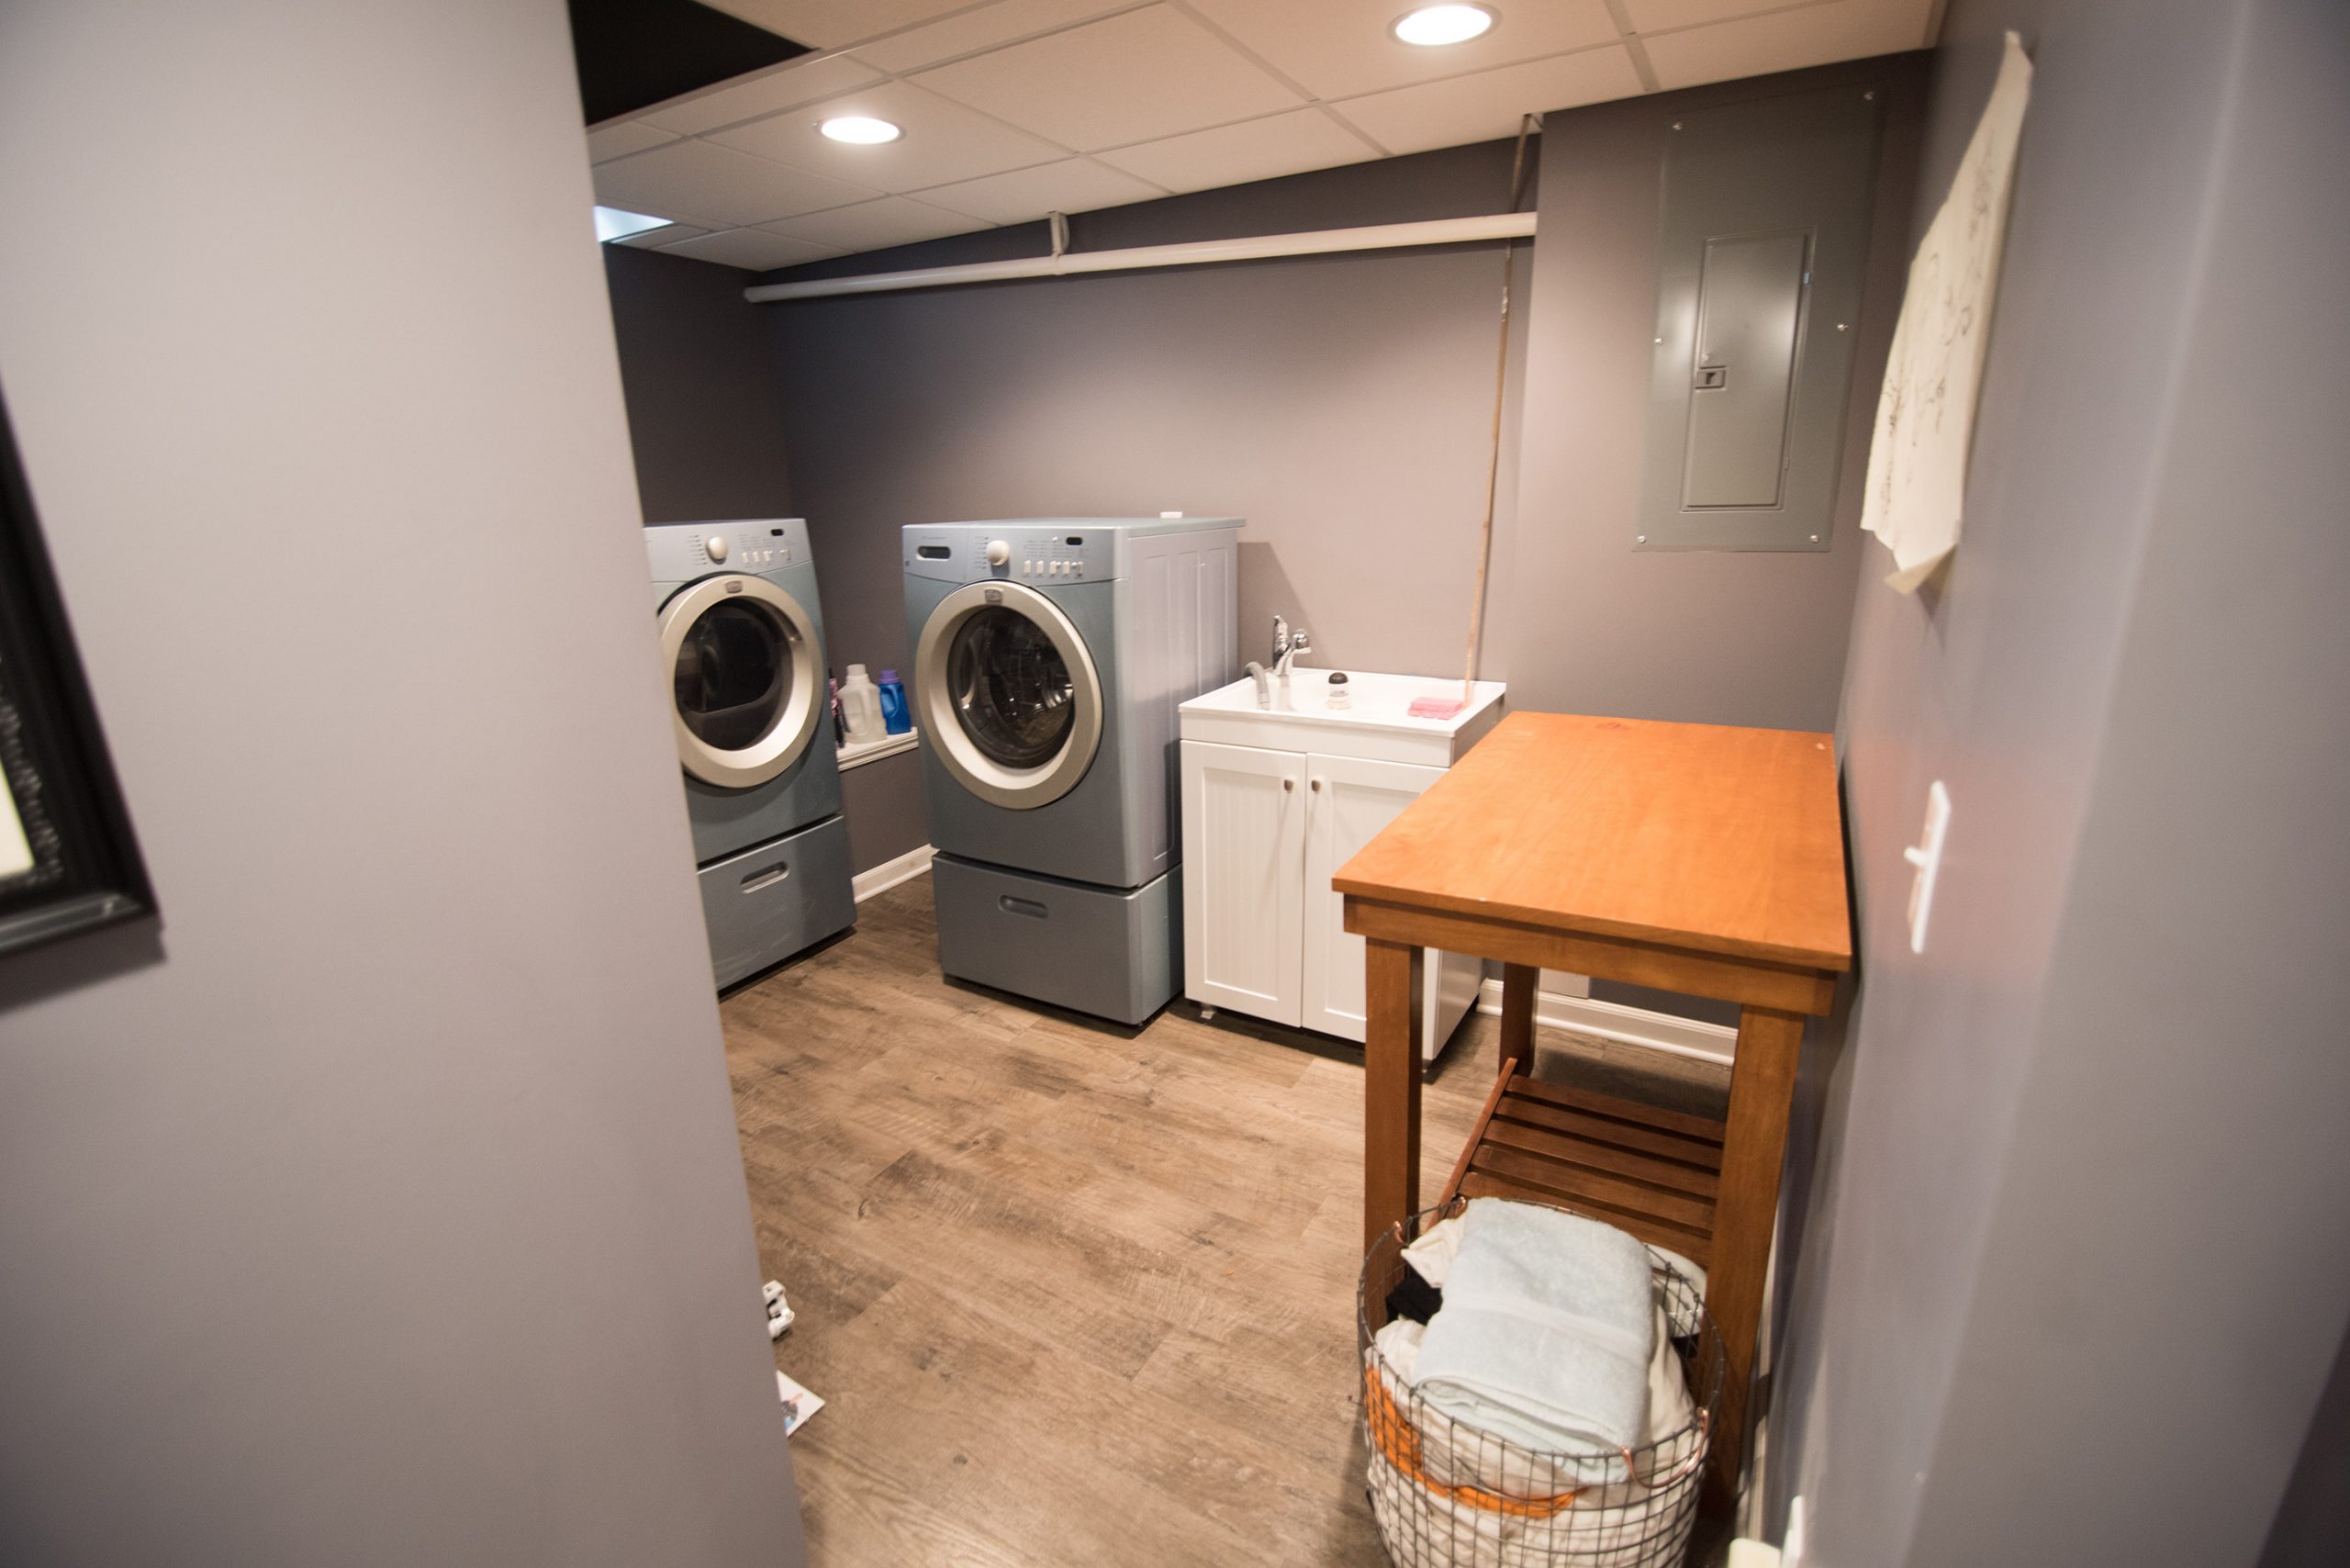
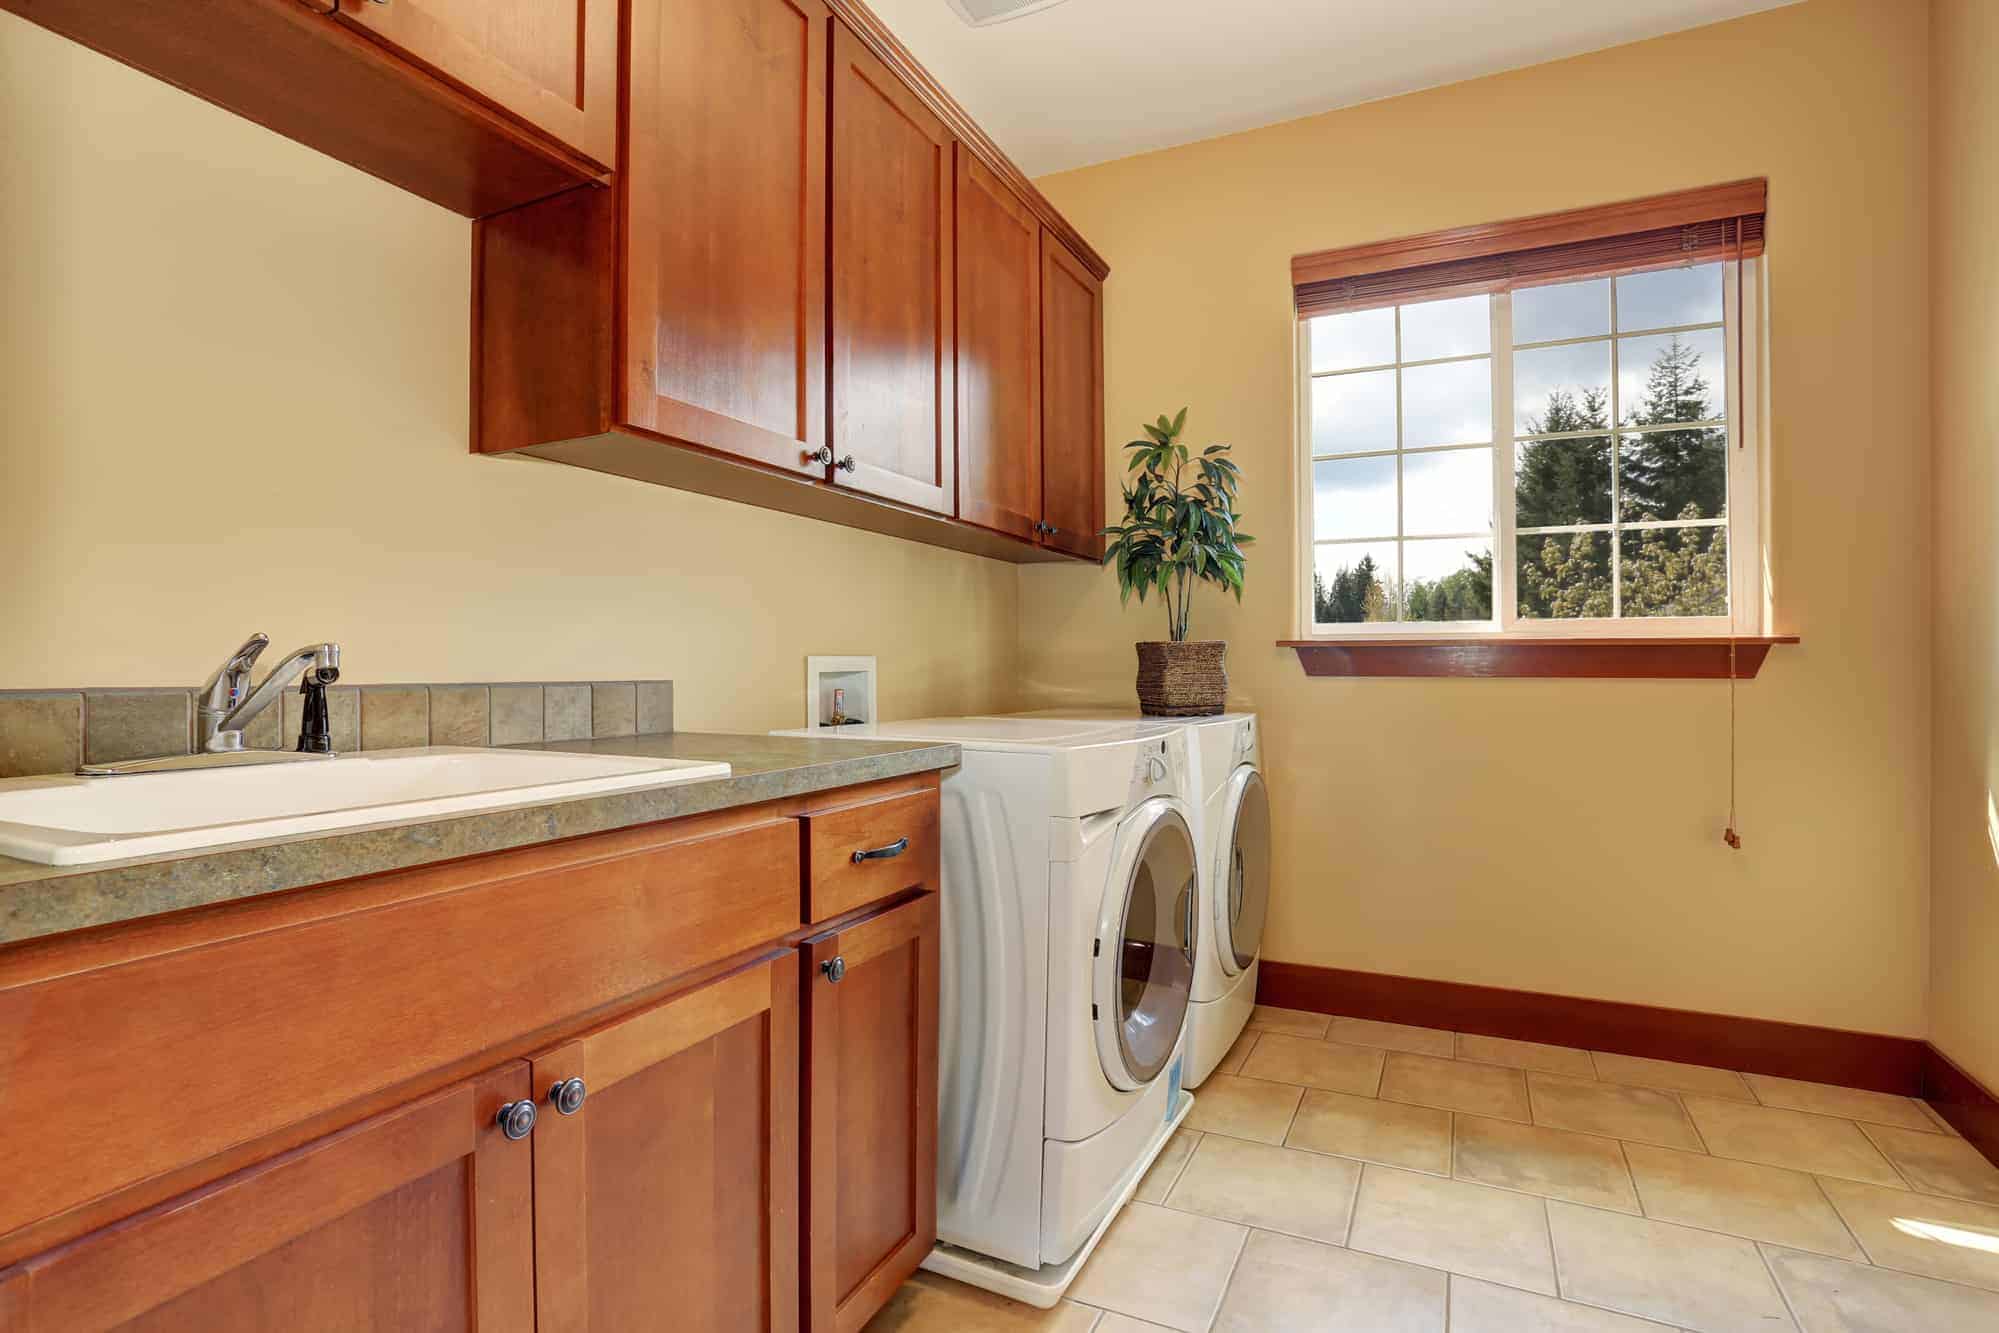
Step 1: Determine the Location for the Washing Machine
The first step in setting up laundry room plumbing is to determine the location for your washing machine. Choose a spot that is both convenient and practical for daily use. Consider factors such as proximity to a water source and drainage, accessibility for loading and unloading, and the availability of electrical outlets.
Start by finding a suitable area that has easy access to existing hot and cold water supply lines. This can be near a utility sink or an adjacent bathroom, as long as there is enough space and the plumbing connections are within reach.
Next, identify the drainage options in the area. Typically, a washing machine requires a dedicated drain line preferably connected to the main sewer or septic line. It’s important to make sure that the drainage system can handle the volume of water discharged during each cycle without causing any backups or overflows.
If you can’t find an existing drain, you may need to install one. This could involve breaking through the floor or running a new drain line along the walls. Consult with a professional plumber to determine the best course of action for your specific situation.
Once you’ve selected the location, measure the dimensions of the space to ensure the washing machine will fit comfortably. Consider leaving some extra space around the machine for easy maintenance and access.
Finally, think about the noise factor. Washing machines can produce vibrations and sound during operation. If possible, choose a location that is away from living areas or bedrooms to minimize disturbance.
By carefully determining the location for your washing machine, you can ensure that the plumbing setup is efficiently designed and conveniently situated for your laundry needs.
Step 2: Assess the Existing Plumbing System
Before you start setting up laundry room plumbing, it’s essential to assess the existing plumbing system in your home. This step will help you determine if any modifications or upgrades are necessary to accommodate the new washing machine.
First, examine the water supply lines. You’ll need both hot and cold water connections for your washing machine. Identify the type of pipes in your home – they can be copper, PVC, or PEX. Inspect the condition of the pipes, looking for any signs of leaks, corrosion, or damage. If you notice any issues, it’s advisable to consult with a professional plumber to make the necessary repairs or replacements.
Next, check if your home has a pressure regulator. This device helps regulate the water pressure entering your house, preventing potential damage to plumbing fixtures, appliances, and pipes. Ensure that the pressure regulator is functioning correctly and set to an appropriate level for your washing machine.
Now, turn your attention to the drainage system. Locate the main sewer or septic line and inspect it for any blockages or signs of damage. If you encounter any issues, it’s crucial to address them before connecting your washing machine. A clogged or damaged drain line can lead to backups and flooding, causing significant problems in your laundry room.
If your existing plumbing system is not up to code or lacks the necessary connections for a washing machine, you may need to consider installing additional plumbing lines. This could involve extending or rerouting water lines and drain lines to the desired location in your laundry room.
Assessing the existing plumbing system is an important step in ensuring a successful laundry room plumbing setup. By identifying any potential issues or required modifications early on, you can prevent future problems and ensure a smooth and efficient installation process.
Step 3: Gather the Necessary Tools and Materials
Now that you’ve determined the location and assessed the existing plumbing system, it’s time to gather the necessary tools and materials for setting up your laundry room plumbing. Having everything you need on hand will make the installation process much smoother.
Here’s a list of the essential tools and materials you will need:
- Adjustable wrench
- Pipe cutter
- Pipe wrench
- Teflon tape
- Plumber’s putty
- PVC or copper pipes (depending on your home’s plumbing system)
- Pipe fittings (elbows, tees, couplings, etc.)
- Water supply hoses
- Water hammer arrestor (optional but recommended)
- Drainpipe and fittings
- P-trap
- Washing machine drainage hose
Make sure you have the appropriate sizes and types of pipes and fittings for your plumbing system. If you’re not sure, consult with a professional plumber or a knowledgeable staff member at your local hardware store.
Additionally, it’s a good idea to have a bucket, rags, and a utility knife on hand for any unexpected situations or cleanup during the installation process.
Remember to wear safety goggles and gloves when working with pipes and plumbing materials to protect yourself from potential injuries.
By gathering all the necessary tools and materials before starting the installation, you can save time and avoid interruptions to the process. Being prepared ensures a smoother workflow and a successful laundry room plumbing setup.
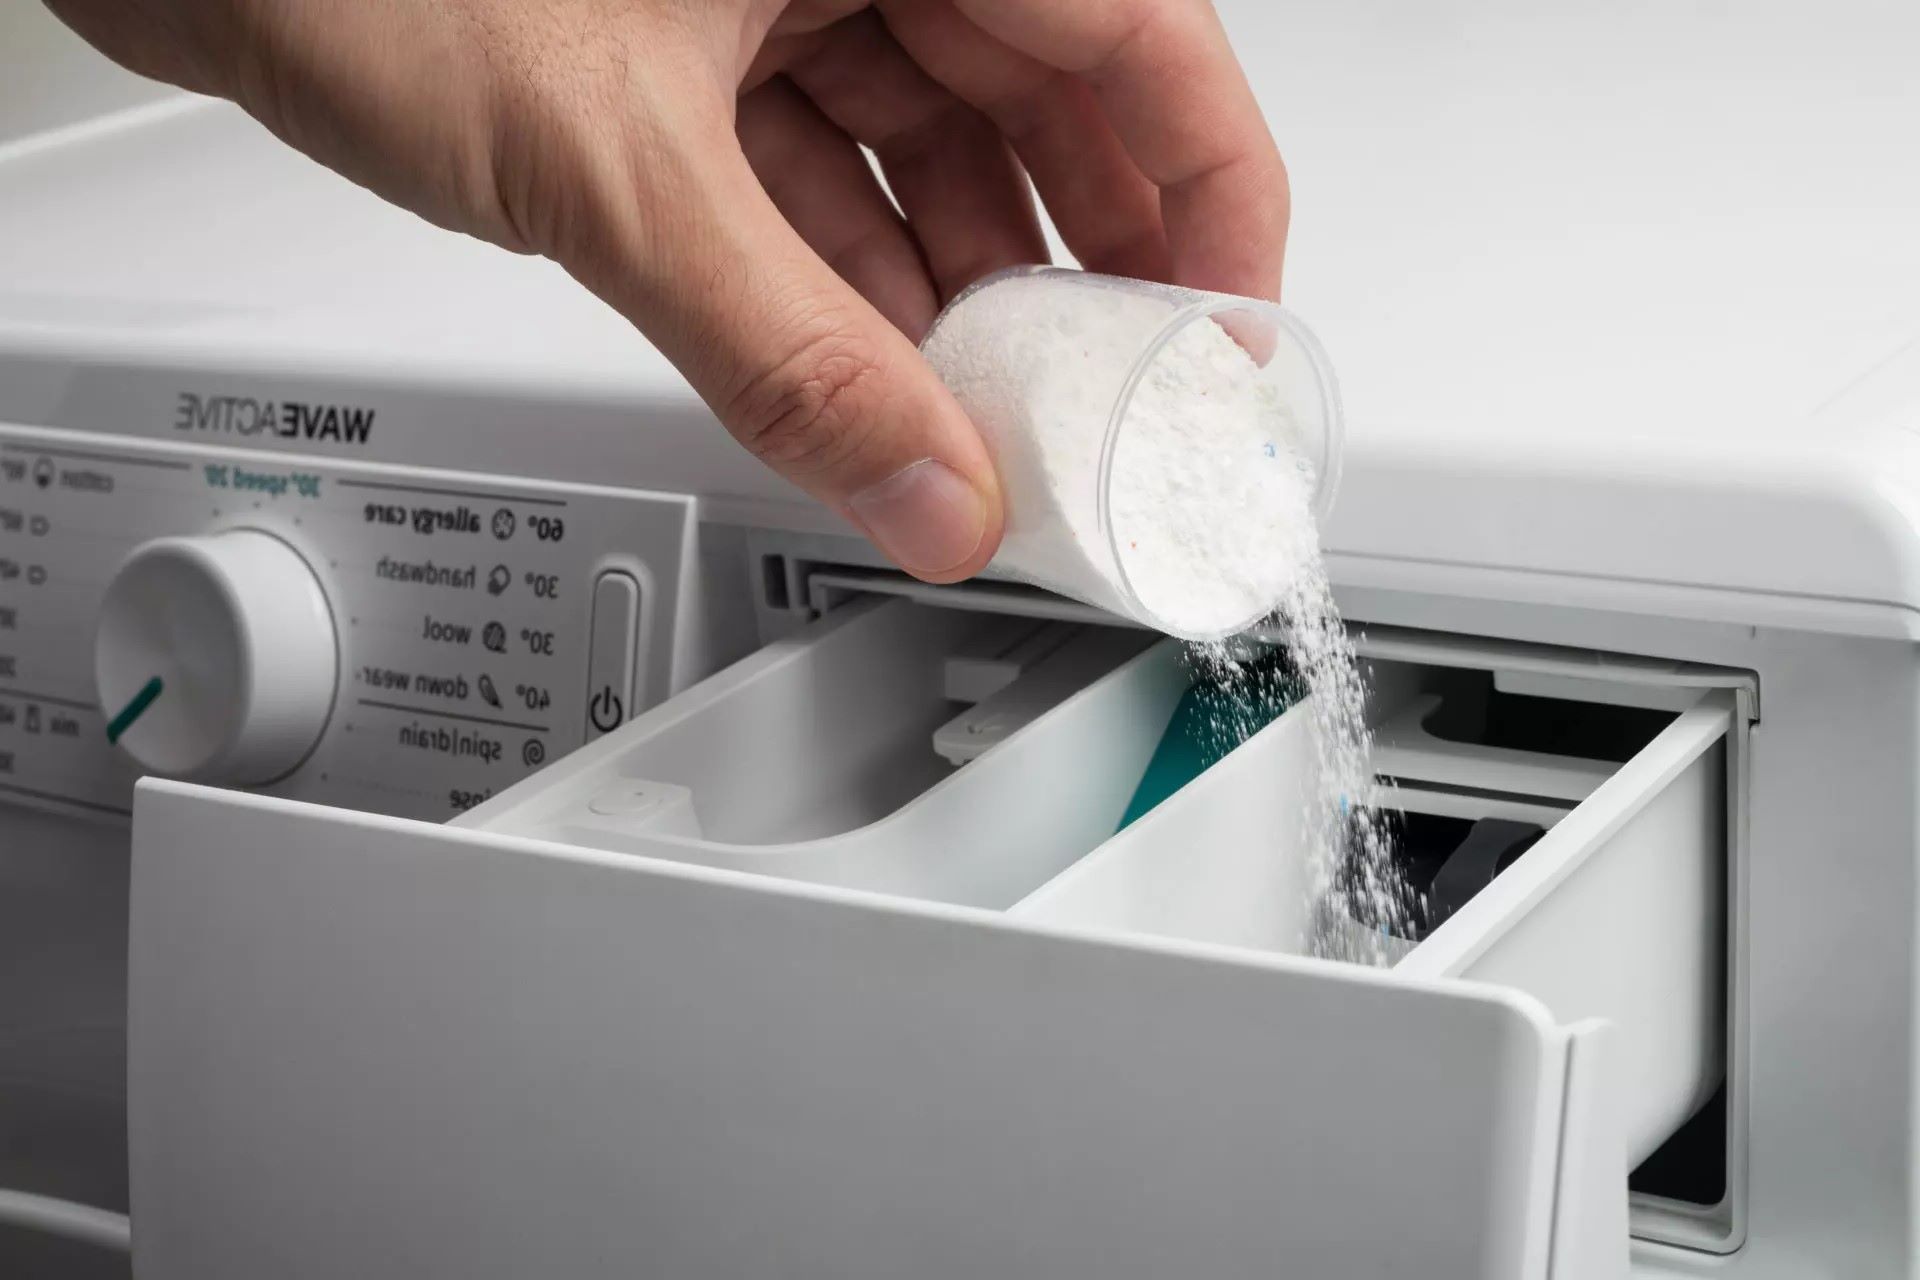
Step 4: Install the Water Supply Lines
With all the necessary tools and materials gathered, it’s time to move on to installing the water supply lines for your washing machine. This step will involve connecting the hot and cold water sources to the washing machine.
Follow these steps to install the water supply lines:
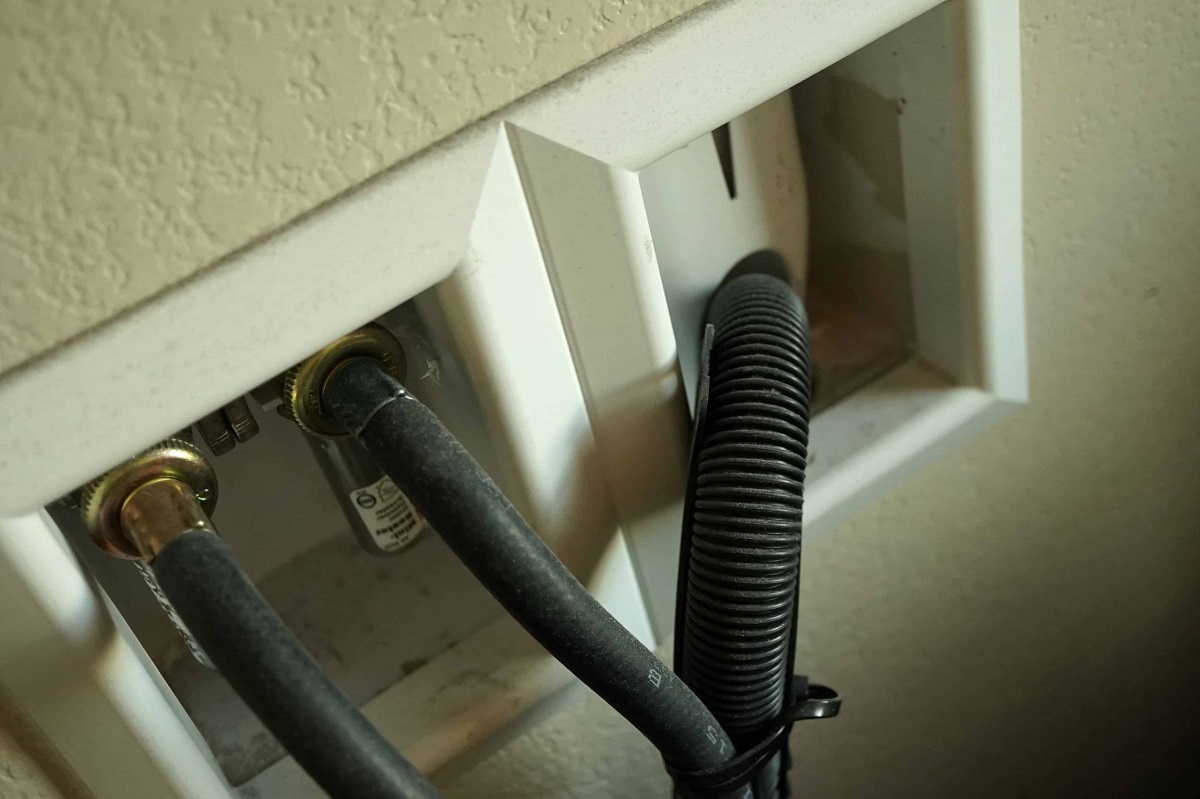
- Turn off the main water supply to your home. This will ensure a safe working environment and prevent any water leaks.
- Locate the existing hot and cold water supply lines in your laundry room. These can usually be found near the utility sink or in an adjacent bathroom.
- Using a pipe cutter or a hacksaw, carefully cut the existing water supply lines. Make sure to leave enough space for connecting the new lines to the washing machine.
- Attach the new water supply hoses to the hot and cold water valves. Use an adjustable wrench to tighten the connections securely.
- Connect the other ends of the hoses to the corresponding water inlet valves on the back of the washing machine. Again, use an adjustable wrench to tighten the connections.
- Wrap Teflon tape around the threaded ends of the water inlet valves to ensure a watertight seal.
- Turn on the main water supply and check for any leaks at the connections. If you spot any leaks, tighten the fittings further or consider using plumber’s putty to create a better seal.
It’s important to note that some washing machines may require additional water hammer arrestors. These devices help prevent water hammer, which is a loud banging noise caused by sudden water pressure changes. Check the manufacturer’s instructions or consult with a professional plumber to determine if you need to install water hammer arrestors.
Once you’ve successfully installed the water supply lines, turn on the washing machine and check for any leaks or issues with water flow. Ensure that both the hot and cold water valves are functioning properly and providing sufficient water supply to the machine.
Installing the water supply lines is a crucial step in setting up laundry room plumbing. Taking the time to do it correctly will ensure a reliable water source for your washing machine and prevent any leaks or water damage in the future.
When setting up laundry room plumbing for a washing machine, make sure to install a proper drainage system with a standpipe that is at least 36 inches high to prevent water backup.
Read more: How To Hook Up A Washing Machine
Step 5: Install the Drainage System
Now that the water supply lines are installed, it’s time to focus on setting up the drainage system for your washing machine. Establishing proper drainage is essential to prevent water backups, flooding, and potential damage to your laundry room.
Follow these steps to install the drainage system:
- Locate the existing drainage line in your laundry room. This is typically a vertical pipe extending from the floor or a wall.
- Measure the height and width of the drainpipe to determine the appropriate fittings and connections needed.
- Attach a P-trap to the drainpipe. The P-trap helps prevent sewer gases from entering your laundry room and provides a water seal that prevents odors from escaping.
- Connect the washing machine drainage hose to the P-trap. Ensure that the connection is secure.
- If the drainpipe is higher than the washing machine, you may need to install a standpipe. A standpipe is a vertical pipe that extends above the level of the washing machine. Attach the drainage hose to the standpipe securely.
- Check for any leaks or issues with water flow. Run a test cycle on your washing machine to verify that the water drains properly without any backups or overflow.
It’s also important to note that some washing machines come with a built-in drain pump. If this is the case, you may have the option to drain the water directly into a sink or utility basin instead of connecting it to the existing drainpipe. Follow the manufacturer’s instructions for the specific setup of your washing machine.
Make sure to inspect the drainage system regularly for any blockages or signs of leaks. Keep the area around the drainpipe and P-trap clean to prevent the buildup of debris that can cause clogs.
Installing the drainage system correctly is crucial for the proper function of your washing machine. By taking the time to set it up properly and ensuring a smooth flow of water, you can avoid plumbing problems and maintain a well-functioning laundry room.
Step 6: Connect the Washing Machine
After completing the water supply and drainage installations, it’s time to connect your washing machine to the plumbing system. This step involves ensuring that the machine is properly connected to the water supply and drainage components.
Follow these steps to connect the washing machine:
- Position the washing machine in its designated spot, ensuring that it is level and stable.
- Locate the water inlet valves on the back of the washing machine. These are typically labeled “hot” and “cold.”
- Connect the hot water supply hose to the hot water inlet valve on the washing machine. Use an adjustable wrench to tighten the connection.
- Connect the cold water supply hose to the cold water inlet valve on the machine. Again, use an adjustable wrench to secure the connection.
- Make sure the drainage hose is securely connected to either the standpipe or the P-trap, depending on your specific setup.
- Double-check all the connections to ensure they are tight and secure. This will prevent any leaks or water flow issues during the operation of the washing machine.
- Plug the washing machine into a nearby electrical outlet. Make sure it is properly grounded for safety.
Once everything is connected, perform a quick test run of the washing machine. Check for any leaks, unusual noises, or issues with water flow. Ensure that the water enters and drains properly, with no backups or overflows.
It’s a good practice to read the manufacturer’s instructions for your specific washing machine model. They may provide additional guidelines or recommendations for connecting and operating the machine.
By properly connecting the washing machine to the plumbing system, you ensure its seamless operation and minimize the risk of any water-related issues. Take the time to double-check all connections, and enjoy the convenience of a fully functional laundry room!
Step 7: Test the Plumbing Setup
Once you have completed the installation of the water supply lines, drainage system, and connected the washing machine, it’s essential to thoroughly test the plumbing setup. This final step ensures that everything is functioning correctly and that there are no leaks, clogs, or other issues that could impact the operation of your laundry room.
Follow these steps to test the plumbing setup:
- Turn on the water supply to the washing machine.
- Check for any leaks around the water supply connections. Inspect both the hot and cold water lines, as well as the fittings and hoses attached to the washing machine.
- Run a test cycle on the washing machine. Pay close attention to the water flow during both the filling and draining processes.
- Verify that the water fills to the appropriate level in the machine without any leaks or overflow.
- Observe the draining process to ensure that the water flows smoothly through the drainage system and that there are no blockages or backup issues. Watch for any unusual sounds or vibrations.
- If you detect any leaks, address them immediately. Tighten the fittings, replace faulty hoses or connectors, or consult with a professional plumber if necessary.
- Monitor the entire washing machine cycle to confirm that the plumbing setup is working as intended. Take note of any irregularities or signs of malfunction.
Performing a thorough test of the plumbing setup ensures that any potential issues are identified and resolved before they can lead to larger problems. It also gives you a chance to familiarize yourself with the proper functioning of the washing machine and allows you to make any necessary adjustments or improvements.
In the event that you come across any persistent leaks, drainage problems, or other plumbing-related issues that you are unable to resolve, it’s advisable to seek the assistance of a professional plumber. They have the expertise and experience to troubleshoot and rectify complex plumbing problems.
By thoroughly testing the plumbing setup, you can ensure a smoothly functioning laundry room with a reliable and efficient washing machine.
Conclusion
Congratulations! You have successfully set up the plumbing for your laundry room, allowing for the optimal operation of your washing machine. By following the steps outlined in this guide, you have ensured a reliable water supply, efficient drainage system, and proper connections for your appliance.
Setting up laundry room plumbing may seem like a daunting task, but with the right knowledge and tools, you can accomplish it with confidence. Whether you’re renovating your laundry space or adding a new washing machine, having a well-designed and functioning plumbing system is essential for a smooth laundry routine.
Remember, if you’re ever unsure or uncomfortable with any aspect of the installation process, it’s always a good idea to consult with a professional plumber. They can offer guidance, ensure that everything is up to code, and address any potential complications.
Regular maintenance and inspection of your plumbing setup are also important. Check for any leaks, clogs, or unusual noises regularly to prevent any issues from escalating. Proper upkeep will help extend the lifespan of your plumbing system and reduce the need for costly repairs in the future.
By following the steps outlined in this guide and taking the time to set up your laundry room plumbing correctly, you can enjoy a hassle-free laundry experience. Your washing machine will operate efficiently, providing you with clean and fresh clothes while preventing any water-related mishaps in your laundry room.
Now that you have completed the plumbing setup, it’s time to kick back, relax, and let your washing machine take care of the dirty work!
Frequently Asked Questions about How To Set Up Laundry Room Plumbing For A Washing Machine
Was this page helpful?
At Storables.com, we guarantee accurate and reliable information. Our content, validated by Expert Board Contributors, is crafted following stringent Editorial Policies. We're committed to providing you with well-researched, expert-backed insights for all your informational needs.
0 thoughts on “How To Set Up Laundry Room Plumbing For A Washing Machine”