Articles
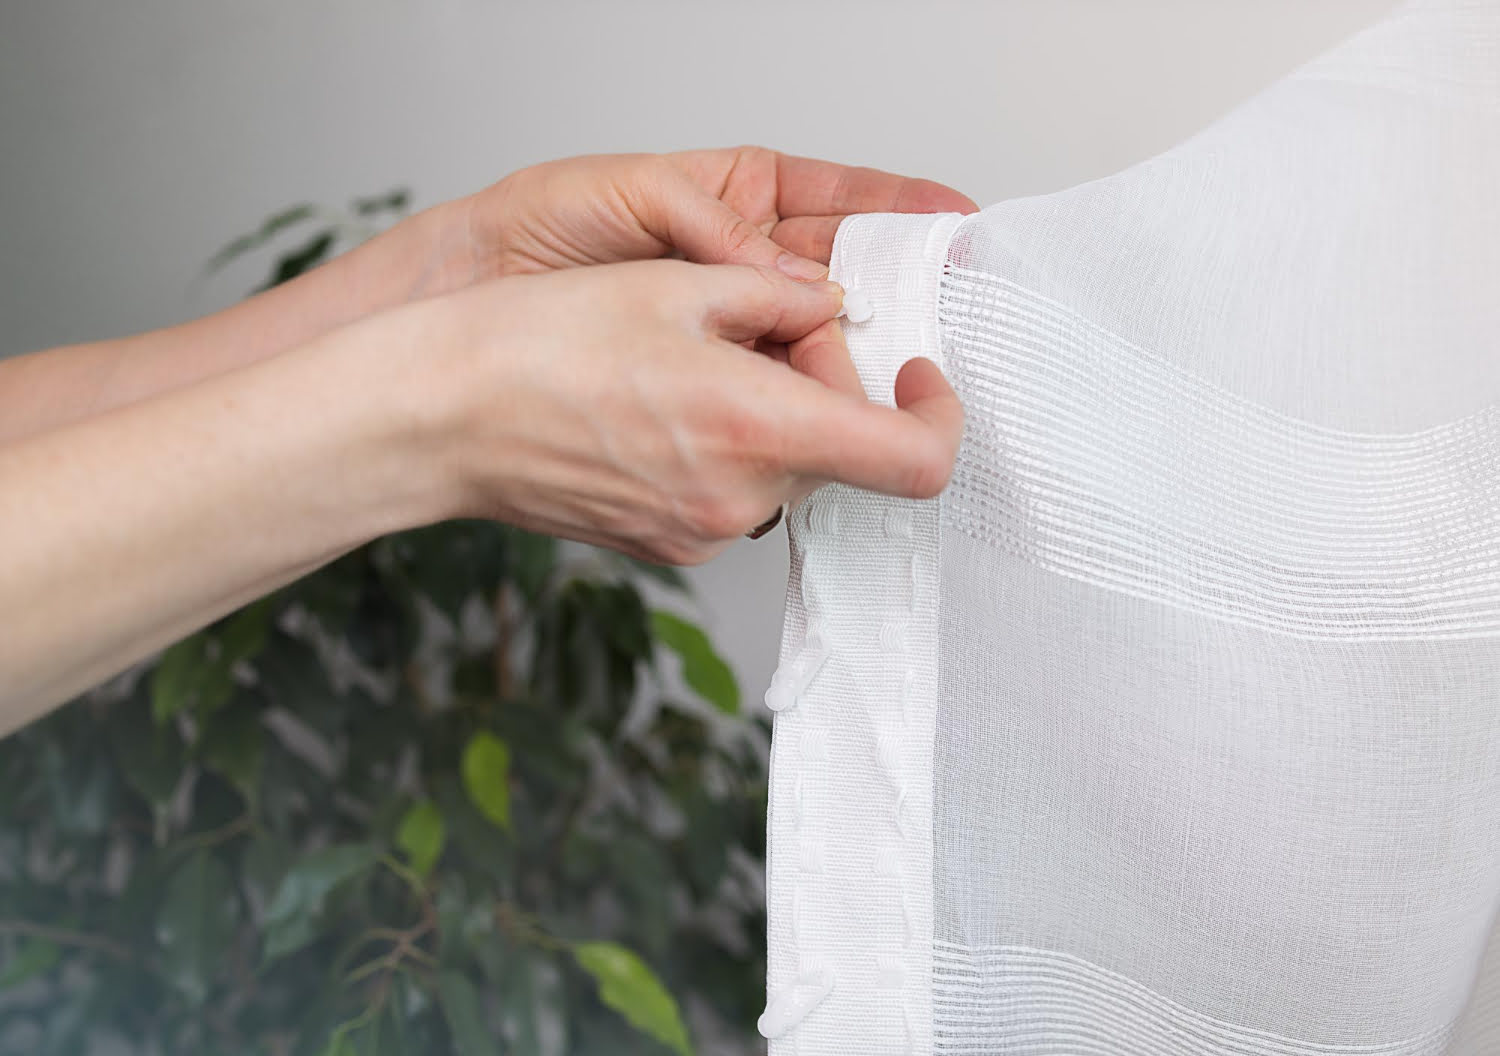
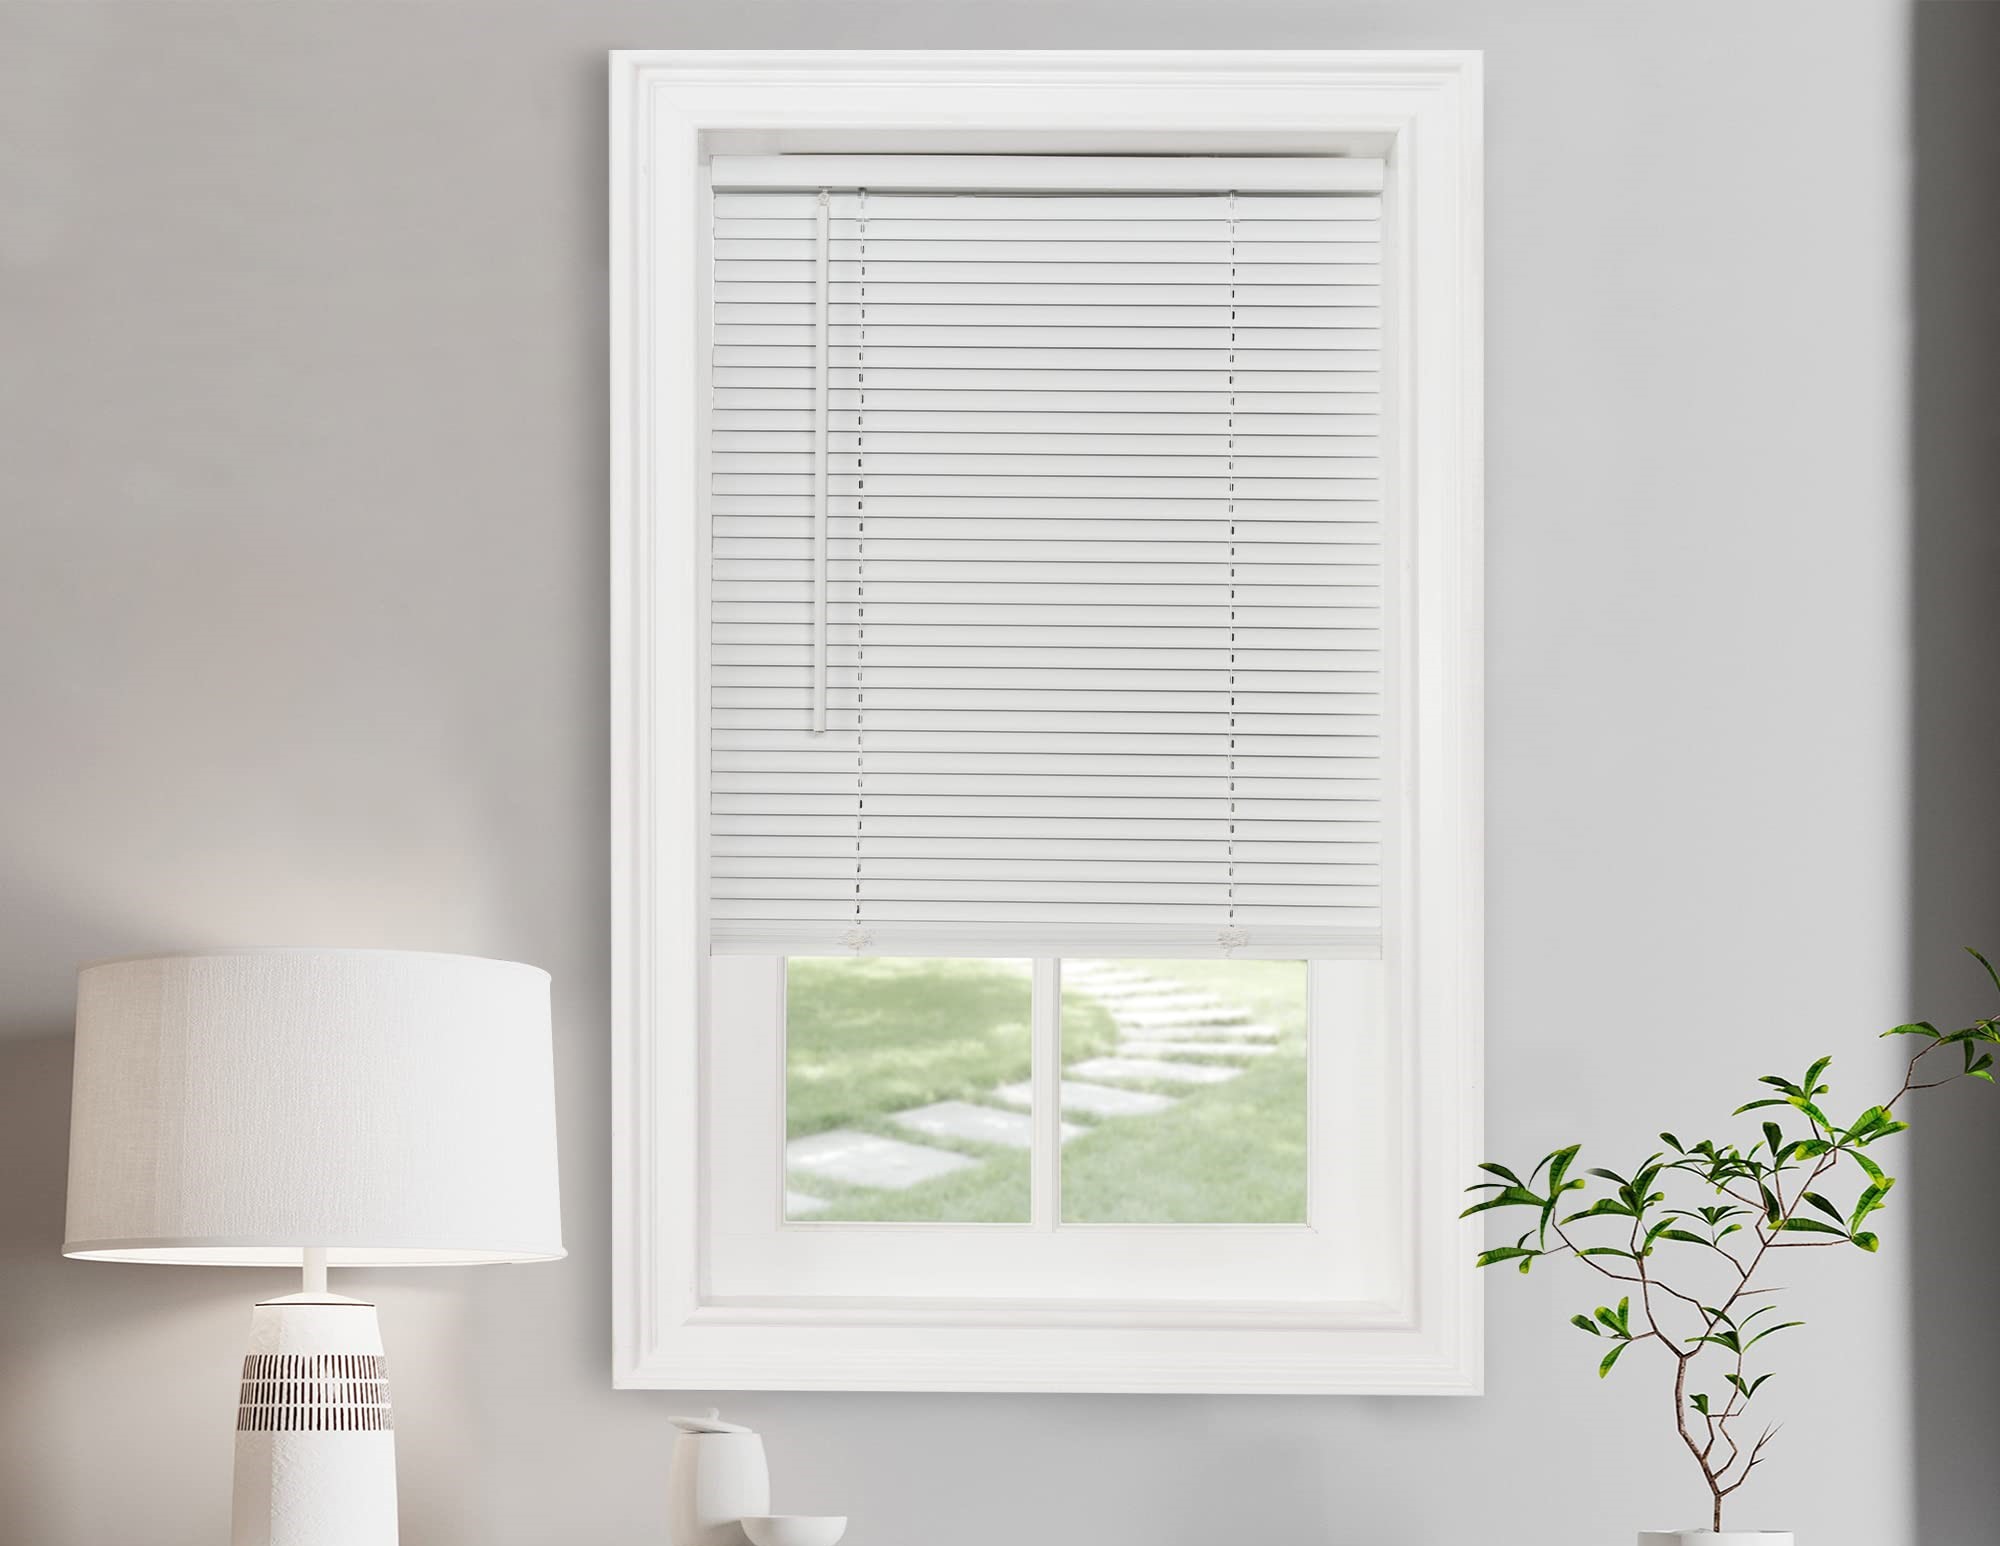
How To Shorten Blinds
Modified: August 28, 2024
Learn how to shorten your blinds with these helpful articles. Step-by-step guides and tips to make the process quick and easy.
(Many of the links in this article redirect to a specific reviewed product. Your purchase of these products through affiliate links helps to generate commission for Storables.com, at no extra cost. Learn more)
Introduction
Blinds are a popular window treatment option that not only provides privacy but also adds an aesthetic appeal to any room. However, sometimes you may find that the blinds you purchased are too long for your windows. This can be frustrating, but fear not! Shortening blinds is a simple DIY project that can be done with just a few tools and some basic knowledge.
In this article, we will guide you through the step-by-step process of how to shorten blinds. Whether you have purchased new blinds that need trimming or you want to repurpose old blinds for a different window size, we have got you covered. With the right tools and a little patience, you will be able to customize your blinds to perfectly fit your windows.
So, why spend money on new blinds or settle for ill-fitting ones when you can easily shorten them yourself? Let’s dive in and learn how to give your blinds a perfect fit!
Key Takeaways:
- Customize your blinds to fit your windows perfectly with a simple DIY project. Save time and money by shortening blinds to accommodate smaller windows, enhance aesthetics, ensure safety, and improve functionality.
- Enjoy the satisfaction of transforming your blinds to suit your style and window size. With the right tools and step-by-step guidance, shortening blinds is a rewarding DIY project that adds both practicality and creativity to your living space.
Read more: How To Shorten Levolor Cordless Blinds
Why Shorten Blinds?
There are several reasons why you might need to shorten blinds. Here are a few common scenarios:
- Window Size: Perhaps you moved into a new home or renovated a room and the windows are smaller than the blinds you currently have. Instead of buying all-new blinds, shortening your existing ones can save you time and money.
- Aesthetic Appeal: Long, drooping blinds can make a room look cluttered and unkempt. By shortening them to the appropriate length, you can significantly improve the overall look and feel of any space.
- Child Safety: Blinds that are too long can pose a safety hazard, especially for young children or pets. By shortening the blinds, you can eliminate the risk of entanglement or accidents.
- Furniture Placement: Sometimes, furniture near the window can obstruct the full closure of long blinds. By shortening them, you can ensure that the blinds can be fully closed without any obstructions.
Shortening blinds is a practical solution that allows you to adapt your window treatments to your specific needs. Whether you want to enhance the aesthetics of a room, ensure the safety of your family, or accommodate furniture placement, this DIY project will provide you with customized blinds that perfectly fit your windows and fulfill your requirements.
Tools and Materials Needed
Before you begin shortening your blinds, it’s important to gather the necessary tools and materials. Here’s what you’ll need:
- Tape Measure: A tape measure is essential for accurately measuring the length that needs to be trimmed from the blinds.
- Scissors: You’ll need a sharp pair of scissors to cut the ladder cords and trim the bottom rail.
- Pliers: Pliers will come in handy for removing excess slats or adjusting the ladder cords.
- Blind Slats: If you need to remove excess slats, make sure to have extra blind slats on hand to replace the ones you’ll be removing.
- Needle and Thread: In some cases, you might need a needle and thread to make adjustments to the ladder cords.
- Marker or Pencil: A marker or pencil will be used to mark the spots where you need to cut the ladder cords or trim the bottom rail.
- Safety Glasses: Safety glasses are recommended to protect your eyes while working with scissors or other sharp tools.
It’s important to have all these tools and materials ready before you begin the process of shortening your blinds. Having everything on hand will make the project more efficient and ensure that you can complete the job without any interruptions.
Step 1: Measure the Blinds
The first step in shortening your blinds is to accurately measure the length that needs to be trimmed off. This will ensure that you achieve the desired length and avoid any mistakes. Here’s how to do it:
- Extend the blinds fully so that they are completely open.
- Use a tape measure to measure the total length of the blinds from top to bottom. This measurement will give you an idea of how much you need to remove.
- Decide on the desired finished length for your blinds. Take into consideration any obstructions or furniture placement near the window.
- Calculate the amount that needs to be shortened. Subtract the desired finished length from the total length of the blinds.
- Divide the calculated amount by the number of slats in your blinds. This will give you the amount of material you need to remove from each slat.
Once you have determined the exact length that needs to be trimmed off, you are ready to move on to the next step. This measurement will guide you throughout the process and ensure that you achieve a precise and perfect fit for your blinds.
Step 2: Remove Excess Slats
Now that you have measured the blinds and determined the amount of material that needs to be removed, it’s time to remove the excess slats. Follow these steps:
- Start by fully extending the blinds and placing them on a flat and sturdy surface.
- Use pliers to carefully remove the plugs from the bottom rail of the blinds. Set the plugs aside, as you will need them later.
- Slide out the bottom rail from the blind slats.
- Count the number of slats that need to be removed based on your measurements.
- Beginning from the bottom, gently remove the excess slats by sliding them out of the ladder cords.
- Set aside the removed slats in case you need them for future repairs or replacements.
Removing the excess slats will not only reduce the length of the blinds but also make it easier to work with during the rest of the shortening process. Take your time and be careful not to damage the ladder cords or any other components while removing the slats.
Read more: How To Shorten Faux Wood Blinds
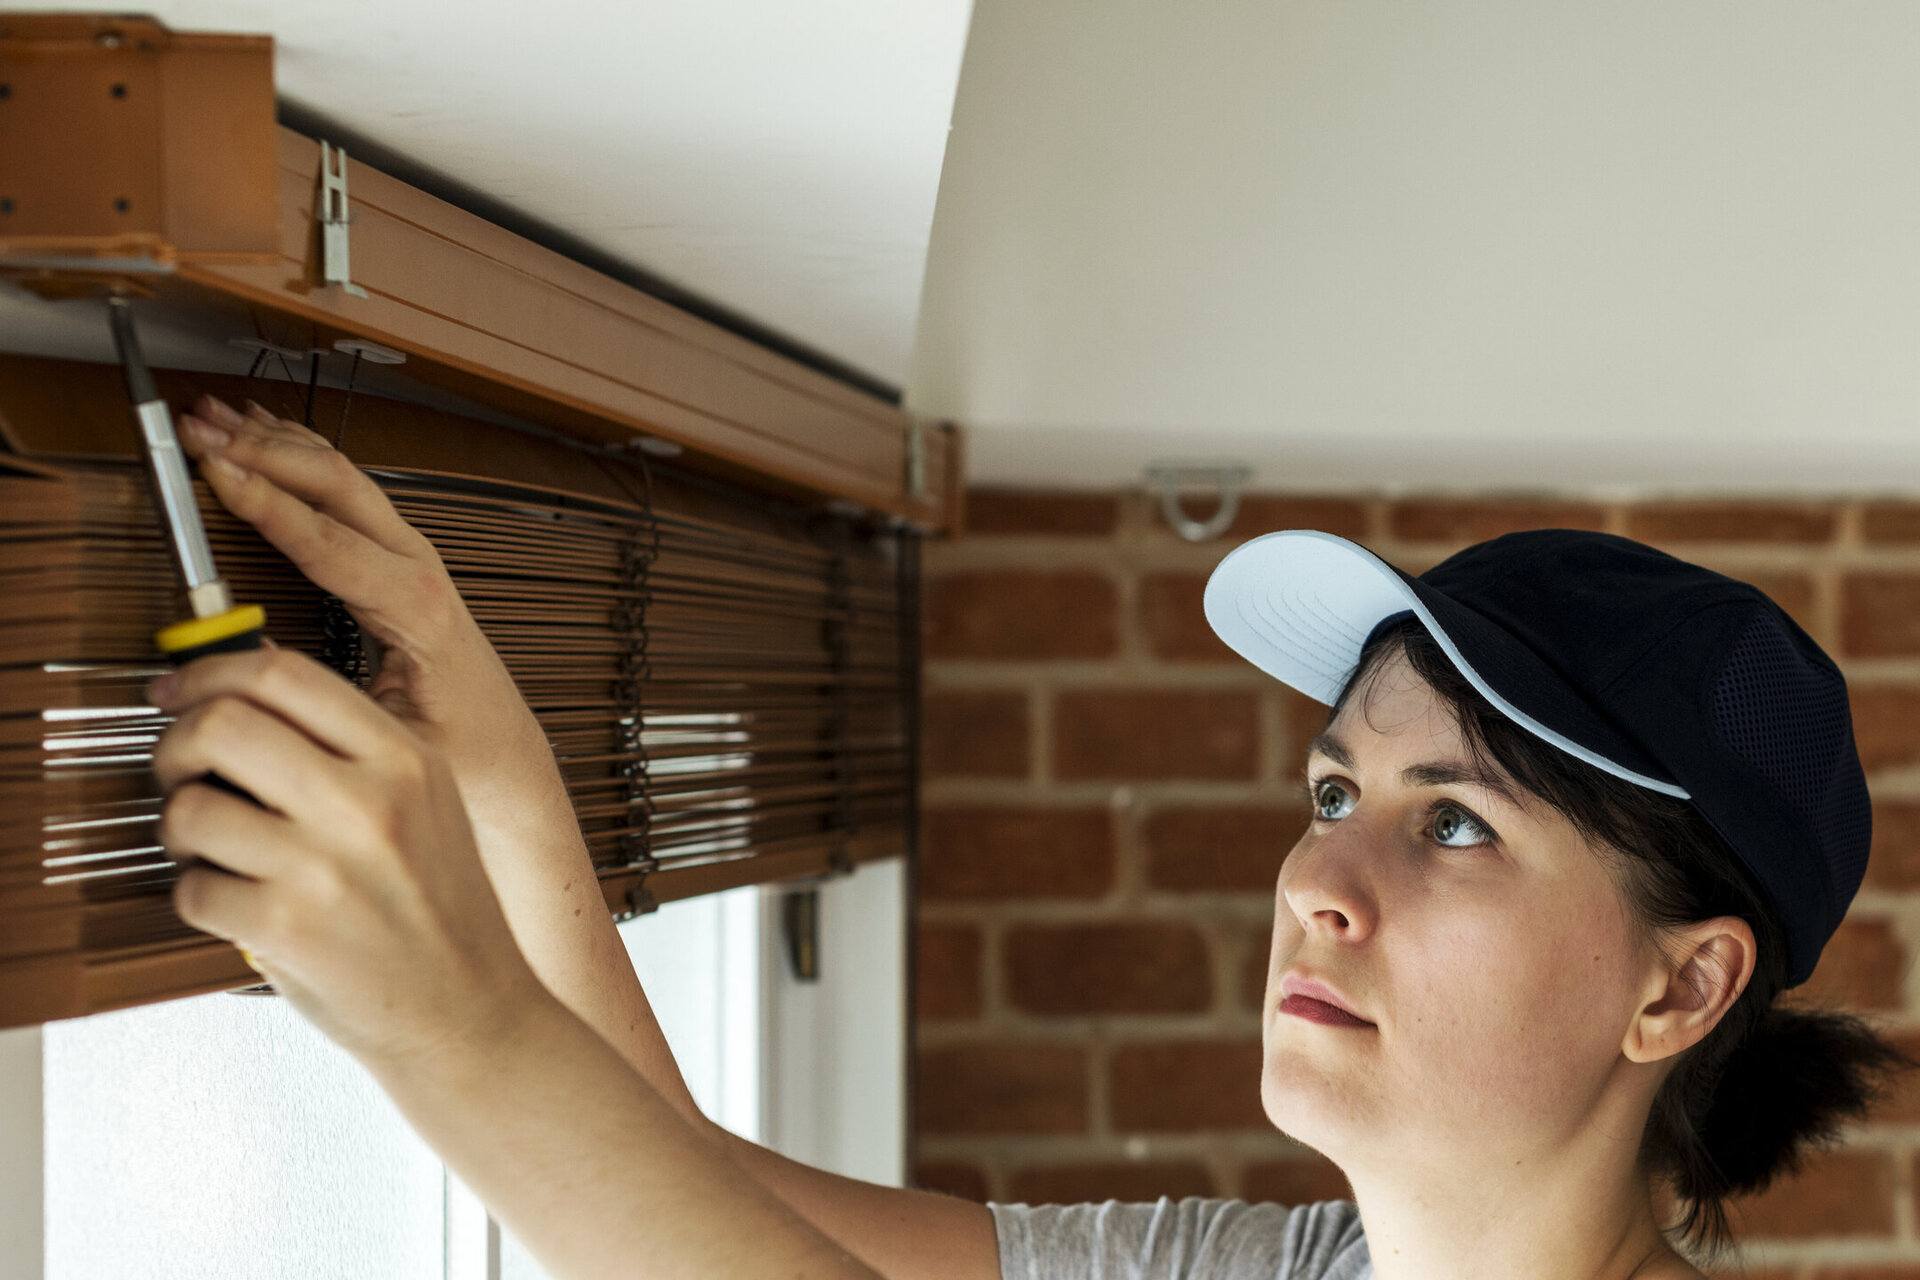
Step 3: Remove the Ladder Cords
Once you have removed the excess slats, the next step is to remove the ladder cords. This will allow you to adjust the blinds to the desired shorter length. Follow these steps:
- Locate the ladder cords on the blinds. These cords are responsible for holding the slats in place and controlling the movement of the blinds.
- Using a pair of sharp scissors, carefully cut the ladder cords near the bottom rail. Take note of the spot where you made the cut, as you will need to reattach the cords at a later step.
- Gently remove the ladder cords from the blind slats. You may need to use a pair of pliers to help loosen them if they are tightly secured.
By removing the ladder cords, you are essentially separating the slats from the control mechanism of the blinds. This will allow you to customize the length of the blinds without interfering with their functionality.
Keep the ladder cords in a safe place, as you will need them in the next step to reattach them once the blinds are shortened. Now that the ladder cords are removed, you can proceed to the next step in the shortening process.
When shortening blinds, measure the desired length and mark it with a pencil. Use a hacksaw to carefully cut the excess slats and bottom rail. Sand any rough edges and reattach the bottom rail.
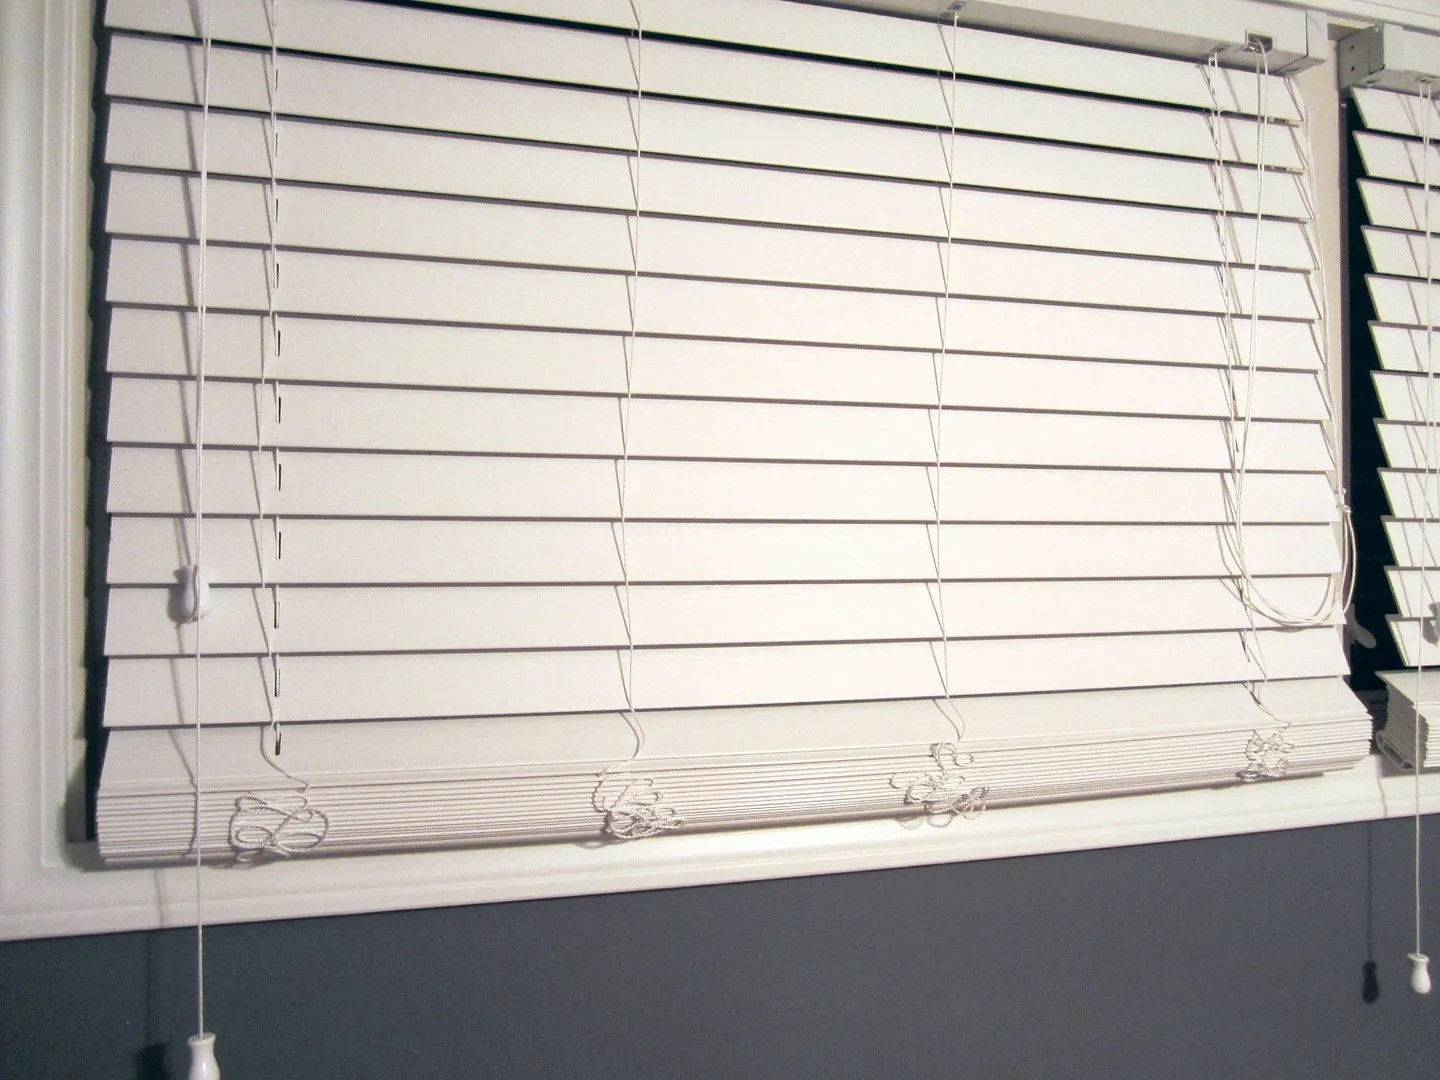
Step 4: Reattach the Ladder Cords
Now that you have trimmed the blinds to the desired length, it’s time to reattach the ladder cords. This step is crucial for ensuring that the blinds function properly. Follow these steps:
- Take the ladder cords that you removed in the previous step and thread them back through the holes in each slat. Make sure to follow the original order and alignment of the ladder cords.
- Once all the ladder cords are threaded through the slats, carefully tie a knot at the bottom end of the ladder cords. This will secure them in place and prevent them from slipping out.
- Slide the bottom rail back into place, making sure it aligns with the ladder cords and the slats.
- Insert the plugs back into the holes on the bottom rail to secure it and keep the ladder cords in place.
Ensure that the ladder cords are evenly distributed and that the blinds move smoothly when you operate them. Adjust the ladder cords if necessary to achieve the desired tension and functionality.
By reattaching the ladder cords, you are restoring the original functionality of the blinds while accommodating the shortened length. With this step complete, you are now ready to proceed to the next step in the shortening process.
Step 5: Trim the Bottom Rail
With the ladder cords reattached, it’s time to trim the bottom rail of the blinds to match the new shortened length. Follow these steps:
- Remove the plugs from the bottom rail that you reattached in the previous step.
- Measure and mark the desired length on the bottom rail using a marker or pencil.
- Using a pair of scissors or a saw, carefully trim the bottom rail to the marked length. Make sure to cut in a straight line to achieve a clean and even finish.
- Once the bottom rail is trimmed, insert the plugs back into the holes to secure it.
Trimming the bottom rail is an important step in achieving a polished and professional look for your shortened blinds. It ensures that the blinds appear neat and well-finished without any excess material hanging below the slats.
Double-check the length of the bottom rail after trimming to ensure that it matches your desired shortened length. With the bottom rail trimmed, you are ready to move on to the next step in the shortening process.
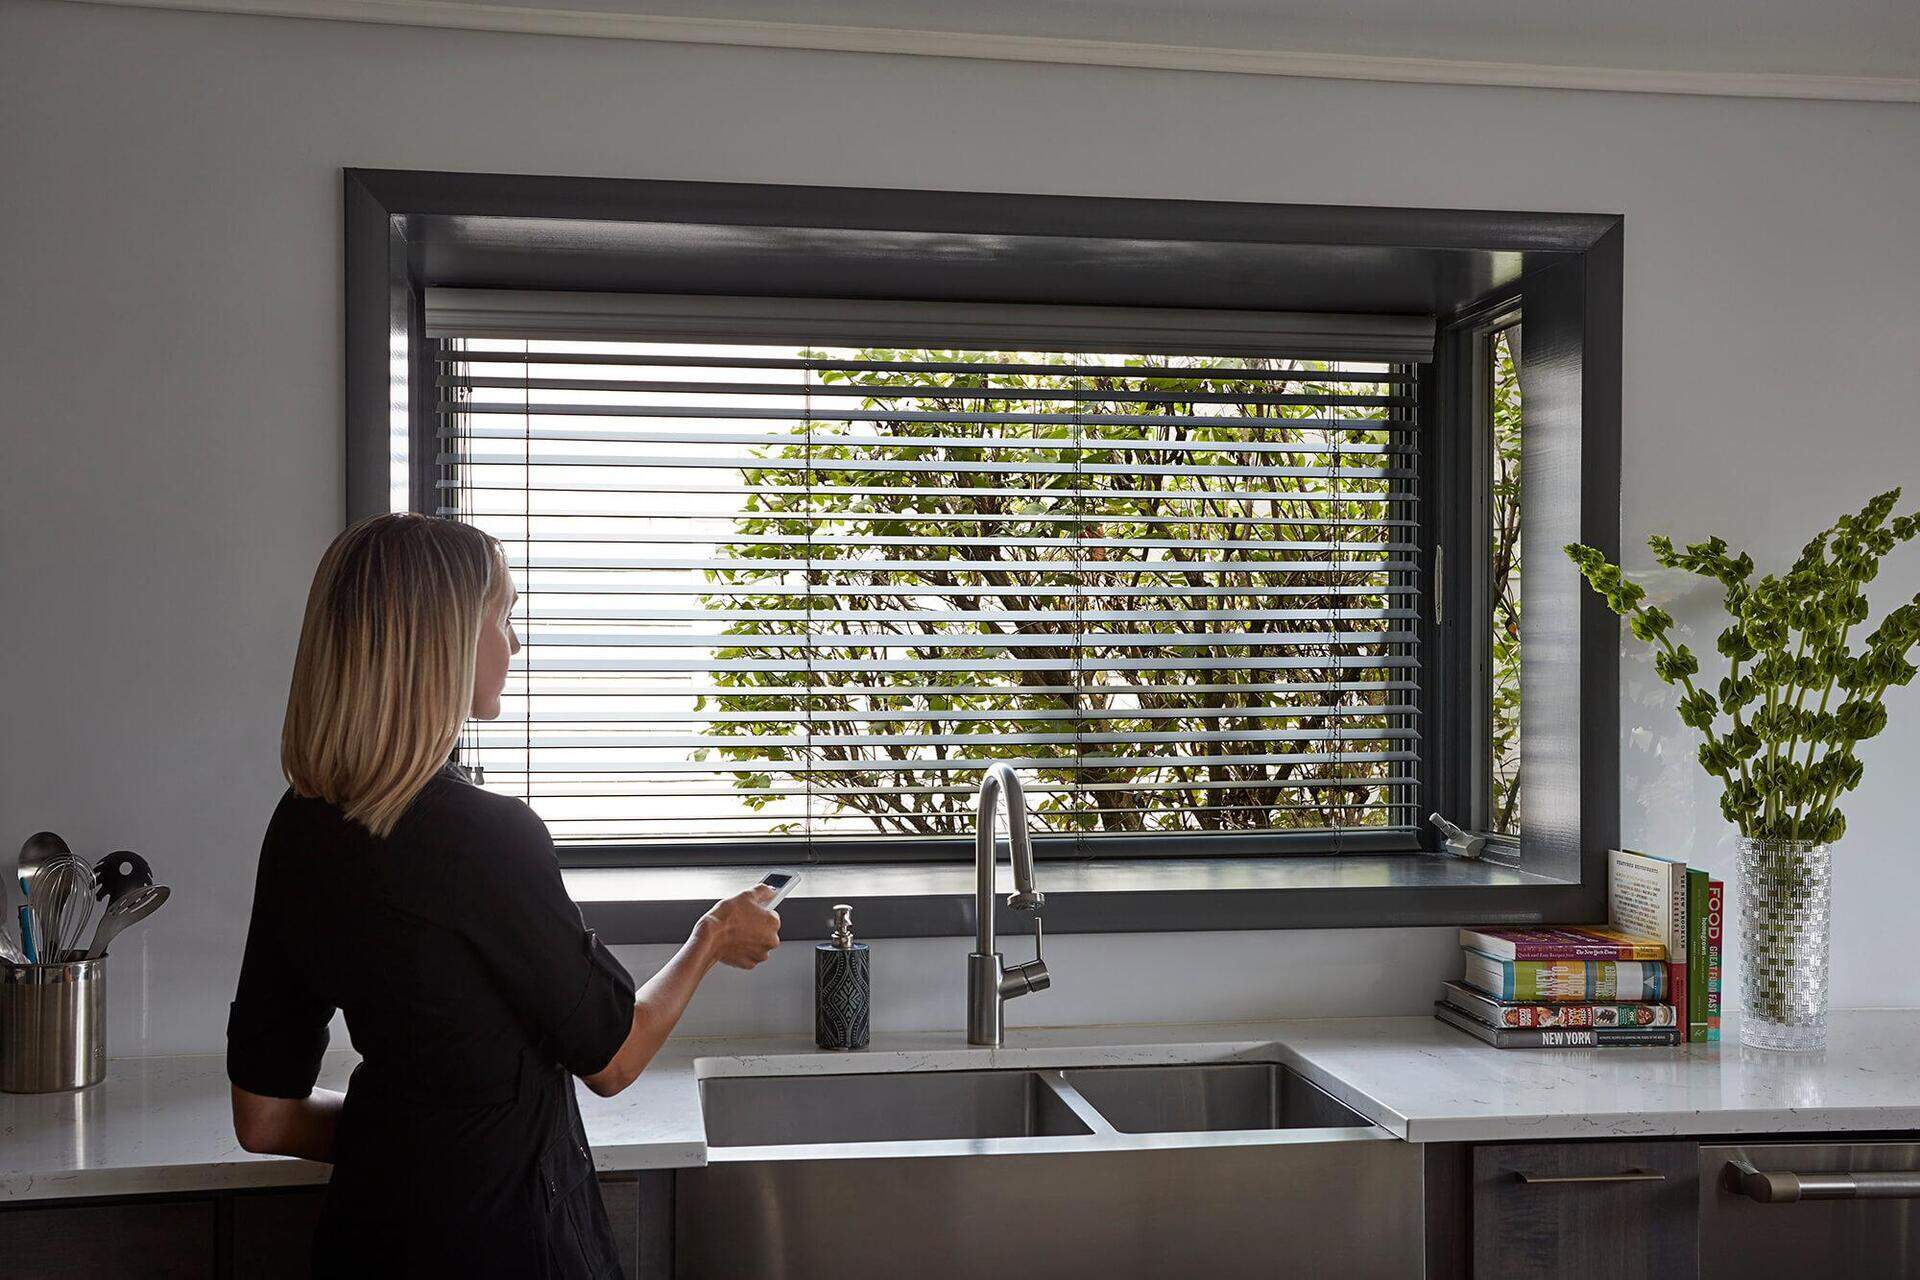
Step 6: Adjust the Blinds Height
Now that the blinds are shortened and the bottom rail is trimmed, it’s time to adjust the height of the blinds to fit your window perfectly. Follow these steps:
- Hang the blinds back onto the brackets or mounting hardware.
- Lower the blinds all the way down to their fully closed position.
- Locate the strings or mechanisms that control the height adjustment of the blinds. These are usually located on either side of the blinds or at the top.
- Gently pull down on the strings or operate the mechanisms to raise the blinds to the desired height.
- Stop once the blinds are at the desired height, ensuring that they are evenly positioned and levelled.
Adjusting the blinds to the proper height is essential for both functionality and aesthetics. It ensures that the blinds cover the window appropriately and do not hang too low or leave excess space at the top.
Take your time to adjust the blinds gradually and ensure that they are secure and properly fitted within the window frame. With the height adjustment complete, you are now ready to move on to the final step of the shortening process.
Read more: How To Shorten Drapes
Step 7: Rehang the Blinds
After completing all the necessary adjustment and trimming, it’s time to rehang the blinds back onto the window. Follow these steps:
- Position the blinds in front of the window and align them with the brackets or mounting hardware.
- Insert the top of the blinds into the brackets or slide them onto the mounting hardware.
- Make sure the blinds are securely in place and level by adjusting them if necessary.
- Test the blinds by operating the mechanism or strings to ensure they open, close, and adjust properly.
- Double-check that the blinds are the desired length, evenly positioned, and hanging straight.
Rehanging the blinds is the final step in the shortening process, bringing your DIY project to a close. Take a moment to admire your properly fitted and customized blinds.
If the blinds are functioning smoothly, fitting perfectly within the window frame, and enhancing the overall look of the room, you have successfully completed the process of shortening your blinds.
Now you can enjoy the benefits of having blinds that are tailored to your specific window size, adding both practicality and style to your living space.
Conclusion
Shortening blinds may seem like a daunting task, but with the right tools and a step-by-step approach, it can be a simple and rewarding DIY project. By following the instructions outlined in this article, you can customize your blinds to achieve the perfect fit for your windows.
Whether you need to adjust the length of your blinds to accommodate a smaller window, enhance the aesthetic appeal of a room, or address safety concerns, the process of shortening blinds allows you to tailor your window treatments to your specific needs.
Remember to take accurate measurements, remove excess slats, reattach ladder cords, trim the bottom rail, adjust the blinds height, and rehang them securely. By following these steps, you can achieve professional-looking results and enjoy the benefits of perfectly fitted blinds.
So, don’t settle for ill-fitting blinds or spend unnecessary money on new ones. With a little time and effort, you can transform your blinds to suit your window size and personal style.
Take pride in your DIY skills and enjoy the satisfaction that comes with completing a home improvement project on your own. Shortening blinds not only enhances the functionality and appearance of your window treatments but also allows you to exercise your creativity and save money in the process.
Now that you have the knowledge and confidence to shorten blinds, go ahead and give it a try. You’ll be amazed at the difference it can make in your home!
Frequently Asked Questions about How To Shorten Blinds
Was this page helpful?
At Storables.com, we guarantee accurate and reliable information. Our content, validated by Expert Board Contributors, is crafted following stringent Editorial Policies. We're committed to providing you with well-researched, expert-backed insights for all your informational needs.