Articles
How To Shorten Cordless Window Blinds
Modified: March 1, 2024
Discover the easiest way to shorten cordless window blinds with our insightful articles. Simplify your home improvement projects today!
(Many of the links in this article redirect to a specific reviewed product. Your purchase of these products through affiliate links helps to generate commission for Storables.com, at no extra cost. Learn more)
Introduction
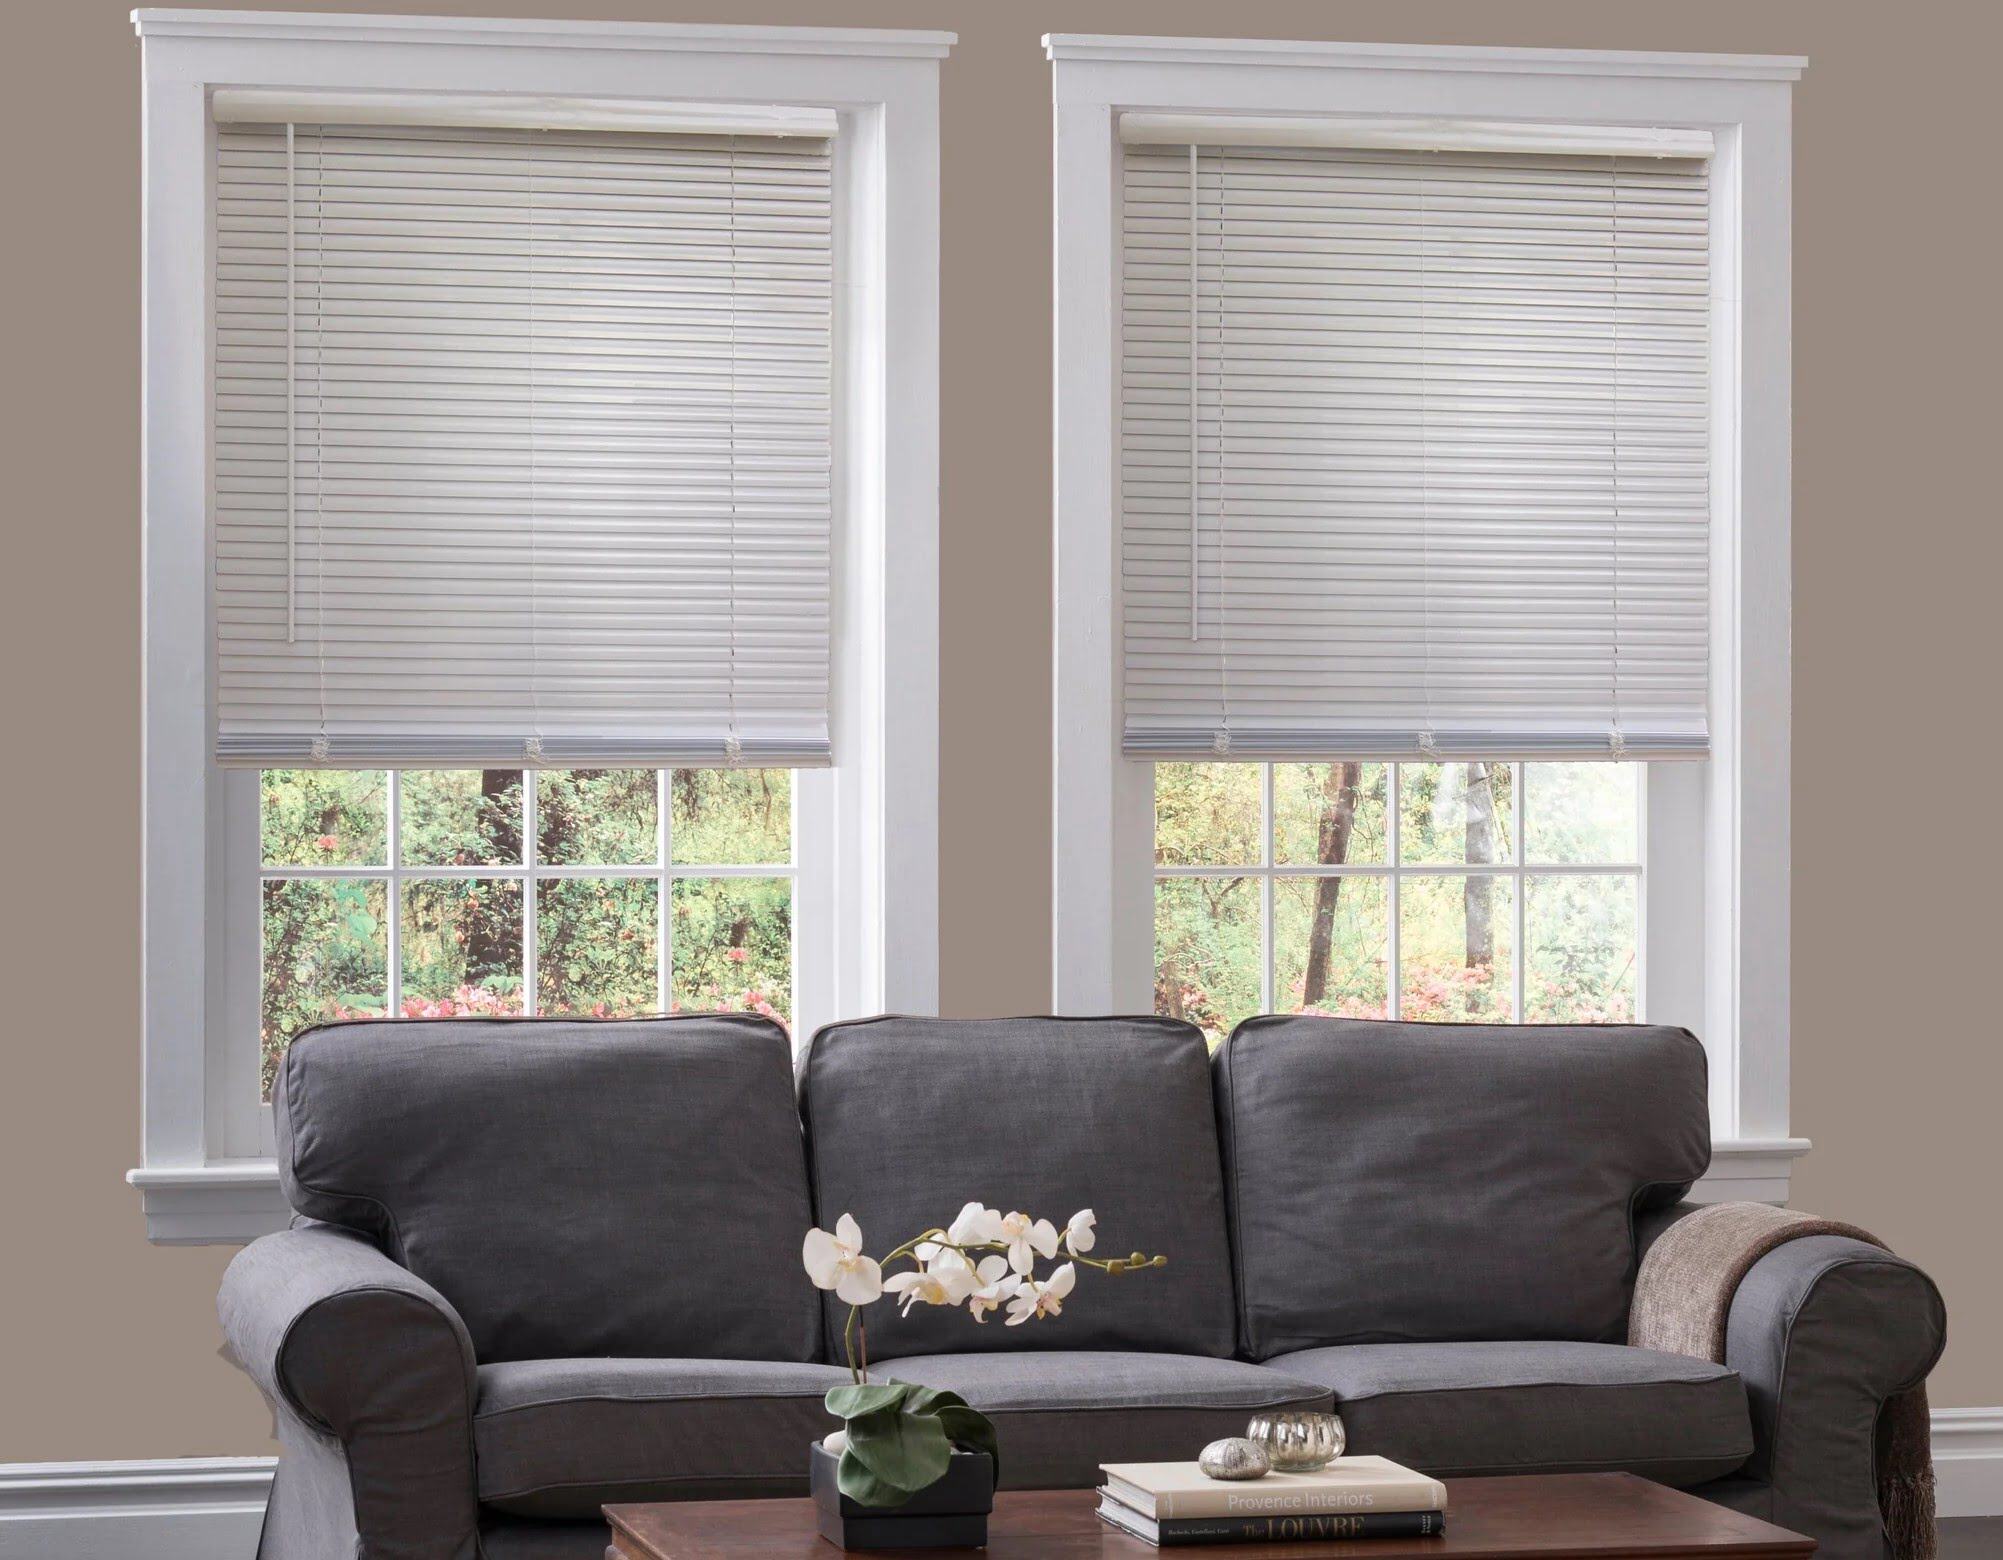
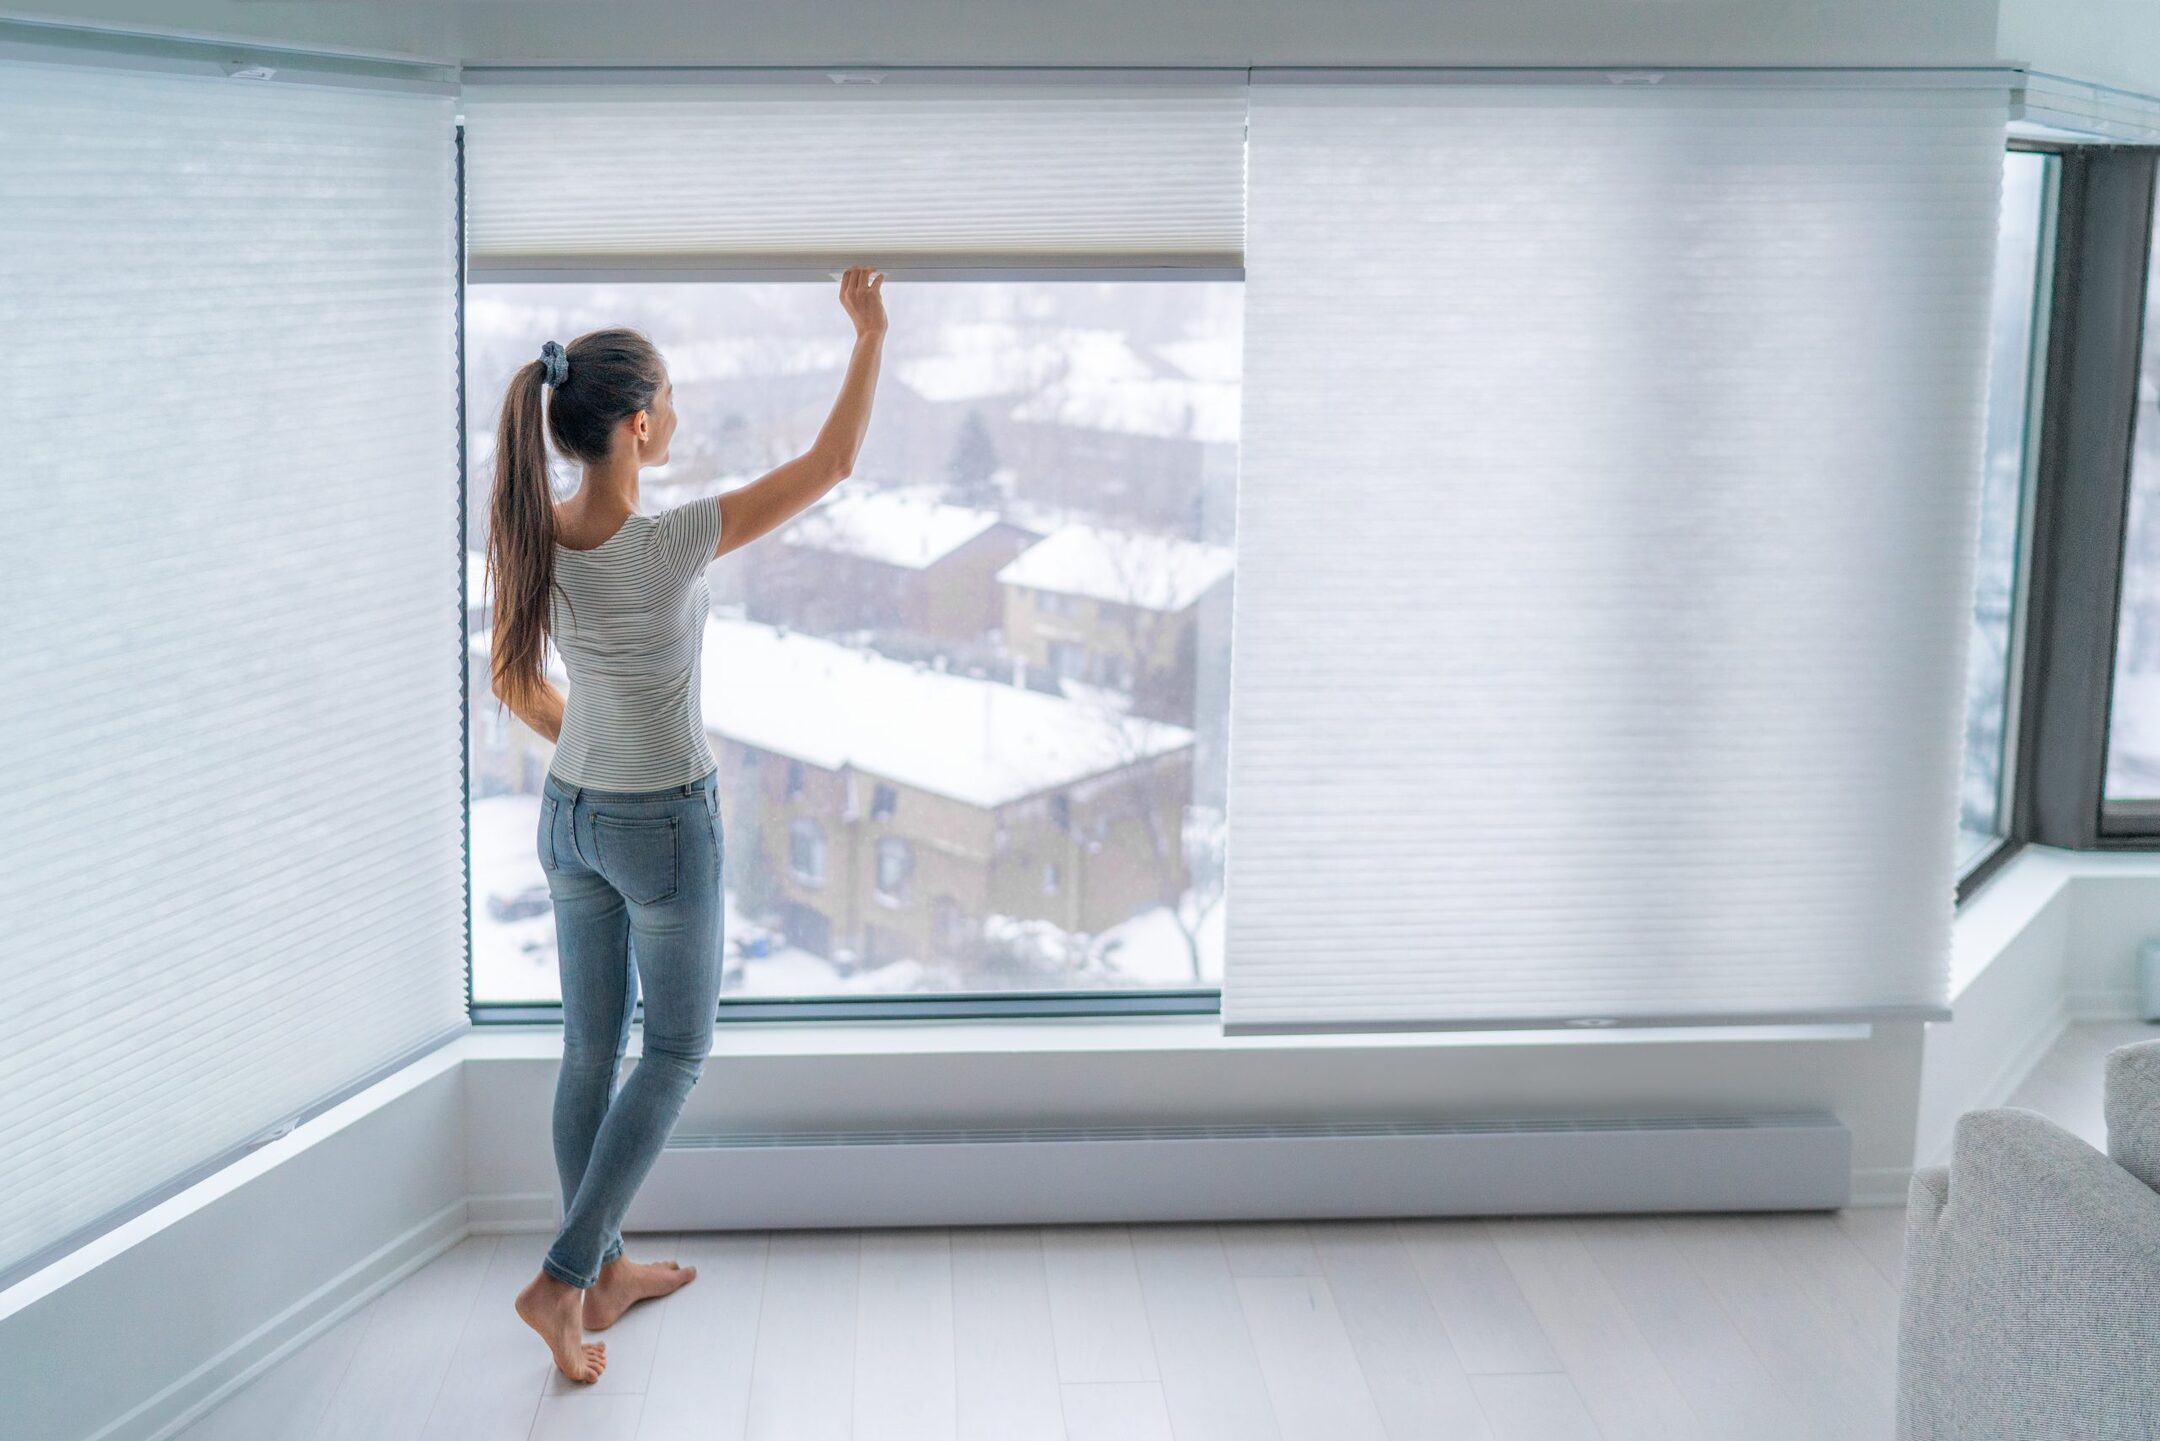
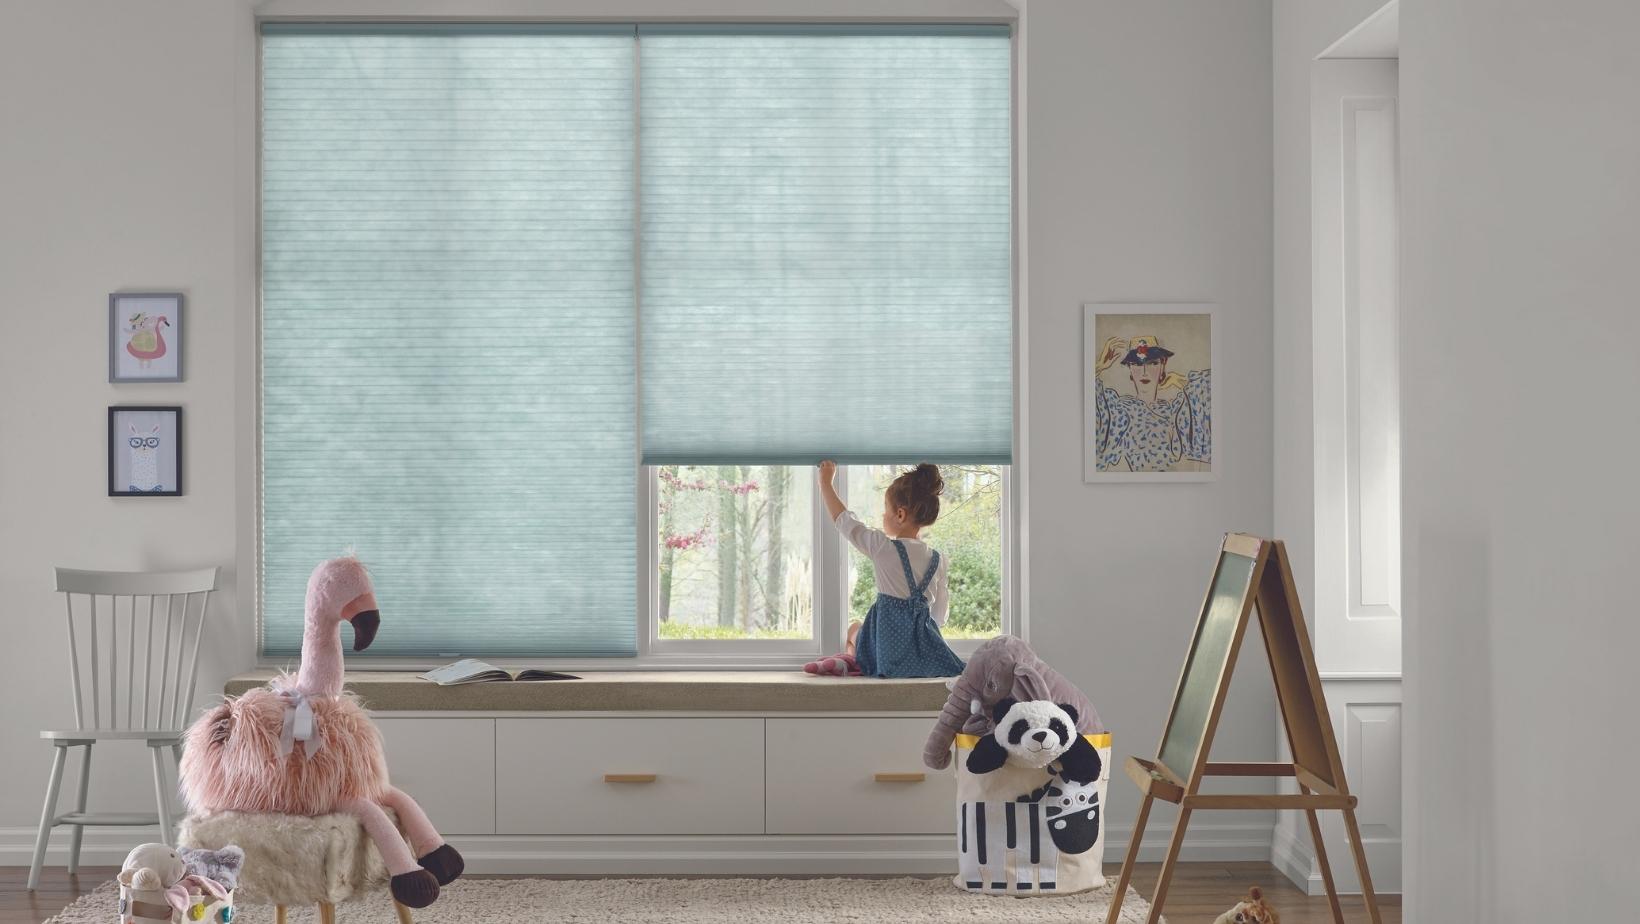
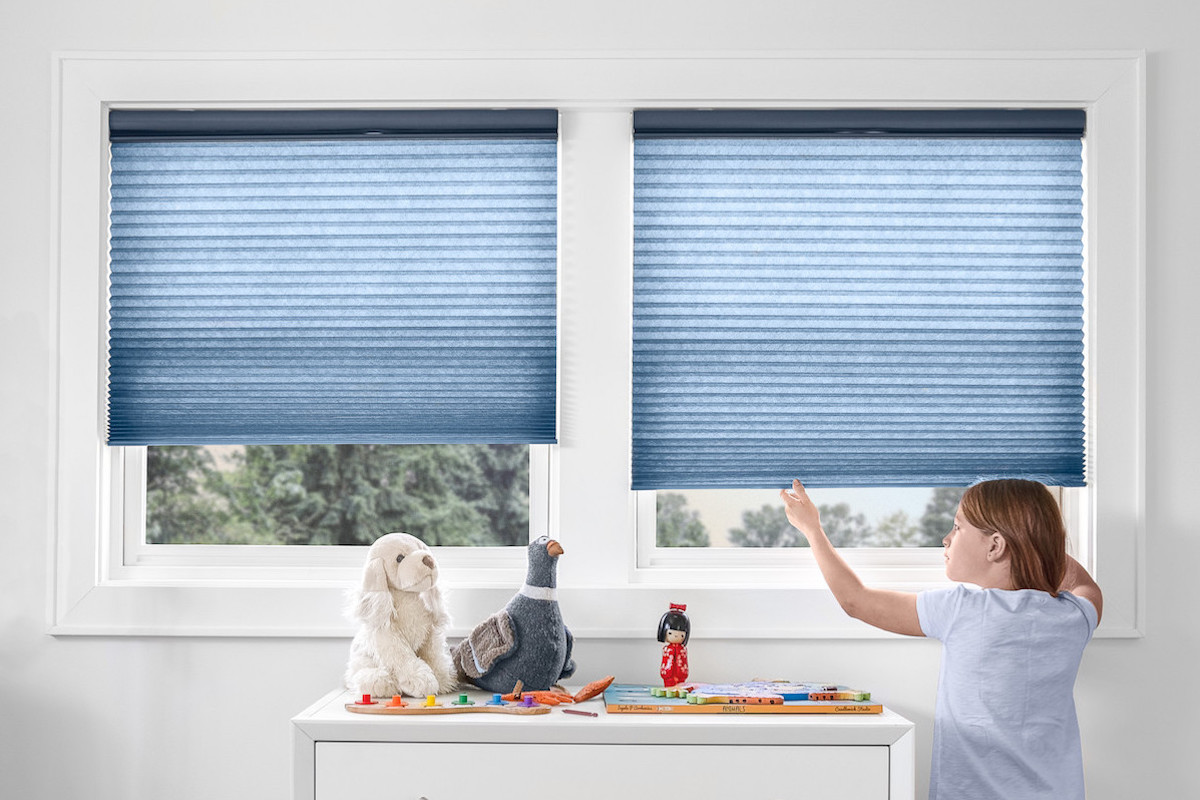
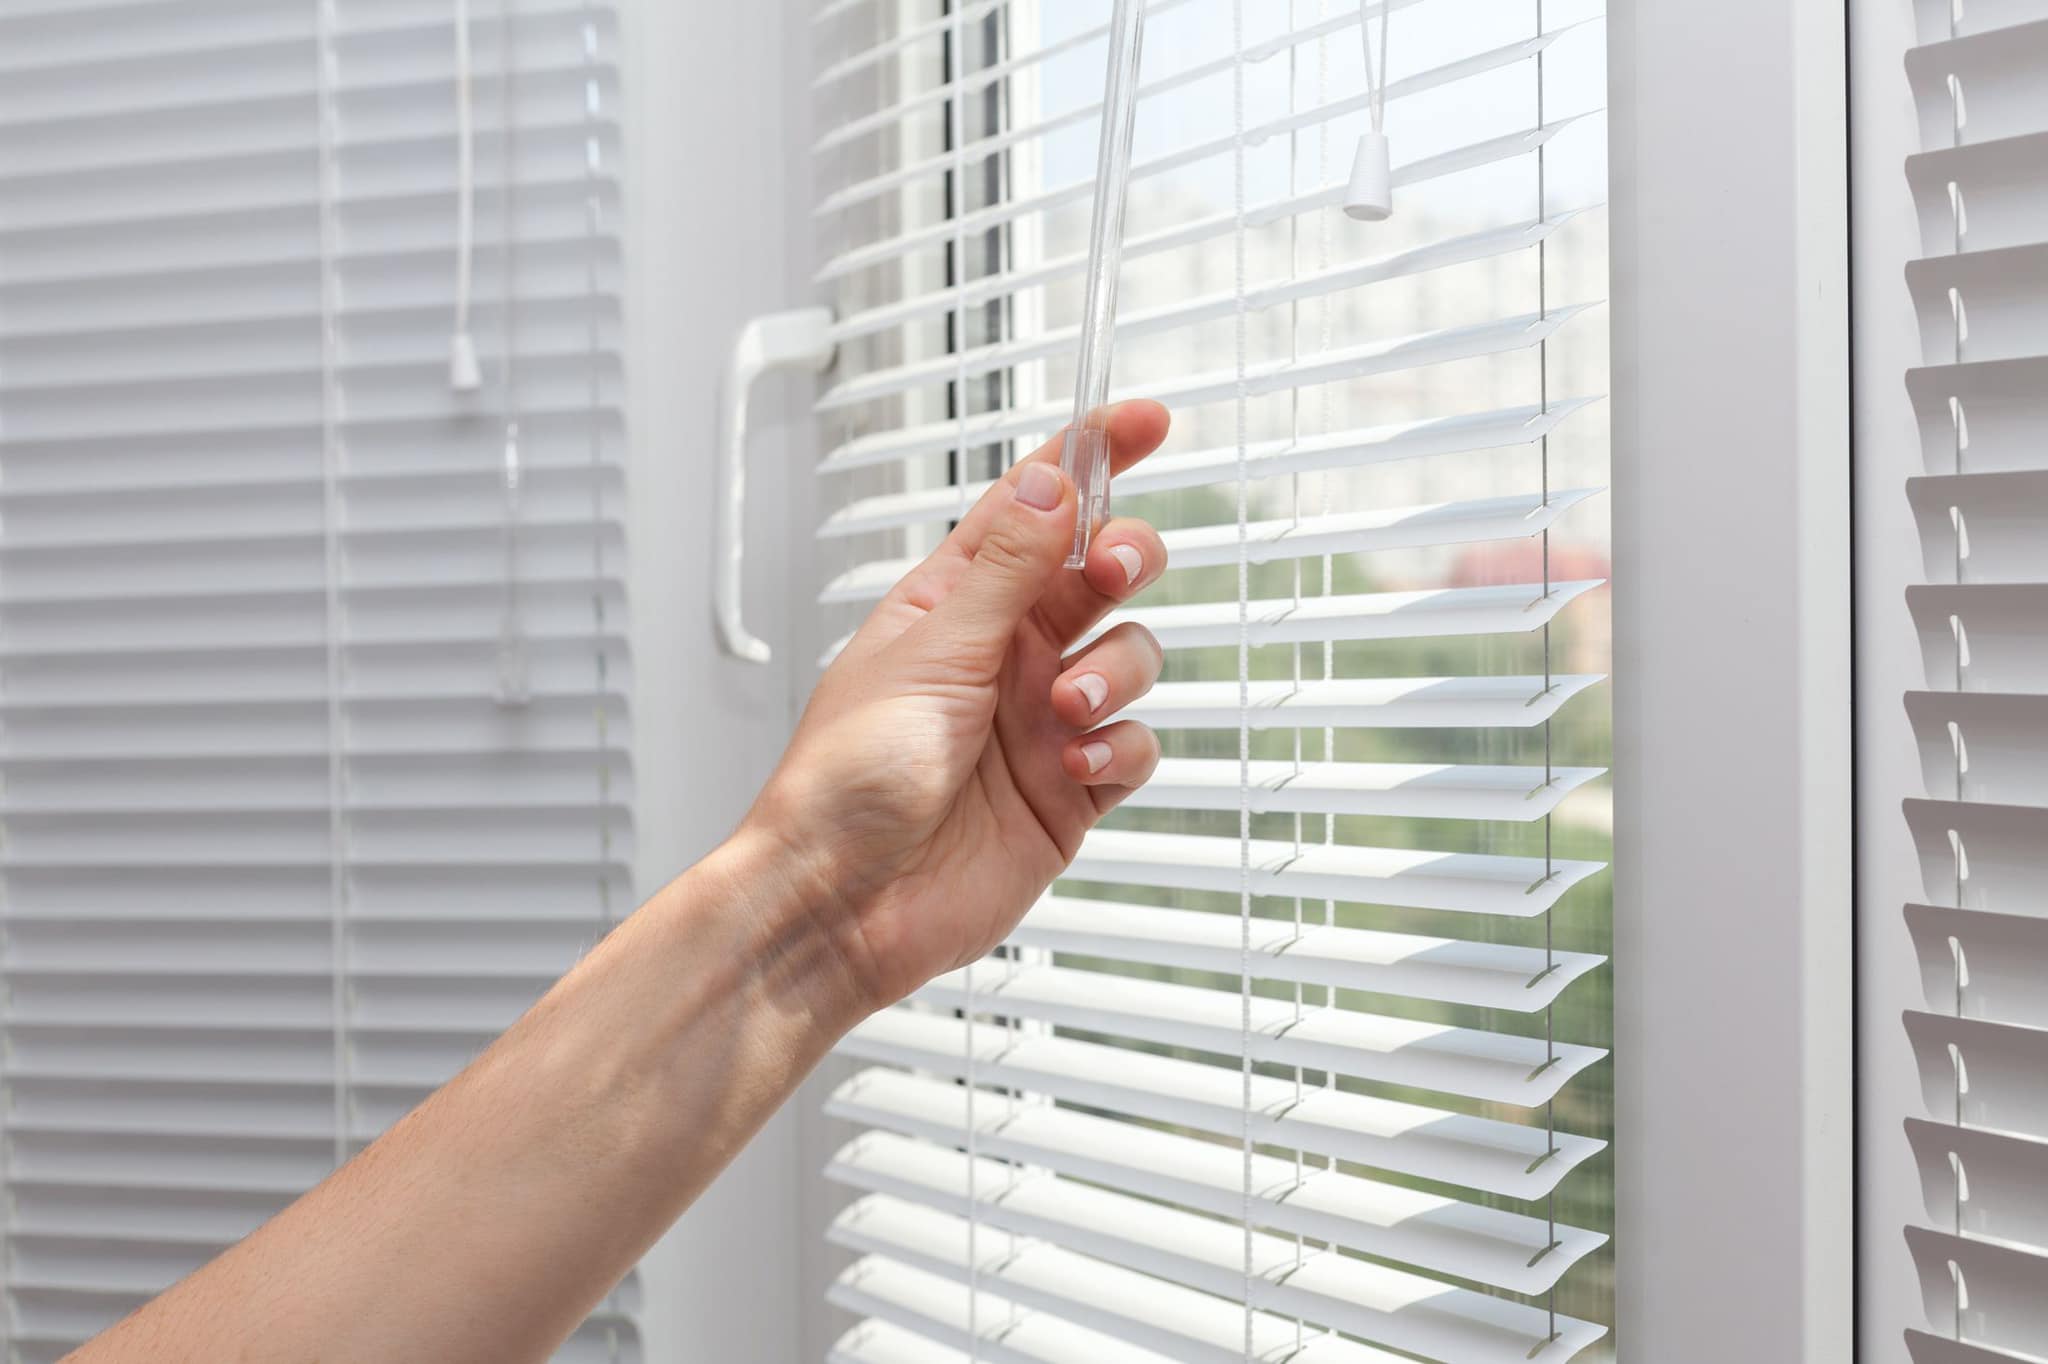
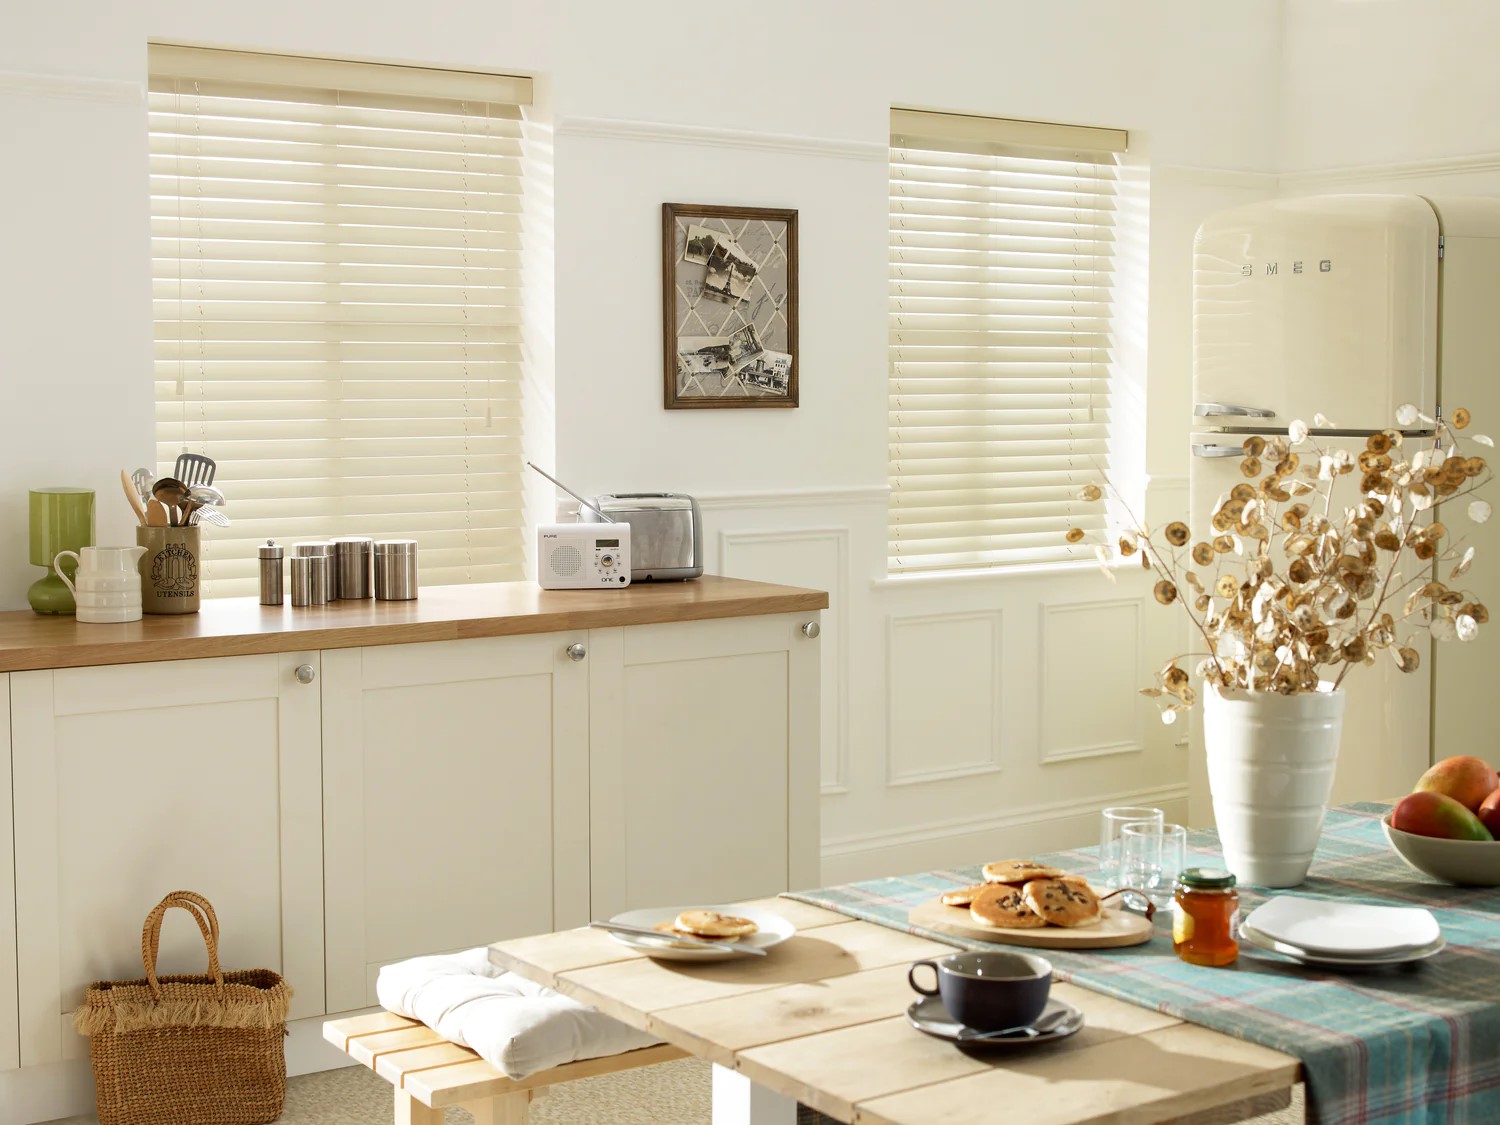
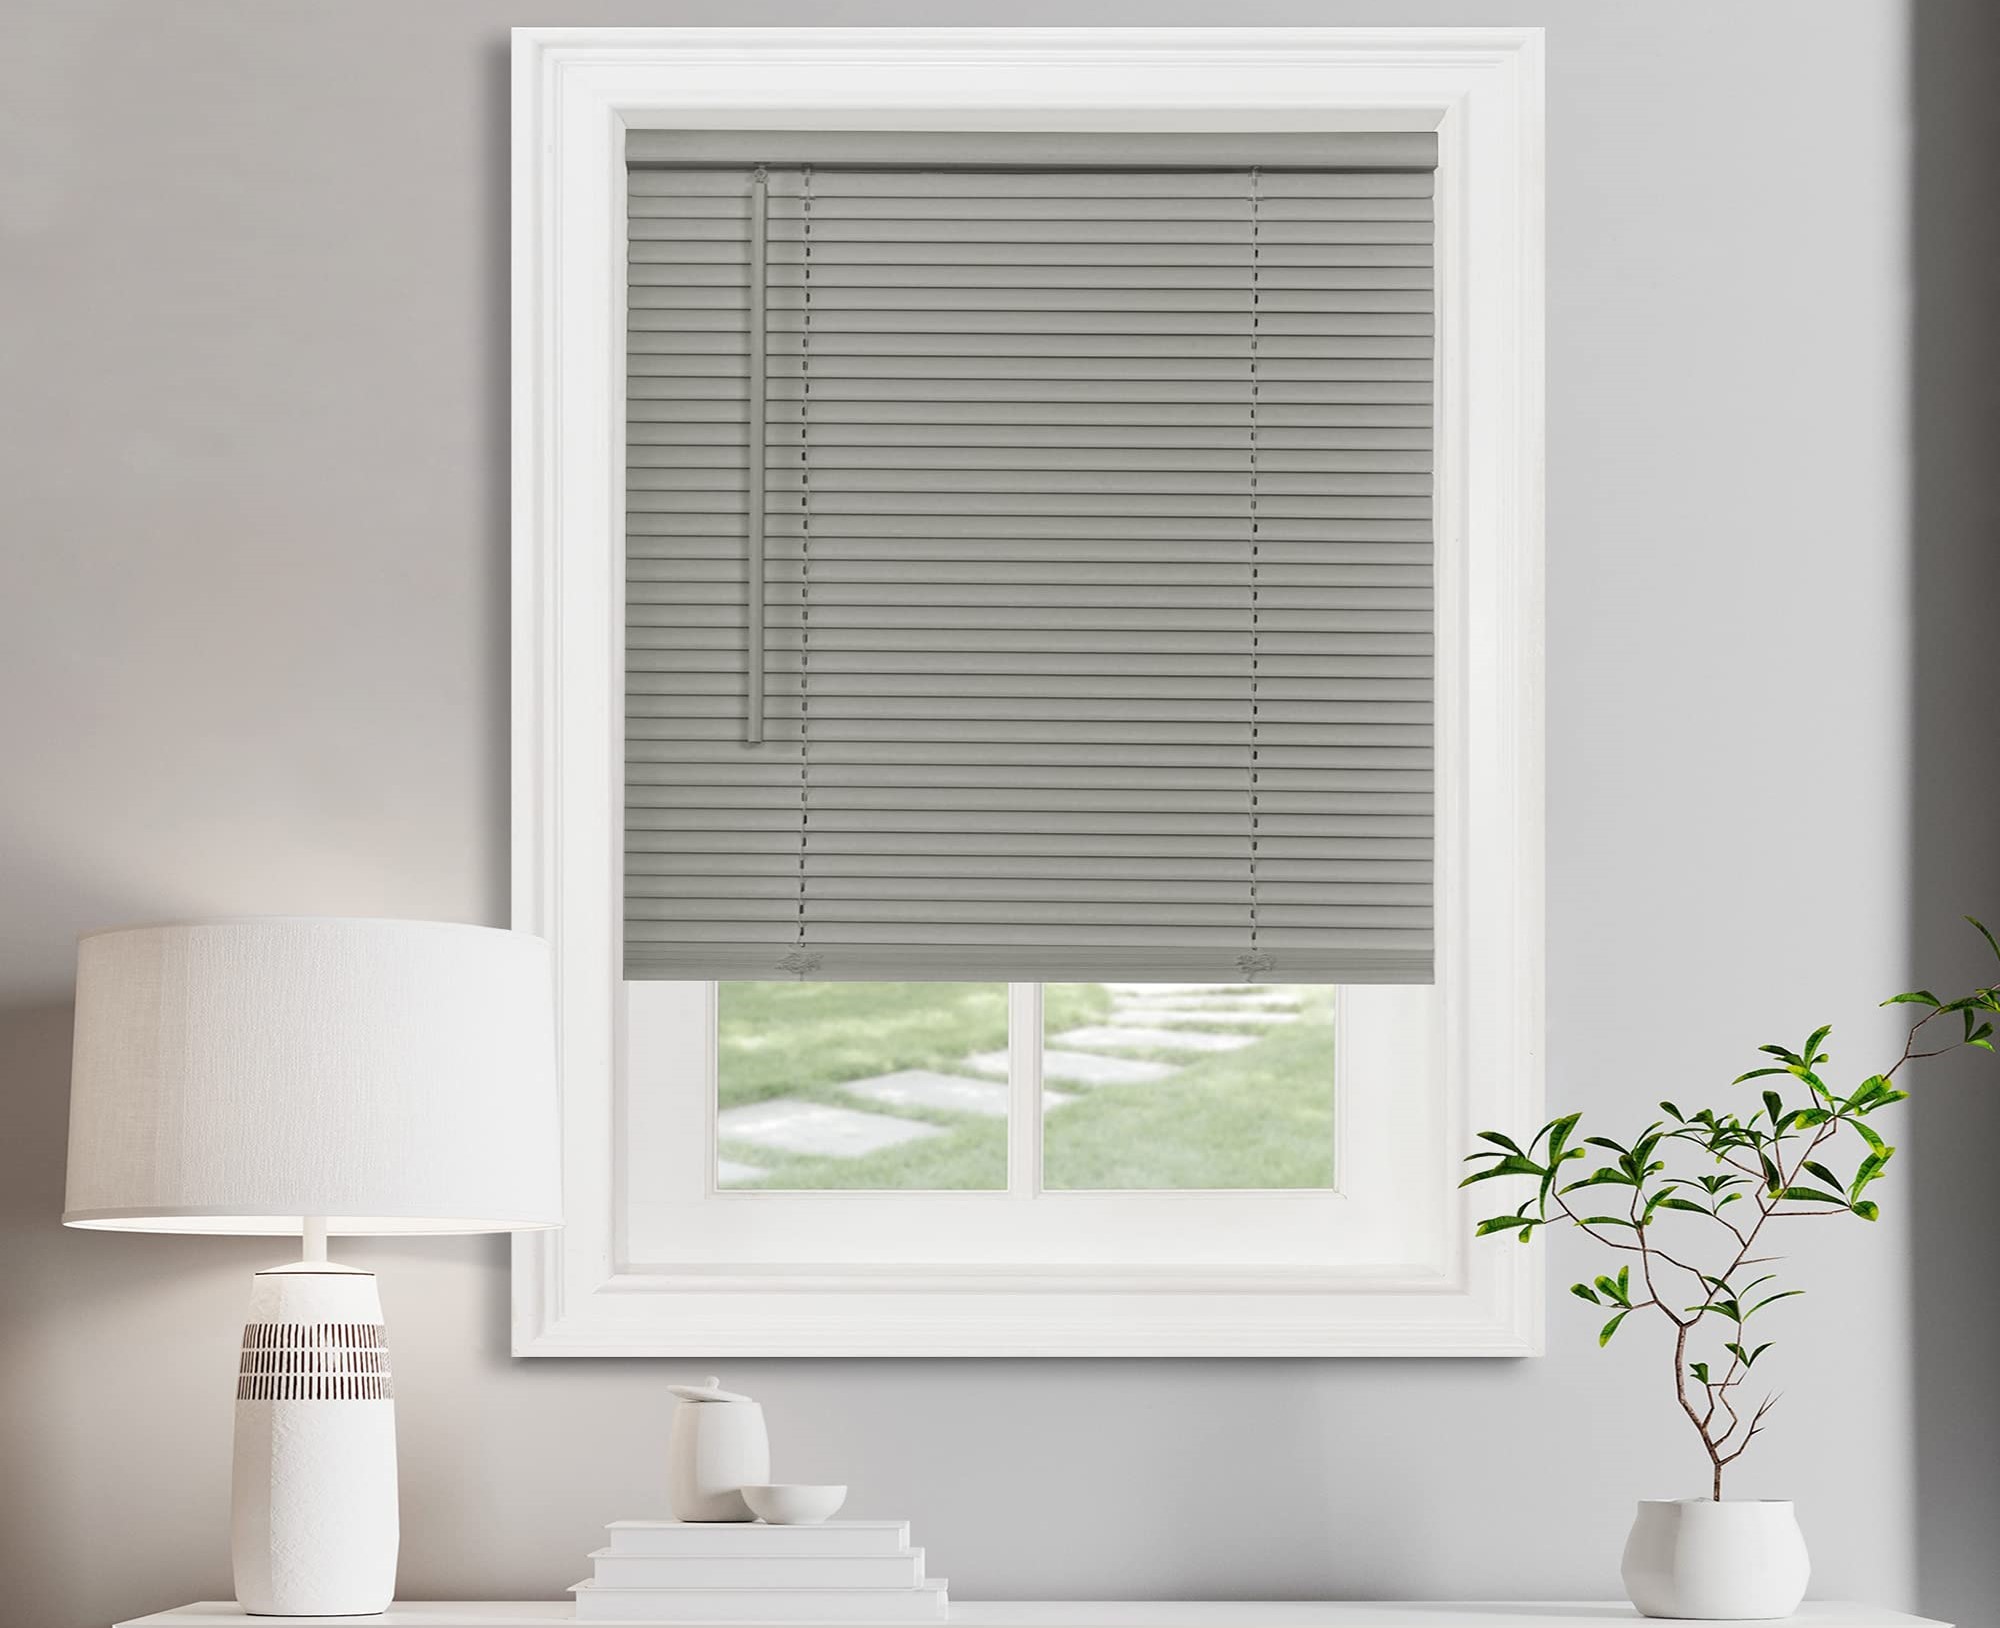
Window blinds are a popular choice for homeowners who want to add privacy and control the amount of light entering their homes. Cordless window blinds, in particular, offer convenience and safety by eliminating the need for cords that can pose a potential hazard, especially for households with children and pets.
However, it’s not uncommon to find cordless window blinds that are too long for certain windows, resulting in a messy and cumbersome appearance. Fortunately, shortening cordless window blinds is a relatively simple process that can be done with a few basic tools and materials.
In this article, we will guide you through the steps to shorten your cordless window blinds. By following these instructions, you can achieve a clean and tailored look for your windows, while still maintaining the convenience and safety provided by cordless blinds.
Key Takeaways:
- Shortening cordless window blinds is a straightforward process that can be accomplished with basic tools and materials, allowing you to achieve a tailored look for your windows while maintaining safety and convenience.
- Accurate measurements, precise cuts, and proper securing of the cord and bottom rail are essential for ensuring that your cordless window blinds hang evenly, operate smoothly, and enhance the overall aesthetic of your space.
Read more: How To Shorten Levolor Cordless Blinds
Tools and Materials Needed
Before you begin shortening your cordless window blinds, it’s important to gather the necessary tools and materials. Here’s what you’ll need:
- Measuring tape
- Scissors or utility knife
- Drill or screwdriver
- String or cord
- Needle and thread
- Optional: sewing machine
Having these tools and materials on hand will ensure that you can complete the process smoothly and efficiently.
Step 1: Measure and Mark
The first step in shortening cordless window blinds is to measure the desired length for your blinds. Start by determining the height you want your blinds to be, taking into consideration any obstructions such as window sills or decorative molding.
Using a measuring tape, measure from the top of the blinds down to the desired length. Make sure to measure each side of the blinds individually, as windows may not always be perfectly level.
Once you have determined the correct length, carefully mark the spot where you will be cutting the blinds. You can use a pencil or a small piece of masking tape to make a visible mark.
It’s important to double-check your measurements and marks before proceeding to the next step, to ensure that you achieve the desired length for your window blinds.
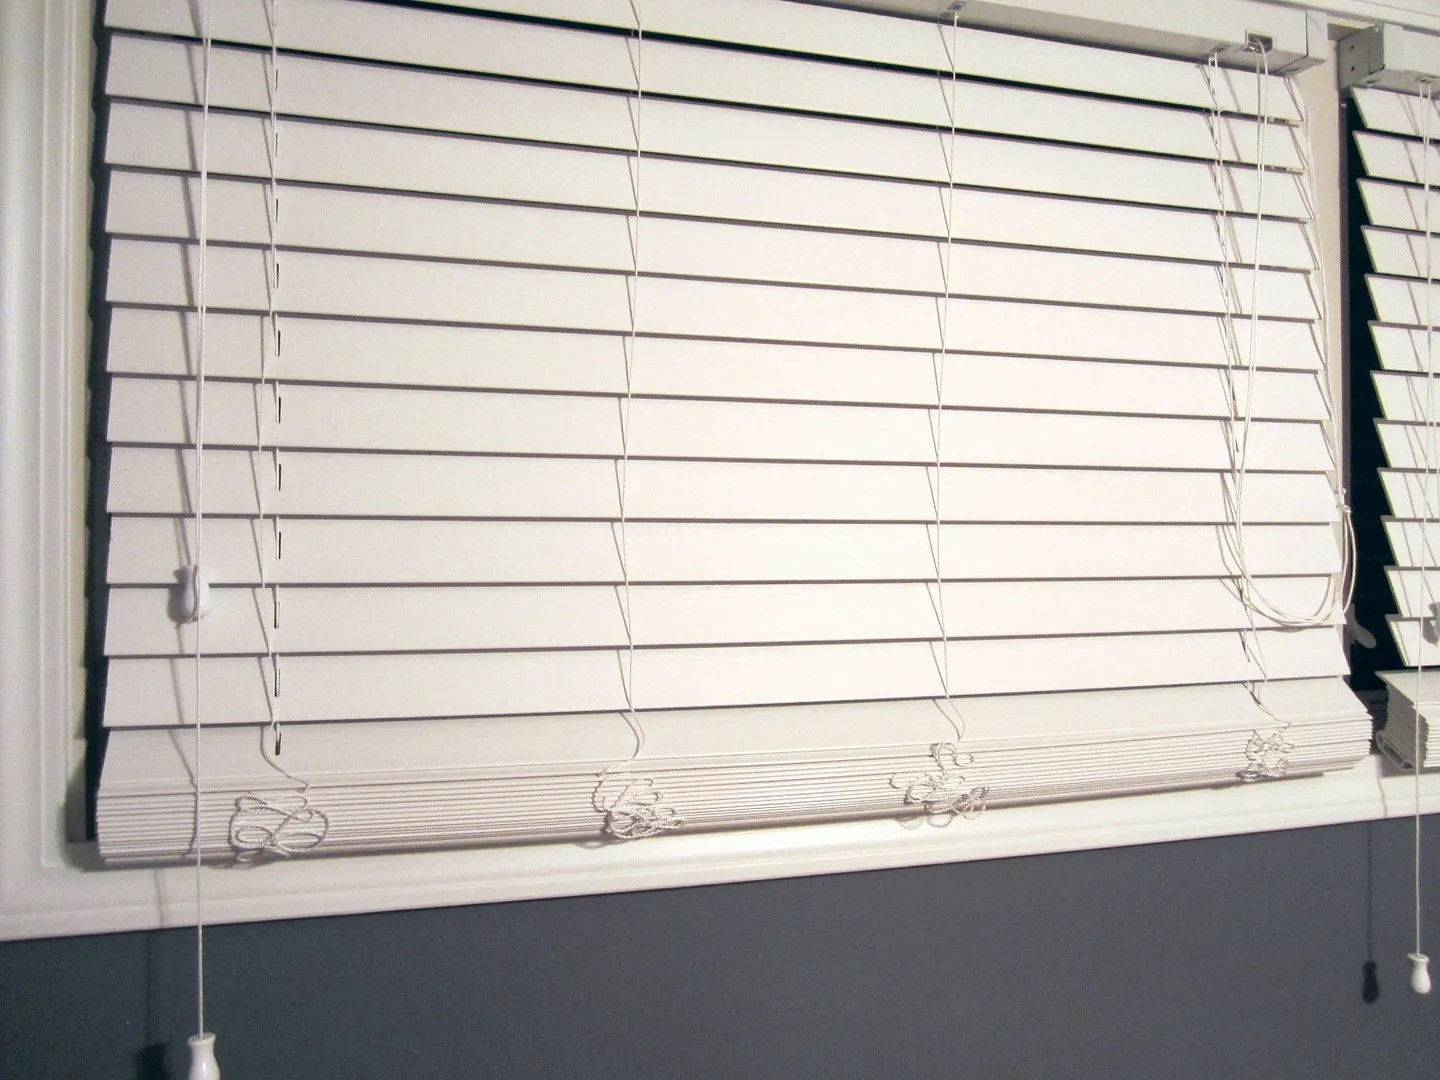
Step 2: Remove Excess Material
With your measurements and marks in place, it’s time to remove the excess material from your cordless window blinds. Start by opening the blinds fully to expose the entire length.
Using a pair of scissors or a utility knife, carefully cut the blinds at the marked spot. Take your time and follow the line accurately to ensure a clean and precise cut.
Once you have made the cut, be cautious of any tension in the blinds. Gently release the tension and allow the blinds to relax before proceeding to the next step.
After removing the excess material, you may notice that the cut edge appears frayed or uneven. To prevent further fraying, you can use a small flame from a lighter or candle to lightly melt the cut edge. Be careful not to hold the flame too close or for too long, as it can damage the blinds.
If you prefer a neater finish, you can also use a sewing machine with a zigzag stitch to secure the cut edge. This will create a clean and professional-looking finish while preventing any fraying in the future.
By removing the excess material, your cordless window blinds will now be closer to the desired length.
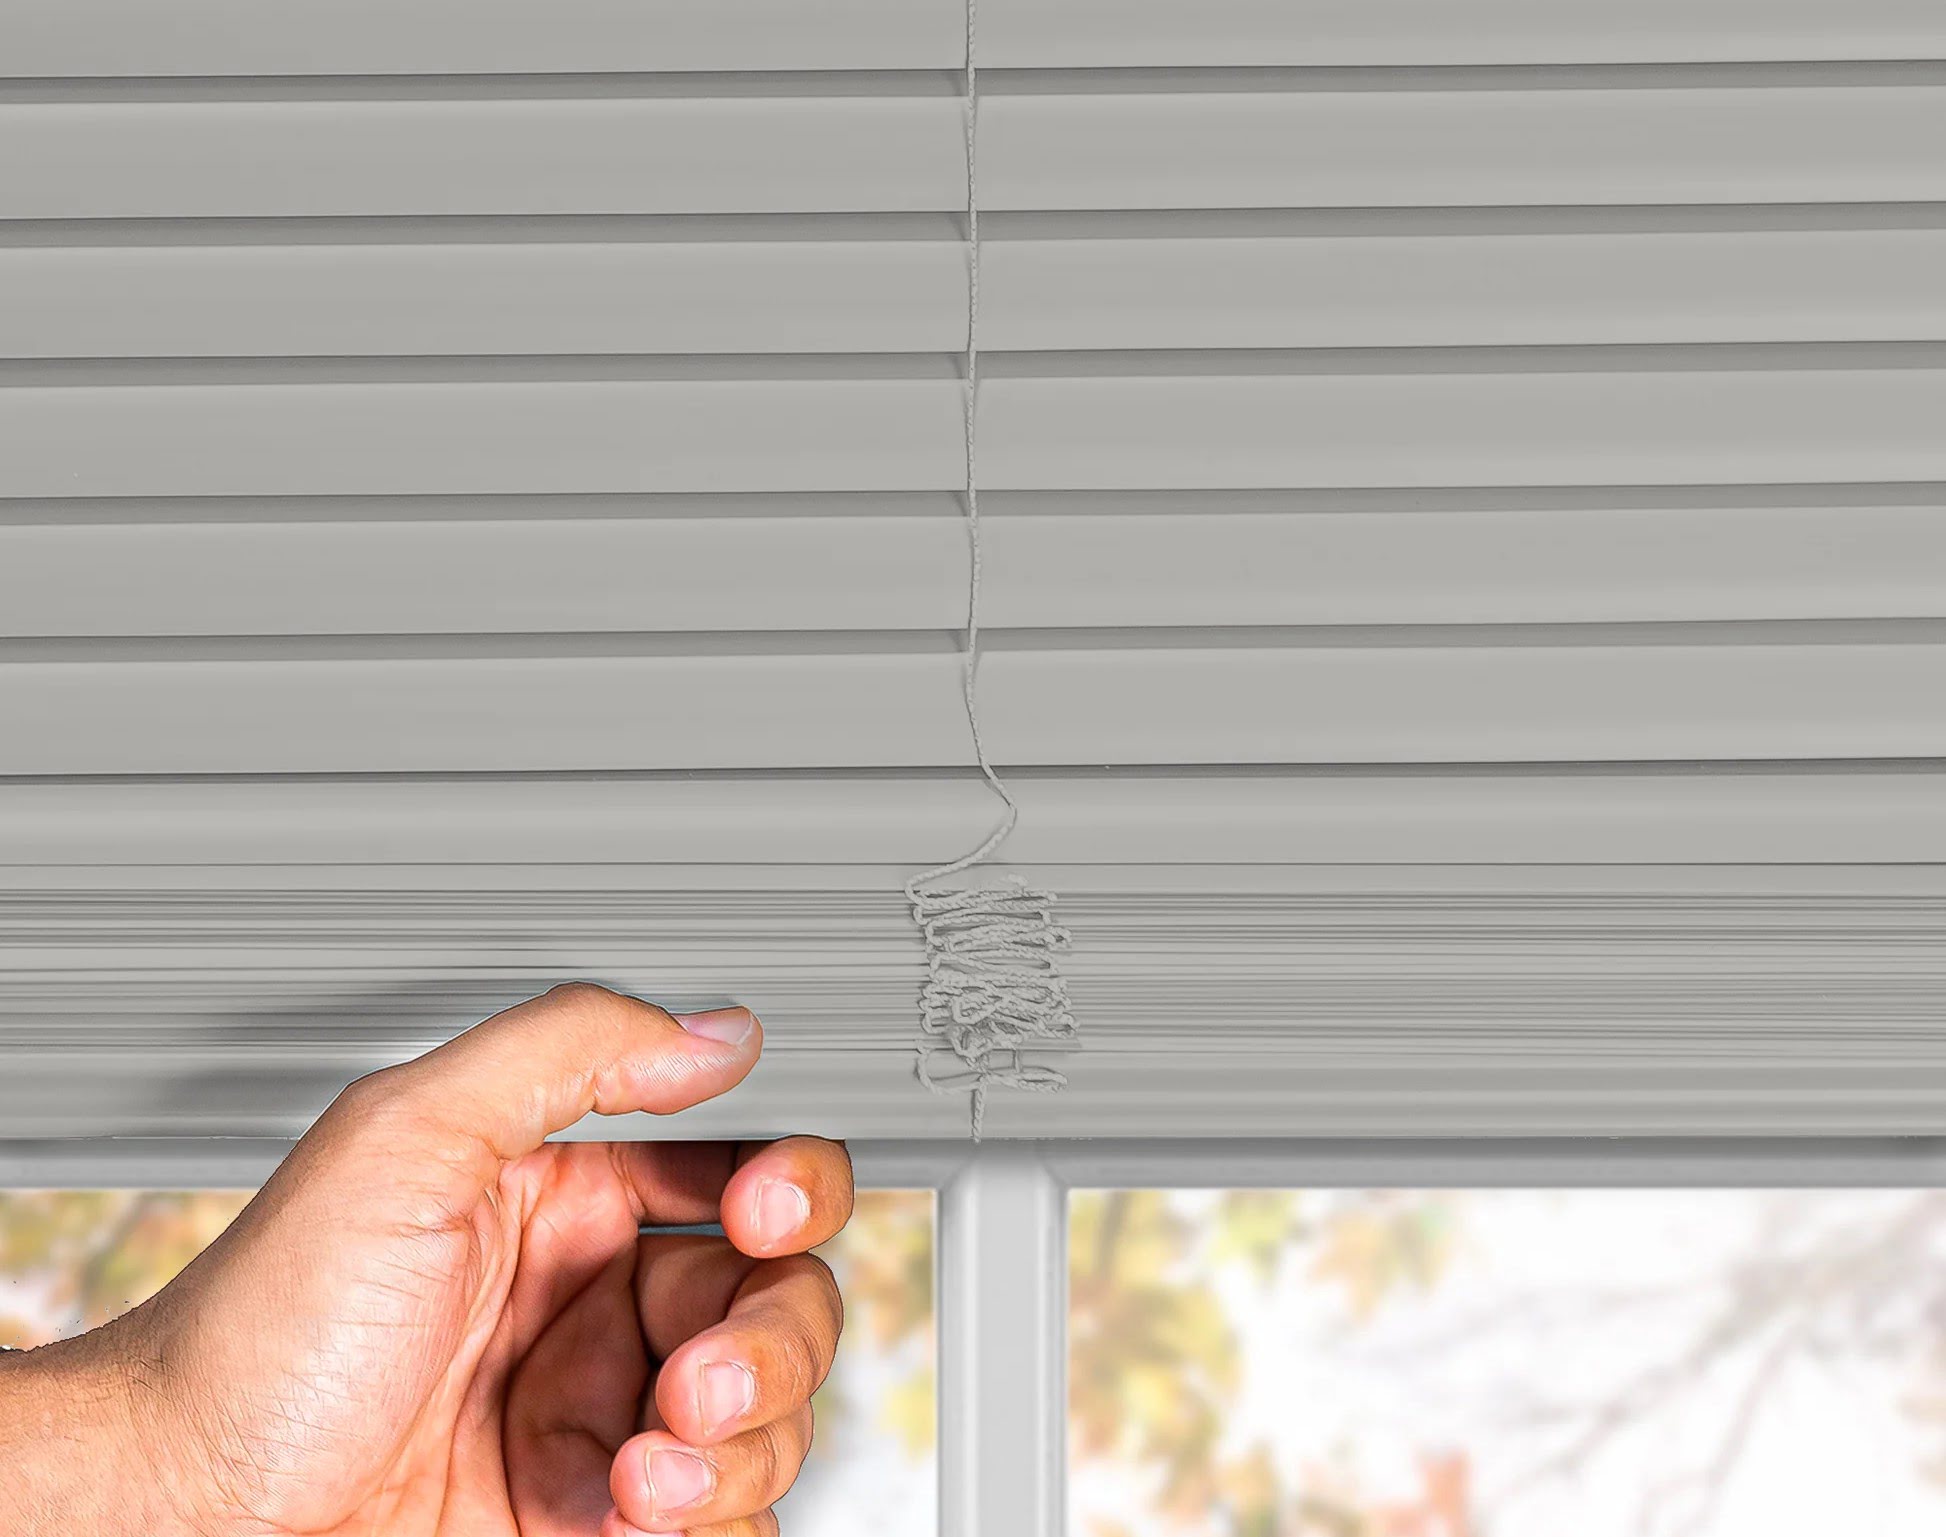
Step 3: Shorten the Cord
Now that you have shortened the blinds themselves, it’s time to address the length of the cord. If the cord is too long for your shortened blinds, it can be adjusted to achieve the perfect fit.
Start by fully extending the blinds to provide ample space to work with the cord. Locate the cord locking mechanism, which is usually located at the bottom of the blinds.
Using a drill or screwdriver, carefully remove the screws that secure the cord locking mechanism in place. Once the screws are removed, gently release the cord from the locking mechanism.
Assess the length of the cord and determine how much needs to be removed to match the shortened length of the blinds. Trim the excess cord using scissors or a utility knife, making sure to leave enough length for smooth operation of the blinds.
After trimming the cord, you may notice that the cut end of the cord starts to fray. To prevent further fraying, you can use a lighter or candle flame to lightly melt the end of the cord. Be cautious and avoid holding the flame too close to the cord.
Once the cord has been trimmed and any frayed ends have been sealed, thread the shortened cord back through the cord locking mechanism. Ensure that the cord is properly aligned and securely attached to the mechanism.
By shortening the cord to match the length of the blinds, your cordless window blinds will be fully functional and safe to use.
When shortening cordless window blinds, always measure twice and cut once to ensure the proper length. Use sharp scissors or a hacksaw for cutting, and follow the manufacturer’s instructions for restringing the blinds.
Read more: How To Repair Cordless Window Blinds
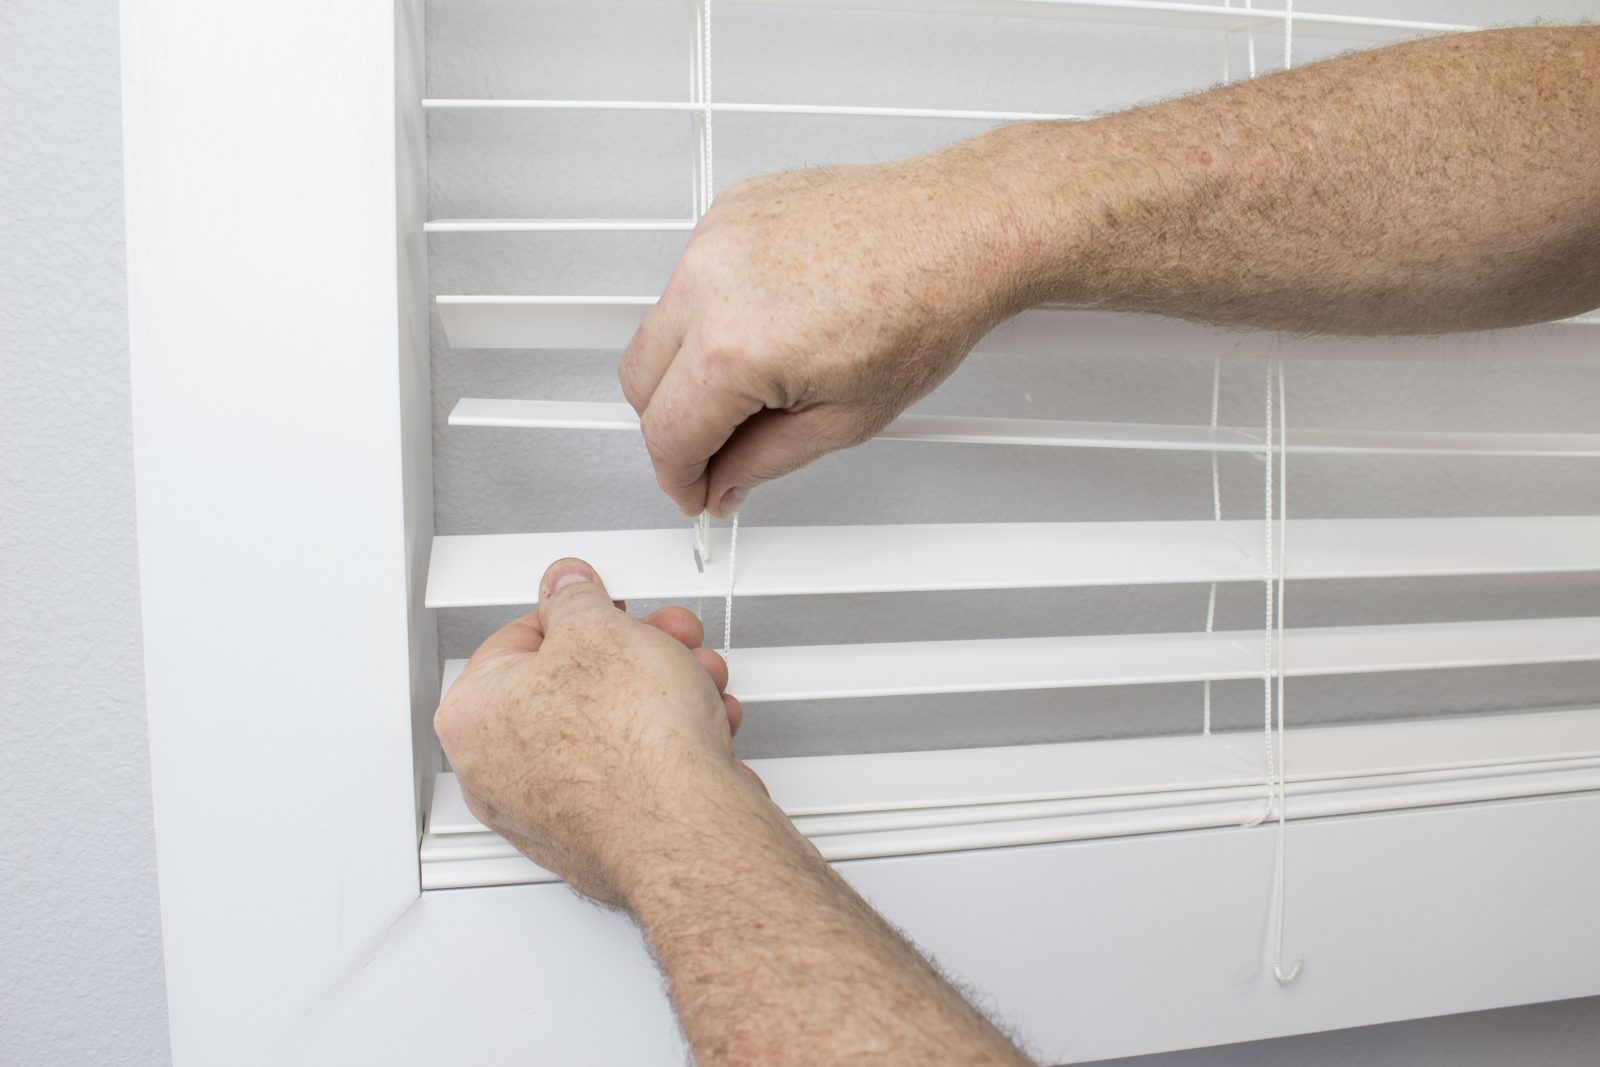
Step 4: Secure the Cord
After shortening the cord, it’s important to secure it properly to ensure smooth operation of your cordless window blinds. This step will help prevent any loose or tangled cords.
Start by examining the bottom rail of the blinds. You may notice that there are small holes or notches designed to secure the cord in place.
Take your cord and thread it through the appropriate hole or notch on each side of the bottom rail. Make sure the cord is pulled tight and evenly distributed on both sides.
Once the cord is in place, you can use a needle and thread to sew a few stitches around the cord and through the fabric of the bottom rail. This will provide additional stability and prevent the cord from slipping out of place.
If you prefer a more secure method, you can also use a hot glue gun to secure the cord to the bottom rail. Apply a small amount of hot glue around the cord and press it firmly against the fabric of the bottom rail. Be careful not to use too much glue or apply excessive heat, as it can damage the blinds.
After securing the cord, allow the glue to dry completely before moving on to the next step.
By properly securing the cord, you can ensure that it remains in place and operates smoothly when opening and closing your cordless window blinds.
Step 5: Reattach the Bottom Rail
Now that the cord is secured, it’s time to reattach the bottom rail of your cordless window blinds. This step will ensure that the blinds hang properly and function correctly.
Start by aligning the bottom rail with the bottom edge of the blinds. Make sure the rail is centered and straight.
Using a drill or screwdriver, reinsert the screws that were removed earlier to secure the bottom rail in place. Tighten the screws firmly, but be careful not to overtighten and damage the blinds.
As you secure the bottom rail, double-check that the blinds are hanging evenly and at the desired length. Adjustments can be made by slightly loosening the screws and repositioning the rail if needed.
Once the bottom rail is securely attached and the blinds are hanging properly, give them a gentle tug to ensure they move freely up and down.
If you find that the blinds are still not hanging evenly or operating smoothly, you may need to make further adjustments to the cord length or the position of the bottom rail. Take the time to troubleshoot and make any necessary modifications for optimal functionality.
By reattaching the bottom rail, you can ensure that your cordless window blinds are securely in place and functioning as intended.
Step 6: Test the Blinds
Before considering the project complete, it’s important to thoroughly test the functionality of your newly shortened cordless window blinds. Testing the blinds will ensure that they operate smoothly and effectively, providing the desired level of light control and privacy for your space.
Start by gently pulling the cord to raise and lower the blinds. Pay close attention to how the blinds move and whether they glide up and down without any resistance.
Observe the alignment of the slats as the blinds are being adjusted. They should be evenly spaced and maintain a uniform appearance when fully opened or closed.
Next, check for any tangles or snags in the cord. Ensure that it glides freely without getting caught or tangled along the way. If you encounter any issues, make the necessary adjustments to the cord to resolve the problem.
Continue to operate the blinds multiple times, testing their functionality and smoothness of movement. This will help identify any areas that may need further adjustment or fine-tuning.
If you are satisfied with the performance of your cordless window blinds after testing, congratulations! You have successfully shortened and adjusted your blinds to the desired length.
However, if you encounter any issues or difficulties during the testing process, don’t hesitate to revisit the previous steps and make any necessary modifications. It’s important to achieve the optimal functionality and appearance for your window blinds.
By thoroughly testing the blinds, you can ensure that they meet your expectations and provide the desired functionality in your space.
Conclusion
Shortening cordless window blinds allows you to achieve a clean and tailored look for your windows, while still maintaining the convenience and safety provided by cordless blinds. With just a few simple steps and basic tools, you can successfully shorten your blinds to the desired length and ensure they function properly.
Throughout the process, it’s important to take accurate measurements, make precise cuts, and properly secure the cord and bottom rail. These steps will ensure that your cordless window blinds hang evenly, operate smoothly, and enhance the overall aesthetic of your space.
Remember to test the functionality of the blinds after completing the project, making any necessary adjustments to ensure optimal performance. By doing so, you can ensure that your blinds provide the desired level of light control and privacy for your home.
Now that you have the knowledge and guidance to shorten your cordless window blinds, you can confidently tackle this project and achieve the perfect fit for your windows. Enjoy the benefits of well-fitted, stylish blinds that enhance the comfort and ambiance of your living space.
Frequently Asked Questions about How To Shorten Cordless Window Blinds
Was this page helpful?
At Storables.com, we guarantee accurate and reliable information. Our content, validated by Expert Board Contributors, is crafted following stringent Editorial Policies. We're committed to providing you with well-researched, expert-backed insights for all your informational needs.