
Articles
How To Seal A Sink
Modified: December 7, 2023
Discover the step-by-step process of sealing a sink with our informative articles. Ensure a leak-free and long-lasting sink with our expert tips and advice.
(Many of the links in this article redirect to a specific reviewed product. Your purchase of these products through affiliate links helps to generate commission for Storables.com, at no extra cost. Learn more)
Introduction
Sealing a sink is an essential maintenance task that helps prevent water damage and keep your kitchen or bathroom in optimal condition. By creating a watertight barrier between the sink and the surrounding countertop, you can safeguard against leaks, mold, and other potential issues.
Whether you have a new sink installation or noticed signs of wear and tear around the edges, sealing the sink is a straightforward process that can be done with just a few materials. In this article, we will guide you through the steps to effectively seal your sink, ensuring a secure and durable connection.
Before diving into the step-by-step instructions, let’s take a look at the materials you’ll need for this project:
Key Takeaways:
- Properly preparing the sink, cleaning the area, and applying the sealant with precision are crucial steps in effectively sealing a sink. This ensures a watertight seal and prevents potential water damage.
- Allowing the sealant to dry and testing the seal for leaks are essential for ensuring its long-lasting effectiveness. Regular monitoring and prompt maintenance will help preserve the integrity of the sink.
Read more: How To Seal Sink Drain
Materials Needed
Before starting the process of sealing your sink, ensure that you have the following materials ready:
- Plumber’s putty or silicone caulk
- Caulking gun
- Clean rag or towel
- Mild detergent or soap
- Denatured alcohol or rubbing alcohol
- Putty knife or scraper
Having these materials at hand will make the task easier and ensure that you can complete the project without any disruptions.
Now that you have gathered the necessary materials, let’s move on to the step-by-step process of sealing your sink.
Step 1: Prepare the Sink
Before applying any sealant, it’s important to prepare the sink by removing any existing caulk or residue. Follow these steps to ensure a clean and smooth surface:
- Turn off the water supply to the sink. This will prevent any accidental drips or spills during the sealing process.
- Remove any loose debris or objects from the sink, such as dishes or utensils. Make sure the sink is completely empty before proceeding.
- Using a putty knife or scraper, gently scrape away any old caulk or sealant around the edges of the sink. Take your time and be careful not to scratch the sink or surrounding countertop.
- If there are any stubborn residue or stains, use a mild detergent or soap and a clean rag or towel to gently scrub the area. Rinse thoroughly with water to remove any soap residue.
By properly preparing the sink, you ensure that the sealant will adhere properly and provide a long-lasting seal.
Now that the sink is prepped and ready, let’s move on to the next step: cleaning the area around the sink.
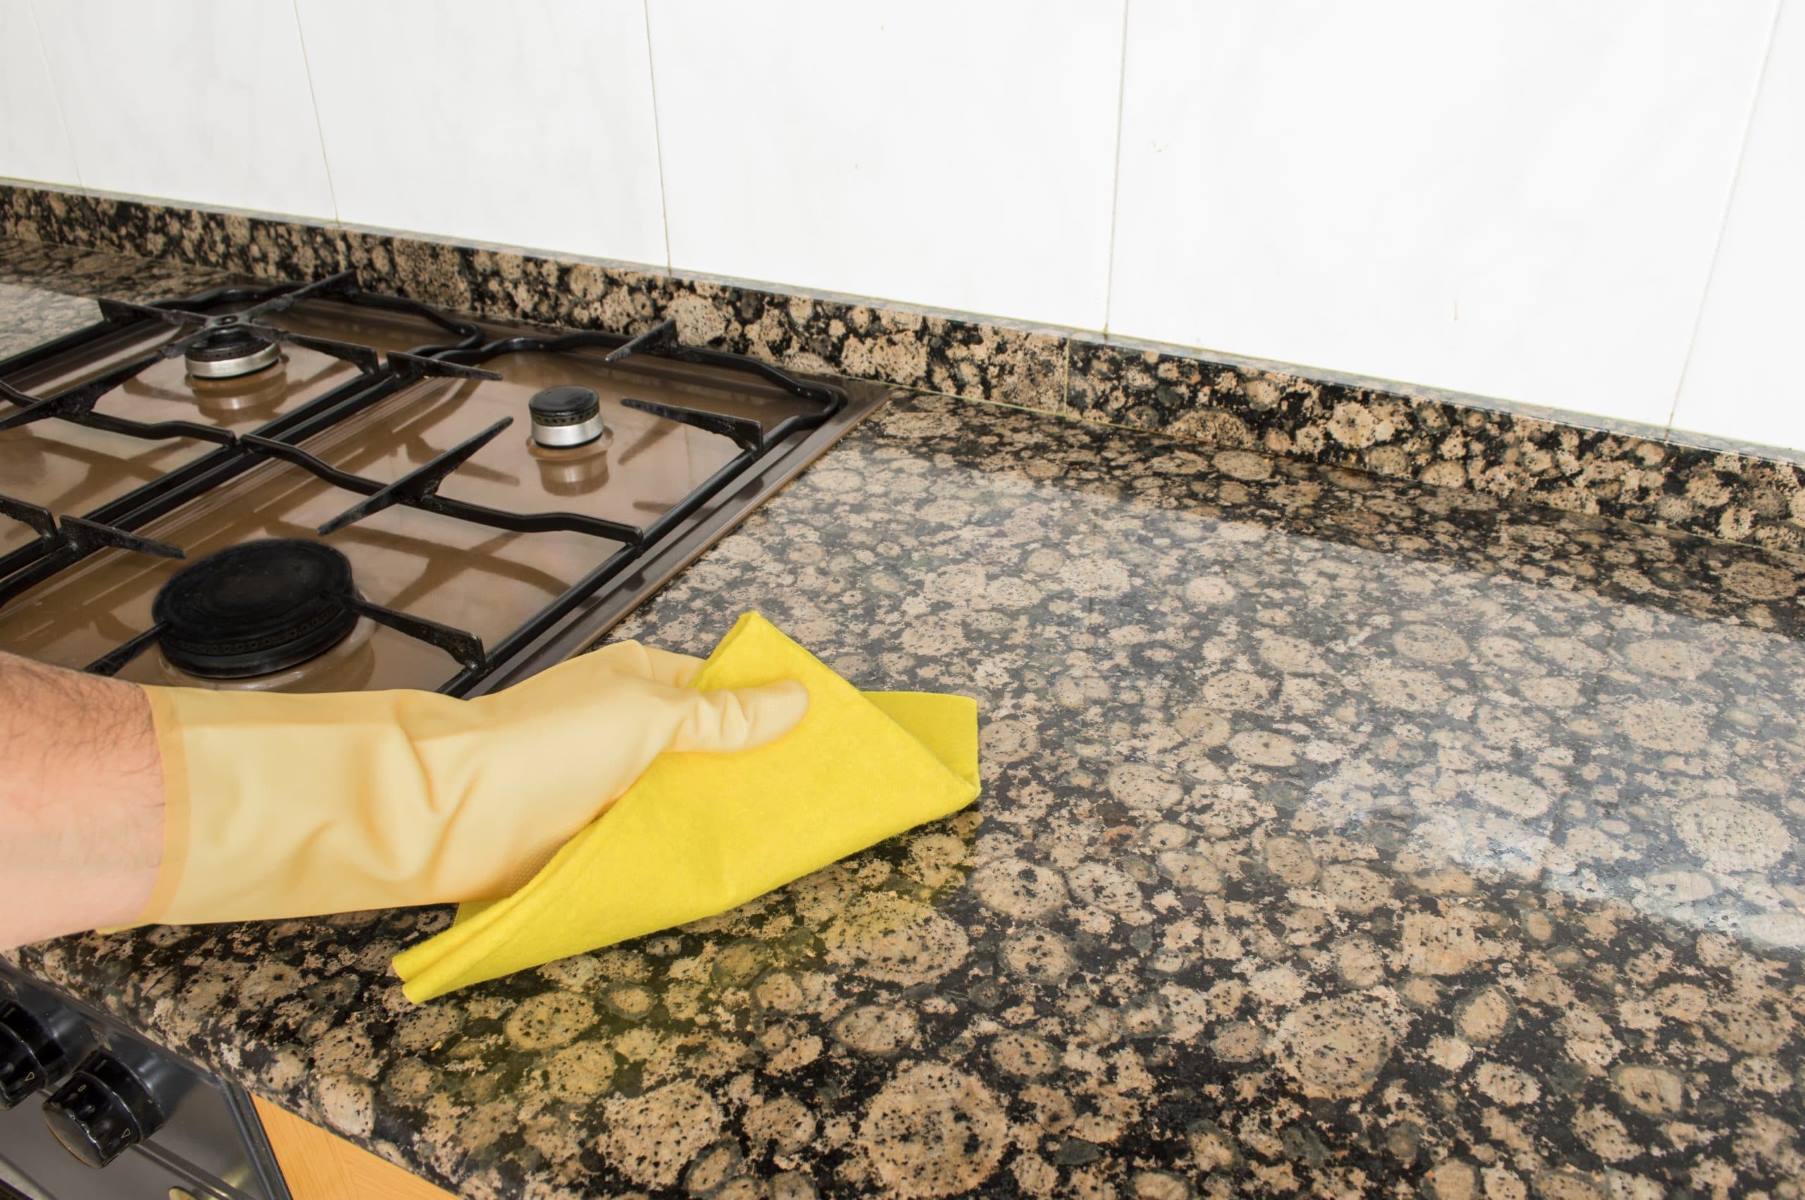
Step 2: Clean the Area
Before applying any sealant, it is crucial to clean the area around the sink to ensure a strong and durable bond. Follow these steps to effectively clean the surface:
- Start by wiping down the countertops and surrounding area with a clean cloth or towel. Remove any dust, dirt, or debris that may interfere with the sealant’s adhesion.
- For stubborn stains or residue, mix a solution of mild detergent or soap with warm water. Dip a sponge or cloth into the soapy solution and gently scrub the affected area.
- Rinse the countertop thoroughly with clean water to remove any soap residue. Ensure that the surface is completely dry before applying the sealant.
- For added cleanliness and to remove any lingering grease or grime, you can use denatured alcohol or rubbing alcohol. Apply a small amount to a clean cloth or paper towel and wipe down the surface.
Remember to take your time during the cleaning process and be thorough. A clean surface will allow the sealant to adhere properly and create a watertight seal.
Now that the area is clean and dry, it’s time to move on to the next step: applying the caulk or sealant to the sink.
Step 3: Apply Caulk or Sealant
Once the sink and surrounding area are properly prepared and clean, it’s time to apply the caulk or sealant. Follow these steps to ensure a precise and effective application:
- Choose the appropriate sealant for your sink. Plumber’s putty is commonly used for sinks made of materials such as stainless steel, porcelain, or composite. Silicone caulk is suitable for a wider range of sink materials.
- Load the chosen sealant into a caulking gun. Cut the tip of the sealant cartridge at a 45-degree angle to create a small opening. Insert the cartridge into the caulking gun and secure it in place.
- Starting from one end of the sink, slowly squeeze the caulking gun trigger to release a steady flow of the sealant. Apply an even and continuous bead of sealant along the edge where the sink meets the countertop.
- Work your way around the entire perimeter of the sink, ensuring that the sealant covers the entire gap between the sink and the countertop. Be careful not to apply too much pressure or squeeze out excess sealant.
- If using plumber’s putty, roll it into a thin, rope-like shape and press it gently onto the underside of the sink’s rim. Make sure it covers the entire perimeter of the sink.
Remember, the goal is to create a tight seal between the sink and the countertop to prevent water from seeping through. Take your time and apply the sealant with precision.
Now that the caulk or sealant is applied, let’s move on to the next step: smoothing the sealant for a professional finish.
To seal a sink, use a silicone caulk to create a watertight seal between the sink and the countertop. Clean the area thoroughly before applying the caulk to ensure a proper bond.
Read more: How To Seal A Driveway
Step 4: Smooth the Sealant
After applying the caulk or sealant to the sink, it’s important to smooth it out for a clean and professional finish. Follow these steps to achieve a smooth and even sealant application:
- Dampen your finger or a moistened cloth with water. This will prevent the sealant from sticking and allow for easy smoothing.
- Gently run your damp finger or cloth along the applied sealant, starting from one end and moving towards the other. Apply light pressure to flatten and shape the sealant.
- Continue smoothing the sealant until you have gone around the entire perimeter of the sink. Wet your finger or cloth as needed to prevent sticking.
- Use a clean, damp cloth to wipe away any excess sealant or smudges. This will further enhance the appearance of the seal and create a neat finish.
Remember to take your time and work carefully during the smoothing process. This step is essential to create a seamless and professional-looking seal.
Now that the sealant is smoothed out, it’s time to move on to the next step: allowing the sealant to dry.
Step 5: Let the Sealant Dry
After applying and smoothing the sealant, it’s important to allow it sufficient time to dry and cure. This will ensure a strong and long-lasting seal. Follow these steps to let the sealant dry properly:
- Refer to the product instructions or label on the sealant for the recommended drying time. Typically, it takes around 24 hours for the sealant to fully cure.
- Avoid using the sink or disturbing the sealant during the drying process. This will prevent any damage or disruption to the newly applied seal.
- Keep the area well-ventilated to promote drying. Open windows or use fans to improve air circulation and aid in the drying process.
- Avoid placing any objects or heavy items on the sink until the sealant has completely dried. This will prevent any indentations or disturbances in the sealant.
It’s important to exercise patience during this step to ensure the sealant cures properly. Rushing the drying process may compromise the effectiveness of the seal.
Now that you’ve allowed the sealant ample drying time, it’s time to move on to the final step: testing the seal to ensure its effectiveness.
Step 6: Test the Seal
Now that the sealant has dried and cured, it’s time to test the seal to ensure it is effective in preventing leaks and water damage. Follow these steps to test the seal:
- Carefully turn on the water supply to the sink.
- Let the water run at a moderate flow and check for any signs of leakage or water seepage around the perimeter of the sink.
- Inspect the area closely, paying attention to any dampness or water accumulation that may indicate a faulty seal.
- If you notice any leaks or water seepage, it may be necessary to reapply the sealant and repeat the process.
- If the seal appears to be watertight and there are no signs of leaks, congratulations! You have successfully sealed your sink.
- Continue to monitor the seal periodically to ensure its effectiveness over time. If any issues arise, address them promptly to prevent further damage.
By testing the seal, you can be confident that your sink is properly sealed and protected against potential water damage.
Congratulations! You have now completed all the necessary steps to seal your sink effectively. Maintaining a watertight seal will help preserve the integrity of your sink and prevent any potential issues. Remember to periodically inspect the seal and address any signs of wear or damage promptly to ensure its long-lasting effectiveness.
Thank you for following this guide, and we hope it has been helpful. Happy sealing!
Conclusion
Sealing a sink is an important task that helps protect your kitchen or bathroom from potential water damage. By following the step-by-step instructions outlined in this guide, you can effectively seal your sink and prevent leaks and other issues.
Remember to properly prepare the sink by removing any old caulk or residue. Clean the area thoroughly to ensure a strong bond between the sink and the sealant. Apply the chosen sealant, whether it’s plumber’s putty or silicone caulk, with precision and smooth it out for a professional finish. Allow the sealant to dry and cure before testing the seal for any signs of leakage.
Maintaining a watertight seal around your sink is essential for a healthy and functional kitchen or bathroom. Regularly monitor the seal and address any signs of wear or damage promptly to ensure its long-lasting effectiveness.
We hope this guide has been helpful in guiding you through the process of sealing your sink. Remember, taking the time to properly seal your sink now can save you from potential headaches and costly repairs in the future.
Thank you for reading, and happy sealing!
Frequently Asked Questions about How To Seal A Sink
Was this page helpful?
At Storables.com, we guarantee accurate and reliable information. Our content, validated by Expert Board Contributors, is crafted following stringent Editorial Policies. We're committed to providing you with well-researched, expert-backed insights for all your informational needs.


0 thoughts on “How To Seal A Sink”