
Articles
How To Store A Charcuterie Board
Modified: January 16, 2024
Learn how to store a charcuterie board with these helpful articles. Keep your meats and cheeses fresh and your board looking beautiful.
(Many of the links in this article redirect to a specific reviewed product. Your purchase of these products through affiliate links helps to generate commission for Storables.com, at no extra cost. Learn more)
Introduction
Charcuterie boards have become increasingly popular, not just for special occasions but also as an everyday indulgence. These visually appealing spreads of cured meats, cheeses, fruits, nuts, and other accompaniments are a treat for both the eyes and the taste buds. However, storing a charcuterie board properly is crucial to ensure the freshness and quality of the ingredients. In this article, we will guide you through the step-by-step process of storing a charcuterie board to maintain its flavors and presentation.
Whether you are hosting a party or simply preparing a charcuterie board for yourself, the key is to pay attention to the quality of the ingredients as well as the arrangement and storage of the board. By following a few simple steps, you can ensure that your charcuterie board remains appetizing and delicious for longer periods.
In the next sections, we will explore how to choose the right board, select the best ingredients, arrange the board, properly wrap and store it, and manage any leftovers. By the end of this guide, you will have all the knowledge you need to store a charcuterie board like a pro, keeping the flavors intact and ready to enjoy.
Key Takeaways:
- Impress your guests by storing a charcuterie board like a pro! Choose the right board, select high-quality ingredients, arrange with creativity, and wrap and store carefully to maintain freshness and flavors.
- Don’t let leftovers go to waste! Properly store meats, cheeses, fruits, and nuts in separate containers, label them, and enjoy the delightful flavors for days to come.
Read more: How To Store Charcuterie Board
Step 1: Choosing the Right Board
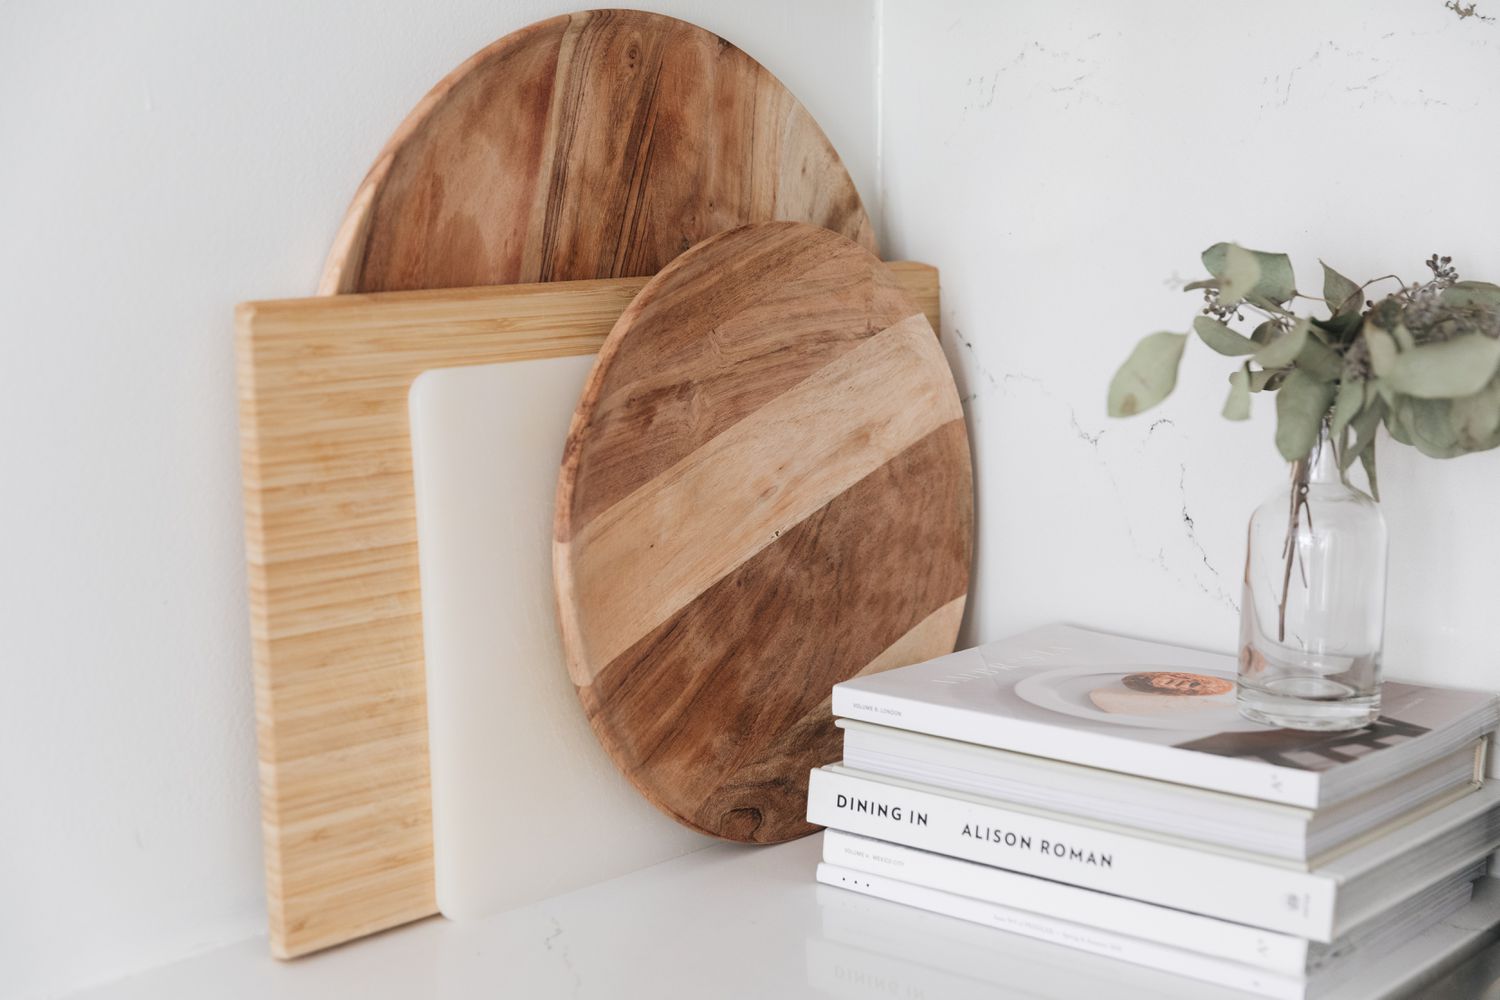
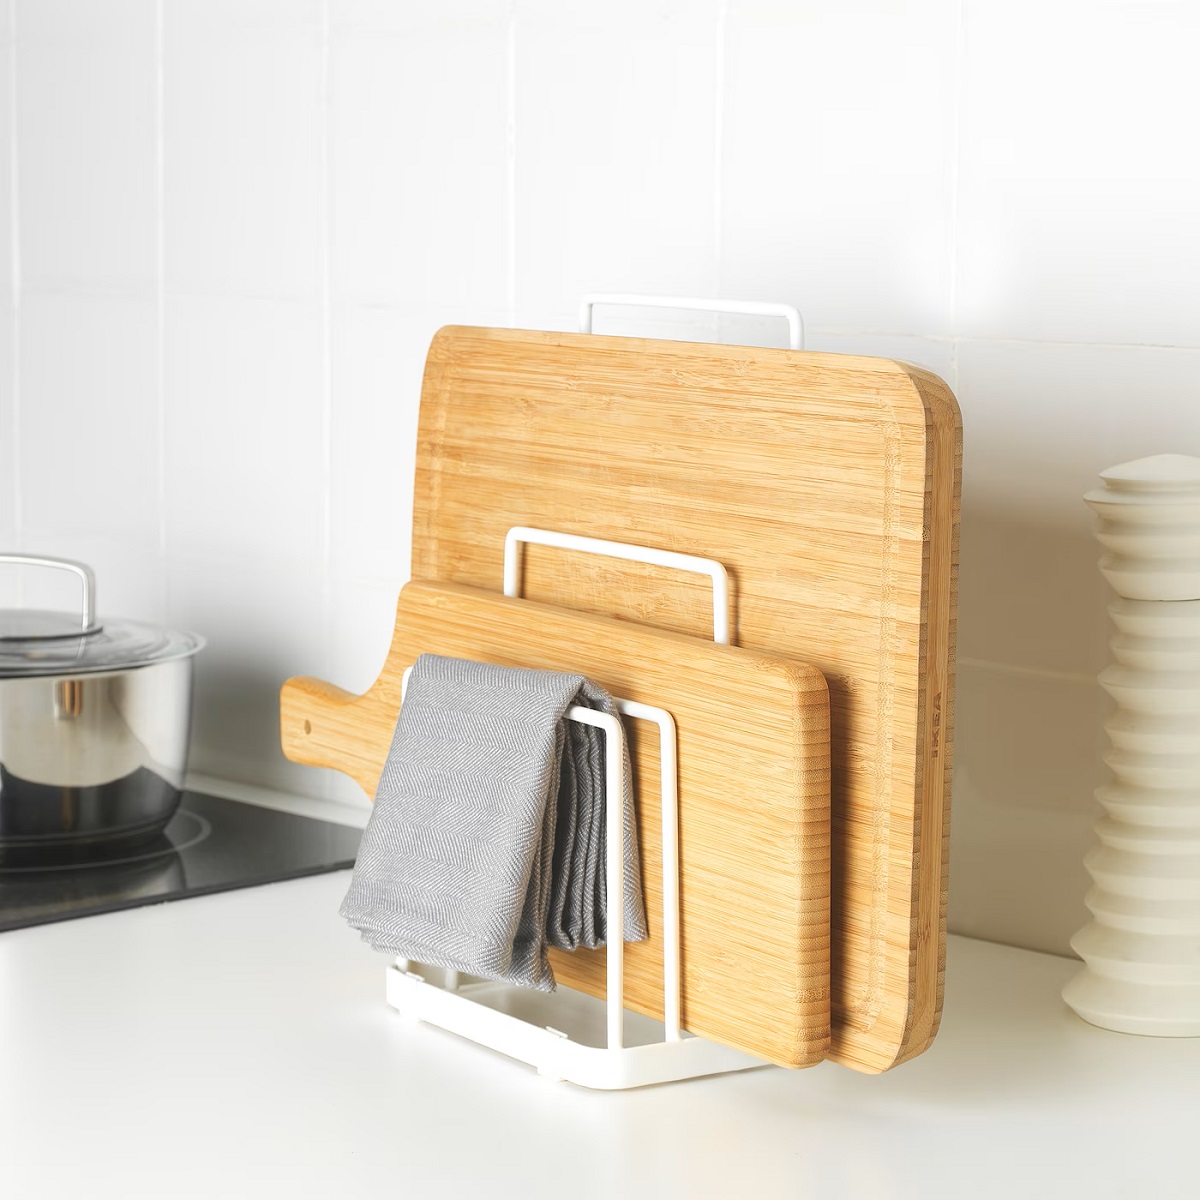
The first step in storing a charcuterie board is selecting the right board or platter. The board you choose should not only be aesthetically pleasing but also functional in terms of size and material.
When it comes to size, consider the amount of food you plan to serve. A larger board is ideal for hosting parties or serving a larger group, while a smaller board is suitable for intimate gatherings or personal enjoyment. Ensure that the board is large enough to hold all the ingredients without overcrowding, allowing room for easy arrangement and movement.
In terms of material, there are various options to choose from, including wooden boards, marble slabs, and slate platters. Each material has its own unique charm and characteristics. Wooden boards, for example, provide a rustic and warm appearance, while marble adds a touch of elegance. Consider the overall theme and style of your presentation, as well as the functionality of the board.
Another aspect to consider when choosing a board is its ease of cleaning. Opt for a board that is dishwasher safe or easy to clean by hand, as it will save you time and effort in the long run.
Lastly, if you plan to serve wet or juicy ingredients, it is recommended to choose a board with grooves or a lip to prevent any liquids from spilling onto the table or surrounding area. This will help maintain the cleanliness and presentation of the board.
By carefully considering these factors, you can choose a board that not only complements the aesthetic appeal of your charcuterie board but also serves its functional purpose effectively. Once you have selected the perfect board, you can proceed to the next step: selecting your charcuterie ingredients.
Step 2: Selecting Your Charcuterie Ingredients
The heart and soul of a charcuterie board lies in the selection of high-quality, flavorful ingredients. The key is to curate a diverse and balanced assortment of meats, cheeses, fruits, nuts, and other accompaniments that complement each other in terms of taste, texture, and appearance.
Start by choosing a variety of cured meats such as prosciutto, salami, and chorizo. Opt for thinly sliced meats that are easy to handle and offer a melt-in-your-mouth experience. Consider the flavors and textures of the meats, ensuring a mix of mild and bold flavors to cater to different palates.
Next, select a range of artisanal cheeses that provide a variety of tastes and textures. Include options such as soft and creamy brie, tangy and sharp cheddar, and crumbly and aged gouda. Add some variety by including both cow’s milk and goat’s milk cheeses to cater to different preferences.
Once you have chosen your meats and cheeses, it’s time to enhance the flavors with complementary ingredients. Include a selection of fresh and dried fruits like grapes, sliced apples, figs, or dried apricots, which add a touch of sweetness and a burst of color. Nuts like almonds, walnuts, and pistachios provide a satisfying crunch and add an earthy element to the board.
Don’t forget to include some spreads or condiments to elevate the flavors even further. Options like honey, mustard, jams, or chutneys can be served in small dishes alongside the board for guests to enjoy with their selections. These additional elements add depth and complexity to the overall taste experience.
Consider the dietary preferences and restrictions of your guests when selecting ingredients. Have some vegetarian or vegan options available, such as plant-based cheeses or vegetable pâtés. This ensures that everyone can enjoy the charcuterie board, regardless of their dietary choices.
Remember, the beauty of a charcuterie board lies in its variety and abundance. Aim for a well-balanced assortment of flavors, textures, and colors to create a visually stunning and culinary delight. Once you have carefully selected your ingredients, it’s time to move on to the next step: arranging the board.
Step 3: Arranging the Board
Arranging the charcuterie board is where you can unleash your creativity and create a visually appealing display. The goal is to arrange the ingredients in an organized yet artistic manner, ensuring easy access and an inviting presentation.
Start by placing the larger items first, such as the cheeses and bowls of spreads or condiments. Position them strategically around the board, leaving space for the meats, fruits, nuts, and other accompaniments.
When placing the meats, consider rolling or folding them to create interesting shapes and textures. Arrange them in a visually pleasing pattern, such as overlapping or fanning them out. This not only adds visual appeal but also makes it easier for guests to pick up the slices without disturbing the arrangement.
Next, add the fruits and nuts to the board. Scatter them around the meats and cheeses, ensuring a good distribution of flavors and colors. Play with different shapes and arrangements to create a balanced and visually captivating display.
Consider using small bowls or ramekins for messy or saucy ingredients like olives or dips. This helps contain any spills and keeps the board looking tidy. Place these bowls strategically around the board, balancing them with the other elements.
Finally, garnish the board with fresh herbs or edible flowers to add a pop of color and a touch of elegance. Sprinkle them lightly throughout the arrangement, ensuring they enhance the overall aesthetic without overpowering the flavors of the main ingredients.
Remember, a well-arranged charcuterie board is not just visually appealing but also functional. Ensure that each ingredient is easily accessible and that guests can navigate the board effortlessly. This way, they can enjoy the different flavors and combinations without any hassle.
Take your time while arranging the board, experimenting with different layouts and combinations. The end result should be a beautiful and enticing display that sets the stage for the delicious culinary experience to follow. With the board skillfully arranged, it’s time to move on to the next step: wrapping and storing it.
When storing a charcuterie board, wrap it tightly in plastic wrap or aluminum foil to prevent the meats and cheeses from drying out. Store it in the refrigerator to keep it fresh for longer.
Step 4: Wrapping and Storing the Charcuterie Board
Once your charcuterie board is arranged to perfection, it’s important to properly wrap and store it to maintain its freshness and presentation. This step ensures that the flavors of the ingredients are preserved and the board is protected from any external factors.
Before wrapping, consider the type of board or platter you are using. If it is made of wood or has a porous surface, line it with parchment or wax paper to create a protective barrier between the ingredients and the board. This will prevent any oils or juices from seeping into the board and causing damage.
When it comes to wrapping, there are a few options to consider. If you’re storing the charcuterie board in the refrigerator for a short period of time, you can use plastic wrap or aluminum foil to cover the entire board. Make sure it is wrapped tightly to maintain freshness and prevent any air from entering.
For a longer storage period or if you need to transport the board, consider using a large airtight container. This helps to maintain the freshness of the ingredients and prevents any flavors from mingling. Place the wrapped board gently inside the container, making sure it is secure and won’t shift during transport or storage.
It’s important to note that certain ingredients may require special care. For example, if you have soft or delicate cheeses, you may want to wrap them separately in wax paper or place them in a small airtight container to prevent them from becoming mushy or absorbing other flavors.
Additionally, if your charcuterie board includes perishable items like seafood or dairy-based dips, it’s best to store them separately in the refrigerator and add them fresh when you’re ready to serve. This ensures optimal quality and prevents any risk of spoilage.
Remember to label the storage container or wrap with the date and contents. This will help you keep track of freshness and ensure you consume the charcuterie board within a reasonable timeframe.
By properly wrapping and storing your charcuterie board, you can extend its shelf life and ensure that it remains appetizing and delightful for longer periods. With the board securely wrapped and stored, let’s move on to the final step: properly storing leftovers.
Read more: How To Organize A Charcuterie Board
Step 5: Properly Storing Leftovers
After enjoying your charcuterie board, it’s inevitable to have some leftovers. To avoid waste and prolong the enjoyment of your delicious spread, it’s important to store the leftovers properly. By following a few simple guidelines, you can ensure that the flavors and textures of the ingredients are preserved.
First and foremost, it’s advisable to separate the different components of the charcuterie board when storing leftovers. Meats, cheeses, fruits, and nuts should be stored in separate airtight containers or resealable bags to maintain their individual qualities.
If there are any dips, sauces, or spreads leftover, transfer them to small airtight containers and store them separately as well. This prevents cross-contamination and allows you to enjoy them again without compromising their flavors.
When it comes to meats, remove them from the board and place them in a separate container. If the meats were pre-sliced, layer them with parchment or wax paper to prevent sticking. This makes it easier to grab small portions or mix them into other dishes later.
Soft and semi-soft cheeses like brie or camembert should be wrapped in wax or parchment paper before transferring them to an airtight container or resealable bag. This helps maintain their creaminess and prevents them from becoming dry or hard.
Hard cheeses can be tightly wrapped in wax paper or plastic wrap and stored in a cool area, such as the refrigerator’s cheese drawer. Just make sure to use a different container or bag for each type of cheese to avoid cross-contamination of flavors.
Fruits and nuts can be stored in separate containers or bags, depending on the quantity. If you have a large amount of leftovers, consider using vacuum-sealed bags to maintain freshness and prevent them from becoming stale.
Remember to label each container or bag with the date and contents. This helps you keep track of freshness and also makes it easier to find specific leftovers when you’re ready to enjoy them again.
Leftovers should be consumed within 2-3 days to ensure optimal quality. If you’re looking to repurpose the leftovers, consider incorporating them into salads, sandwiches, or omelets to create new and exciting dishes.
By properly storing leftovers, you minimize waste and maximize the enjoyment of your charcuterie board. Whether you’re savoring the leftovers the next day or transforming them into new creations, you can savor the flavors of your charcuterie experience for days to come.
With the leftovers properly stored and ready for future enjoyment, you have successfully completed all the steps required to store a charcuterie board like a pro. By investing a little time and effort in the arrangement, wrapping, and storage of your board, you can ensure its longevity and maintain the freshness and flavors of the delectable ingredients.
Now, go ahead and impress your family and friends with your charcuterie board skills. Cheers to many delightful moments and memorable gatherings over a beautifully stored and deliciously satisfying charcuterie spread!
Conclusion
Storing a charcuterie board properly is essential to maintain the freshness, flavors, and presentation of the ingredients. By following the step-by-step guide outlined in this article, you can ensure that your charcuterie board remains appetizing and enjoyable for longer periods.
Choosing the right board that is both aesthetically pleasing and functional sets the foundation for a well-presented charcuterie spread. Selecting high-quality ingredients, such as a variety of cured meats, artisanal cheeses, fruits, nuts, and complementary spreads, adds depth and complexity to the flavors.
Arranging the board in an organized and artistic manner not only creates a visually appealing display but also ensures that guests can easily access and enjoy the different components. Wrapping and storing the charcuterie board, using plastic wrap, aluminum foil, or airtight containers, helps to maintain freshness and protect the board.
Properly storing leftovers in separate containers or bags helps to preserve each ingredient’s individual qualities and prevents flavor contamination. Labeling the containers with the date and contents allows for easy identification and ensures the leftovers are consumed within a reasonable time frame.
By following these steps and investing a little time and effort, you can store a charcuterie board like a pro and enjoy the delightful flavors and visual appeal of your spread for days to come.
So, whether you’re hosting a party, having a romantic picnic, or simply treating yourself to a luxurious snack, take advantage of these tips to create a stunning and delicious charcuterie board and ensure that every bite is as fresh and enjoyable as the first.
Cheers to the art of charcuterie and the joy it brings to our taste buds and gatherings!
Frequently Asked Questions about How To Store A Charcuterie Board
Was this page helpful?
At Storables.com, we guarantee accurate and reliable information. Our content, validated by Expert Board Contributors, is crafted following stringent Editorial Policies. We're committed to providing you with well-researched, expert-backed insights for all your informational needs.


0 thoughts on “How To Store A Charcuterie Board”