
Articles
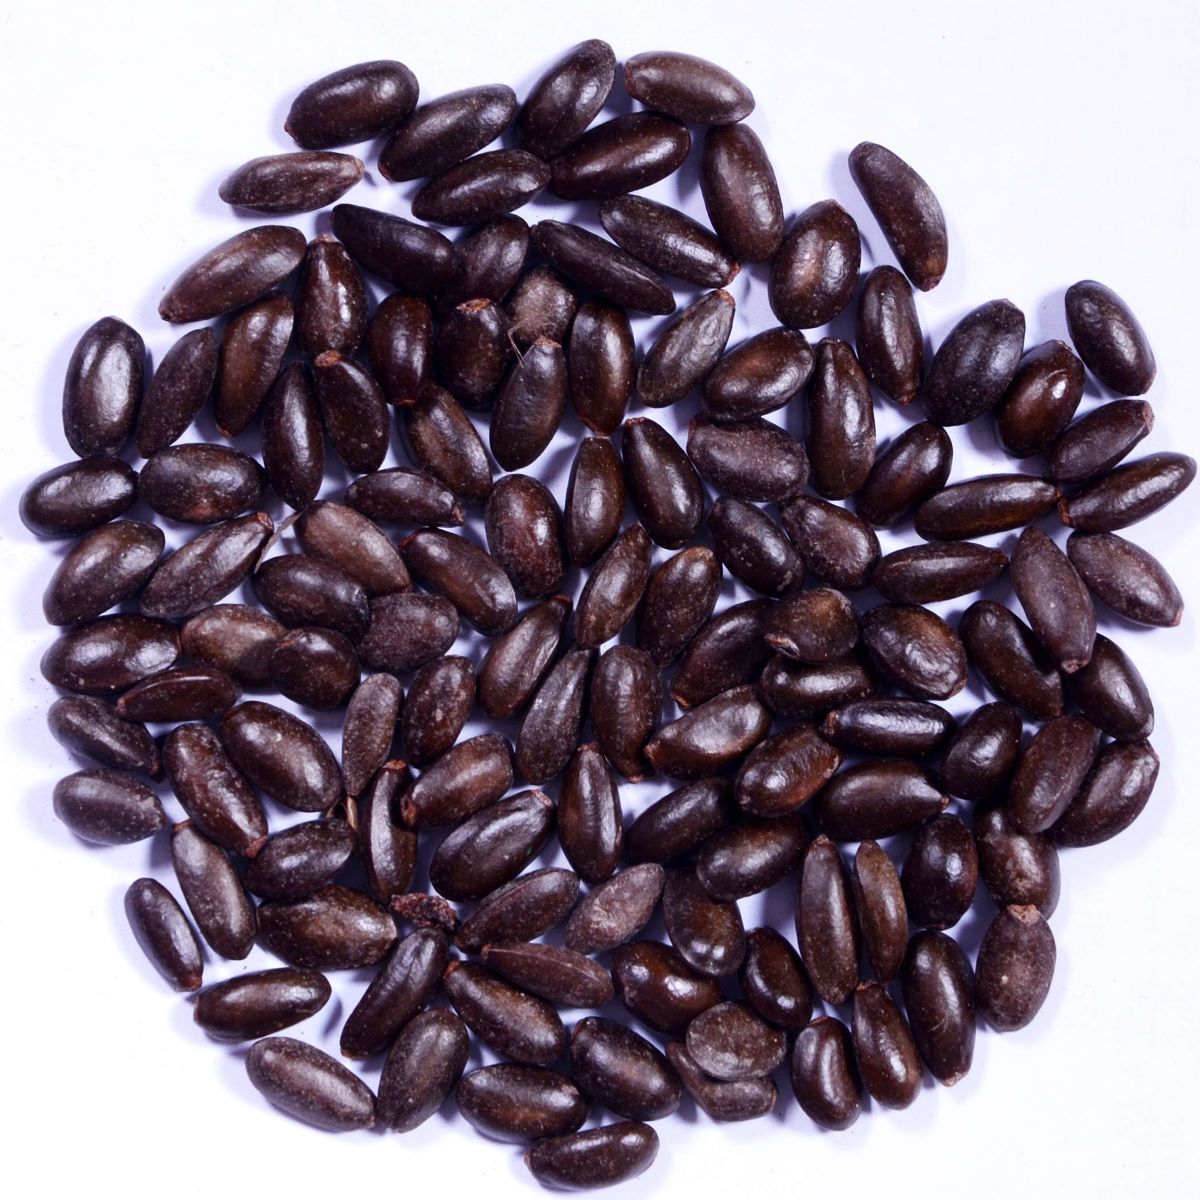
How To Store Apple Seeds
Modified: September 1, 2024
Learn how to store apple seeds properly with these helpful articles. Discover the best techniques for preserving and saving apple seeds for future use.
(Many of the links in this article redirect to a specific reviewed product. Your purchase of these products through affiliate links helps to generate commission for Storables.com, at no extra cost. Learn more)
Introduction
Welcome to the world of apple seeds! Have you ever wondered what to do with all those apple seeds left over after indulging in a delicious apple? Instead of throwing them away, why not consider storing them for future use? Apple seeds have the potential to become beautiful apple trees, and by storing them properly, you can have a ready supply of seeds to plant when the time is right.
In this article, we will explore the various methods of storing apple seeds and provide you with expert tips to ensure their viability. Whether you’re an avid gardener or simply interested in exploring the wonders of nature, learning how to store apple seeds can be a rewarding and educational experience.
Before we delve into the different storage methods, it’s important to understand the preparation involved in ensuring the seeds are in optimal condition for storage.
Key Takeaways:
- Properly preparing and storing apple seeds can lead to successful germination and future apple tree growth. Whether through drying and storing, cold stratification, or immediate planting, each method offers unique advantages for seed preservation.
- Expert tips for successful seed storage, such as choosing mature seeds, labeling containers, and maintaining a stable environment, are essential for preserving the vitality of apple seeds. With the right techniques, you can embark on a rewarding seed-saving journey and enjoy the wonders of growing your own apple trees.
Read more: How To Plant Sprouted Apple Seeds
Preparing the Apple Seeds
Before storing apple seeds, it’s essential to properly prepare them to maximize their chances of successful germination. Here are the steps to follow:
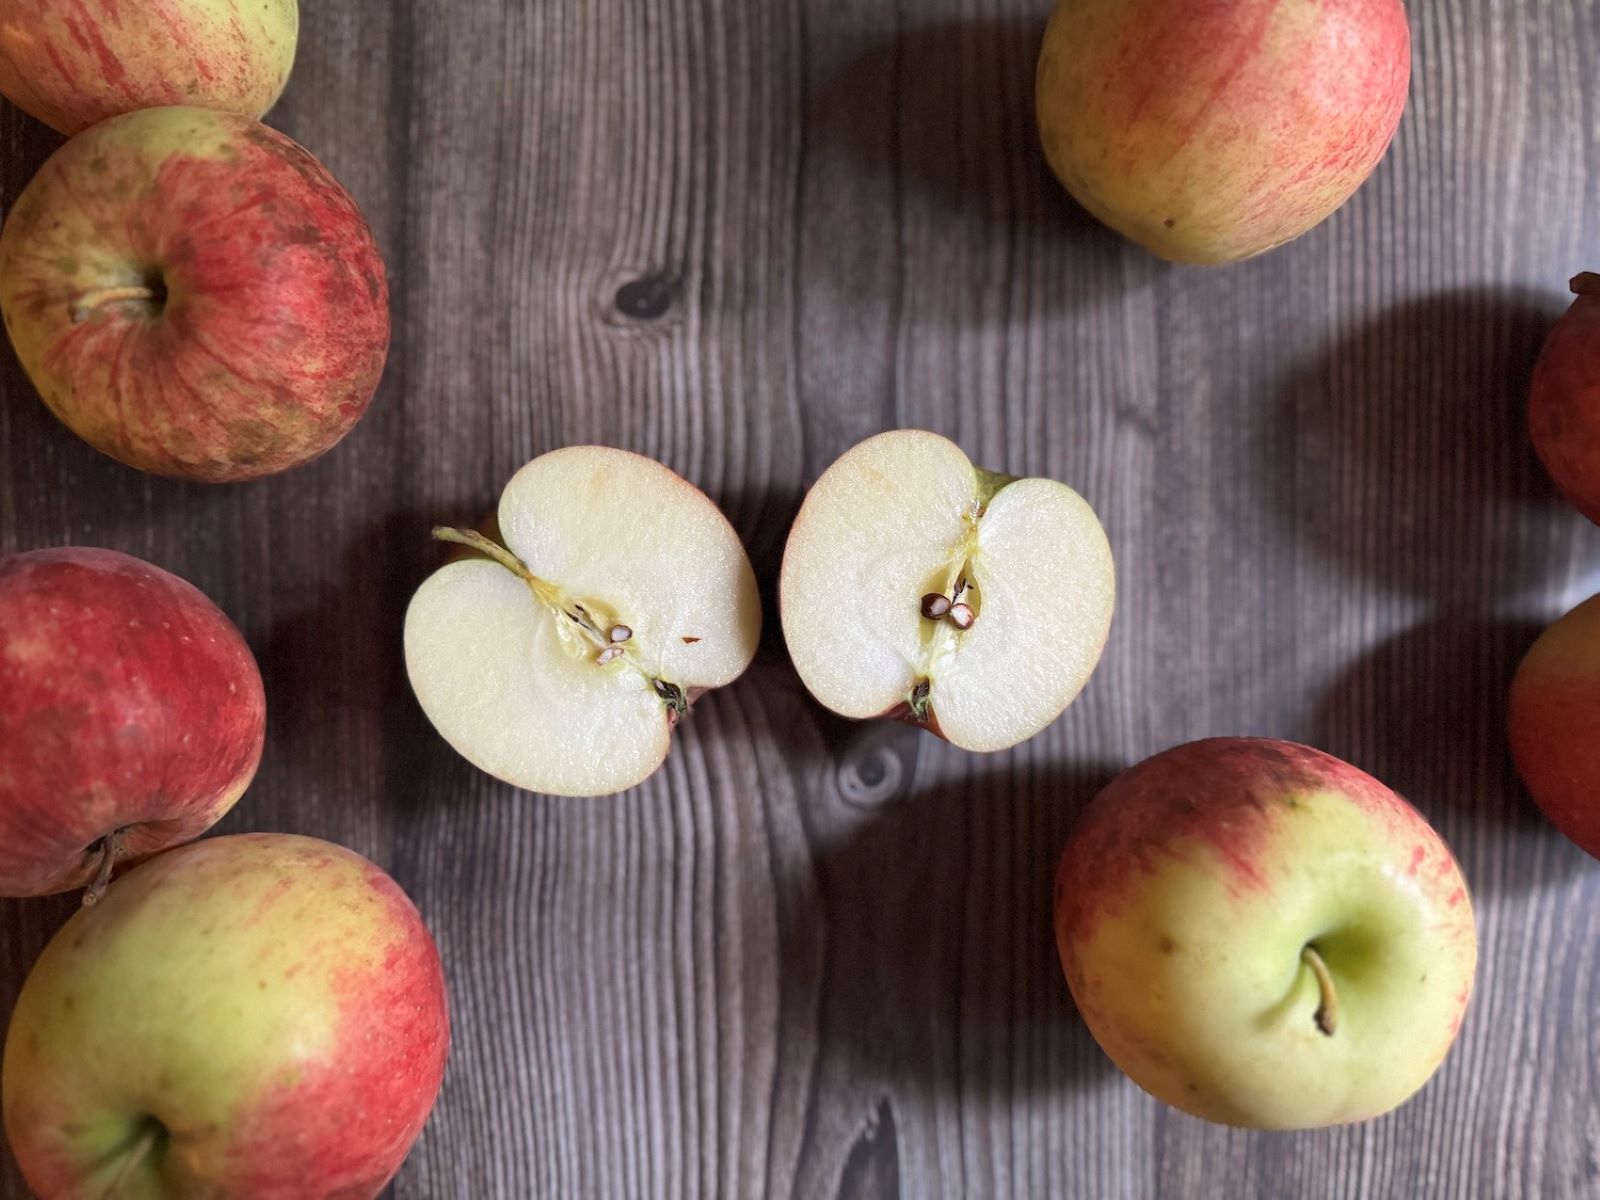
- Extract the seeds: Cut open an apple and carefully remove the seeds using a spoon or your fingers. Make sure to separate any fruit or flesh from the seeds as this can affect their storage and germination.
- Clean the seeds: Rinse the seeds under running water to remove any remaining fruit residue. Gently rub them with your fingers to ensure they are completely clean.
- Drying the seeds: Place the seeds on a clean paper towel or a mesh drying rack in a well-ventilated area. Allow them to air dry for about a week or until they are completely dry. It’s crucial to ensure the seeds are thoroughly dried before storage, as any moisture can lead to mold or rotting.
- Labeling: Once the seeds are dry, it’s important to label them with the apple variety and the date of extraction. This way, you can easily keep track of the seeds and their freshness.
Now that you have successfully prepared the apple seeds, it’s time to choose the storage method that best suits your needs.
Choosing the Storage Method
When it comes to storing apple seeds, you have several options to consider. The choice of storage method depends on your long-term plans and the resources available to you. Here are three common methods:
- Method 1: Drying and Storing: This method involves thoroughly drying the apple seeds and storing them in a cool, dry place. After ensuring the seeds are completely dry, place them in a small envelope or airtight container. Be sure to label the container with the apple variety and date of storage. Store the seeds in a cool, dark location such as a refrigerator or a basement. This method can keep the seeds viable for up to two years.
- Method 2: Cold Stratification: Cold stratification mimics the natural conditions that apple seeds experience during winter. This method involves placing the seeds in a damp paper towel or a plastic bag with some moistened vermiculite or peat moss. Seal the bag or paper towel and place it in the refrigerator for about 10-12 weeks. Cold stratification breaks the seed dormancy and prepares them for successful germination. After the stratification period, you can either store the seeds using Method 1 or proceed with planting them immediately.
- Method 3: Planting Immediately: If you have immediate plans to start a new batch of apple trees, you can skip the storage process altogether and plant the seeds directly. Be sure to follow proper planting guidelines, such as providing adequate soil, water, and sunlight for successful germination and growth.
Now that you’re familiar with the different storage methods, it’s time to explore tips for successful seed storage.
Method 1: Drying and Storing
One of the most common and straightforward ways to store apple seeds is through the drying and storing method. Here’s how you can do it:
- Start by ensuring that the apple seeds are clean, free from any fruit or flesh. Rinse them under running water and gently rub them with your fingers to remove any residue.
- Next, spread the seeds in a single layer on a clean paper towel or a mesh drying rack. Place them in a well-ventilated area, away from direct sunlight.
- Allow the seeds to air dry for about a week or until completely dry. It’s crucial to ensure that the seeds are thoroughly dried, as any moisture can lead to mold or rotting during storage.
- After the seeds have dried, transfer them to a small envelope or an airtight container. Label the container with the apple variety and the date of storage for easy reference.
- Find a cool, dry place for storage, such as a refrigerator or a room with low humidity. Make sure the temperature remains relatively constant, between 32 to 41°F (0 to 5°C).
- Check the seeds periodically and discard any that show signs of mold or decay. This will help prevent the spread of contamination to the rest of the stored seeds.
- The dried apple seeds can remain viable for up to two years when stored using this method.
By following these steps, you can effectively store apple seeds for future planting or to share with fellow gardening enthusiasts.
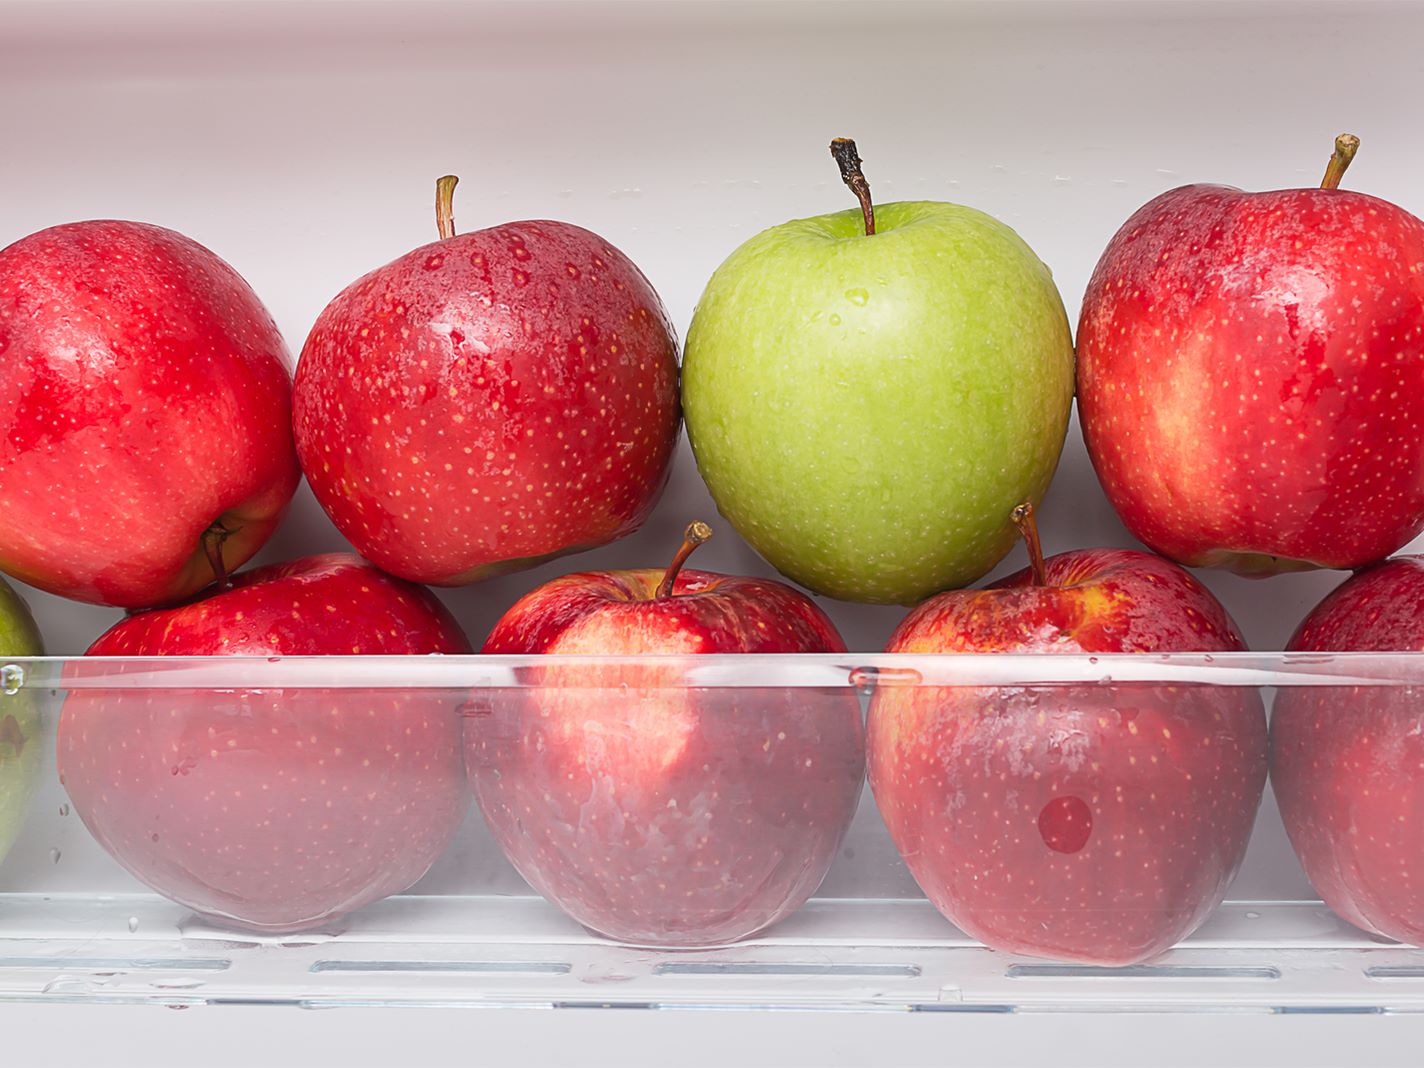
Store apple seeds in a cool, dry place, such as a sealed container in the refrigerator. Make sure the seeds are completely dry before storing to prevent mold growth.
Method 2: Cold Stratification
If you want to enhance the germination of your apple seeds and mimic the natural conditions they experience during winter, cold stratification is an excellent method to consider. Here’s how you can cold stratify your apple seeds:
- Start by preparing a damp paper towel or a plastic bag with some moistened vermiculite or peat moss.
- Place the apple seeds on the damp paper towel or mix them with the vermiculite/peat moss in the plastic bag.
- Seal the bag or fold the paper towel to create a closed environment for the seeds.
- Label the bag or paper towel with the apple variety and the date of stratification for future reference.
- Transfer the bag or paper towel to the refrigerator.
- Allow the seeds to cold stratify for about 10-12 weeks. This mimics the winter period that breaks the seed dormancy, promoting successful germination.
- Regularly check the seeds during stratification to ensure the paper towel remains moist or the vermiculite/peat moss stays damp. Add some water if necessary, but be careful not to oversaturate the seeds.
- After the stratification period, you can choose to store the seeds using Method 1 (drying and storing) or proceed with planting them immediately.
Cold stratification can significantly improve the germination rate of apple seeds, especially for varieties that require a cold period to break dormancy. It’s important to note that not all apple varieties require stratification, so be sure to research the specific requirements of the apple variety you’re working with.
Now that you’re familiar with the cold stratification method, let’s explore another option: planting the seeds immediately.
Read more: How Much Cyanide Is In An Apple Seed
Method 3: Planting Immediately
If you’re eager to begin growing apple trees right away or have specific plans for immediate planting, you can skip the seed storage process altogether and plant the seeds directly. Here’s how:
- Start by selecting healthy and ripe apple seeds from your fresh apple.
- Prepare a suitable planting container or seed tray. Make sure it has drainage holes to prevent waterlogging.
- Fill the container with a well-draining potting mix or a combination of peat moss and perlite.
- Moisten the soil to ensure it is evenly damp but not overly saturated.
- Place the apple seeds on top of the soil, leaving a few inches of space between each seed.
- Gently press the seeds into the soil, ensuring they are covered with a thin layer of soil, about ¼ to ½ inch deep.
- Water the seeds lightly, taking care not to displace them or cause the soil to become waterlogged.
- Place the container or seed tray in a warm location with plenty of sunlight or under grow lights.
- Keep the soil consistently moist but not waterlogged throughout the germination process.
- Be patient, as germination can take several weeks to a few months, depending on the apple variety.
- Once the seedlings have grown a few inches tall, you can transplant them into larger pots or directly into the ground, depending on your growing plans.
Planting apple seeds immediately can be an exciting and rewarding experience, as you watch the seeds transform into young seedlings. Keep in mind that apple trees grown from seeds may not be true to the parent tree and may exhibit different characteristics. However, this can lead to exciting surprises and unique apple varieties.
Now that you’re familiar with the three methods of storing apple seeds, let’s explore some expert tips to ensure successful seed storage.
Tips for Successful Seed Storage
Proper storage is crucial to maintain the viability of your apple seeds. Follow these expert tips to ensure successful seed storage:
- Choose mature seeds: Select seeds from fully ripened apples as they are more likely to result in healthy and viable seedlings.
- Thoroughly dry the seeds: Before storing, make sure the seeds are completely dry to prevent mold or rot. Air drying them for at least a week is recommended.
- Label and date your storage containers: Properly labeling your containers with the apple variety and the date of storage will help you keep track of the freshness of your seeds.
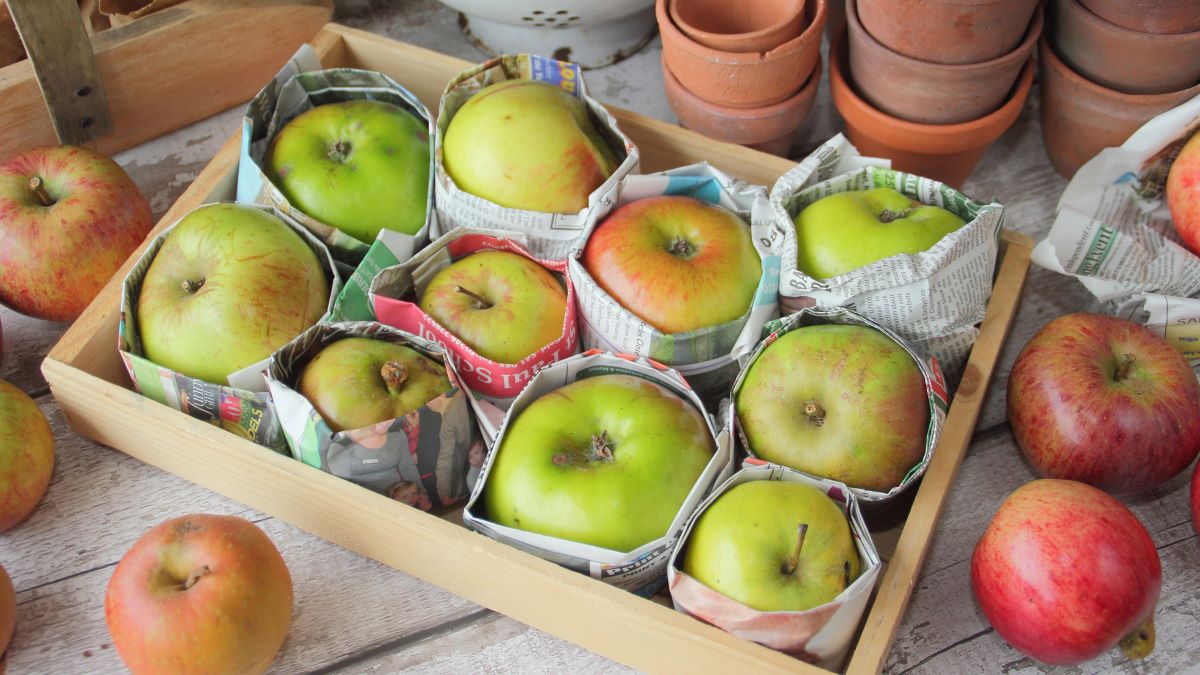
- Store in a cool, dark place: Find a location with consistent temperature and low humidity, such as a refrigerator or cool basement.
- Keep the seeds in airtight containers: Use small envelopes, glass jars, or airtight plastic containers to protect the seeds from moisture and pests. Ensure they are properly sealed.
- Regularly check for mold or decay: Periodically inspect your stored seeds and discard any that show signs of mold or decay to prevent contamination.
- Maintain a stable environment: Avoid exposing the seeds to fluctuating temperatures or extreme heat. Sudden changes can negatively impact seed viability.
- Rotate your seed stock: To ensure a fresh supply of seeds, periodically use and replenish your stored seeds. Discard any seeds older than two years.
- Consider long-term storage options: If you plan to store seeds for an extended period, freezing them in moisture-proof containers can help maintain their viability.
- Research specific apple variety requirements: Different apple varieties may have specific storage needs or may require stratification. Research the specific requirements of the apple variety you’re working with.
By following these tips, you can increase the chances of preserving the vitality of your apple seeds for successful germination and future growth.
Now that you have a comprehensive understanding of storing apple seeds, you’re ready to embark on your seed-saving journey and unlock the wonders of growing your own apple trees. Happy gardening!
Conclusion
Storing apple seeds is a rewarding endeavor that allows you to preserve and propagate the potential of apple trees. Whether you plan to grow your own apple orchard or simply want to explore the wonders of nature, knowing how to properly store apple seeds is essential.
In this article, we discussed three methods of storing apple seeds: drying and storing, cold stratification, and planting immediately. Each method offers its own advantages depending on your specific goals and resources.
By drying and storing the seeds, you can ensure a ready supply of seeds for future planting. Cold stratification helps break seed dormancy and can significantly improve germination rates. Planting the seeds immediately provides an instant start to growing apple trees.
Remember to follow the necessary steps to prepare the seeds for storage, such as cleaning and drying them thoroughly. Proper labeling and choosing suitable storage containers are crucial for maintaining organization and seed viability. Additionally, rotating your seed stock and regularly checking for mold or decay are important for seed health.
Whether you choose to store the seeds for a short period or for extended periods using freezing techniques, it’s important to understand the specific requirements of the apple variety you are working with.
Now that you have the knowledge and insights, you can confidently embark on your seed-saving journey. With proper storage techniques and a little patience, you can nurture apple seeds into thriving apple trees, bringing the joy of fresh apples right to your doorstep.
So, go ahead and start storing those apple seeds. Unlock the magic of nature, and enjoy the bountiful rewards that come with growing your own apple trees. Happy seed saving!
Frequently Asked Questions about How To Store Apple Seeds
Was this page helpful?
At Storables.com, we guarantee accurate and reliable information. Our content, validated by Expert Board Contributors, is crafted following stringent Editorial Policies. We're committed to providing you with well-researched, expert-backed insights for all your informational needs.


0 thoughts on “How To Store Apple Seeds”