Home>Garden Essentials>How To Grow An Apple Tree From A Seed

Garden Essentials
How To Grow An Apple Tree From A Seed
Modified: March 16, 2024
Learn how to grow an apple tree from a seed in your garden. Step-by-step guide for successful gardening and cultivating your own apple tree.
(Many of the links in this article redirect to a specific reviewed product. Your purchase of these products through affiliate links helps to generate commission for Storables.com, at no extra cost. Learn more)
Introduction
Growing an apple tree from a seed can be a rewarding and fulfilling experience for gardeners. It allows you to witness the magic of nature as a tiny seed transforms into a majestic tree bearing sweet and delicious apples. While it may require some patience and dedication, the process can be incredibly satisfying.
In this article, we will guide you through the steps of growing an apple tree from a seed. From selecting the right seed to caring for the young tree and finally harvesting its fruits, we will provide you with the knowledge and techniques to successfully nurture your apple tree.
Before we delve into the exciting journey of growing an apple tree, it’s important to note that growing a tree from a seed is a longer and less predictable process compared to grafting or using saplings. Apple trees grown from seeds may not produce the same type of apples as the parent tree, as there is genetic variability in the offspring. However, this uncertainty can also lead to fun surprises and unique fruit varieties.
Now, let’s get started on our apple tree growing adventure!
Key Takeaways:
- Growing an apple tree from a seed is a rewarding journey that requires patience and care. From selecting quality seeds to nurturing the young tree, the process is filled with wonder and satisfaction.
- By providing the right conditions and care, you can watch a tiny apple seed grow into a majestic tree bearing delicious fruits. Embrace the adventure of growing your own apple tree and enjoy the bountiful harvest.
Read more: How Long To Grow Apple Tree From Seed
Selecting an Apple Seed
When it comes to growing an apple tree from a seed, selecting the right seed is crucial for success. While it may be tempting to simply pick up an apple from the grocery store and plant the seeds, it’s important to understand that not all apple varieties are suitable for seed germination.
For the best results, it is recommended to obtain apple seeds from a reputable source that specializes in apple cultivation. This ensures that the seeds are of good quality and have a higher chance of germinating successfully.
When selecting the apple seed, consider the variety of apple you wish to grow. Are you looking for a sweet, tart, or crisp apple? Do you have a specific color or texture preference? It’s important to choose a variety that suits your taste and climate conditions.
Additionally, keep in mind that apple trees do not grow true to seed. This means that the apple grown from a seed may not have the same characteristics as the parent tree. However, this can also be an exciting aspect of growing from seed, as you may discover new and unique apple varieties.
Once you have chosen the apple variety, carefully remove the seeds from the core of a ripe apple. Rinse the seeds with water to remove any residue and allow them to air dry. It’s important to note that apple seeds need to go through a process called stratification to ensure successful germination. Stratification involves exposing the seeds to cold temperatures for a specific period, mimicking the natural conditions required to break their dormancy.
In the next section, we will discuss how to prepare the apple seed for planting and provide step-by-step instructions to ensure successful germination.
Preparing the Seed for Planting
Once you have selected the apple seeds for planting, it is essential to properly prepare them to maximize the chances of successful germination. Here are the steps to follow:
- Stratification: Apple seeds require a period of cold stratification to break their dormancy. This process can be achieved by placing the seeds in a container with moistened peat moss or vermiculite. Seal the container and store it in the refrigerator for about 8-10 weeks. This chilling period helps to simulate winter conditions and prepares the seeds for germination.
- Sowing Medium: While the seeds are undergoing stratification, it’s important to prepare the sowing medium. Use a well-draining mixture of peat moss and perlite or a seed-starting mix. Fill small pots or seed trays with the sowing medium and lightly tamp it down.
- Planting the Seeds: Once the stratification period is complete, remove the seeds from the container and gently rinse off any residual peat moss or vermiculite. Plant them in the prepared pots or seed trays by pressing the seeds about half an inch into the sowing medium. Space the seeds apart to allow room for growth.
- Moisture and Light: After planting the seeds, ensure that the sowing medium is moist but not soaking wet. Place the pots or seed trays in a warm location with indirect sunlight. Avoid exposing the seeds to direct sunlight, as it can cause them to dry out or overheat.
- Patience and Monitoring: Germination can take anywhere from a few weeks to a few months, so it’s important to be patient. Regularly check the pots or seed trays for moisture and mist them if the sowing medium appears dry. Avoid overwatering, as it can lead to root rot.
By properly preparing the apple seeds for planting, you are providing them with the optimal conditions to germinate and grow into healthy seedlings. In the next section, we will discuss the process of germinating the apple seeds and nurturing the young seedlings.
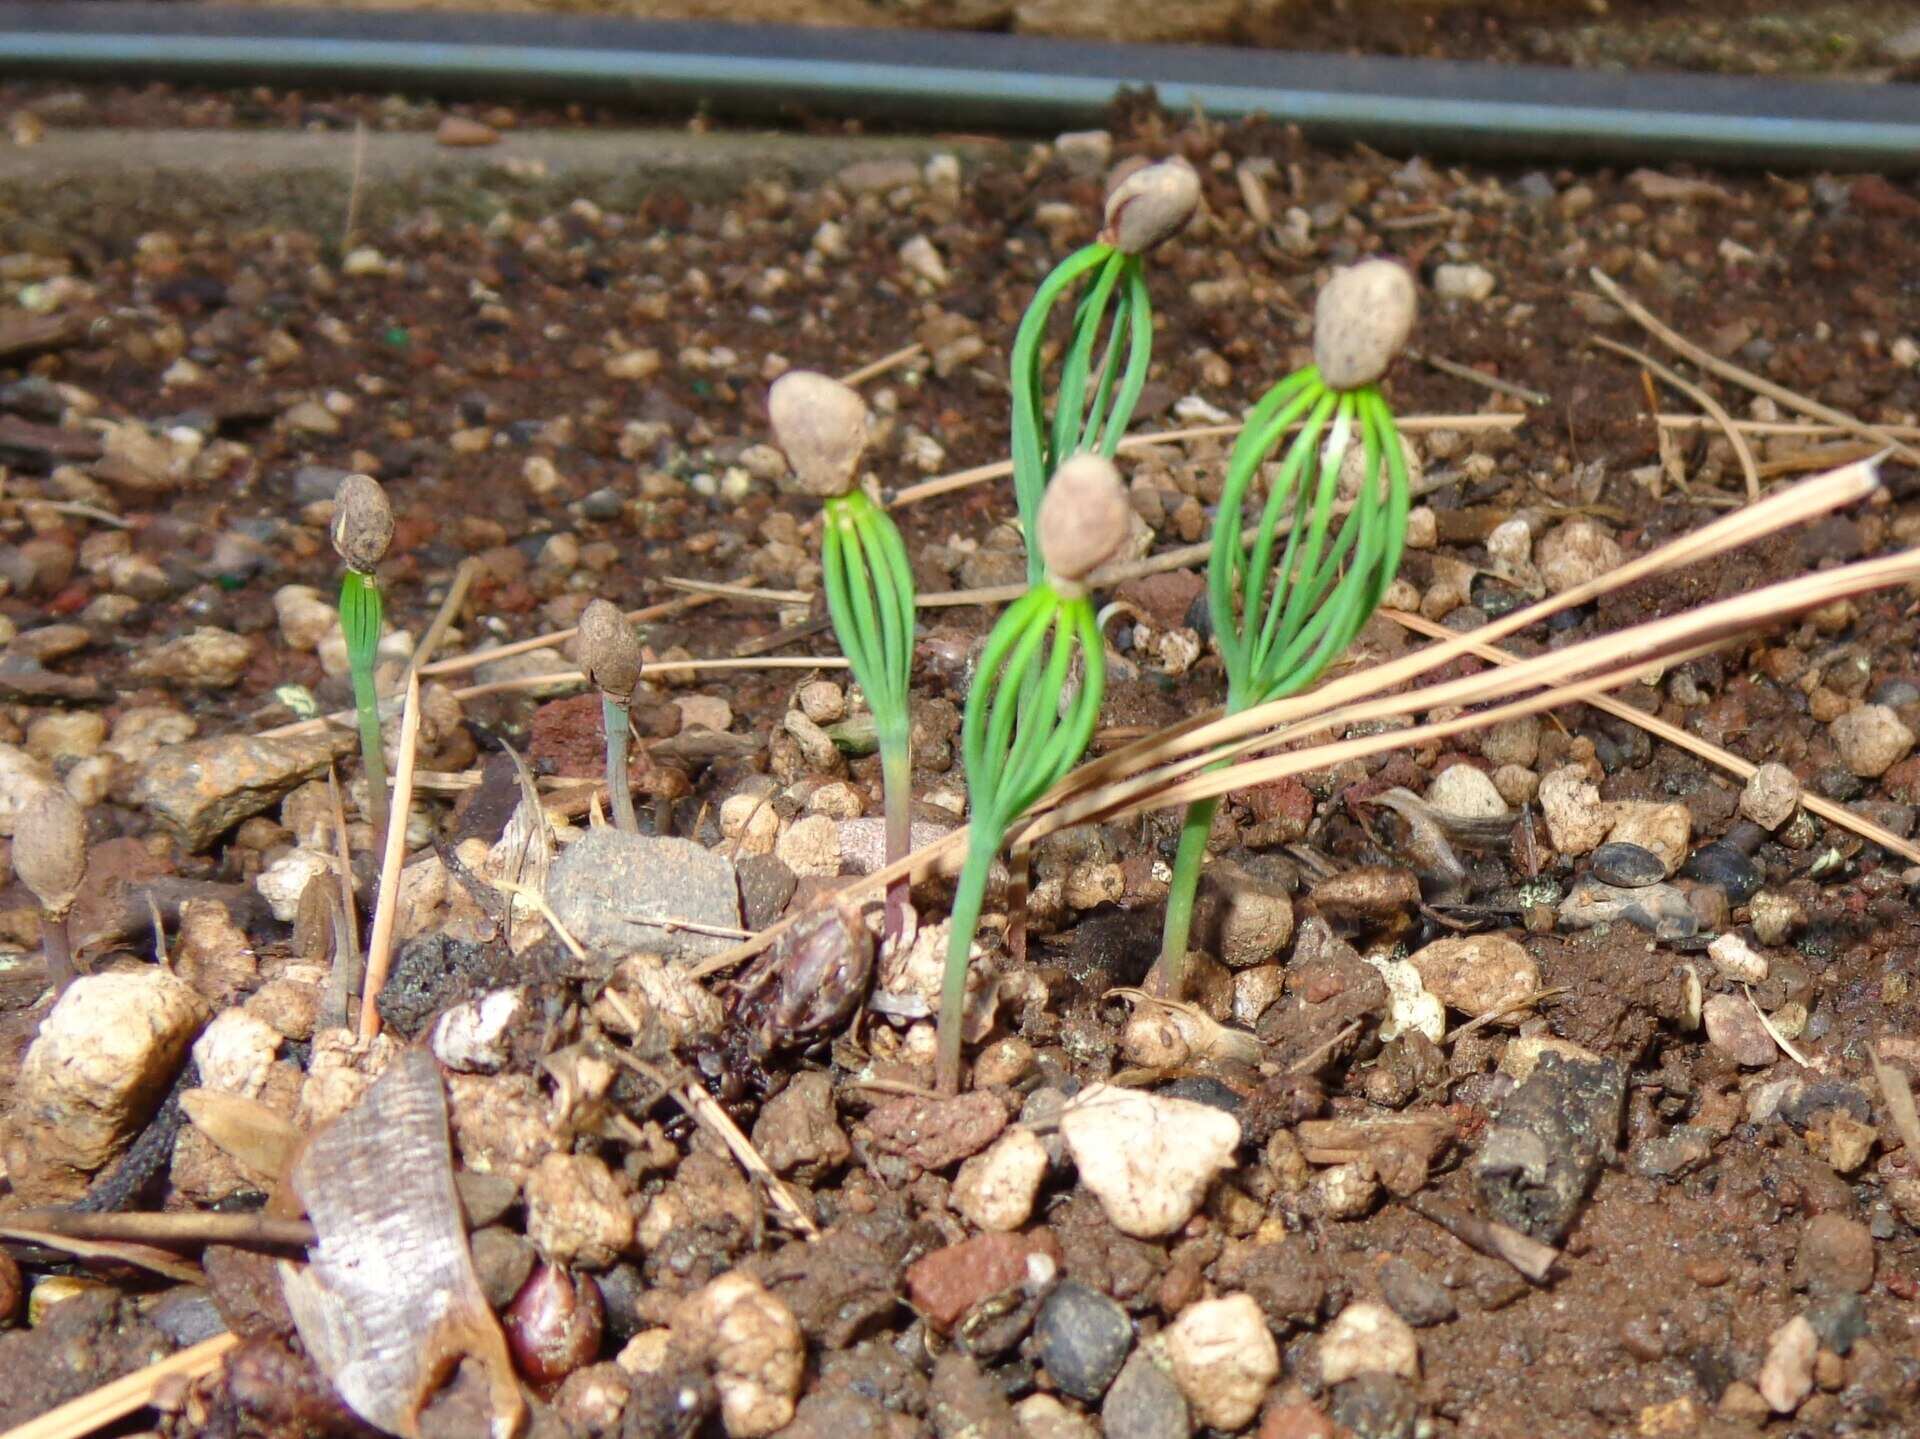
Germinating the Apple Seed
Germinating apple seeds is an exciting and rewarding process that requires patience and attention to detail. Here are the steps to follow in order to germinate the apple seed successfully:
- Warm Temperatures: After planting the apple seeds, it is important to maintain a warm environment for germination. The optimal temperature range for germinating apple seeds is between 70-75°F (21-24°C). You can use a heat mat or place the pots/seed trays in a warm location to provide consistent warmth.
- Moisture: Monitor the moisture level of the sowing medium and ensure that it remains consistently moist but not waterlogged. Mist the surface of the medium with water whenever it appears dry. Avoid overwatering, as it can lead to root rot and hinder germination.
- Light: Apple seeds require darkness for germination, so it is not necessary to provide direct light. However, once the seedlings start to emerge, they will require adequate light to grow. Place them in a location with bright, indirect sunlight or use grow lights if natural light is limited.
- Germination Time: Germination time for apple seeds can vary and may take anywhere from a few weeks to a few months. During this period, it’s important to be patient and not disturb the seeds or the emerging seedlings.
- Seedling Care: Once the seedlings emerge, continue to provide them with a warm environment and adequate light. Make sure to water them regularly, keeping the soil consistently moist. As the seedlings grow, you may need to transplant them into larger pots to allow for proper root development.
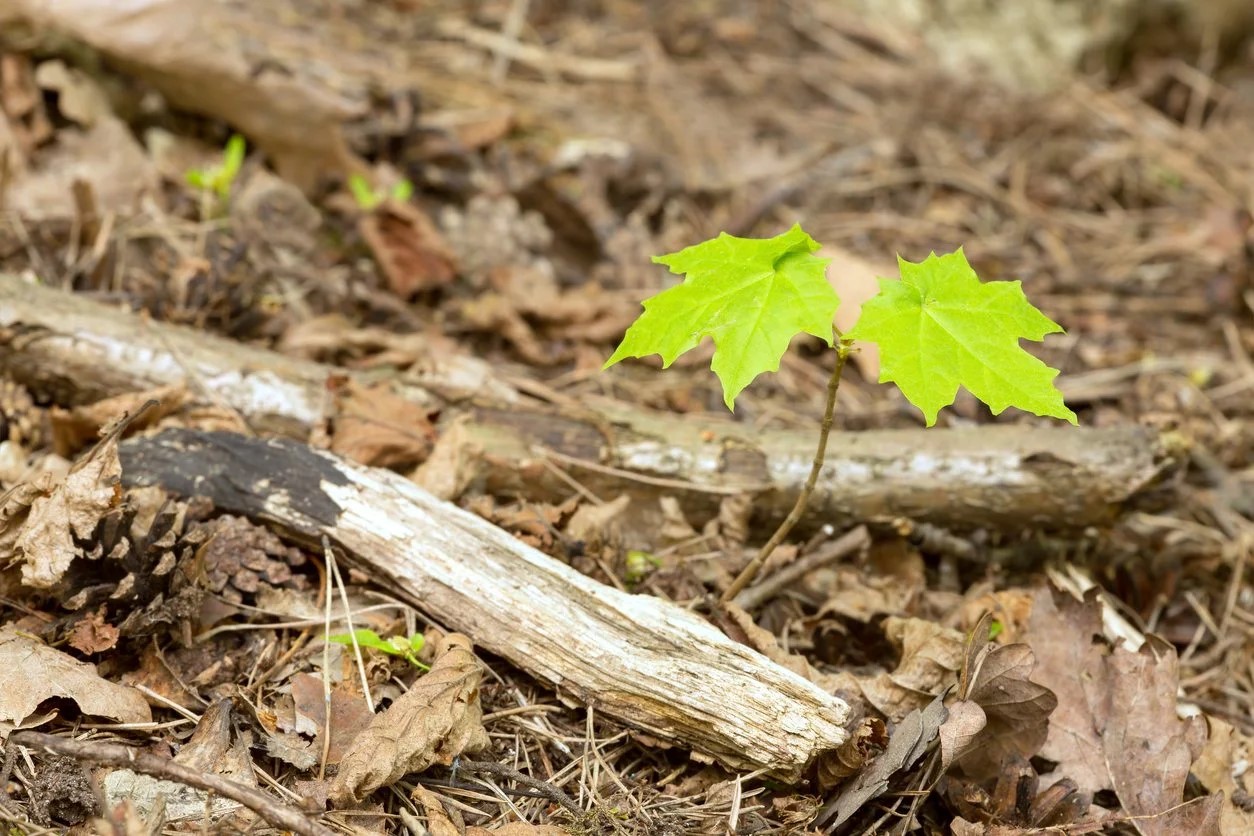
As the apple seedlings grow, they will develop their first set of true leaves. This is a sign that they are ready to be transplanted into larger pots or directly into the ground. In the next section, we will discuss the process of transplanting the apple seedlings and caring for the young apple tree.
Transplanting the Seedling
Transplanting the apple seedling is an important step in the growth process, as it allows the young tree to establish a strong root system and continue its development. Follow these steps to successfully transplant the seedling:
- Timing: Transplant the seedling after it has developed a few sets of true leaves and has grown to a height of about 6-8 inches (15-20 cm). This usually occurs within 4-6 weeks after germination.
- Choosing a Location: Select a suitable location in your garden for transplanting the seedling. Apple trees require full sun exposure for optimal growth, so choose a spot that receives at least 6-8 hours of direct sunlight daily. Ensure that the soil is well-draining and rich in organic matter.
- Preparing the Planting Hole: Dig a hole that is large enough to accommodate the seedling’s root system. Make the hole slightly wider and deeper than the size of the seedling’s root ball. This will provide ample space for the roots to spread out.
- Transplanting: Gently remove the seedling from its current pot, being careful not to damage the delicate roots. Place the seedling in the center of the planting hole and backfill the hole with soil, ensuring that the seedling is planted at the same depth it was in the previous pot.
- Watering: After transplanting, water the seedling thoroughly to help settle the soil around the roots and provide necessary hydration. Continue to water regularly to keep the soil consistently moist but not waterlogged. Mulch around the base of the seedling to help retain moisture and suppress weed growth.
- Staking: Depending on the size and stability of the seedling, it may be necessary to stake it to provide support until the roots are fully established. Use a stake or trellis and tie the seedling to it with soft plant ties, ensuring that it has room to sway slightly in the wind.
Transplant shock is common when moving a seedling to a new environment. Monitor the seedling closely and provide it with the necessary care to aid its transition. In the next section, we will discuss how to care for the young apple tree to promote healthy growth and fruit production.
To grow an apple tree from a seed, first, remove the seeds from the apple and let them dry for a few days. Then, plant the seeds in a pot with well-draining soil and keep it in a sunny spot. Water regularly and transplant to a larger pot or the ground once it grows.
Read more: How To Grow A Tree From A Seed
Caring for the Young Apple Tree
Once the apple seedling has been successfully transplanted, it’s important to provide it with the proper care to ensure healthy growth and development. Here are some essential tips for caring for your young apple tree:
- Watering: Apple trees require regular and consistent watering, especially during periods of dry weather. Water deeply, ensuring that the soil is moist but not waterlogged. Avoid overwatering, as it can lead to root rot. A good rule of thumb is to provide about 1 inch of water per week.
- Fertilization: Young apple trees benefit from regular fertilization to support their growth. Apply a balanced organic fertilizer in early spring and mid-summer, following the instructions on the package for application rates. Avoid using excessive amounts of fertilizer, as it can cause harm to the tree.
- Mulching: Apply a layer of organic mulch around the base of the tree to help conserve moisture, suppress weed growth, and regulate soil temperature. Leave a gap between the mulch and the trunk to avoid moisture buildup and potential rot issues.
- Pruning: Pruning plays a crucial role in shaping the young apple tree and promoting its health and productivity. In the early years, focus on shaping the tree by removing any damaged, diseased, or crossing branches. Prune during late winter or early spring while the tree is still dormant.
- Training: As the apple tree grows, consider training it to a desired shape, such as an open center or central leader. This helps optimize sunlight exposure and airflow within the tree, reducing the risk of disease and promoting better fruit production.
- Weed Control: Regularly monitor and remove weeds around the base of the tree. Weeds compete with the young apple tree for nutrients and water, so it’s important to keep the area around the tree weed-free.
- Protection from Pests and Diseases: Inspect the tree regularly for signs of pest infestation or disease. Common apple tree pests include aphids, apple maggots, and codling moths. Use organic pest control methods when needed and consider using protective netting to prevent bird damage.
- Winter Protection: In colder climates, young apple trees may require winter protection. Apply a layer of mulch around the base of the tree to insulate the roots and consider wrapping the trunk with burlap to prevent sunscald and freeze-thaw cycles.
By providing proper care and attention during the early years, you are setting the foundation for a healthy and productive apple tree. In the next section, we will discuss the importance of pruning and training the apple tree.
Pruning and Training the Apple Tree
Pruning and training are essential practices for maintaining the health, shape, and productivity of an apple tree. Proper pruning helps remove dead or diseased branches, improves light and airflow within the tree, and encourages fruit production. Training helps shape the tree and optimize its structure for better fruiting. Here are some tips for pruning and training your apple tree:
- Timing: Prune your apple tree during late winter or early spring before new growth begins. This allows the tree to heal wounds quickly and minimizes the risk of disease transmission.
- Tools: Use clean, sharp pruning shears or hand saws to make clean cuts. Disinfect your tools between cuts to prevent the spread of diseases.
- Remove Dead or Diseased Wood: Start by identifying and removing any dead, damaged, or diseased branches. These can be a potential source of infection and hinder the tree’s overall health.
- Thin Out Crowded Branches: Look for branches that are crossing or rubbing against each other. Select the stronger and healthier branch to keep and remove the others. This opens up the canopy and improves light penetration and airflow.
- Encourage Fruit Production: Apple trees often produce more fruit than they can support. To ensure good fruit size and quality, thin out excess fruit clusters. Leave only a few fruits per cluster, spacing them evenly along the branch.
- Training the Shape: Apple trees can be trained into different shapes, such as an open center or central leader. Prune accordingly to achieve the desired shape. For an open center, select 3-4 well-spaced branches to form the main framework and remove the central leader. For a central leader, select a single strong leader and prune lateral branches to maintain a pyramidal shape.
- Manage Water Sprouts and Suckers: Water sprouts are vigorous vertical shoots that often grow from the base or along the main branches. Remove them as they detract from the tree’s energy and can be prone to disease. Suckers are shoots that emerge from the rootstock and need to be removed promptly.
- Monitor and Adjust: Regularly inspect your apple tree throughout the growing season. Make minor pruning adjustments as needed to maintain the desired shape, remove any new dead or diseased wood, and promote optimal growth.
Remember, every apple tree is unique, and individual pruning needs may vary. Take the time to study the specific variety and growth habits of your apple tree. With regular pruning and training, you’ll help your tree reach its full potential and enjoy healthy growth and plentiful fruit harvests. Next, we’ll discuss how to protect your apple tree from common pests and diseases.
Protecting the Apple Tree from Pests and Diseases
Apple trees are susceptible to various pests and diseases that can damage foliage, hinder fruit production, and impact the overall health of the tree. Implementing preventive measures and promptly addressing any issues can help protect your apple tree. Here are some tips to protect your apple tree from common pests and diseases:
- Regular Inspection: Regularly inspect your apple tree for signs of pest infestation or disease. Look for pests such as aphids, apple maggots, codling moths, and mites. Monitor for symptoms of diseases like apple scab, powdery mildew, and fire blight.
- Promote Tree Health: A healthy tree is more resistant to pests and diseases. Provide proper care, including regular watering, well-balanced fertilization, and appropriate pruning. Maintaining good nutrition and a strong tree structure can help ward off potential issues.
- Prune Diseased Branches: If you spot any diseased branches or leaves during inspection, promptly remove and destroy them. This prevents the spread of diseases throughout the tree. Disinfect pruning tools between cuts to avoid contamination.
- Use Organic Pest Control Methods: Employ organic pest control methods whenever possible. Consider introducing beneficial insects, such as ladybugs and lacewings, to naturally control aphids and other harmful pests. Neem oil can also be used as a mild insecticide.
- Monitor Fruit Development: Regularly check your apple tree’s fruit for signs of pests or diseases. Remove any damaged or infested fruit to prevent further spread. Thinning out excess fruit clusters can also reduce the risk of disease and improve fruit size and quality.
- Protect from Birds and Small Animals: Birds and small animals can cause damage to both the foliage and the fruit. Use netting or bird scare devices to protect the tree from bird attacks. Consider installing fencing or tree guards to deter small animals.
- Practice Good Sanitation: Keep the area around the apple tree clean and free from fallen leaves, fruit, and debris. These can harbor pests and diseases. Regularly remove weeds and grass around the base of the tree to eliminate potential hiding places for pests.
- Consult with Local Experts: If you are unsure about pest identification or need advice on managing specific diseases, reach out to local horticultural experts, extension services, or reputable nurseries. They can provide valuable guidance based on your specific region and apple tree variety.
By implementing these protective measures and staying vigilant, you can help ensure the health and productivity of your apple tree. Early detection, proper care, and prompt action are key to minimizing the impact of pests and diseases. In the next section, we will discuss the eagerly anticipated step – how to harvest the delicious apples from your tree.
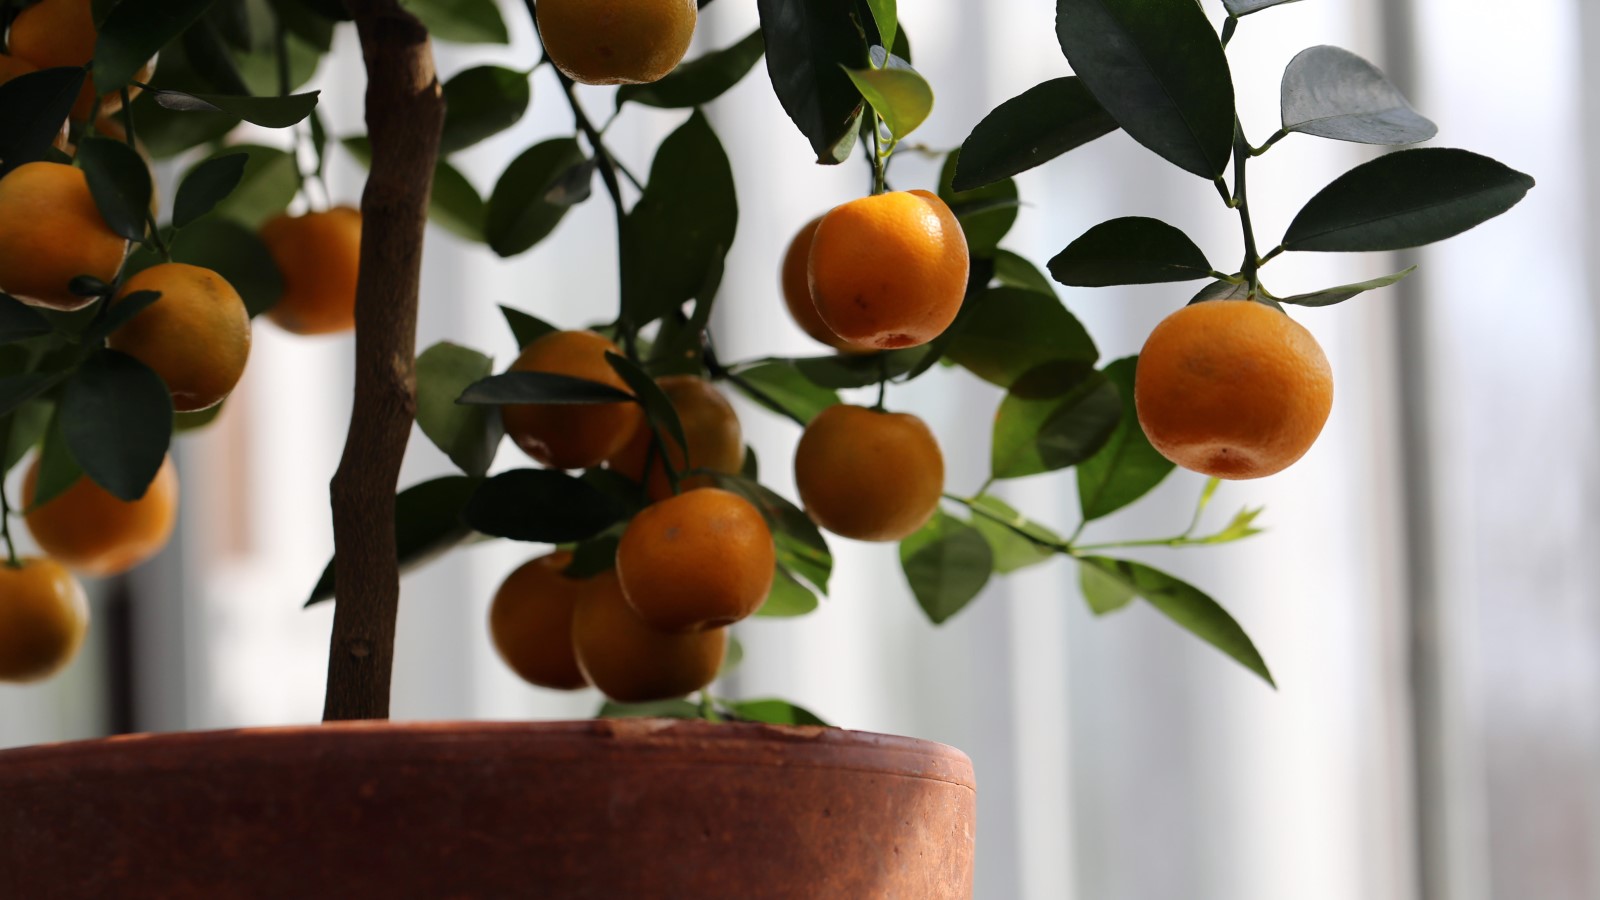
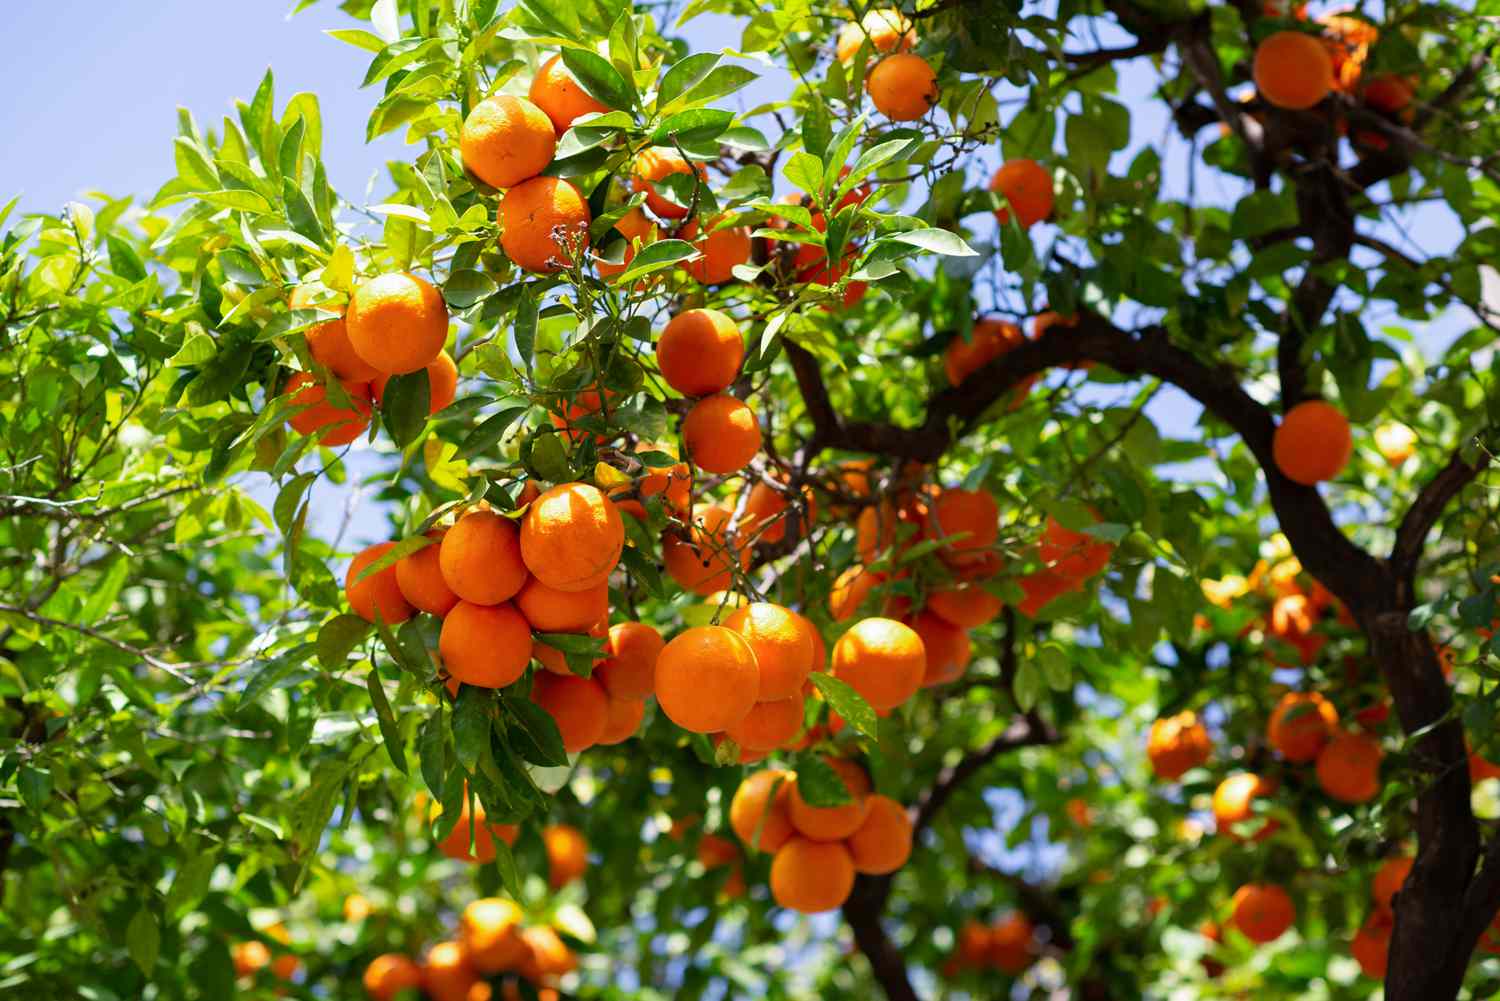
Harvesting Apples from the Tree
The moment has finally arrived to enjoy the fruits of your labor – it’s time to harvest the apples from your tree. Harvesting at the right time ensures optimal flavor, texture, and storage potential. Here are some tips for successfully harvesting apples:
- Timing: Apples are ready for harvest when they have developed their characteristic color, they have reached their full size, and they detach easily from the branch when gently twisted or lifted. The exact timing varies depending on the apple variety, so refer to specific guidelines for your specific cultivar.
- Proper Handling: When harvesting, handle the apples gently to avoid bruising or damaging the fruit. Inspect each apple for any signs of pests or diseases and set aside any damaged or diseased fruits for immediate disposal.
- Twist or Lift: To harvest an apple, gently twist it upwards or lift it upwards, applying a slight upward pressure. If the apple readily detaches from the branch, it is ready for harvest. If it requires a lot of force, it may not be fully ripe, so leave it on the tree for a little longer.
- Harvest in Batches: Apples within the same tree may ripen at slightly different times. It’s best to harvest in batches, picking the ripest fruit first and leaving the others to mature further.
- Storage: Apples can be enjoyed immediately after harvest or stored for later use. To store them, place the apples in a cool, dark, and well-ventilated area. Inspect them regularly and promptly remove any apples that show signs of spoilage to prevent them from affecting the others.
- Enjoying Fresh Apples: Fresh apples can be enjoyed in a variety of ways. Wash the apples before consuming, and enjoy them as a healthy snack, use them in salads, bake them into pies or crisps, or make homemade applesauce or apple cider.
- Saving Seeds: If you come across a particularly delicious apple, you may consider saving its seeds to grow new apple trees in the future. Dry the seeds thoroughly, store them in a cool, dry place, and stratify them before planting for the best germination results.
Harvesting apples from your own tree is incredibly rewarding. Remember to savor the flavors, share with friends and family, and take pride in the journey from a tiny seed to a bountiful harvest. In the final section, we will conclude our guide and highlight the joys of growing an apple tree from a seed.
Read more: How To Grow Tree From Seed
Conclusion
Growing an apple tree from a seed is a truly remarkable experience that allows you to witness the wonders of nature and enjoy the fruits of your labor. While it requires patience, dedication, and careful attention to detail, the process of nurturing a tiny seed into a thriving apple tree is incredibly rewarding. Throughout this guide, we have covered the essential steps involved in growing an apple tree from a seed, including selecting the right seed, preparing it for planting, germinating the seed, transplanting the seedling, and caring for the young tree.
We discussed the importance of choosing quality apple seeds from reputable sources and properly preparing them for planting through stratification. By providing the right growing conditions, such as proper moisture, temperature, and light, we can successfully germinate the apple seeds and watch as they develop into young seedlings ready for transplanting.
Transplanting the seedling into a suitable location, providing adequate water, nutrients, and sunlight, and protecting it from pests and diseases are vital for the tree’s health and growth. Pruning and training the apple tree helps shape its structure, improve airflow, and promote good fruit production. Additionally, we explored the various methods of protecting the apple tree from pests, diseases, and other potential threats.
Finally, we discussed the exciting moment of harvesting the apples from your tree. Knowing when to harvest, handling the fruit with care, and storing them properly ensure that you can enjoy the delicious taste of your homegrown apples throughout the year.
As you embark on your apple-growing journey, remember that each tree is unique, and factors such as climate, apple variety, and individual care can influence the outcome. Embrace the process, learn from your experiences, and adapt your approach as needed. Gardening, especially with apple trees, is a continuous learning experience that provides joy, satisfaction, and a deeper connection with nature.
So, why not embark on the adventure of growing an apple tree from a seed? Start with selecting the right seed, follow the proper steps of preparing, germinating, and transplanting, then care for your young tree with love and attention. Before you know it, you’ll be harvesting your own delicious apples and savoring the fruits of your labor. Happy apple growing!
Frequently Asked Questions about How To Grow An Apple Tree From A Seed
Was this page helpful?
At Storables.com, we guarantee accurate and reliable information. Our content, validated by Expert Board Contributors, is crafted following stringent Editorial Policies. We're committed to providing you with well-researched, expert-backed insights for all your informational needs.


0 thoughts on “How To Grow An Apple Tree From A Seed”