Articles
How To Store Peeled Apples
Modified: February 27, 2024
Learn the best techniques and tips for storing peeled apples in this helpful article. Keep your apples fresh and delicious for longer with proper storage methods.
(Many of the links in this article redirect to a specific reviewed product. Your purchase of these products through affiliate links helps to generate commission for Storables.com, at no extra cost. Learn more)
Introduction
Welcome to the world of apple peeling and storage! If you are someone who loves apples but doesn’t always have the time to enjoy them fresh, you may find yourself wondering how to store peeled apples. Whether you have a surplus of freshly picked apples or simply want to save time by preparing them in advance, storing peeled apples can be a convenient and practical solution.
In this article, we will guide you through the steps of properly storing peeled apples to ensure their freshness and longevity. From selecting the right apples to preventing browning and even freezing for later use, we’ve got you covered. So, let’s dive in!
Note: Before you proceed with peeling and storing apples, it’s important to keep in mind that the best results are achieved with fresh, high-quality apples.
Key Takeaways:
- Master the art of storing peeled apples with the right variety selection, proper peeling techniques, and effective browning prevention methods. Enjoy the convenience of having fresh apples at your fingertips anytime!
- From refrigerator storage to freezing for later use, explore the versatility of peeled apples in a variety of delicious recipes. Embrace the flavors and textures of fresh apples in your culinary creations!
Read more: How To Store Peeled Apples Overnight
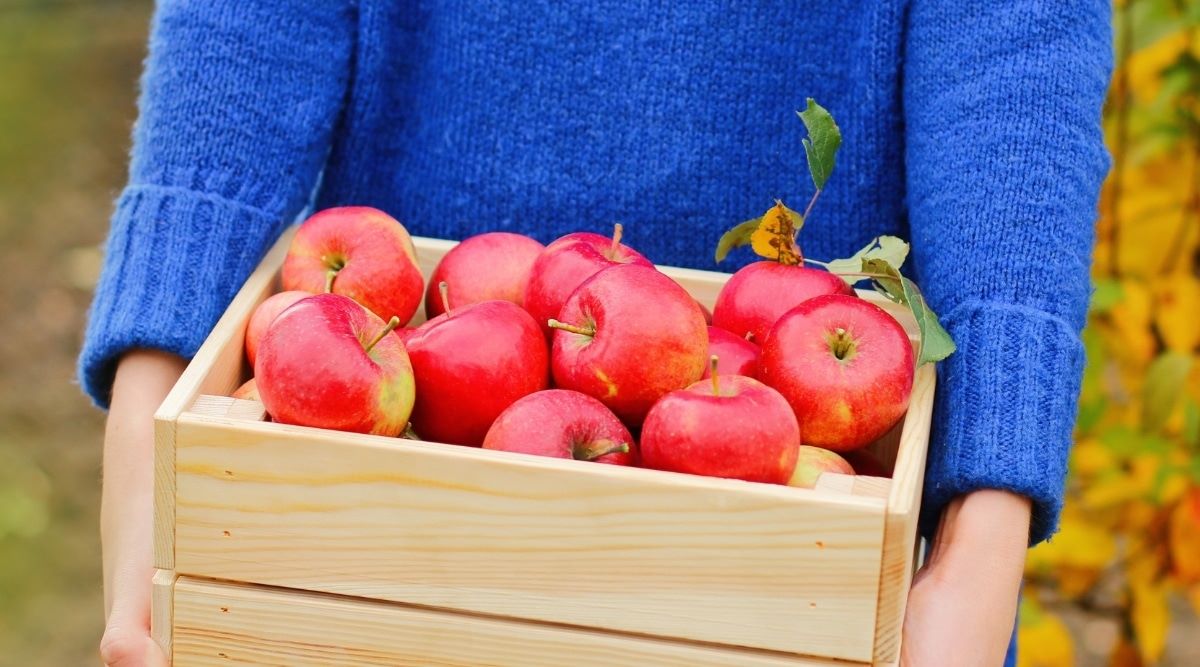
Step 1: Selecting the Right Apples
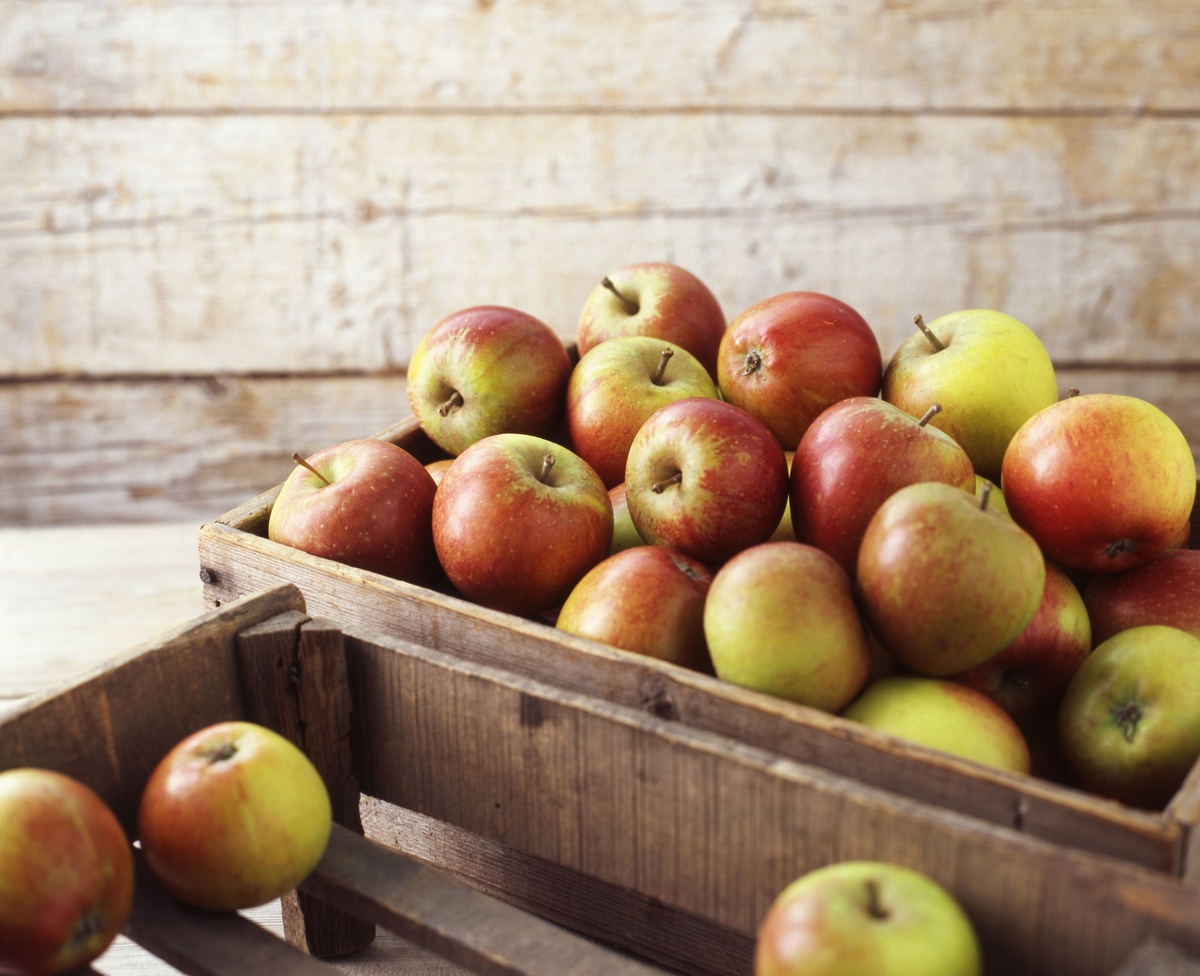
The first crucial step in storing peeled apples is to choose the right variety. When it comes to storing peeled apples, certain varieties are more suitable due to their texture and flavor profile. Here are some apples that work well for storage:
- Granny Smith: Known for its tartness and firm texture, Granny Smith apples are an excellent choice for storing peeled apples. They hold up well during the storage process and retain their flavor.
- Honeycrisp: Honeycrisp apples are crisp and juicy, making them a popular choice for both eating fresh and storing. They have a balanced sweet-tart flavor and can withstand the storing process without losing their taste or texture.
- Gala: Gala apples are known for their sweet and slightly tart taste. They have a thin skin, which makes peeling easier, and they hold up well during storage.
When selecting apples for storing, choose ones that are firm and free from bruises or blemishes. Avoid apples that are overly ripe, as they may not hold up well during the storing process.
In addition to the variety, consider the size of the apples. Smaller apples tend to be easier to peel and store, as they require less time and effort to prepare.
To ensure the best quality of stored peeled apples, consider organic or locally grown apples. These tend to have fewer pesticides and have a higher chance of being picked at peak ripeness.
Now that you’ve selected the perfect apples for storing, it’s time to move on to the peeling process. Let’s move on to Step 2: Peeling the Apples!
Step 2: Peeling the Apples
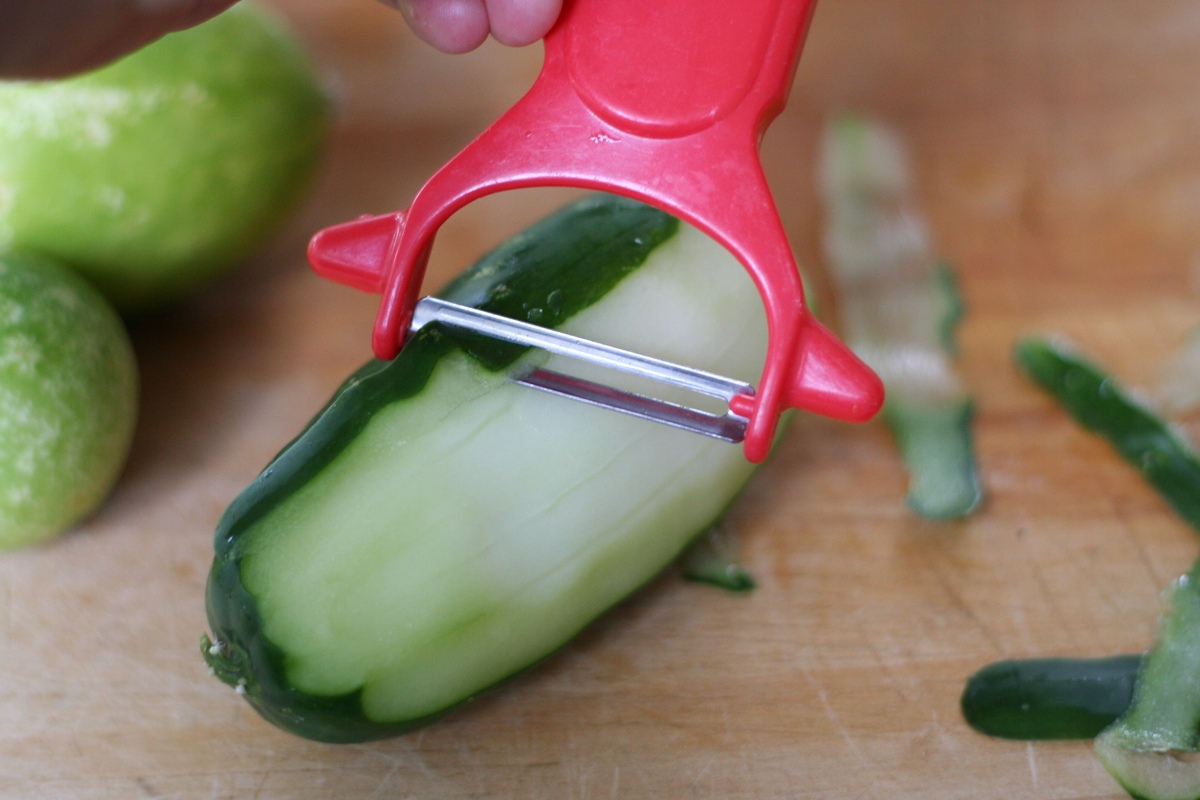
Now that you have selected the right apples for storing, it’s time to peel them. Peeling apples is a relatively simple process that can be done with a few basic tools. Here’s how to do it:
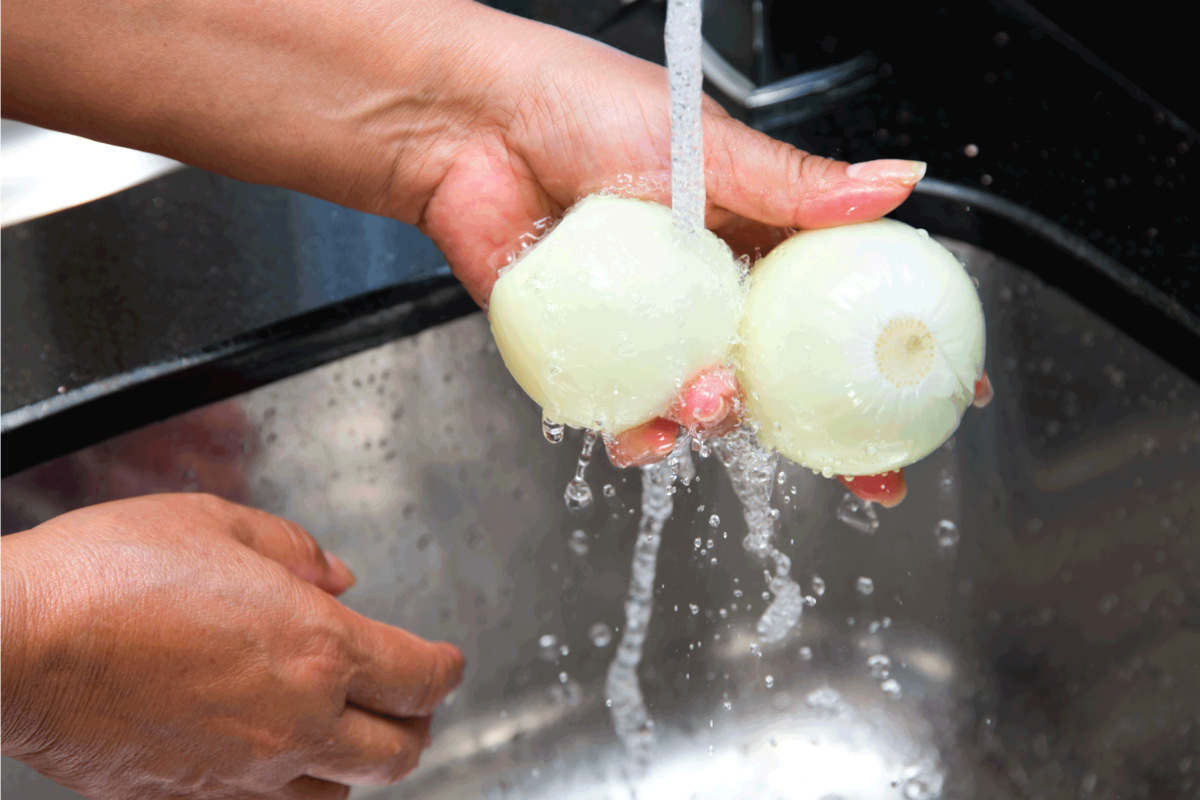
- Start by washing the apples thoroughly under running water to remove any dirt or residue.
- Next, place the apple on a clean cutting board and hold it firmly with one hand.
- Using a peeler, begin to peel the skin off the apple in a downward motion, making sure to remove only the outermost layer of skin. Work your way around the apple, rotating it as needed.
- Continue peeling until all the skin is removed, taking care not to remove too much flesh along with it.
If you don’t have a dedicated apple peeler, you can use a sharp paring knife instead. Simply make a small incision at the top of the apple and carefully slide the knife along the circumference to remove the skin.
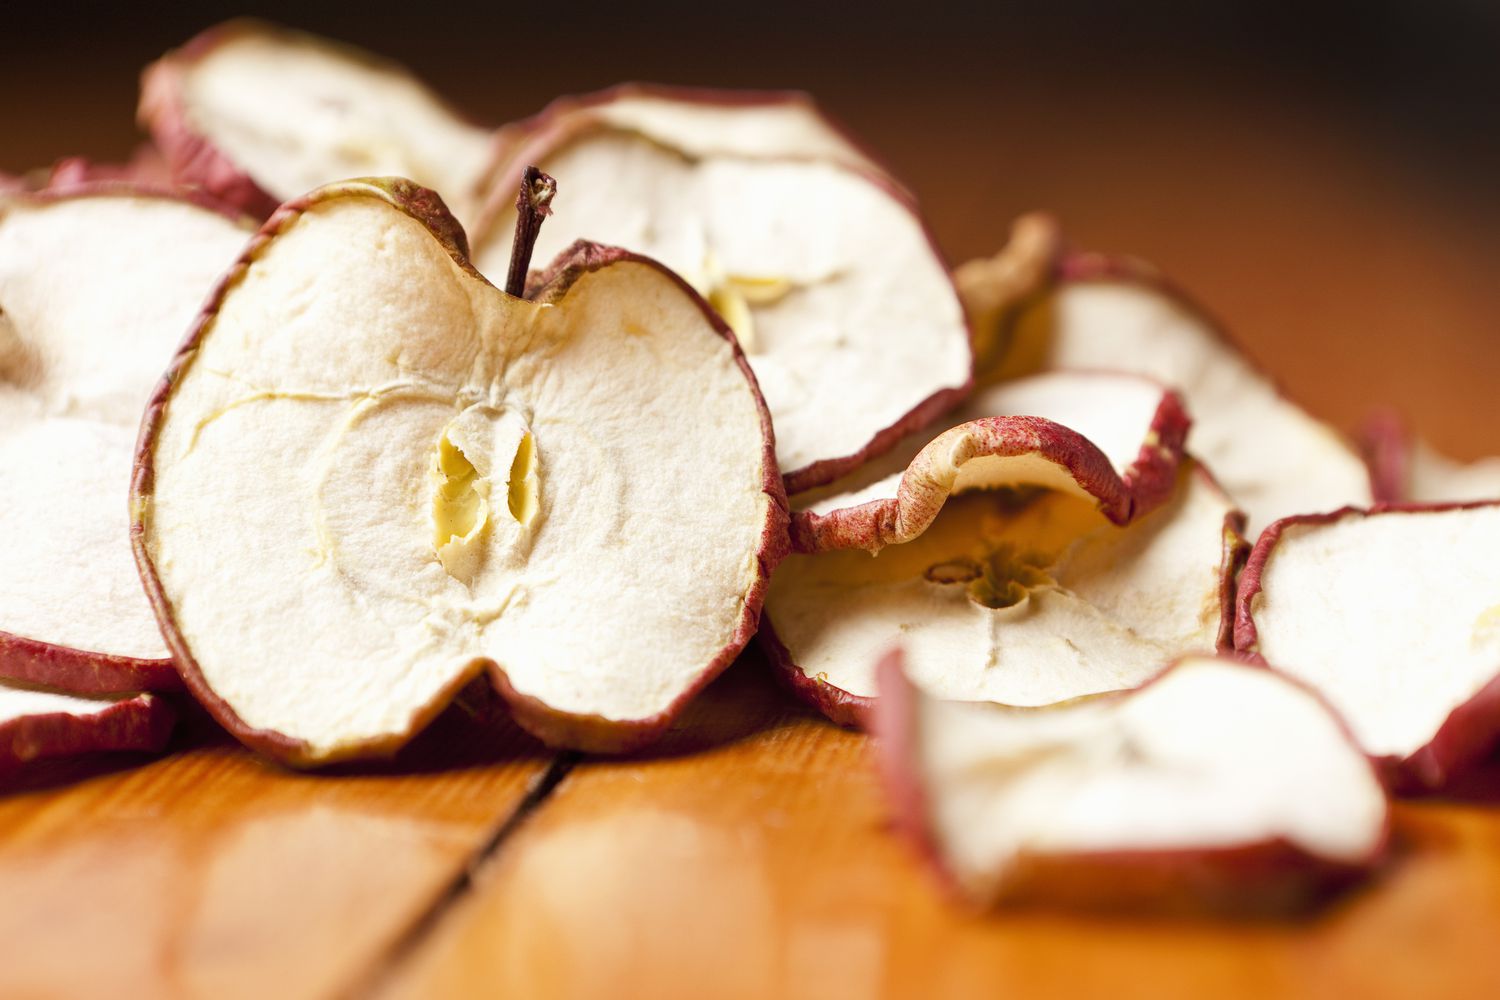
Once all the apples are peeled, you can move on to the next step: preventing browning. Browning is a natural enzymatic reaction that occurs when the flesh of the apple is exposed to oxygen. Preventing browning will help maintain the visual appeal of the peeled apples.
Let’s move on to Step 3: Preventing Browning!
Step 3: Preventing Browning
After peeling the apples, it’s important to take steps to prevent them from browning. Browning occurs when the enzyme in the apple reacts with oxygen in the air, resulting in the unappealing brown discoloration. Here are a few methods you can use to prevent browning:
- Lemon Juice: Lemon juice is a widely used method to prevent browning in fruits, including apples. The citric acid in lemon juice acts as an antioxidant that inhibits the enzyme responsible for browning. To use this method, simply toss the peeled apple slices with a few tablespoons of lemon juice. Make sure to coat all the exposed surfaces of the apple slices.
- Ascorbic Acid: Ascorbic acid, also known as Vitamin C, is another effective way to prevent browning. You can find ascorbic acid powder or tablets in most grocery stores. Dissolve the powder or crush the tablets and mix them with water. Dip the peeled apple slices into the mixture or brush it onto the slices to prevent browning.
- Saltwater Solution: Another method to prevent browning is by using a saltwater solution. Dissolve half a teaspoon of salt in four cups of water. Soak the peeled apple slices in the saltwater solution for a few minutes and then drain them before storing.
- Commercial Anti-Browning Agents: If you prefer a more convenient option, you can also find commercial anti-browning agents specifically designed for fruits. These products are often available in the canning or baking section of grocery stores. Follow the instructions on the product label for best results.
Regardless of the method you choose, the key is to ensure that all the exposed surfaces of the peeled apples are coated with the anti-browning solution. This will help maintain their fresh appearance for a longer period of time.
Now that you know how to prevent browning, let’s move on to Step 4: Storing Peeled Apples in the Refrigerator!
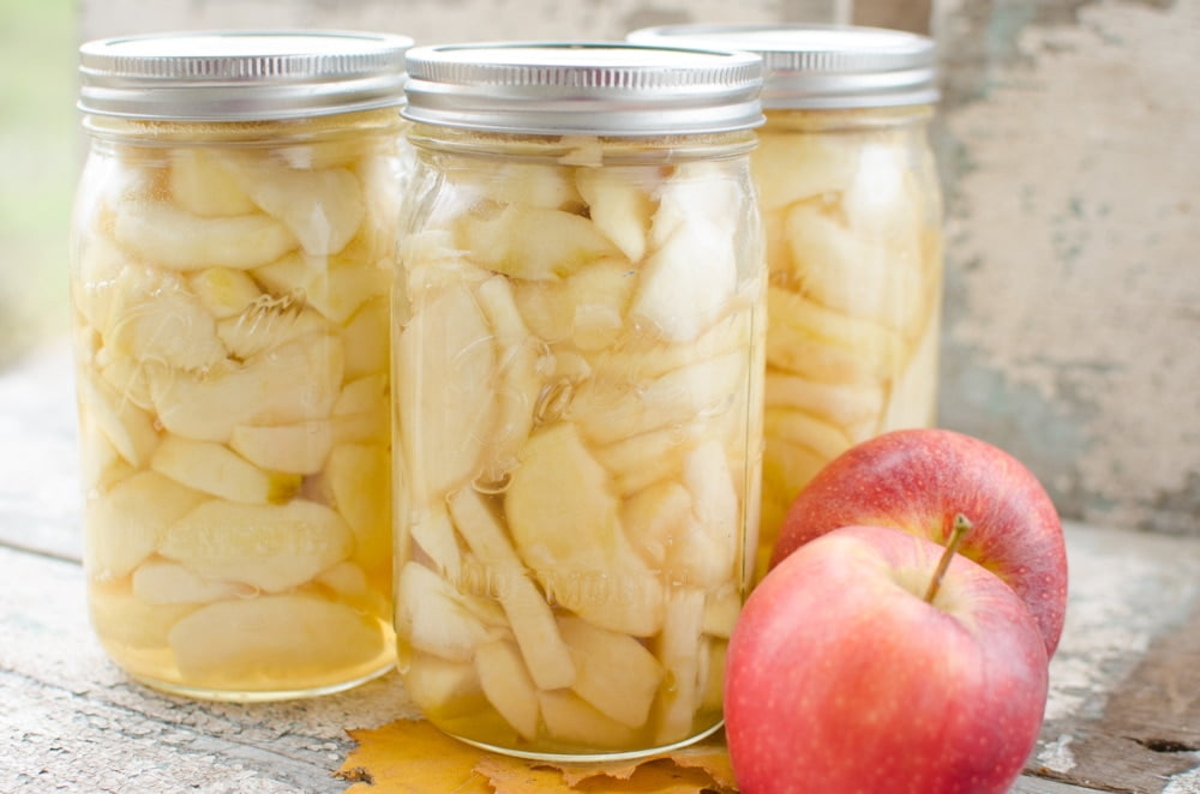
After peeling apples, store them in a bowl of water with a splash of lemon juice to prevent browning. Alternatively, you can store them in an airtight container in the refrigerator for up to 24 hours.
Step 4: Storing Peeled Apples in the Refrigerator
Now that you have peeled and prevented browning in your apples, it’s time to store them in the refrigerator. Refrigeration helps to slow down the enzymatic reactions and keep the peeled apples fresh for longer. Here’s how to store peeled apples in the refrigerator:
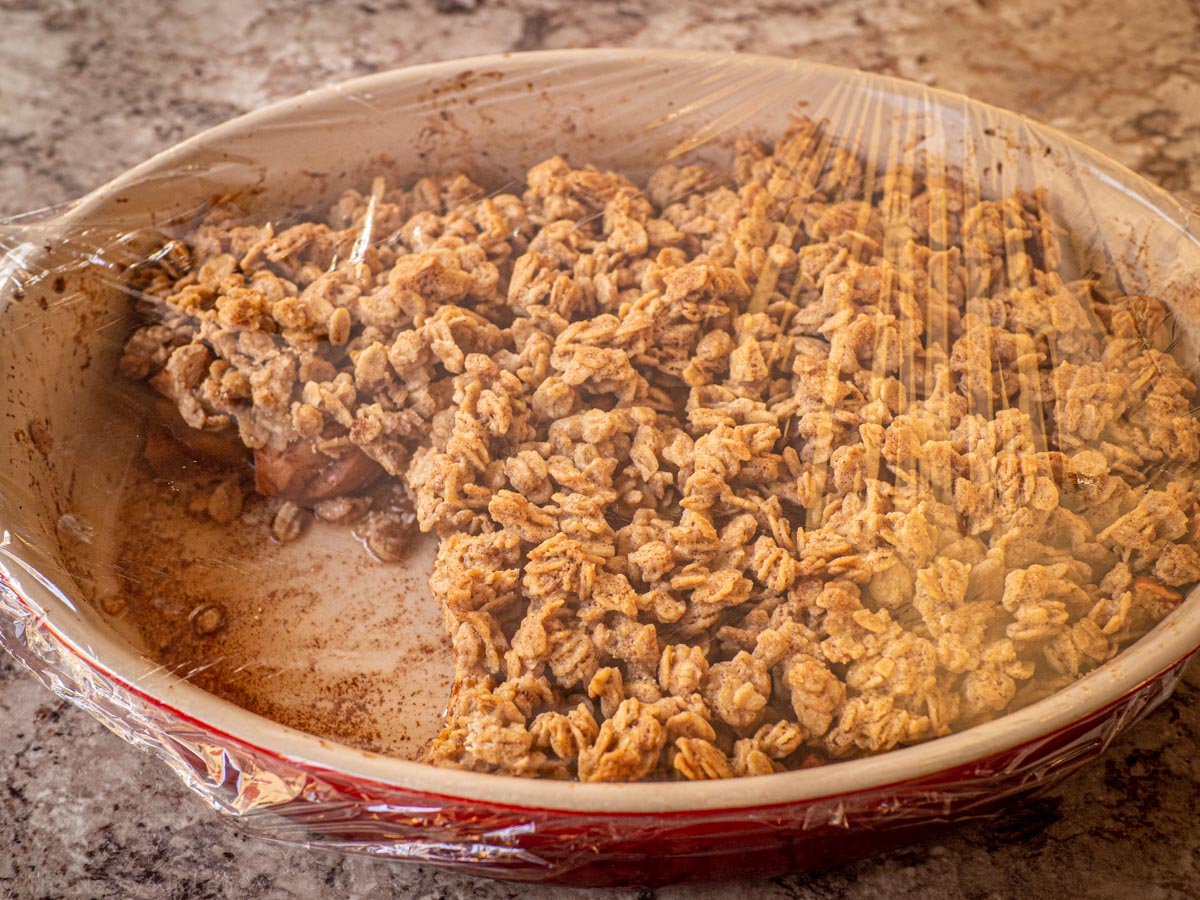
- Place the peeled apple slices or chunks in an airtight container. Make sure the container is clean and dry before adding the apples.
- If you have a large quantity of peeled apples, you can layer them with a piece of parchment paper or plastic wrap to prevent them from sticking together.
- Seal the container tightly to prevent air from entering and causing oxidation.
- Label the container with the date of storage. This will help you keep track of their freshness.
- Store the container of peeled apples in the refrigerator at a temperature between 32°F (0°C) and 40°F (4°C). The colder the temperature, the longer the peeled apples will stay fresh.
- It’s important to note that peeled apples stored in the refrigerator are best consumed within 3-5 days for optimal taste and texture.
Storing peeled apples in the refrigerator not only helps to maintain their freshness but also provides a convenient option for snacking or adding them to dishes and recipes. Now that you know how to store them in the fridge, let’s move on to Step 5: Freezing Peeled Apples.
Read more: How To Store Apple
Step 5: Freezing Peeled Apples
If you have an abundance of peeled apples or want to store them for an extended period, freezing is a great option. Freezing helps to preserve the apples’ texture and flavor, allowing you to enjoy them in the future. Here’s how to freeze peeled apples:
- Prepare the peeled apples by cutting them into slices, chunks, or wedges, depending on your preference.
- Spread the peeled apple pieces in a single layer on a baking sheet lined with parchment paper or a silicone mat. Make sure the pieces aren’t touching each other.
- Place the baking sheet with the apple pieces in the freezer and let them freeze for about 2-3 hours or until they are solid.
- Once the apple pieces are frozen, transfer them into a freezer-safe bag or airtight container. Squeeze out as much air as possible before sealing the bag or container.
- Label the bag or container with the date of freezing to keep track of their freshness.
- Return the bag or container to the freezer and store them at a temperature of 0°F (-18°C) or below.
- Peeled apples can be stored in the freezer for up to 6 months, but for the best quality, it is recommended to consume them within 3-4 months.
By freezing peeled apples, you have a ready-to-use ingredient for baking, cooking, or making smoothies. They can be used directly from the freezer without the need to thaw, making them a convenient addition to your culinary repertoire.
Now that you know how to freeze peeled apples, let’s move on to Step 6: Using Peeled Apples in Recipes!
Step 6: Using Peeled Apples in Recipes
Now that you have stored your peeled apples, whether in the refrigerator or freezer, it’s time to put them to good use in delicious recipes. Peeled apples can be used in a variety of dishes, from sweet desserts to savory dishes. Here are a few ideas on how to use them:
- Apple Pie: Peeled apples are a classic ingredient in apple pie. Use your stored peeled apples to create a homemade apple pie filling or add them to a pre-made crust for a quick and easy dessert.
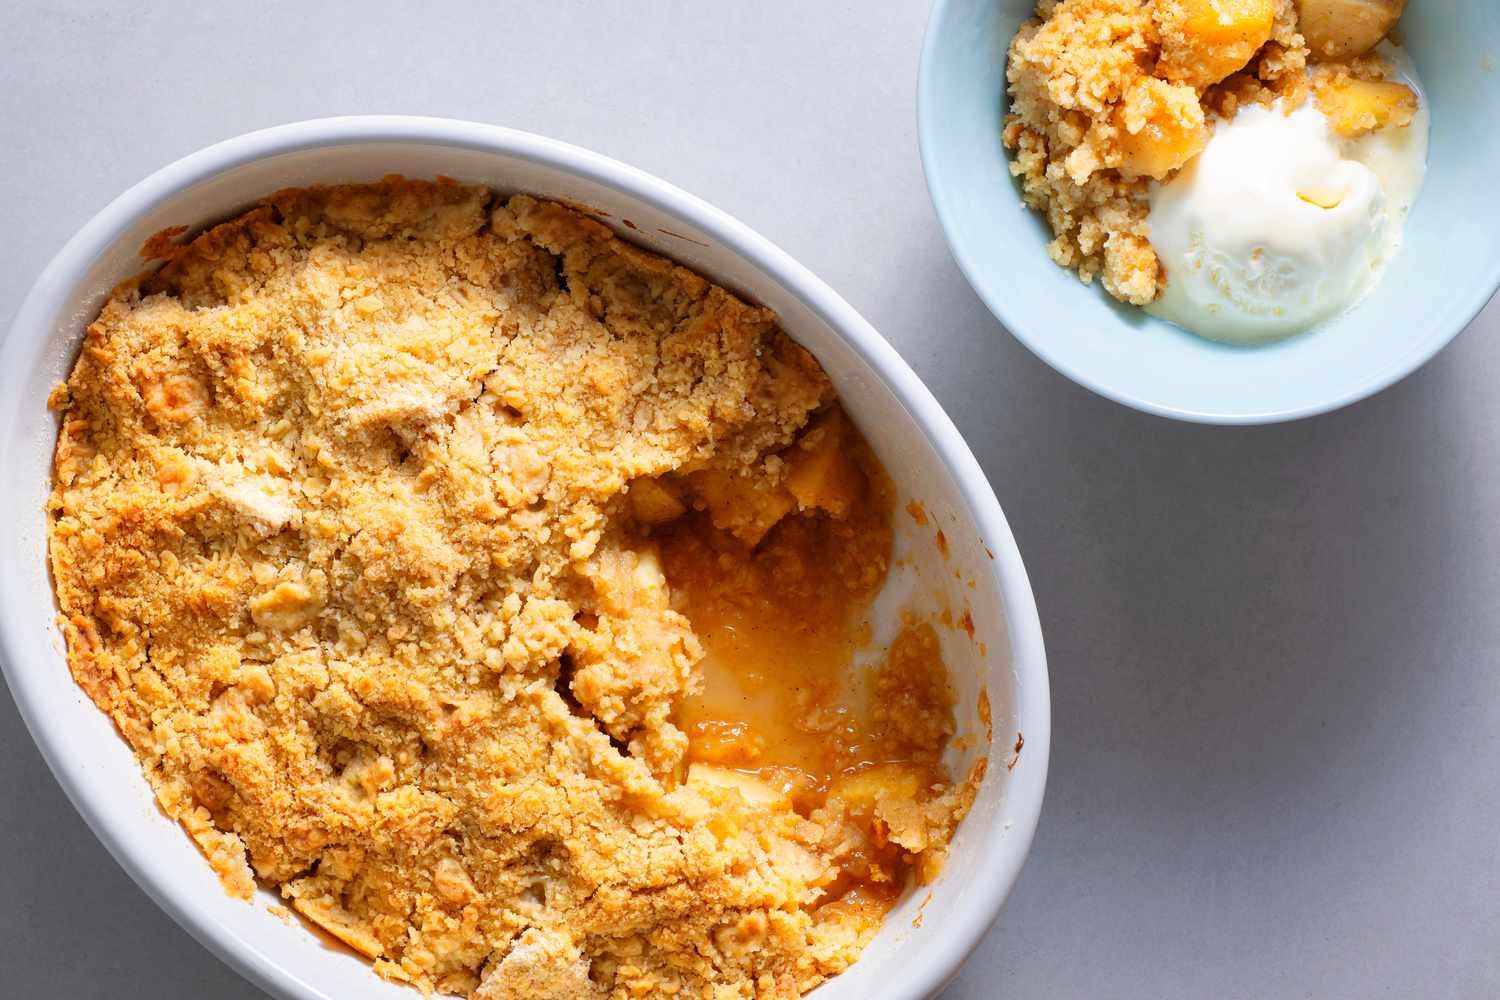
- Apple Crisp or Crumble: Make a comforting apple crisp or crumble by layering your peeled apples with a buttery crumb topping. This dessert is perfect for cozy evenings or special occasions.
- Apple Sauce: Turn your peeled apples into a delicious homemade applesauce. Cook them down with a touch of sweetness and spices for a versatile and flavorful sauce that can be enjoyed on its own or used as an ingredient in other recipes.
- Apple Butter: Transform your peeled apples into a smooth and rich apple butter spread. Slow cook the apples with sugar, cinnamon, and other spices until they become a luscious and spreadable condiment.
- Apple Salad: Add a twist to your salads by incorporating peeled apple slices. Their crisp texture and natural sweetness can complement a variety of greens, nuts, cheese, and dressings.
- Apple Smoothies: Frozen peeled apple chunks are perfect for adding a refreshing twist to your smoothies. Blend them with other fruits, yogurt, and a liquid of your choice for a nutritious and energizing drink.
These are just a few examples of how you can use your stored peeled apples in recipes. Feel free to get creative and experiment with different flavor combinations and cooking methods.
With your newfound knowledge on storing and using peeled apples, you can enjoy the taste of fresh apples anytime, even when they’re not in season. So go ahead, peel those apples and savor the delightful flavors they bring to your culinary creations!
Remember, the key to a successful outcome is selecting the right apples, peeling them properly, preventing browning, and storing them appropriately. By following these steps, you can enjoy the convenience of having peeled apples ready to go whenever the craving strikes.
Happy peeling and storing!
Disclaimer: Make sure to check the quality and freshness of your stored peeled apples before consuming them. Discard any apples that show signs of spoilage.
Conclusion
Congratulations! You have now mastered the art of storing peeled apples. By following the steps outlined in this article, you can ensure the freshness and longevity of your peeled apples, allowing you to enjoy them at your convenience.
From selecting the right apples to preventing browning, storing peeled apples in the refrigerator, freezing them for later use, and exploring various recipes, you now have the knowledge and tools to make the most of your apple-peeling endeavors.
Remember, when selecting apples, opt for fresh, high-quality varieties that are suited for storage. Take care when peeling the apples to remove only the skin and preserve the flesh. In order to prevent browning, use methods such as lemon juice, ascorbic acid, saltwater solution, or commercial anti-browning agents. When storing peeled apples in the refrigerator, ensure they are placed in a clean, airtight container and labeled with the date of storage. For longer-term storage, freezing peeled apples is a great option, and they can be used directly from the freezer when needed.
Lastly, the versatility of peeled apples extends to a wide range of recipes, from classic apple pies and crisps to homemade apple sauce and smoothies. Let your creativity shine and embrace the flavors and textures that peeled apples bring to your culinary creations.
So, the next time you find yourself with a surplus of apples or a desire to save time and effort, don’t hesitate to peel and store those apples. With the tips and techniques shared in this article, you can enjoy the delicious taste and aroma of fresh apples whenever you please.
Happy peeling and storing, and bon appétit!
Frequently Asked Questions about How To Store Peeled Apples
Was this page helpful?
At Storables.com, we guarantee accurate and reliable information. Our content, validated by Expert Board Contributors, is crafted following stringent Editorial Policies. We're committed to providing you with well-researched, expert-backed insights for all your informational needs.


0 thoughts on “How To Store Peeled Apples”