Articles
How To Store Bulbs Over Summer
Modified: January 18, 2024
Learn how to store bulbs over the summer in this informative article. Find tips and tricks to ensure your bulbs survive and thrive for the next season.
(Many of the links in this article redirect to a specific reviewed product. Your purchase of these products through affiliate links helps to generate commission for Storables.com, at no extra cost. Learn more)
Introduction
Storing bulbs over summer is crucial for the health and success of your garden. As the seasons change, many flowering bulbs go dormant and enter a period of rest. During the summer months, when temperatures rise and conditions become less favorable for bulb growth, it’s important to provide them with optimal storage conditions to ensure their survival and future blooms.
Properly storing bulbs not only helps them stay healthy and free from diseases, but it also allows you to preserve and reuse these valuable plants for the next growing season. Whether you have tulips, daffodils, lilies, or any other type of bulb, following the correct storage techniques will ensure their longevity and increase your chances of a beautiful and bountiful garden in the future.
In this article, we will explore the importance of proper bulb storage and provide you with a step-by-step guide on how to store your bulbs over the summer months. By following these guidelines, you’ll be able to keep your bulbs in top condition and be ready to replant them when the time is right.
Key Takeaways:
- Proper bulb storage is essential for preserving energy reserves, preventing disease, and ensuring reusability. Follow the step-by-step guide to maintain bulb quality and enjoy vibrant blooms year after year.
- From cleaning and drying to monitoring and replanting, proper bulb storage sets the stage for a successful garden. Take the necessary steps to preserve bulb health and enjoy the rewards of a beautiful display.
Read more: How To Store Tulip Bulbs Over Summer
Importance of Proper Bulb Storage
Proper bulb storage is crucial for maintaining the health and vitality of your bulbs. By providing the right conditions during the dormant period, you can ensure that your bulbs remain disease-free, maintain their energy reserves, and are ready to thrive when the planting season arrives.
Here are some key reasons why proper bulb storage is important:
- Disease prevention: Storing bulbs correctly helps prevent the spread of diseases and pests. By removing any diseased or damaged bulbs before storage, you can prevent the spread of infections to healthy bulbs and ensure the overall health of your bulb collection.
- Preservation of energy reserves: During the dormant period, bulbs rely on their stored energy reserves to survive. Proper storage conditions, such as cool temperatures and good airflow, help preserve these energy reserves and maintain bulb strength for next year’s growth and blooming.
- Protection from extreme weather conditions: Bulbs are sensitive to extreme heat, cold, and moisture. By storing bulbs in a controlled environment, you can protect them from temperature fluctuations, excessive moisture, and other adverse weather conditions that can damage or kill the bulbs.
- Reusability: Storing bulbs allows you to reuse them in subsequent years, saving you money and ensuring that you can continue enjoying your favorite blooms. With proper storage, bulbs can be kept dormant until the next planting season, ready to be replanted and bloom again.
- Preservation of bulb quality: Bulb quality can deteriorate over time if not stored properly. By following correct storage techniques, you can preserve the quality of your bulbs, ensuring that they remain firm, healthy, and capable of producing vibrant flowers when the time comes to replant them.
By understanding the importance of proper bulb storage, you can take the necessary steps to ensure the well-being and success of your bulbs throughout the dormant period. In the next section, we will delve into the specific steps you need to follow to store your bulbs effectively.
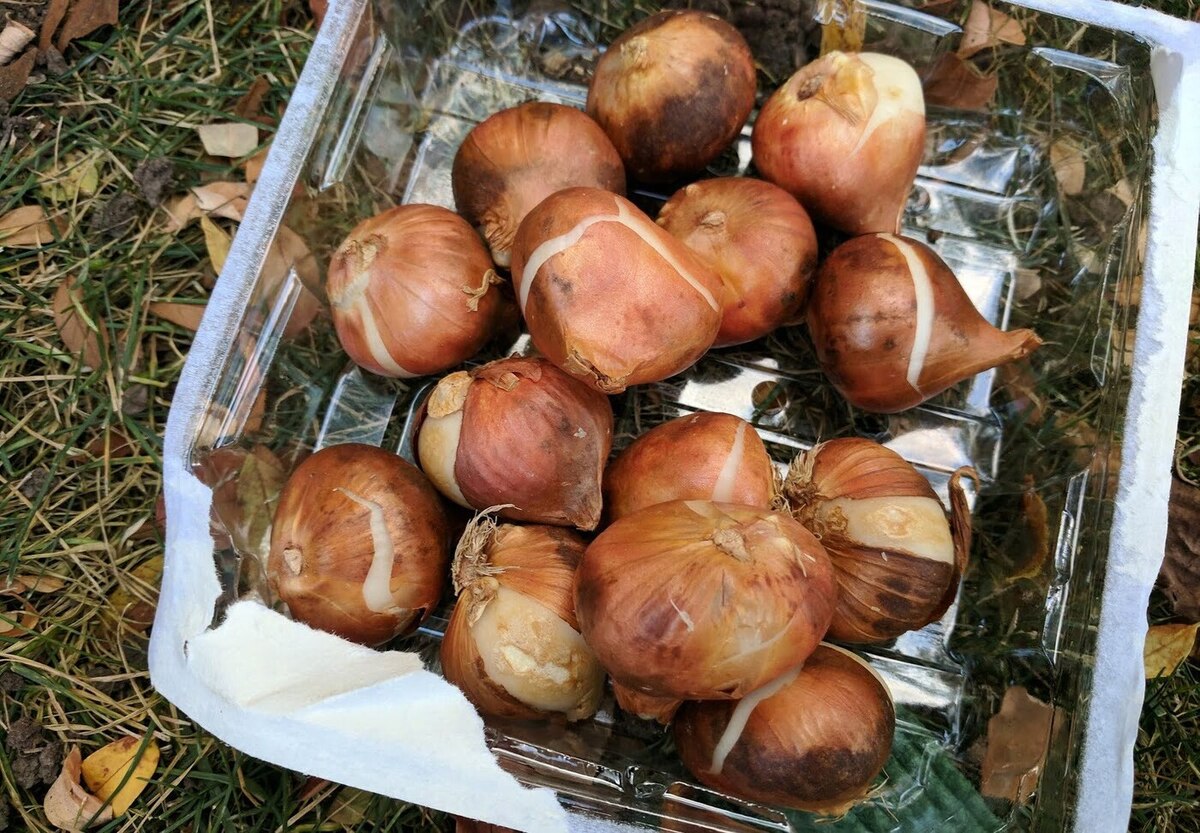
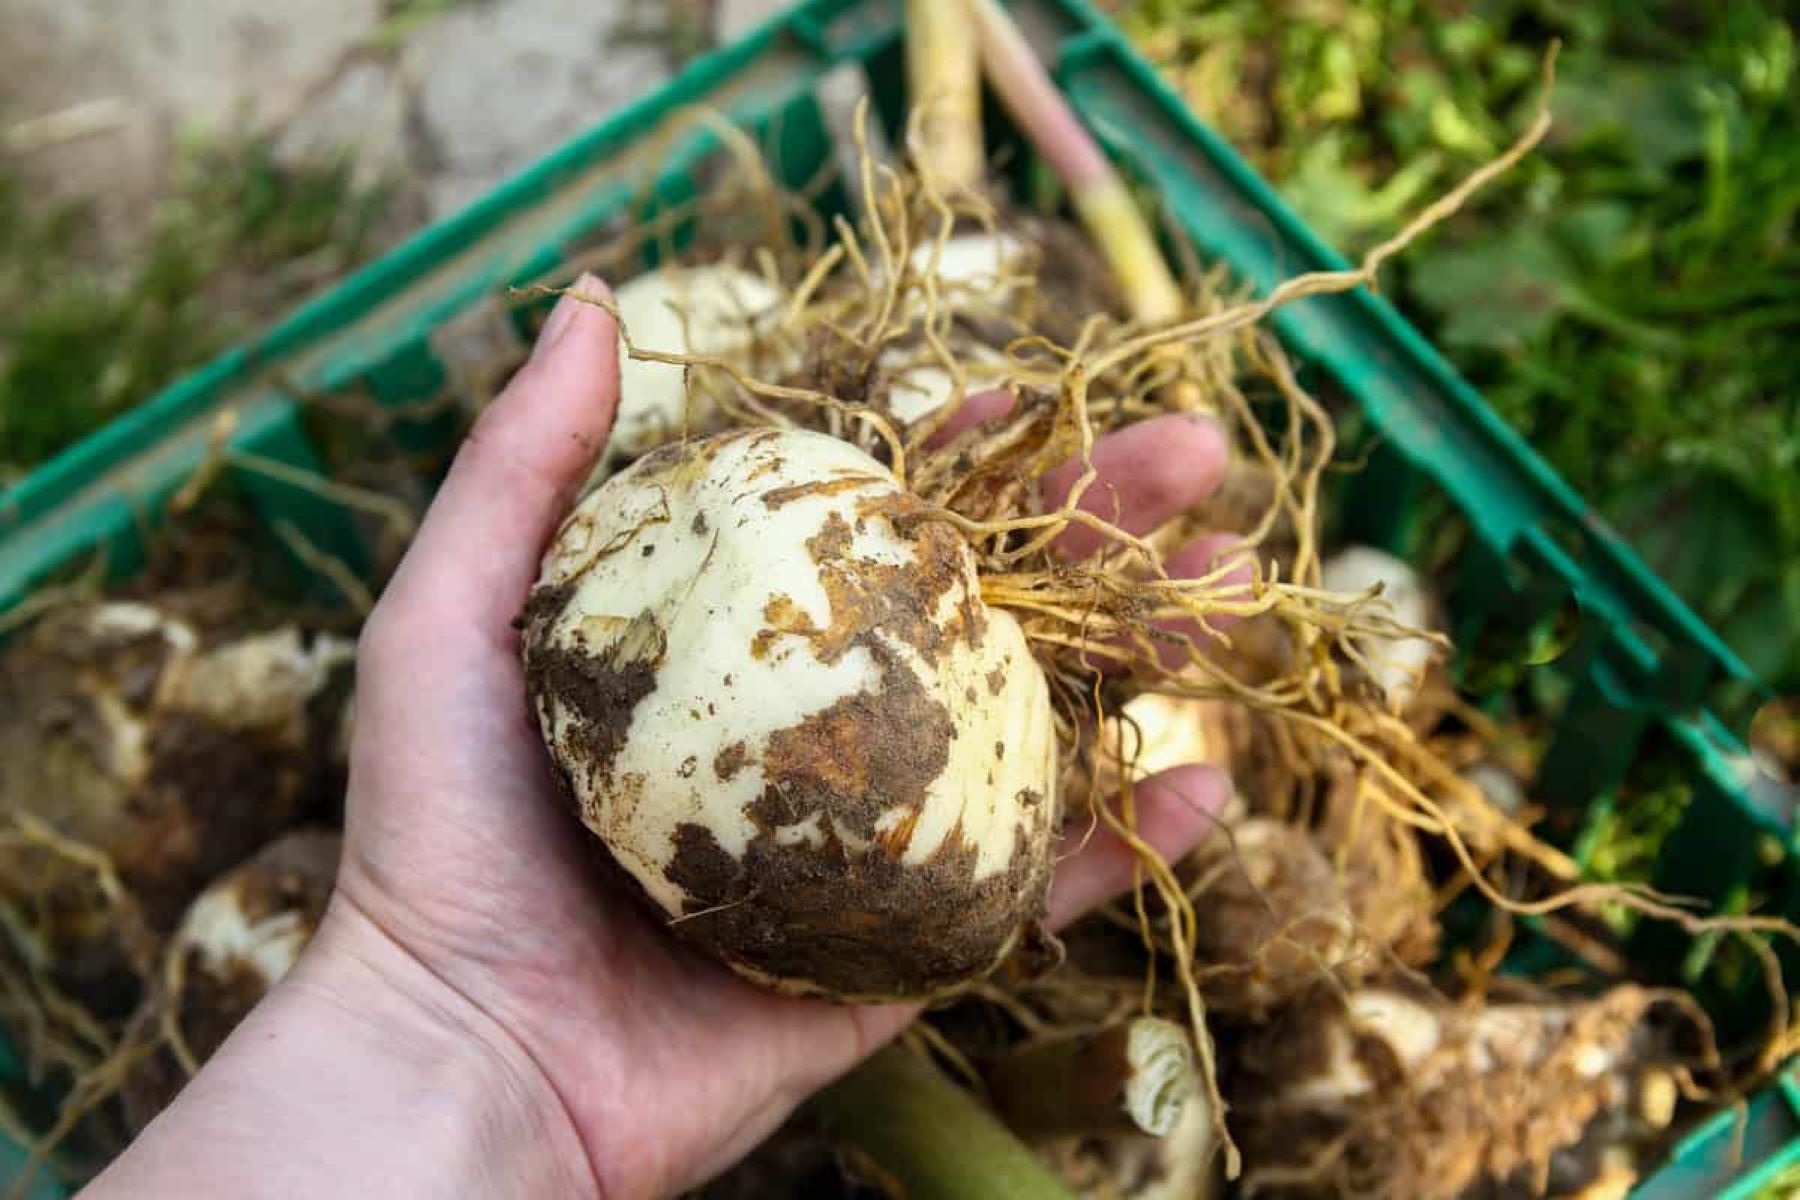
Step 1: Clean and Dry Bulbs
The first step in storing bulbs over summer is to clean and dry them properly. This process helps remove any dirt, debris, or potential sources of disease, ensuring that your bulbs remain healthy during the dormant period.
Here’s how to clean and dry your bulbs:
- Gently remove soil: Start by gently removing any excess soil clinging to the bulbs. Use your hands or a soft brush to carefully brush off any loose dirt.
- Inspect for damage or disease: As you clean each bulb, inspect them for any signs of damage or disease. Discard any bulbs that are soft, mushy, or show signs of rot or disease. This will prevent the spread of infections to other bulbs during storage.
- Trim foliage: If your bulbs still have foliage attached, trim it back to about an inch above the bulb. This helps conserve energy and prevents excessive moisture loss during storage.
- Dry the bulbs: Once the bulbs have been cleaned and trimmed, allow them to dry thoroughly before moving on to the next step. Place them in a well-ventilated area that is out of direct sunlight. This will help prevent moisture buildup and reduce the risk of rotting.
- Avoid washing: It’s important to note that washing bulbs with water is not recommended, as it can increase the risk of disease and damage. Instead, focus on gently removing loose soil and allowing the bulbs to naturally dry.
By following these steps, you can ensure that your bulbs are clean, dry, and free from any potential sources of disease or damage. This will set the foundation for successful bulb storage and ensure their health during the dormant period. In the next step, we will discuss how to remove any diseased or damaged bulbs from your collection before storage.
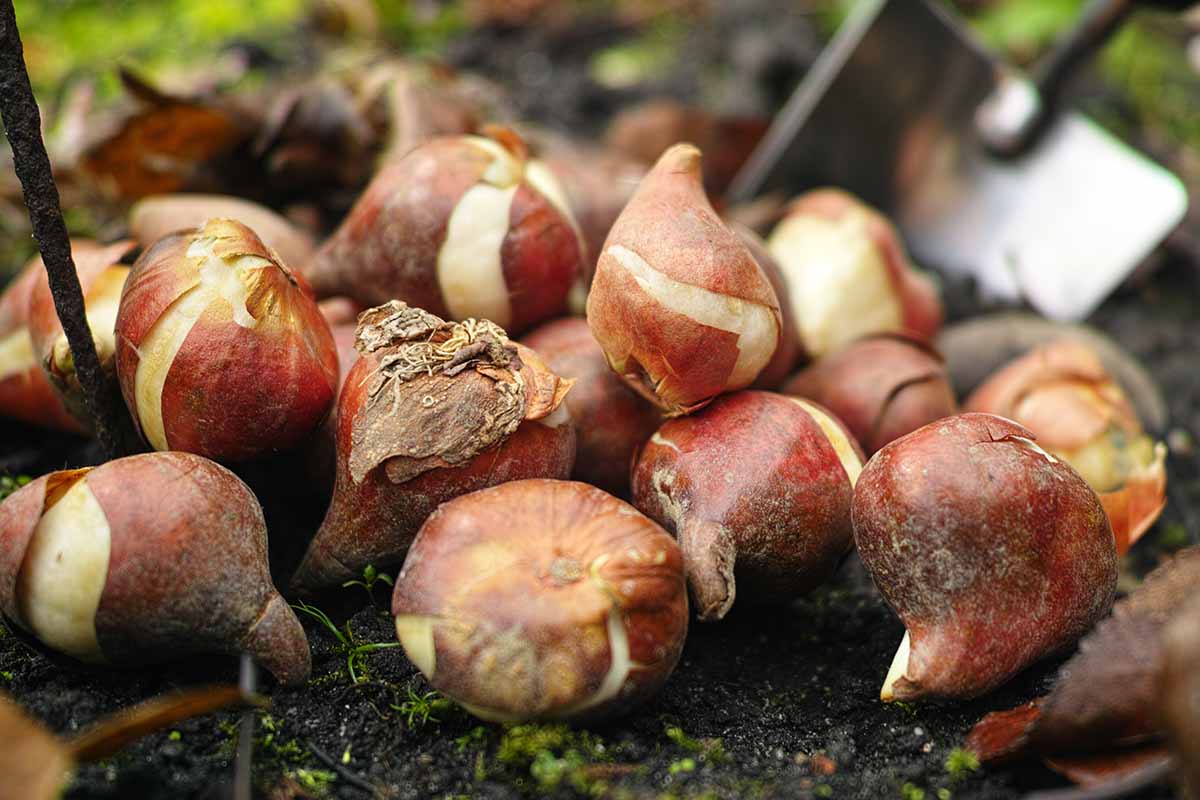
Step 2: Remove any Diseased or Damaged Bulbs
Before storing your bulbs, it is important to inspect them for any signs of disease or damage. Removing any diseased or damaged bulbs will prevent the spread of infections and ensure that your stored bulbs remain healthy and viable.
Here’s how to identify and remove diseased or damaged bulbs:
- Examine each bulb: Carefully examine each bulb for any signs of disease, such as mold, rot, or discoloration. Look for soft spots, mushiness, or any other visible signs of damage.
- Separate affected bulbs: If you come across any bulbs that show signs of disease or damage, separate them from the rest of your collection. Place them in a separate container or discard them, depending on the severity of the issue.
- Dispose of the bulbs: If the diseased or damaged bulbs are beyond saving, it is best to dispose of them properly. Seal them in a plastic bag and dispose of them in the trash, away from your garden or compost pile.
- Treat salvageable bulbs: If you believe that some bulbs can still be salvaged, you can attempt to treat them before storage. Trim off any visibly affected areas and dust the bulbs with a fungicide powder to help prevent the spread of disease. However, keep in mind that success rates may vary, and it’s always best to err on the side of caution when it comes to disease management.
- Isolate remaining bulbs: After removing any diseased or damaged bulbs, ensure that the remaining bulbs are kept separate from the affected ones. This will minimize the risk of contamination and help maintain the health of your stored bulbs.
Removing any diseased or damaged bulbs is crucial to preserving the overall health and integrity of your bulb collection. By taking this preventative step, you can avoid potential issues and ensure that your stored bulbs have the best chance of thriving in the future. In the next step, we will discuss the importance of curing bulbs before storage.
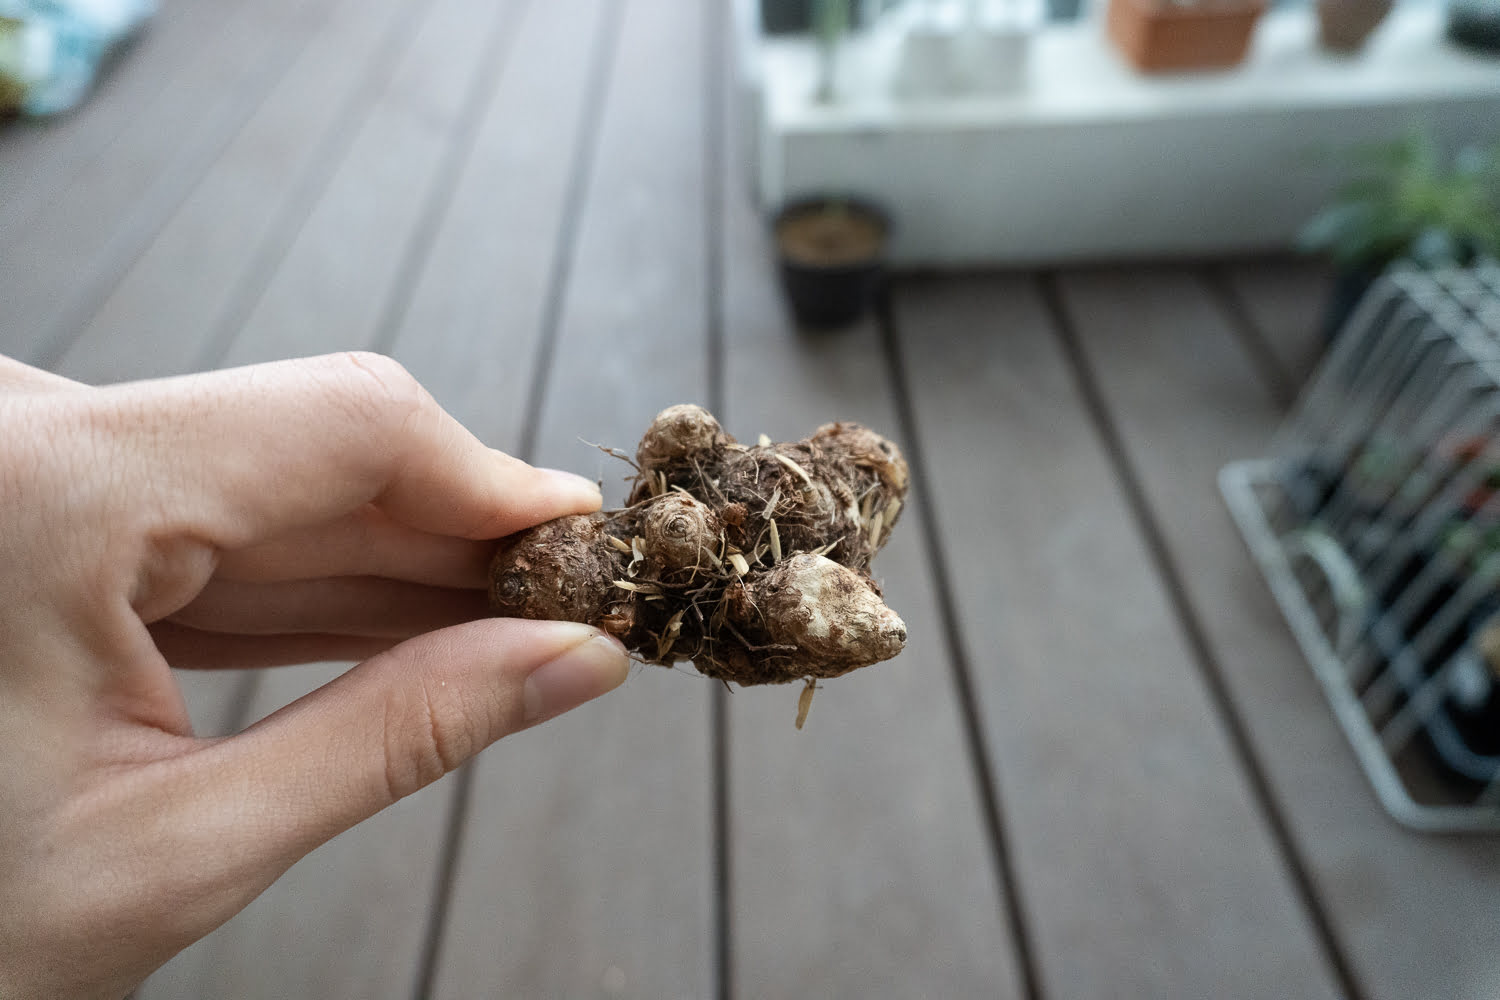
Step 3: Cure Bulbs
Curing bulbs before storage is an essential step that helps prepare them for the dormant period. Curing allows the bulbs to dry further and develop a protective layer, which improves their storage longevity and reduces the risk of rot or disease.
Here’s how to properly cure your bulbs:
- Place the bulbs in a dry, well-ventilated area: Choose a cool and dry location, such as a garage or shed, where the bulbs can be spread out in a single layer. Avoid direct sunlight, as it can cause excessive drying and damage the bulbs.
- Provide good airflow: It is important to ensure that there is good airflow around the bulbs during the curing process. This helps speed up the drying process and reduces the risk of mold or rot. Avoid overcrowding the bulbs and make sure there is space for air circulation.
- Allow the bulbs to cure for several weeks: Depending on the type of bulbs and the conditions, curing can take anywhere from two to six weeks. Check the bulbs regularly during this time to ensure they are drying properly and have developed a papery skin.
- Discard any bulbs showing signs of decay: While curing, keep an eye out for any bulbs that begin to show signs of decay or mold. Remove these bulbs immediately to prevent the spread of disease to other bulbs.
- Handle bulbs with care: During the curing process, it’s important to handle the bulbs with care to avoid causing any damage. Avoid dropping or roughly handling the bulbs, as this can lead to bruising or injury that may affect their future growth.
Curing bulbs before storage allows them to dry thoroughly and develop the protective layers that will help keep them in good condition during the dormant period. Taking the time to properly cure your bulbs will ultimately contribute to their long-term health and success in your garden.
In the next step, we will discuss how to choose a suitable storage location for your bulbs to ensure their safekeeping.
Read more: How To Store Daffodil Bulbs Over Summer
Step 4: Choose a Suitable Storage Location
Choosing the right storage location for your bulbs is essential to ensure their long-term viability. The ideal storage conditions will provide a cool, dry, and well-ventilated environment that protects the bulbs from extreme temperatures, moisture, and pests.
Here are some factors to consider when selecting a suitable storage location for your bulbs:
- Temperature: Bulbs should be stored in a location with a consistent temperature between 35°F (2°C) and 50°F (10°C). Avoid areas that experience extreme temperature fluctuations, as this can damage the bulbs.
- Humidity: Choose a storage area with low humidity levels to prevent excess moisture buildup and reduce the risk of rotting or molding. A relative humidity of around 60% or lower is ideal for bulb storage.
- Airflow: Good airflow is crucial to prevent moist conditions and promote bulb dormancy. Ensure that the storage area has proper ventilation to allow for air circulation around the bulbs.
- Light exposure: Bulbs should be stored in a dark location to avoid premature sprouting or excessive use of energy reserves. Keep them away from any sources of light, such as windows or bright artificial lights.
- Pest control: Choose a storage area that is secure and protected from pests, such as rodents or insects. Use sealed containers or mesh bags to prevent any unwanted visitors from damaging or feeding on your stored bulbs.
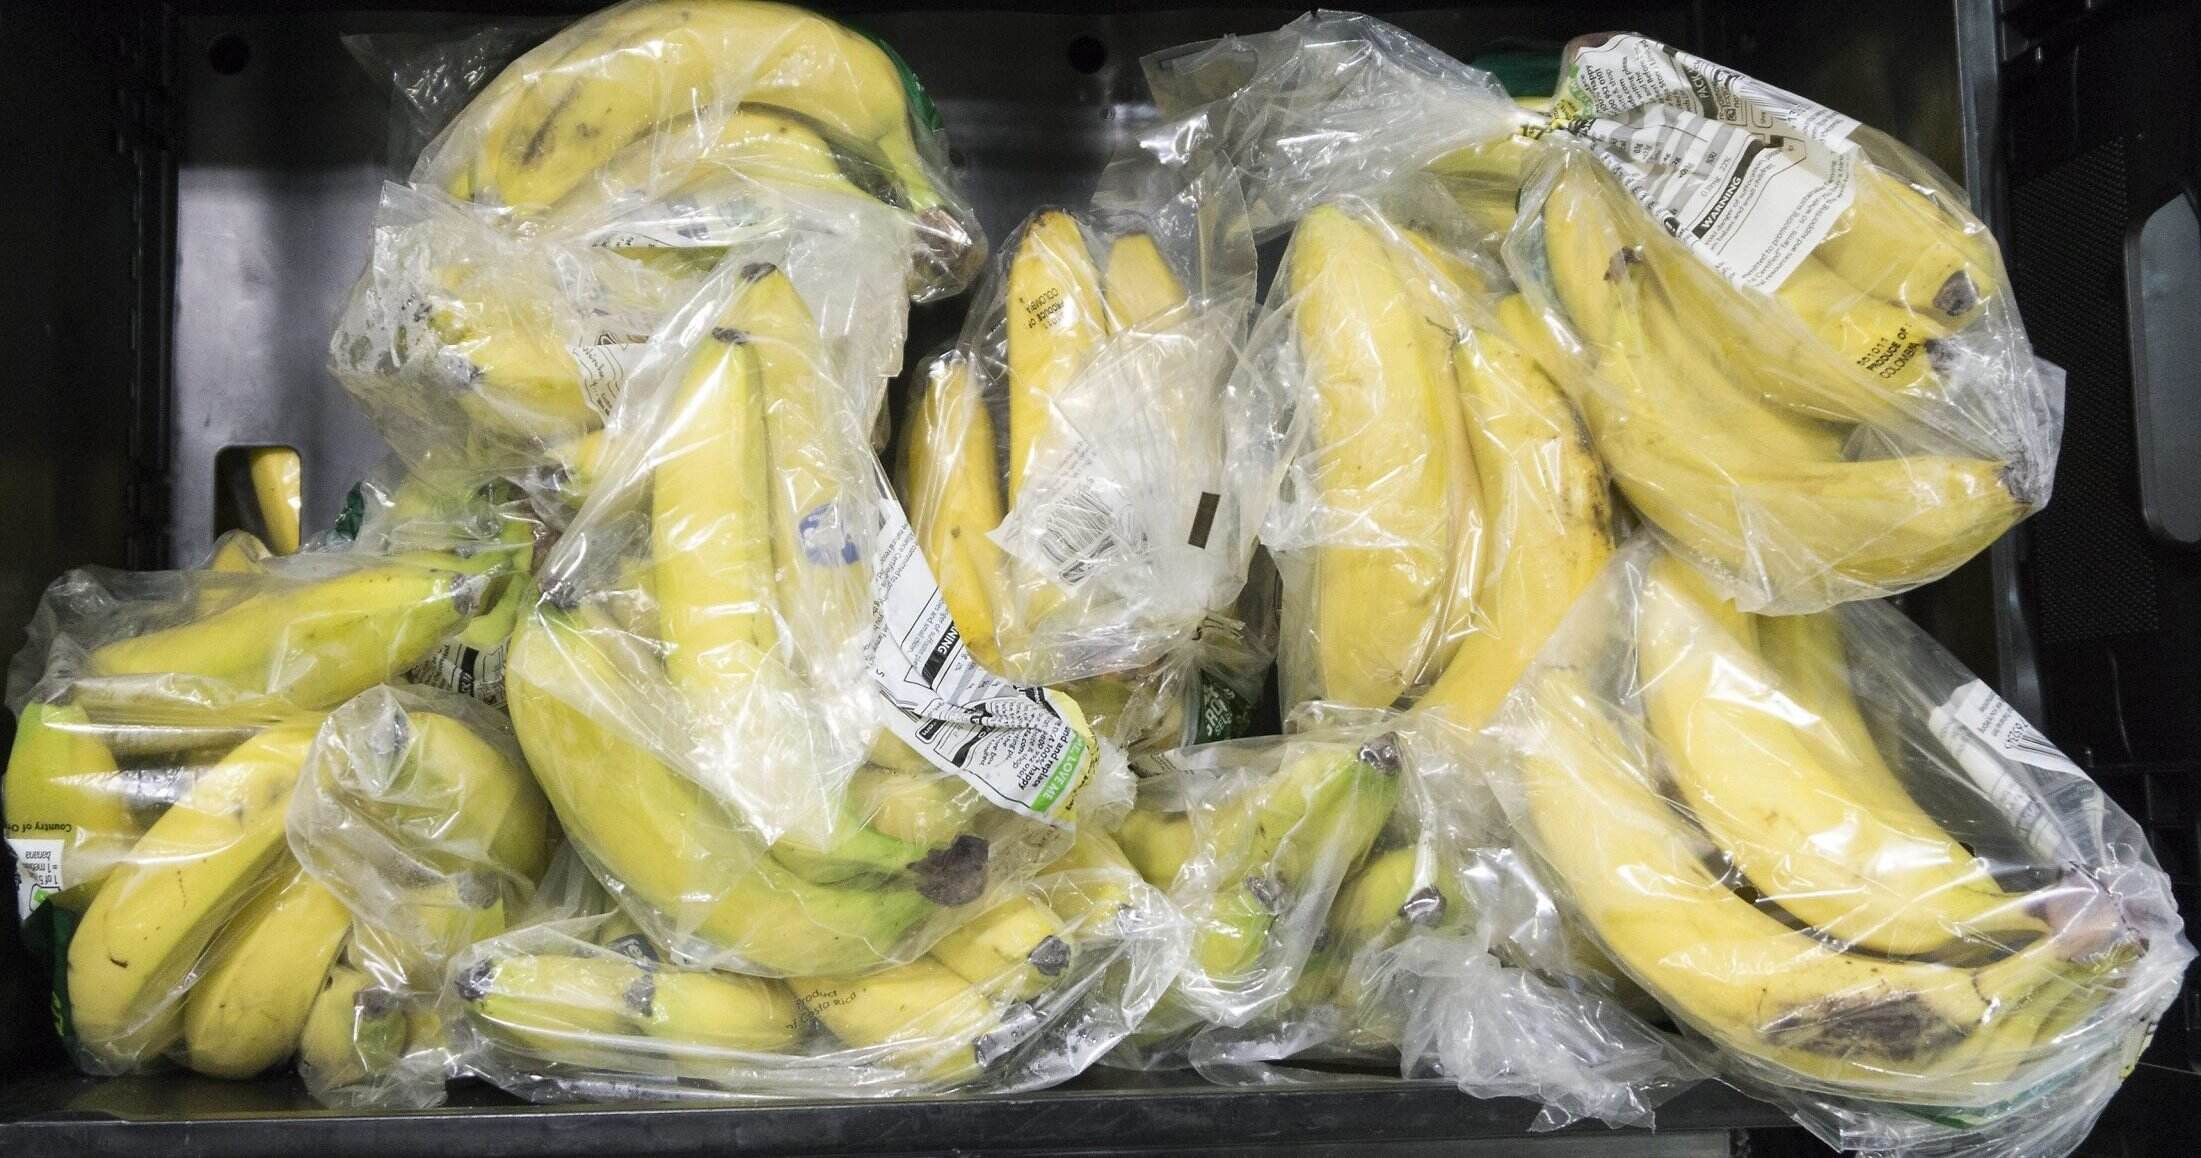
Some suitable storage locations for bulbs include basements, garages, or crawl spaces. If you live in a particularly humid or warm climate, you may want to consider storing your bulbs in a refrigerator, as long as there are no fruits or vegetables nearby that release ethylene gas, which can damage the bulbs.
Remember to label and organize your stored bulbs, grouping them by type or planting location, if necessary. This will make it easier to locate and replant them when the time comes.
In the next step, we will discuss how to prepare your bulbs for storage to ensure their safekeeping and long-term viability.
After the bulbs have finished flowering, allow the foliage to die back naturally. Once the foliage has turned yellow and dried out, carefully dig up the bulbs and store them in a cool, dry place until it’s time to replant them in the fall.
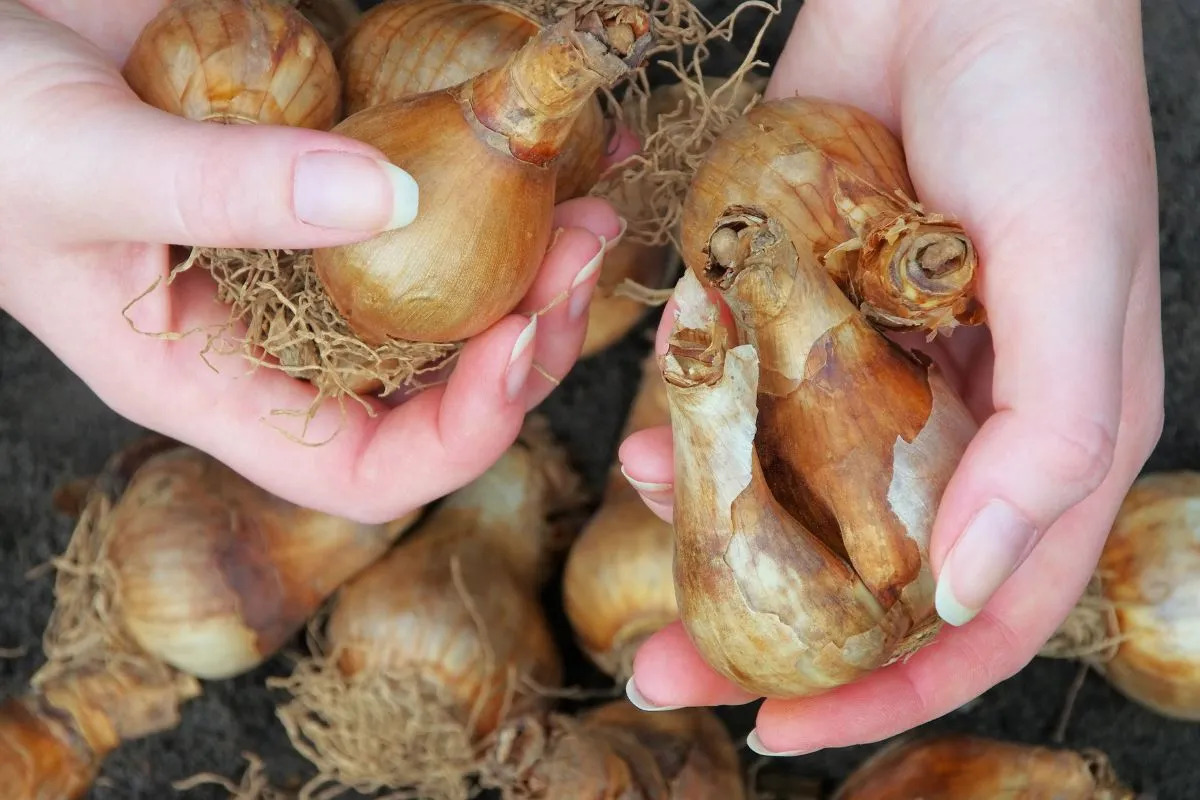
Step 5: Prepare Bulbs for Storage
Properly preparing your bulbs for storage is essential to ensure their safekeeping and prevent any potential damage during the dormant period. Taking the time to prepare your bulbs correctly will help maintain their health and improve their chances of successful re-planting in the future.
Here are the steps to prepare your bulbs for storage:
- Remove excess foliage: If any foliage remains on the bulbs, trim it back to about an inch above the bulb. This helps conserve energy and prevent excessive moisture loss during storage.
- Dust with fungicide powder (optional): To further protect your bulbs from disease, you can dust them with a fungicide powder before storage. This can help prevent the growth of mold or fungi during the dormant period. Follow the instructions on the fungicide packaging for proper application.
- Group bulbs by type: If you have different types of bulbs, it’s a good idea to group them together for easier organization. This will also make it simpler to replant them when the time comes.
- Place bulbs in breathable containers: Opt for containers that allow for proper air circulation, such as mesh bags or breathable cloth bags. Avoid using airtight containers, as this can lead to excess moisture buildup and potential rotting. Make sure the containers are clean and dry before placing the bulbs inside.
- Add a moisture-absorbing material: To further protect against excess moisture, you can include a moisture-absorbing material in each container. Silica gel packets or even a layer of dry peat moss can help absorb any moisture that may be present.
- Label the containers: It’s important to label the containers with the type of bulbs and the date of storage. This will help you keep track of the stored bulbs and ensure that you replant them in the appropriate season.
By following these steps, you can properly prepare your bulbs for storage, ensuring their safekeeping and maintaining their health until the planting season arrives.
In the next step, we will discuss how to store your prepared bulbs in containers, providing them with the necessary protection to thrive during the dormant period.
Step 6: Store Bulbs in Containers
Storing bulbs in containers is an effective way to provide them with the necessary protection and organization during the dormant period. Proper container storage will help maintain the quality and viability of your bulbs until they are ready to be replanted.
Here’s how to store your prepared bulbs in containers:
- Choose suitable containers: Select containers that are clean, dry, and offer sufficient space for the bulbs without overcrowding them. Mesh bags, breathable cloth bags, or cardboard boxes with ventilation holes are good options.
- Place bulbs in a single layer: Lay the bulbs in the container in a single layer, making sure there is enough space between them for air circulation. Avoid stacking or overcrowding the bulbs, as this can lead to moisture buildup and potential rotting.
- Include moisture-absorbing material: Add a moisture-absorbing material, such as silica gel packets or dry peat moss, to help absorb any excess moisture and maintain a dry environment within the container.
- Seal the containers: Close the containers securely to protect the bulbs from pests and environmental factors. If using mesh bags, tie the opening with a twist tie or string to keep the bulbs contained.
- Store in a suitable location: Place the containers in a cool, dry, and well-ventilated storage area, such as a basement, garage, or refrigerator. Remember to keep them away from fruits and vegetables in the fridge, as ethylene gas can harm the bulbs.
- Check periodically: Regularly check on your stored bulbs to ensure they remain in good condition. Look for any signs of decay, mold, or pests, and remove any affected bulbs promptly to prevent further damage.
Properly storing your bulbs in containers provides them with protection from pests, moisture, and extreme temperatures. Additionally, organizing them in containers makes it easier to locate and manage your bulb collection when it’s time for replanting.
In the next step, we will discuss the importance of monitoring your stored bulbs regularly to ensure their continued health and viability.
Step 7: Monitor Bulbs Regularly
Monitoring your stored bulbs on a regular basis is crucial to ensure their continued health and viability. Regular checks allow you to identify and address any issues that may arise during the dormant period, helping to preserve the quality of your bulbs.
Here are some key steps to effectively monitor your stored bulbs:
- Check for signs of decay: Regularly inspect your stored bulbs for any signs of decay, mold, or rot. Look for soft spots, discoloration, or foul odors. If you notice any issues, remove the affected bulbs immediately to prevent the spread of disease to the rest of your stored bulbs.
- Assess moisture levels: Check the moisture levels in your storage area by lightly squeezing a few bulbs. They should feel firm and dry to the touch. If you notice any excessive moisture or condensation in the containers, take steps to improve airflow or remove any excess moisture-absorbing material.
- Inspect for any pest activity: Keep an eye out for any signs of pests, such as insects or rodents, in your storage area. Look for chewed bulbs or any other indications of pest activity. If pests are detected, take appropriate measures to eliminate them and protect your stored bulbs.
- Ensure proper storage conditions: Continually monitor the temperature and humidity levels in your storage area to ensure they remain within the optimal range for bulb storage. Make adjustments as necessary to maintain a cool, dry, and well-ventilated environment for your bulbs.
- Keep records: Maintain a record of your bulb storage, noting the types of bulbs, the date of storage, and any observations or actions taken during monitoring. This will help you track the condition and progress of your stored bulbs and provide valuable information for future storage and replanting.
By regularly monitoring your stored bulbs and promptly addressing any issues, you can maximize their chances of surviving the dormant period and ensure their health and vitality for future planting.
In the final step, we will discuss how to properly replant the stored bulbs in the fall, ensuring a successful transition from storage to growth.
Read more: How To Store Bulbs Over Winter
Step 8: Replant Stored Bulbs in Fall
After properly storing your bulbs over the summer, the final step is to replant them in the fall when the planting season arrives. Replanting allows your stored bulbs to resume their growth and bloom, bringing beauty and color back to your garden.
Here’s how to replant your stored bulbs:
- Select a suitable planting location: Choose a location in your garden that offers the appropriate sunlight, soil conditions, and spacing for the specific type of bulbs you are replanting. Refer to the planting instructions for each type of bulb to ensure optimal conditions.
- Prepare the planting area: Prepare the soil in the planting area by removing any weeds, loosening the soil, and incorporating organic matter, such as compost or well-rotted manure, to improve fertility and drainage.
- Follow planting depth and spacing guidelines: Refer to the specific planting depth and spacing recommendations for each type of bulb. Generally, bulbs should be planted at a depth that is two to three times their diameter. Leave adequate space between bulbs to allow for proper growth and development.
- Plant the bulbs: Place each bulb in the prepared hole with the pointed end facing upwards. Gently cover the bulbs with soil, firming it down to ensure good soil-to-bulb contact while avoiding excessive compaction.
- Water the newly planted bulbs: After planting, water the area thoroughly to provide moisture for the bulbs and help settle the soil. Be careful not to overwater, as excessive moisture can lead to bulb rot.
- Monitor and care for the newly planted bulbs: Keep an eye on the newly planted bulbs to ensure they are establishing well. Protect them from extreme weather conditions, pests, and diseases. Water as needed and follow any specific care guidelines for the type of bulbs you’ve planted.
- Enjoy the blooms: With proper care and ideal growing conditions, your replanted bulbs will spring to life, producing beautiful blooms that will bring joy and color to your garden.
Replanting your stored bulbs in the fall allows them to continue their growth cycle and produce the stunning flowers they are known for. Follow the recommended planting guidelines for each type of bulb to ensure optimal results and maximize their performance in your garden.
By following all the steps in this guide, from cleaning and drying the bulbs to monitoring them during storage and replanting them in the fall, you can successfully store and revive your bulbs, ensuring their continued beauty and success in your garden for years to come.
We hope you find this guide helpful and enjoy the rewards of your properly stored and replanted bulbs!
Conclusion
Properly storing bulbs over summer is essential for maintaining their health and ensuring a successful garden filled with vibrant blooms. By following the step-by-step guide outlined in this article, you can effectively store your bulbs and set them up for success during the dormant period.
From cleaning and drying the bulbs to removing any diseased or damaged ones, curing them, selecting a suitable storage location, and preparing them for storage, each step plays a vital role in maintaining the bulbs’ quality and viability. By monitoring the bulbs regularly and replanting them in the fall, you complete the cycle and give them the opportunity to thrive once again.
Remember, proper bulb storage involves maintaining suitable temperature and humidity levels, providing good airflow, protecting them from pests, and storing them in well-ventilated containers. Regular monitoring and prompt action are key to addressing any issues that may arise during storage, such as decay, moisture buildup, or pest infestation.
Replanting the stored bulbs in the fall is the ultimate goal, giving them the opportunity to blossom and bring beauty to your garden once again. Follow the recommended planting depth and spacing guidelines, care for the newly planted bulbs, and watch them flourish as they enter their growth cycle.
By adhering to these guidelines and maintaining proper bulb storage practices, you can preserve and reuse your bulbs year after year, saving money, and ensuring a stunning display of flowers in your garden.
So, invest the time and effort in proper bulb storage, and you will reap the rewards of healthy, vibrant blooms when the planting season arrives. Happy gardening!
Frequently Asked Questions about How To Store Bulbs Over Summer
Was this page helpful?
At Storables.com, we guarantee accurate and reliable information. Our content, validated by Expert Board Contributors, is crafted following stringent Editorial Policies. We're committed to providing you with well-researched, expert-backed insights for all your informational needs.


0 thoughts on “How To Store Bulbs Over Summer”