Articles
How To Store Bulbs Over Winter
Modified: January 5, 2024
Learn how to store bulbs over winter with our helpful articles. Keep your bulbs protected and ready to bloom in the spring
(Many of the links in this article redirect to a specific reviewed product. Your purchase of these products through affiliate links helps to generate commission for Storables.com, at no extra cost. Learn more)
Introduction
As the gardening season comes to a close, many plant enthusiasts are faced with the question of what to do with their bulbs during the winter months. Properly storing bulbs is crucial in ensuring their survival and allowing them to bloom again in the following season. Whether you have tulips, daffodils, or other bulbous plants, storing them correctly will help maintain their health and vitality.
In this article, we will guide you through the process of storing bulbs over winter, covering everything from choosing the right bulbs, harvesting them, preparing for storage, and determining the ideal storage conditions. We will also provide tips and advice on storing bulbs in containers or in the ground, as well as how to monitor them during the winter months.
By following these guidelines, you can prevent common storage issues and increase the chances of your bulbs thriving when spring arrives. Let’s delve into the details of how to store your bulbs over winter.
Key Takeaways:
- Choose healthy, cold-resistant bulbs and handle them with care when harvesting and preparing for storage. Maintain ideal storage conditions to ensure their survival and vibrant growth in the next gardening season.
- Regularly monitor stored bulbs, prevent common storage issues, and follow best practices for successful winter storage. With proper care, your bulbs will bloom beautifully come springtime.
Read more: How To Store Flower Bulbs Over Winter
Choosing the Right Bulbs for Winter Storage
When it comes to storing bulbs over winter, it’s important to select the right bulbs that are suitable for storage. Not all types of bulbs will survive the winter months, so choosing the appropriate ones is essential for successful storage.
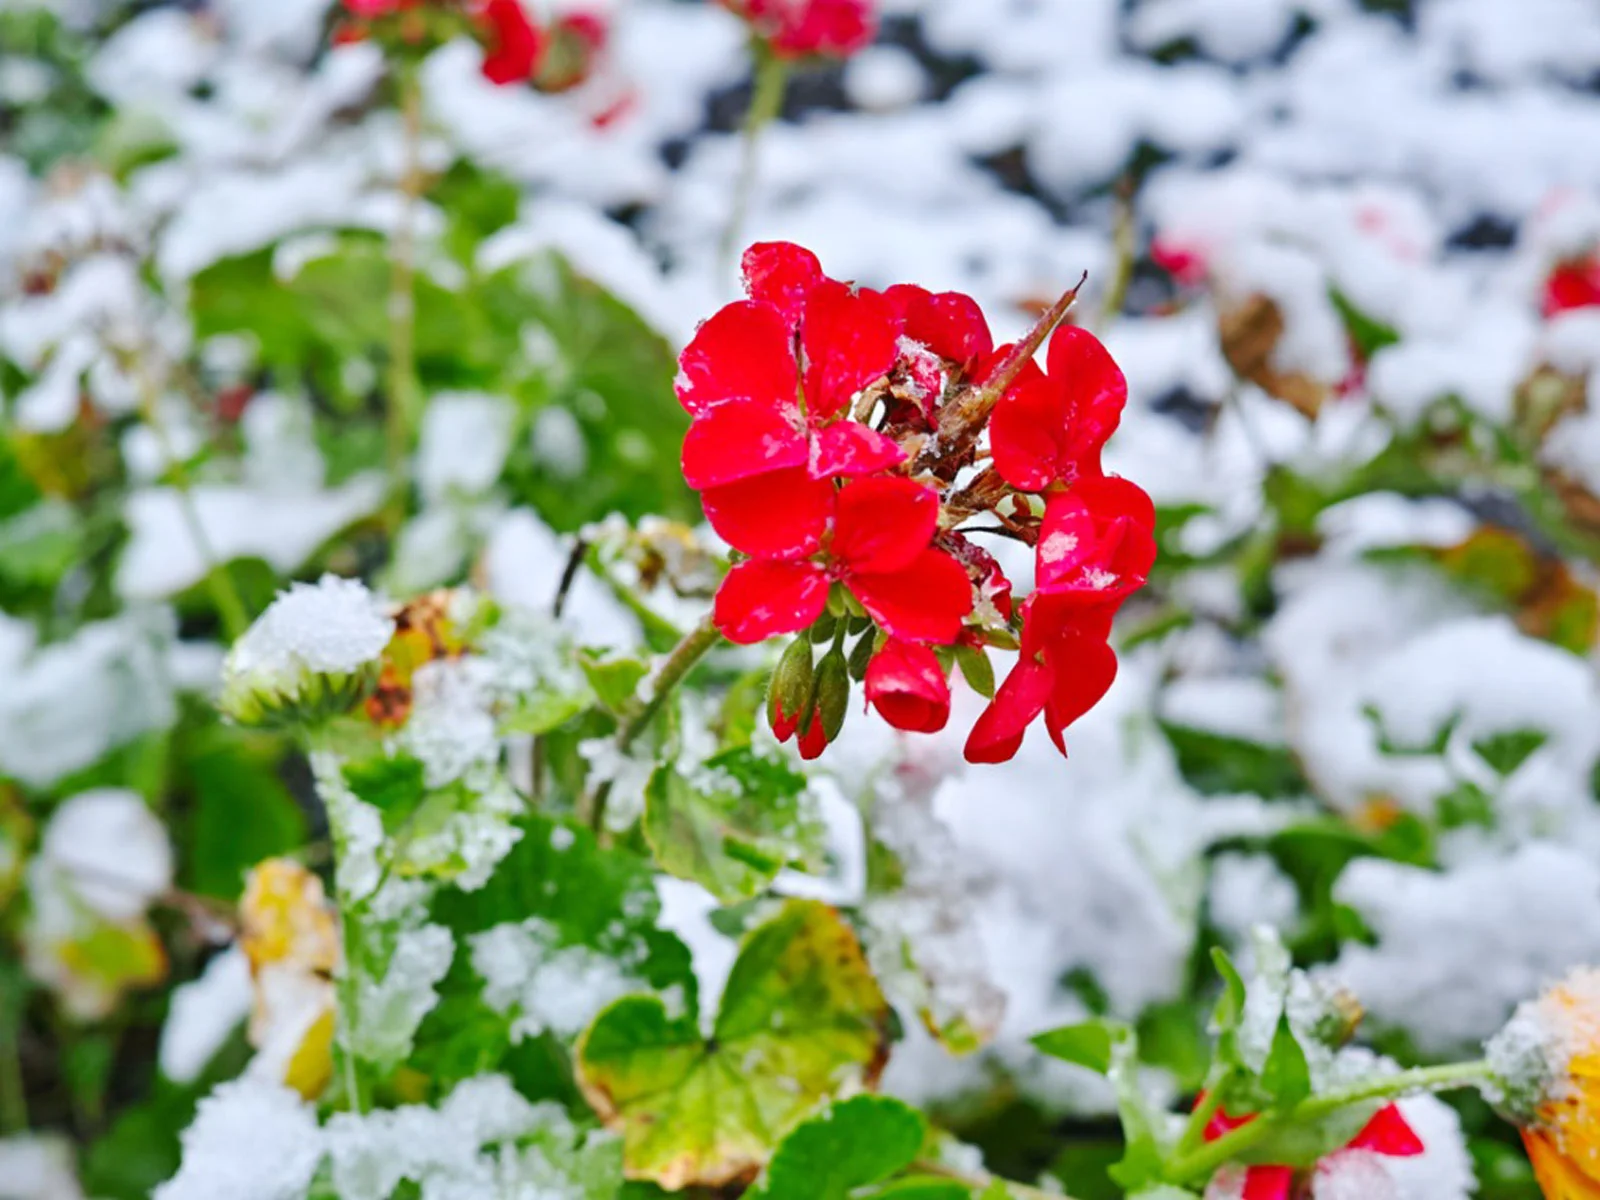
First and foremost, opt for bulbs that are known for their ability to withstand cold temperatures. Examples of such bulbs include daffodils, tulips, hyacinths, crocuses, and snowdrops. These bulbs have a natural resistance to frost and can tolerate the harsh conditions of winter without much trouble.
It’s also important to consider the condition of the bulbs before storing them. Choose bulbs that are healthy, firm, and free of any signs of damage or disease. Bulbs that are mushy, rotting, or have noticeable blemishes should be discarded, as they are unlikely to survive the winter storage period.
Furthermore, make sure to select bulbs that are of a suitable size for storage. Smaller bulbs tend to have less stored energy and may struggle to survive the winter. It’s generally recommended to choose larger, more robust bulbs for storage, as they have a better chance of withstanding the cold temperatures and regenerating in the spring.
Lastly, consider the specific storage requirements of different bulb varieties. Some bulbs, like tulips and daffodils, can tolerate being stored in a dry, cool environment, while others, such as gladiolus or dahlias, require a slightly warmer storage temperature. Research the specific needs of each bulb type to ensure you provide the optimal conditions for their successful storage.
By carefully selecting the right bulbs for winter storage, you’ll set yourself up for success in preserving their health and ensuring their ability to bloom beautifully once spring arrives.
Harvesting Bulbs
Harvesting bulbs correctly is an important step in preparing them for winter storage. Follow these guidelines to ensure you harvest your bulbs at the right time and in the proper manner:
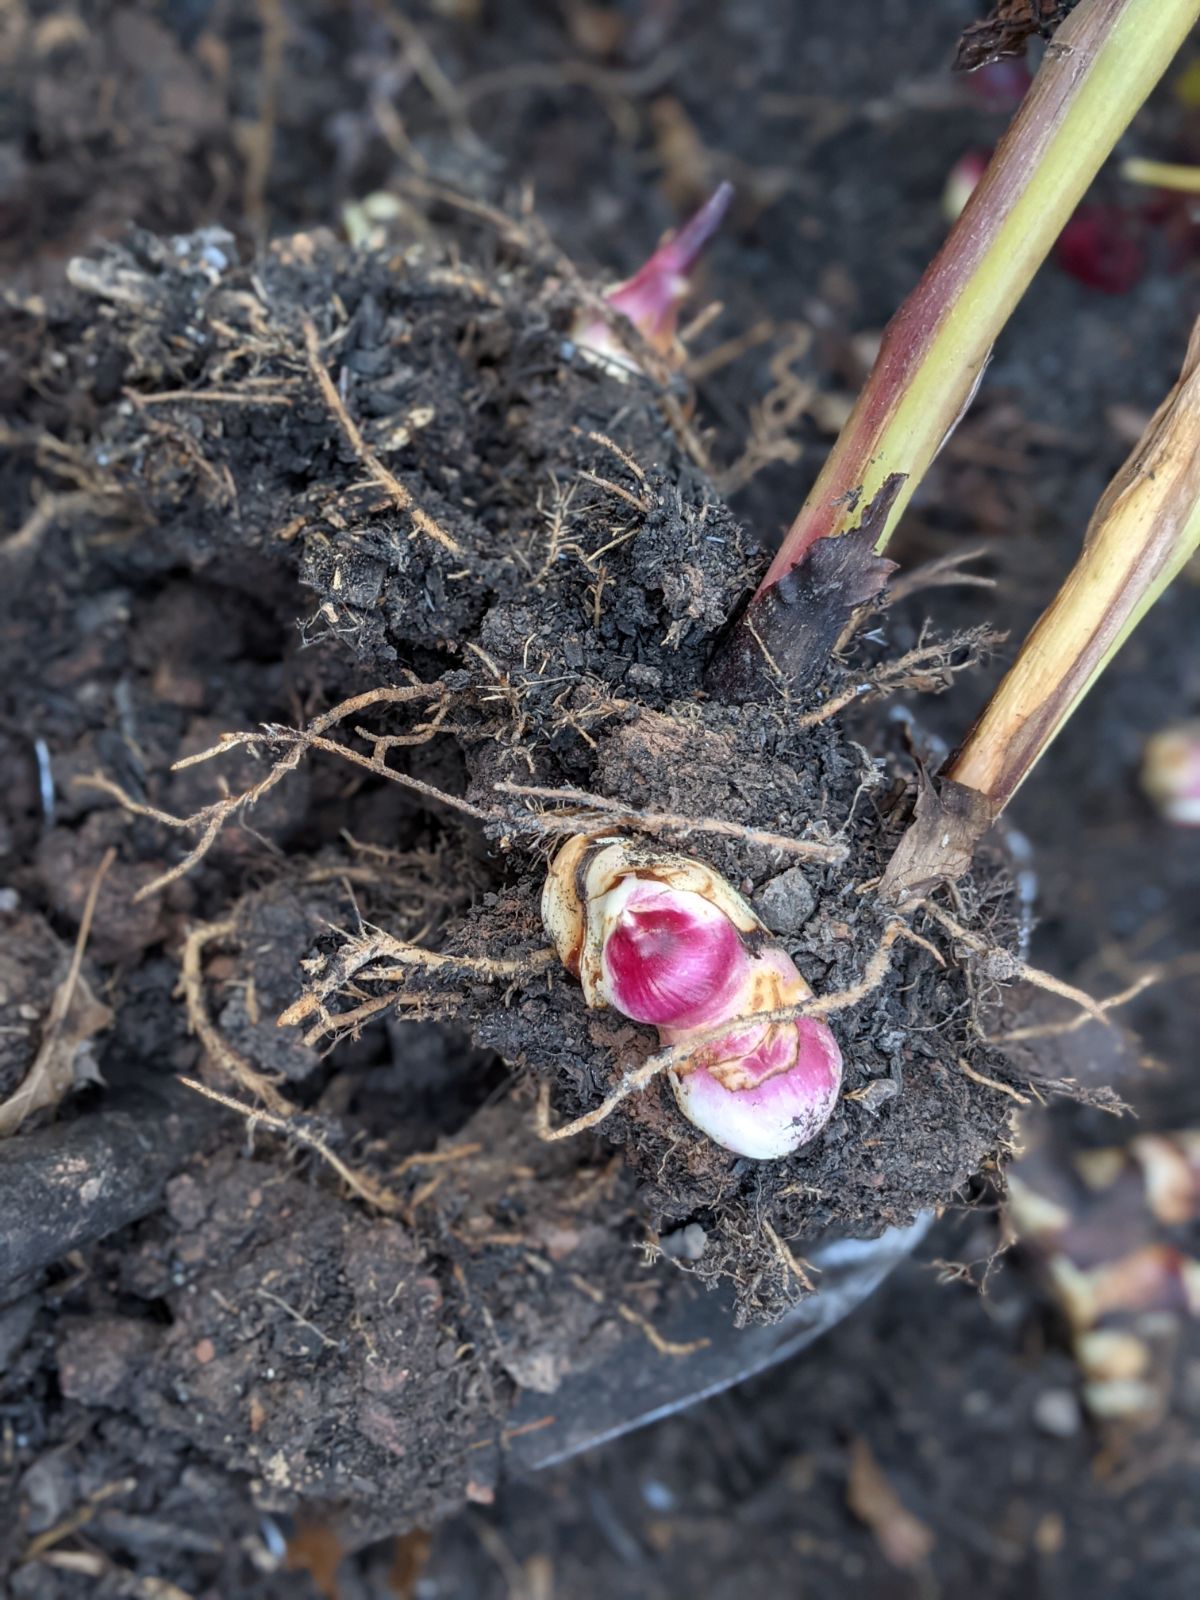
- Timing: The timing of bulb harvesting is crucial. It’s best to wait until the foliage of the plant has turned yellow or brown before digging up the bulbs. This indicates that the plant has completed its growth cycle and the bulbs have stored enough energy for the next season.
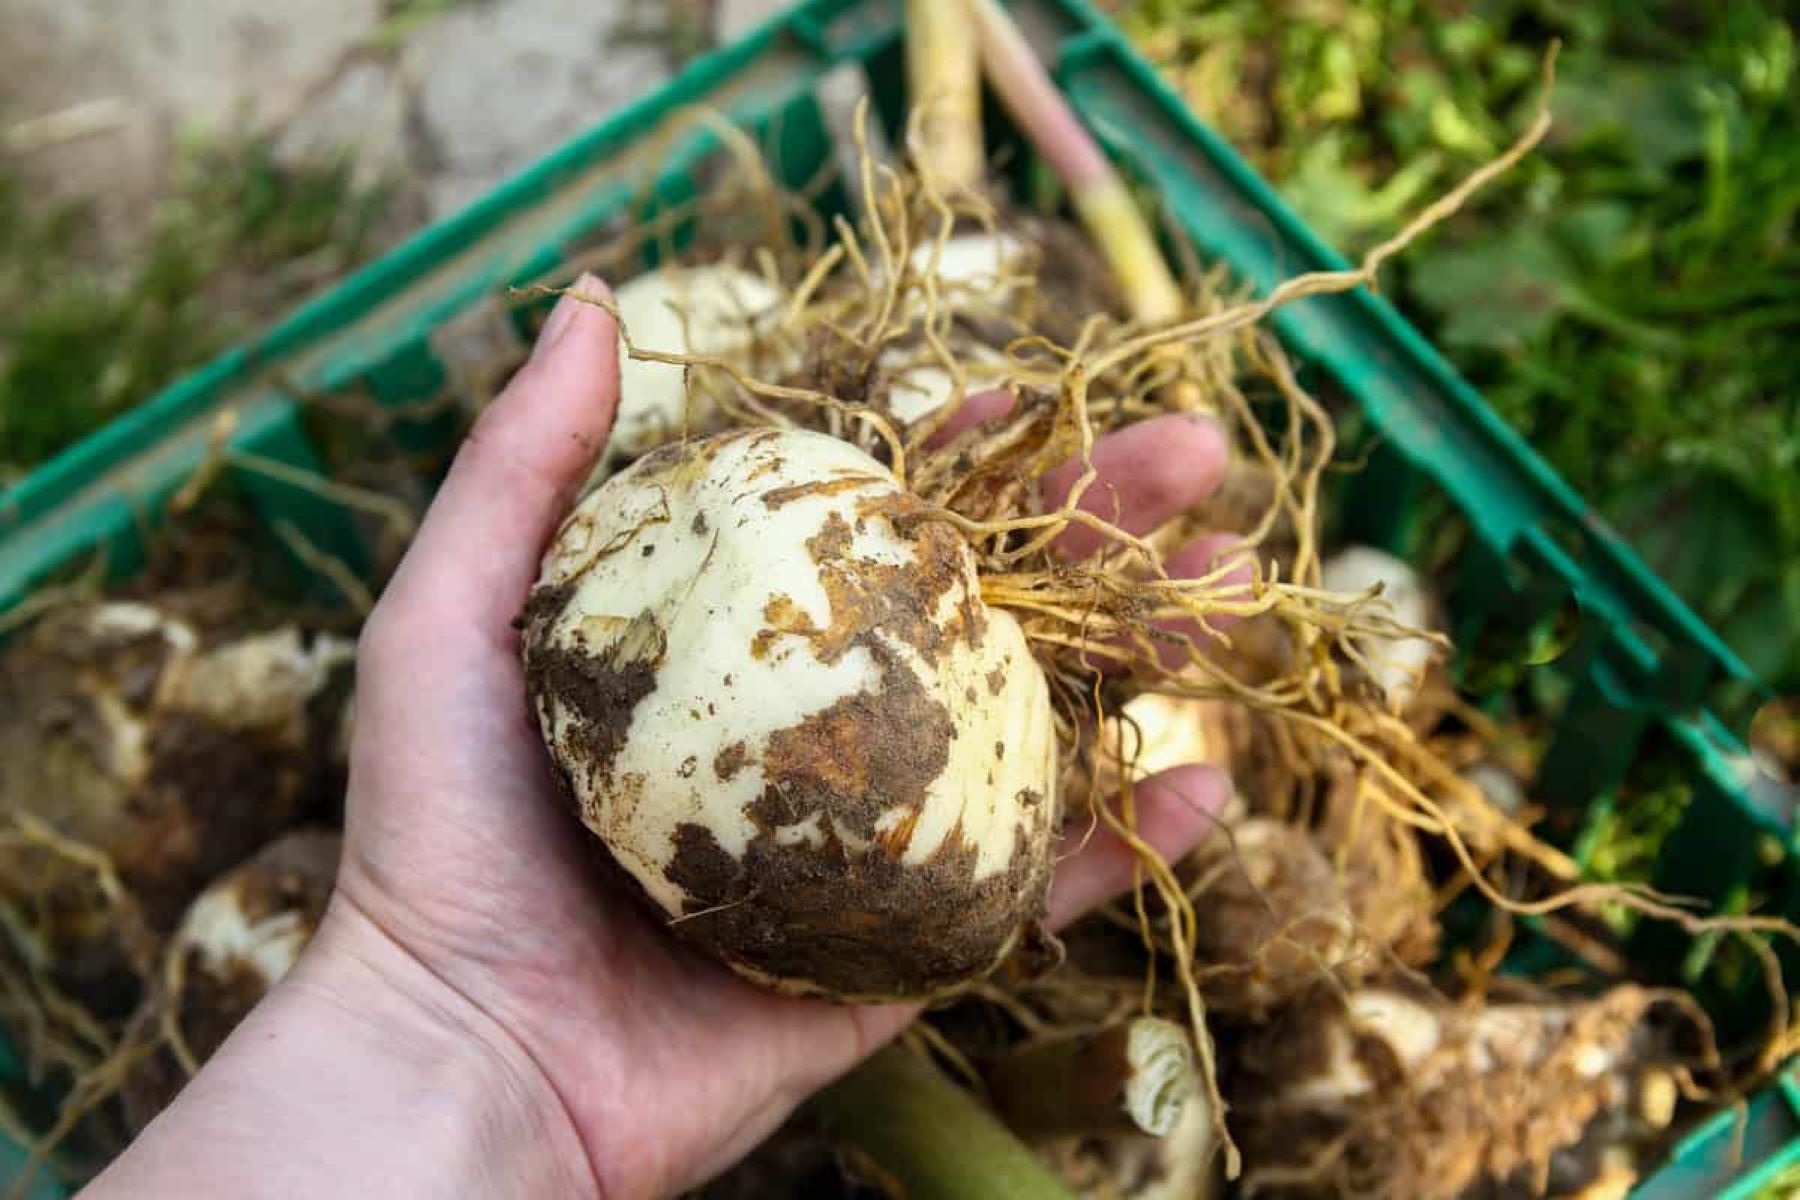
- Gently Digging: Use a garden fork or a spade to carefully dig around the base of the plant, ensuring that you don’t damage the bulbs in the process. Dig deep enough to get under the bulbs and lift them out of the soil.
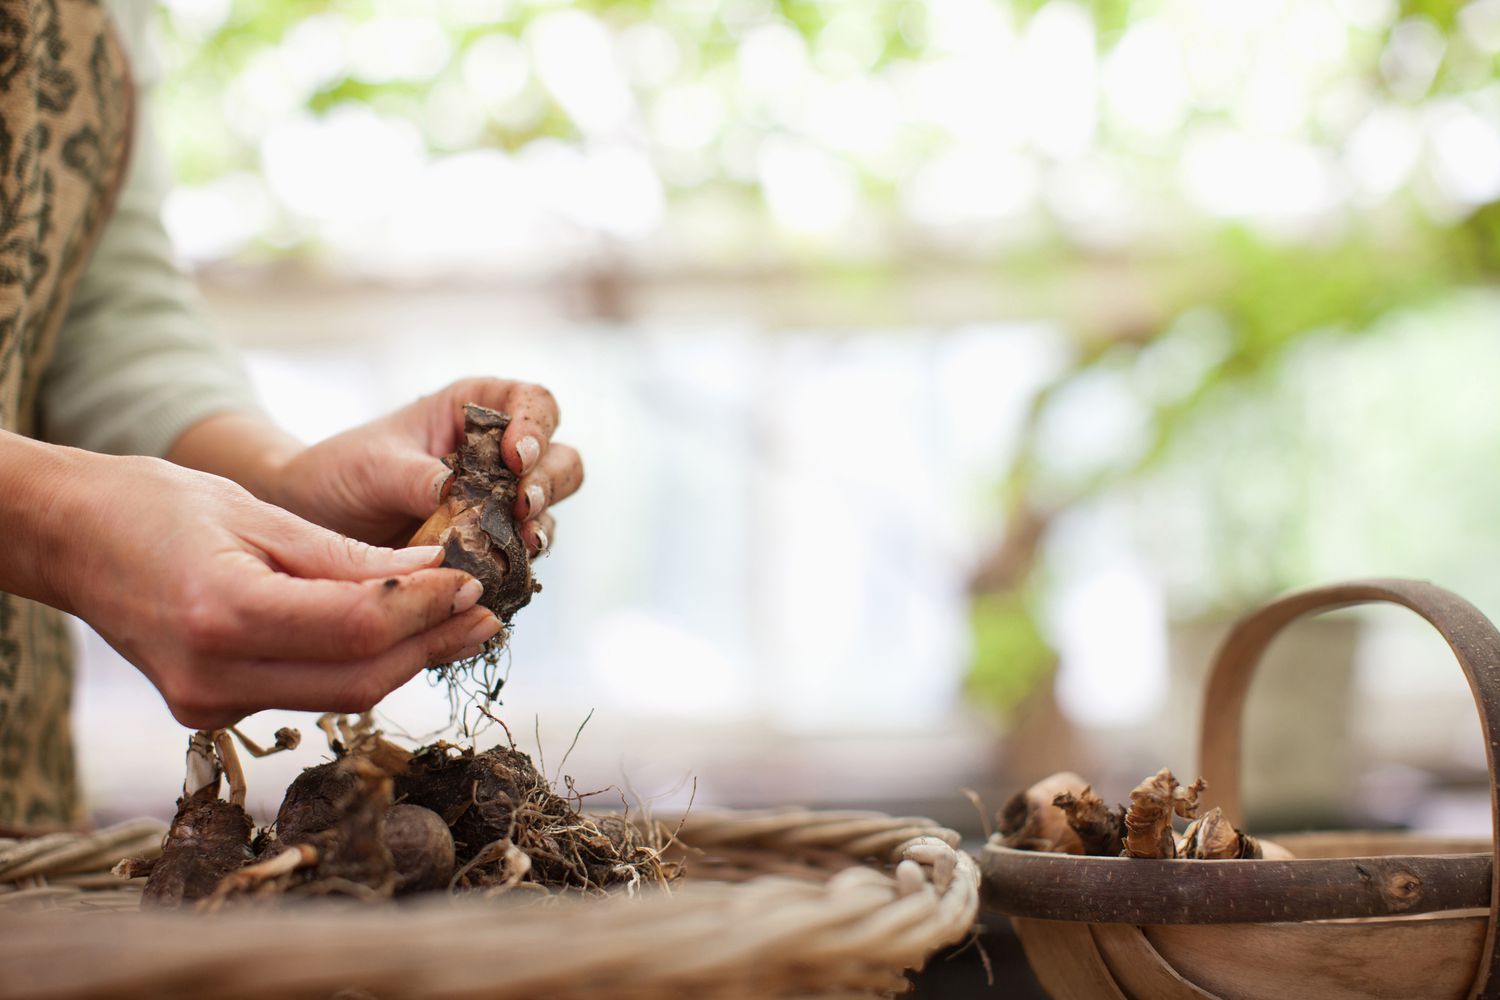
- Separation: Once the bulbs are lifted from the ground, gently shake off excess soil or remove any clinging roots. When harvesting multiple bulbs from the same plant, be sure to separate them carefully to avoid accidentally damaging or bruising the bulbs.
- Cleaning: Inspect each bulb for any signs of damage, rot, or disease. Cut off any foliage or stem that remains attached to the bulb, leaving about an inch of the stem to aid in identification when replanting. If you notice any soft spots or moldy areas on the bulbs, discard them immediately to prevent the spread of disease.
It’s worth noting that some bulbs, such as daffodils and tulips, benefit from being left in the ground for a few weeks after the foliage has dried up. This allows the bulbs to fully mature and develop better storage capacity. However, if you live in an area with severe winters or are concerned about pest or disease issues, it’s best to harvest the bulbs for storage right away.
By harvesting bulbs at the right time and handling them with care, you’ll ensure their optimal condition for winter storage and increase their chances of thriving when the next gardening season arrives.
Preparing Bulbs for Storage
Properly preparing bulbs for storage is crucial to maintain their health and ensure their successful reemergence in the next growing season. Follow these steps to prepare your bulbs for winter storage:
- Curing: Before storing bulbs, it’s important to allow them to cure for a short period. This involves placing the harvested bulbs in a dry, well-ventilated area for a few days to allow any wounds or cuts to heal and the outer layers of the bulbs to dry. Avoid exposing the bulbs to direct sunlight during this curing period.
- Cleaning: Once the bulbs have cured, gently brush off any remaining loose soil or debris from the outer layer. Avoid using water or any cleaning substances, as excessive moisture can promote rotting during storage.
- Inspecting: Take a close look at each bulb, checking for any signs of damage, disease, or insect infestation. Discard any bulbs that show signs of rot or other issues to prevent the spread of problems to the rest of the stored bulbs.
- Drying: After cleaning and inspecting, allow the bulbs to air-dry completely before storing them. This helps to further remove any residual moisture and prevents the growth of mold or fungus during storage.
- Packaging: Once the bulbs are dry, place them in a suitable storage container. Avoid using airtight containers, as bulbs need some airflow to prevent the buildup of excess humidity. A mesh bag or a cardboard box with ventilation holes work well for storing bulbs.
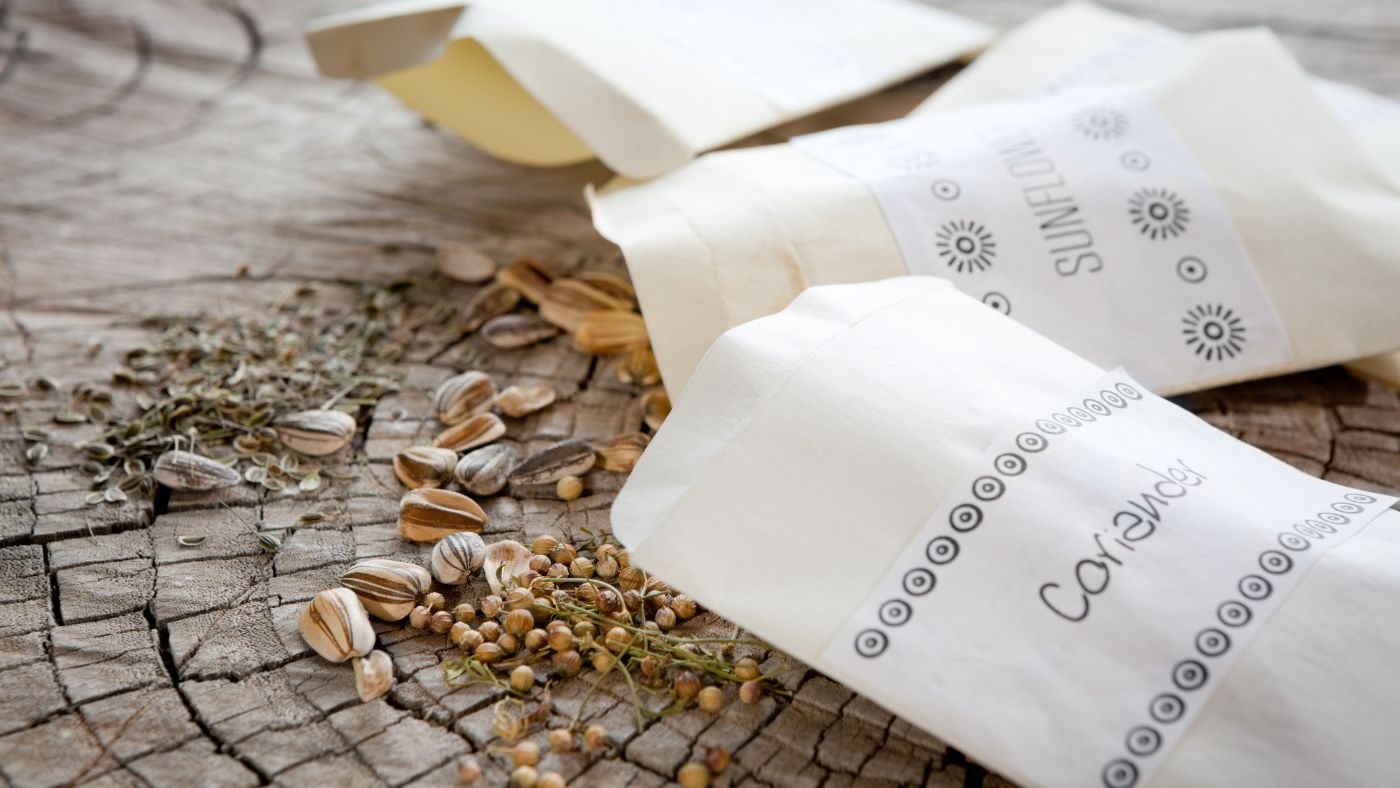
- Labeling: It’s crucial to label each storage container with the name and variety of the bulbs inside. This ensures easy identification when it’s time to replant them in the following season.
Remember, different bulb varieties may have specific storage requirements, so it’s always a good idea to consult reliable gardening resources or the packaging information provided by the bulb supplier for any additional preparation steps or storage considerations specific to the bulbs you are storing.
By properly preparing your bulbs for storage, you increase their chances of remaining healthy and vibrant throughout the winter months, setting the stage for a successful display of blooms when spring arrives.
Determining the Ideal Storage Conditions
Creating the ideal storage conditions for your bulbs is essential to ensure their longevity and vitality during the winter months. Here are some factors to consider when determining the ideal storage conditions:
- Temperature: Most bulbs require cool storage temperatures to mimic the natural winter conditions they experience in the ground. The ideal temperature range for storing bulbs typically falls between 35 to 50 degrees Fahrenheit (1 to 10 degrees Celsius). Avoid storing bulbs in areas that are prone to temperature fluctuations or extreme cold, such as unheated garages or basements.
- Humidity: While it’s important to keep bulbs dry to prevent rot, they also require some humidity to prevent excessive drying. Aim for a relative humidity level of around 60 to 70 percent in the storage area. This can be achieved by placing a small tray of water near the storage containers, or by using a humidifier.
- Light: Bulbs are generally best stored in a dark environment to prevent them from sprouting prematurely. Exposure to light can trigger growth, which should be reserved for when they are ready for planting in the spring.
- Airflow: Adequate airflow is essential to prevent the buildup of excess moisture and discourage the growth of mold or fungal diseases. Ensure that the storage containers have some ventilation or use mesh bags that allow air circulation around the bulbs.
When selecting a storage location, consider using a cool and dry area, such as a dedicated bulb storage room, a ventilated shed, or an insulated garage, where the temperature and humidity can be regulated more easily.
It’s important to note that certain bulb varieties may have specific storage requirements. Some bulbs, like dahlias or cannas, may benefit from slightly higher storage temperatures, while others, such as lilies or fritillarias, prefer colder temperatures. Always refer to the specific storage guidelines for each bulb type to optimize their storage conditions.
By providing the ideal storage conditions, you’ll ensure that your bulbs remain in a dormant state and are ready to burst with life when the time for planting comes in the spring.
Read more: How To Store Caladium Bulbs Over Winter
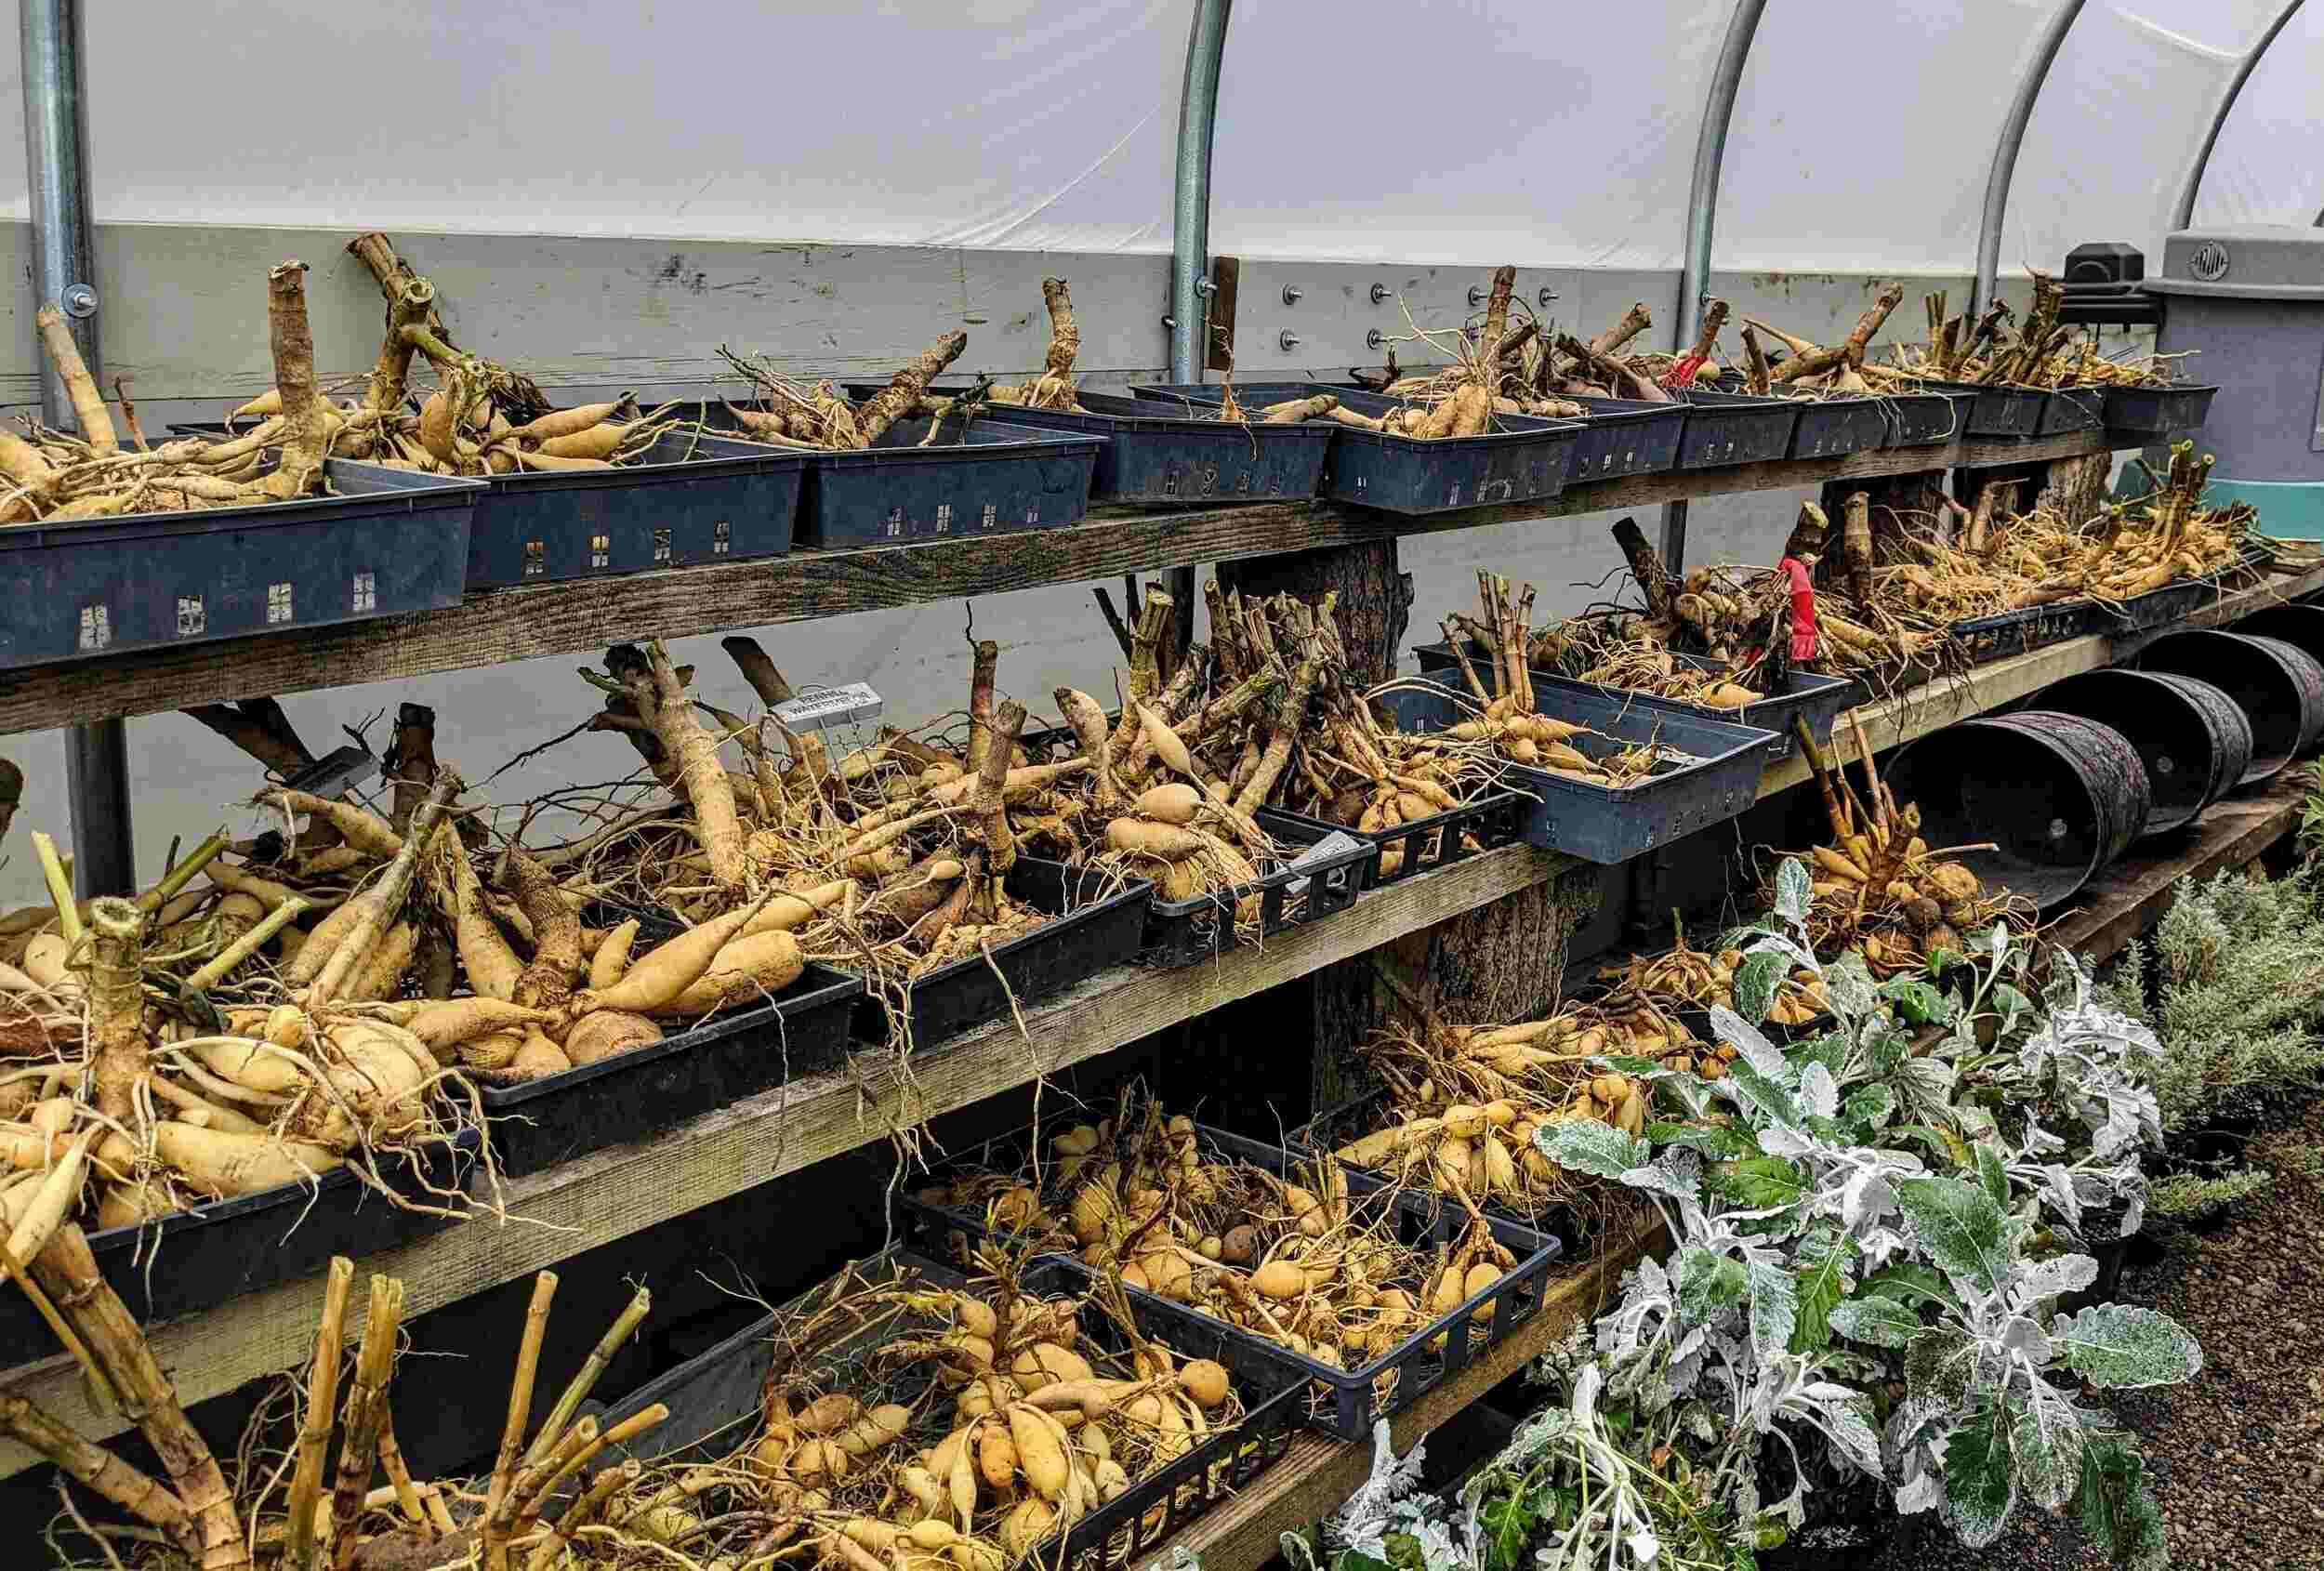
Storing Bulbs in Containers
Storing bulbs in containers is a convenient and effective way to preserve their health and ensure their successful emergence in the next growing season. Here are some steps to follow when storing bulbs in containers:
- Container Selection: Choose containers that are suitable for storing bulbs. Avoid using airtight containers, as bulbs need some airflow to prevent excess moisture buildup. Opt for containers with ventilation holes or mesh bags that allow for proper air circulation.
- Bulb Placement: Arrange the bulbs in a single layer within the container. Avoid overcrowding the bulbs, allowing some space between them to prevent any potential rot or disease from spreading.
- Medium: Fill the container with a suitable medium for storing bulbs. A mixture of peat moss, vermiculite, or dry sand works well as it provides good drainage and helps maintain a stable humidity level. Gently nestle the bulbs into the medium, ensuring they are completely covered.
- Labeling: It’s crucial to label each container with the name and variety of the bulbs inside. This will simplify identification when it’s time to replant them in the following season.
- Storage Location: Place the containers in a cool, dark, and well-ventilated area. The ideal storage temperature range for most bulbs is between 35 to 50 degrees Fahrenheit (1 to 10 degrees Celsius). Check the containers periodically during the storage period to ensure the bulbs remain in good condition.
- Monitoring: Regularly check the stored bulbs for any signs of rot, disease, or pest activity. If you notice any issues, remove the affected bulbs immediately to prevent the spread of problems to the rest of the stored bulbs.
Remember to maintain the appropriate humidity level by checking the moisture content of the storage medium occasionally. If the medium becomes too dry, you can mist it lightly with water to ensure the bulbs remain hydrated in storage.
Storing bulbs in containers provides the advantage of easy access and the ability to monitor and care for each bulb individually. By following these steps, you can ensure that your bulbs stay healthy, dormant, and ready for planting when the warm spring weather arrives.
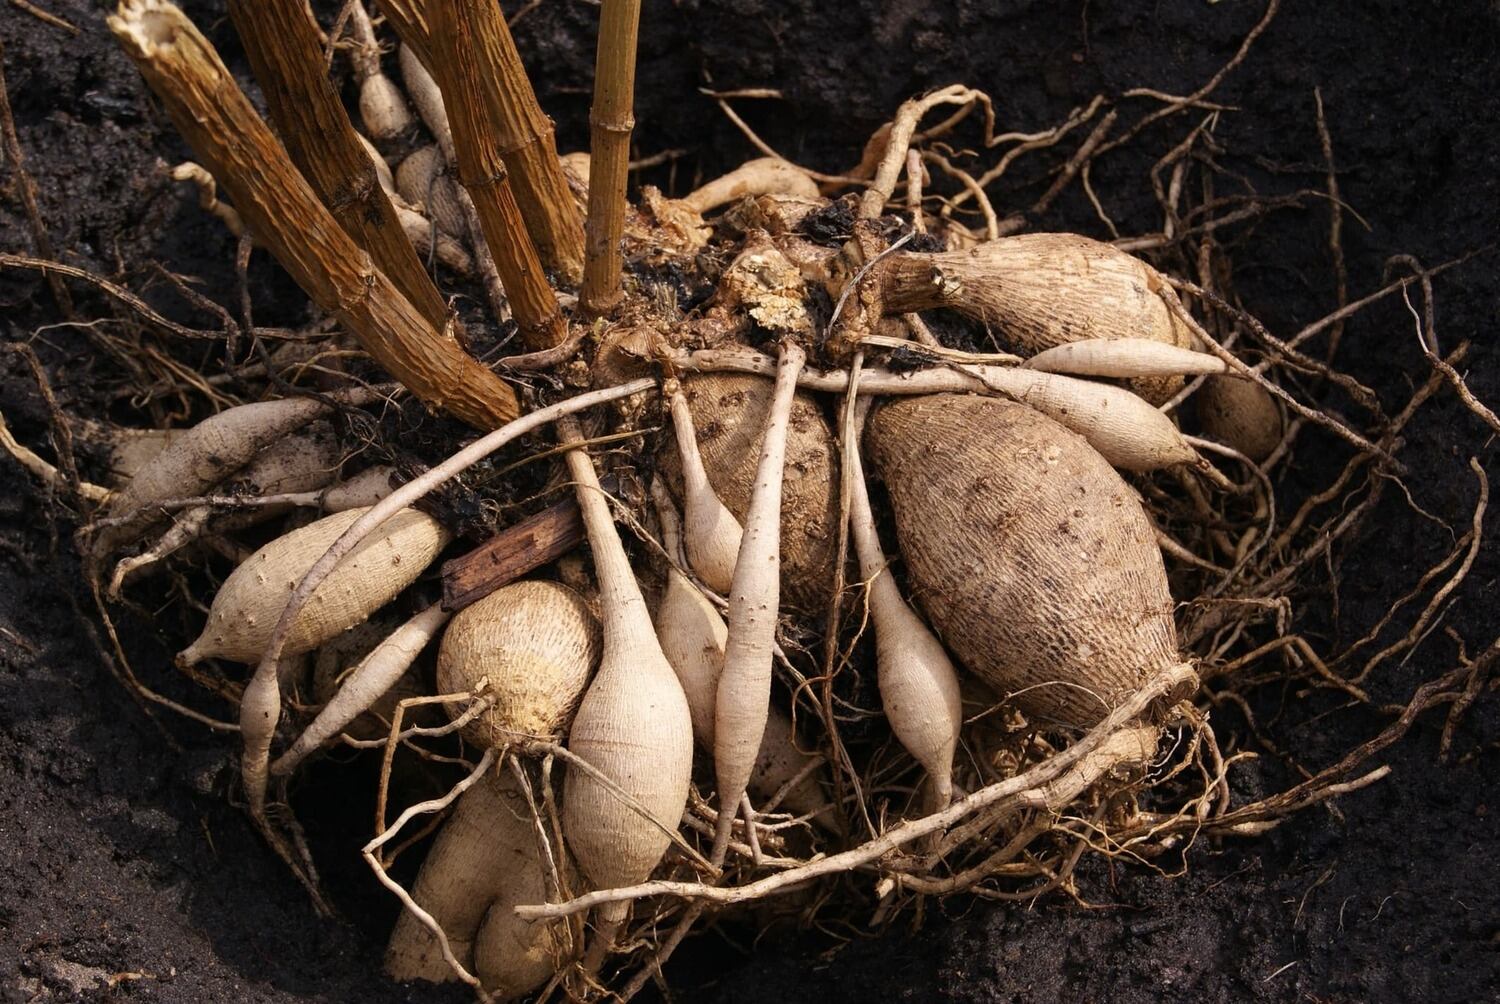
After digging up bulbs in the fall, clean off excess soil and let them dry completely. Store in a cool, dry place with good air circulation to prevent mold and rot. Check on them periodically to ensure they are not drying out or becoming too moist.
Storing Bulbs in the Ground
Storing bulbs in the ground is a natural and low-maintenance option for preserving their health during the winter months. Here’s how to effectively store bulbs in the ground:
- Choose a Suitable Spot: Select an area in your garden where the soil is well-drained and offers protection from harsh weather conditions. Avoid areas that are prone to waterlogging or standing water, as this can cause bulb rot.
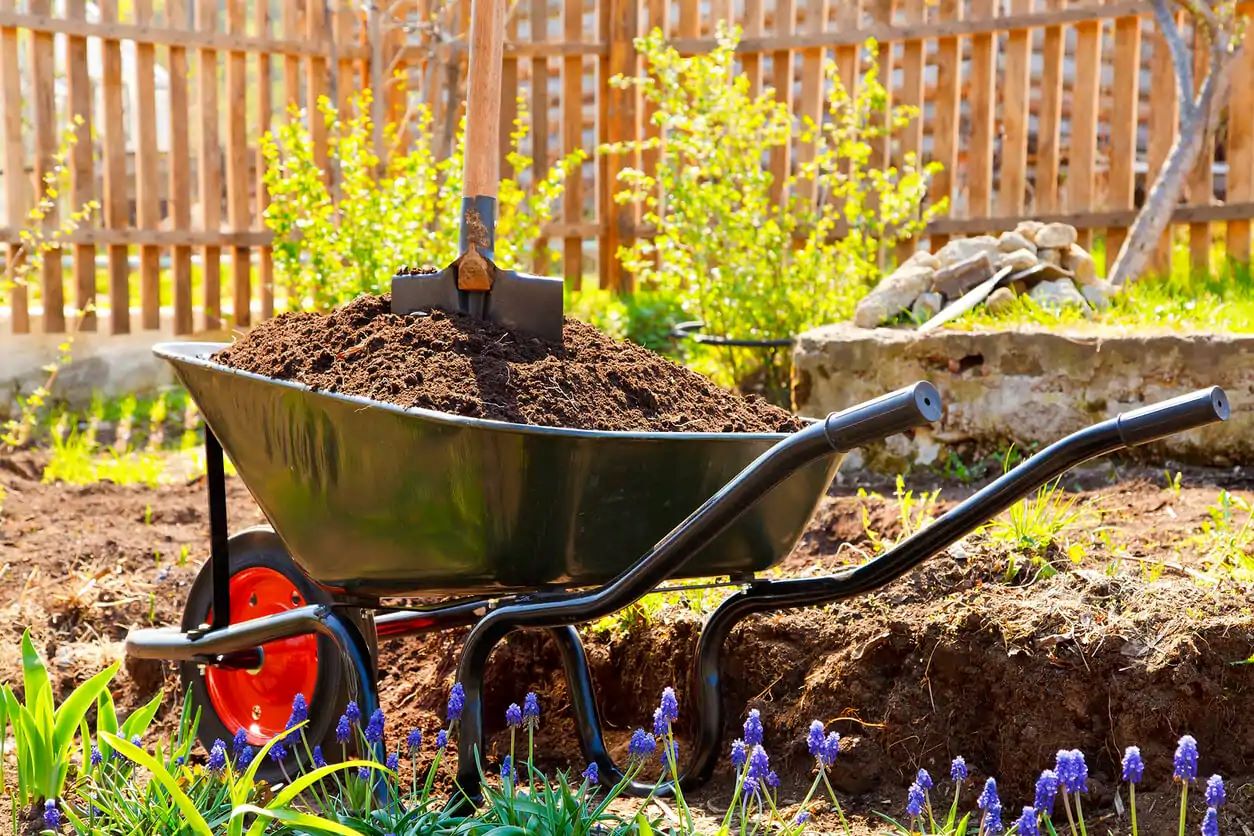
- Prepare the Soil: Before storing bulbs in the ground, prepare the soil by removing any weeds or debris. Loosen the soil and amend it with organic matter, such as compost or well-rotted manure, to improve drainage and provide nutrients for the bulbs.
- Dig Planting Holes: Dig individual planting holes or prepare a designated bed for storing the bulbs. The depth of the holes should be approximately two to three times the height of the bulbs. Space the holes or rows according to the recommended spacing for each bulb type.
- Place the Bulbs: Carefully place the bulbs in the planting holes with the pointed side facing upwards. For bulbs that prefer deeper planting, ensure they are adequately covered with soil.
- Cover with Mulch: Once the bulbs are in place, cover the planting area with a layer of mulch to provide insulation and protection. Use organic mulch, such as straw, dried leaves, or wood chips, to help regulate soil temperature and retain moisture.
- Monitor Moisture Levels: While bulbs stored in the ground won’t require regular watering, it’s important to ensure that the soil remains evenly moist. Monitor rainfall levels and supplement with water if necessary to prevent the bulbs from drying out.
- Mark the Spot: It’s essential to mark the area where the bulbs are stored to avoid accidentally disturbing them during other gardening activities. Place a marker or stake in the ground to indicate the location of the bulbs.
Storing bulbs in the ground offers the advantage of natural insulation and protection. However, depending on your climate and specific bulb requirements, it’s important to consider additional protective measures, such as providing extra mulch or covering the planting area with burlap or garden fleece, if extreme cold or frost is expected.
By storing bulbs in the ground, you allow them to undergo a natural dormancy period and benefit from the soil’s insulating properties, ensuring optimal conditions for their survival and growth in the upcoming spring season.
Monitoring Bulbs During Winter
Monitoring your bulbs during the winter months is essential to ensure their well-being and address any potential issues that may arise. Here are some important factors to consider when monitoring your bulbs:
- Regular Check-ins: Schedule regular check-ins to assess the condition of your stored bulbs. Depending on your climate, aim to check them at least once every few weeks. This will help you identify any early signs of problems and take necessary actions.
- Inspect for Signs of Damage: Carefully examine the bulbs for any signs of rot, disease, or pest infestation. Look for mushy spots, foul odors, or fungal growth on the bulbs, which may indicate rotting. In case of any issues, remove the affected bulbs promptly to prevent the spread of problems to neighboring bulbs.
- Moisture Levels: Consider the moisture content in the storage medium or the soil if the bulbs are stored in the ground. Bulbs should remain in a dormant state during winter, so it’s important to maintain a balance. Avoid overwatering, as this can lead to rotting, but ensure the medium or soil doesn’t dry out completely.
- Temperature Changes: Keep an eye on temperature fluctuations in the storage area or garden. Extreme cold or sudden warm spells can impact the bulbs. Adjust insulation or protective measures as needed to shield the bulbs from temperature extremes.
- Pest Prevention: Be vigilant for signs of pest activity, such as rodent damage or insect infestation. Implement pest control measures if necessary to protect the stored bulbs from being damaged or consumed.
- Record Keeping: Maintain a record of the progress and observations as you monitor your bulbs. Note any changes in the condition, temperature fluctuations, or pest activity. This information will help you make more informed decisions and adjustments in future storage seasons.
By regularly monitoring your bulbs during winter, you can catch any potential issues early on and take appropriate steps to preserve their health and viability. This attention and care will increase the chances of your bulbs thriving and producing beautiful blooms in the next growing season.
Preventing Common Storage Issues
Proper storage techniques are crucial in preventing common issues that can arise during the winter months. By taking preventive measures, you can ensure the health and vitality of your stored bulbs. Here are some tips to help you prevent common storage issues:
- Rot Prevention: Excess moisture is a common cause of bulb rot during storage. Ensure that bulbs are thoroughly dry before storing them. Avoid storing bulbs in excessively humid or damp environments. Choose a storage area with good ventilation to prevent the buildup of moisture.
- Pest Control: Pests, such as rodents and insects, can cause damage to stored bulbs. Inspect your storage area regularly for signs of infestation and take appropriate measures to prevent pests from accessing the bulbs. Use deterrents such as mothballs or natural pest repellents to discourage pests from approaching the bulbs.
- Temperature Regulation: Bulbs should be stored in a cool environment, but extreme cold temperatures can be harmful. Shield bulbs from severe cold by providing adequate insulation and protection, especially if stored in unheated areas. Similarly, avoid storing bulbs in locations that may experience dramatic temperature fluctuations.
- Disease Prevention: Prior to storage, inspect bulbs for any signs of disease or rot. Remove any infected or damaged bulbs from the storage batch to prevent the spread of disease. Properly clean and disinfect storage containers or planting beds to minimize the risk of disease recurrence in subsequent seasons.
- Labeling and Organization: Maintain good organization and labeling of storage containers or planting areas. Clearly mark the name and variety of each bulb to avoid confusion during replanting. This will ensure that each bulb receives the proper care and attention it requires.
By implementing these preventive measures, you can minimize the risk of common storage issues and maximize the chances of your bulbs thriving when spring arrives. Remember that proper storage conditions and attentive care are key to the successful preservation of your bulbs during their winter dormancy period.
Read more: How To Store Daffodil Bulbs Over Winter
Tips for Successful Bulb Storage
To ensure successful bulb storage during the winter months, follow these tips and best practices:
- Choose healthy bulbs for storage, free from any signs of damage, disease, or rot.
- Cure bulbs for a few days in a dry, well-ventilated area before storage to allow wounds to heal and the outer layers to dry.
- Clean bulbs gently, removing loose soil or debris. Avoid using water or cleaning substances that can introduce excess moisture.
- Inspect bulbs for any signs of damage or disease, and discard any affected bulbs to prevent the spread of issues.
- Air-dry bulbs completely to remove any remaining moisture and discourage the growth of mold or fungus.
- Choose suitable storage containers with ventilation or use mesh bags that allow for adequate airflow.
- Label each storage container with the name and variety of bulbs to ensure easy identification when planting.
- Select a storage location with a consistent temperature between 35 to 50 degrees Fahrenheit (1 to 10 degrees Celsius).
- Maintain a relative humidity level of around 60 to 70 percent in the storage area to prevent excessive drying or moisture buildup.
- Regularly check stored bulbs for any signs of rot, disease, or pest activity. Remove any affected bulbs immediately.
- Monitor temperature fluctuations and provide insulation or protection to prevent extreme cold or rapid temperature changes.
- Prevent excess moisture by ensuring bulbs are stored in a well-ventilated environment.
- Keep storage areas dark or minimize light exposure to prevent premature sprouting.
- Periodically check moisture levels in storage medium or soil and adjust as necessary to maintain proper hydration.
- Maintain good organization and record-keeping of stored bulbs to track their progress and make informed decisions in future storage seasons.
By following these tips, you can ensure the successful storage of your bulbs and set the stage for their vibrant growth and blooming in the next gardening season. With proper care and attention, your stored bulbs will be ready to bring beauty and joy to your garden when spring arrives.
Conclusion
Properly storing bulbs over the winter is essential for their survival and successful growth in the following season. By following the guidelines and tips provided in this article, you can ensure that your bulbs remain healthy, dormant, and ready to burst with life when spring arrives.
Start by choosing the right bulbs for storage, selecting those that can withstand cold temperatures and are in good health. Harvest the bulbs at the right time and handle them with care to prevent any damage. Prepare the bulbs for storage by allowing them to cure, cleaning them, and inspecting for any signs of damage or disease.
When determining the ideal storage conditions, consider factors like temperature, humidity, light, and airflow. Whether you store your bulbs in containers or in the ground, create the right environment for them to remain dormant and protected throughout the winter months.
Regularly monitor your stored bulbs for any signs of rot, disease, or pest infestation, and take prompt action if issues arise. Prevent common storage issues by avoiding excess moisture, controlling pests, regulating temperature, and maintaining good organization.
By following these steps and implementing the suggested tips, you increase the chances of your bulbs surviving the winter and thriving when it’s time to plant them in the spring. The reward will be a vibrant and colorful garden that brings joy and beauty to your outdoor space.
Take the time to properly store your bulbs, and you’ll be rewarded with a bountiful display of blooms that will make all your winter efforts worthwhile.
Frequently Asked Questions about How To Store Bulbs Over Winter
Was this page helpful?
At Storables.com, we guarantee accurate and reliable information. Our content, validated by Expert Board Contributors, is crafted following stringent Editorial Policies. We're committed to providing you with well-researched, expert-backed insights for all your informational needs.

0 thoughts on “How To Store Bulbs Over Winter”