Articles
How To Store Daffodil Bulbs Over Winter
Modified: March 1, 2024
Learn how to store daffodil bulbs over winter with our helpful articles. Preserve the beauty of your bulbs and ensure a vibrant display next spring.
(Many of the links in this article redirect to a specific reviewed product. Your purchase of these products through affiliate links helps to generate commission for Storables.com, at no extra cost. Learn more)
Introduction
As winter approaches, it’s time to start thinking about how to properly store your daffodil bulbs to ensure they survive the harsh weather and bloom beautifully in the spring. Daffodils, with their bright and cheerful yellow flowers, are a popular choice among gardeners looking to add a splash of color to their landscapes. With a little care and attention, you can easily store daffodil bulbs over winter and enjoy a stunning display of blooms in the coming year.
In this article, we will guide you through the step-by-step process of storing daffodil bulbs, whether you choose to store them in containers or in the ground. We’ll explore the best practices for harvesting the bulbs, preparing them for storage, choosing the ideal storage location, and monitoring their condition throughout the winter months. By following these guidelines, you can ensure that your daffodil bulbs remain healthy and ready for planting when spring arrives.
Before we dive into the specifics of daffodil bulb storage, it’s important to note that daffodils belong to the Narcissus genus, which includes a wide range of bulbous plants. While this article focuses mainly on daffodils, the general principles and techniques can be applied to other members of the Narcissus family as well.
Now, let’s get started with the first step in successfully storing daffodil bulbs over winter: harvesting.
Key Takeaways:
- Properly storing daffodil bulbs over winter involves harvesting at the right time, preparing them for storage, choosing a suitable storage location, and monitoring their condition to ensure a stunning display of blooms in the spring.
- Whether stored in containers or in the ground, daffodil bulbs require a cool, dark, and well-ventilated environment. Regular monitoring for moisture levels, pests, and signs of damage is crucial for their survival and optimal growth.
Read more: How To Store Daffodil Bulbs Over Summer
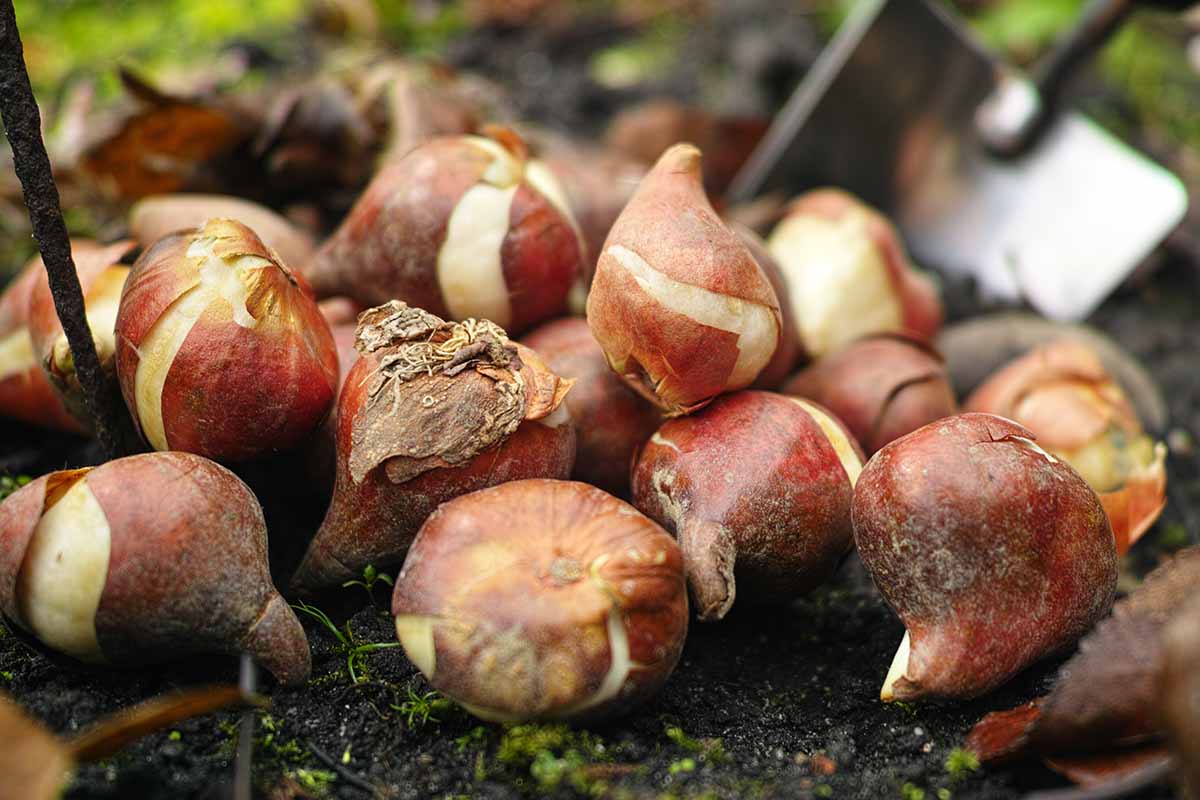
Step 1: Harvesting Daffodil Bulbs
Harvesting daffodil bulbs is an important first step in preparing them for winter storage. The ideal time to harvest the bulbs is after the foliage has turned yellow and died back naturally. This usually occurs in late spring or early summer, depending on your climate.
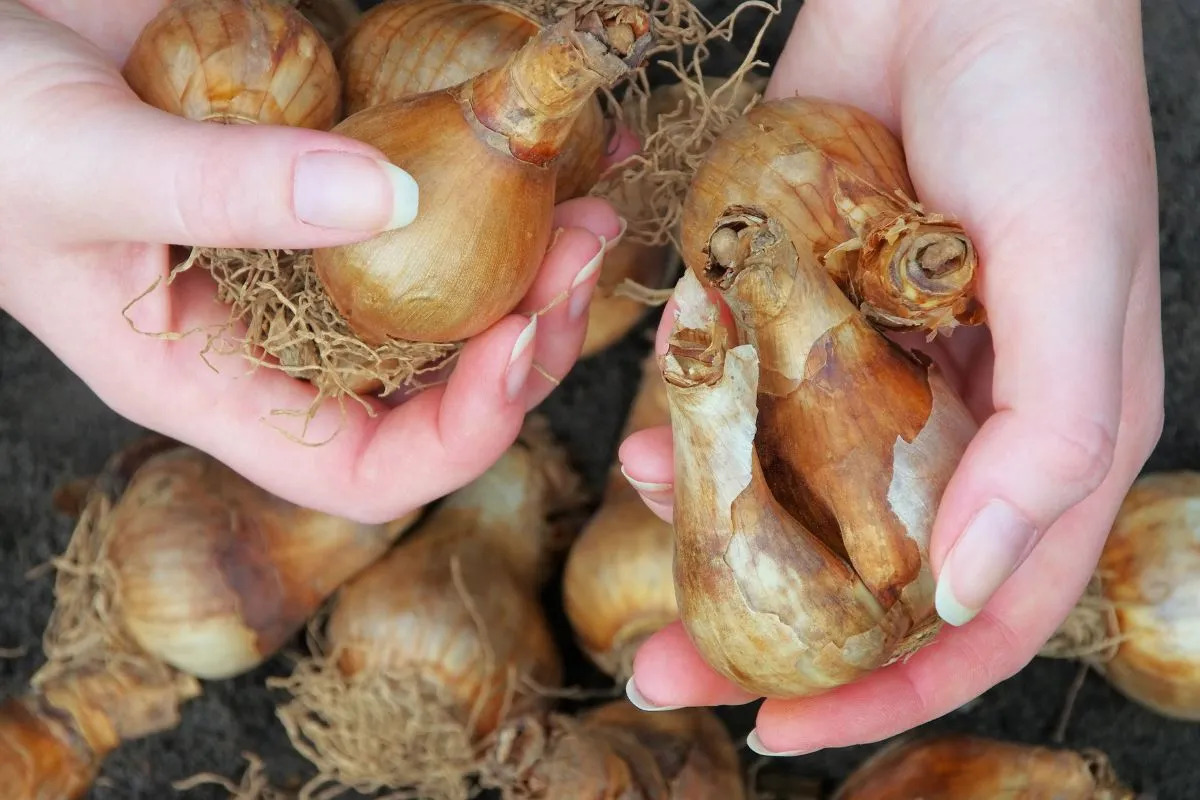
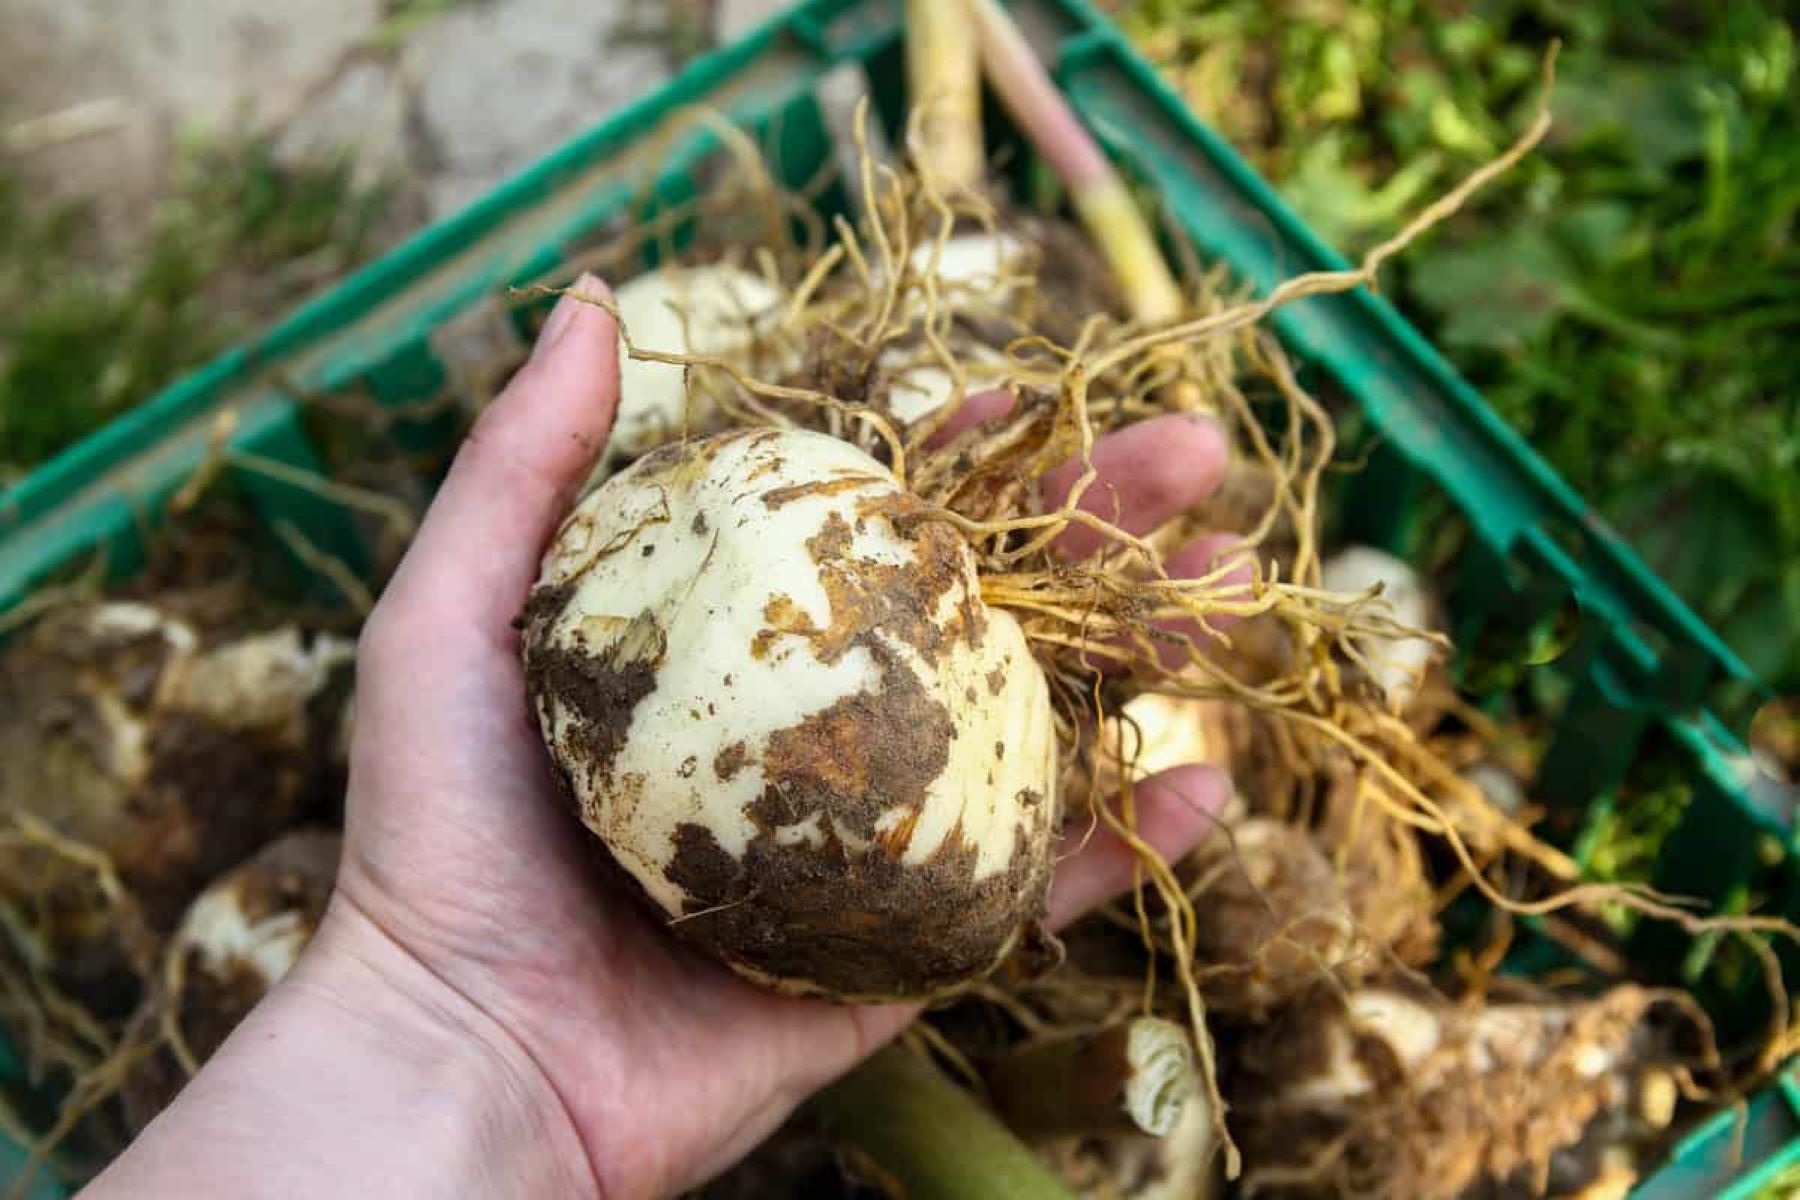
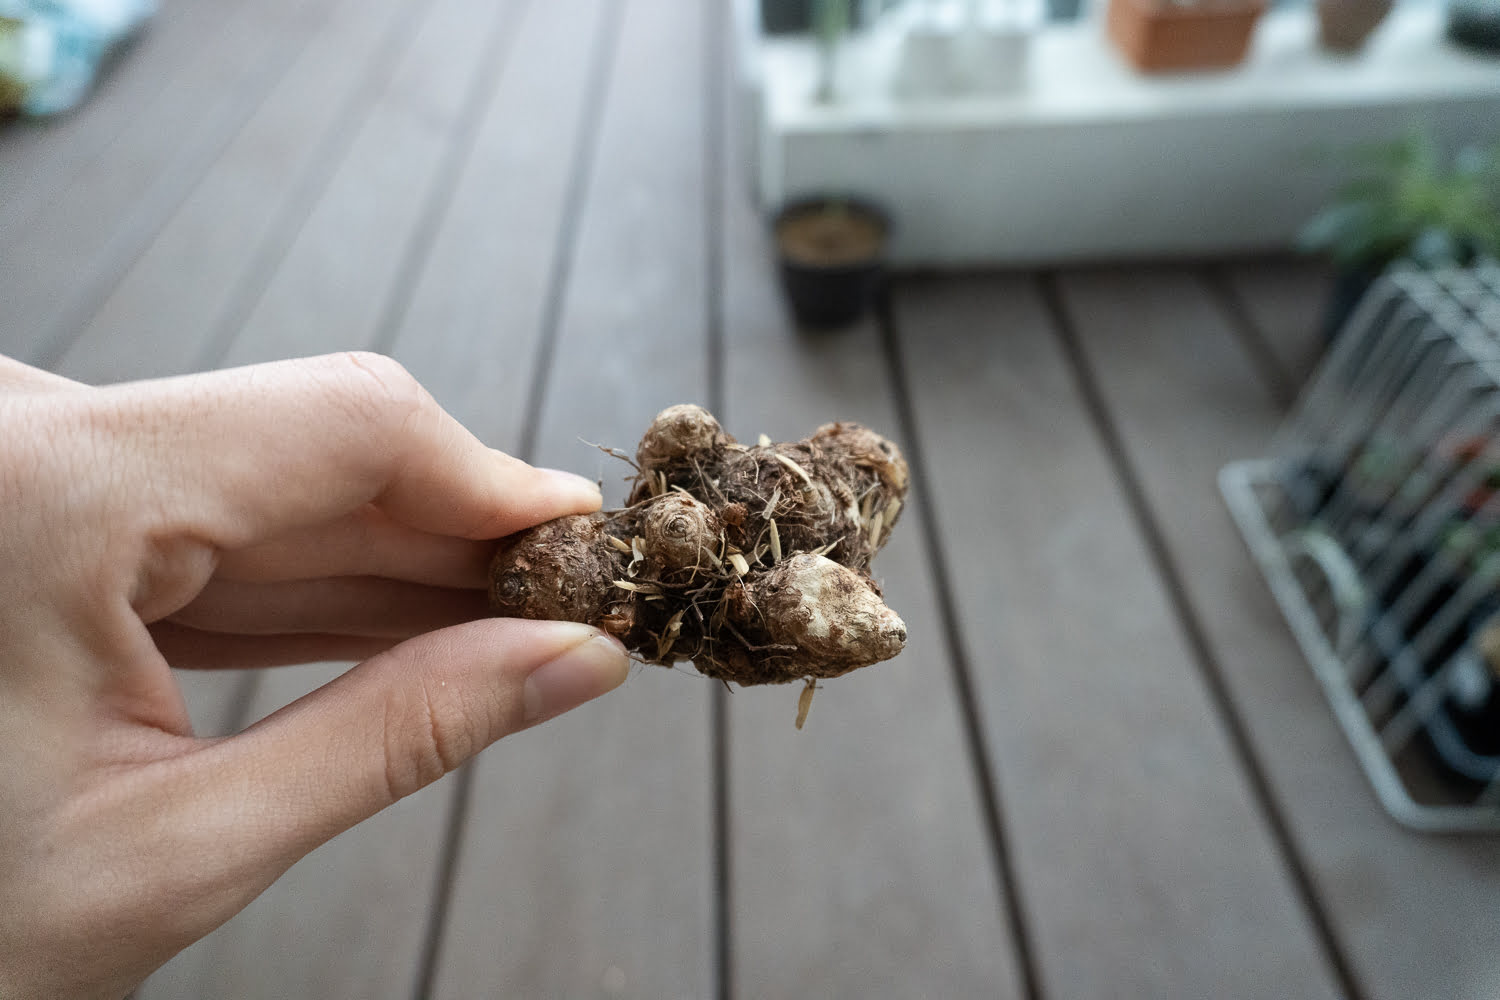
To harvest the bulbs, start by carefully digging around the base of the plants using a garden fork or shovel. Be sure to dig wide and deep enough to avoid damaging the bulbs. Gently lift the clump of bulbs from the ground, taking care not to break or separate them.
Once the bulbs are out of the ground, gently shake off any excess soil and remove any dead leaves or stems. It’s important to handle the bulbs with care, as they can be quite fragile. Avoid cutting or damaging the bulb itself, as this can lead to rot or disease.
After you have cleaned the bulbs, it’s a good idea to inspect them for any signs of damage, disease, or rot. Discard any bulbs that appear unhealthy or soft to the touch. Only store bulbs that are firm, plump, and free of blemishes.
Once you have selected the healthy bulbs, you can proceed to the next step of preparing them for storage. Remember, the quality of the bulbs you store will directly impact the success of their winter storage and the quality of blooms in the coming year.
Step 2: Preparing Bulbs for Storage
After harvesting your daffodil bulbs, it’s important to properly prepare them before placing them in storage. This will help ensure their health and vitality throughout the winter months.
Start by gently brushing off any remaining dirt or debris from the bulbs. Do not wash them with water, as excess moisture can lead to rot. Allow the bulbs to dry naturally for a few days in a cool, well-ventilated area.
Once the bulbs are dry, you can choose to remove any remaining foliage or leave it intact. Some gardeners prefer to trim the foliage to about 2-3 inches above the bulb, while others leave it as is. Removing the foliage can help prevent the bulbs from rotting, but it’s important to note that daffodils rely on their leaves to gather energy for next year’s growth. If you choose to remove the foliage, take extra care not to damage the bulb itself.
Next, inspect the bulbs carefully for any signs of damage, disease, or pests. Look for soft spots, discoloration, or unusual growth. Discard any bulbs that show signs of damage, as they can spread disease to other bulbs in storage.
To further protect the bulbs, you can dust them with a fungicide or a bulb storage powder. These products help prevent fungal diseases and discourage pests from infesting the bulbs during storage. Be sure to follow the instructions on the product label for proper application.
Finally, it’s important to label your bulbs before storing them. This will help you identify and organize different varieties, ensuring you can easily retrieve specific bulbs when it’s time to plant them in the spring. You can use small tags or markers to label each bulb or keep a separate record in a notebook or spreadsheet.
With your daffodil bulbs properly prepared, you’re now ready to move on to the next step: choosing the right storage location.
Step 3: Choosing the Right Storage Location
When it comes to storing daffodil bulbs over winter, choosing the right storage location is crucial. The ideal storage environment should be cool, dark, and well-ventilated to ensure the bulbs remain dormant and dry.
A temperature range of 35-45 degrees Fahrenheit (2-7 degrees Celsius) is generally recommended for storing daffodil bulbs. This helps prevent them from freezing or becoming too warm, which can lead to premature growth or rot. Avoid storing the bulbs in areas that experience extreme temperature fluctuations, such as near heaters or in unheated basements.
Additionally, it’s important to choose a storage location that is dark or has minimal exposure to light. Light can stimulate unwanted growth in the bulbs, causing them to use up energy reserves prematurely. A dark basement, closet, or garage are good options for storing daffodil bulbs.
A well-ventilated storage area is also crucial to prevent the bulbs from becoming damp or developing mold. Good air circulation helps keep the bulbs dry and reduces the risk of rot. Avoid storing the bulbs in sealed containers or plastic bags that can trap moisture.
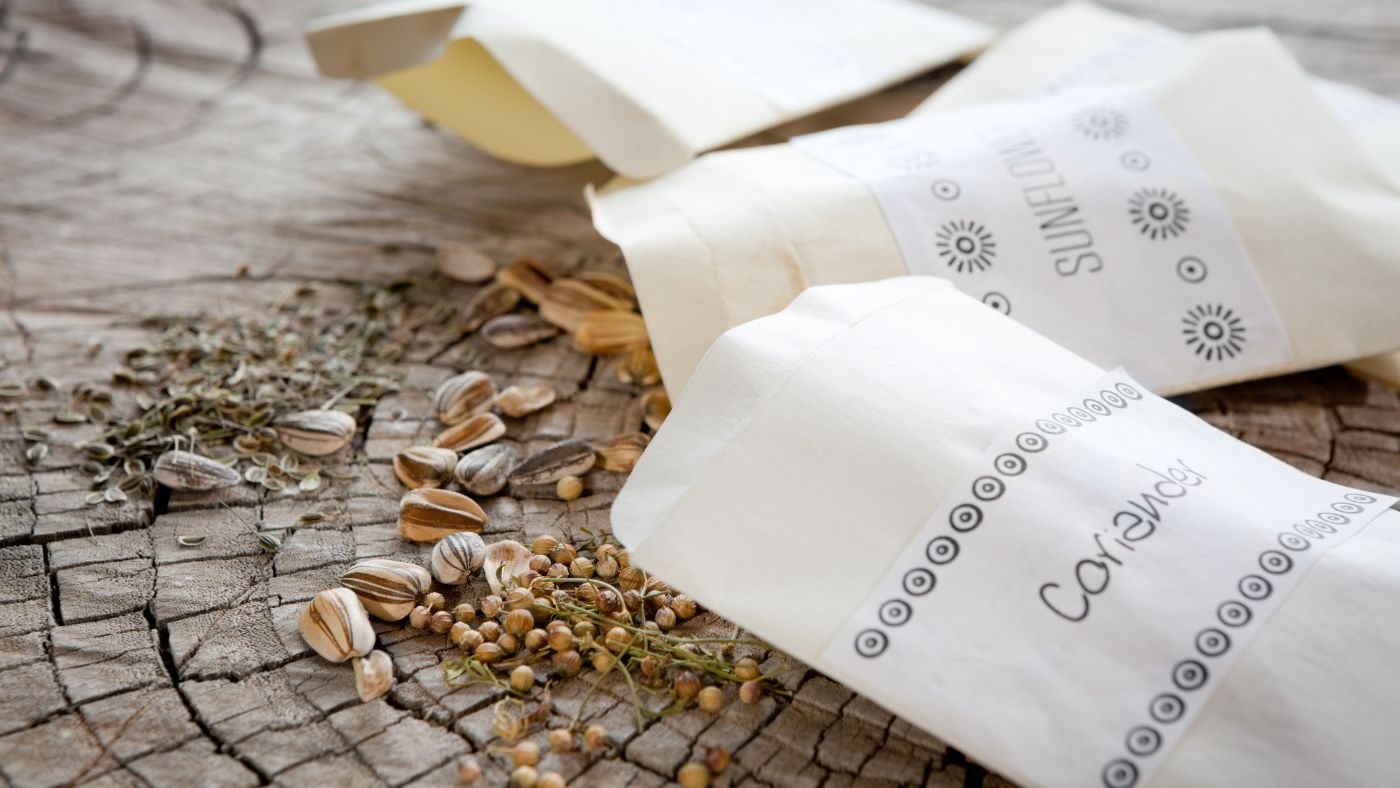
When selecting the storage containers, opt for breathable options such as paper bags or mesh bags. These allow for air circulation while still providing some protection against drying out. Alternatively, you can use wooden crates or cardboard boxes with holes for ventilation.
It’s important to note that some bulbs, particularly certain species or hybrid varieties, may require specific storage conditions. Consult the specific instructions for the type of daffodil bulbs you’re storing to ensure they receive the optimal storage environment.
By choosing a cool, dark, and well-ventilated storage location, you can ensure that your daffodil bulbs remain in optimal condition throughout the winter months. Now, let’s move on to the next step: storing daffodil bulbs in containers.
Step 4: Storing Daffodil Bulbs in Containers
Storing daffodil bulbs in containers is a popular method for gardeners who have limited space or prefer a more organized storage approach. By following a few simple steps, you can easily store your daffodil bulbs in containers and ensure their safekeeping throughout the winter.
Start by selecting the appropriate containers for storing your daffodil bulbs. Ideally, the containers should be breathable, such as paper bags or mesh bags, to allow for air circulation. Alternatively, you can use wooden crates or cardboard boxes with holes for ventilation.
Before placing the bulbs in the containers, it’s a good idea to line them with a layer of dry peat moss or vermiculite. This will help absorb excess moisture and provide some insulation for the bulbs. Avoid using regular potting soil, as it can be too heavy and retain too much moisture, leading to rot.
Gently place the bulbs in the containers, ensuring they are not overcrowded. Leave some space between each bulb to allow for air circulation. If you are storing multiple varieties of daffodil bulbs, consider keeping them separate or labeling each container for easy identification in the spring.
Once the bulbs are in the containers, add another layer of dry peat moss or vermiculite on top. This will help further insulate and protect the bulbs. Avoid covering the bulbs completely; instead, leave them partially exposed to allow for air exchange.
After ensuring the containers are properly sealed, place them in the chosen storage location, such as a cool, dark, and well-ventilated area. Regularly check on the bulbs throughout the winter to ensure they remain dry and undamaged. If you notice any signs of rot or disease, promptly remove the affected bulbs to prevent the spread.
Storing daffodil bulbs in containers not only protects them from potential damage but also makes it easier to monitor their condition and retrieve specific bulbs when it’s time to plant them in the spring. Now, let’s move on to the next step: storing daffodil bulbs in the ground.
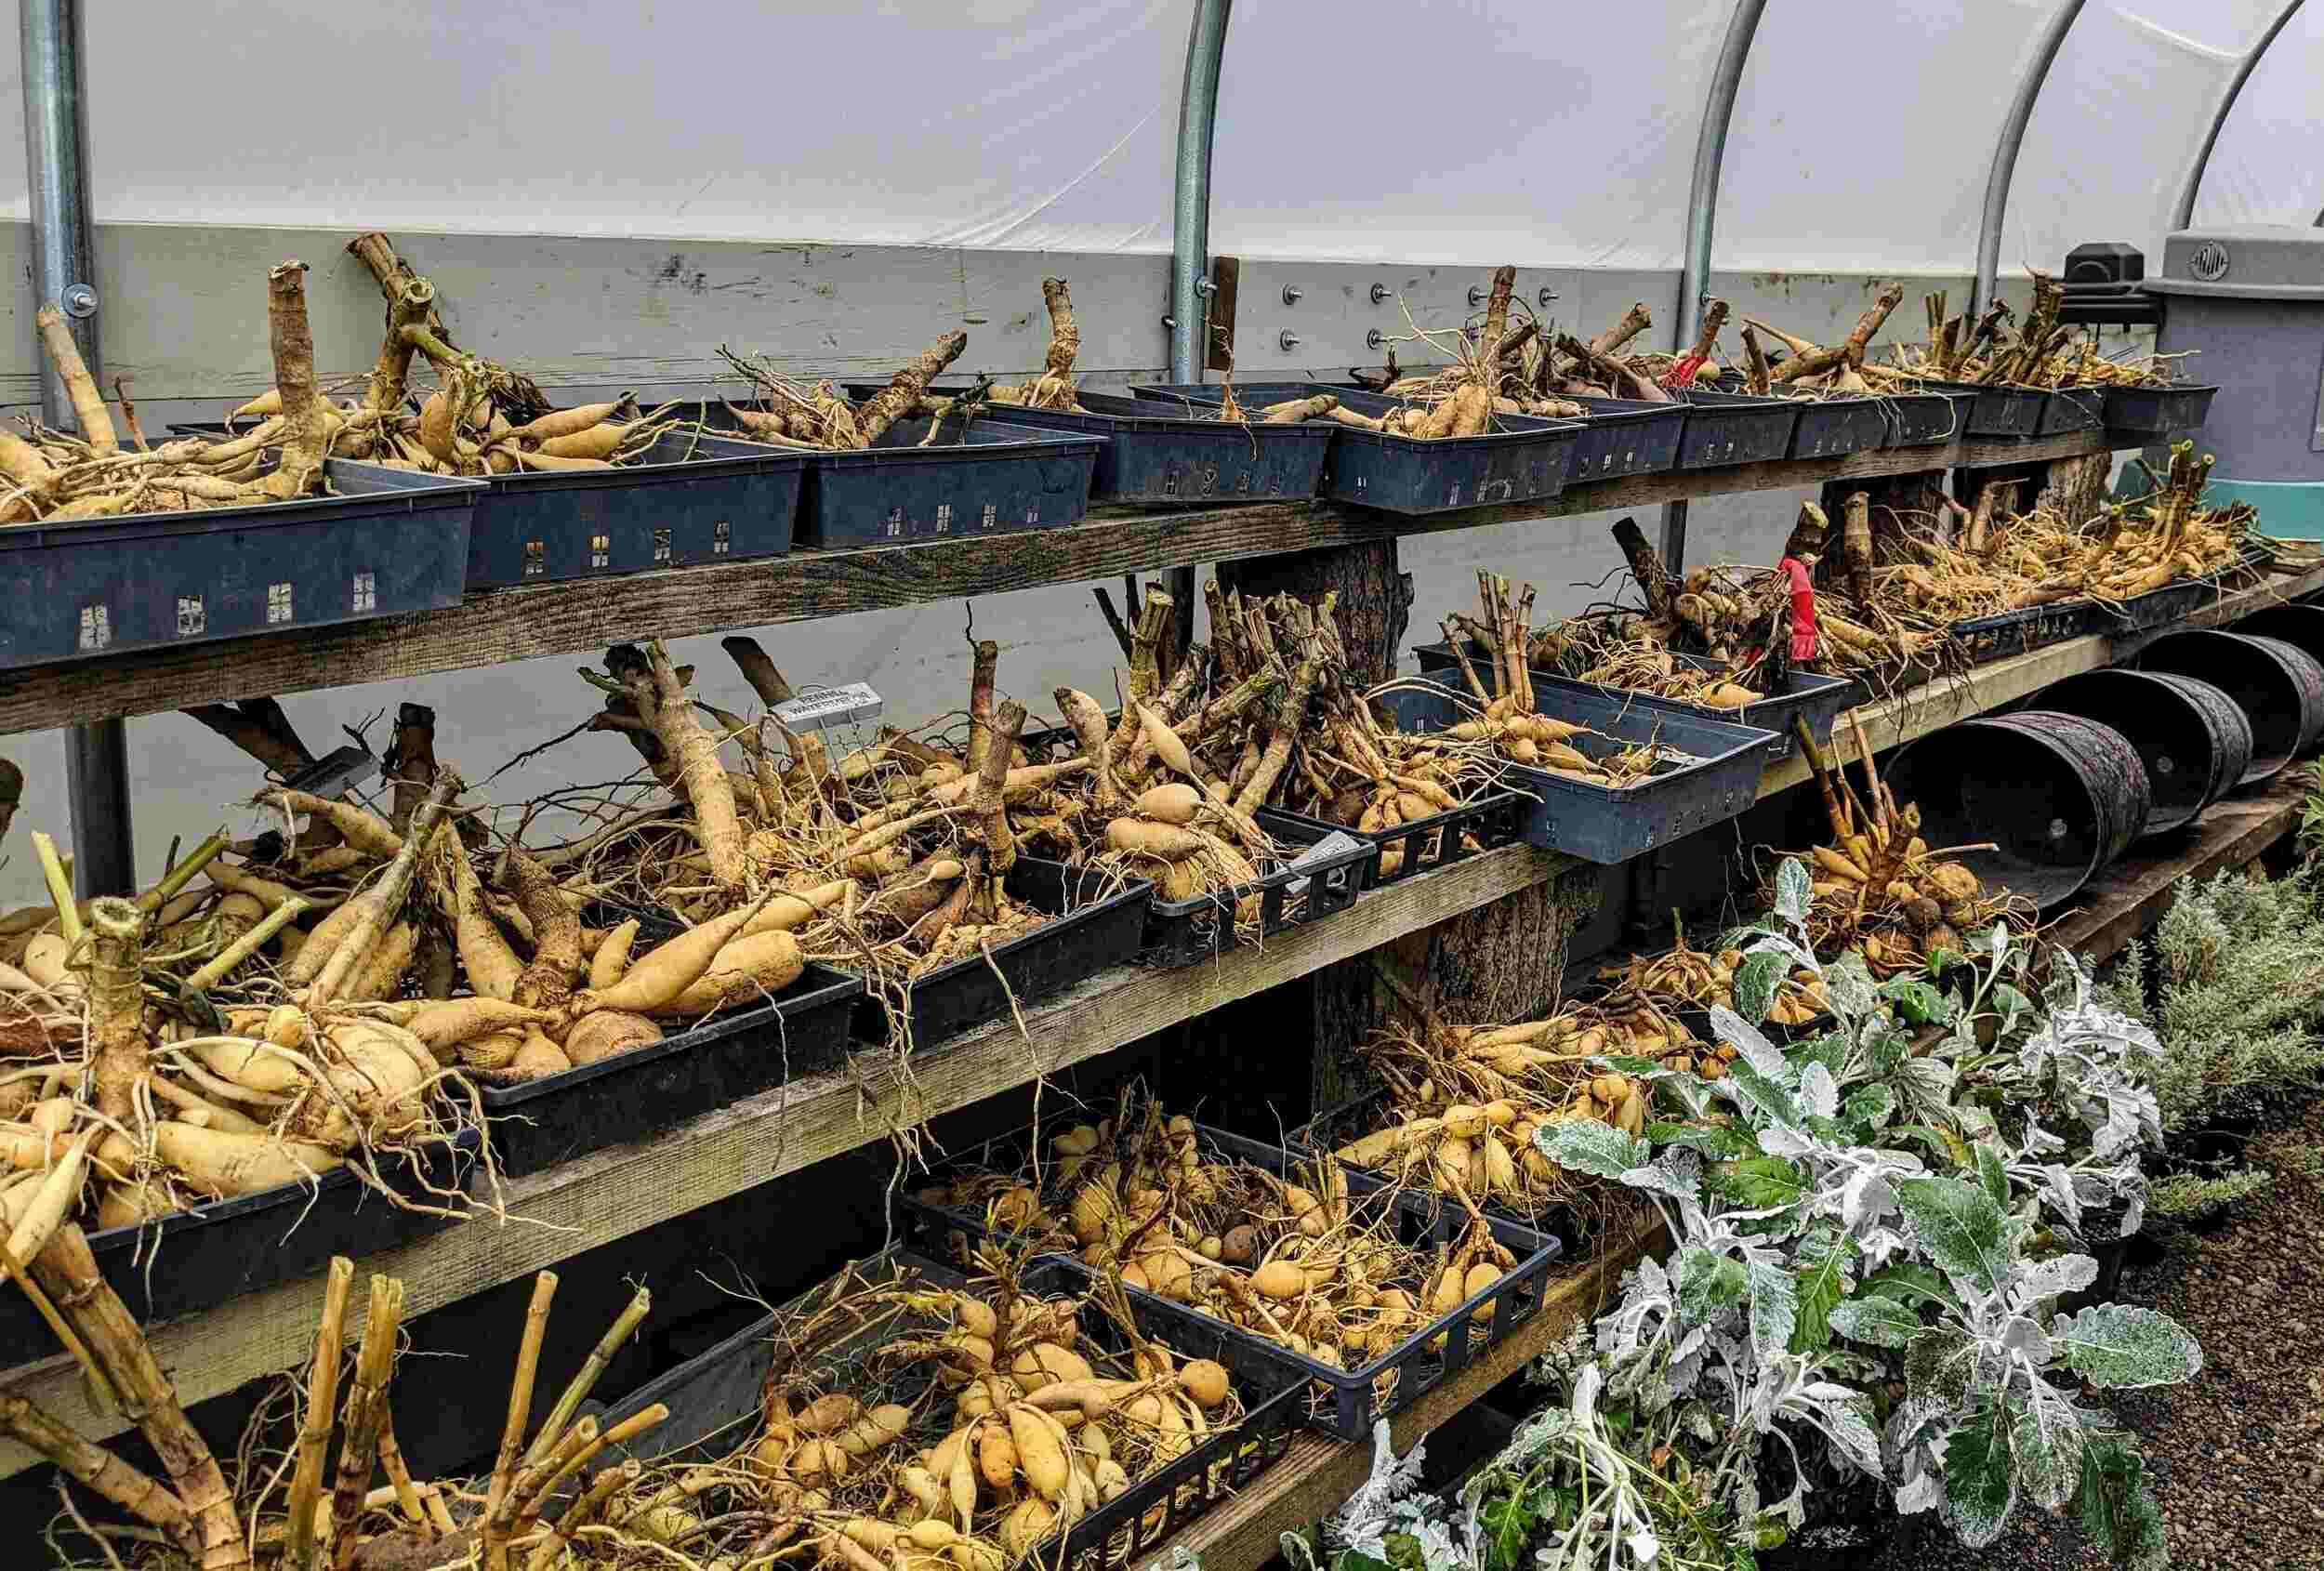
After the daffodil bulbs have finished flowering, allow the foliage to die back naturally. Once the foliage has turned yellow and withered, carefully dig up the bulbs and store them in a cool, dry place until it’s time to plant them again in the fall.
Read more: How To Store Bulbs Over Winter
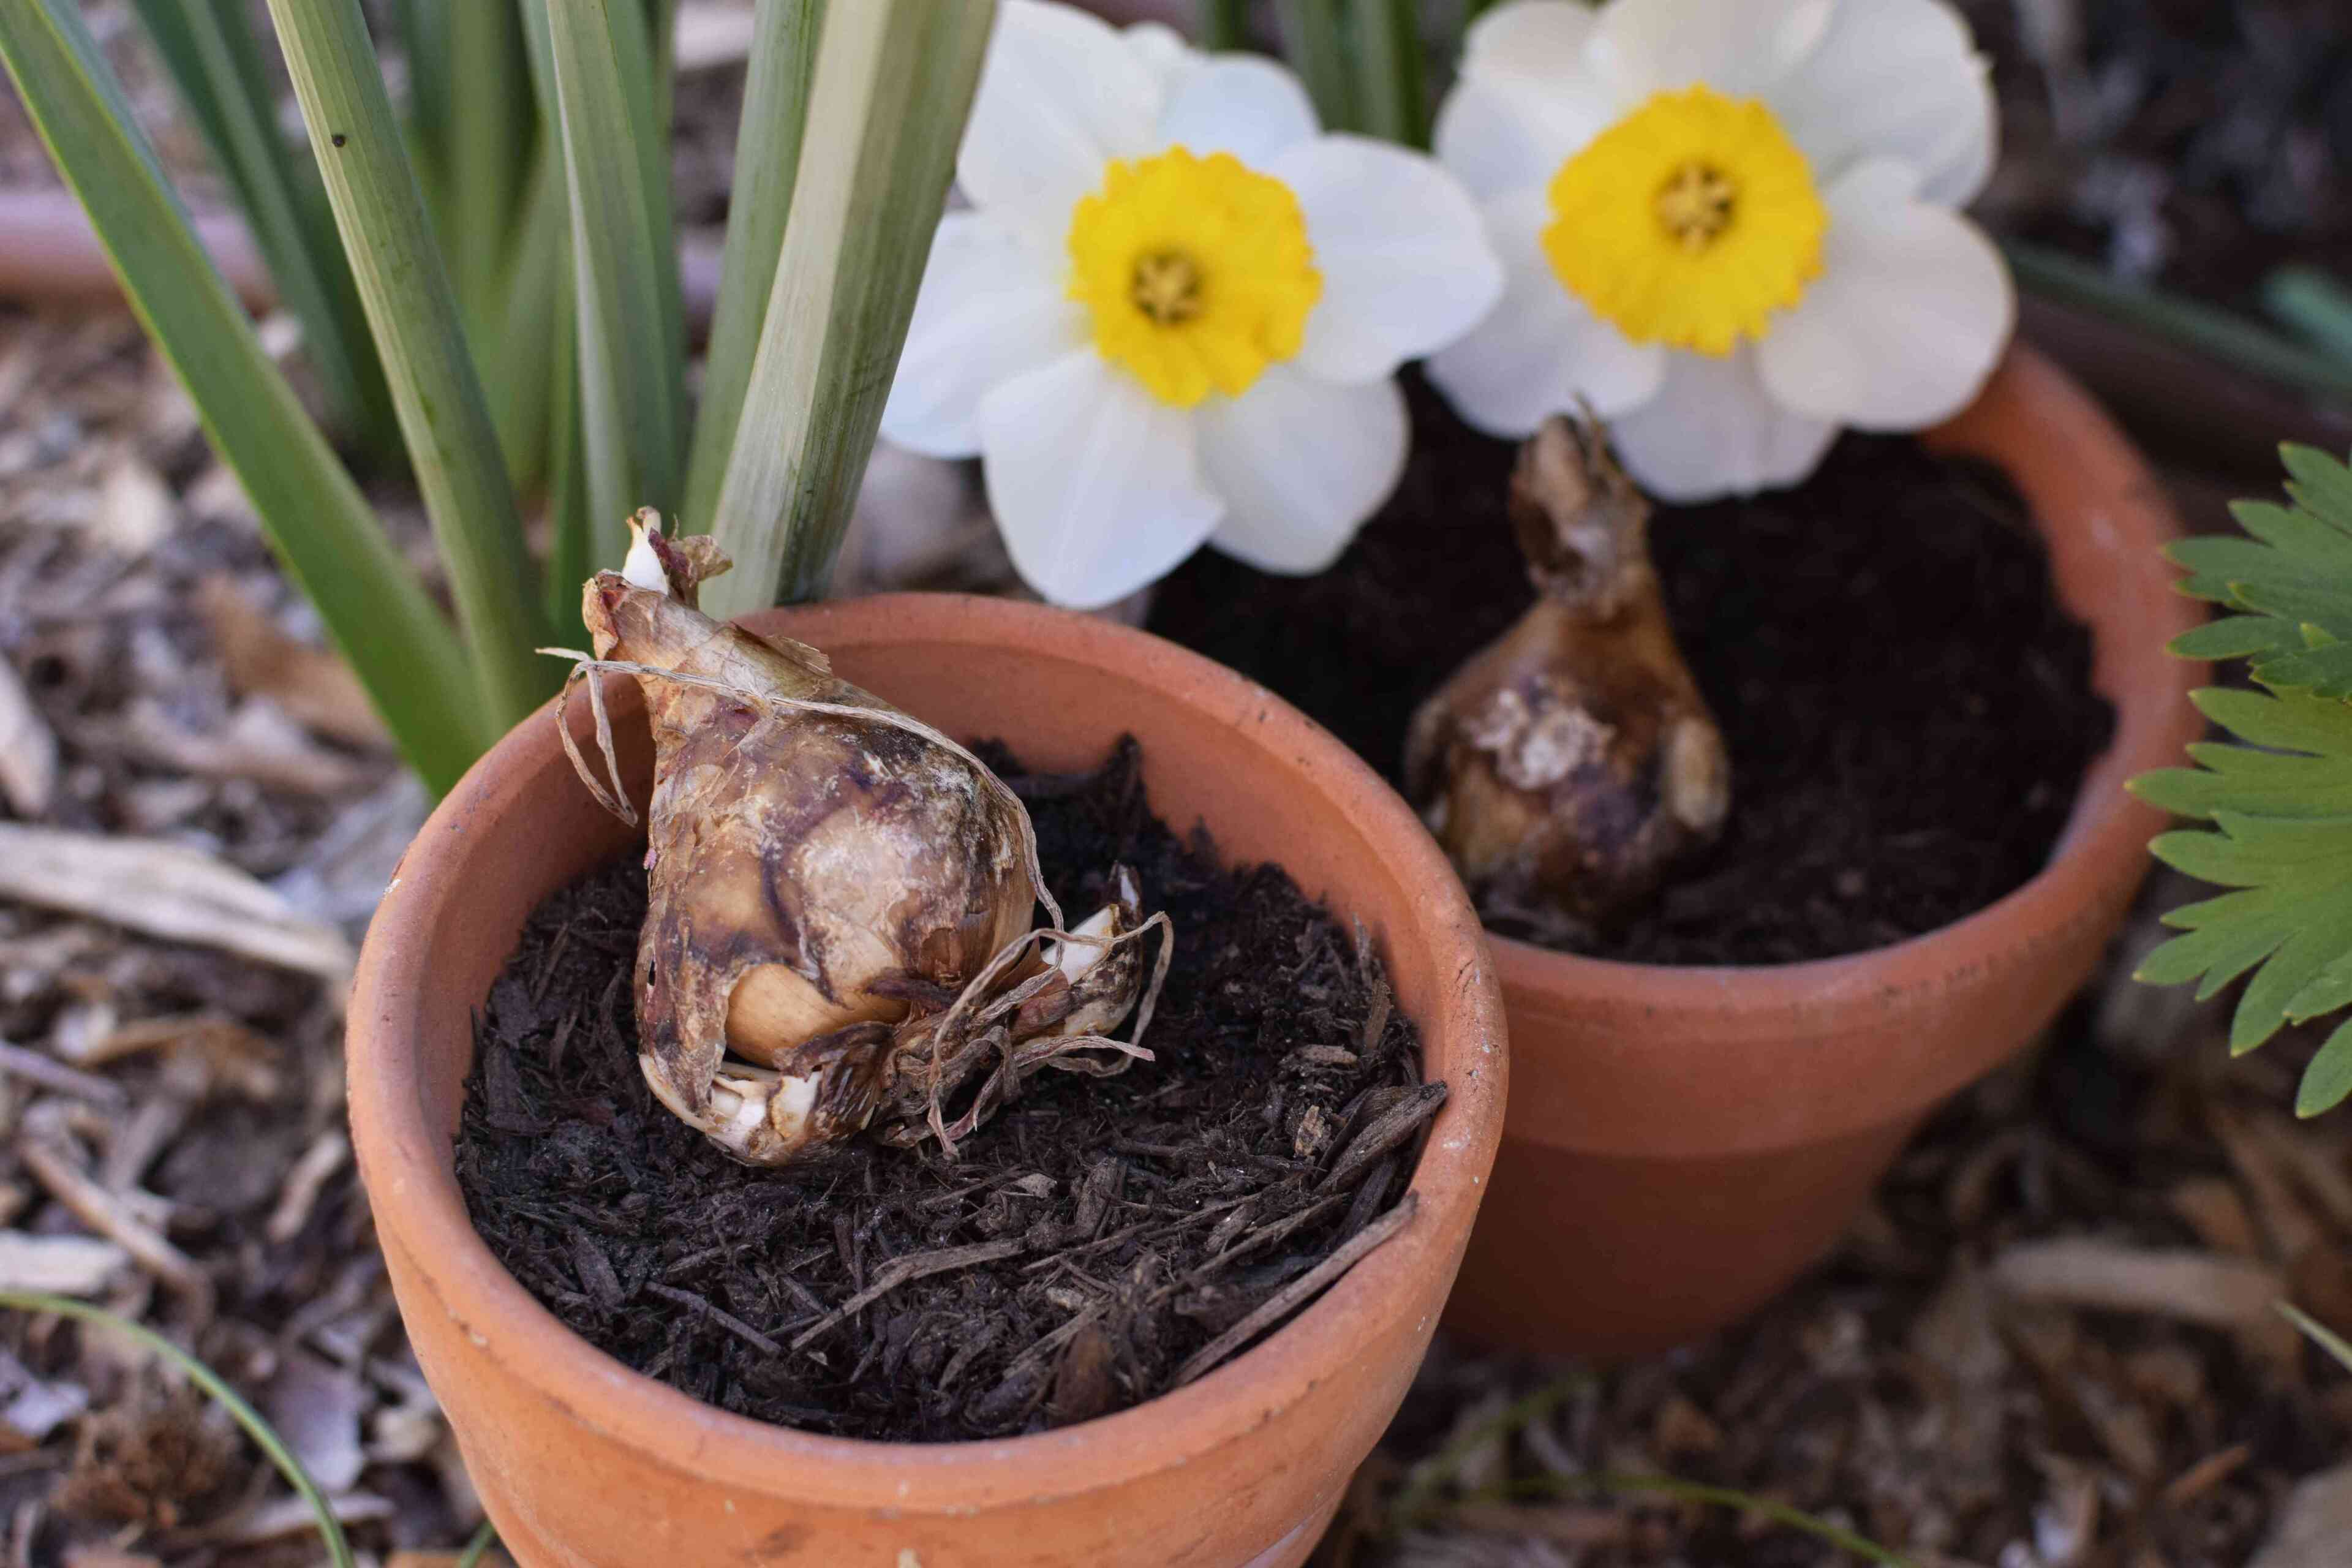
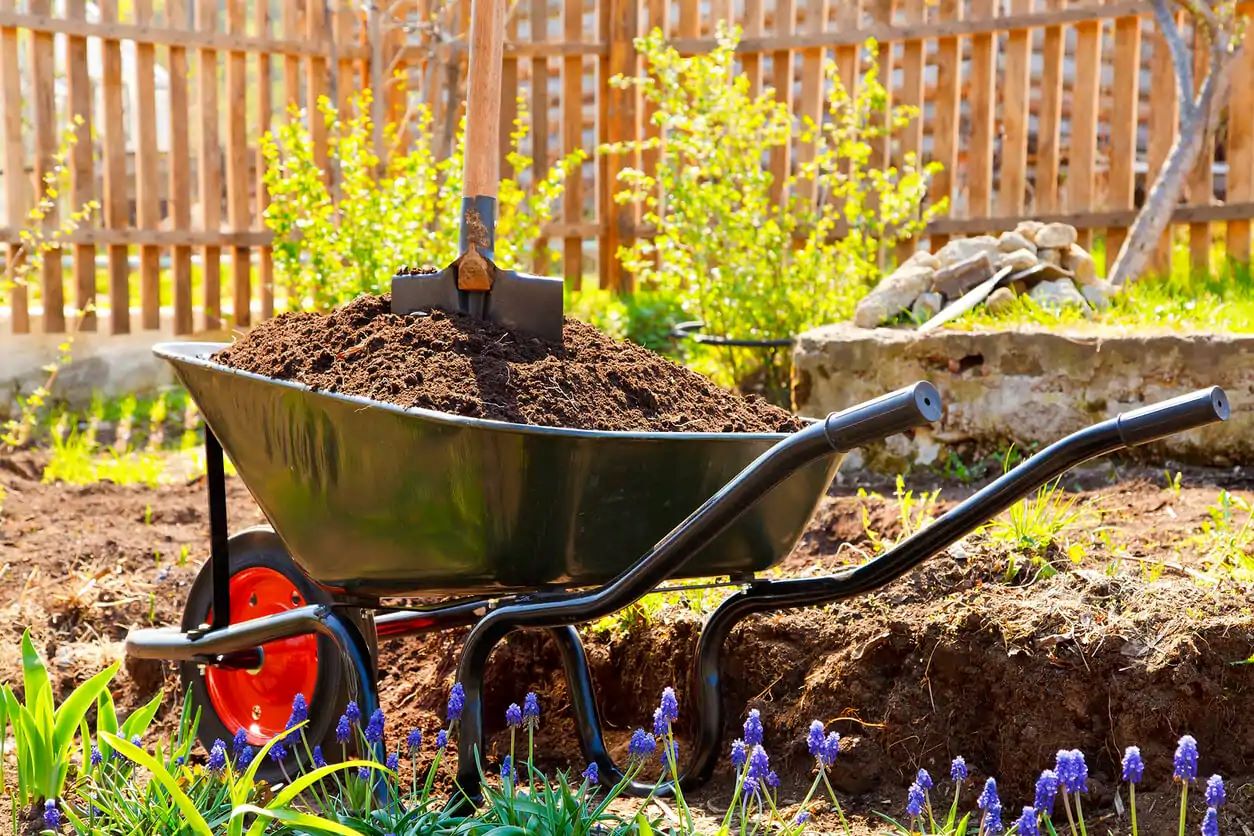
Step 5: Storing Daffodil Bulbs in the Ground
If you have ample garden space and prefer a more natural approach to storing daffodil bulbs over winter, you can opt to store them directly in the ground. This method mimics the bulbs’ natural habitat and allows them to go through a dormant period while staying protected.
The first step in storing daffodil bulbs in the ground is selecting a suitable location. Choose an area in your garden that has well-drained soil and receives full sun or partial shade. Avoid areas prone to waterlogging or excessive moisture, as this can lead to bulb rot.
Prepare the soil in the designated area by loosening it with a garden fork or shovel. Remove any weeds or debris from the surface to create a clean planting bed for the bulbs. It’s also a good idea to amend the soil with organic matter, such as compost or well-rotted manure, to improve drainage and provide nutrients for the bulbs.
Once the soil is prepared, dig a hole or trench that is deep enough to accommodate the bulbs. The general rule of thumb is to plant daffodil bulbs at a depth that is roughly three times their own height. Place the bulbs in the hole or trench, ensuring they are upright and not touching each other.
After positioning the bulbs, cover them with soil and lightly firm it down. Water the area thoroughly to settle the soil and provide moisture for the bulbs. However, be careful not to overwater, as overly wet conditions can lead to bulb rot.
To protect the bulbs from frost and extreme temperature fluctuations, it’s a good idea to apply a layer of mulch over the planted area. Use a layer of organic mulch, such as straw, shredded leaves, or wood chips, to insulate the bulbs and help maintain a more consistent soil temperature.
Throughout the winter, periodically check the mulched area to ensure the soil is not getting too dry or too wet. Adjust the watering as needed, aiming to keep the soil slightly moist but not saturated.
In the spring, as the weather starts to warm and the bulbs enter their growing phase, remove the mulch and allow the foliage to emerge and receive sunlight. This will enable the bulbs to replenish their energy reserves and prepare for the next blooming season.
Storing daffodil bulbs in the ground provides them with the natural conditions they need to survive and thrive. Now, let’s move on to the next step: monitoring the bulbs throughout winter.
Step 6: Monitoring Bulbs Throughout Winter
Once you have stored your daffodil bulbs, whether in containers or in the ground, it’s important to monitor them throughout the winter months to ensure their well-being and catch any potential issues early on.
The frequency of monitoring will depend on your local climate and storage conditions. Aim to check on the bulbs at least once a month, especially during periods of extreme weather or fluctuations in temperature.
During your monitoring sessions, pay attention to the moisture level of the storage medium. Bulbs should be kept dry but not completely desiccated. If the storage medium feels excessively dry, you can lightly mist it with water to provide some moisture. On the other hand, if the medium is too wet, take steps to improve drainage and airflow around the bulbs to prevent rot.
Inspect the bulbs for any signs of damage, decay, or mold. Look for soft spots, shriveled or discolored areas, and any unusual growth. Discard any bulbs that show signs of disease or rot to prevent the spread to neighboring bulbs.
If you are storing daffodil bulbs in containers, check for any signs of pests, such as rodents or insects. Monitor for chewed leaves, droppings, or evidence of tunneling. If pests are present, take appropriate measures to deter or remove them, such as using traps or natural repellents.
Keep an eye out for extreme temperature fluctuations or prolonged periods of frost. If the storage area experiences unexpectedly low temperatures, consider providing some insulation for the bulbs by adding an additional layer of mulch or covering the containers with blankets or straw.
Lastly, continue to maintain a record of the different bulb varieties and their condition throughout the winter. This will help you stay organized and make it easier to plan for planting in the spring.
By regularly monitoring your daffodil bulbs throughout winter, you can catch any potential problems early and take appropriate action to ensure their survival. Now, let’s move on to the final step: preparing the bulbs for spring planting.
Step 7: Preparing Bulbs for Spring Planting
As winter begins to fade away and spring draws near, it’s time to prepare your stored daffodil bulbs for planting. Properly preparing the bulbs will ensure their successful transition from storage to the garden and set the stage for a vibrant display of blooms.
Start by carefully removing the bulbs from their storage containers or the ground. Handle them with care to avoid damaging the delicate roots or shoots.
Inspect each bulb for any signs of damage or disease. Remove any bulbs that appear soft, moldy, or discolored, as they may infect healthy bulbs once planted.
If you stored the bulbs in containers, gently brush off any remaining storage medium, such as vermiculite or peat moss, from the bulbs. Be careful not to damage the roots or shoots during this process.
Next, examine the shoots or emerging foliage. Healthy shoots should be green and firm. Remove any dead or damaged shoots, as they will not contribute to the growth and blooming of the bulb.
Before planting, it’s a good idea to give the bulbs a pre-planting soak. Fill a container with lukewarm water and place the bulbs in it for a few hours. This will help rehydrate the bulbs and encourage faster rooting once planted.
While the bulbs are soaking, prepare the planting site by working the soil to a depth of 8-10 inches. Remove any weeds or debris and incorporate organic matter, such as compost or well-rotted manure, to improve soil fertility and drainage.
When it’s time to plant, dig a hole that is approximately three times the height of the bulb. Place the bulb in the hole with the pointed end facing up and cover it with soil. The general rule of thumb is to plant daffodil bulbs at a depth that is roughly twice their own height.
Space the bulbs according to the recommended spacing for the specific variety you are planting. Typically, bulbs should be spaced 3-6 inches apart, depending on their size.
After planting, water the area thoroughly to settle the soil and encourage root growth. Apply a layer of mulch around the planted bulbs to help retain moisture and suppress weed growth.
Throughout the growing season, continue to monitor the bulbs for any signs of disease or pests. Provide regular watering and fertilization to support healthy growth and ensure a stunning display of daffodil blooms in the coming spring.
By properly preparing your stored daffodil bulbs for spring planting, you are setting the stage for a successful growing season. With a little care and attention, your stored bulbs will reward you with a beautiful and colorful show in the garden. Enjoy!
Conclusion
Storing daffodil bulbs over winter is essential for ensuring their survival and promoting vigorous blooms in the spring. By following the step-by-step process outlined in this article, you can confidently store your daffodil bulbs and be rewarded with a stunning display of vibrant yellow flowers.
Harvesting the bulbs at the right time, preparing them for storage, and choosing the appropriate storage location are crucial in maintaining their health and vitality. Whether you opt to store them in containers or in the ground, providing a cool, dark, and well-ventilated environment is key.
Monitoring the bulbs throughout the winter months allows you to catch any potential issues early on, ensuring that they remain in optimal condition. Regular checks for moisture levels, pests, and signs of damage or disease will help safeguard the bulbs and prevent the spread of problems.
Once spring arrives, it’s time to prepare the stored bulbs for planting. Carefully inspecting and removing any damaged or diseased bulbs, rehydrating them, and providing the ideal planting conditions will set the stage for a successful growing season and a stunning display of daffodil blooms.
Remember to maintain proper documentation and labeling to keep track of the different bulb varieties and their storage conditions. This will make it easier to plan and organize your garden in the coming year.
By following these steps and giving your daffodil bulbs the care they need, you can enjoy the beauty and joy that these cheerful flowers bring to your garden. Happy gardening!
Frequently Asked Questions about How To Store Daffodil Bulbs Over Winter
Was this page helpful?
At Storables.com, we guarantee accurate and reliable information. Our content, validated by Expert Board Contributors, is crafted following stringent Editorial Policies. We're committed to providing you with well-researched, expert-backed insights for all your informational needs.
0 thoughts on “How To Store Daffodil Bulbs Over Winter”