Articles
How To Store Butternut Squash From The Garden
Modified: December 7, 2023
Learn how to store butternut squash from your garden with these helpful articles. Find tips and tricks to keep your squash fresh and ready to use!
(Many of the links in this article redirect to a specific reviewed product. Your purchase of these products through affiliate links helps to generate commission for Storables.com, at no extra cost. Learn more)
Introduction
Butternut squash is a delicious and nutritious vegetable that is commonly grown in home gardens. As the harvest season approaches, many gardeners are faced with an abundance of butternut squash and wonder how to store them properly to enjoy their homegrown goodness throughout the year.
In this article, we will discuss the best methods for storing butternut squash to ensure its freshness and flavor for an extended period. We will guide you through the process of choosing and harvesting the squash, curing them to enhance their storage capabilities, cleaning and preparing them, and various storage methods such as storing in a cool, dry place, refrigeration, and freezing.
Whether you are a seasoned gardener with surplus butternut squash or a beginner venturing into the world of homegrown produce, this article will provide you with the necessary knowledge to store butternut squash effectively and enjoy its deliciousness for months to come.
Key Takeaways:
- Store butternut squash in a cool, dry place, refrigerator, or freezer to preserve its flavor and nutritional value. Enjoy it in soups, roasted dishes, and more throughout the year.
- Properly cure, clean, and inspect butternut squash for extended storage. Utilize tips such as monitoring temperature and rotating squash to savor homegrown flavors year-round.
Read more: How To Store Butternut Squash In Freezer
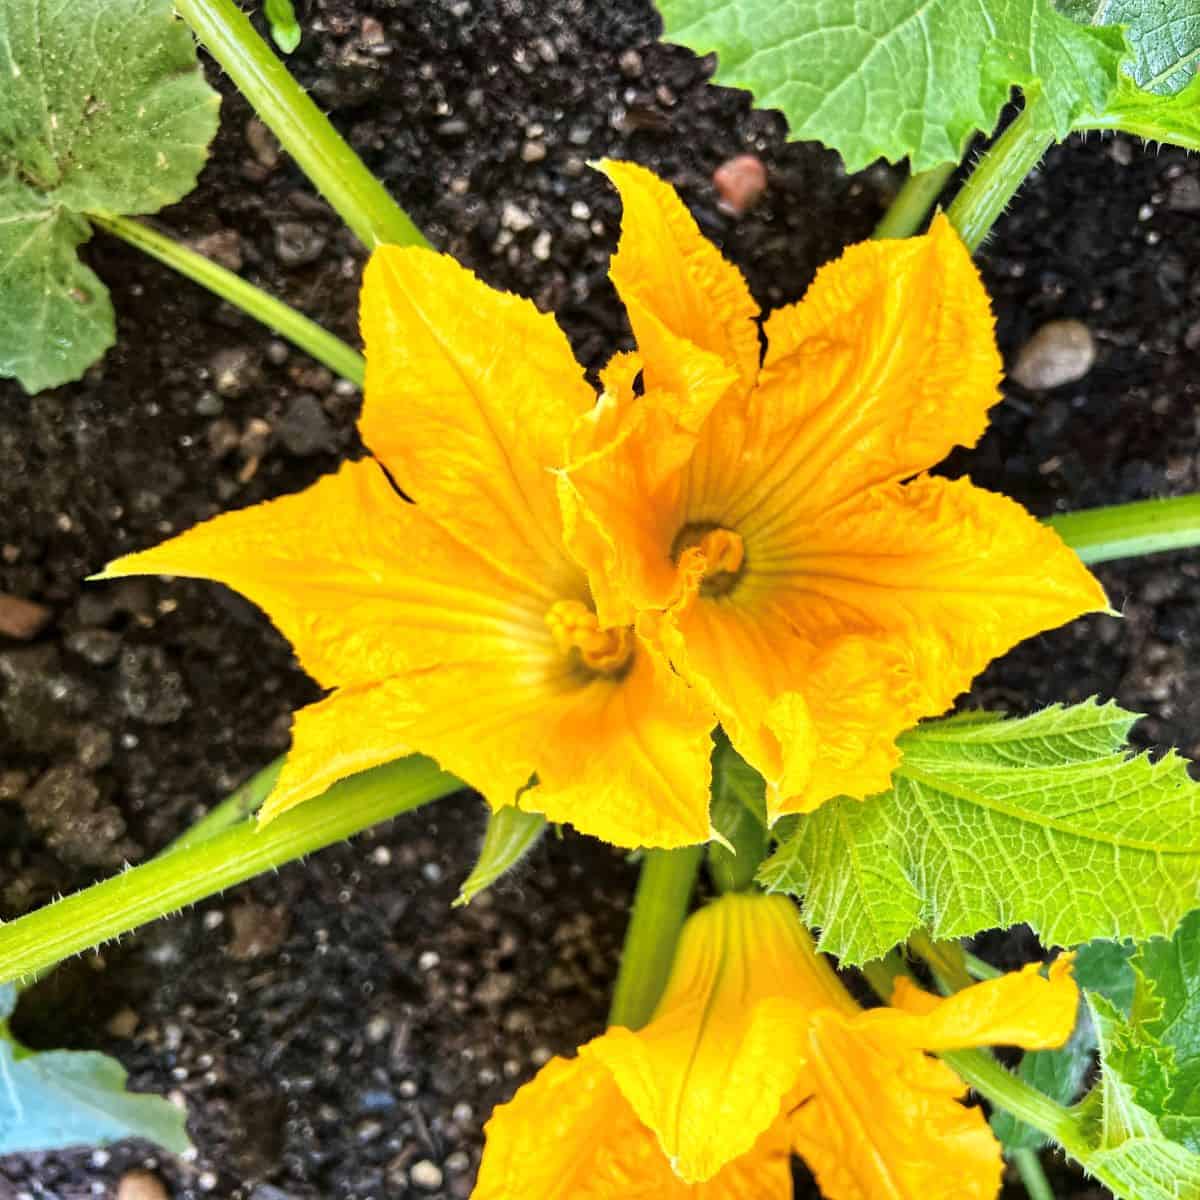
Choosing and Harvesting Butternut Squash
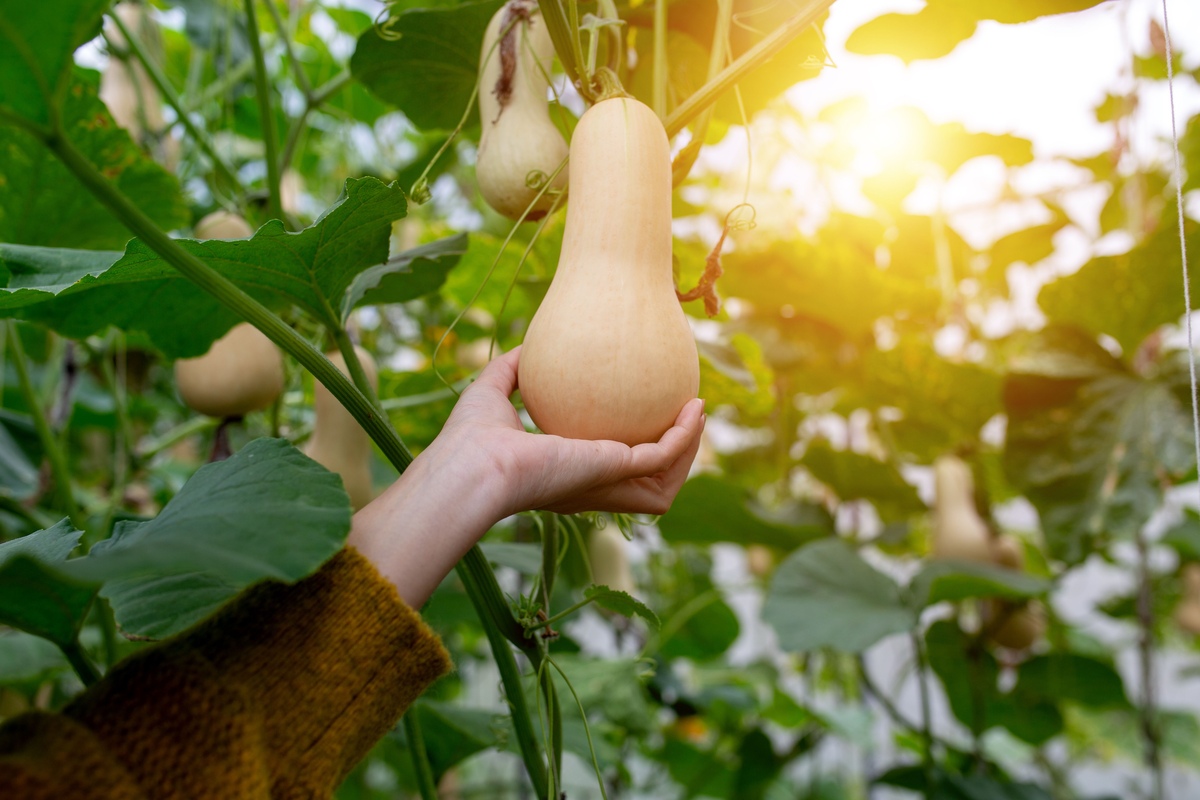
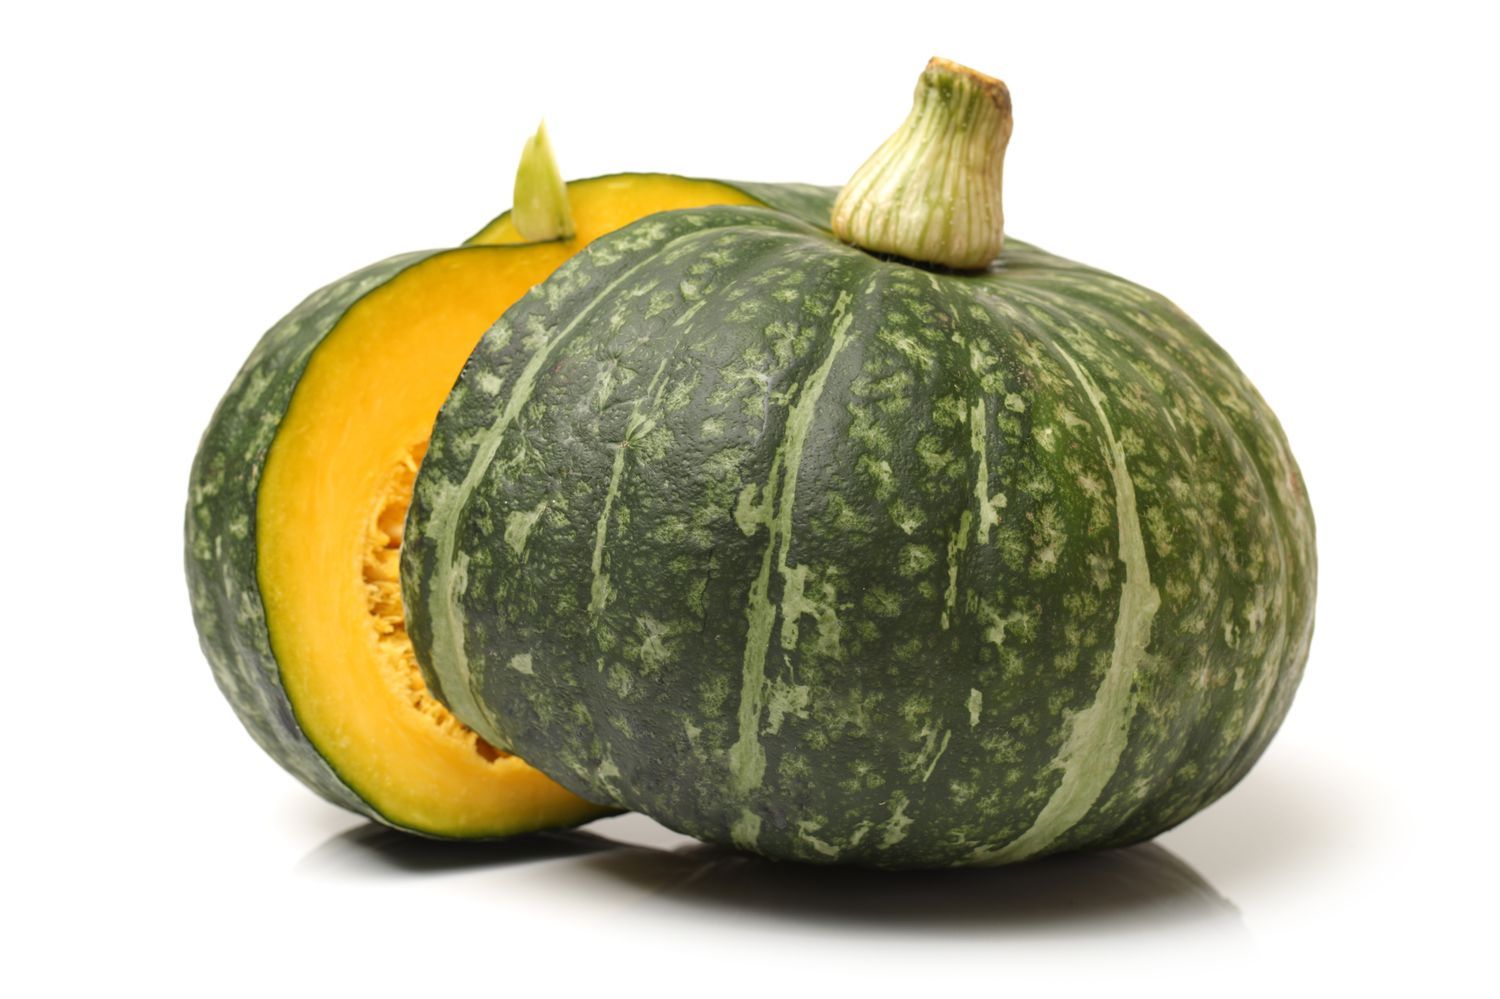
When it comes to choosing butternut squash for storage, it is essential to select mature and fully ripened squash. Look for squash that has a hard, smooth skin, free from blemishes or soft spots. The ideal size for butternut squash is around 8 to 12 inches in length and weighs between 2 to 3 pounds.
To harvest the squash, wait until the vines have died back, and the skin has hardened. This usually occurs in late summer or early fall. Using a sharp knife or pruning shears, cut the squash from the vine, leaving a 2-inch stem intact. Avoid pulling or twisting the squash, as this can damage the stem, which is essential for proper storage.
It’s important to handle the butternut squash with care during harvesting. Any bruising or damage to the skin can shorten its shelf life. After harvesting, gently brush off any dirt or debris from the squash, but do not wash it as moisture can promote rotting.
Once harvested, it’s time to cure the squash, an important step that prepares it for long-term storage.
Curing the Squash
Curing is the process of allowing the butternut squash to fully ripen and develop a tough outer skin that will help extend its storage life. To cure the squash, you will need to provide the right conditions of warmth and humidity.
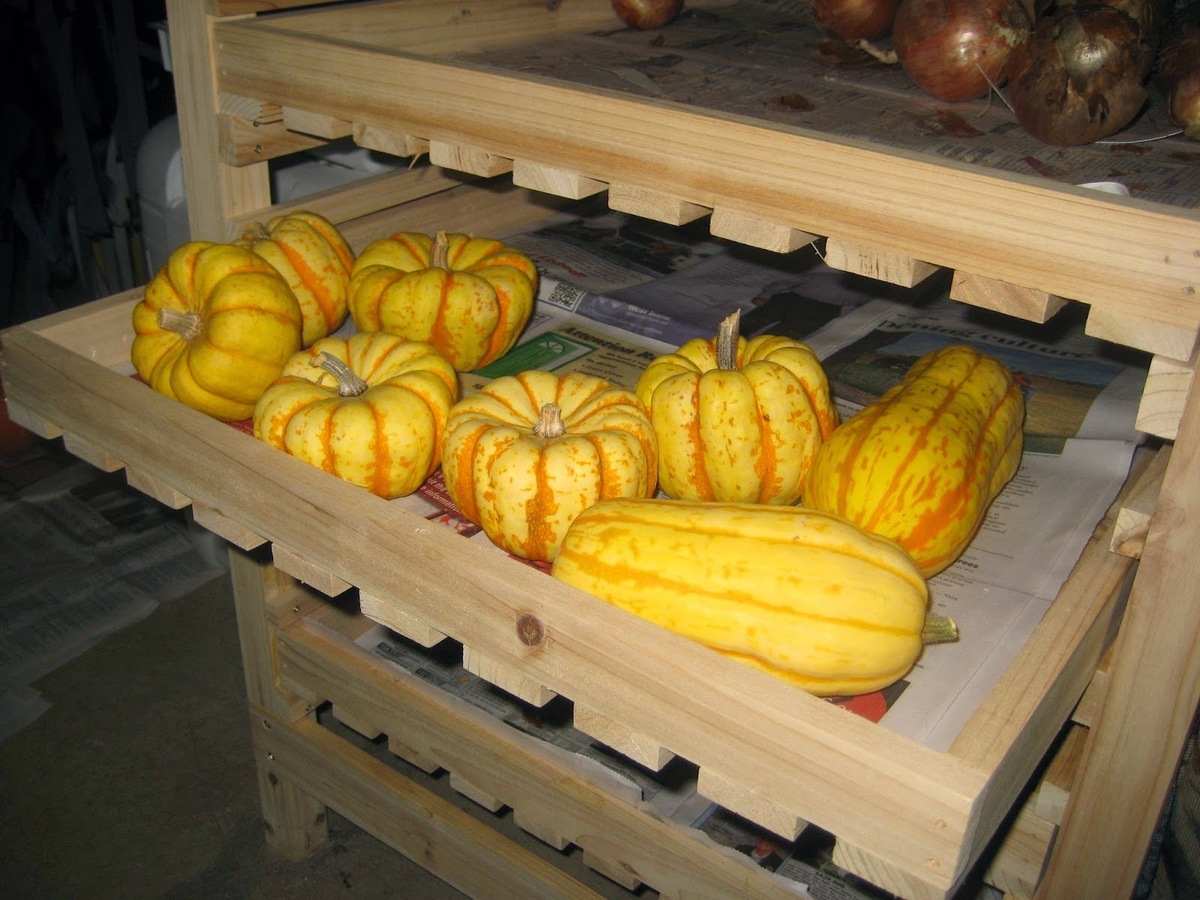
Start by placing the freshly harvested squash in a warm, dry, and well-ventilated area, such as a sunny spot in your home or a shed. Arrange the squash in a single layer, ensuring that they do not touch each other. This will allow air to circulate around each squash, preventing the growth of mold or rot.
During the curing process, the squash should be kept at a temperature between 75-85°F (24-29°C) with a humidity level of around 50-70%. You can use a hygrometer to measure the humidity in the curing area. If the humidity is too high, you can improve air circulation by using a fan or opening windows. If the humidity is too low, you can place a shallow tray of water nearby to increase moisture in the air.
Leave the squash to cure for about 1 to 2 weeks. During this time, the skin will become harder, and the flavor will become sweeter and more intense. Curing allows the squash to develop a protective layer that will prevent moisture loss during storage.
After the curing process, it is important to inspect each squash again. Discard any squash that shows signs of damage, soft spots, or mold. The remaining butternut squash is now ready for cleaning and preparation before storage.
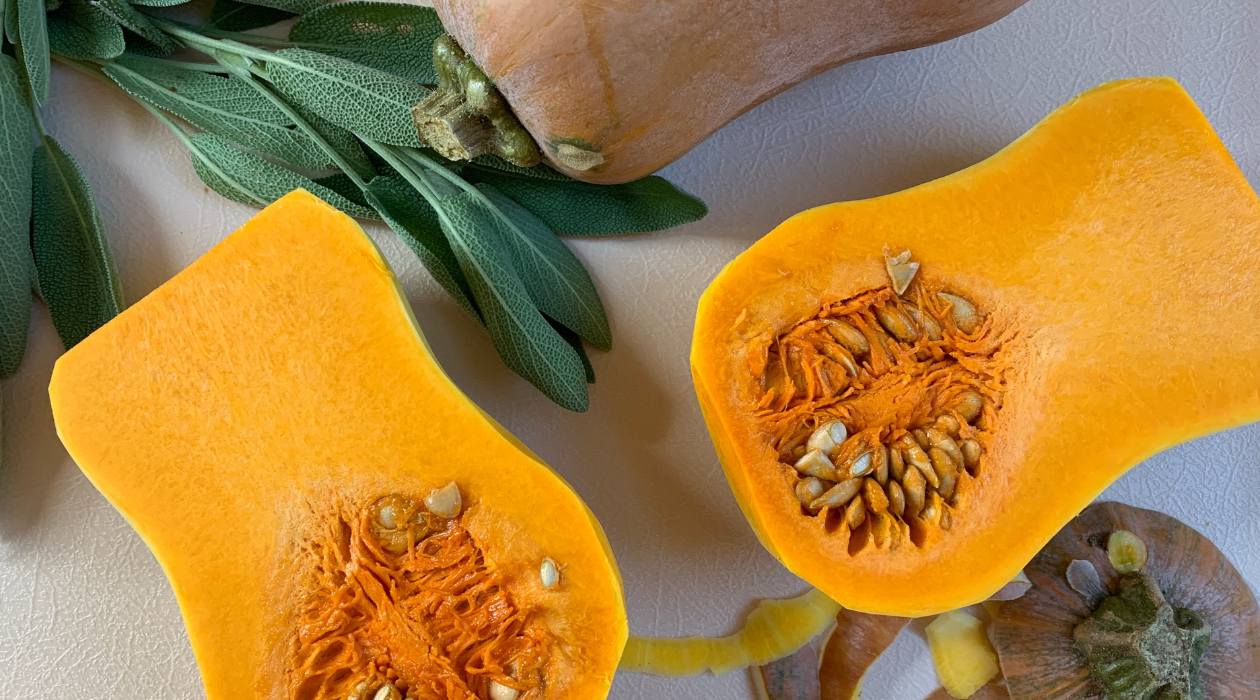
Cleaning and Preparing the Squash
Before storing butternut squash, it is crucial to clean and prepare them properly. This step helps remove any dirt or potential pathogens that could compromise the storage quality of the squash.
Start by gently wiping the squash with a clean, damp cloth to remove any remaining dirt or debris on the surface. Avoid using water or washing the squash, as excess moisture can promote rotting.
Next, trim off the stem of the squash, leaving about a half-inch of stem attached. The stem helps seal any potential entry points for bacteria or mold, ensuring the squash remains fresh for a more extended period.
Inspect the squash for any signs of damage, cuts, or blemishes. If you discover any serious damage, it’s best to consume those squash immediately rather than storing them. Only select squash that are in good condition for storage.
Once you have cleaned and inspected all the squash, they are now ready for storage using one of the recommended methods we will explore in the next sections.
Remember, proper cleaning and preparation are essential to ensure the longevity and quality of your stored butternut squash. By taking these steps, you are setting a solid foundation for successful storage and future culinary enjoyment.
Storage Methods for Butternut Squash
When it comes to storing butternut squash, there are a few different methods you can choose from based on your preferences and available resources. Here, we will explore three popular storage methods: storing in a cool, dry place, refrigeration, and freezing.
Read more: How To Store Butternut Squash
Storing Butternut Squash in a Cool, Dry Place
One of the simplest and most common ways to store butternut squash is in a cool, dry place. Find a location that is well-ventilated with a consistent temperature between 50-55°F (10-13°C) and relatively low humidity. A pantry, cellar, or an unheated garage are ideal options. Make sure the area is free from direct sunlight and extreme temperature fluctuations.
Arrange the squash in a single layer on a rack or shelf, without allowing them to touch each other. This will prevent the spread of moisture or potential rot. Regularly check the squash for any signs of decay or spoilage, and promptly remove any affected ones to prevent the spread of mold.
Storing Butternut Squash in the Refrigerator
If you have limited storage space or live in a warmer climate, you can store butternut squash in the refrigerator. However, it’s important to note that refrigeration can affect the texture and flavor of the squash over time.
Place the squash in a perforated plastic bag and store it in the vegetable crisper drawer. The cold temperature will help extend the storage life, but be aware that the squash might become slightly softer and the flavor may not be as robust as storing in a cool, dry place. Use refrigerated squash within a month to ensure the best quality.
Freezing Butternut Squash
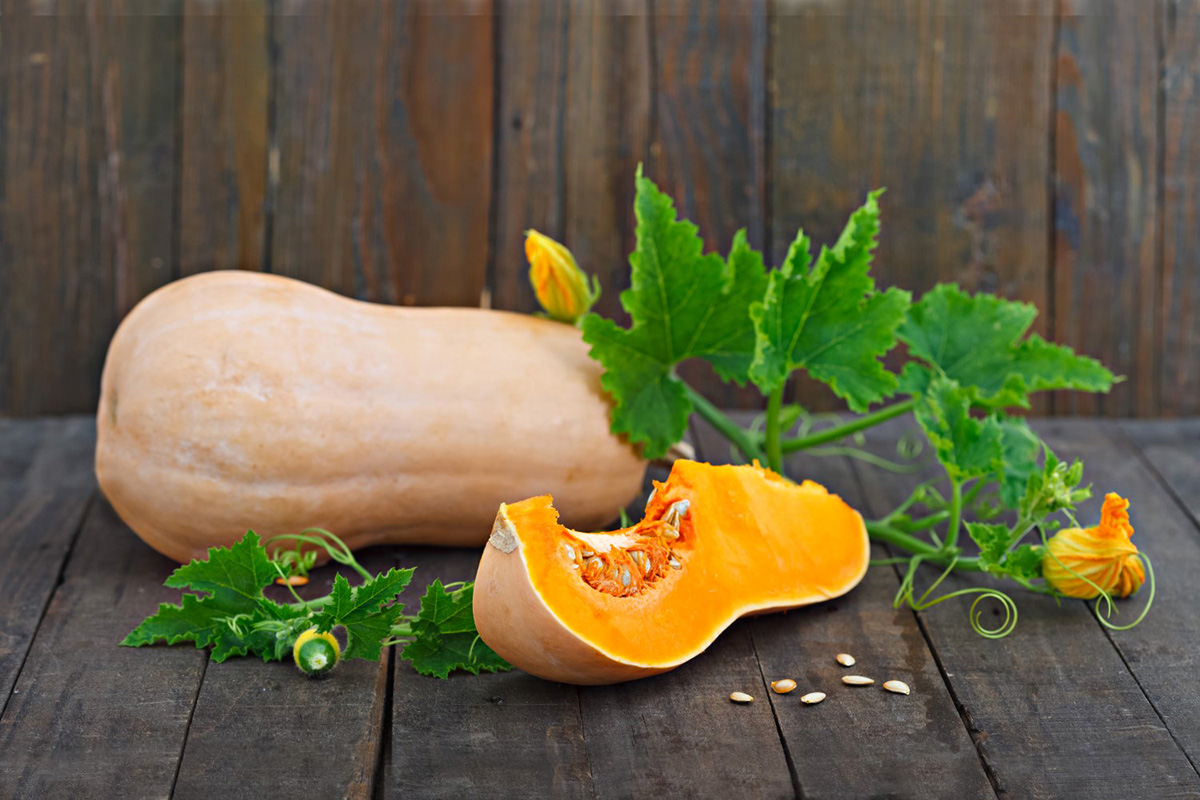
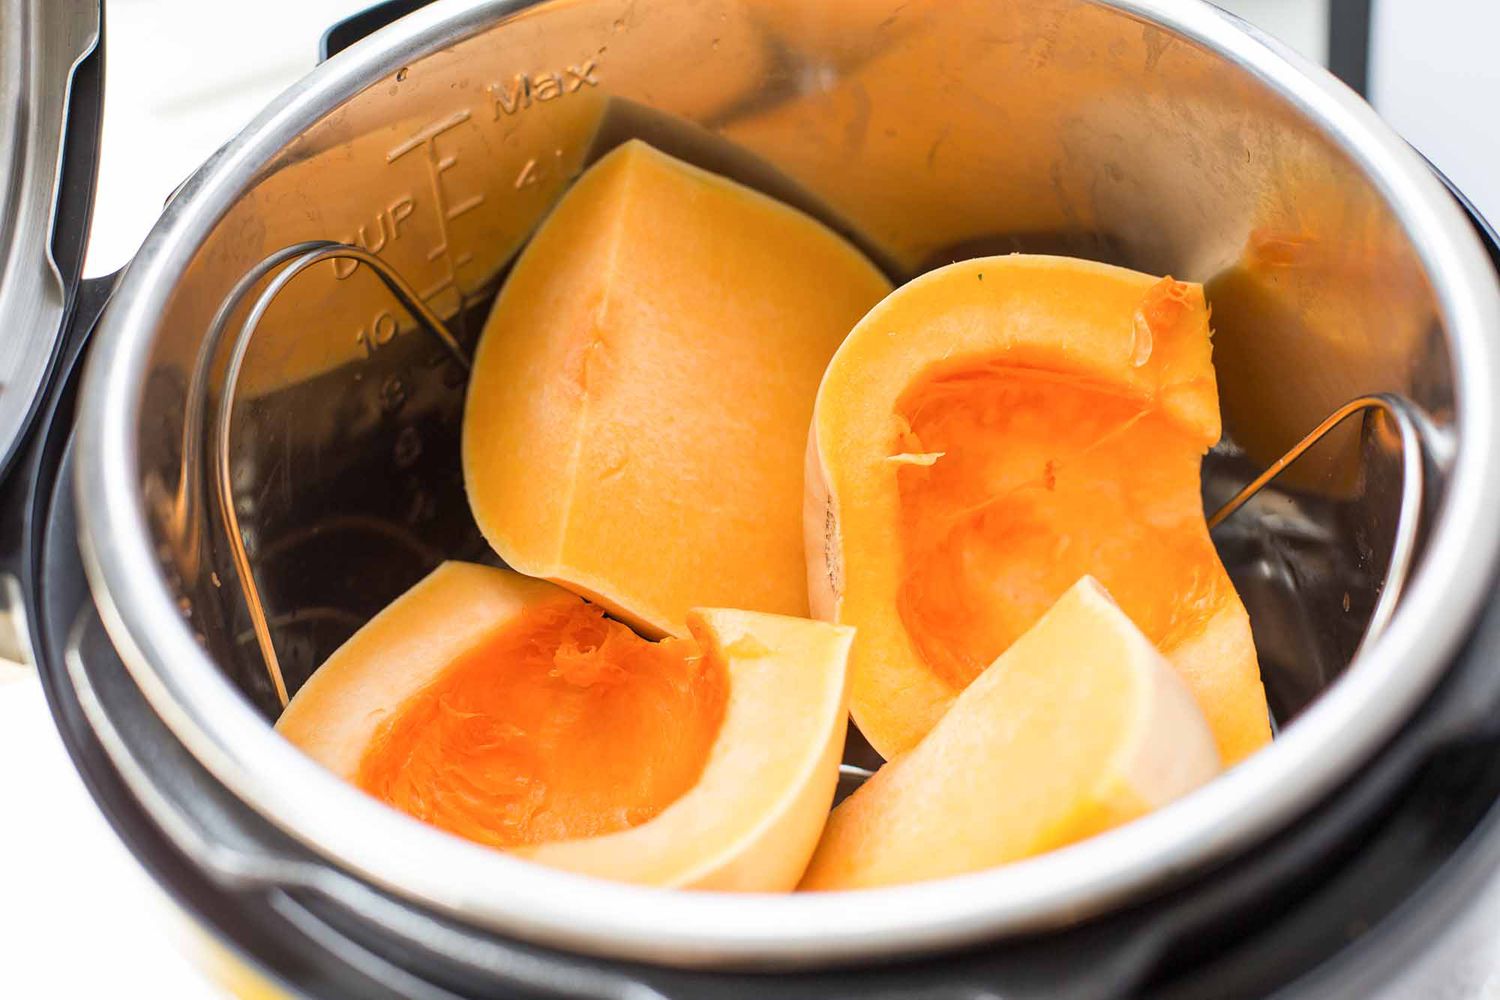
Freezing is a great option if you want to store butternut squash for an extended period while maintaining its taste and quality. Freezing works best for cooked or pureed squash, as raw squash may become mushy after thawing.
To freeze butternut squash, start by peeling, deseeding, and cutting the squash into cubes or slices. Blanch the squash in boiling water for 2-3 minutes, then immediately transfer them to an ice bath to stop the cooking process. Drain the squash and spread them in a single layer on a baking sheet. Once frozen, transfer the squash to airtight freezer bags or containers, removing as much air as possible before sealing. Label and date the containers for easy reference.
Frozen butternut squash can be stored for up to 12 months. Thaw it in the refrigerator overnight before using it in your favorite recipes.
Now that you have learned about different storage methods, let’s explore how to use the stored butternut squash in your culinary creations.
Storing Butternut Squash in a Cool, Dry Place
One of the most traditional and effective methods of storing butternut squash is keeping it in a cool, dry place. This method works well for those who have access to a suitable storage area, such as a pantry, cellar, or a cool corner of their basement.
The first step is to select a location that is well-ventilated and maintains a constant temperature between 50-55°F (10-13°C). It’s crucial to choose a spot with low humidity, as excess moisture can lead to spoilage and rot. Avoid storing squash near windows or areas prone to temperature fluctuations.
Before storing, make sure the butternut squash is properly cured and cleaned. Remove any dirt or debris from the surface of the squash, gently wiping it with a clean, damp cloth. Do not wash the squash, as excess moisture can disrupt the storage process.
Arrange the squash in a single layer, making sure they do not touch each other. This allows air to circulate and prevents the spread of moisture or potential mold. Consider using a rack or shelf to elevate the squash and provide proper airflow.
Regularly inspect the squash for any signs of decay or spoilage. Remove and discard any affected squash immediately to prevent the spread of mold. It’s also recommended to turn the squash periodically to ensure even airflow and prevent any potential soft spots from developing.
When stored correctly in a cool, dry place, butternut squash can last for several months. However, it’s important to frequently check on the squash, especially during the first few weeks, to ensure that they are storing well and to remove any squash that show signs of deterioration.
By utilizing this storage method, you can enjoy the rich flavors of your homegrown butternut squash for an extended period. Whether you’re using them in hearty soups, roasted vegetable medleys, or savory side dishes, the properly stored squash will retain their taste and texture, adding a touch of autumn to your meals.
Read more: How To Store Butternut Squash For The Winter
Storing Butternut Squash in the Refrigerator
If you have limited storage space or live in a warmer climate, storing butternut squash in the refrigerator can be a viable option. However, it’s important to note that refrigeration can affect the texture and flavor of the squash over time.
The first step is to properly clean and prepare the butternut squash. Gently wipe the squash with a clean, damp cloth to remove any dirt or debris from the surface. Trim off the stem, leaving about a half-inch intact to help preserve the squash.
Next, place the squash in a perforated plastic bag to allow for adequate airflow. The perforations in the bag prevent excess moisture buildup, reducing the risk of mold or spoilage. Avoid tightly sealing the bag to maintain some air circulation.
Store the squash in the vegetable crisper drawer of your refrigerator, which provides a cooler and slightly more humid environment compared to other parts of the refrigerator. The recommended temperature range for storing butternut squash in the refrigerator is around 40-50°F (4-10°C).
Keep in mind that refrigeration can cause the squash to become slightly softer over time. While the flavor may not be as robust as when stored in a cool, dry place, refrigeration can extend the storage life of the squash.
It’s important to continuously monitor the squash while in the refrigerator. Check for any signs of decay or spoilage, and promptly remove any affected squash to prevent the spread of mold. Use refrigerated squash within a month to ensure the best quality.
When ready to use the refrigerated squash, allow it to come to room temperature before cooking. This will help enhance the flavor and texture, ensuring a delicious outcome for your culinary creations.
Remember, while refrigerating butternut squash is a viable storage option, it is best to consider other methods, such as storing in a cool, dry place, for longer-term storage and to preserve the squash’s taste and texture.
Freezing Butternut Squash
Freezing butternut squash is an excellent option for long-term storage, allowing you to enjoy its flavors and nutritional benefits throughout the year. Freezing works best for cooked or pureed squash, as raw squash may become mushy after thawing.
Here’s a step-by-step guide on how to freeze butternut squash:
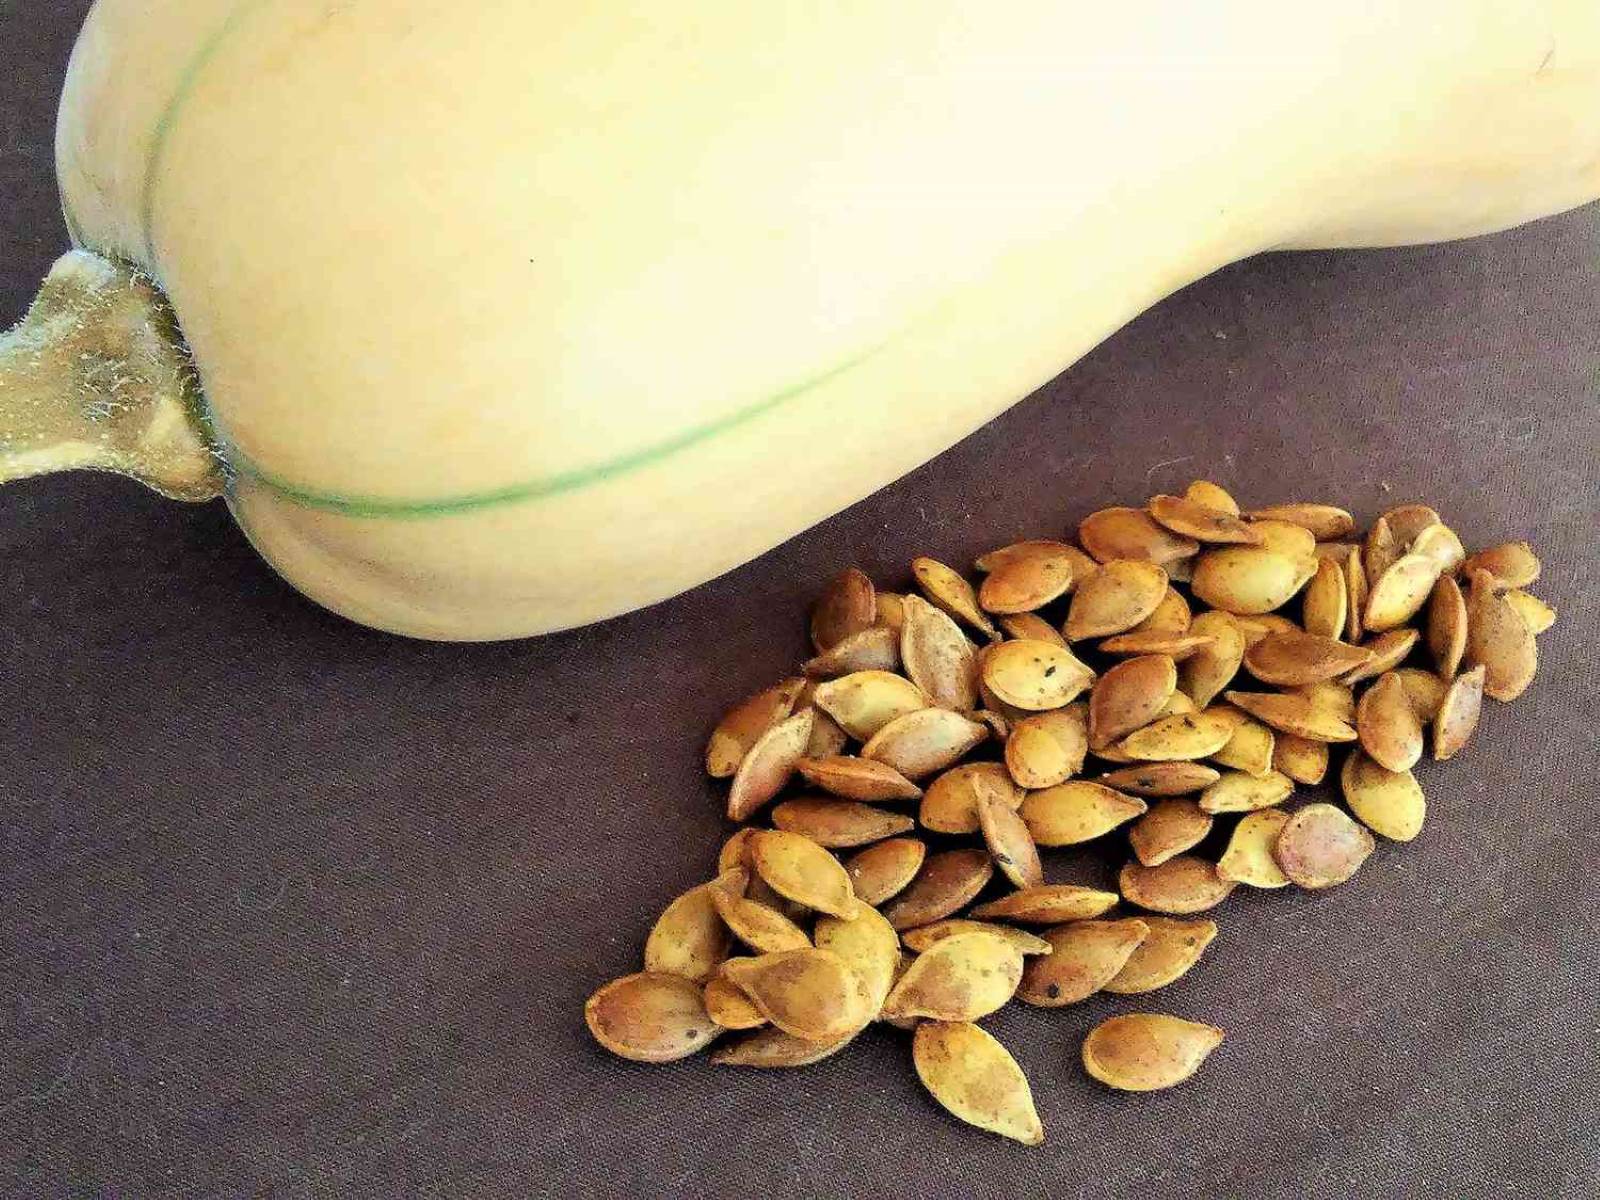
- Start by peeling the butternut squash and removing the seeds. Cut the squash into cubes or slices, depending on your preference.
- Blanch the squash in boiling water for 2-3 minutes. Blanching helps retain the squash’s color and flavor, and it also helps to kill off any bacteria or enzymes that can cause spoilage.
- Immediately transfer the blanched squash to an ice bath to cool and stop the cooking process. This will help preserve the texture and nutrients of the squash.
- Drain the squash thoroughly and pat them dry with a paper towel to remove excess moisture.
- Spread the blanched and dried squash in a single layer on a baking sheet. Make sure the pieces are not touching each other to prevent them from sticking together during freezing.
- Place the baking sheet with the squash in the freezer and allow them to freeze until firm, which typically takes 1-2 hours.
- Once the squash is frozen, transfer them to airtight freezer bags or containers. Squeeze out as much air as possible before sealing to prevent freezer burn.
- Label the bags or containers with the date and contents for easy reference.
Frozen butternut squash can be stored in the freezer for up to 12 months. When you’re ready to use the squash, simply thaw it in the refrigerator overnight or defrost it in the microwave on the defrost setting.
Thawed butternut squash works well in soups, stews, casseroles, and other cooked dishes. However, it may not retain its firm texture for raw consumption, so it’s best to use it in recipes that require cooking or blending.
By freezing butternut squash, you can preserve its flavor, nutrients, and versatility for an extended period, ensuring you have a convenient supply of this delicious vegetable at your fingertips.
Using Stored Butternut Squash
Whether you have stored butternut squash in a cool, dry place, in the refrigerator, or in the freezer, there are numerous ways to utilize it in your culinary endeavors. The rich and sweet flavor of butternut squash pairs well with a variety of dishes, adding depth and a touch of autumnal goodness.
Here are a few ideas for incorporating stored butternut squash into your recipes:
Roasted Butternut Squash:
Toss cubed butternut squash with olive oil, salt, and your favorite herbs and spices, such as rosemary, thyme, or cinnamon. Roast in the oven until tender and slightly caramelized. Enjoy as a side dish or add to salads, grain bowls, or pasta dishes.
Read more: How To Store Cut Butternut Squash
Butternut Squash Soup:
Puree cooked butternut squash with vegetable broth and seasonings to create a velvety and comforting soup. Customize it by adding spices like nutmeg, ginger, or curry powder for an extra flavor boost. Serve with crusty bread or as a starter for a cozy meal.
Butternut Squash Risotto:
Add cubes of roasted butternut squash to a creamy risotto during the last few minutes of cooking. The sweet and creamy squash complements the richness of the risotto, creating a delicious and comforting dish.
Butternut Squash Pasta Sauce:
Puree cooked butternut squash with garlic, Parmesan cheese, and cream to create a luscious pasta sauce. Toss it with your favorite pasta and garnish with fresh herbs and toasted nuts for a satisfying meal.
Butternut Squash Curry:
Combine diced butternut squash with aromatic spices, coconut milk, and vegetables to make a flavorful and hearty curry. Serve it over rice or with naan bread for a deliciously satisfying meal.
These are just a few examples of how you can use stored butternut squash in your cooking. Get creative and experiment with your favorite recipes or try out new ones to make the most of the butternut squash you have stored.
Remember to thaw frozen squash before using it, and if using refrigerated squash, allow it to come to room temperature before incorporating it into your dishes. Enjoy the sweet and nutty flavors of butternut squash in your meals throughout the year!
Read more: How To Grow Butternut Squash From Seed
Tips for Extended Storage
If you want to maximize the storage life of your butternut squash and enjoy its deliciousness for an extended period, there are a few tips you can follow:
Choose the right squash:
When selecting squash for storage, choose mature and fully ripened squash with a hard, smooth skin. Avoid squash with blemishes, soft spots, or signs of decay, as these can shorten their shelf life.
Cure the squash:
Take the time to properly cure the squash after harvesting. Place them in a warm, dry, and well-ventilated area for 1-2 weeks. This process allows the squash to harden the skin and develop flavors, enhancing their storage capabilities.
Inspect regularly:
Regularly check the stored squash for any signs of soft spots, mold, or decay. Remove any affected squash immediately to prevent the spread of spoilage. Turning the squash periodically helps ensure even airflow and prevents any potential areas of deterioration.
Read more: How To Store Butternut Squash Long-Term
Store each squash separately:
Avoid stacking or overcrowding the squash during storage. Keep them in a single layer and ensure they do not touch each other. This prevents the spread of moisture and potential rot among the squash.
Monitor temperature and humidity:
For optimal storage, maintain a consistent temperature between 50-55°F (10-13°C) in a low humidity environment. Avoid extreme temperature fluctuations and areas with high humidity, as they can accelerate spoilage. Use a thermometer and hygrometer to monitor the storage conditions.
Rotate and use within time:
Periodically rotate the stored squash to promote even airflow and prevent soft spots. Additionally, use the oldest squash first to ensure they do not spoil before you have a chance to enjoy them. This rotation system helps extend the storage life of your butternut squash supply.
By following these tips for extended storage, you can make the most of your butternut squash harvest and enjoy its delicious flavors well into the colder months. With proper storage techniques, you’ll be able to savor the taste of homegrown squash and create a variety of wholesome meals throughout the year.
Conclusion
Storing butternut squash from your garden is a rewarding and practical way to enjoy this versatile vegetable long after the harvest season has ended. By following the proper storage methods, you can preserve the freshness, flavor, and nutritional value of your homegrown squash.
From choosing and harvesting mature squash to curing them and preparing for storage, each step is crucial in ensuring the longevity of your squash. Storing in a cool, dry place, refrigeration, or freezing are all effective methods to consider based on your preferences and available resources.
When it’s time to use the stored butternut squash, there are countless delicious possibilities. Roast it, puree it for soups and sauces, incorporate it into risottos or curries, or use it as a tasty addition to pastas and salads.
Remember to inspect your stored squash regularly and promptly remove any that show signs of spoilage to prevent the spread of rot among the others. Proper temperature and humidity control are crucial in maintaining the quality of the stored squash, ensuring its freshness and flavor for as long as possible.
By utilizing the tips for extended storage, such as choosing the right squash, monitoring temperature and humidity, and rotating the squash, you can prolong the shelf life and continue to enjoy the flavors of your homegrown butternut squash throughout the year.
So, go ahead and make the most of your bountiful harvest by storing butternut squash properly. With the knowledge and techniques gained from this article, you can savor the taste of this delicious vegetable and elevate your culinary creations. Happy storing and happy cooking!
Frequently Asked Questions about How To Store Butternut Squash From The Garden
Was this page helpful?
At Storables.com, we guarantee accurate and reliable information. Our content, validated by Expert Board Contributors, is crafted following stringent Editorial Policies. We're committed to providing you with well-researched, expert-backed insights for all your informational needs.

0 thoughts on “How To Store Butternut Squash From The Garden”