Home>Garden Essentials>How To Plant Butternut Squash Seeds

Garden Essentials
How To Plant Butternut Squash Seeds
Modified: April 22, 2024
Learn how to plant butternut squash seeds in your garden and enjoy a delicious harvest of this versatile vegetable.
(Many of the links in this article redirect to a specific reviewed product. Your purchase of these products through affiliate links helps to generate commission for Storables.com, at no extra cost. Learn more)
Introduction
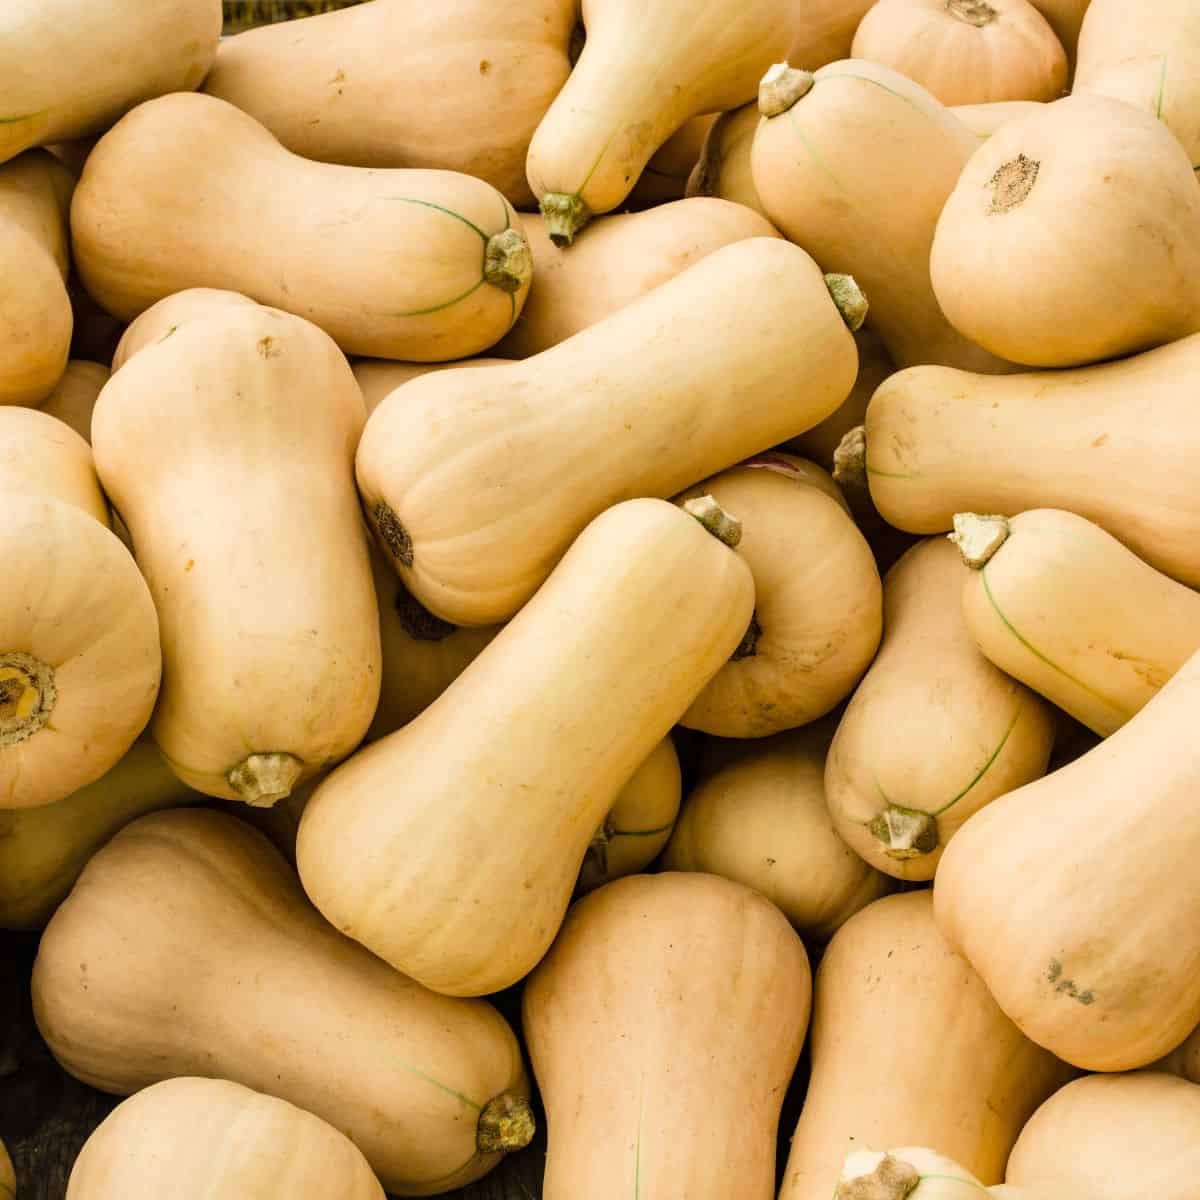
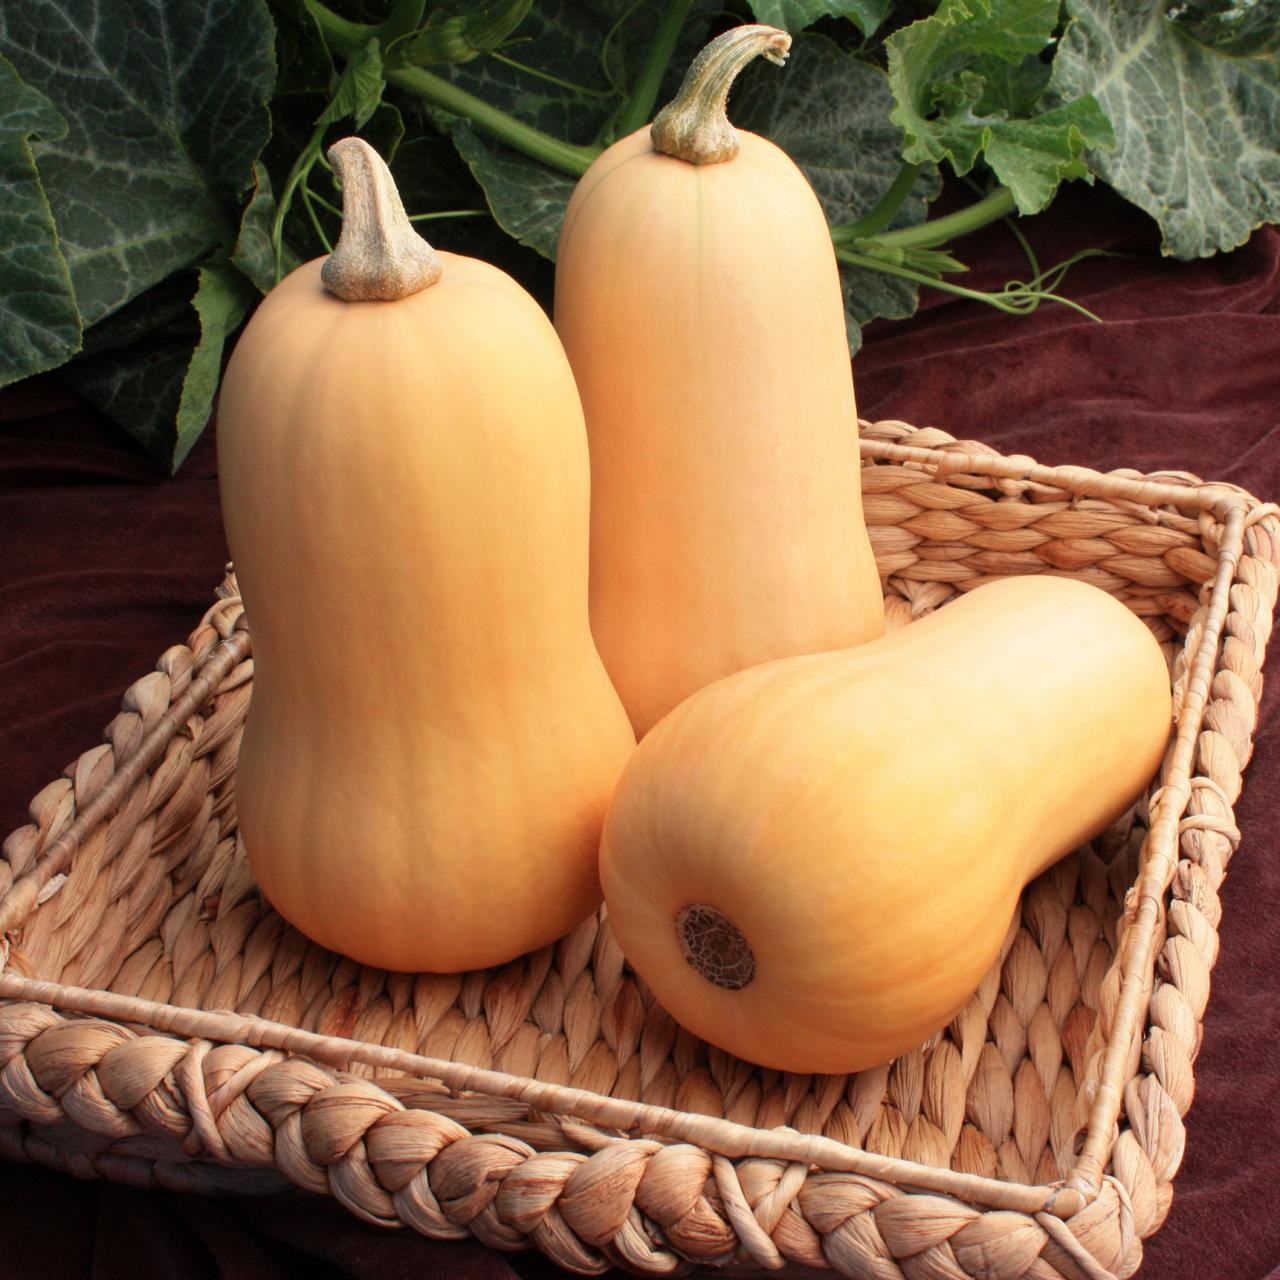
Gardening enthusiasts and vegetable lovers rejoice! If you’re looking to add another delightful addition to your garden, planting butternut squash seeds is a fantastic choice. Butternut squash not only adds beauty to your garden with its vibrant orange color but also offers a sweet and nutty flavor that is perfect for a variety of culinary delights.
In this comprehensive guide, we will take you through a step-by-step process on how to successfully plant and grow butternut squash from seeds. Whether you’re an experienced gardener or just starting out, you’ll find useful tips and insights to ensure a bountiful harvest of delicious butternut squash.
Butternut squash, scientifically known as Cucurbita moschata, is a winter squash that belongs to the gourd family. It is a warm-season crop that requires a sunny spot in your garden or a well-drained container if you’re limited on space. With proper care and attention, you can enjoy a generous supply of this versatile vegetable throughout the season.
Butternut squash is not only delicious but also packed with essential nutrients. It is an excellent source of fiber, vitamins A and C, potassium, and magnesium. These nutrients contribute to good eye health, a strong immune system, and a healthy heart.
So, let’s roll up our sleeves and dive into the world of planting butternut squash seeds! By following these steps, you’ll be well on your way to growing your own supply of this delectable vegetable.
Key Takeaways:
- Planting butternut squash seeds requires preparing nutrient-rich soil, selecting high-quality seeds, and providing proper care. Enjoy the process and look forward to a bountiful harvest of delicious and nutritious squash!
- Harvesting butternut squash at the right time is crucial for optimal flavor and texture. Enjoy the satisfaction of a successful harvest and elevate your culinary creations with the sweet and nutty flavors of these versatile squash!
Read more: How To Grow Butternut Squash From Seed
Step 1: Prepare the Soil
Before you embark on planting butternut squash seeds, it’s essential to prepare the soil to provide a nutrient-rich environment for your plants to thrive. Follow these steps to ensure optimal soil conditions:
- Choose the right location: Select a sunny spot in your garden that receives at least 6-8 hours of direct sunlight daily. Butternut squash plants love the warmth, so make sure the area is well-drained and free from excessive moisture.
- Clear the area: Remove any existing weeds, rocks, or debris from the designated spot. Clearing the area ensures that the butternut squash plants have ample space to spread their roots and receive maximum sunlight.
- Test the soil: Conduct a soil test to determine its pH level. Butternut squash plants prefer a slightly acidic to neutral soil pH ranging from 6.0 to 7.0. Various home testing kits are available for quick and easy soil pH testing.
- Amend the soil: Based on the soil test results, amend the soil accordingly. If the pH is too acidic, add lime to raise the pH. Conversely, if the soil is too alkaline, add sulfur to lower the pH. Additionally, enrich the soil by adding organic matter such as compost or well-rotted manure. This helps improve soil fertility and enhances moisture retention.
- Till the soil: Use a garden fork or a tiller to loosen the soil to a depth of around 12-18 inches. This loosening action allows the roots to penetrate the soil easily and promotes good drainage.
- Level the soil: After tilling, ensure the soil is level and free from large clumps or lumps. Rake the soil to create a smooth surface for planting the butternut squash seeds.
By following these steps, you’ll create an optimal growing environment for your butternut squash plants. The nutrient-rich soil will support healthy growth, strong root development, and an abundant harvest.
Step 2: Select the Seeds
Choosing the right seeds is crucial for a successful butternut squash harvest. Follow these guidelines to select the best quality seeds:
- Choose a reputable source: Purchase your seeds from a reputable supplier or a trusted local nursery. This ensures that you’re getting high-quality seeds that are more likely to germinate and grow into healthy plants.
- Consider hybrid versus heirloom: There are two types of butternut squash seeds available: hybrid and heirloom. Hybrid seeds are a cross between different varieties, resulting in plants with specific characteristics such as disease resistance or improved flavor. Heirloom seeds, on the other hand, are open-pollinated and have been passed down for generations. Choose the type that aligns with your gardening goals and preferences.
- Check the viability and expiration date: Seeds have a shelf life, so it’s important to check the expiration date on the seed packet. Discard any expired seeds, as their germination rates may be significantly reduced. Additionally, some packets indicate the germination rate, which can help you determine the seed’s viability.
- Consider your climate: Take into account the climate in your area and select seeds that are suitable for your growing zone. Butternut squash is a warm-season crop, so choose varieties that thrive in your specific climate and have a short maturity period.
- Look for disease resistance: Some butternut squash varieties are bred for disease resistance, which can help protect your plants from common diseases such as powdery mildew or downy mildew. If these diseases are prevalent in your area, opt for resistant varieties to minimize the risk of plant failure.
Remember, selecting high-quality seeds is the first step towards a successful harvest. Take your time to research different varieties, considering factors such as taste, disease resistance, and yield. By choosing the right seeds, you set the foundation for a bountiful crop of delicious butternut squash.
Step 3: Planting the Seeds
Now that you’ve prepared the soil and selected your desired seeds, it’s time to plant the butternut squash seeds. Follow these steps to ensure proper planting and give your seeds the best chance to grow:
- Determine the planting time: Butternut squash is a warm-season crop that thrives in temperatures between 70°F and 90°F (21°C to 32°C). Wait until all danger of frost has passed and the soil has warmed up. In most regions, this is typically around springtime.
- Prepare the planting bed: Create small mounds or hills in your prepared soil, approximately 12 inches in diameter and 6 inches in height. Space the mounds about 2-3 feet apart to allow the vines to spread properly.
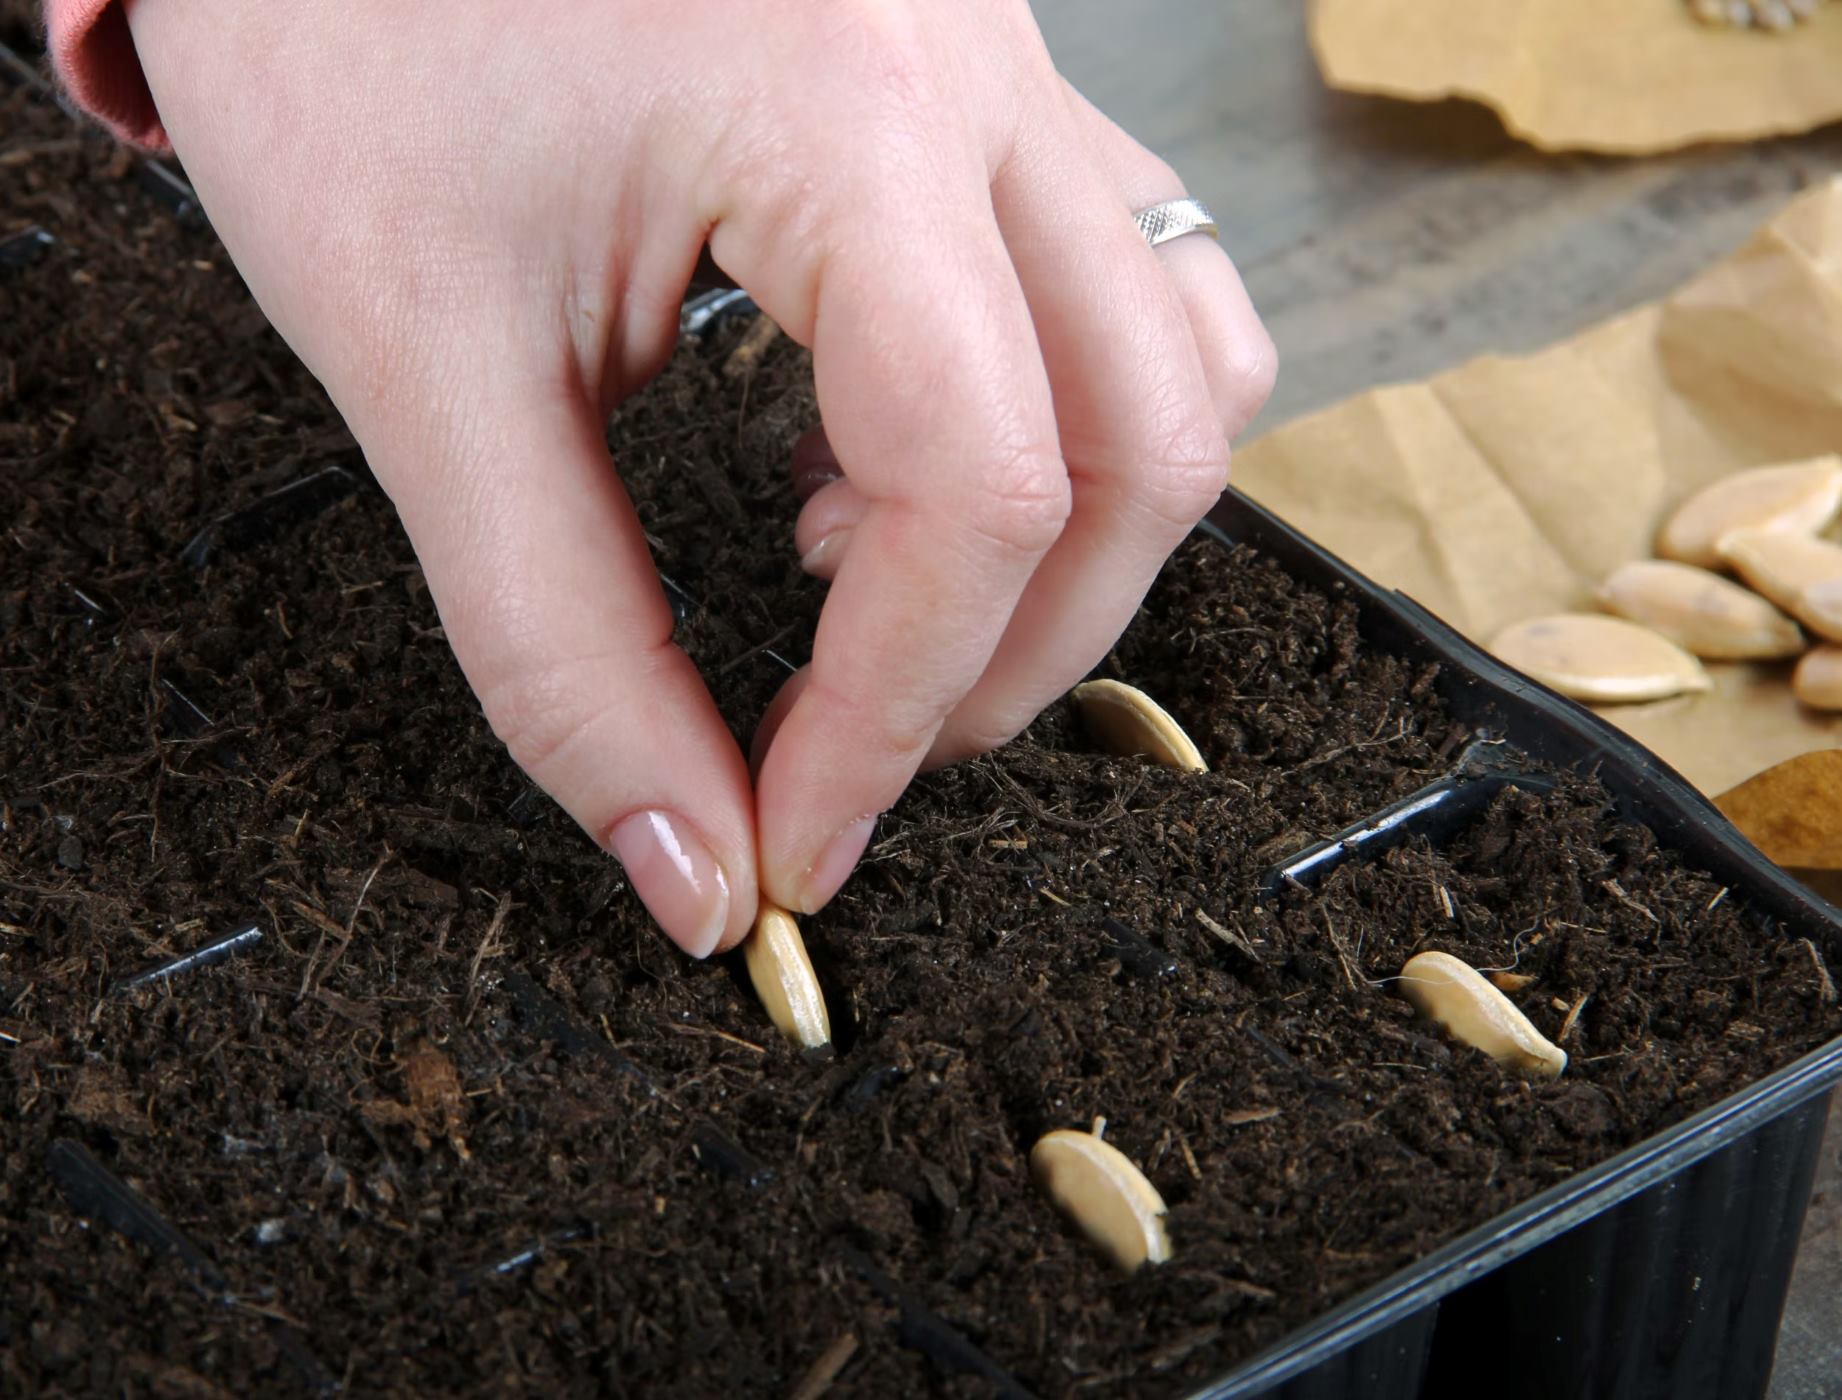
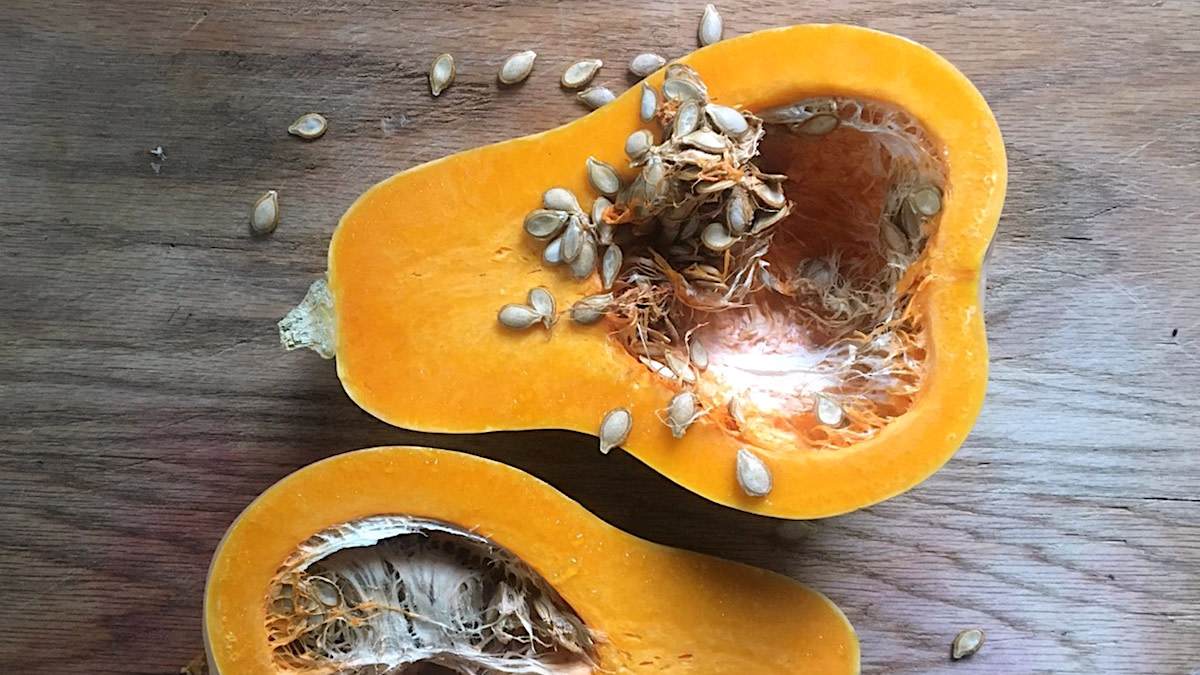
- Sow the seeds: Plant 2-3 seeds in each mound, approximately 1 inch deep. Space the seeds evenly and cover them with soil. If you’re planting in rows, space the rows 4-6 feet apart.
- Water thoroughly: After planting the seeds, water the soil gently but thoroughly. Ensure the soil is evenly moist but not waterlogged. Regular watering is crucial during the early stages of growth.
- Maintain proper spacing: As the seedlings emerge and grow, thin them out to maintain proper spacing. Keep the healthiest, strongest seedling of each mound, and remove the rest to prevent overcrowding.
- Provide support (optional): If you prefer, you can provide support for the vines by using trellises, stakes, or fences. This helps keep the plants upright and minimizes the risk of damage to the developing fruits.
Butternut squash seeds typically germinate within 7-10 days, but it may take longer depending on the temperature and soil conditions. Keep the soil consistently moist throughout the germination period.
Once the seedlings reach a height of 3-4 inches, it’s time to start thinking about the next step: caring for your growing butternut squash plants. Move on to Step 4 to learn more about the watering and care requirements for a successful harvest.
Plant butternut squash seeds in well-draining soil, 1 inch deep and 3 feet apart. Water regularly and provide plenty of sunlight for healthy growth.
Step 4: Watering and Care
Proper watering and care are essential for the healthy growth and development of butternut squash plants. Follow these guidelines to ensure your plants receive the right amount of water and care:
- Watering: Butternut squash plants require consistent moisture but dislike soggy conditions. Water the plants deeply, providing approximately 1-2 inches of water per week. Avoid overhead watering, as it can increase the risk of fungal diseases. Instead, use a soaker hose or water at the base of the plants to keep the foliage dry.
- Mulching: Apply a layer of organic mulch, such as straw or compost, around the base of the plants. Mulching helps retain soil moisture, prevents weed growth, and regulates soil temperature.
- Fertilizing: Butternut squash plants benefit from regular fertilization. Use a balanced organic fertilizer, following the manufacturer’s instructions for application rates. Apply the fertilizer when the plants start to develop vines and again when the fruit sets.
- Pruning: While pruning is not necessary for butternut squash plants, you can trim off any yellowing or damaged leaves to improve air circulation and reduce the risk of diseases.
- Pest control: Keep an eye out for common pests like squash bugs, aphids, and cucumber beetles. Check the undersides of leaves regularly and remove any pests manually. Consider using organic pest control methods, like neem oil or insecticidal soap, if necessary.
- Disease management: Monitor your plants for signs of disease, such as powdery mildew or downy mildew. Remove affected leaves promptly and consider using appropriate fungicides or organic disease management strategies to prevent the spread of diseases.
- Support the vines: As the plants grow, gently guide the vines onto supports or trellises to prevent them from sprawling on the ground. Supporting the vines improves air circulation and reduces the risk of fruit rot.
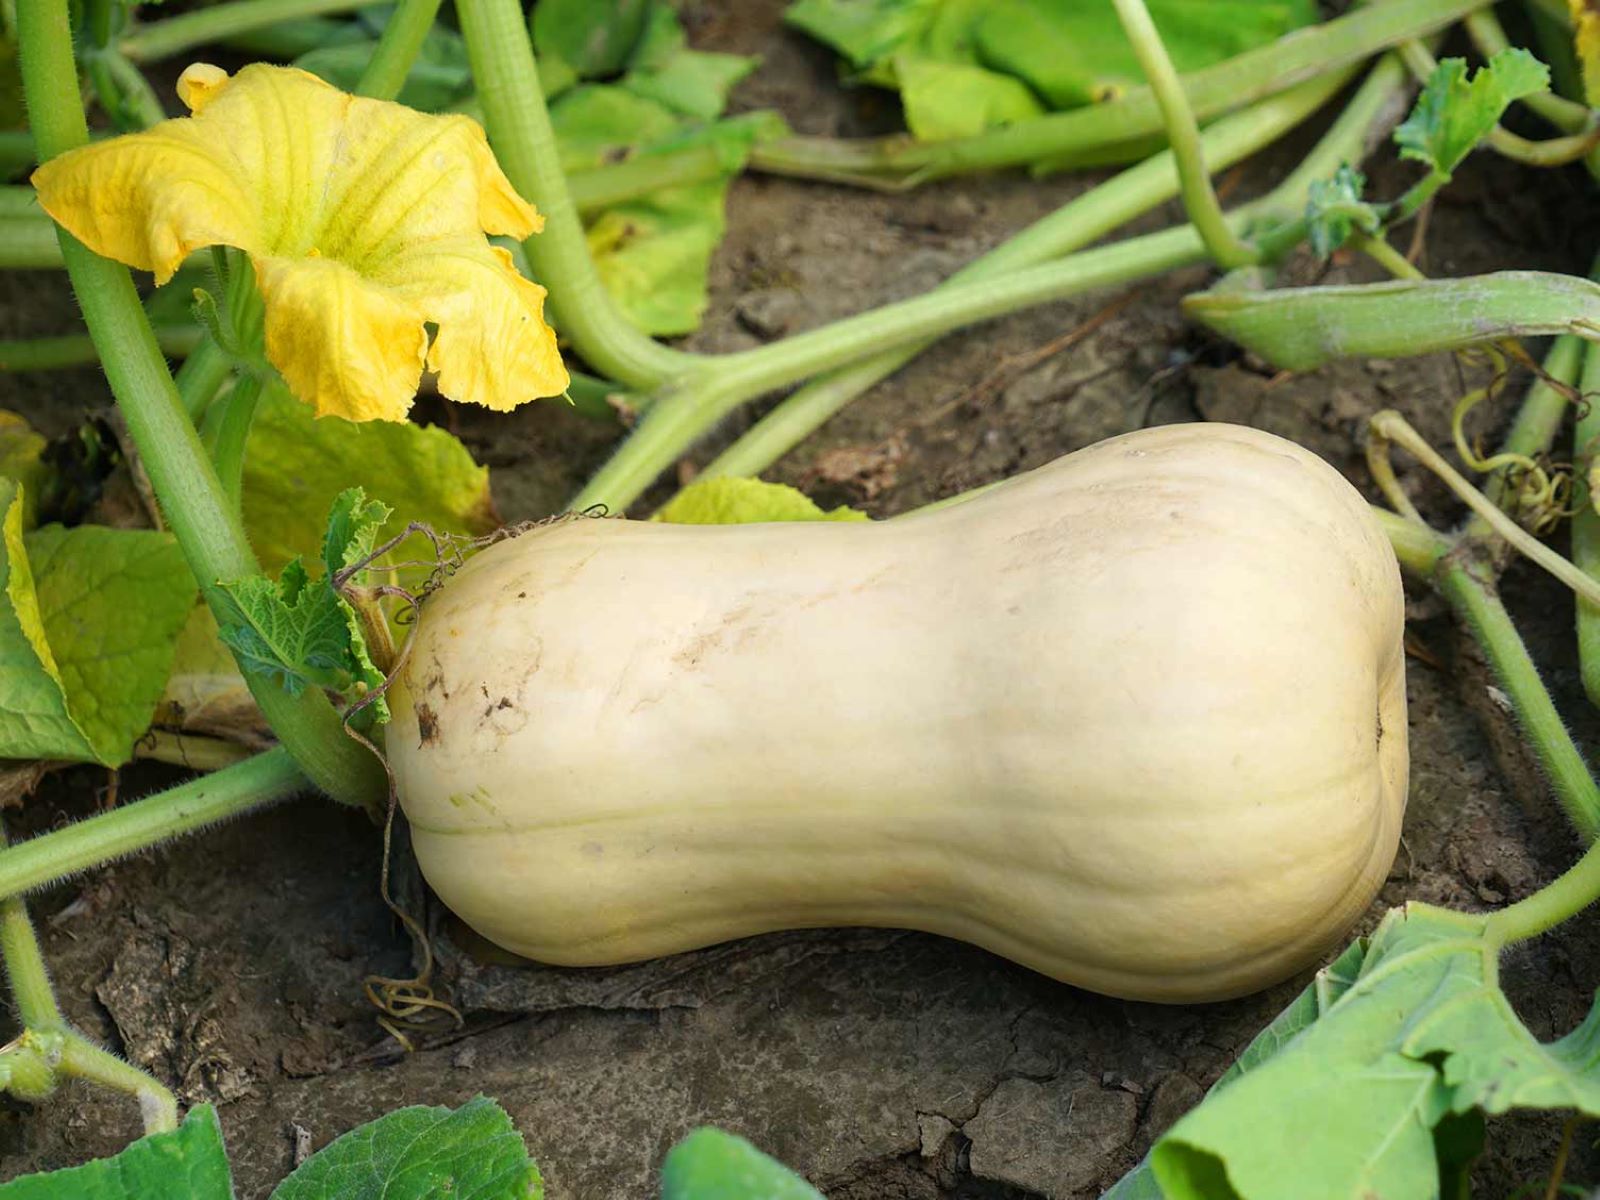
As the butternut squash plants grow, you’ll soon notice the arrival of beautiful yellow flowers. These flowers eventually develop into the delicious butternut squash fruits that we all love.
Continue providing regular care, ensuring adequate water, proper fertilization, and pest and disease management. With patience and attention, you’ll soon be rewarded with a bountiful harvest of tasty and nutritious butternut squash.
Step 5: Harvesting the Squash
After months of caring for your butternut squash plants, it’s time to reap the rewards by harvesting the delicious fruits. Follow these steps to know when and how to harvest your butternut squash:
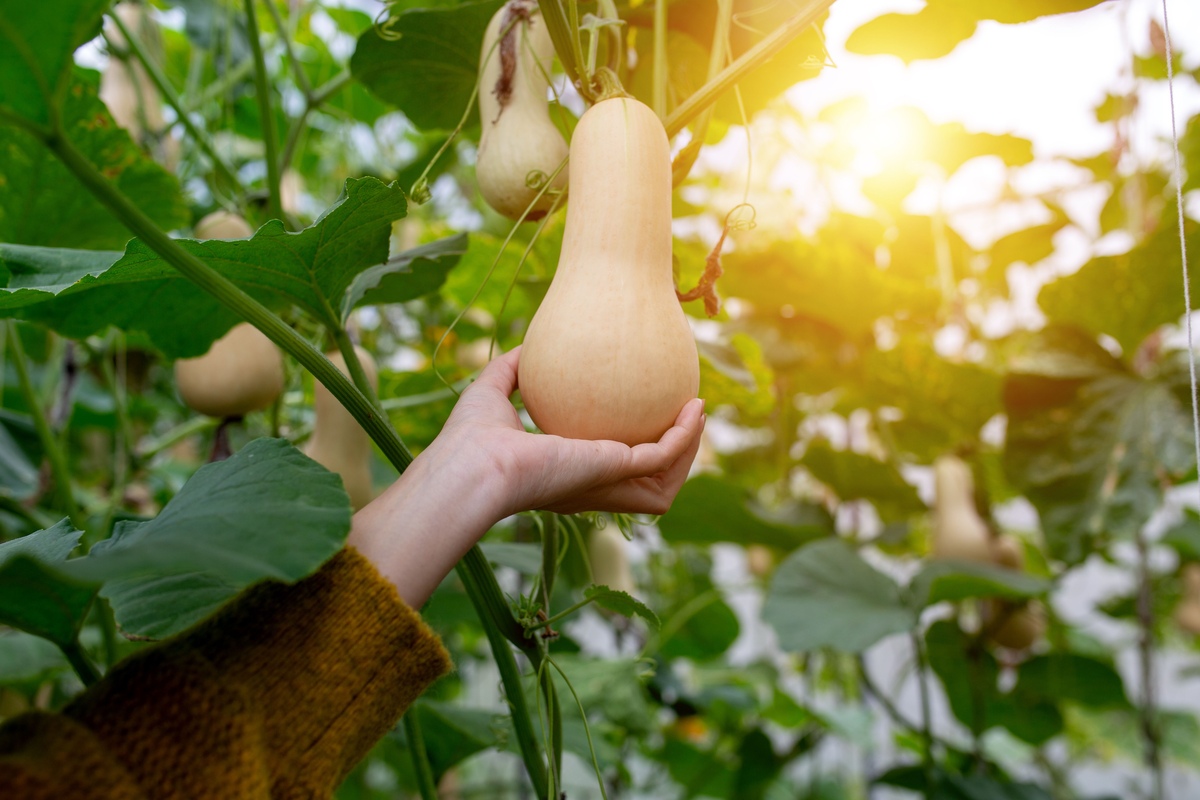
- Observe fruit maturity: Butternut squash takes approximately 80-100 days from planting to mature. The fruit is ready for harvest when the skin turns a deep tan or beige color and becomes hard enough to resist puncturing with your fingernail. The stem attached to the fruit should be dry and starting to crack.
- Use the “thumbnail test”: If you’re unsure whether a squash is ready for harvest, perform the “thumbnail test.” Gently press your thumbnail against the skin of the squash. If your thumbnail easily pierces the skin, the squash is not yet mature. If the skin remains firm and resists your thumbnail, it’s ready to be harvested.
- Harvest with care: Use a sharp knife or garden pruners to cut the squash from the vine, leaving a short stem attached to the fruit. Avoid pulling or twisting the squash, as this could damage the plant. Handle the harvested squash gently to avoid any bruising or cuts.
- Cure the squash: After harvest, allow the squash to cure for 1-2 weeks in a warm, well-ventilated area with temperatures around 80°F (27°C). This curing process helps toughen the skin, enhance flavor, and increase storage life.
- Storage and usage: Once cured, store your harvested butternut squash in a cool, dry place with temperatures between 50°F and 55°F (10°C to 13°C). Properly cured butternut squash can last for several months. Use the squash in a variety of recipes, from soups and stews to roasted vegetables and pasta dishes.
Remember, harvesting butternut squash at the right time is crucial for optimal flavor and texture. Harvest too early, and the squash will be underdeveloped and lack sweetness. Harvest too late, and the squash may become overripe, resulting in a softer texture and compromised taste.
Take your time when harvesting butternut squash and enjoy the satisfaction of a successful harvest from your garden. The sweet and nutty flavors of these versatile squash will surely elevate your culinary creations!
Conclusion
Congratulations! You’ve successfully learned how to plant and grow butternut squash from seeds. By following the steps outlined in this comprehensive guide, you’re well on your way to enjoying a bountiful harvest of delicious and nutritious butternut squash.
From preparing the soil to selecting high-quality seeds, planting the seeds, providing proper care, and finally harvesting the fruits, you’ve gained valuable insights and tips to ensure success in your gardening journey.
Butternut squash, with its vibrant orange color, sweet and nutty flavor, and abundance of essential nutrients, is a fantastic addition to any garden. It not only adds beauty and variety but also offers numerous culinary possibilities, from soups and stews to roasted vegetables and pasta dishes.
Remember to provide adequate water, regular fertilization, and vigilant pest and disease control to keep your butternut squash plants thriving. Additionally, proper harvesting and curing techniques will enhance the flavor and storage life of your harvested squash.
Gardening is a continuous learning process, and each season brings new challenges and opportunities. Embrace the joy of tending to your garden, and don’t be afraid to experiment and try different techniques to further improve your gardening skills.
So, go ahead and get your hands dirty, plant those butternut squash seeds, and enjoy the rewards of your efforts. Happy gardening and happy cooking!
Frequently Asked Questions about How To Plant Butternut Squash Seeds
Was this page helpful?
At Storables.com, we guarantee accurate and reliable information. Our content, validated by Expert Board Contributors, is crafted following stringent Editorial Policies. We're committed to providing you with well-researched, expert-backed insights for all your informational needs.






0 thoughts on “How To Plant Butternut Squash Seeds”