Articles
How To Store Calla Lily Bulbs
Modified: May 6, 2024
Discover the best way to store your calla lily bulbs with our helpful articles. Ensure your bulbs stay healthy and ready for planting next season.
(Many of the links in this article redirect to a specific reviewed product. Your purchase of these products through affiliate links helps to generate commission for Storables.com, at no extra cost. Learn more)
Introduction
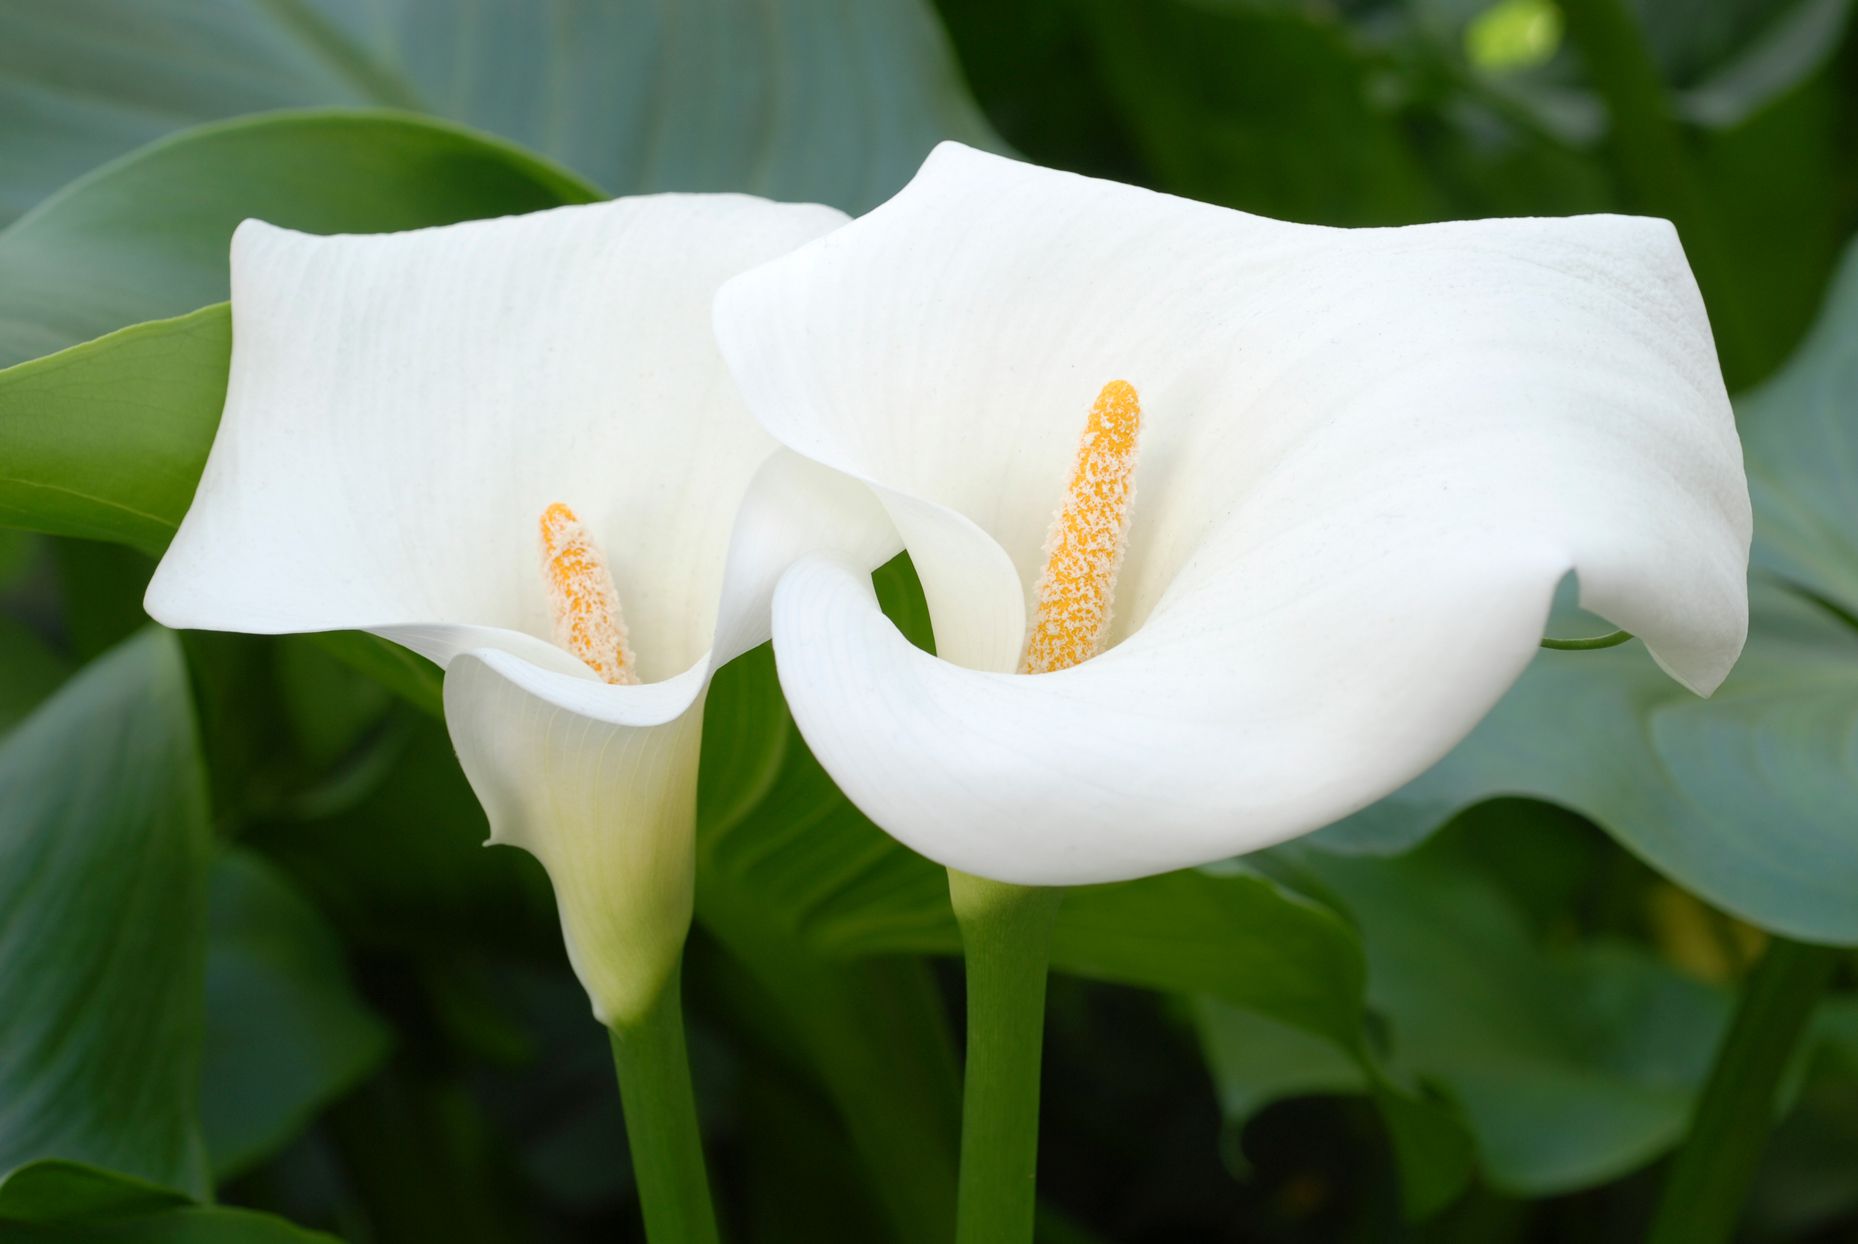
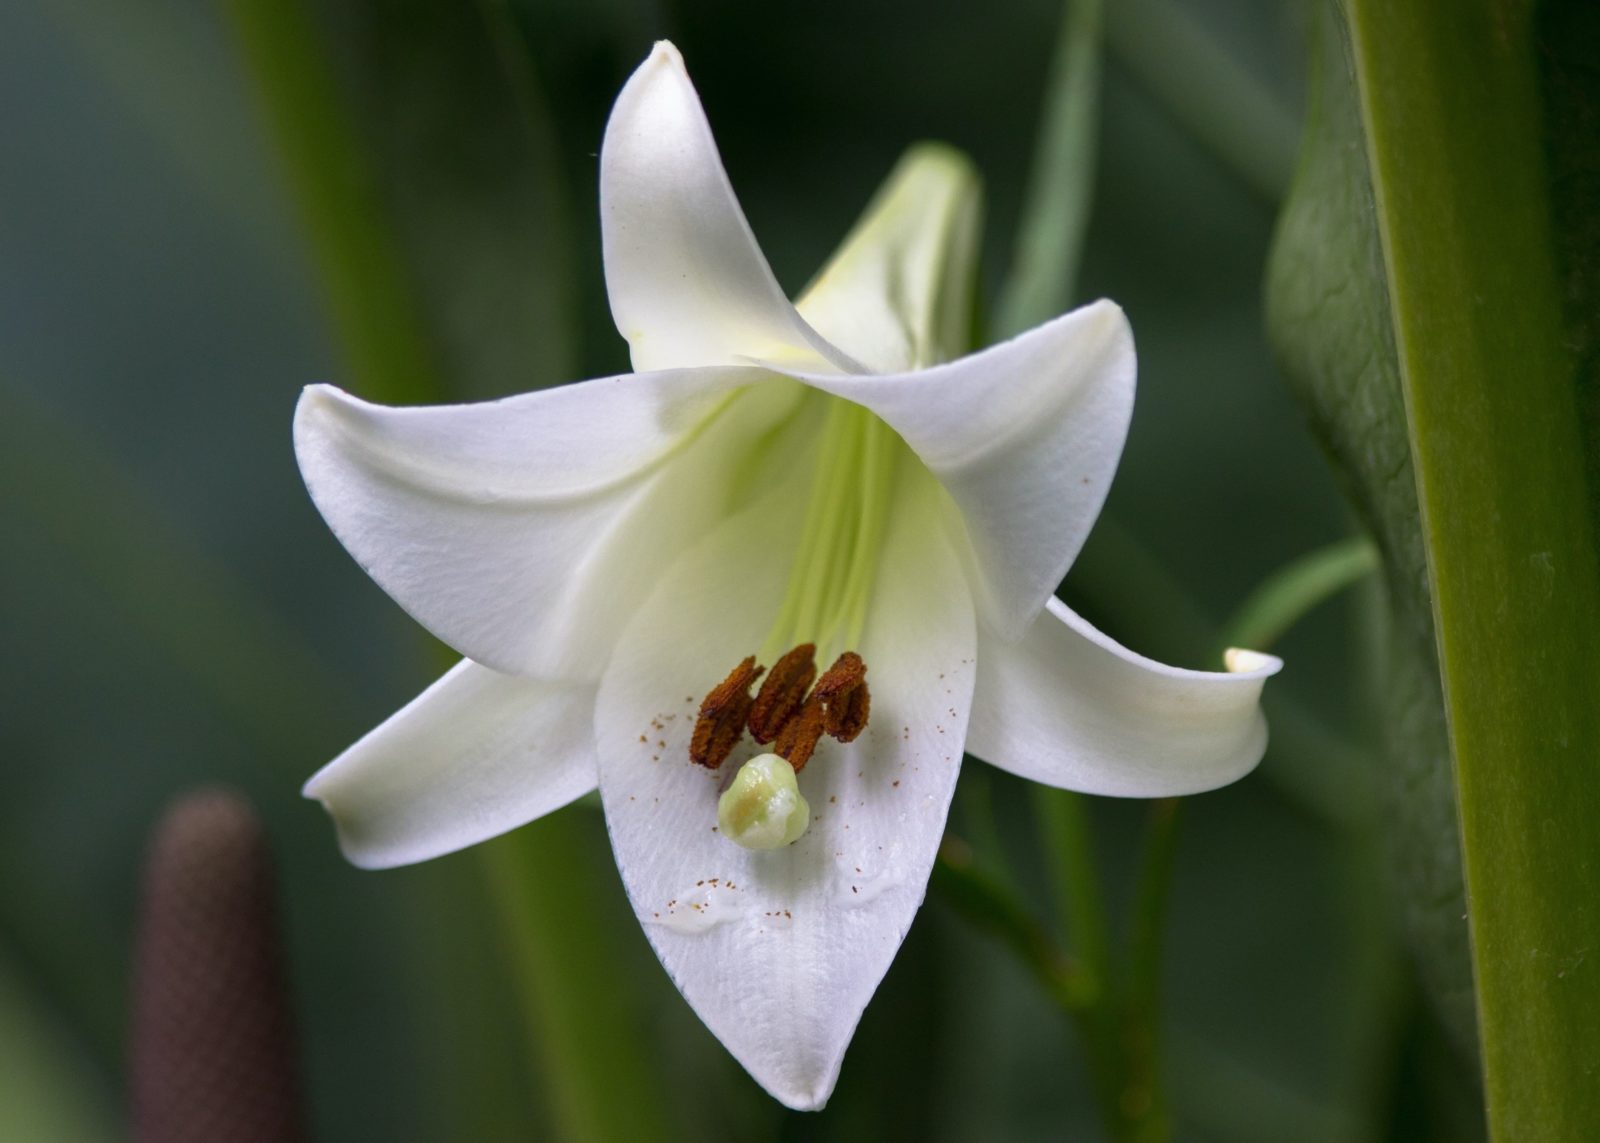
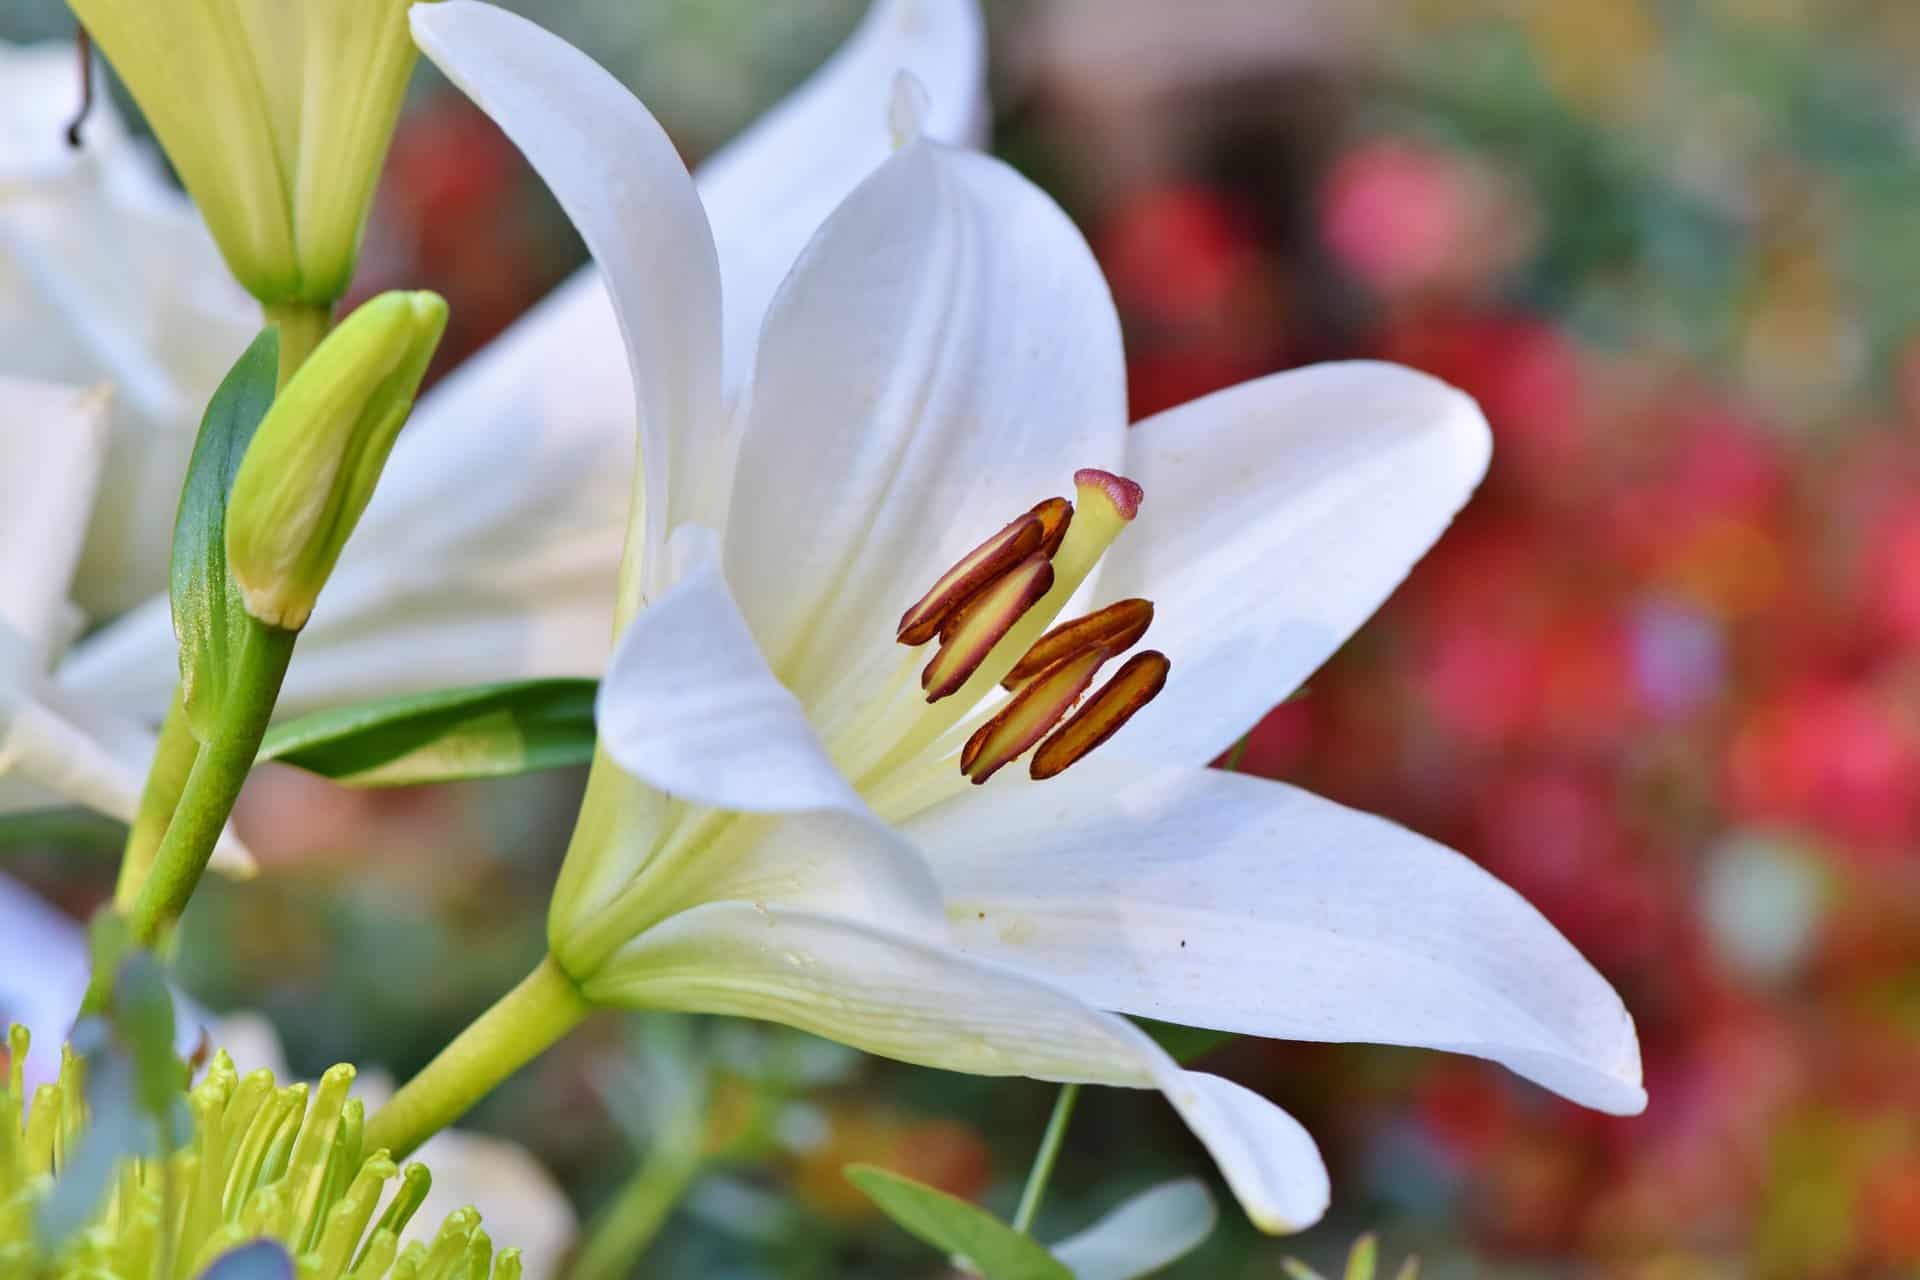
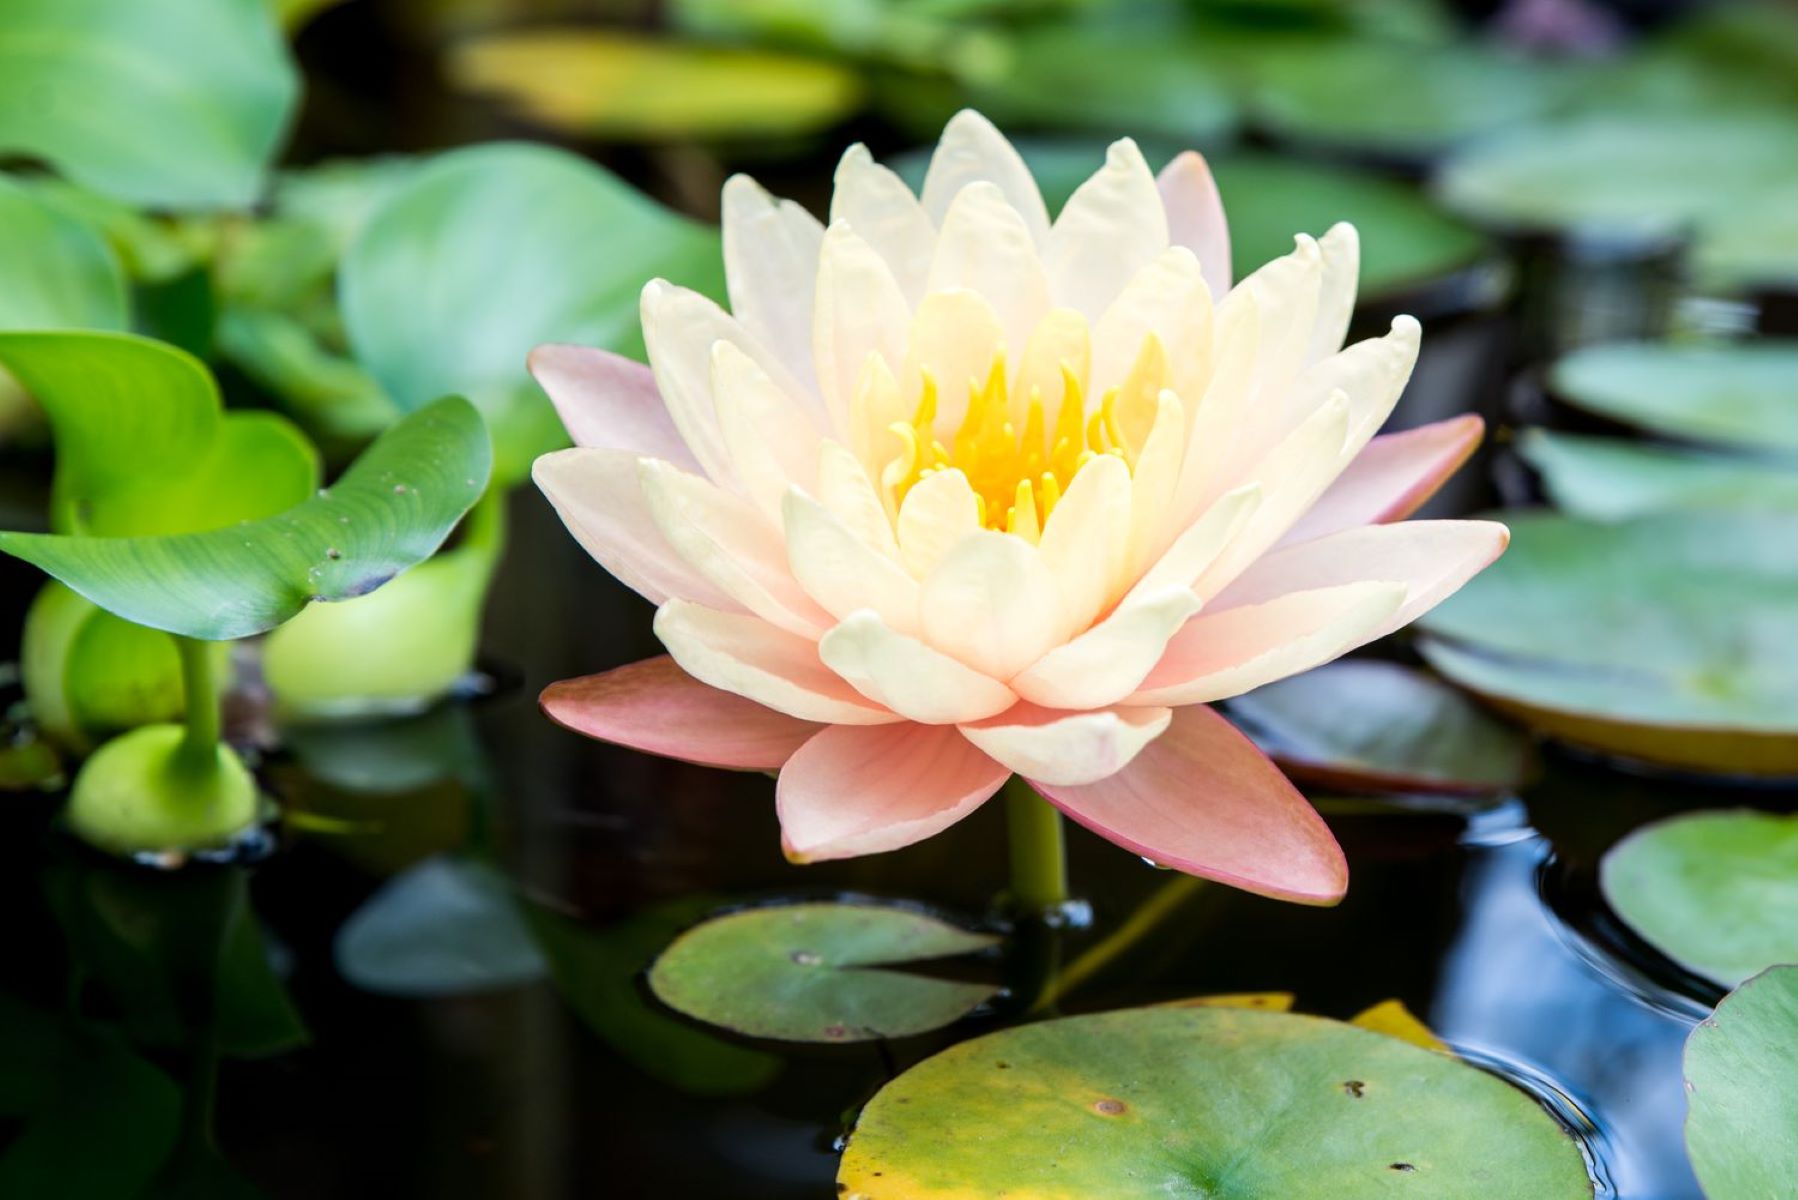
Calla lilies are stunning and elegant flowers that many gardeners adore. Their unique trumpet-shaped blooms and vibrant colors make them a popular choice for adding beauty to gardens, landscapes, and floral arrangements. If you’re lucky enough to have calla lilies in your garden, you may want to preserve and store their bulbs for future use.
Storing calla lily bulbs is essential for protecting them during cold winter months, when the plants go dormant. Proper storage techniques ensure the bulbs remain healthy and viable, ready to be replanted in the spring for another season of blooming.
In this article, we will guide you through the process of storing calla lily bulbs. We’ll explain how to harvest the bulbs correctly, clean and prepare them for storage, and suggest the best storage options. We’ll also cover key steps for monitoring and caring for the bulbs during their dormant period, so they stay in optimal condition until it’s time to plant them again.
Whether you’re an experienced gardener looking to expand your collection of calla lilies or a novice with a newfound love for these exquisite flowers, this guide will provide you with the knowledge you need to successfully store calla lily bulbs and enjoy their beauty year after year.
Key Takeaways:
- Preserve calla lily bulbs by harvesting, cleaning, and storing them properly. Choose the right storage location and method, and monitor the bulbs for optimal health during their dormant period.
- Replant stored calla lily bulbs to enjoy their stunning blooms year after year. Follow proper planting and care techniques to maintain a beautiful collection of these elegant flowers.
Read more: How To Store Calla Lily Seeds
Understanding Calla Lily Bulbs
Before diving into the process of storing calla lily bulbs, it’s essential to have a basic understanding of these plant structures. Calla lily bulbs are actually modified underground stems known as rhizomes. They store nutrients and energy that the plant needs to survive and produce flowers.
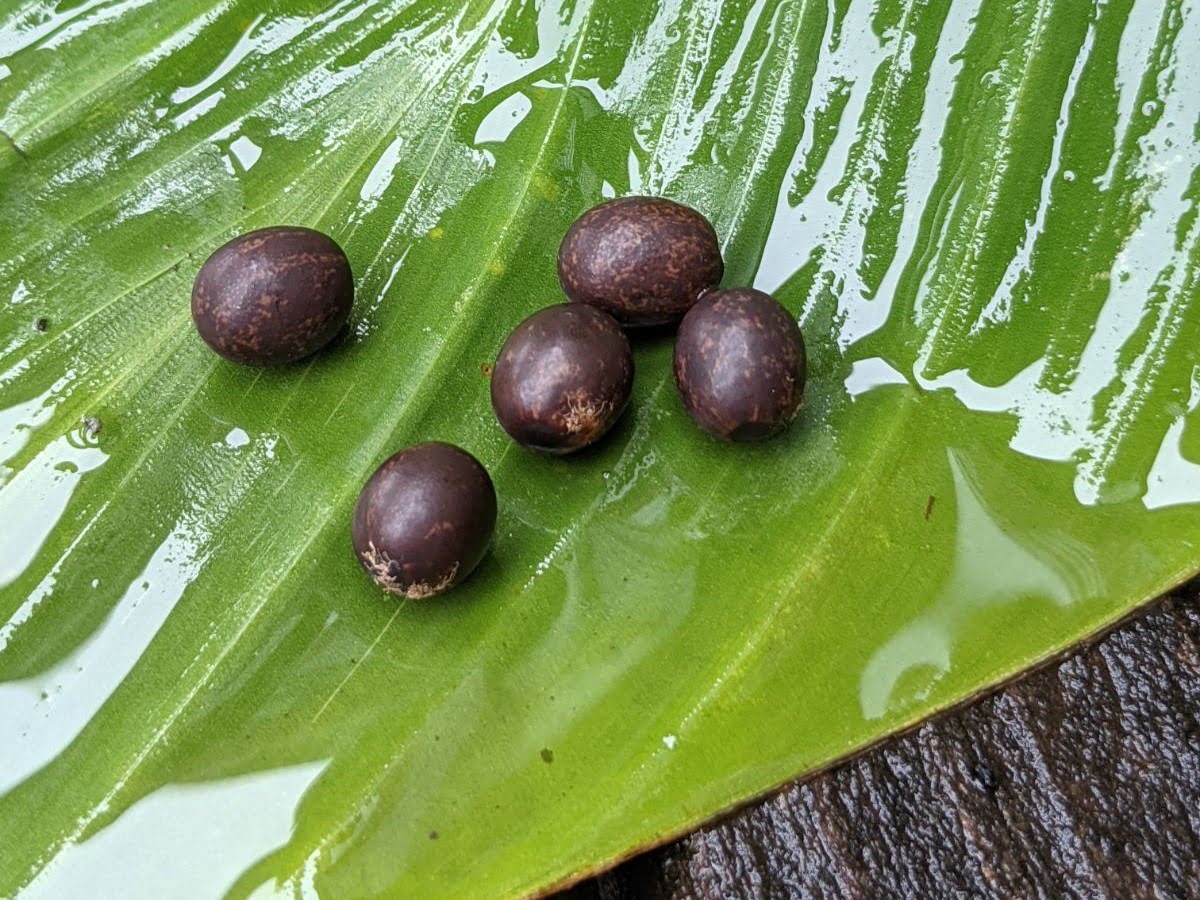
Calla lily bulbs are made up of a main rhizome from which smaller rhizomes, known as offsets or corms, develop. These offsets are the future bulbs that will grow into mature plants. The size and health of these offsets play a crucial role in the plant’s overall vitality and flowering performance.
It’s important to note that not all calla lily bulbs are the same. There are different varieties of calla lilies, each with its own characteristics and specific storage requirements. These include common calla lilies (Zantedeschia aethiopica), miniature calla lilies (Zantedeschia spp.), and colored calla lilies (Zantedeschia hybrids).
When storing calla lily bulbs, it’s essential to know which variety you are dealing with, as their storage requirements may vary. While the basic principles of storing calla lily bulbs apply to all varieties, understanding the specific needs of your chosen variety will help maximize their chances of survival and future growth.
Additionally, it’s worth noting that calla lilies are not frost-hardy plants. They are native to warmer climates and are grown as summer bulbs in areas with colder winters. This means that in regions with freezing temperatures, calla lilies need to be dug up and stored indoors during the winter to protect them from cold damage.
Now that you have a better understanding of calla lily bulbs and their various varieties, it’s time to move on to the next step: harvesting the bulbs.
Harvesting Calla Lily Bulbs
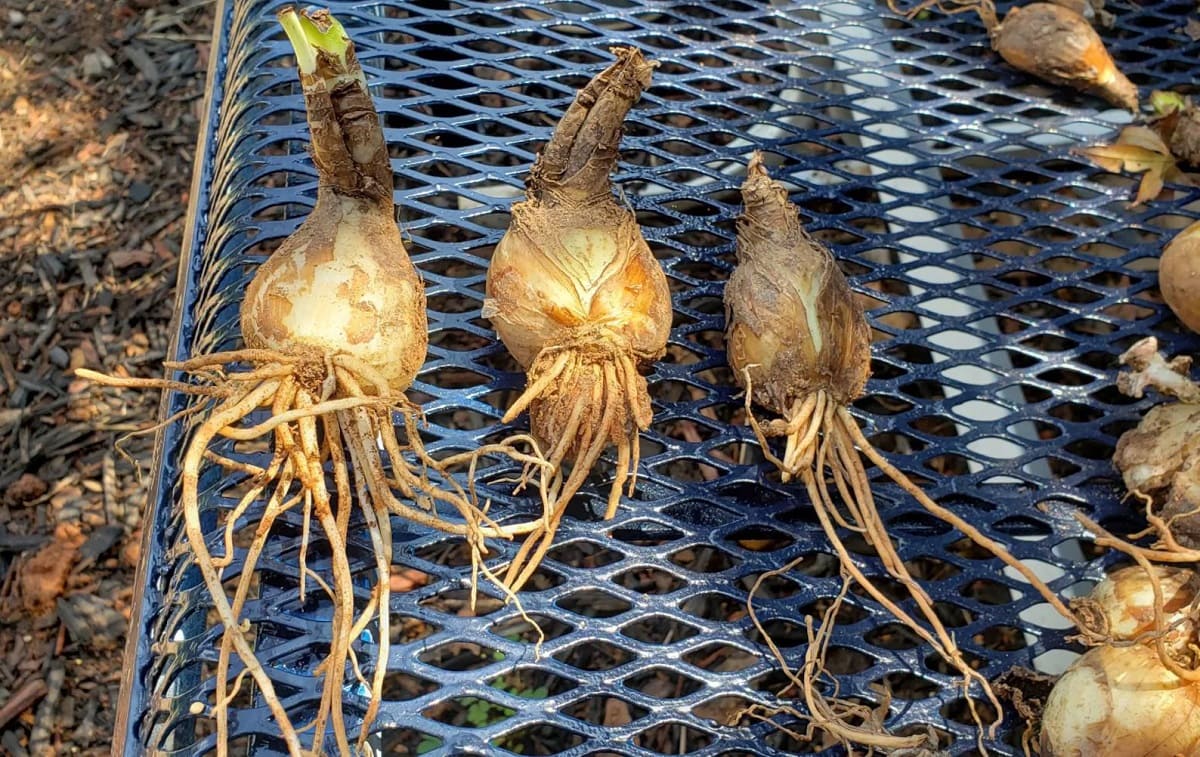
Harvesting calla lily bulbs is a crucial step in the process of storing them. It involves carefully digging up the bulbs from the ground, ensuring their roots and offsets remain intact. Proper harvesting techniques help minimize damage to the bulbs and increase their chances of survival during the storage period.
Here’s a step-by-step guide to harvesting calla lily bulbs:
- Wait until the foliage of the calla lilies starts to turn yellow and wither. This is a sign that the plants have entered their dormant phase and are ready to be harvested.
- Using a garden fork or shovel, gently loosen the soil around the calla lily plants. Be cautious not to damage the bulbs as you dig.
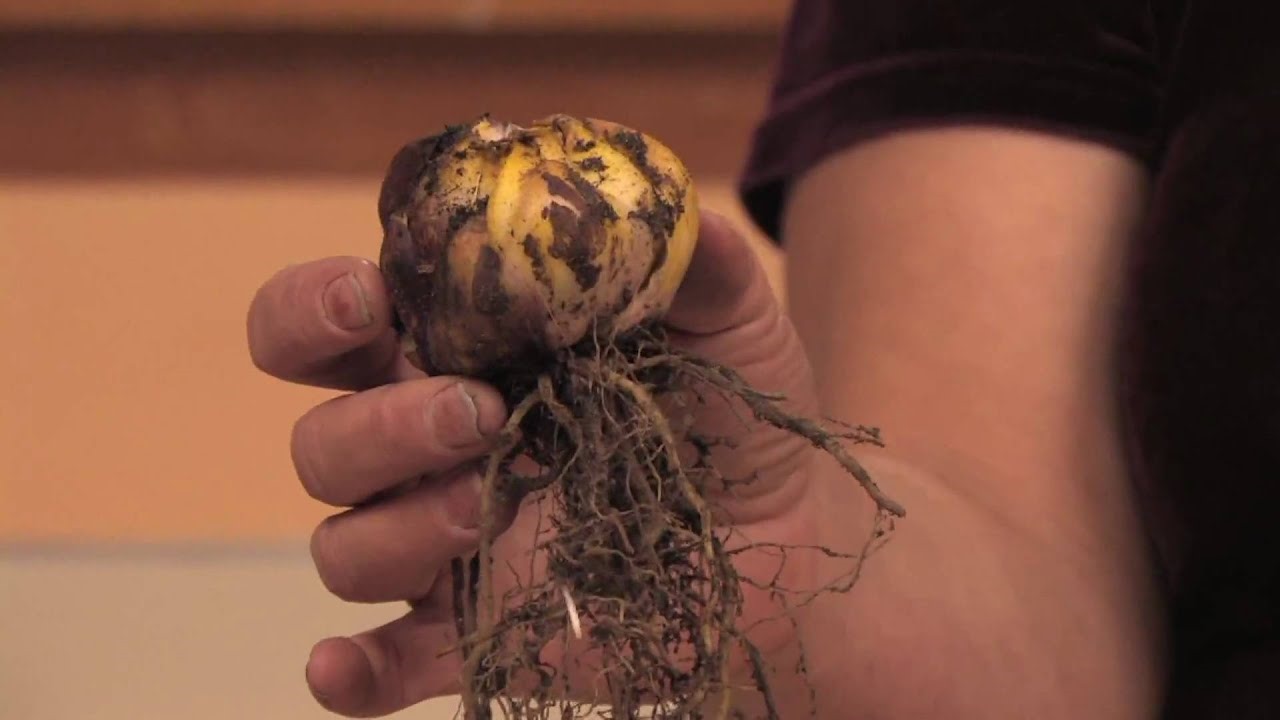
- Lift the plants out of the ground, making sure to keep the bulbs and their roots intact. You can gently shake off excess soil, but avoid removing too much, as it can contribute to bulb dehydration during storage.
- Inspect the bulbs for any signs of damage, rot, or disease. Discard any bulbs that appear unhealthy or mushy, as they could spread infections to the stored bulbs.
- Separate the offsets or corms from the main rhizome, if any are present. These smaller bulbs will serve as future plants, so it’s important to handle them carefully.
- Trim the foliage of the harvested bulbs, leaving only about an inch of stalk attached. This helps prevent moisture loss and reduces the risk of rotting during storage.
Once you have harvested the calla lily bulbs, it’s time to move on to the next step: cleaning and preparing them for storage.
Cleaning and Preparing Calla Lily Bulbs for Storage
After harvesting calla lily bulbs, it’s crucial to properly clean and prepare them for storage. This process helps remove any dirt, pests, or disease pathogens that may be clinging to the bulbs, reducing the risk of storage-related issues and ensuring their overall health.
Follow these steps to clean and prepare calla lily bulbs for storage:
- Gently remove any excess soil clinging to the bulbs. You can use your hands or a soft brush to carefully brush off the dirt. Avoid using excessive force, as it may damage the bulbs.
- Inspect the bulbs closely for signs of pests or disease. If you spot anything suspicious, such as aphids or fungal spots, you can wash the bulbs using a mild solution of water and dish soap. Dip the bulbs briefly into the solution, then rinse them thoroughly with clean water.
- Allow the bulbs to air dry completely. Place them in a well-ventilated area, away from direct sunlight or heat sources. This drying period helps prevent moisture buildup, which can lead to rot during storage.
- Once the bulbs are dry, dust them lightly with a fungicide or bulb dust. This helps protect them against fungal infections during the storage period. Be sure to follow the instructions on the product label for proper application.
It’s important to note that different types of calla lilies may have specific cleaning and preparation requirements. Some varieties may require a longer drying period or the removal of dead foliage before storage. Consult reliable gardening resources or experts for information specific to your calla lily variety.
Now that your calla lily bulbs are cleaned and prepared, it’s time to consider the best storage location for them.
Choosing the Right Storage Location
Choosing the right storage location is crucial for maintaining the health and vitality of your calla lily bulbs. The storage area should provide the optimal conditions for the bulbs to remain dormant and free from moisture, extreme temperatures, and pests. Here are some factors to consider when selecting a storage location:
- Temperature: Calla lily bulbs require cool temperatures during their storage period. Aim for a temperature range between 45°F (7°C) and 55°F (13°C). Avoid areas that are subject to extreme temperature fluctuations or freezing temperatures.
- Humidity: The storage area should have low humidity levels. Excessive moisture can cause bulb rot and fungal growth. Consider using a dehumidifier or placing moisture-absorbing materials in the storage space.
- Light: Calla lily bulbs need to be stored in a dark location. Exposure to light can trigger premature growth and weaken the bulbs. Opt for a storage area that is shielded from any sources of light.
- Ventilation: Proper air circulation is important to prevent the build-up of stale air and moisture around the bulbs. Choose a storage area that has good ventilation or make sure to create vents or openings to maintain airflow.
- Pests: Keep the storage area free from pests such as mice, rats, and insects. These critters can damage the bulbs or spread diseases. Consider using pest control measures or placing the bulbs in sealed containers to keep pests out.
Common storage options for calla lily bulbs include basements, garages, root cellars, or insulated sheds. If you live in an area with mild winters, you may also choose to store the bulbs in the ground. Whichever location you select, ensure it meets the essential criteria mentioned above.
Now that you’ve chosen the ideal storage location, let’s explore two popular methods for storing calla lily bulbs: in containers and in the ground.
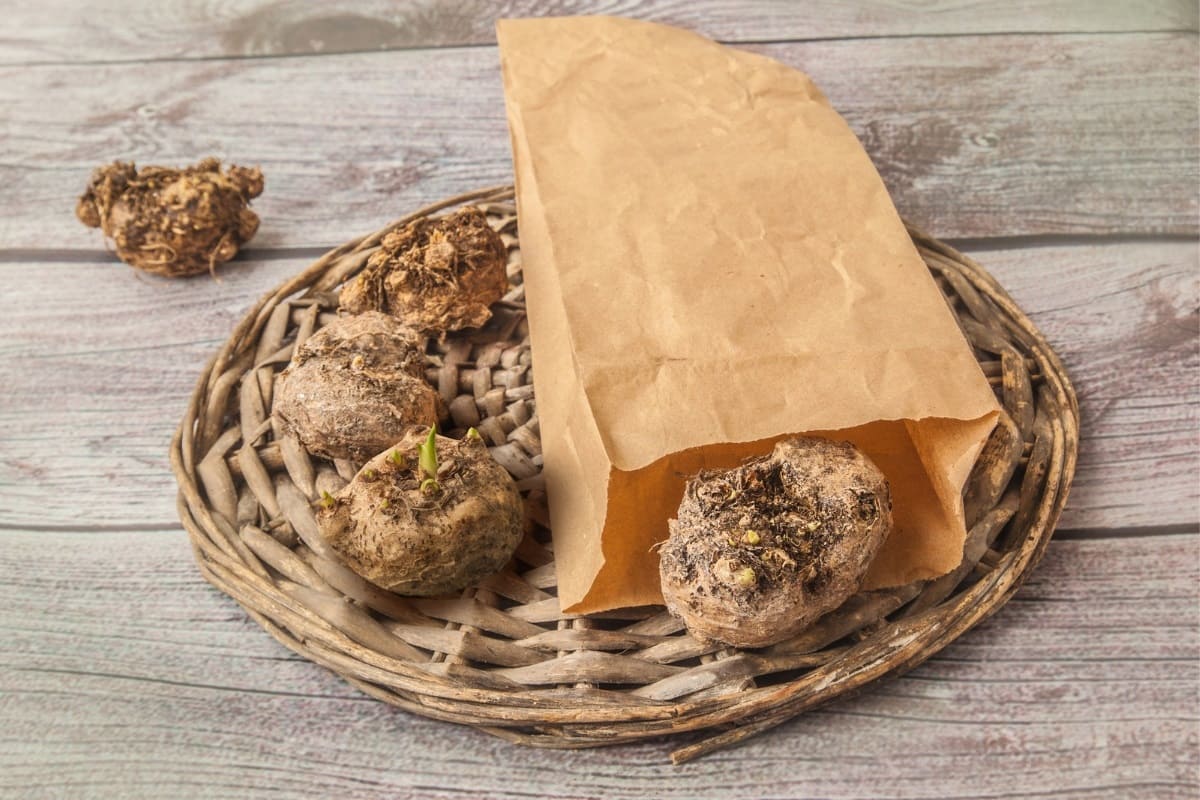
After the calla lily bulbs have been dug up, allow them to dry for a few days. Once dry, store them in a cool, dark, and well-ventilated place to prevent rotting. A paper bag or mesh bag works well for storage.
Read more: How To Grow Calla Lily Seeds
Storing Calla Lily Bulbs in Containers
Storing calla lily bulbs in containers is a convenient option, particularly if you don’t have access to a suitable garden bed or prefer to keep the bulbs indoors. Here’s a step-by-step guide to storing calla lily bulbs in containers:
- Choose containers that are spacious enough to hold the bulbs without crowding. Plastic or clay pots with drainage holes work well for this purpose.
- Fill each container with a well-draining potting mix. Avoid using garden soil, as it can become compacted and retain too much moisture.
- Place the calla lily bulbs in the containers, making sure to position them with the pointed ends facing upwards. Leave some space between the bulbs to allow for air circulation.
- Cover the bulbs with additional potting mix, ensuring they are fully covered but not buried too deeply. The top of the bulb should be just below the soil surface.
- Water the containers thoroughly, allowing the excess water to drain out. It’s important to keep the soil slightly moist during the storage period, but avoid overwatering, as this can cause bulb rot.
- Label the containers to help you identify the calla lily variety or any other important information.
- Place the containers in the chosen storage location, following the temperature, humidity, light, and ventilation guidelines mentioned earlier.
- Monitor the moisture level regularly and water the bulbs as needed to maintain a slightly moist but not overly wet environment. Also, keep an eye out for any signs of pests or diseases and take necessary actions to address them.
Storing calla lily bulbs in containers allows for easy monitoring and care throughout the dormant period. You can easily check the moisture level, inspect the bulbs, and make adjustments as required. Additionally, storing the bulbs in containers gives you the flexibility to move them to a more suitable location if necessary.
Now that you know how to store calla lily bulbs in containers, let’s explore the alternative method of storing them in the ground.
Storing Calla Lily Bulbs in the Ground
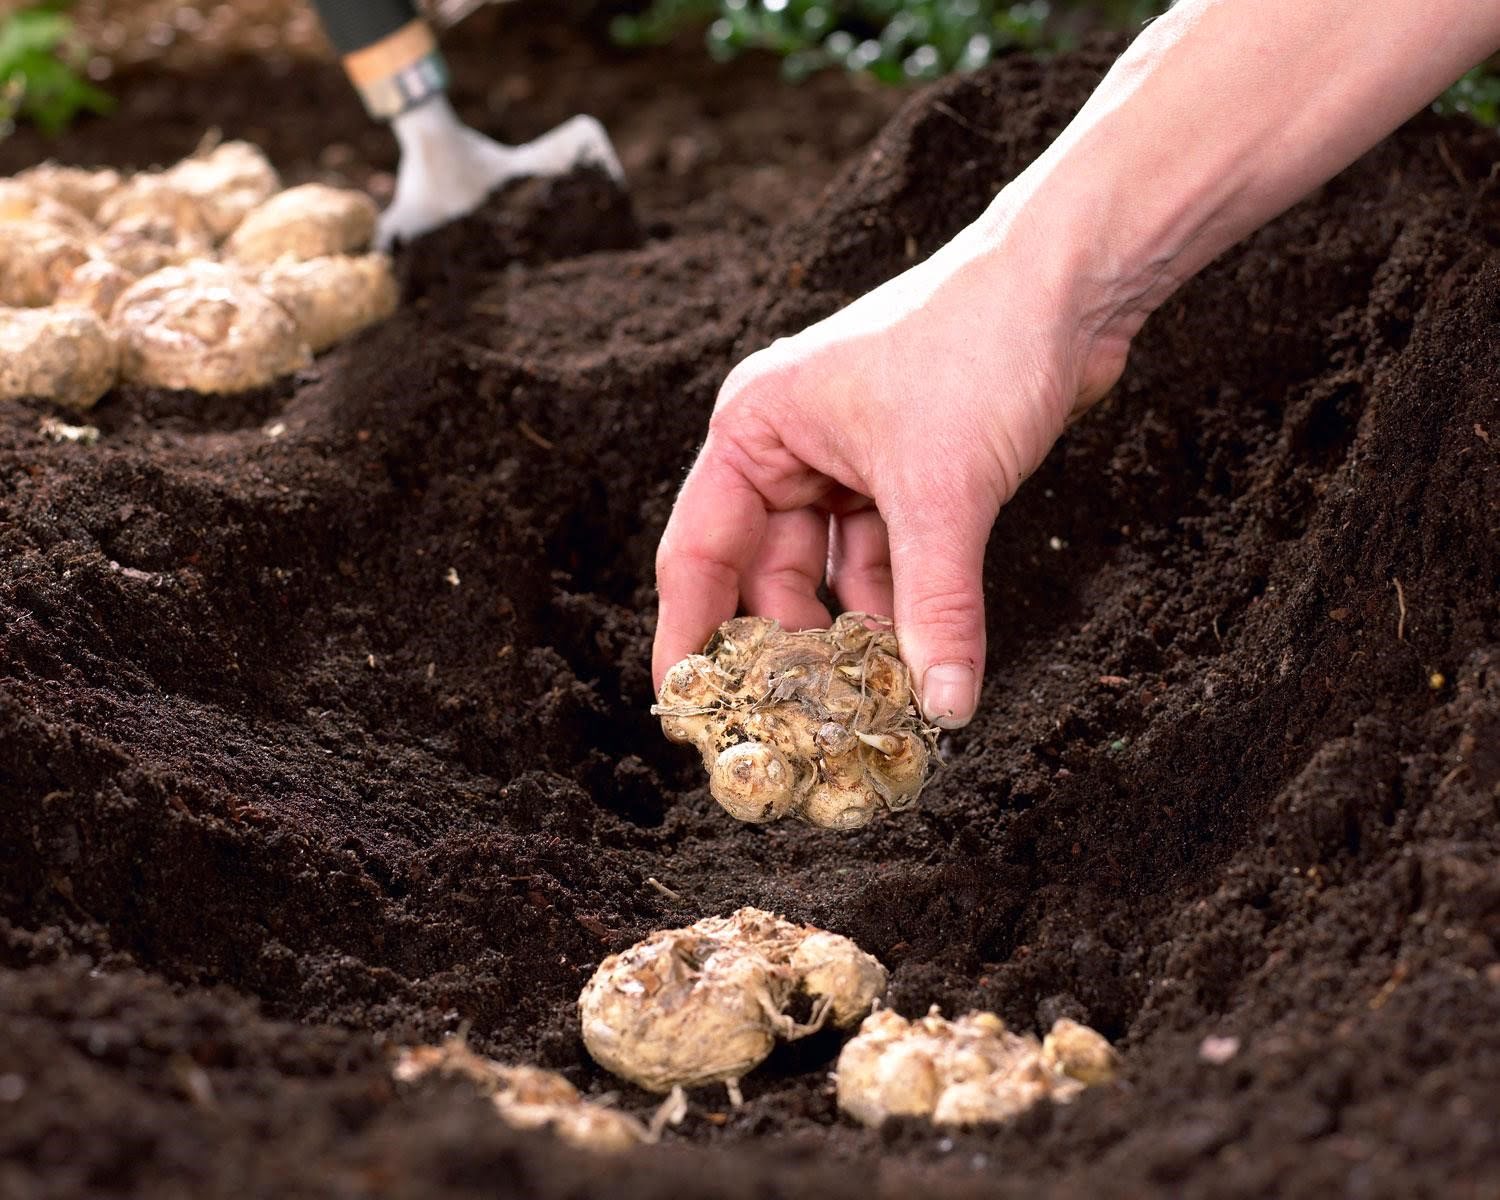
If you live in a region with mild winters and well-draining soil, storing calla lily bulbs in the ground can be a viable option. This method allows the bulbs to experience natural temperature fluctuations while providing them with the protection they need. Follow these steps to store calla lily bulbs in the ground:
- Choose a well-draining garden bed or area in your yard that receives adequate sunlight.
- Dig a hole that is deep enough to accommodate the bulbs and their roots. The hole should be at least 6-8 inches deep, depending on the size of the bulbs.
- Place the calla lily bulbs in the hole, positioning them with the pointed ends facing upwards. If you have multiple bulbs, space them out evenly in the bed.
- Cover the bulbs with soil, ensuring they are well-covered but not buried too deeply. The top of the bulb should be just below the soil surface.
- Water the area thoroughly to settle the soil and provide initial moisture for the bulbs. Afterward, water the area regularly to keep the soil slightly moist throughout the storage period.
- Mulch the bed with a layer of organic mulch, such as straw or wood chips. Mulch helps insulate the bulbs and prevent them from drying out or experiencing extreme temperature fluctuations.
- Consider marking the location of the bulbs with stakes or garden markers to help you locate them easily when it’s time to replant in the spring.
- Monitor the stored bulbs periodically, checking the moisture level and ensuring they remain in good condition. Inspect the area for any signs of pests or diseases and take appropriate measures if needed.
Storing calla lily bulbs in the ground is a natural and low-maintenance method. The bulbs benefit from the protection of the surrounding soil and can experience the necessary chilling period required for their dormant stage. However, it’s important to ensure that your region’s climate and soil conditions are suitable for this storage method.
Whether you choose to store calla lily bulbs in containers or in the ground, the key is to provide them with a suitable storage location and monitor their condition regularly. With proper care, your stored calla lily bulbs will be ready to flourish again when the time comes to replant them and enjoy their beautiful blooms.
Monitoring and Caring for Stored Calla Lily Bulbs
Proper monitoring and care are essential to ensure the health and viability of stored calla lily bulbs during their dormant period. By regularly checking on the bulbs and providing the necessary care, you can increase their chances of survival and successful growth when it’s time to replant them. Here are some important steps to consider:
- Moisture: Monitor the moisture level of the storage medium, whether it’s soil in containers or the ground. Aim for slightly moist conditions, but be careful not to overwater, as it can lead to bulb rot. Adjust the watering frequency based on the moisture requirements of the specific calla lily variety and the storage environment.
- Temperature: Regularly check the temperature of the storage area and ensure it remains within the recommended range for calla lilies. Avoid extreme temperature fluctuations and freezing temperatures, as they can negatively impact the bulbs’ viability. Consider using a thermometer to monitor and maintain the desired temperature range.
- Pests and Diseases: Regularly inspect the stored bulbs for any signs of pests or diseases. Look for pests like aphids, mealybugs, or fungus gnats, as well as any indications of rot or fungal growth. If necessary, take appropriate measures to control pests and treat any diseases promptly. Consult gardening resources or experts for guidance on suitable pest control methods and disease treatments.
- Ventilation: Ensure proper air circulation in the storage area to prevent the build-up of stale air and potential mold or fungus growth. If storing calla lily bulbs indoors, periodically open windows or provide a fan for ventilation. If storing in a basement or other enclosed space, create vents or openings for air exchange.
- Labeling and Organization: Maintain clear labels or markers to identify the calla lily varieties and any additional information relevant to each stored bulb. This will help in replanting and tracking the bulbs’ progress. Consider keeping a record of the storage conditions and any observations for future reference.
Regular monitoring and care for stored calla lily bulbs demonstrate your commitment to their well-being even during their dormant period. By paying attention to their moisture, temperature, pests, and overall condition, you can address any issues promptly and ensure the bulbs remain healthy and ready for replanting.
Now that you know how to monitor and care for stored calla lily bulbs, let’s move on to the final step: replanting them to enjoy their beautiful blooms once again.
Replanting Stored Calla Lily Bulbs
After a period of dormancy, stored calla lily bulbs are ready to be replanted and brought back to life. Replanting these bulbs is an exciting task that allows you to enjoy their stunning blooms once again. Follow these steps to successfully replant your stored calla lily bulbs:
- Select the planting location: Choose a suitable planting location that provides well-draining soil and receives adequate sunlight. Calla lilies thrive in full sun to partial shade conditions.
- Prepare the soil: Loosen the soil in the planting area, removing any weeds or debris. Consider incorporating organic matter, such as compost or well-rotted manure, to improve the soil’s fertility and drainage.
- Dig the planting holes: Dig holes that are approximately 4-6 inches deep and spaced about 12-18 inches apart. These measurements may vary depending on the specific calla lily variety, so refer to the packaging or consult reliable resources for proper spacing guidelines.
- Plant the bulbs: Place each calla lily bulb in a planting hole, with the pointed end facing upwards. Space multiple bulbs adequately, ensuring they have room to grow and spread. Cover the bulbs with soil, gently firming it around them.
- Water thoroughly: After planting, water the area thoroughly to settle the soil and provide initial hydration to the newly planted bulbs.
- Mulch the area: Mulch the planting area with a layer of organic mulch, such as wood chips or straw. Mulch helps retain moisture, suppresses weeds, and provides insulation to the bulbs.
- Monitor and care for the plants: Keep an eye on the newly replanted bulbs and provide regular care. Water them when the soil feels dry, but avoid overwatering. Remove any weeds or spent flowers to promote healthy growth.
- Follow specific care guidelines: Different calla lily varieties may have specific care requirements, such as feeding with a balanced fertilizer or providing support for taller varieties. Refer to the specific care instructions for your chosen variety to ensure optimal growth and flowering.
With proper care and attention, your replanted calla lily bulbs should start growing and eventually bless your garden with their breathtaking blooms. As the growing season progresses, enjoy the beauty and elegance of your calla lilies, and don’t forget to share their splendor with friends and loved ones.
By following these steps, from harvesting and storing to replanting, you can maintain a beautiful collection of calla lilies year after year, adding a touch of elegance to your garden and bringing joy to your outdoor space.
Now that you've got tips on storing Calla Lily bulbs, why not spruce up your garden even further? If you're eyeing a fresh look or need some privacy, check out our collection of creative garden fence ideas. These designs not only boost curb appeal but also blend functionality with style, perfect for any gardening enthusiast looking to enhance their outdoor space.
Frequently Asked Questions about How To Store Calla Lily Bulbs
Was this page helpful?
At Storables.com, we guarantee accurate and reliable information. Our content, validated by Expert Board Contributors, is crafted following stringent Editorial Policies. We're committed to providing you with well-researched, expert-backed insights for all your informational needs.


0 thoughts on “How To Store Calla Lily Bulbs”