Home>Garden Essentials>How To Plant Lily Seeds
Garden Essentials
How To Plant Lily Seeds
Modified: March 15, 2024
Learn how to plant lily seeds in your garden and create a beautiful floral display. Expert tips and step-by-step instructions for successful gardening.
(Many of the links in this article redirect to a specific reviewed product. Your purchase of these products through affiliate links helps to generate commission for Storables.com, at no extra cost. Learn more)
Introduction
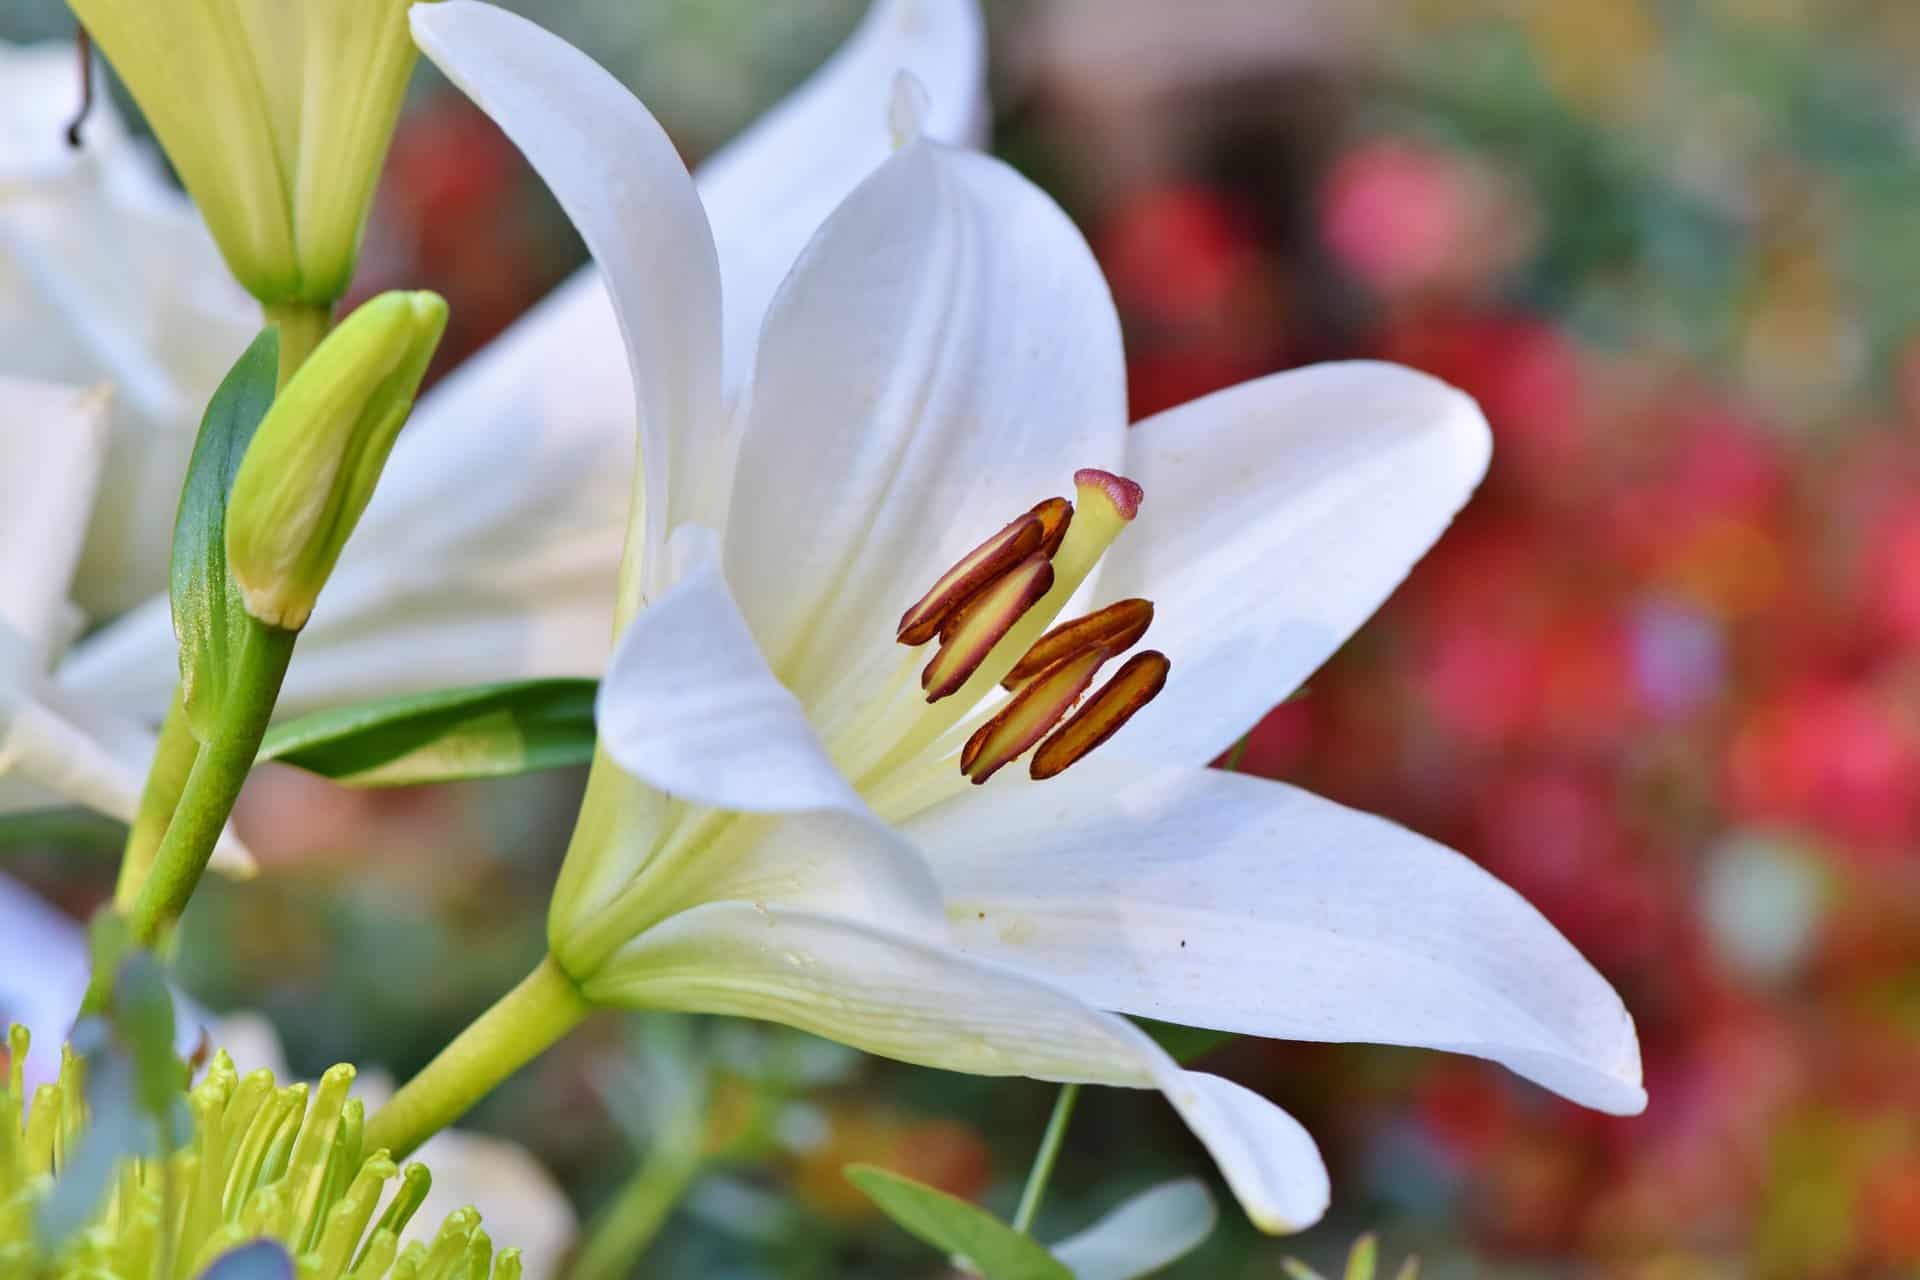
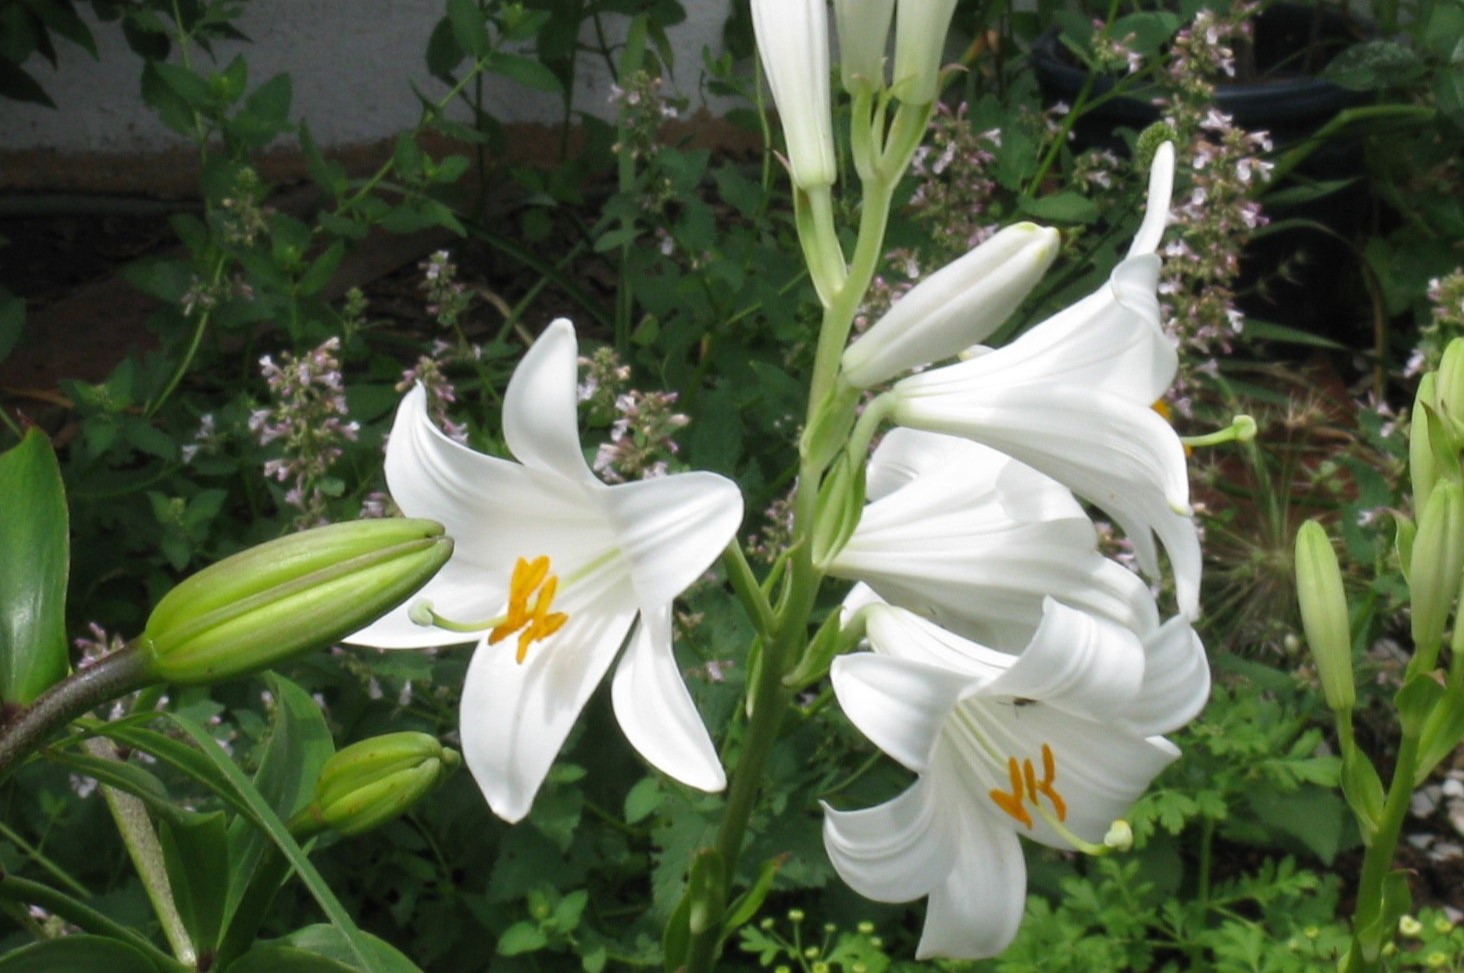
Welcome to the world of gardening where you can bring the beauty of nature right into your own backyard. One of the most captivating and elegant flowers you can grow is the lily. Known for their vibrant colors and intoxicating fragrance, lilies are a popular choice among garden enthusiasts. While you can easily purchase lily plants from your local nursery, why not try your hand at growing them from seeds?
In this article, we will guide you through the process of planting lily seeds and provide you with tips to ensure successful germination and growth. So, roll up your sleeves, grab your gardening tools, and get ready to embark on this rewarding journey.
Before we dive into the step-by-step instructions, let’s take a moment to understand the benefits of growing lilies from seeds. Firstly, it allows you to have a wider variety of lily cultivars to choose from. While nurseries may have a limited selection, seeds offer a vast range of possibilities, enabling you to grow unique and rare varieties. Additionally, growing lilies from seeds can be a more economical option compared to purchasing established plants. Plus, it’s a fulfilling experience to witness the entire lifecycle of a plant, from seed to blooming beauty.
But before we get our hands in the soil, let’s gather the necessary materials.
Key Takeaways:
- Growing lilies from seeds offers a wider variety of cultivars and a fulfilling experience. With proper care and attention, you can witness the entire lifecycle of these exquisite flowers, bringing vibrant colors and fragrances to your garden.
- To successfully plant lily seeds, gather necessary materials, prepare the planting area, and provide proper care. From watering to transplanting, follow the step-by-step process to nurture your lily seeds into beautiful blooming lilies.
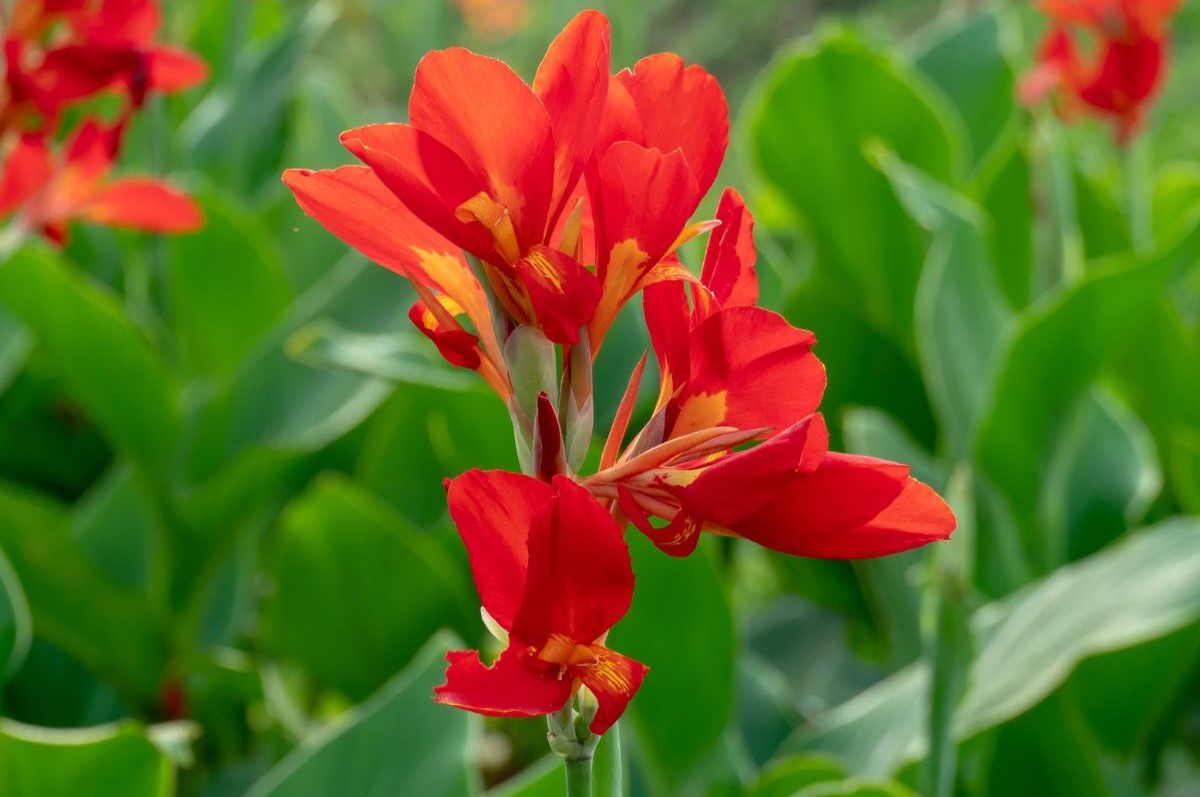
Read more: How To Plant Canna Lily Seeds
Step 1: Gathering the necessary materials
Before you can start planting lily seeds, it’s important to gather all the materials you’ll need. Here’s a list of items you should have on hand:
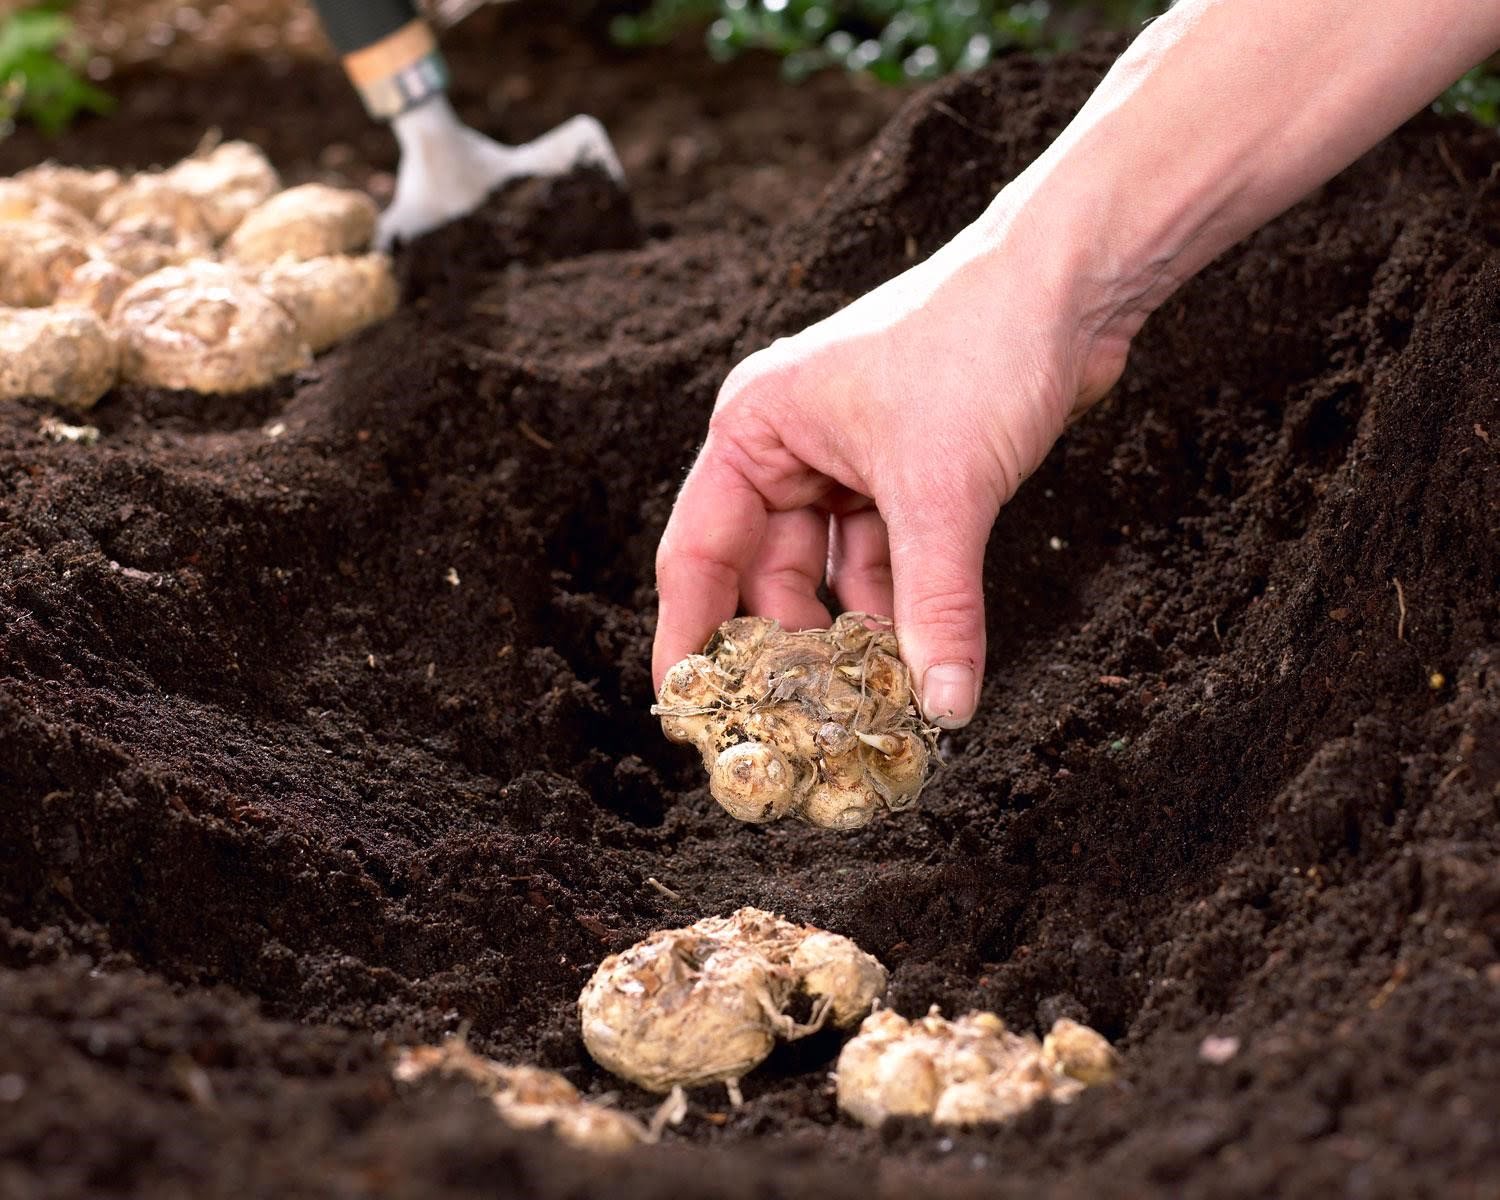
- Lily seeds: Visit a reputable seed supplier or source seeds from mature lily plants in your garden. Make sure the seeds are fresh and viable.
- Potting soil: Choose a high-quality potting mix that is well-draining and nutrient-rich. Avoid heavy soils that can lead to waterlogged conditions.
- Pots or seed trays: Select containers that have drainage holes at the bottom to prevent waterlogging. Alternatively, you can use seed trays with individual compartments.
- Clear plastic cover or plastic wrap: This will be used to create a greenhouse-like environment for the seeds to germinate.
- Watering can or sprayer: Opt for a gentle sprayer or watering can to provide a fine mist of water to the seeds.
- Plant labels: Use these to identify the different varieties of lilies you are planting.
Once you have gathered all the necessary materials, you’re ready to move on to the next step: preparing the planting area.
Step 2: Preparing the planting area
Preparing the planting area is crucial to ensure optimal growing conditions for your lily seeds. Follow these steps to create the perfect environment:
- Select a location: Choose a spot in your garden that receives ample sunlight. Lilies thrive in full sun but can also tolerate partial shade.
- Clear the area: Remove any weeds or debris from the chosen location. This will minimize competition for nutrients and space.
- Improve the soil: Enrich the soil with organic matter, such as compost or well-rotted manure. This will enhance the soil’s fertility and drainage capabilities.
- Loosen the soil: Use a garden fork or spade to loosen the soil to a depth of about 8-10 inches (20-25 cm). This will promote root penetration and allow for better water drainage.
- Level the area: Smooth out the soil surface, removing any large clumps or stones. A level planting area ensures even germination and growth.
Once you have prepared the planting area, it’s time to move on to the exciting part—planting the lily seeds!
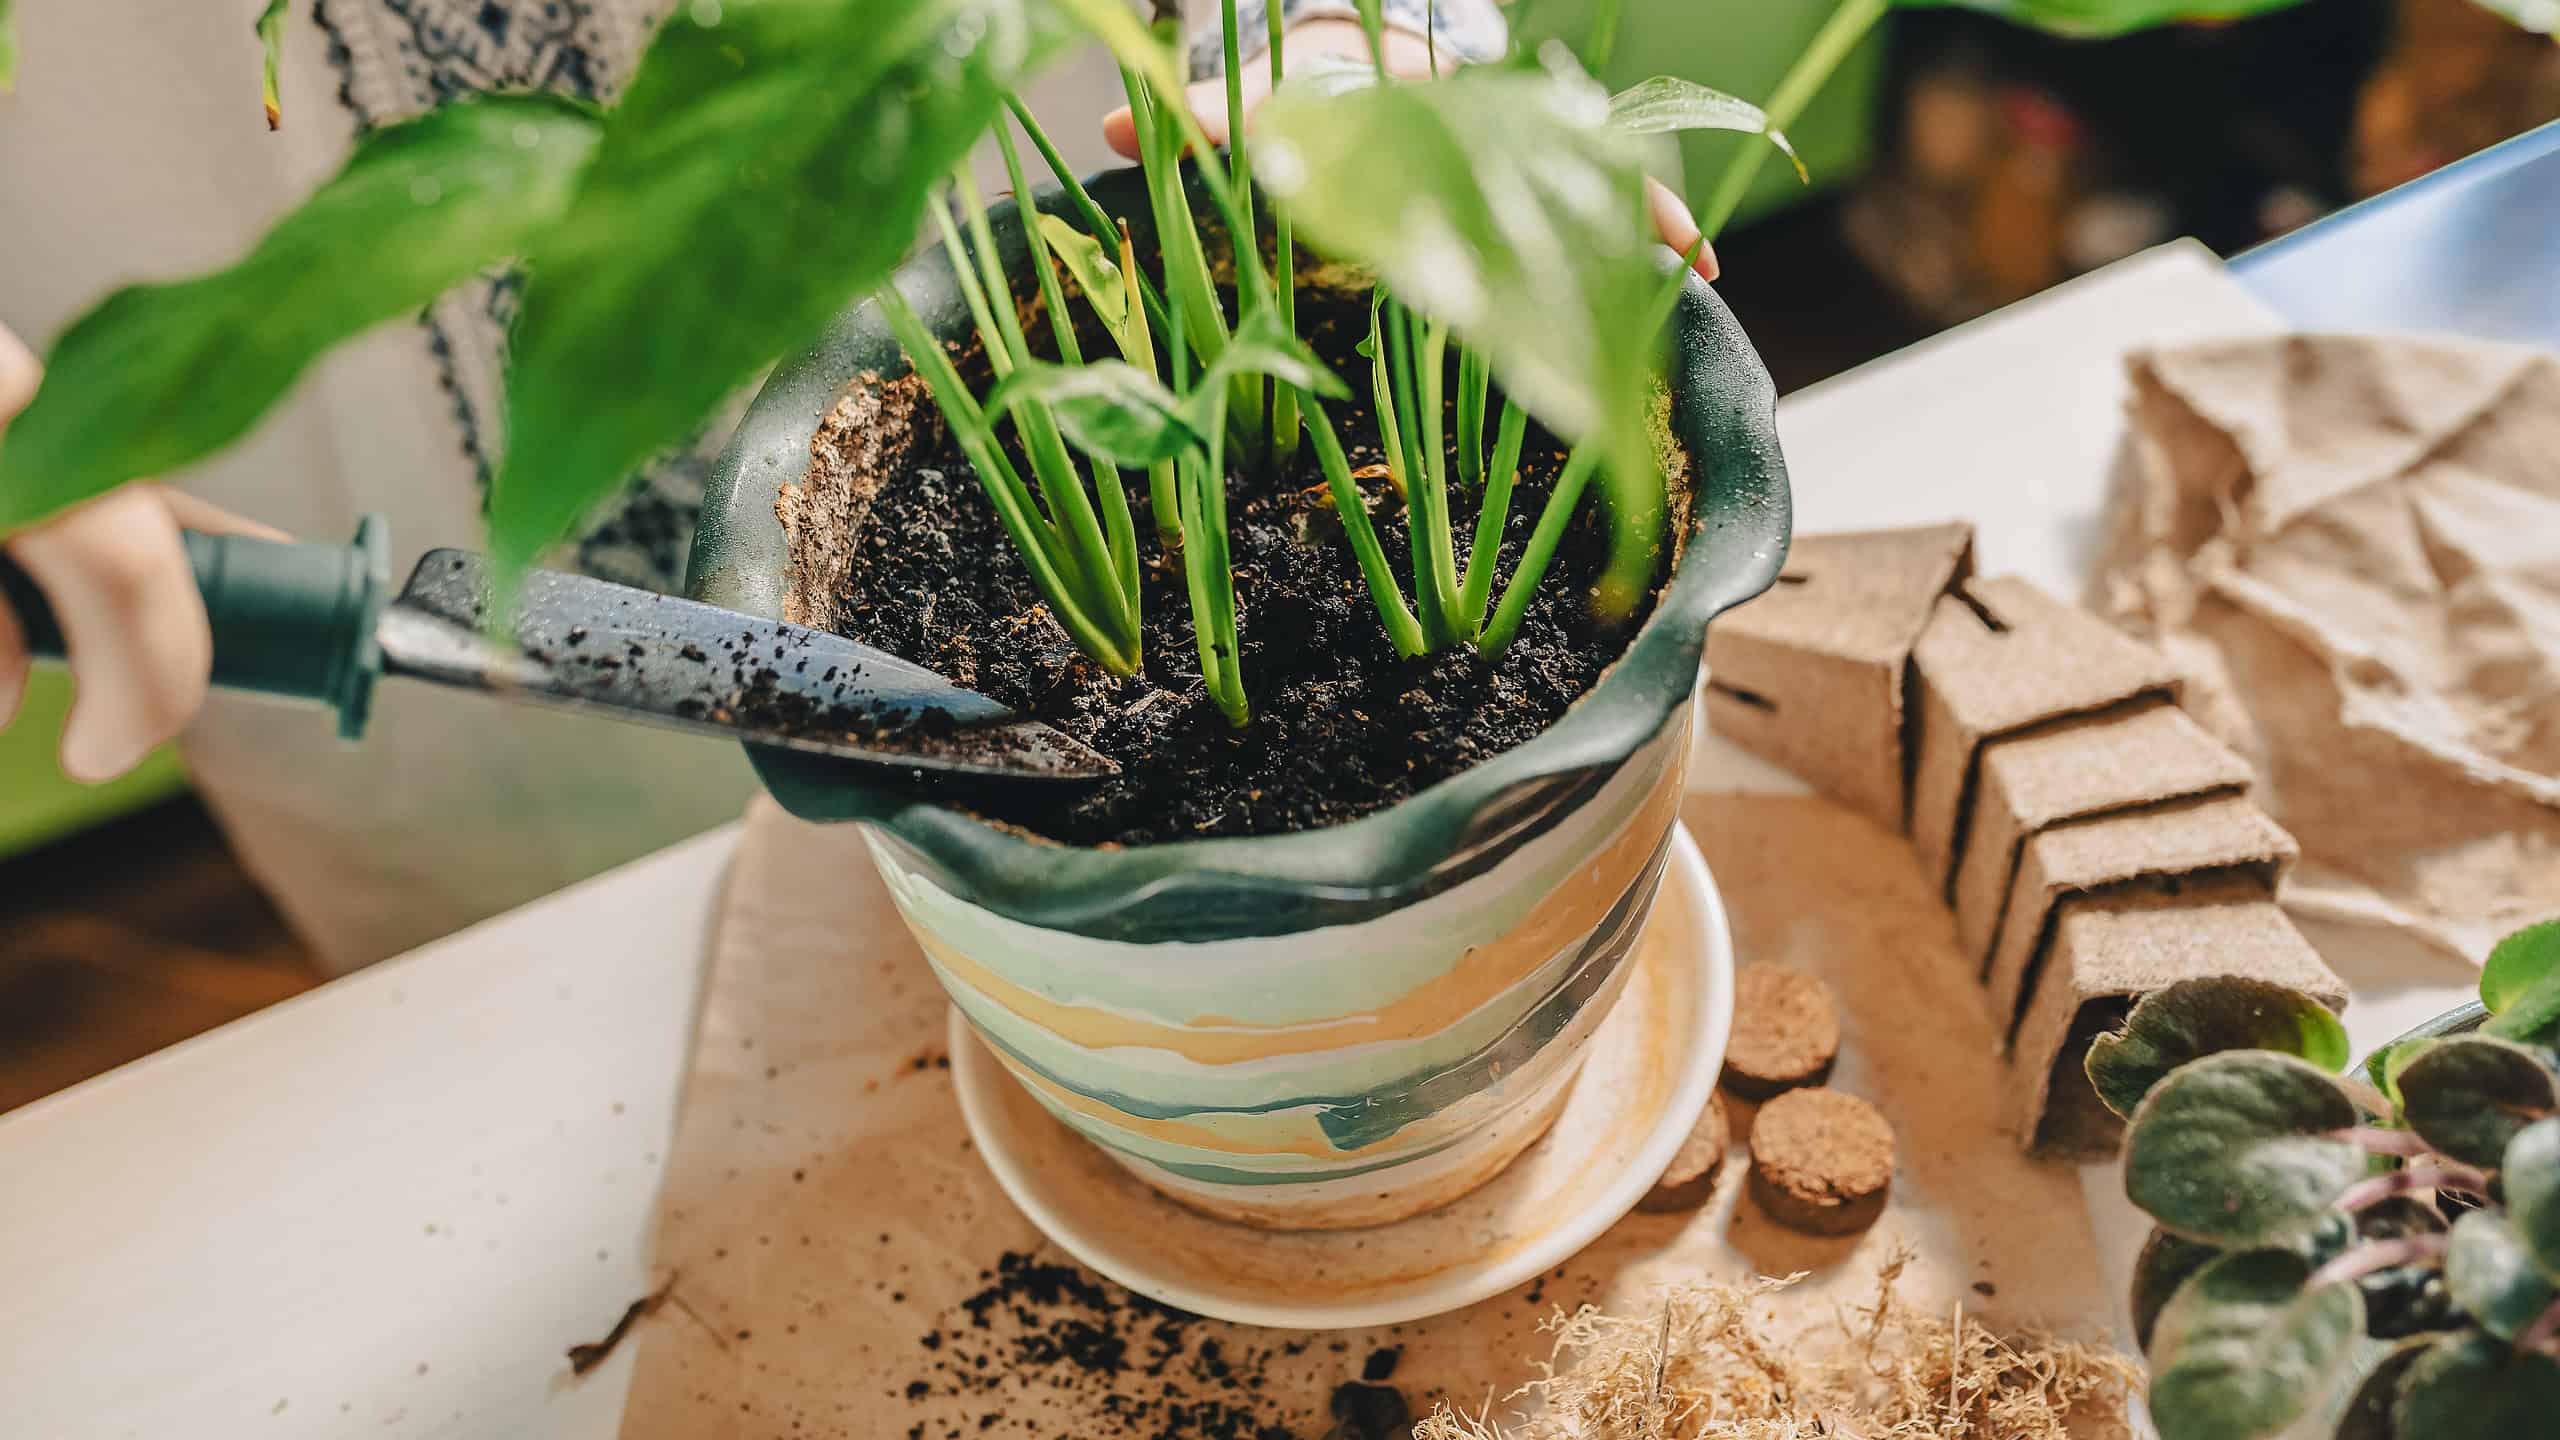
Step 3: Planting the lily seeds
Now that you have prepared the planting area, it’s time to get those lily seeds into the soil. Here’s how you can do it:
- Moisten the potting soil: Before planting, dampen the potting soil slightly. This will provide the perfect level of moisture for the seeds to germinate.
- Fill the pots or seed trays: Fill your containers with the moistened potting soil, leaving about an inch (2.5 cm) of space from the rim.
- Sow the seeds: Place the lily seeds on the soil surface, spacing them about an inch (2.5 cm) apart. Gently press the seeds into the soil, ensuring they make good contact.
- Lightly cover the seeds: Sprinkle a thin layer of potting soil or vermiculite over the seeds. This will provide them with a protective covering while allowing light to reach them.
- Mist the surface: Use a gentle sprayer or watering can with a fine rose head to mist the soil surface. Avoid drenching the seeds, as excessive moisture can lead to rotting.
- Cover the containers: To create a greenhouse-like environment, place a clear plastic cover or plastic wrap over the pots or seed trays. This will help retain moisture and maintain a consistent temperature.
Remember to label each container with the variety of lily seeds you have planted. This will help you keep track of the different cultivars as they grow.
With the lily seeds planted, it’s time to move on to the next step: watering and providing proper care.
Plant lily seeds in a well-draining soil mix, keep them moist but not waterlogged, and provide indirect sunlight. After germination, transplant the seedlings to individual pots.
Step 4: Watering and providing proper care
Proper watering and care are essential for the healthy growth of your lily seedlings. Follow these guidelines to ensure their well-being:
- Watering: Keep the soil consistently moist but not waterlogged. Use a sprayer or watering can with a fine rose head to avoid disturbing the delicate seedlings. Water whenever the top inch (2.5 cm) of soil feels dry.
- Temperature: Maintain a consistent temperature for optimal germination. Most lily seeds require a temperature range of 60-70°F (15-21°C). Keep an eye on the weather and consider using a heating mat if necessary.
- Light: Place the containers in a bright, indirect light location. Avoid direct sunlight, as it can scorch the delicate seedlings. Provide 12-14 hours of light per day using fluorescent lights if natural light is limited.
- Air circulation: Proper air circulation is important to prevent the development of fungal diseases. Remove the plastic cover or plastic wrap for a few hours each day to allow fresh air to circulate around the seedlings.
- Thinning out seedlings: Once the lily seedlings have developed their first true leaves, thin them out by removing the weaker or overcrowded ones. This will provide more space and nutrients for the remaining seedlings to thrive.
- Fertilizing: After the seedlings have grown for a few weeks, begin feeding them with a balanced liquid fertilizer diluted to half the recommended strength. Apply the fertilizer every two weeks during the growing season.
As your lily seedlings continue to grow, you may need to provide support in the form of stakes or trellises to keep the plants upright. Monitor for pests and diseases, and take necessary action to protect your plants.
With proper watering and care, your lily seedlings will soon flourish and be ready for the next step: transplanting.
Read more: How To Grow Lily Seeds
Step 5: Transplanting the seedlings (optional)
Transplanting lily seedlings is an optional step that you can take if you want to give them more space to grow or if you plan to arrange them in a specific pattern in your garden. Here’s what you need to do:
- Choose the right time: Wait until the weather is consistently warm and all risk of frost has passed before transplanting your lily seedlings.
- Select the transplant location: Choose a well-draining area in your garden that receives full sun or partial shade, depending on the specific lily variety you are growing.
- Prepare the soil: Dig a hole that is slightly larger than the root ball of the seedling. Loosen the soil in the hole and mix in compost or well-rotted manure to enrich it.
- Remove seedlings from containers: Gently tap the bottom of the pots or seed trays to loosen the root ball of the seedlings. Carefully lift them out, taking care not to damage the delicate roots.
- Plant the seedlings: Place each seedling in the prepared hole, making sure the top of the root ball is level with or slightly below the soil surface. Fill in the hole with soil, gently firming it around the seedling.
- Water and mulch: After planting, thoroughly water the transplanted seedlings to settle the soil and eliminate air pockets around the roots. Apply a layer of organic mulch, such as straw or wood chips, to help conserve moisture and suppress weed growth.
- Provide ongoing care: Continue to water the transplanted seedlings regularly and provide them with the necessary care as outlined in Step 4. Monitor for pests or diseases and take prompt action if needed.
Transplanting lily seedlings can be a rewarding experience as you watch them establish and thrive in their new home. However, if you prefer, you can also leave the seedlings in their original containers and gradually acclimate them to outdoor conditions before planting them directly in the garden.
With these steps completed, your lily seedlings are well on their way to becoming magnificent, blooming lilies that will brighten up your garden. With proper care and attention, you’ll be rewarded with a stunning display of colors and fragrances that will make your garden the envy of all.
Conclusion
Congratulations! You have successfully learned how to plant lily seeds and nurture them into beautiful blooming lilies. Growing lilies from seeds can be a gratifying and fulfilling experience, allowing you to witness the entire lifecycle of these exquisite flowers.
Throughout this article, we walked you through the step-by-step process, from gathering the necessary materials to transplanting the seedlings (optional). By following these guidelines, you have set the stage for successful germination and growth of your lily seeds.
Remember, the key to growing healthy lilies is providing them with optimal conditions. Ensure they receive adequate sunlight or partial shade, well-draining soil, and consistent moisture. Regular watering, proper care, and attentiveness to pests and diseases will keep your lily plants happy and thriving.
Whether you decided to plant lily seeds for their wide range of cultivars or as a cost-effective option, your dedication and efforts will be rewarded when you see those vibrant blooms gracing your garden.
So, go ahead and immerse yourself in the joy of gardening as you embark on this journey to cultivate lilies from seeds. Whether you’re a seasoned gardener or just starting out, may your garden be filled with the beauty and fragrance of these magnificent lilies!
Frequently Asked Questions about How To Plant Lily Seeds
Was this page helpful?
At Storables.com, we guarantee accurate and reliable information. Our content, validated by Expert Board Contributors, is crafted following stringent Editorial Policies. We're committed to providing you with well-researched, expert-backed insights for all your informational needs.


0 thoughts on “How To Plant Lily Seeds”