Articles
How To Store Clams In The Fridge
Modified: February 28, 2024
Learn how to properly store clams in the fridge to keep them fresh and flavorful. Read our helpful articles on clam storage techniques and tips.
(Many of the links in this article redirect to a specific reviewed product. Your purchase of these products through affiliate links helps to generate commission for Storables.com, at no extra cost. Learn more)
Introduction
Clams are a popular seafood delicacy loved by many seafood enthusiasts. Their delicious taste and versatility in various dishes make them a sought-after ingredient. However, ensuring the freshness of clams is crucial to guarantee a safe and enjoyable dining experience.
Storing clams properly is essential in maintaining their freshness and preserving their flavor. If not stored correctly, clams can spoil quickly and become unsafe for consumption. In this article, we will guide you on how to store clams in the fridge to keep them fresh and ready for your culinary creations.
By following a few simple steps, you can ensure that your clams remain fresh and safe to eat for an extended period of time. From selecting the right clams to proper storage techniques, we will cover everything you need to know to keep your clams in the best possible condition.
So, without further ado, let’s dive into the details of storing clams in the fridge and enjoy the delightful flavors they have to offer!
Key Takeaways:
- Keep your clams fresh by selecting live clams with intact shells and a fresh sea-like odor. Clean and store them in the fridge with care to enjoy delicious clam dishes.
- Ensure the safety of your clam dishes by checking for freshness before cooking. Follow proper storage and handling techniques to savor the delightful flavors of fresh clams.
Read more: How To Store Live Clams In The Fridge
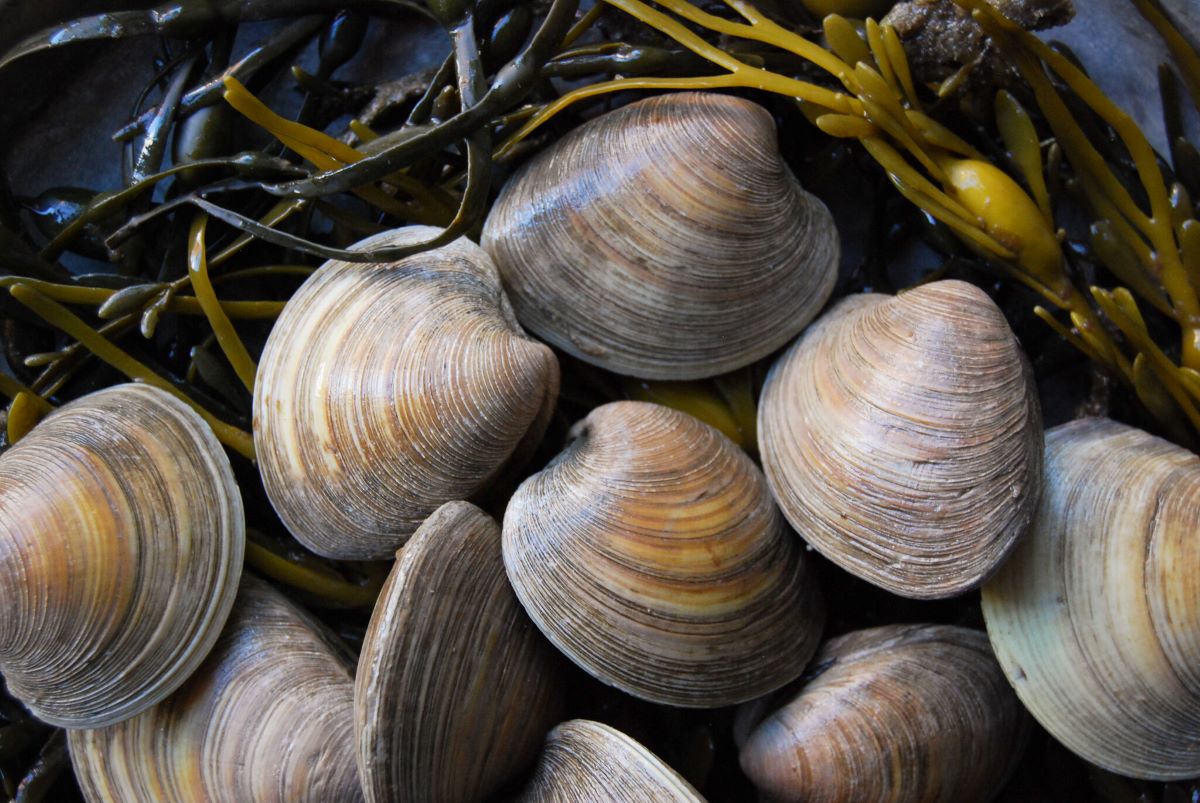
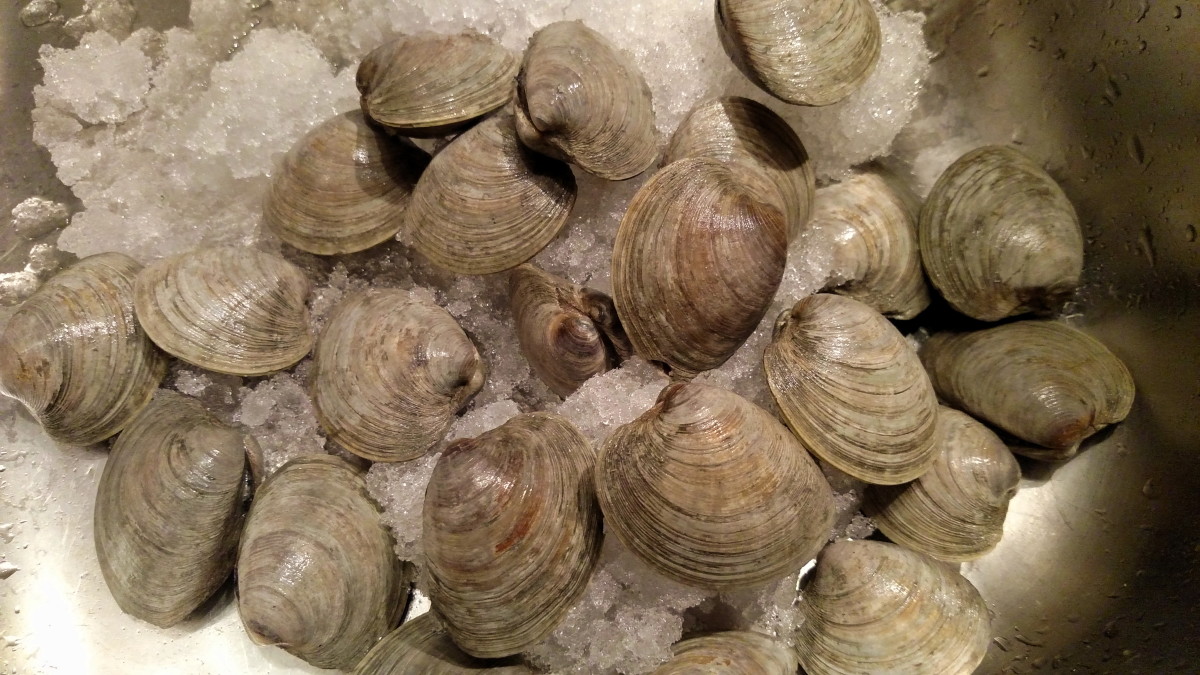
Step 1: Selecting Fresh Clams
When it comes to storing clams, starting with fresh ones is the key. Here are some tips to help you choose the best clams:
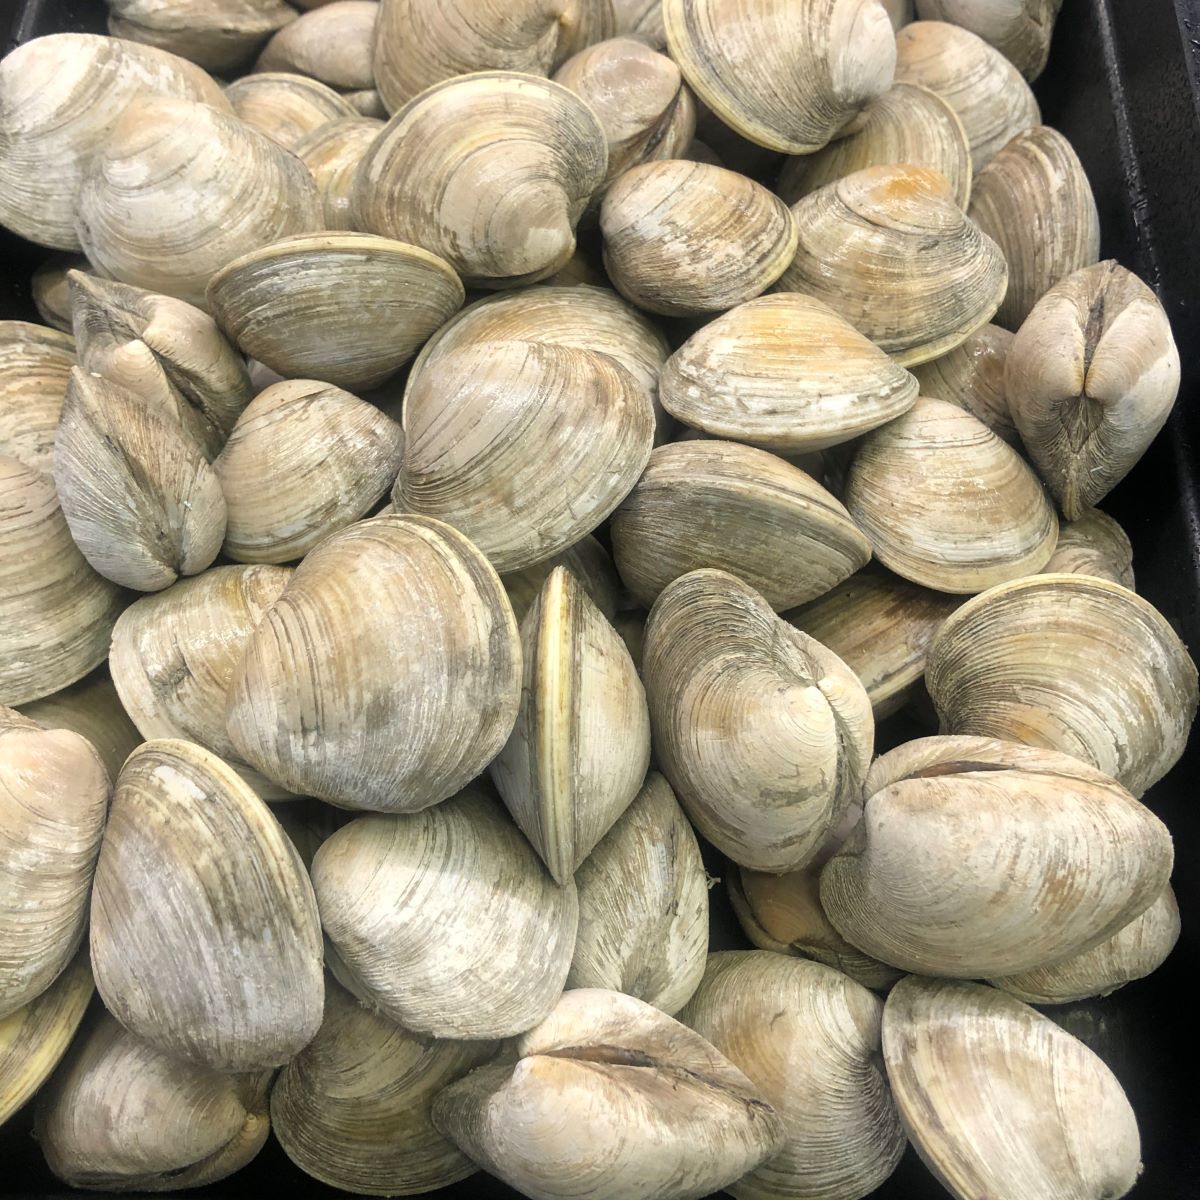
- Check the shells: Look for clams with smooth, intact shells. Avoid clams with cracked or broken shells, as they may be dead or have compromised meat inside.
- Smell: Give the clams a sniff. They should have a fresh sea-like odor. If they emit a strong, unpleasant odor, it is a sign that they are not fresh.
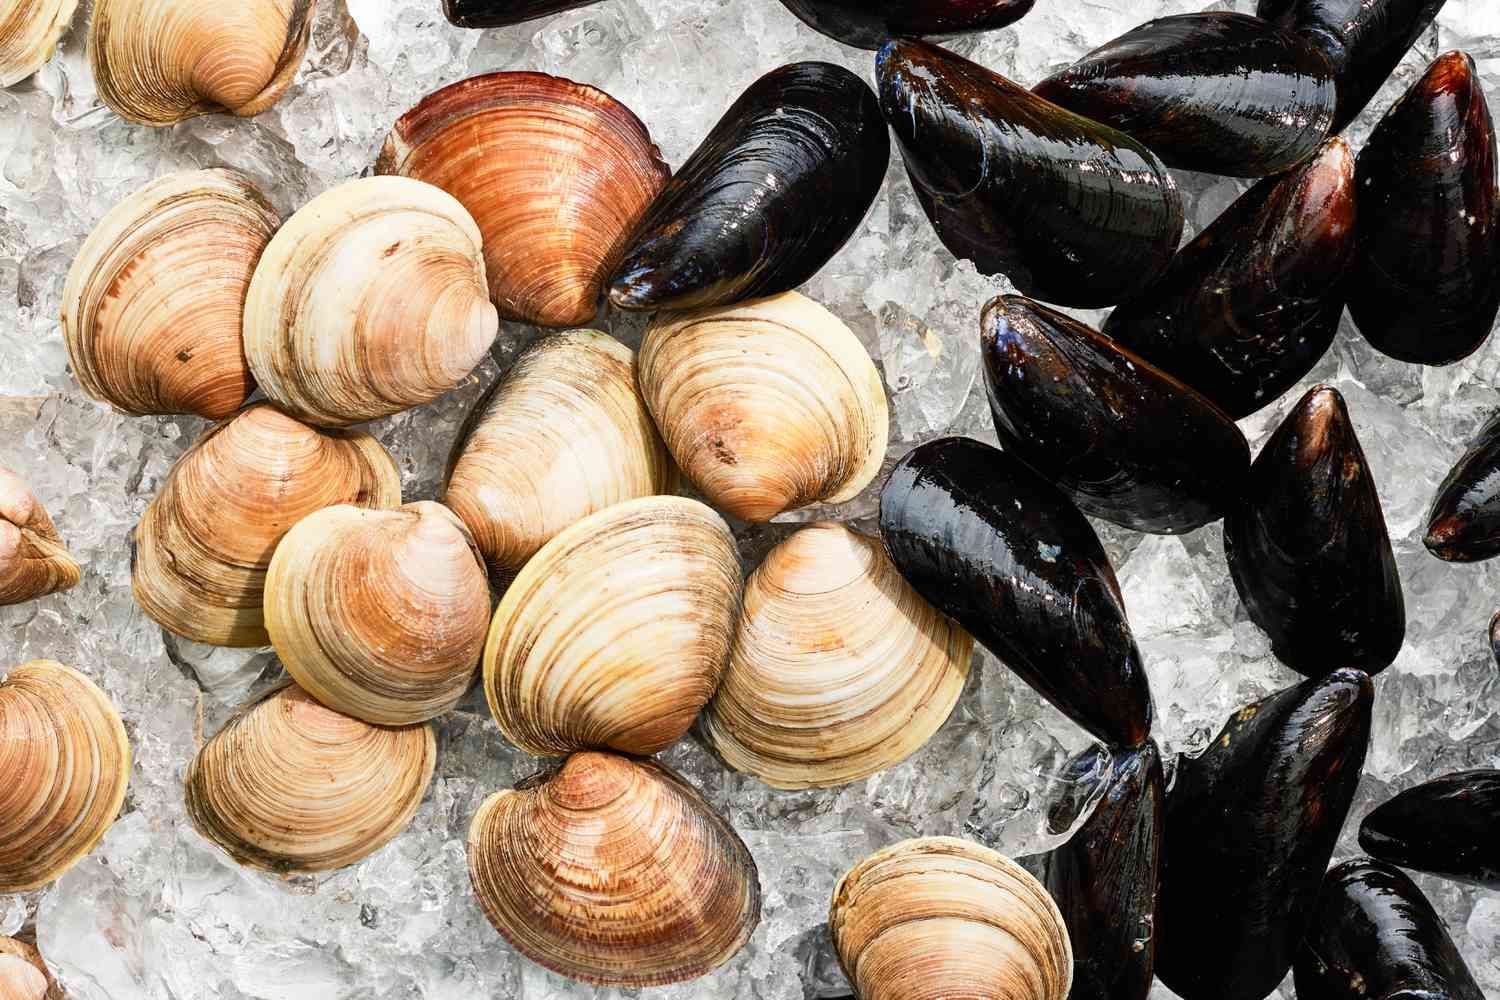
- Live clams: Opt for live clams whenever possible. They should be tightly closed or slightly open. If a clam does not close when tapped, it is already dead and should be discarded.
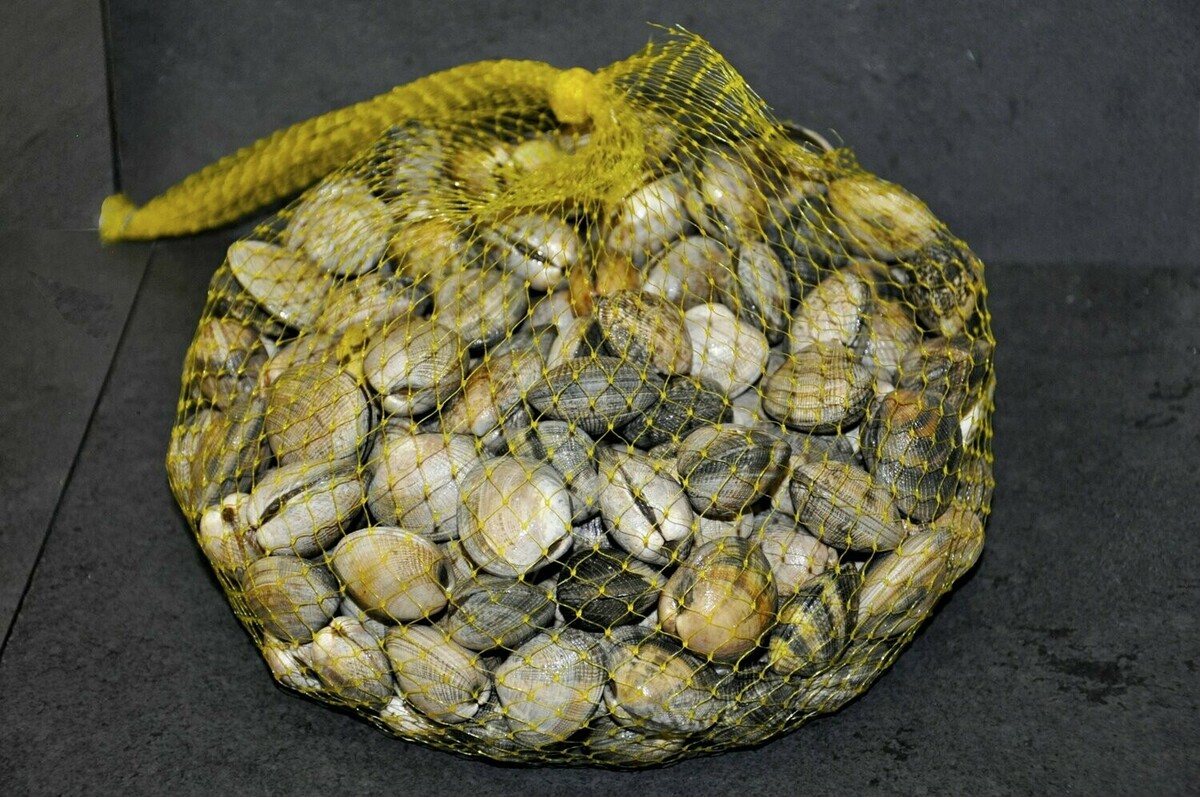
- Size: The size of the clams is a matter of personal preference. Choose the size that suits your recipe requirements or preference.
It’s important to note that clams should be sourced from reputable seafood markets or suppliers. Ensuring their freshness at the time of purchase is essential for storing them properly in the fridge.
Now that you know how to select fresh clams, let’s move on to the next step: cleaning the clams.
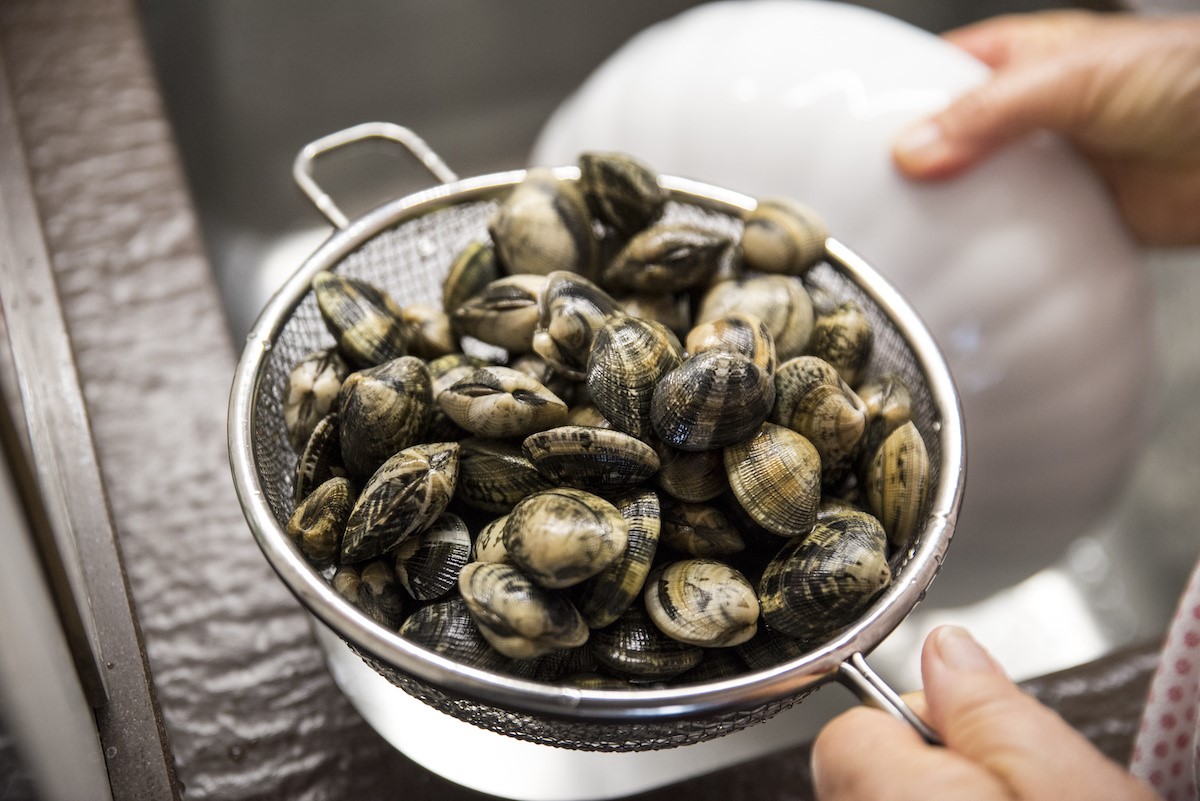
Step 2: Cleaning the Clams
Before storing clams in the fridge, it’s crucial to clean them properly to remove any dirt, sand, or grit that may be present on their shells. Here’s how to clean clams:
- Fill a large bowl: Start by filling a large bowl with cold water.
- Inspect the clams: Take each clam and examine it for any signs of damage or open shells. Discard any clams that are cracked, broken, or do not close when tapped.
- Soak the clams: Submerge the clams in the bowl of cold water and let them soak for about 20 minutes. This will help loosen any dirt or sand trapped in their shells.
- Gently scrub the shells: After soaking, take each clam and scrub its shell using a clean brush or scrubbing pad. Pay attention to any stubborn dirt or debris and ensure that the shells are thoroughly cleaned.
- Rinse the clams: Once the shells are scrubbed, rinse the clams under cold running water to remove any remaining dirt or sand.
- Dry the clams: Finally, pat the clams dry with a clean kitchen towel or paper towels. Make sure there is no excess moisture on the clams before storing them in the fridge.
Cleaning the clams not only removes unwanted debris but also helps ensure the clams stay fresh during storage. Now that you have cleaned the clams, it’s time to move on to the next step: storing them in the fridge.
Store clams in the fridge in a breathable container, like a mesh bag or a bowl covered with a damp cloth. Keep them in the coldest part of the fridge and use within 2-3 days.
Step 3: Storing Clams in the Fridge
Now that you have selected fresh clams and cleaned them thoroughly, it’s time to store them in the fridge. Here’s how to do it:
- Prepare a storage container: Choose a shallow container with a lid or cover that can accommodate all the clams without overcrowding them. It’s important to allow sufficient air circulation around the clams.
- Add a damp cloth or paper towels: Place a damp cloth or paper towels at the bottom of the container. This helps maintain the clams’ moisture and prevents them from drying out.
- Arrange the clams: Lay the clams on top of the damp cloth or paper towels in a single layer. Avoid stacking or piling them on top of each other, as this can cause damage or lead to spoilage.
- Cover the container: Once the clams are arranged, cover the container with the lid or a plastic wrap. This helps seal in the moisture and maintain the cool temperature inside.
- Store in the fridge: Place the container of clams in the coldest part of your fridge, usually the bottom shelf or the vegetable crisper drawer. The ideal temperature for storing clams is between 32°F (0°C) and 40°F (4°C).
It’s important to note that clams are highly perishable, so it’s recommended to consume them within a couple of days. Avoid storing clams for an extended period as their quality and taste can deteriorate.
Remember to check the clams periodically while in the fridge. If you notice any clams with open shells or a strong odor, it’s an indication that they have spoiled and should be discarded.
Now that your clams are safely stored in the fridge, let’s move on to the next step: checking for freshness before cooking.
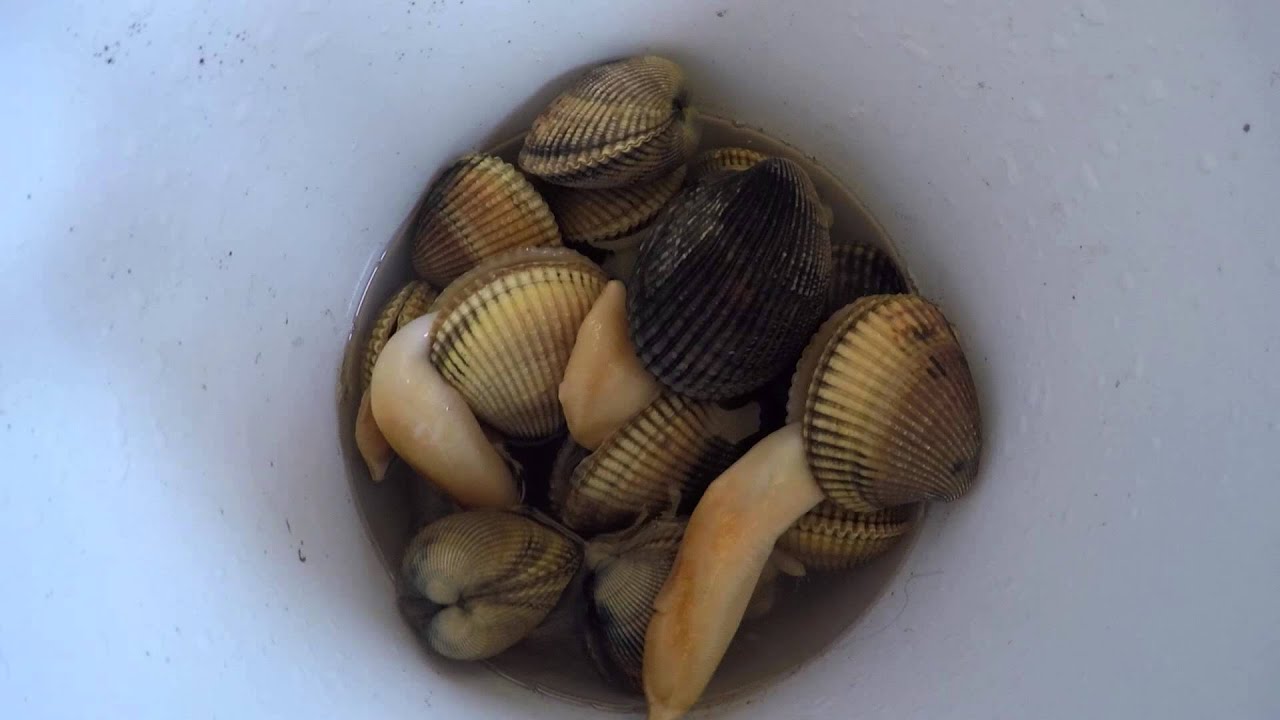
Step 4: Checking for Freshness Before Cooking
Before using the stored clams in your culinary creations, it’s vital to ensure their freshness. Here’s how to check if the clams are still good to cook:
- Inspect the shells: Take a close look at the shells of the clams. They should be tightly closed or slightly open. Discard any clams with wide-open shells, as they are likely dead and not safe for consumption.
- Tap test: Gently tap the shells of the clams. If they close immediately or quickly respond with a slight movement, it indicates that they are alive and fresh. If they remain unresponsive or do not close at all, they should be discarded.
- Smell: Give the clams a sniff. They should have a fresh, sea-like odor. If they emit a strong, foul smell, it’s a sign that they have gone bad and should not be used.
- Look for signs of spoilage: Examine the clams for any signs of spoilage, such as discolored or slimy flesh. If you notice any abnormalities, it’s best to discard them.
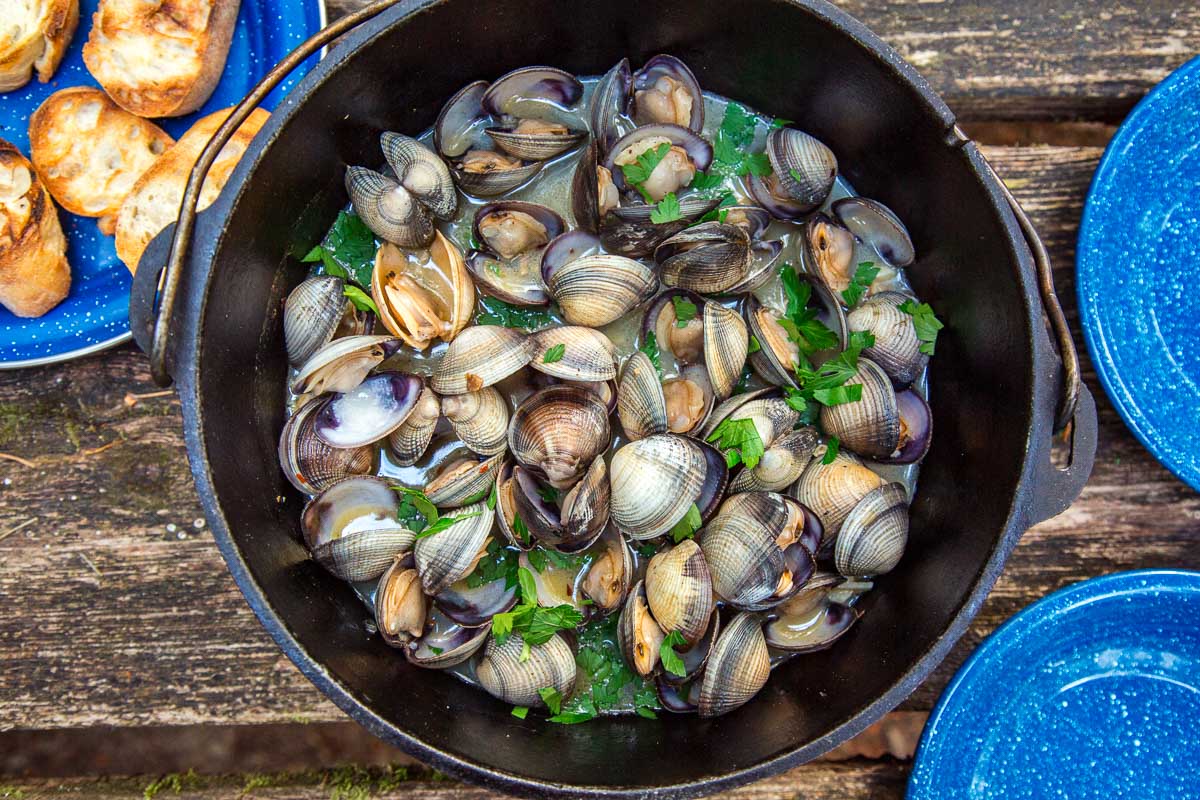
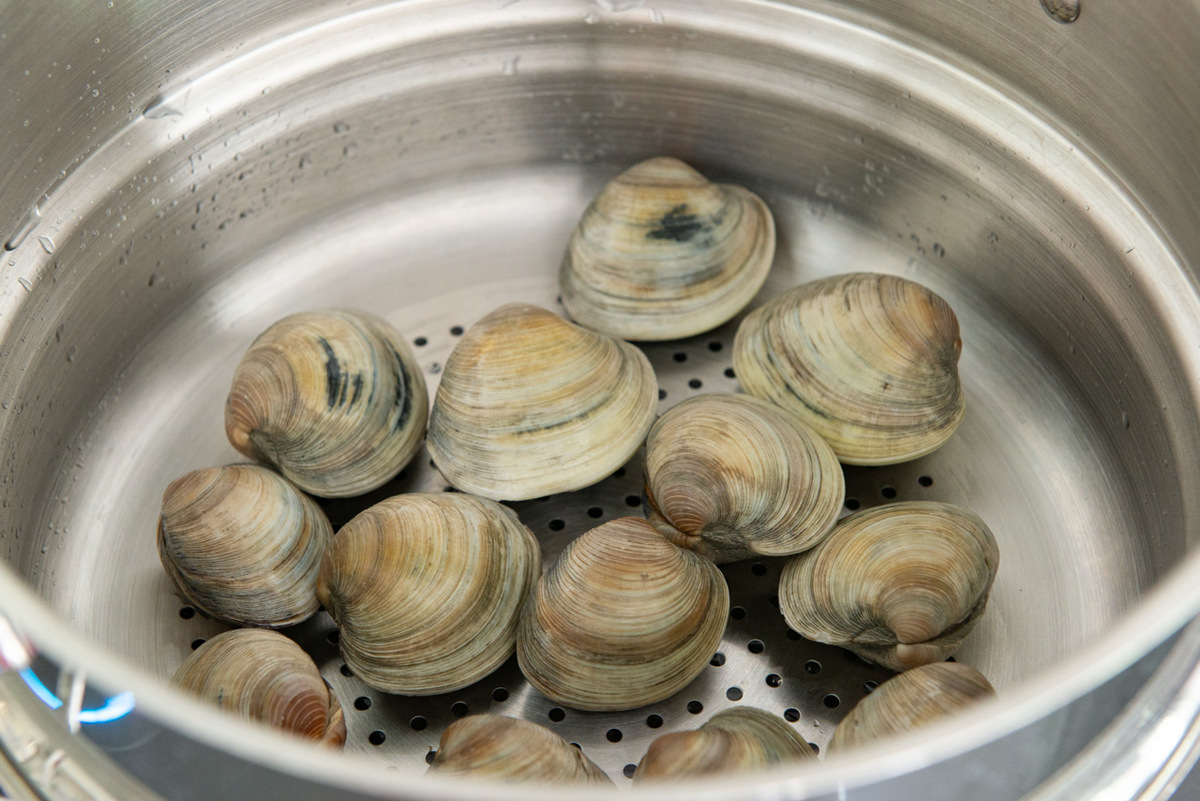
By performing these checks, you can ensure that you’re cooking with safe and fresh clams. If the clams pass the freshness test, you can proceed with your favorite recipes, such as clam chowder, pasta with clam sauce, or steamed clams.
Remember to handle clams with care and cook them thoroughly before consuming to eliminate any potential bacteria or pathogens.
With these steps, you now know how to store clams in the fridge and ensure their freshness. Enjoy the delicious flavors and versatility of clams in your meals with the confidence that they are stored safely and ready to be cooked!
Read more: How To Store Little Neck Clams In Fridge
Conclusion
Storing clams in the fridge is a simple yet important process to maintain their freshness and ensure their quality when it’s time to cook. By following the steps outlined in this article, you can keep your clams in the best possible condition:
- Select fresh clams by checking their shells, smelling for freshness, and ensuring they are live.
- Clean the clams thoroughly by soaking, scrubbing, and rinsing to remove any dirt or sand.
- Store the clams in a shallow container with a damp cloth or paper towels to maintain their moisture.
- Place the container in the coldest part of the fridge and consume the clams within a couple of days.
- Before cooking, check for freshness by inspecting the shells, performing the tap test, and smelling for any signs of spoilage.
Following these steps will help you enjoy the delicious flavors of clams in your favorite dishes, from steamed clams to clam linguine or clam chowder.
Remember, clams are highly perishable, so it’s crucial to handle and store them properly. If at any point you notice any clams that show signs of spoilage, it’s best to discard them to ensure your safety.
Now that you have the knowledge and understanding of how to store clams in the fridge, you can confidently handle and enjoy these delectable bivalves in your culinary adventures. So go ahead, savor the taste of fresh clams, and elevate your seafood dishes to new heights!
Frequently Asked Questions about How To Store Clams In The Fridge
Was this page helpful?
At Storables.com, we guarantee accurate and reliable information. Our content, validated by Expert Board Contributors, is crafted following stringent Editorial Policies. We're committed to providing you with well-researched, expert-backed insights for all your informational needs.


0 thoughts on “How To Store Clams In The Fridge”