Articles
How To Store Cooked Clams
Modified: August 16, 2024
Looking for articles on how to store cooked clams? Discover helpful tips and guidelines to keep your clams fresh and flavorful for longer.
(Many of the links in this article redirect to a specific reviewed product. Your purchase of these products through affiliate links helps to generate commission for Storables.com, at no extra cost. Learn more)
Introduction
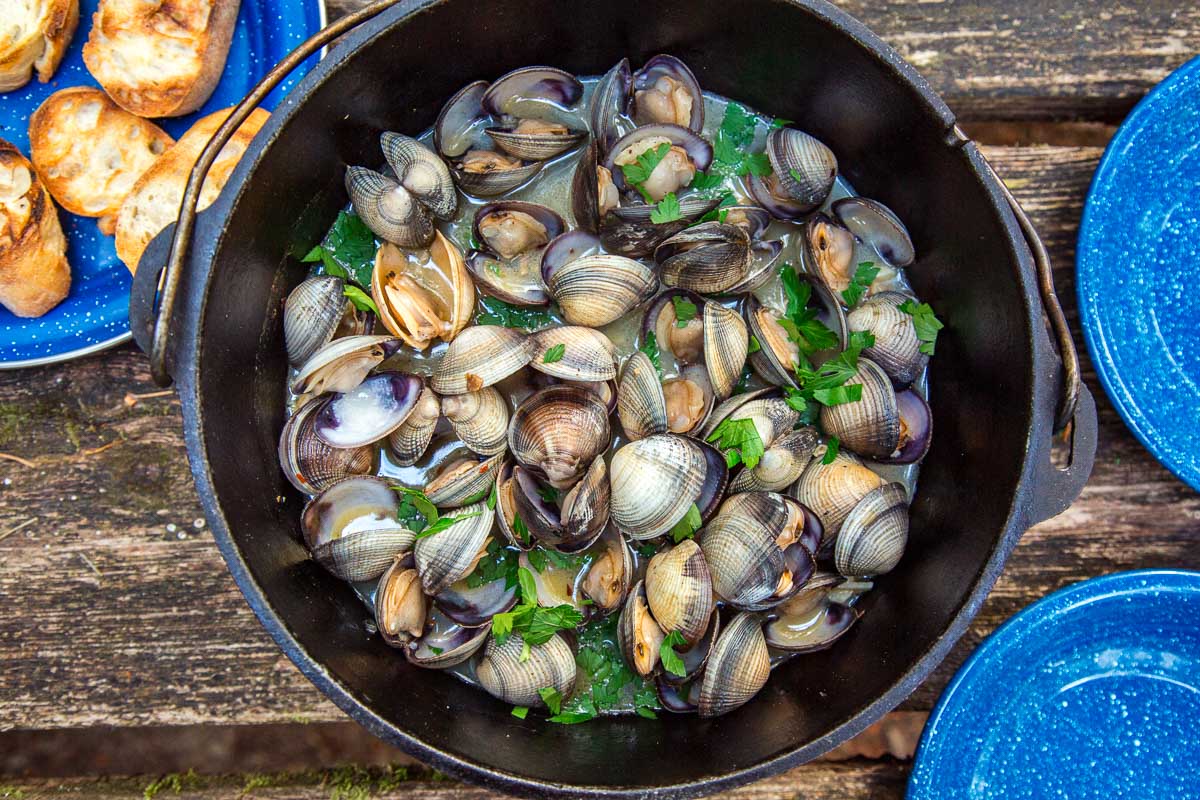
Clams are a delicious and versatile seafood option, loved by many for their unique flavor and tender texture. Whether you’ve prepared a batch of steamed clams for a special occasion or have some leftover clams from a previous meal, knowing how to store cooked clams properly is essential to maintain their freshness and quality.
In this article, we will guide you through the step-by-step process of storing cooked clams, ensuring that they stay safe to eat and retain their delicious taste. From cooling the clams to choosing the right storage method, we’ve got you covered. So let’s dive in!
Key Takeaways:
- Properly cool and remove cooked clams from their shells before storing to maintain freshness and prevent bacterial growth. Choose between refrigeration for short-term storage or freezing for longer preservation.
- Label and store cooked clams in airtight containers, and follow proper thawing and reheating methods to enjoy their delicious flavor even days or months after cooking.
Read more: How To Store Razor Clams
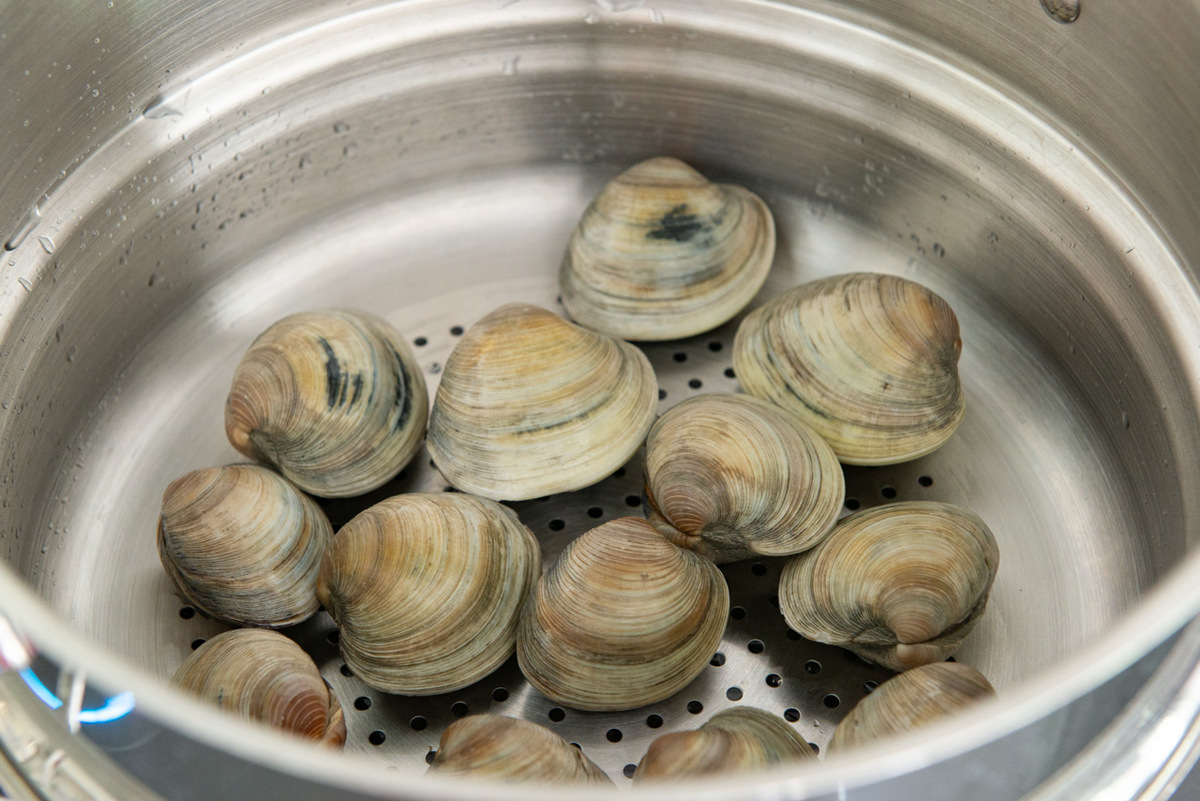
Step 1: Cooling the Cooked Clams
Before storing cooked clams, it is important to cool them down properly to prevent bacterial growth. Follow these steps to ensure that your clams are safe to store:
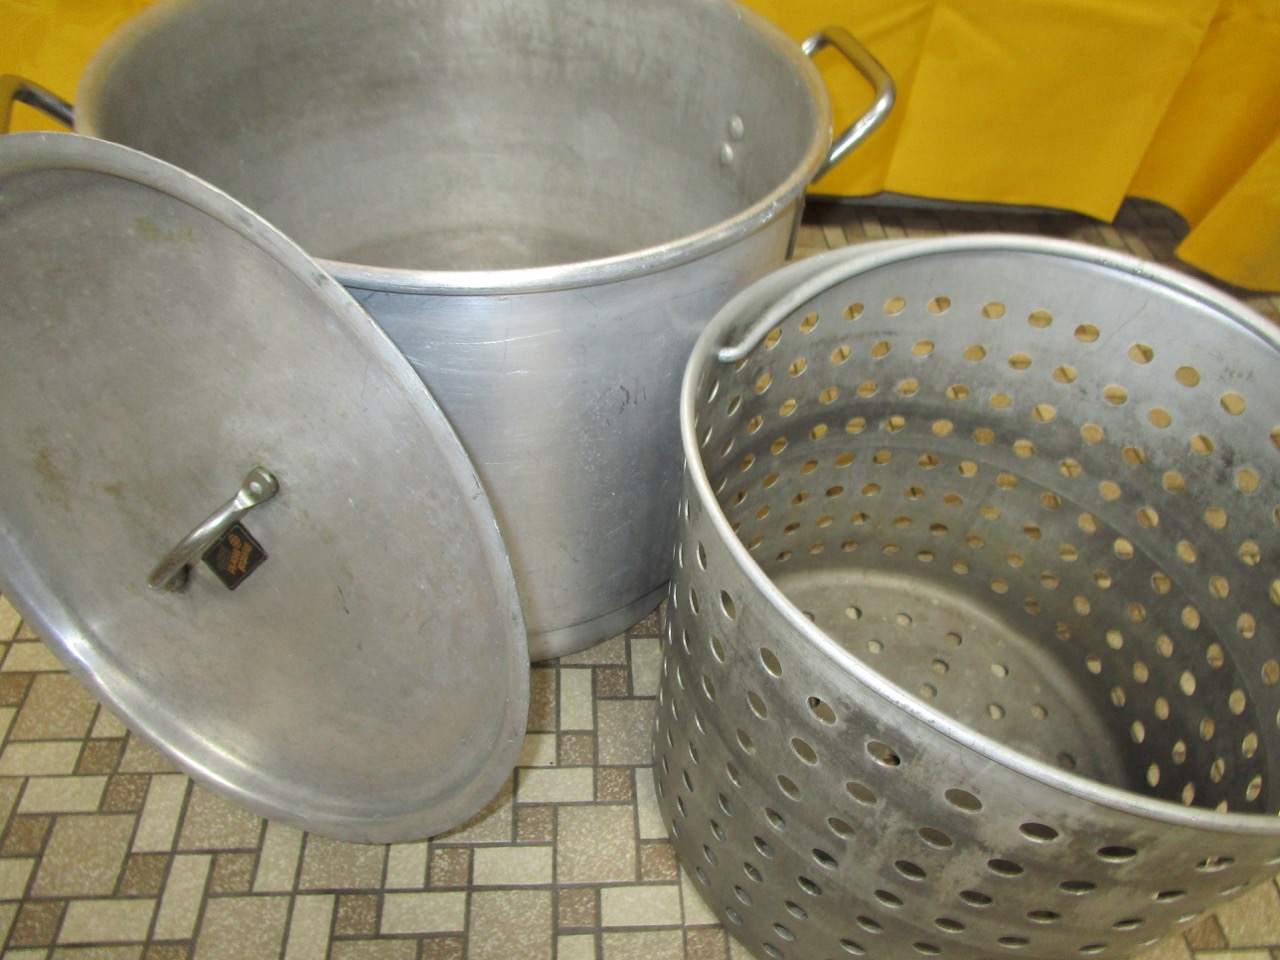
- Remove the clams from the cooking liquid: Gently remove the clams from the pot or steamer, and place them on a clean plate or baking sheet.
- Allow them to cool down naturally: Allow the clams to cool at room temperature for about 15-20 minutes. Avoid putting hot clams directly into the refrigerator, as they can cause the temperature of the fridge to rise.
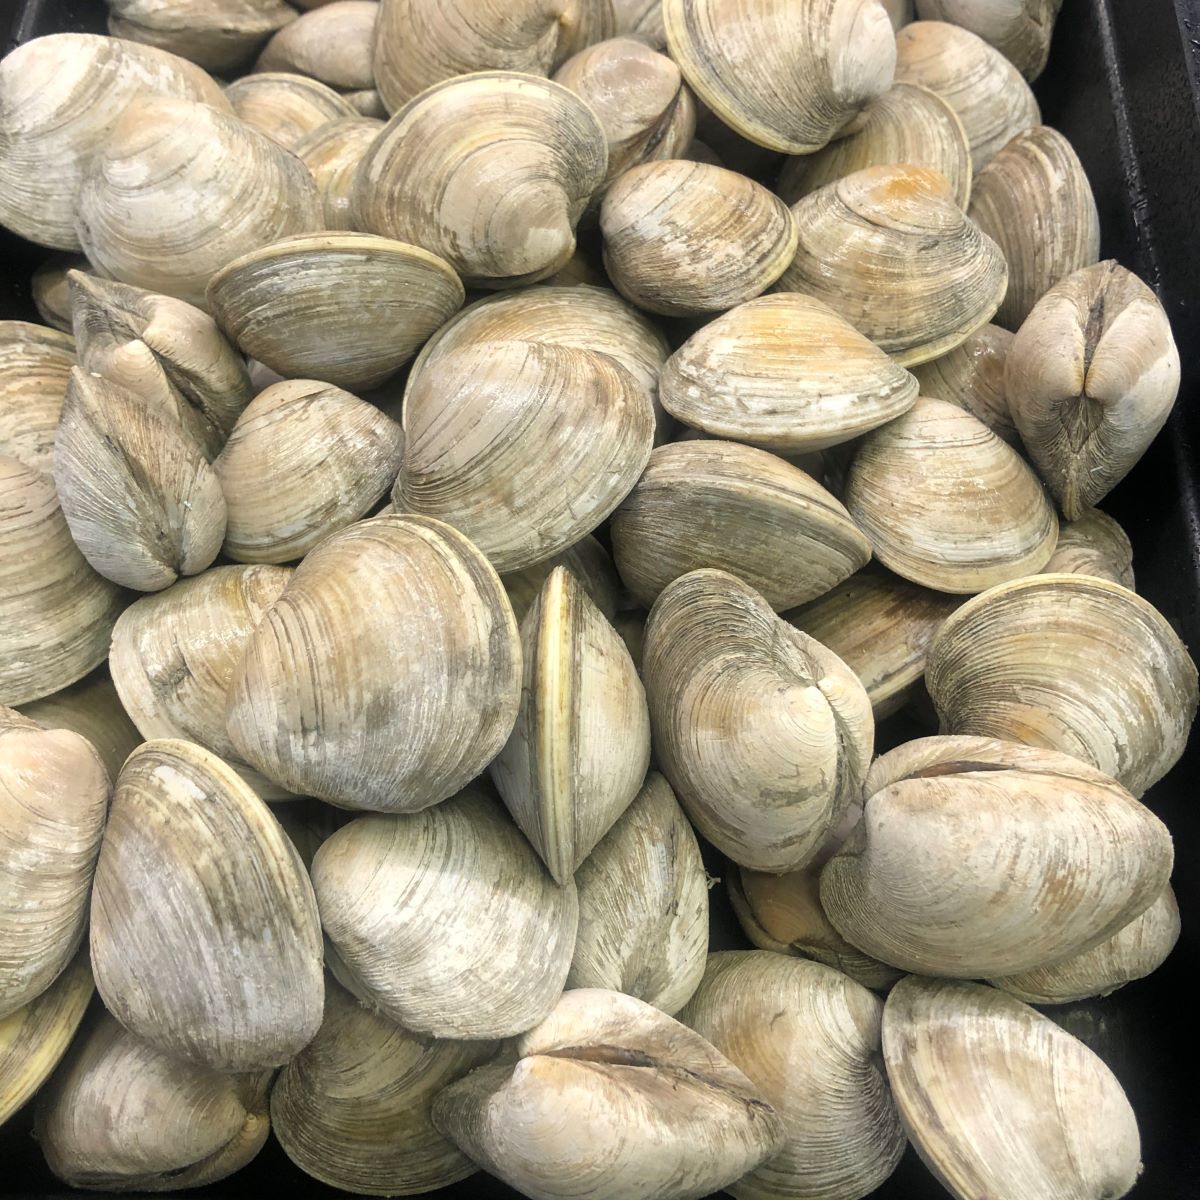
- Clean the shells: While the clams are cooling, you can take this opportunity to clean any dirt or debris from the shells. Rinse them gently under cool running water and pat them dry with a clean kitchen towel.
Once the clams have cooled down and are free from any dirt, you can proceed to the next step of storing them properly.
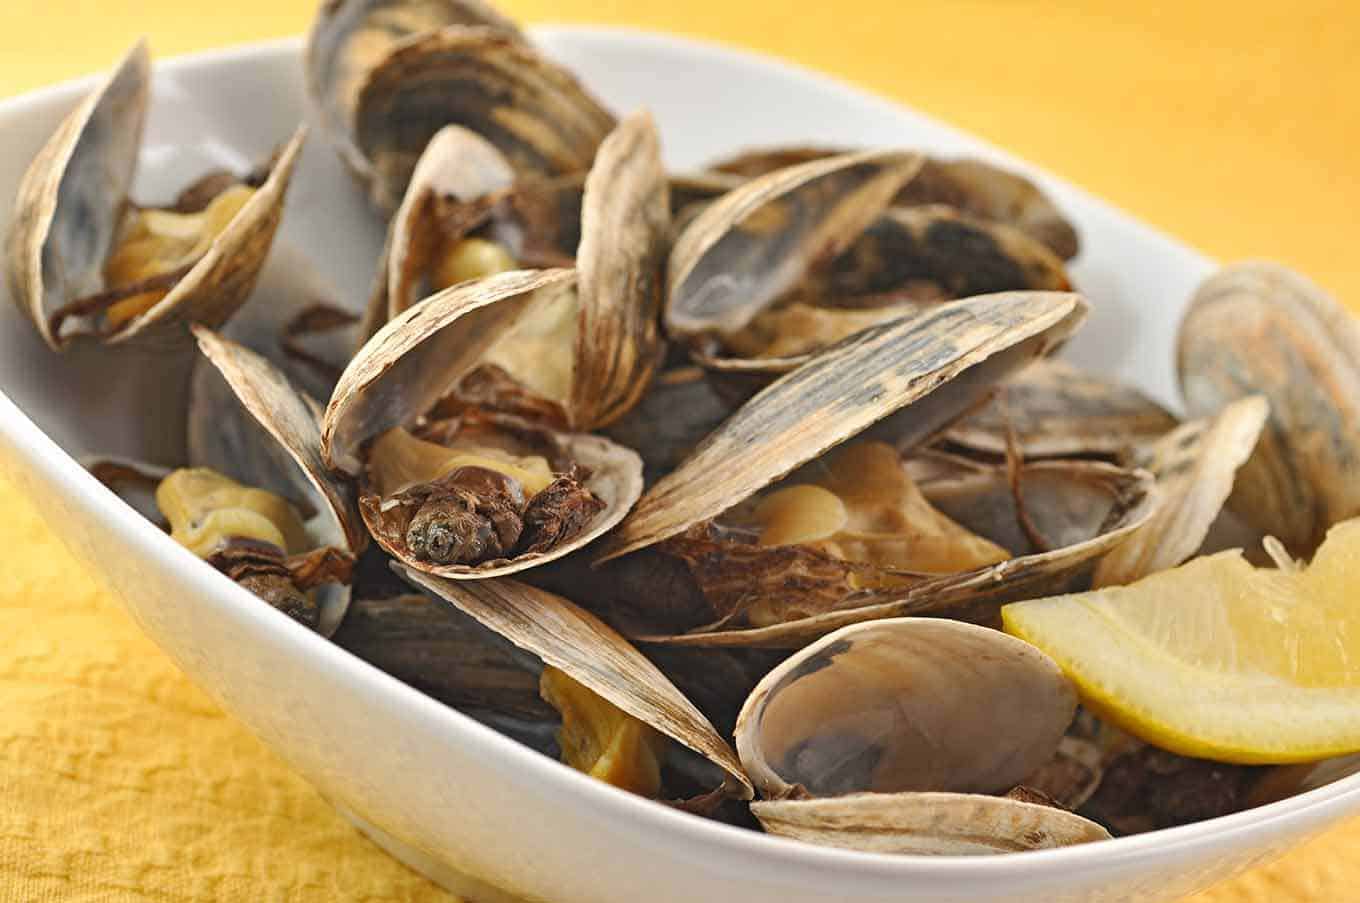
Step 2: Removing the Clams from Their Shells
Before storing cooked clams, it is recommended to remove them from their shells. This not only saves space but also prevents the clams from becoming soggy. Follow these steps to remove the clams from their shells:
- Gently pry open the clam shells: Using a small knife or a clam opener, carefully pry open the shells of the cooked clams. Be cautious not to damage the flesh of the clams as you do this.
- Separate the clam flesh from the shells: Once the shells are open, gently separate the clam flesh from both halves of the shell. Take your time to remove any remaining debris or sand from the clams.
- Discard any clams that don’t open: If there are any clams that remain closed or don’t open during cooking, it is recommended to discard them, as they may not be safe to consume.
- Place the clam flesh in a clean bowl or container: As you remove the clam flesh from the shells, place them in a clean bowl or airtight container. Ensure that the container is big enough to hold all the clams, leaving some space for expansion if necessary.
Once you have removed the clams from their shells and placed them in a container, you can proceed to the next step of choosing the right method to store them.
Step 3: Storing Methods
Now that you have cooled and removed the clams from their shells, it’s time to choose the most suitable method for storing them. There are two primary methods to consider: refrigeration and freezing. Let’s explore these methods in more detail:
Refrigeration:
Refrigeration is a suitable method if you plan to consume the cooked clams within a couple of days. Here’s how to store cooked clams in the refrigerator:
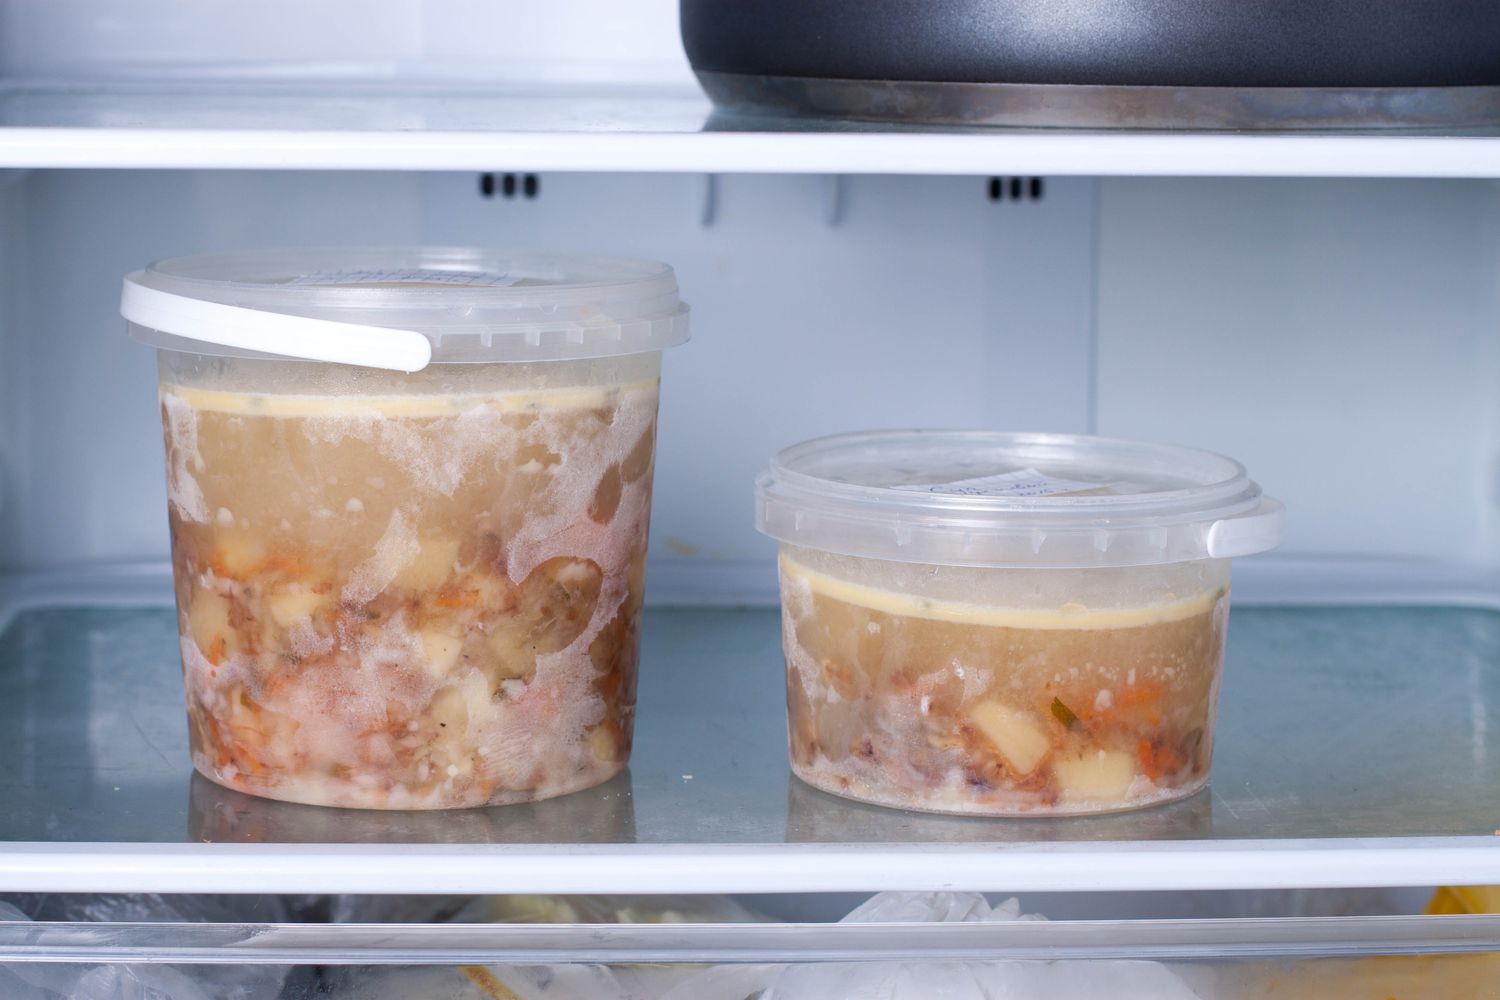
- Place the clams in an airtight container: Transfer the cooked clams to a clean airtight container, such as a plastic or glass storage container with a tight-fitting lid.
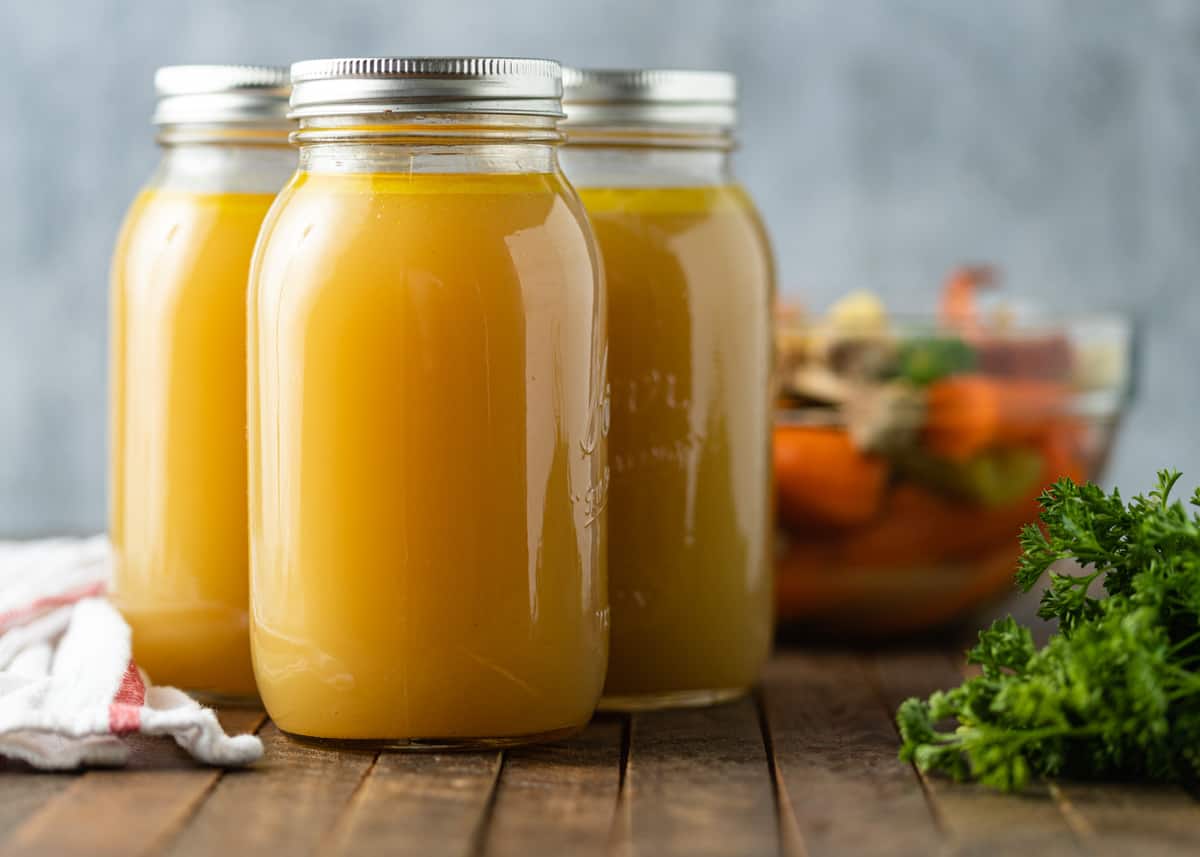
- Add a small amount of cooking liquid: To help maintain moisture, you can pour a small amount of the cooking liquid or some clam juice into the container. This will help prevent the clams from drying out.
- Seal the container and refrigerate: Once the clams and liquid are in the container, seal it tightly and place it in the refrigerator. Ensure that the temperature is set to 40°F (4°C) or below to keep the clams fresh.
Read more: How To Store Live Clams Overnight
Freezing:
If you have a larger quantity of cooked clams or plan to store them for an extended period, freezing is the preferred method. Here’s how to freeze cooked clams:
- Flash-freeze the clams: Arrange the cooked clams in a single layer on a baking sheet lined with parchment paper or aluminum foil. Make sure they are not touching each other.
- Place the baking sheet in the freezer: Transfer the baking sheet with the clams to the freezer and allow them to freeze for about an hour or until they are firm.
- Transfer to freezer-safe containers: Once the clams are firm, transfer them to freezer-safe containers or resealable freezer bags. Remove excess air from the bags before sealing them tightly.
- Label the containers: Don’t forget to label the containers or bags with the date of freezing. This will help you keep track of their freshness and ensure you use them within a reasonable time frame.
- Return to the freezer: Place the labeled containers back in the freezer, ensuring they are stored in a way that prevents them from getting crushed or damaged.
Now that you’re familiar with the different storing methods for cooked clams, it’s important to label the storage containers properly to avoid any confusion.
Step 4: Labeling the Storage Containers
Properly labeling the storage containers is crucial when it comes to storing cooked clams. Labeling helps you keep track of the date of storage and ensures that you use the clams within a suitable time frame. Here are some tips for labeling the containers:
- Use waterproof labels: Opt for waterproof labels or markers that won’t smudge or fade when exposed to moisture. This will ensure that the labels remain legible throughout the storage period.
- Include the date of storage: Clearly write the date of storage on the label. This will help you determine how long the clams have been stored and when they should be consumed.
- Indicate the storage method: If you have stored the clams in the refrigerator, write “Refrigerated” on the label. For frozen clams, write “Frozen” to distinguish them from other stored items.
- Optional: Add any special instructions: If you have any specific instructions for thawing or reheating the clams, you can include them on the label as a helpful reminder.
By taking the time to label your storage containers, you can easily identify and manage your cooked clams, ensuring they are consumed in a timely and safe manner. With the containers properly labeled, it’s time to store the clams in the appropriate conditions.
Step 5: Refrigerating the Cooked Clams
If you have chosen the refrigeration method for storing your cooked clams, it’s important to follow proper guidelines to keep them fresh and safe to consume. Here’s how to refrigerate cooked clams:
- Ensure the clams are cool: Make sure the clams have cooled down completely before transferring them to the refrigerator. This will help maintain the desired temperature inside the fridge.
- Transfer to an airtight container: Place the cooked clams in a clean and sealed airtight container. Ensure that the container is big enough to accommodate the clams without overcrowding.
- Add moisture if necessary: If the clams appear dry, you can add a small amount of cooking liquid or clam juice to the container to help retain moisture and prevent them from drying out.
- Seal the container tightly: Close the airtight container securely to prevent any odors from other foods in the refrigerator from seeping into the clams.
- Store in the refrigerator: Place the sealed container of cooked clams in the refrigerator at a temperature of 40°F (4°C) or below.
- Keep track of expiration date: Cooked clams stored in the refrigerator should be consumed within 2-3 days to ensure optimal freshness and quality.
Remember to handle the container with care and avoid placing heavy items on top of it to prevent crushing or damage. Refrigerating cooked clams is a convenient option when you plan to consume them within a few days, but if you want to store them for a longer period, freezing is the next step.
Store cooked clams in the refrigerator in a shallow airtight container. Place a damp paper towel on top to keep them moist. Use within 2-3 days for best quality.
Step 6: Freezing the Cooked Clams
If you have opted for the freezing method to store your cooked clams, follow these steps to ensure they remain fresh and flavorful:
- Flash-freeze the clams: Arrange the cooked clams in a single layer on a baking sheet lined with parchment paper or aluminum foil. Ensure that the clams are not touching each other to prevent them from sticking together.
- Pre-freeze the clams: Place the baking sheet with the clams in the freezer and allow them to pre-freeze for about an hour. This will help them retain their shape and prevent freezer burn during long-term storage.
- Transfer to freezer-safe containers: Once the clams are pre-frozen, transfer them to freezer-safe containers or resealable freezer bags. Remove any excess air from the bags before sealing them tightly.
- Label the containers: Label the containers or bags with the date of freezing to keep track of their freshness. This will help you consume them within a recommended timeframe.
- Store in the freezer: Place the labeled containers or bags in the freezer, making sure they are stored in a way that prevents them from being crushed or damaged.
- Recommended storage time: Cooked clams can be stored in the freezer for up to 3 months. However, for the best quality and flavor, it is recommended to consume them within 1-2 months.
By following these steps, you can ensure that your cooked clams remain preserved and delicious for an extended period. When you’re ready to enjoy them, it’s important to know the correct thawing and reheating process, which we’ll cover in the next step.
Read more: How To Store Clams In Freezer
Step 7: Thawing and Reheating the Frozen Clams
When you’re ready to enjoy the frozen cooked clams, it’s essential to thaw and reheat them properly to maintain their texture and flavor. Follow these steps for thawing and reheating:
- Thaw the clams in the refrigerator: To thaw the frozen clams safely, transfer them from the freezer to the refrigerator. Allow them to thaw slowly overnight or for about 24 hours. Thawing in the refrigerator helps preserve the quality of the clams.
- Reheat the clams: Once thawed, you have a couple of options to reheat the clams depending on your preference:
- Steam: Place the clams in a steamer basket or a saucepan with a small amount of water at the bottom. Steam them over medium heat for a few minutes until heated through. Be careful not to overcook them, as this can result in a rubbery texture.
- Sauté: Heat a small amount of oil or butter in a skillet over medium heat. Add the thawed clams and sauté them for a couple of minutes until heated through. This method can help enhance the flavor of the clams.
Ensure that the clams are heated to an internal temperature of at least 165°F (74°C) to ensure they are safe to consume. Once reheated, you can enjoy the delicious flavor of the clams as if they were freshly cooked.
It’s important to note that once you thaw and reheat the clams, they should not be refrozen. It’s best to consume them immediately to maintain their taste and quality.
With these steps, you now have the knowledge to properly thaw and reheat your frozen cooked clams, allowing you to savor their delightful flavor once again.
Conclusion
Knowing how to store cooked clams properly is essential to preserve their freshness, flavor, and quality. By following the step-by-step process outlined in this article, you can ensure that your cooked clams remain safe to eat and retain their delicious taste.
Remember to cool the clams before storing them and remove them from their shells to save space and prevent them from becoming soggy. Choose between refrigeration and freezing as the storing method based on your consumption time frame and quantity of clams.
If you opt for refrigeration, place the clams in an airtight container and store them in the refrigerator for up to 2-3 days. For longer storage, freezing is the preferred method. Flash-freeze the clams before transferring them to freezer-safe containers, and label them with the date of freezing.
When you’re ready to enjoy the cooked clams, thaw them safely in the refrigerator and then reheat them through steaming or sautéing. Ensure they reach an internal temperature of 165°F (74°C) for safe consumption.
By following these steps, you can store, thaw, and reheat your cooked clams with confidence, allowing you to enjoy their delightful flavor even days or months after cooking. So go ahead and store your cooked clams properly, and savor their delicious taste whenever you desire!
Frequently Asked Questions about How To Store Cooked Clams
Was this page helpful?
At Storables.com, we guarantee accurate and reliable information. Our content, validated by Expert Board Contributors, is crafted following stringent Editorial Policies. We're committed to providing you with well-researched, expert-backed insights for all your informational needs.

0 thoughts on “How To Store Cooked Clams”