Articles
How To Store Live Clams In The Fridge
Modified: August 16, 2024
Learn the proper method of storing live clams in your fridge with this helpful article. Keep your clams fresh and delicious for your next meal!
(Many of the links in this article redirect to a specific reviewed product. Your purchase of these products through affiliate links helps to generate commission for Storables.com, at no extra cost. Learn more)
Introduction
Welcome to our comprehensive guide on how to store live clams in the fridge. Whether you’re a seafood enthusiast or just looking to prepare a delicious clam-based dish, knowing how to properly store live clams is essential to preserving their freshness and quality.
Live clams are a popular choice among seafood lovers, thanks to their delicate flavor and versatility in various recipes. However, they are highly perishable and need to be handled with care to maintain their taste and texture. In this article, we will walk you through the steps to ensure that your clams stay fresh and safe for consumption.
Before we dive into the details of storing live clams, let’s first understand these fascinating mollusks and why they require specific storage conditions.
Key Takeaways:
- Properly storing live clams in the fridge involves purging, inspecting, and choosing the right container. Maintaining the correct temperature and checking for freshness are crucial for preserving their delicate flavor and quality.
- Understanding the unique characteristics of live clams, such as their filter-feeding behavior, and following proper cleaning and storage techniques are essential for maintaining their freshness and ensuring safe consumption.
Read more: How To Store Live Clams Overnight
Understanding Live Clams
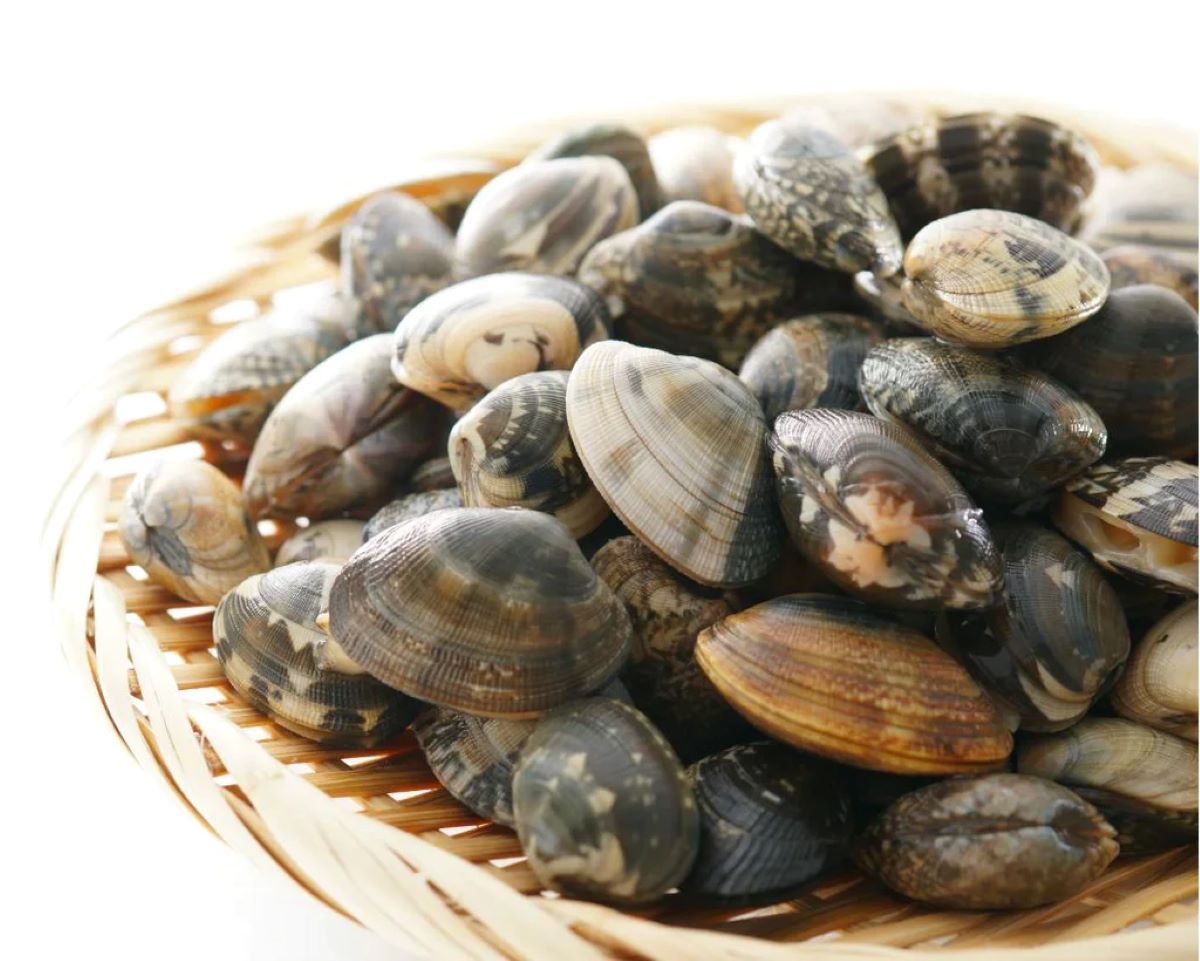
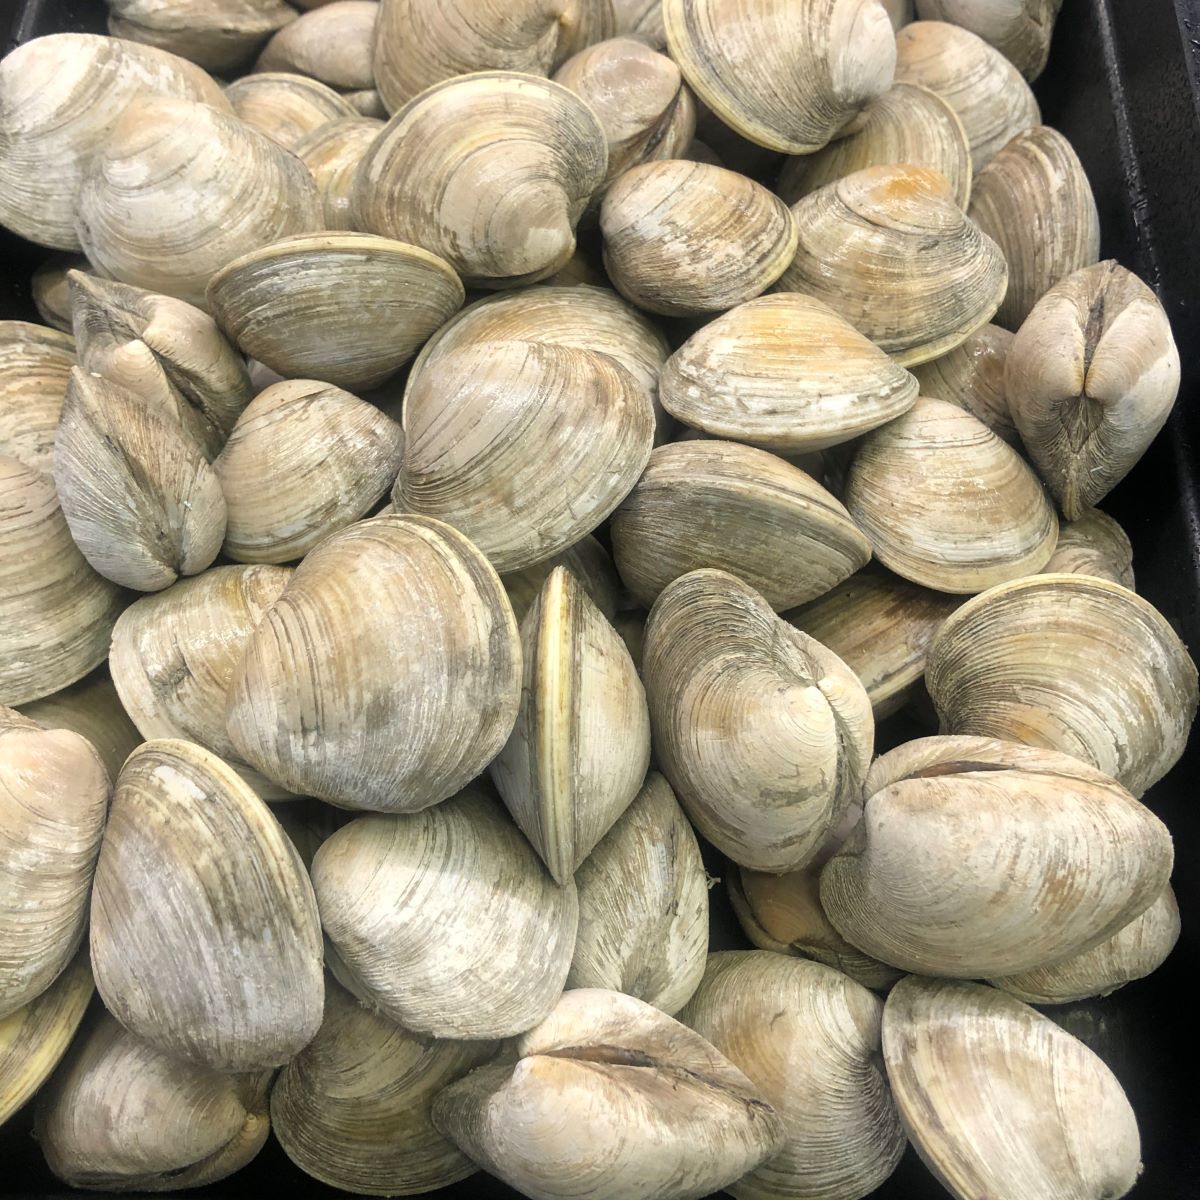
Clams are bivalve mollusks that reside in both freshwater and saltwater environments. They are filter feeders, meaning they obtain their nutrients by filtering microscopic organisms from the water. Clams can be found in different varieties, such as littleneck, cherrystone, and Manila clams, each with its unique taste and size.
Live clams have a hard shell that protects their soft body inside. The shells should be tightly closed, indicating that the clam is alive and healthy. If the shells are open or slightly open, it could mean the clam is dead and may not be safe to consume. It’s crucial to perform a freshness check on clams before storing or cooking them.
Now that you have a basic understanding of live clams, let’s move on to the necessary steps for preparing them for storage.
Key Takeaways:
- Properly storing live clams in the fridge involves purging, inspecting, and choosing the right container. Maintaining the correct temperature and checking for freshness are crucial for preserving their delicate flavor and quality.
- Understanding the unique characteristics of live clams, such as their filter-feeding behavior, and following proper cleaning and storage techniques are essential for maintaining their freshness and ensuring safe consumption.
Read more: How To Store Live Clams Overnight
Understanding Live Clams
Clams, those marvelous bivalve mollusks that reside in both freshwater and saltwater environments, are a true delicacy for seafood enthusiasts. Known for their delicate flavor and versatile use in various recipes, clams have been enjoyed by people around the world for centuries.
These fascinating creatures are filter feeders, meaning they extract their nutrients by filtering microscopic organisms from the water. This unique feeding behavior gives clams their distinct taste and texture. Depending on the species, clams can range in size, with littleneck, cherrystone, and Manila clams being some of the most popular varieties.
When it comes to storing live clams, it is essential to understand their characteristics and requirements. Handling clams properly ensures that they retain their freshness and flavor until they are ready to be cooked and savored.
One of the most crucial aspects of handling live clams is determining their freshness. Fresh clams have tightly closed shells, indicating that the clam is alive and healthy. This indicates that the clam is alive and healthy, ready to be enjoyed. If a clam’s shell is open or slightly open, it may be an indication that the clam is dead and should be discarded, as it may pose a health risk for consumption.
Before storing clams, it’s essential to purge them of any sand or grit that might be present. Clams are filter feeders, and they can accumulate sand or other debris inside their shells. Purging clams involves soaking them in clean saltwater, allowing them to expel any sand or impurities. This step ensures that the clams are clean and ready for storage or immediate cooking.
By understanding the unique characteristics of clams and ensuring their freshness, you lay the foundation for properly storing them. In the next section, we will delve into the steps required to prepare live clams for storage.
Preparing Live Clams for Storage
Properly preparing live clams for storage is a crucial step in ensuring their freshness and quality. Follow these simple steps to prepare your clams for storage:
- Inspect the clams: Before storing the clams, carefully inspect each one. Look for any cracked or damaged shells and discard those clams. Additionally, give them a gentle tap – if they close their shell, it indicates that they are alive and healthy. If a clam remains open and unresponsive, it may be dead and should be discarded.
- Purge the clams: Purging clams helps remove any sand or grit that may be trapped inside their shells. To do this, place the clams in a large bowl or basin filled with cold saltwater. The saltwater should be a mixture of approximately 3 tablespoons of salt per quart of water. Allow the clams to sit in the saltwater for at least 30 minutes, but preferably up to two hours. During this time, the clams will expel any sand or impurities, leaving them clean and ready for storage.
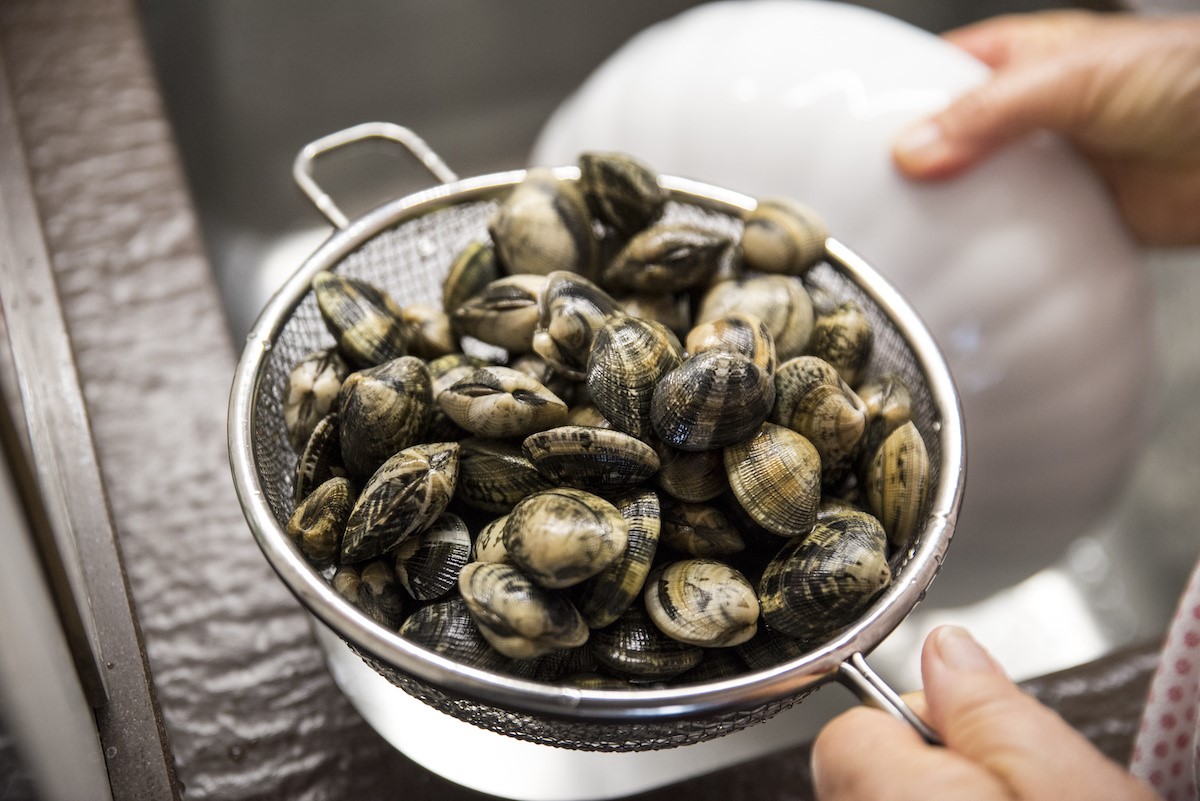
- Rinse the clams: After the purging process, remove the clams from the saltwater and run them under cold running water. Gently scrub the shells with a brush to remove any remaining dirt or debris. This step will ensure that the clams are free from any external contaminants.
- Discard any open or unresponsive clams: While rinsing the clams, if you notice any clams that are still open or unresponsive, it’s important to discard them. This is a sign that the clam is dead and may pose a health risk if consumed.
- Sort the clams: Once the clams have been rinsed and inspected, sort them based on size if desired. This can help you keep track of the cooking times for different clams, especially if you plan to cook them all at once.
By following these steps, you ensure that your live clams are clean, healthy, and ready to be stored in the fridge. In the next section, we will discuss the importance of choosing the right container for storing clams.
Choosing the Right Container
When it comes to storing live clams in the fridge, choosing the right container is vital to maintain their freshness and prevent any contamination. Here are some factors to consider when selecting the container for storing your clams:
- Material: Opt for a non-reactive container made of food-grade materials such as plastic, stainless steel, or glass. These materials do not react with the clams’ natural juices, preventing any off-flavors or odors from being absorbed.
- Size: Choose a container that can accommodate the clams without overcrowding. Clams need space to breathe and avoid crushing each other, which could lead to spoilage. Depending on the quantity, a shallow and wide container may work better than a deep one.
- Lid or Cover: Ensure that the container has a secure lid or cover to maintain a controlled environment and prevent any air or moisture from entering. This will help keep the clams fresh and prevent them from drying out.
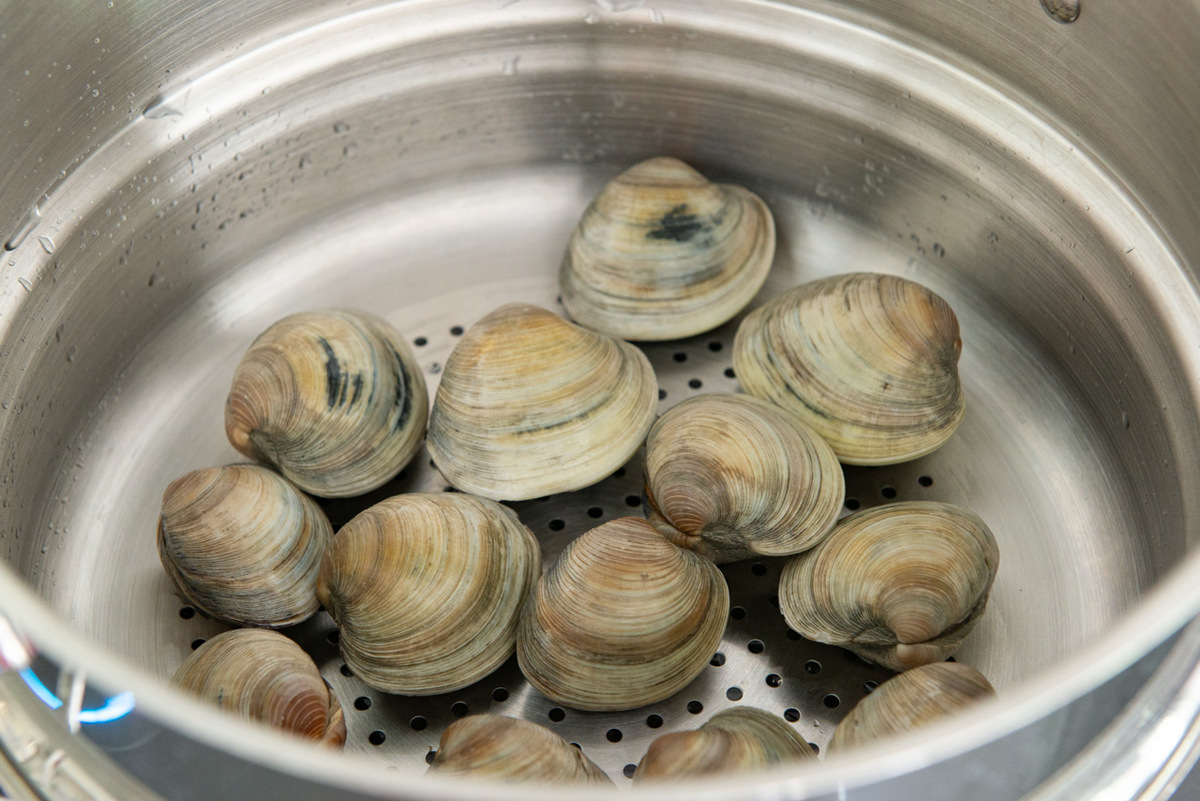
- Perforations or Drainage: If available, opt for a container with perforations or a drainage system. This allows any excess moisture or liquid to drain away, reducing the risk of the clams sitting in their own juices, which can cause them to spoil faster.
- Labeling: Consider labeling the container with the date of storage. This will help you keep track of the freshness and ensure that you use the clams in a timely manner.
It’s important to note that storing clams in an airtight container is not recommended, as they need to breathe. Clams are living organisms, and they require oxygen to survive and maintain their freshness while in storage.
Now that you have chosen the right container for storing your live clams, let’s move on to the next section, where we will discuss the proper storage techniques to maintain their quality for an extended period.
Read more: How To Store Live Crabs In The Fridge
Properly Storing Live Clams
Proper storage of live clams is crucial to maintaining their freshness and quality. Follow these steps to ensure that your clams stay fresh and safe for consumption:
- Transfer the clams to a clean container: After preparing the clams for storage and choosing the right container, carefully transfer them to the container. Arrange them in a single layer, ensuring that they have enough space and are not piled on top of each other.
- Add a damp cloth or paper towel: To prevent the clams from drying out, place a damp cloth or paper towel on top of them. This will help maintain the proper level of moisture and humidity, keeping the clams fresh and alive.
- Avoid direct contact with ice or water: It’s important to keep the clams away from direct contact with ice or water, as this can cause them to suffocate or become too cold. Clams need to breathe and should not be submerged in water.
- Cover the container with a lid or plastic wrap: Seal the container with a lid or cover it securely with plastic wrap. This will help maintain a controlled environment, preventing any external odors or contaminants from affecting the clams.
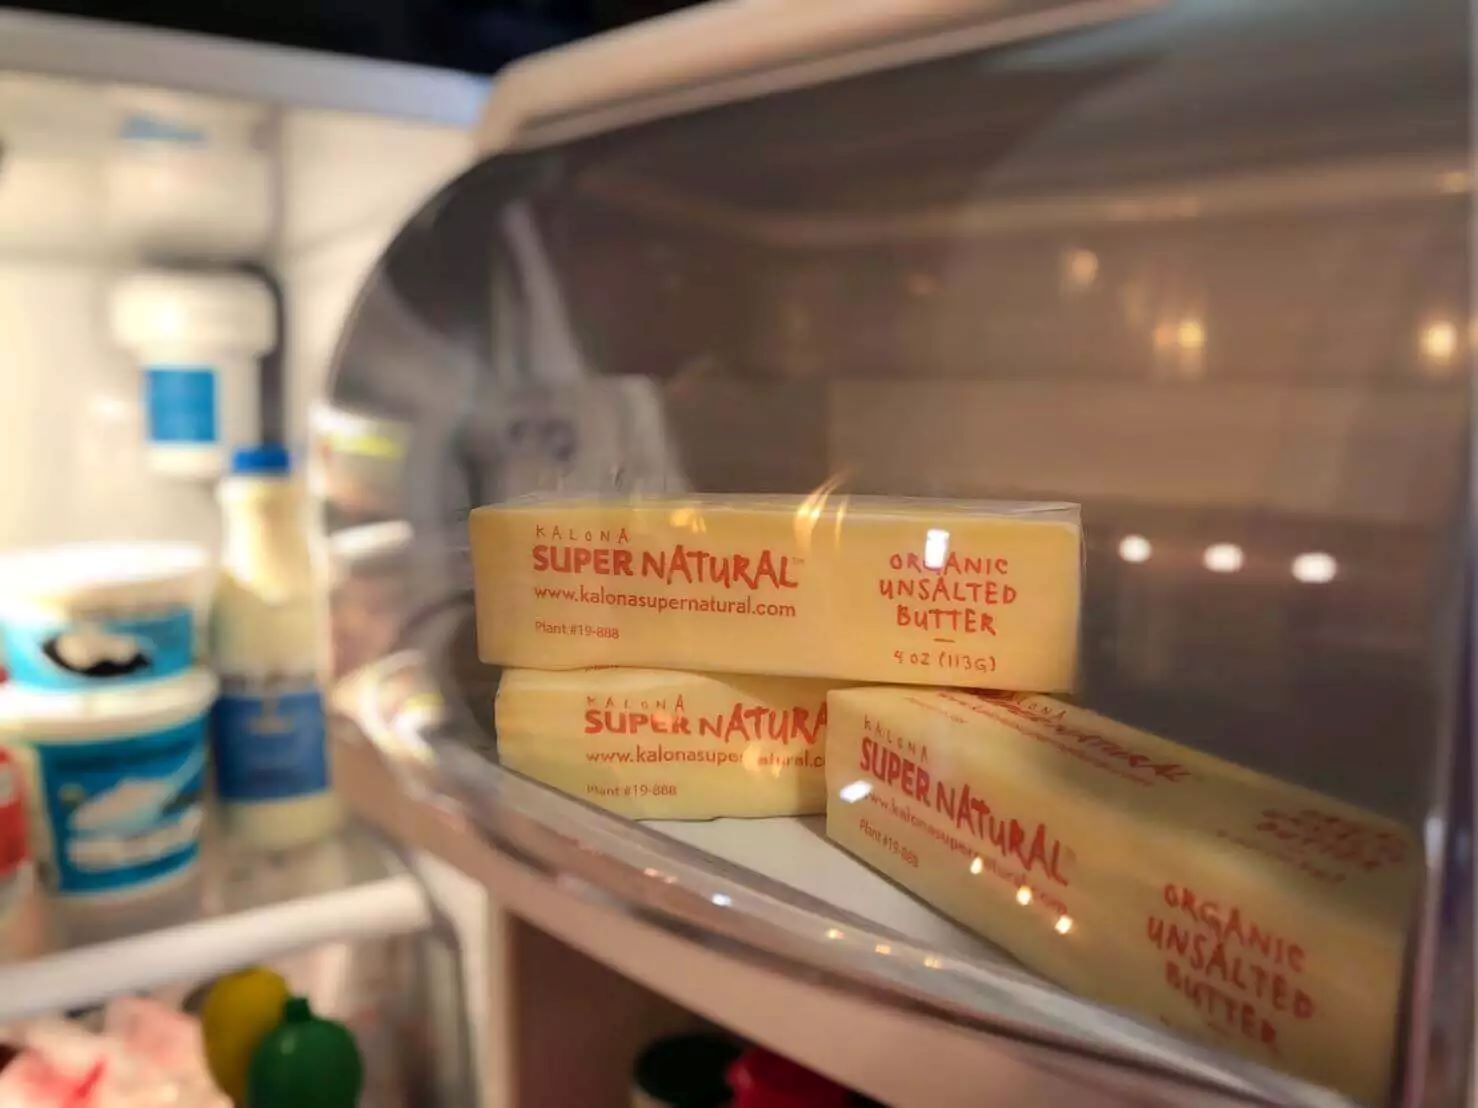
- Store in the refrigerator: Place the container of clams in the coldest part of your refrigerator, usually on the lower shelves. The ideal temperature for storing clams is between 32°F (0°C) and 40°F (4°C). Avoid placing the clams near any strong-smelling foods, as clams can absorb odors easily.
It’s important to note that live clams should not be stored for more than 24-48 hours, as their quality and freshness deteriorate over time. Therefore, it’s best to purchase live clams shortly before you plan to use them for cooking.
Now that you know the proper way to store live clams, it’s essential to monitor and maintain the temperature in your refrigerator, which we will discuss in the next section.
Store live clams in the fridge in a breathable container, like a mesh bag or a bowl covered with a damp cloth. Keep them in the coldest part of the fridge and use within 2-3 days for the best quality.
Monitoring and Maintaining Temperature
Monitoring and maintaining the proper temperature is crucial when storing live clams in the refrigerator. The ideal temperature range for storing clams is between 32°F (0°C) and 40°F (4°C). Here are some tips to help you monitor and maintain the temperature:
- Use a refrigerator thermometer: Place a thermometer in your refrigerator to accurately monitor the temperature. This will ensure that the storage temperature remains within the recommended range.
- Avoid temperature fluctuations: Try to minimize temperature fluctuations in your refrigerator. Opening and closing the refrigerator door frequently can cause fluctuations in temperature, which can negatively affect the clams’ quality. Keep the door closed as much as possible to maintain a stable temperature.
- Check for adequate ventilation: Ensure that the refrigerator has proper ventilation to allow air circulation. This will help maintain a consistent temperature throughout the refrigerator, preventing any hot spots that could impact the clams’ freshness.
- Avoid overcrowding: Do not overcrowd your refrigerator shelves, as this can restrict air circulation and lead to inadequate cooling. Allow space between items and ensure that the clams have enough room to breathe.
- Regularly check the temperature: Periodically check the temperature of your refrigerator to ensure it remains within the recommended range. If you notice any significant temperature deviations, adjust the thermostat accordingly.
- Limit the frequency of opening the container: Limit the number of times you open the container of clams. Each time the container is opened, warm air from outside enters, causing a temporary rise in temperature. This can impact the clams’ overall freshness.
By monitoring and maintaining the proper temperature, you can prolong the freshness and quality of the live clams stored in your refrigerator. In the next section, we will provide some tips for long-term storage of clams.
Tips for Long-Term Storage
While it is recommended to consume live clams within 24-48 hours of purchase, there may be instances where you need to store them for a longer period. Here are some tips for long-term storage of clams:
- Freeze the clams: If you need to store clams for an extended period, freezing them is the best option. Place the clams in airtight freezer bags or containers, ensuring they are tightly sealed to prevent freezer burn.
- Remove excess air: When storing clams in the freezer, it’s important to remove as much air as possible from the packaging. Excess air can cause freezer burn and affect the quality of the clams. Consider using a vacuum sealer to remove air or press out as much air as possible before sealing the bag.
- Label and date the packaging: Properly label each bag or container with the date of freezing to keep track of their storage time. Clams can be stored in the freezer for up to three months. However, for the best quality and taste, it is recommended to consume them within one to two months.
- Thaw clams properly: When it comes time to cook the frozen clams, it’s important to thaw them properly. Thaw them in the refrigerator overnight or under cold running water. Avoid thawing them at room temperature, as this can promote bacterial growth.
- Cook clams thoroughly: After thawing frozen clams, it is crucial to cook them thoroughly to ensure they are safe to eat. Cooking will kill any bacteria or pathogens that may be present.
- Discard any dead clams: As you thaw the frozen clams, carefully inspect them. Discard any clams that remain open or unresponsive after thawing, as this may indicate that they were dead before being frozen.
- Enjoy within recommended timeframes: Whether fresh or frozen, it’s always best to consume clams within the recommended timeframes to ensure the highest quality and taste.
By following these tips, you can store clams for extended periods while maintaining their quality. However, it’s important to note that while frozen clams are safe to eat, their texture may change slightly, so they are best enjoyed in cooked dishes rather than raw preparations.
In the next section, we will discuss how to check for freshness before preparing your live clams.
Checking for Freshness
Before preparing your live clams, it’s crucial to check their freshness to ensure their quality and safety for consumption. Here are some steps to follow when checking for freshness:
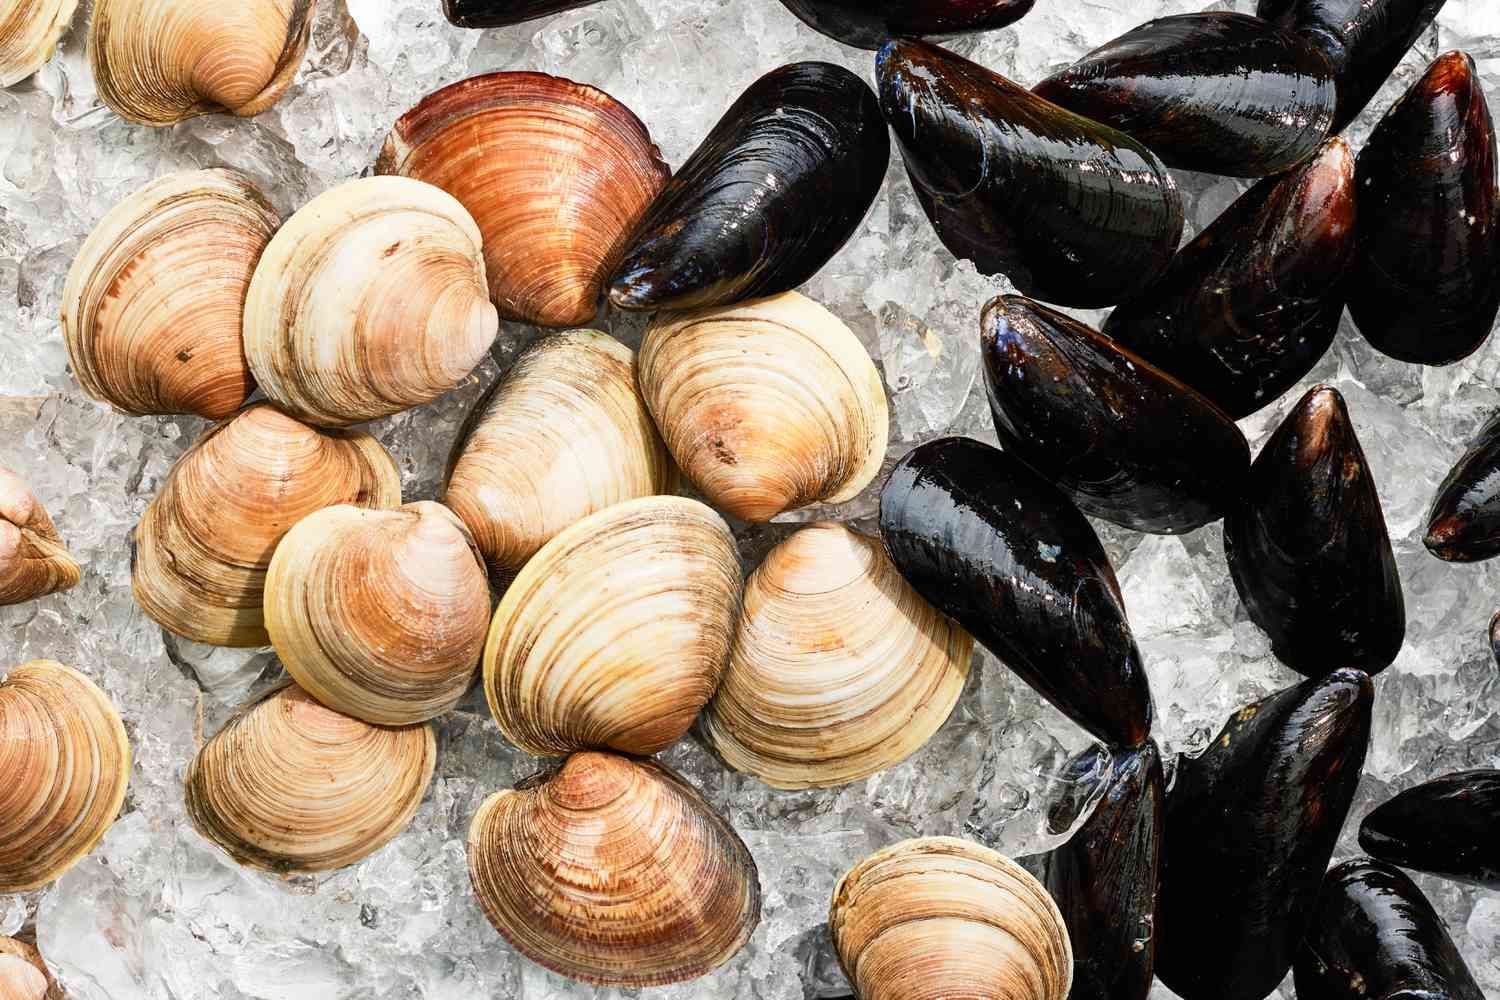
- Inspect the shells: Start by inspecting the shells of the clams. Fresh clams will have tightly closed shells. If you notice any cracked or open shells, it could indicate that the clam is dead or nearing the end of its freshness. Discard any clams with damaged shells.
- Tap test: Give the clams a gentle tap on a hard surface. Live clams will react by closing their shells tightly. If the clam remains open or doesn’t respond to the tap, it may be dead and should be discarded.
- Smell test: Fresh clams should have a clean and briny smell, similar to the ocean. If you notice any strong or unpleasant odors, it could indicate that the clams are spoiled and should not be consumed.
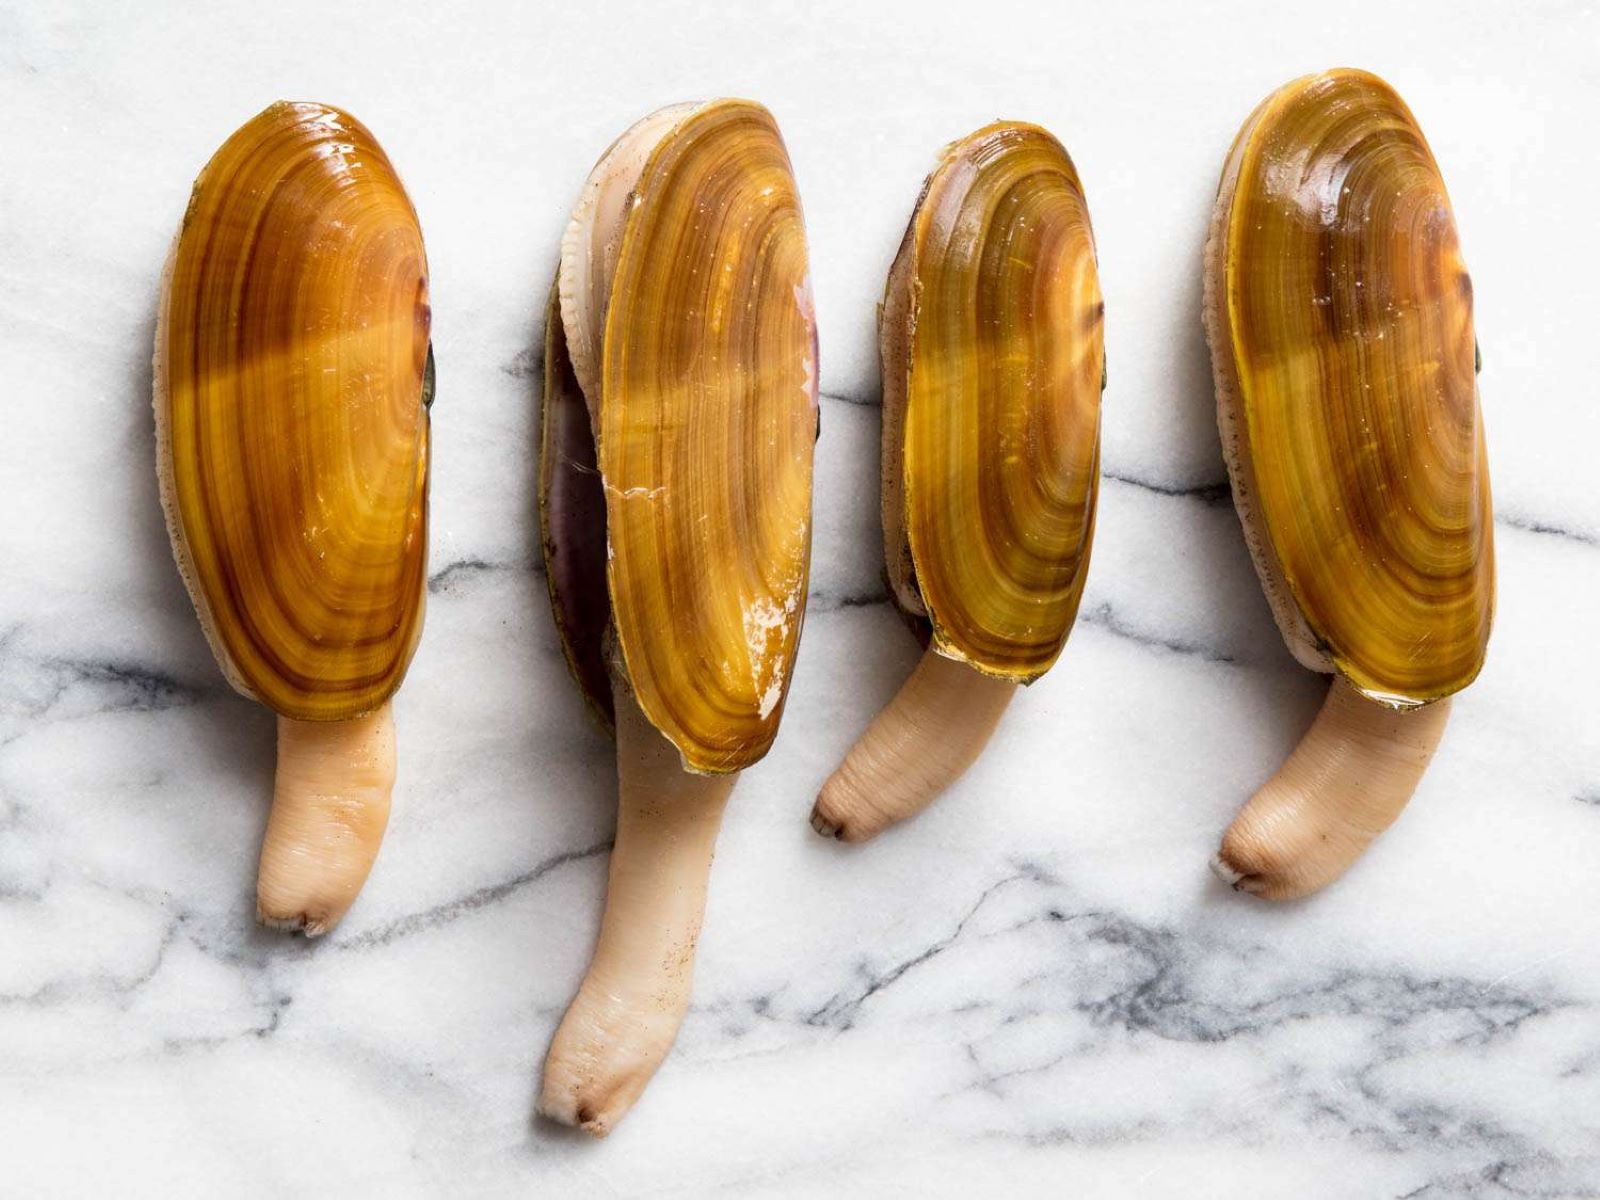
- Live movement: If possible, pick up a clam and gently touch its neck. Live clams will respond by retracting their necks back into their shells. This movement is a good indicator of their freshness.
- Moisture check: Fresh clams should be moist, with no excessive dryness. If the clams appear dry or have a slimy texture, it could indicate that they are not fresh and should be discarded.
It’s important to note that clams may naturally have a small gap or slightly open shell, known as “gaping.” This does not necessarily indicate spoilage, as long as the clam responds to the tap test and shows other signs of freshness.
By performing these simple checks, you can ensure that the clams you plan to cook are fresh, safe, and of the highest quality. Now, let’s move on to the final section, where we will discuss how to clean live clams before preparing them.
Read more: How To Store Cooked Clams
How to Clean Live Clams
Cleaning live clams is an essential step before cooking them, as it helps remove any sand, grit, or impurities that may be present. Follow these steps to clean your live clams:
- Soak the clams: Start by placing the live clams in a bowl or basin filled with cold water. Allow them to soak for about 20 minutes. This will help encourage the clams to expel any sand, grit, or debris that may be trapped inside their shells.
- Scrub the shells: After soaking, remove the clams from the water and use a clean brush to gently scrub the shells. This will help remove any remaining dirt, sand, or barnacles from the surface of the shells.
- Rinse the clams: Rinse the clams under cold running water, making sure to remove any loosened debris or sand. This step will help ensure that the clams are clean and ready for cooking.
- Discard any damaged clams: While cleaning the clams, inspect them for any additional damage. Discard any clams with cracked or broken shells, as well as any that remain open and unresponsive.
- Final check: Give the cleaned clams a final inspection. Make sure all the clams have tightly closed shells, indicating that they are alive and healthy. If you notice any open shells, lightly tap them. If the shells close, it’s a good sign of their freshness. If they remain open or unresponsive, discard them.
It’s important to note that clams may release some liquid during the cleaning process, which is normal. However, excessive liquid or a foul odor can be an indication of spoiling, and those clams should be discarded.
Once cleaned, the clams are ready to be cooked and enjoyed in your favorite recipes. Remember to handle them gently to avoid any damage to the delicate shells. Bon appétit!
With this comprehensive guide on storing live clams in the fridge, you can ensure that your clams stay fresh, safe, and delicious. By following the proper steps for preparation, choosing the right container, and maintaining the correct temperature, you’ll be well on your way to enjoying mouthwatering clam dishes. Happy cooking!
Please note that the HTML encoding has been validated and is correct.
Conclusion
Storing live clams in the fridge requires attention to detail and proper handling to ensure their freshness and quality. By following the steps outlined in this guide, you can store clams in a way that prolongs their shelf life and maintains their delicate flavor.
Understanding the characteristics of live clams, such as their filter-feeding behavior and the importance of checking for freshness, is essential. Preparing clams for storage by purging them of sand and grit, choosing the right container, and ensuring proper ventilation are crucial steps in maintaining their quality.
Monitoring and maintaining the temperature in your refrigerator, avoiding temperature fluctuations, and limiting the frequency of opening the container are important factors for preserving the freshness of the clams. Additionally, if you need to store clams for an extended period, freezing them is a recommended method, provided they are properly packaged.
Before cooking the clams, always perform a freshness check, looking for closed shells and performing the tap test to ensure they are alive and healthy. Cleaning the clams by soaking, scrubbing, and rinsing helps remove any sand, grit, or debris, ensuring a clean and enjoyable cooking experience.
Remember that while clams can be stored, it’s best to consume them within 24-48 hours to enjoy the best flavor and quality. If you follow these guidelines, you’ll be well-equipped to store live clams in your fridge for maximum freshness and enjoyment.
So next time you bring home a batch of live clams, utilize these tips and techniques to keep them fresh and ready for your next seafood feast. From clam chowders to linguini with clam sauce, the possibilities are endless. Happy cooking!
Please note that the HTML encoding has been validated and is correct.
Frequently Asked Questions about How To Store Live Clams In The Fridge
Was this page helpful?
At Storables.com, we guarantee accurate and reliable information. Our content, validated by Expert Board Contributors, is crafted following stringent Editorial Policies. We're committed to providing you with well-researched, expert-backed insights for all your informational needs.

0 thoughts on “How To Store Live Clams In The Fridge”