Articles
How To Store Fresh Clams
Modified: February 28, 2024
Discover helpful articles about how to properly store fresh clams and keep them fresh for your next seafood feast.
(Many of the links in this article redirect to a specific reviewed product. Your purchase of these products through affiliate links helps to generate commission for Storables.com, at no extra cost. Learn more)
Introduction
Welcome to the world of delicious and nutritious fresh clams! Whether you’re a seafood enthusiast or just looking to explore new recipes, knowing how to properly store fresh clams is essential. Clams are delectable shellfish that can elevate any dish, from comforting clam chowder to succulent pasta dishes. However, to ensure their quality and safety, it’s crucial to handle and store them correctly.
In this article, we will walk you through the step-by-step process of storing fresh clams to maintain their freshness and flavor. We’ll cover important aspects such as choosing the right clams, properly cleaning them, storing them appropriately, and even checking for freshness before cooking. By the end of this guide, you’ll have all the knowledge you need to enjoy fresh clams at their best!
So, let’s dive in and discover the secrets to storing fresh clams effectively!
Key Takeaways:
- Choose live, responsive, and well-hydrated clams with closed shells. Clean, store, and check for freshness to savor delicious and safe clam dishes. Embrace creativity in cooking for a memorable dining experience.
- Ensure freshness by tapping, smelling, and inspecting clams before cooking. Discard any unusable clams to prioritize safety and quality. Get adventurous with quick-cooking, flavorful recipes for a delightful culinary journey.
Read more: How To Store Clams
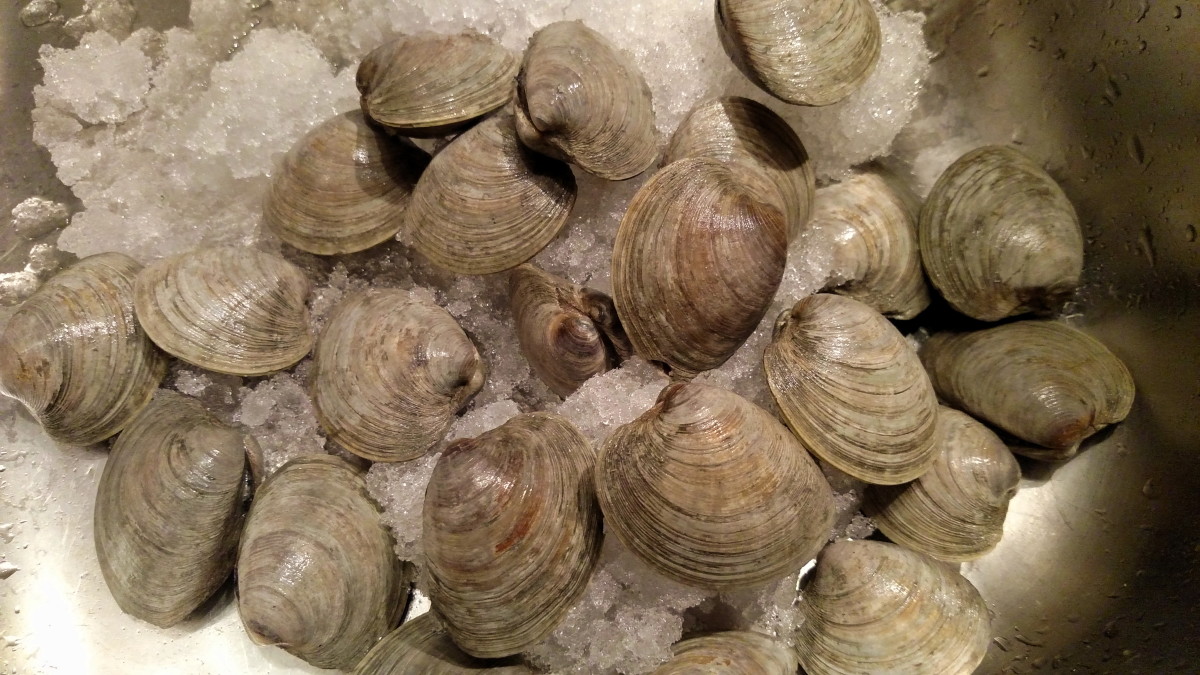
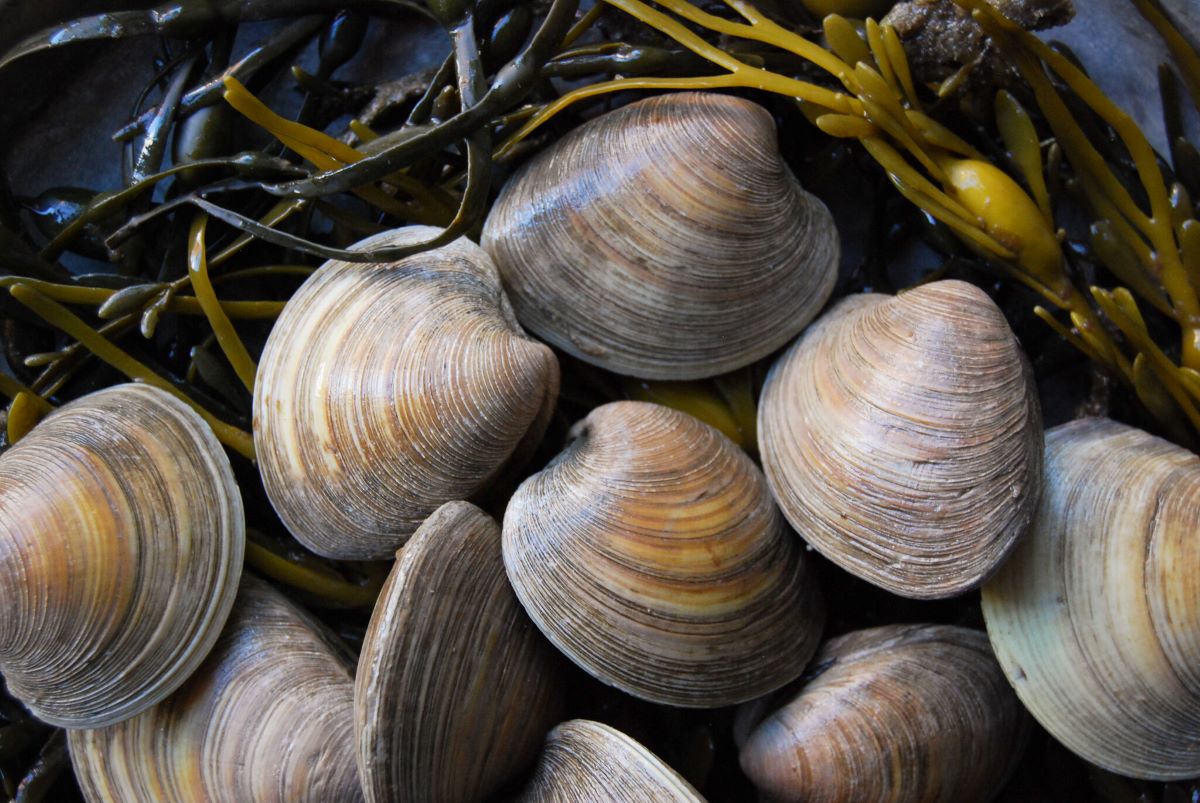
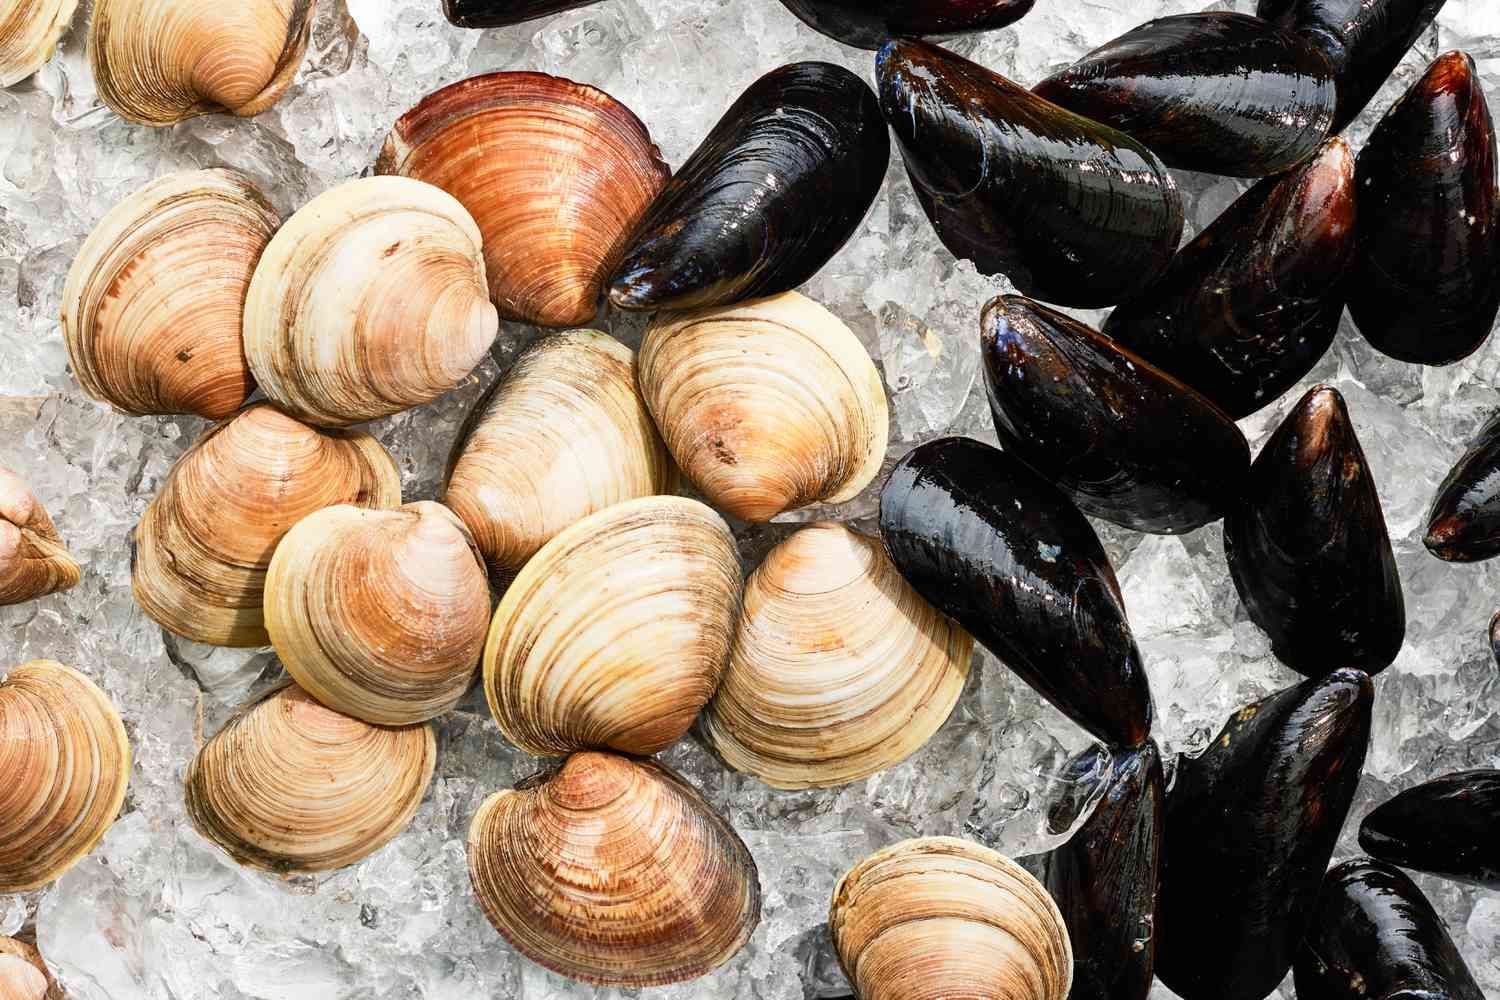
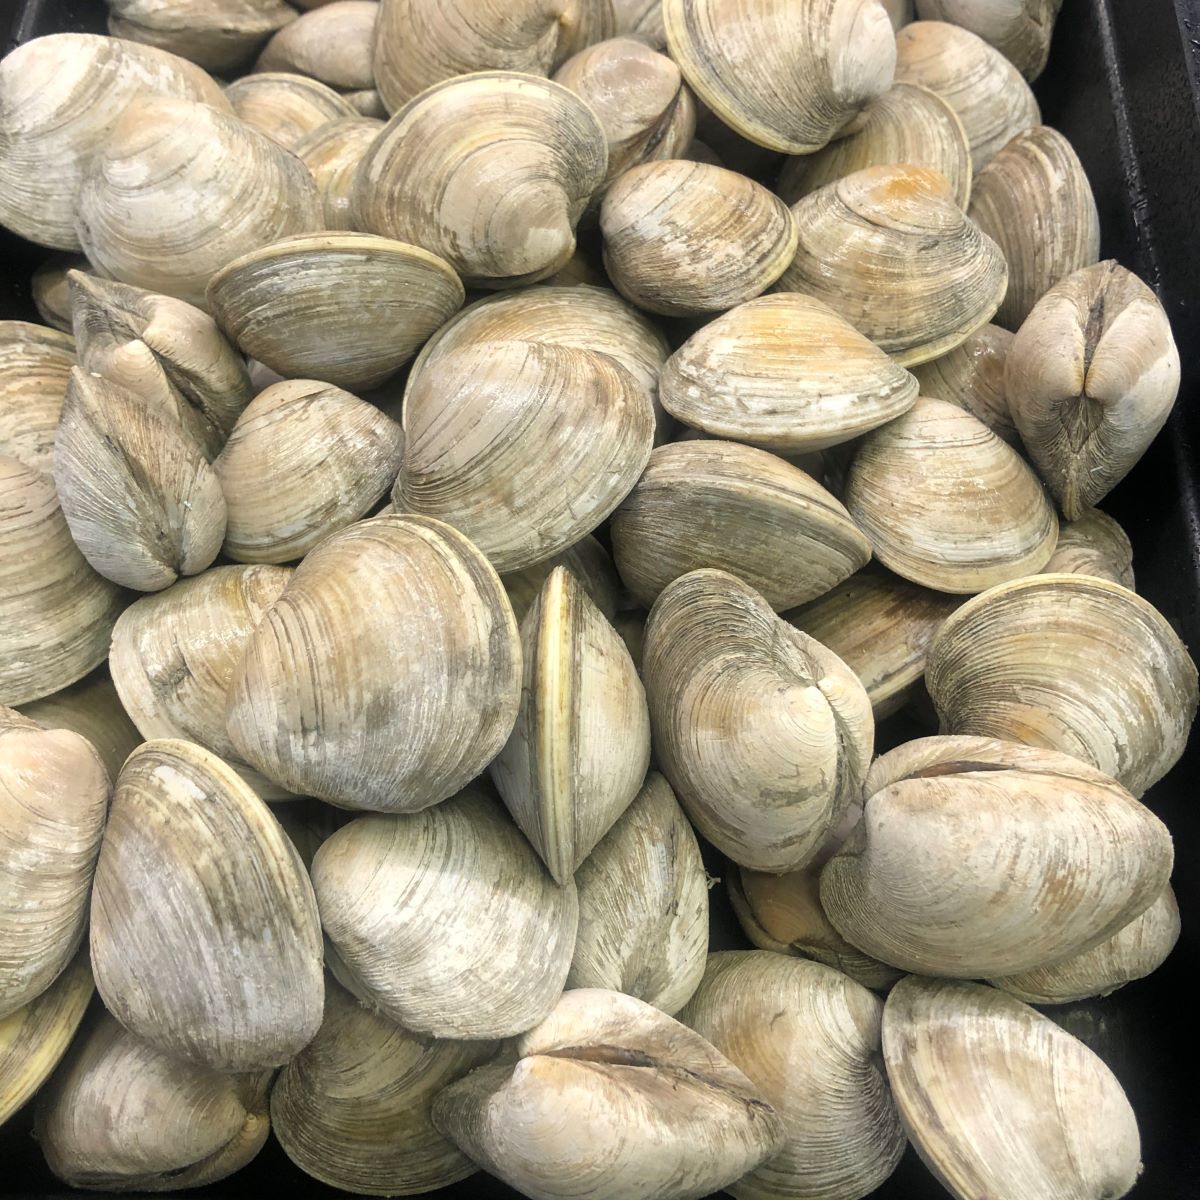
Step 1: Choosing Fresh Clams
When it comes to selecting fresh clams, there are a few key factors to consider. By keeping an eye out for these indicators, you can ensure that you’re bringing home the highest quality clams.
1. Look for a Closed Shell: The first thing you should check is that the clam’s shell is tightly closed. This indicates that the clam is alive and healthy. Avoid clams with cracked or open shells, as they may have already perished and are no longer safe to consume.
2. Responsiveness: Gently tap the clam’s shell or touch its siphon (the tube-like protrusion). Fresh clams will react by closing their shells or retracting their siphons. If the clam remains unresponsive or doesn’t show any signs of movement, it likely means that it’s not alive or in poor condition.
3. Weight and Moisture: Fresh clams should feel hefty when you pick them up. They should also have a moist shell or slightly damp texture, signaling that they are well-hydrated and have been properly stored.
4. Odor: Take a whiff of the clams – they should have a pleasant and mild oceanic smell. If there’s a strong, foul smell, it could be an indication of spoilage, and it’s best to avoid those clams.
5. Quality Source: Whenever possible, purchase your clams from a reputable seafood vendor or local fish market. These establishments often have a higher turnover rate and ensure the freshness and quality of their offerings.
By following these guidelines, you can be confident in choosing the best fresh clams for your culinary adventures.
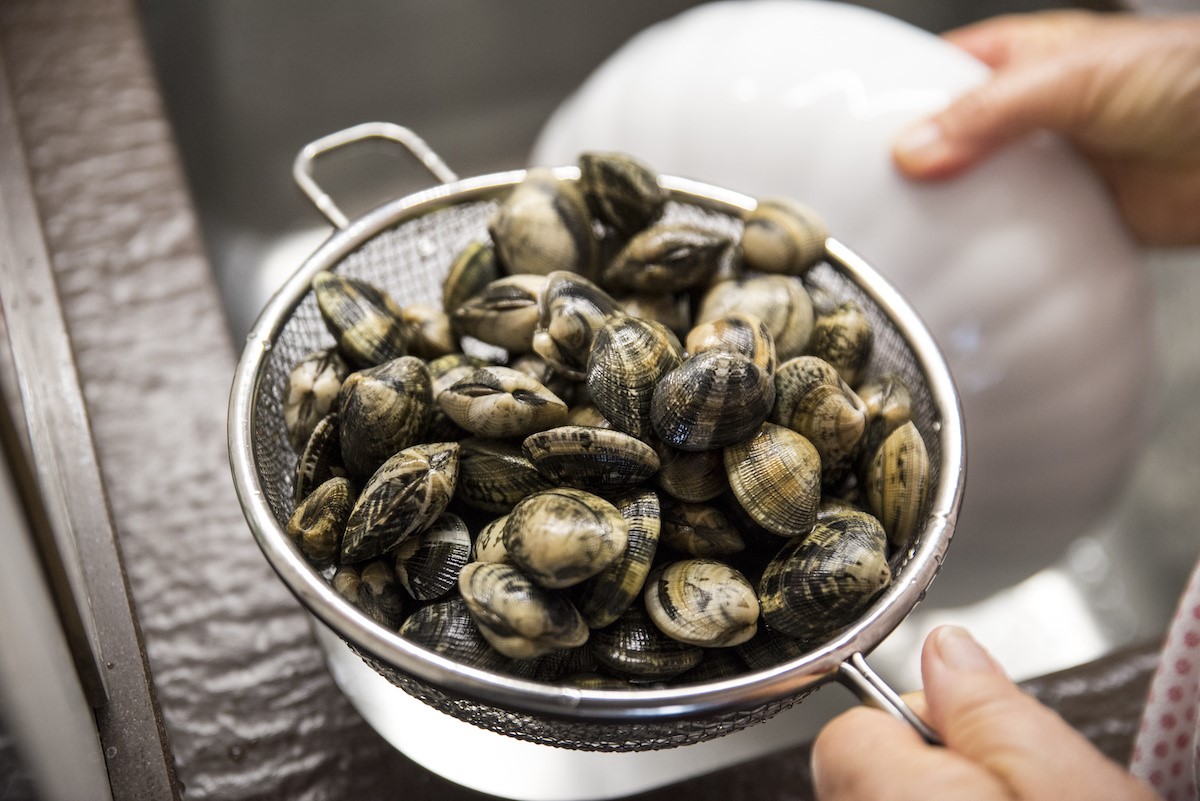
Step 2: Cleaning the Clams
Before storing fresh clams, it’s crucial to clean them thoroughly to remove any dirt, sand, or debris that may be trapped in their shells. Cleaning clams not only improves their taste but also helps prevent any potential contamination.
Here’s a simple step-by-step guide to cleaning your clams:
- Rinse the Clams: Start by placing the clams in a colander and rinsing them under cold running water. Use your hands to gently rub and remove any dirt or grit on the shells. This will help eliminate any loose debris.
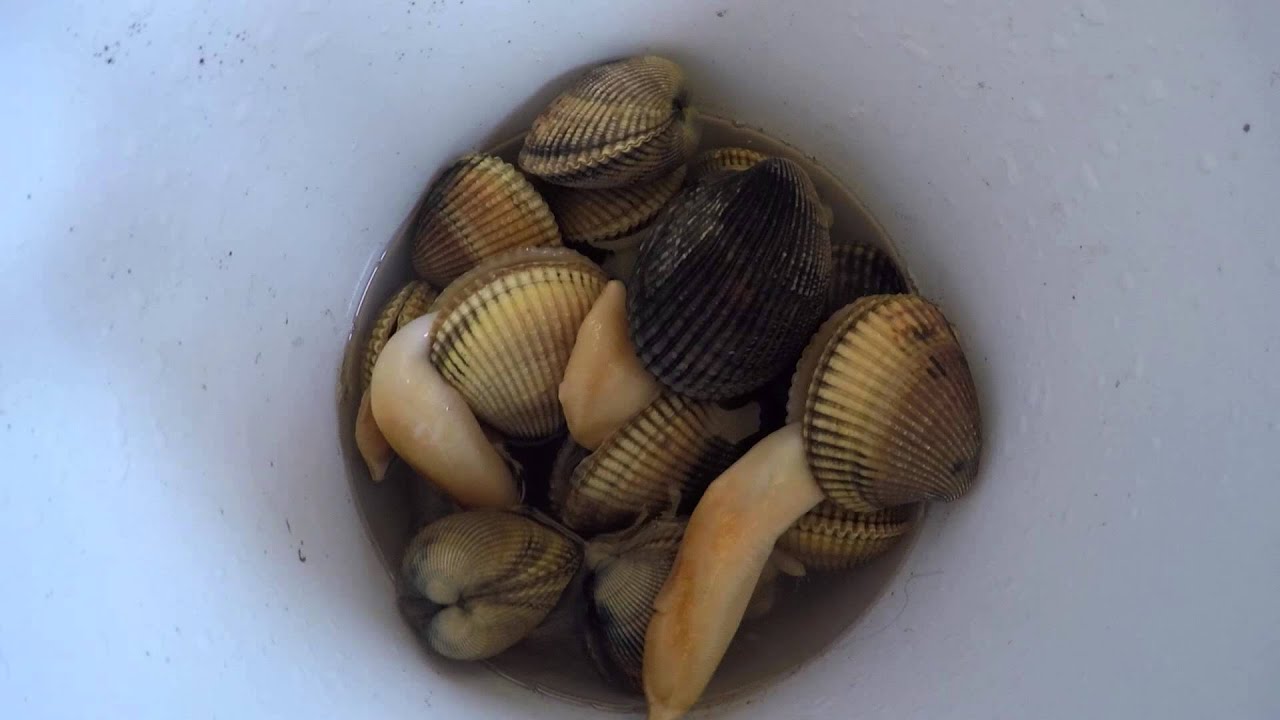
- Soak in Saltwater Solution: Prepare a saltwater solution by dissolving 1/4 cup of sea salt in a bowl of cool water. Submerge the clams in the saltwater solution for about 20 minutes. This process helps to draw out any remaining sand or grit from the clams’ shells.
- Scrub the Shells: After the clams have soaked, take a clean brush (such as a vegetable brush) and gently scrub the shells to remove any stubborn particles or barnacles. Pay particular attention to the hinge area, where sand tends to accumulate.
- Rinse Again: Rinse the clams under cold running water once more to wash away any residue from the saltwater solution and loosened debris. This final rinse ensures that your clams are clean and ready for storage or cooking.
- Inspect for Open or Damaged Clams: While cleaning, it’s essential to discard any clams that remain open or show signs of damage or spoilage. These clams are not safe to consume and should be discarded to avoid any health risks.
Once you’ve completed these steps, your fresh clams are now clean and ready for storage or immediate culinary preparation. Cleaning them before storing helps maintain their quality and ensures a better overall dining experience.
Step 3: Proper Storage of Fresh Clams
Properly storing fresh clams is crucial to maintain their freshness, flavor, and safety. Taking the necessary steps will help extend their shelf life and ensure that they are in optimal condition when you’re ready to cook with them. Here are some guidelines for storing fresh clams:
- Keep Them Cool: Clams are highly perishable, so it’s important to store them in a cool environment. Ideally, they should be kept at a temperature between 32°F (0°C) and 45°F (7°C). This temperature range will help slow down the growth of bacteria and keep the clams fresh for a longer period.
- Do Not Freeze: Avoid freezing fresh clams as they tend to lose their texture and flavor when thawed. Freezing can also lead to the clams’ shells cracking and the meat becoming tough and rubbery.
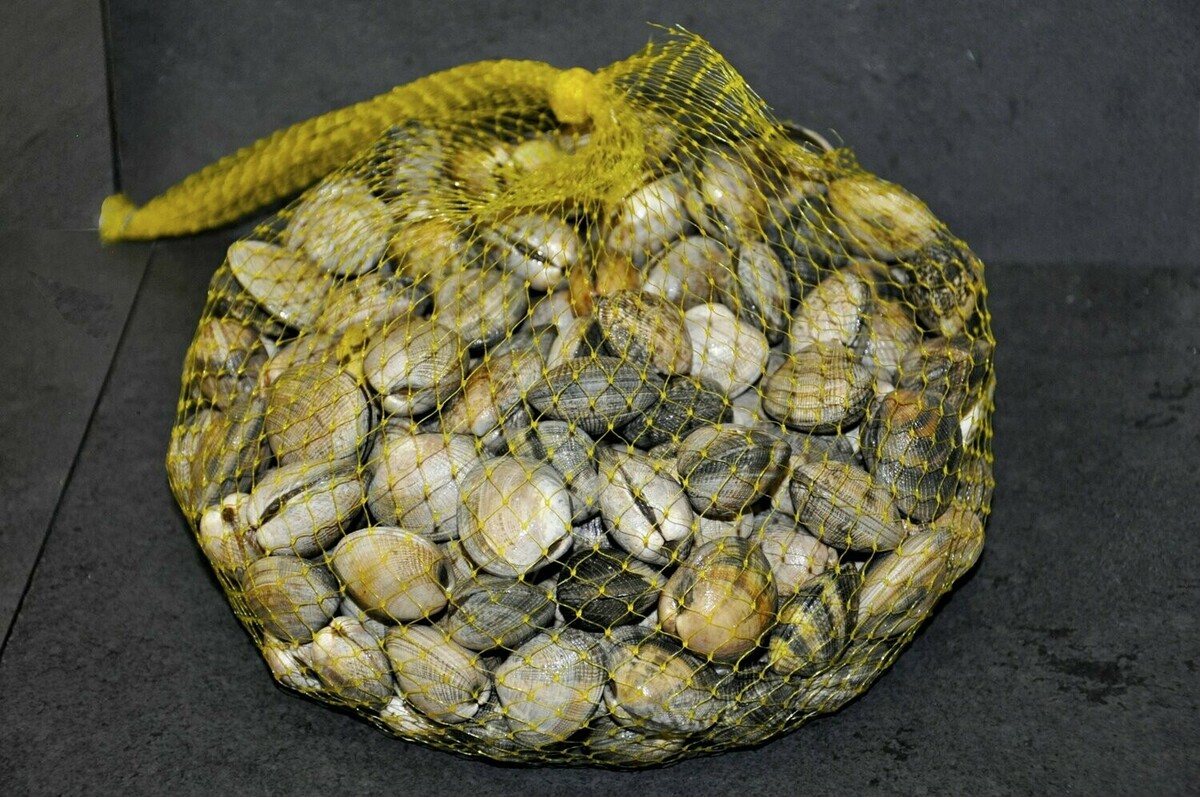
- Store in a Breathable Container: Place the fresh clams in a breathable container, such as a mesh bag or a perforated container. This allows for proper air circulation and prevents any accumulation of moisture or condensation, which can spoil the clams.
- Natural Moisture: Fresh clams should be stored in a container with some moisture. You can achieve this by adding a damp towel or paper towel to the container. This helps to maintain the clams’ natural moisture and prevent them from drying out.
- Position Clams Properly: When storing the clams, ensure that they are positioned with their hinge-side down. This helps prevent any excess liquid from accumulating inside the shell, which can lead to spoilage.
- Use Fresh Seaweed or Ice Pack: If you happen to have access to fresh seaweed or ice packs designed for seafood storage, you can place them on top of the clams. This helps mimic their natural environment and keeps them cool and hydrated.
- Regularly Check and Refresh: It’s important to regularly check the clams and remove any that have opened or show signs of spoilage. Additionally, if the damp towel or paper towel in the container becomes dry, refresh it with a new damp one.
- Store for Short-Term: Fresh clams are best consumed within a day or two of purchase. It’s recommended to store them for a short period and try to cook them as soon as possible to enjoy their optimal flavor and texture.
By following these storage guidelines, you can ensure that your fresh clams stay fresh and delicious until you’re ready to prepare them for your next seafood feast.
Store fresh clams in the refrigerator in a breathable container, such as a mesh bag or a bowl covered with a damp towel. Keep them cold, but not submerged in water, and use them within 1-2 days for the best flavor and quality.
Step 4: Checking for Freshness Before Cooking
Before you start cooking with your stored clams, it’s important to check their freshness. This step ensures that you’re working with clams that are safe to consume and will provide the best taste and texture. Here’s how to check for freshness:
- Tap Test: Gently tap each clam against a hard surface. Fresh clams will respond by closing their shells tightly or slightly opening and closing them. If a clam remains open and doesn’t respond to the tap, it’s best to discard it, as it may be dead or spoiled.
- Smell Test: Take a good sniff of the clams. Fresh clams should have a mild, pleasant, and slightly salty oceanic smell. If there’s a strong ammonia or fishy odor, it’s a sign of spoilage and the clams should not be consumed.
- Sight Test: Examine the clams closely. Fresh clams will have a vibrant and glossy appearance, with tightly closed shells. If any clams have open, cracked, or damaged shells, it’s safest to discard them.
- Discard Unresponsive Clams: If any clams fail the tap test or show signs of spoilage during the visual and smell tests, it’s important to discard them. Consuming spoiled clams can lead to foodborne illness.
- Quality Assurance: Trust your instincts when it comes to freshness. If something feels off or you have any doubts about the quality of the clams, it’s better to err on the side of caution and not use them.
By performing these checks, you can ensure that only fresh and safe clams are used in your culinary creations, enhancing the overall taste and enjoyment of your seafood dishes.
Read more: How To Store Cooked Clams
Step 5: Discarding Unusable Clams
While it’s important to choose fresh clams and store them properly, there may be instances where you come across clams that are no longer suitable for consumption. Discarding unusable clams is essential to ensure the safety and quality of your seafood dishes. Here’s how to identify and dispose of unusable clams:
- Open or Cracked Shells: Clams with open or cracked shells should always be discarded. This indicates that the clam is dead or has been compromised, making it unsafe to eat.
- Unresponsive Clams: As mentioned earlier, fresh clams should react when tapped or touched. If a clam remains unresponsive and doesn’t close its shell or retract its siphon, it’s best to discard it.
- Strong Odor: If a clam emits a strong ammonia or fishy smell, it’s a sign of spoilage. Trust your sense of smell and discard any clams with a foul or unpleasant odor.
- Mold or Discoloration: Clams that exhibit mold growth, excessive slime, or unusual discoloration should be discarded. These visual signs indicate spoilage and the presence of harmful bacteria.
- Abnormal Texture: Fresh clams should have firm meat with a slightly springy texture. If a clam feels mushy, slimy, or has an odd texture, it’s best to err on the side of caution and discard it.
- Excessive Saltwater: Clams that release excessive saltwater when handled might indicate that they are compromised. While it’s normal for clams to release some liquid, an excessive amount may suggest spoilage.
- Frozen or Damaged Clams: If you accidentally freeze clams or damage their shells during storage, it’s safer to discard them. Freezing alters the texture and flavor of clams, while damaged shells may expose them to contamination.
Remember, when it comes to ensuring your safety, it’s always better to be cautious and discard any clams that show signs of spoilage or compromise. This will help maintain the quality and integrity of your seafood dishes.
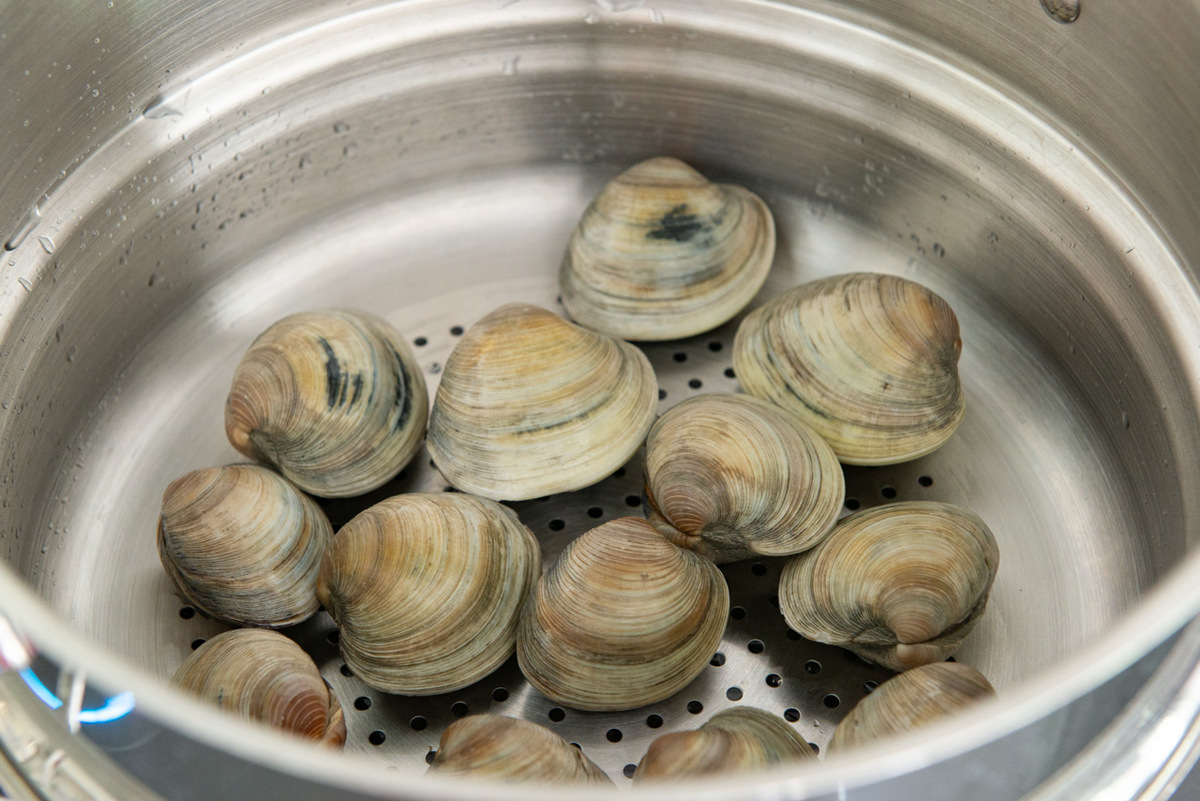
Step 6: Tips for Cooking with Fresh Clams
Now that you’ve chosen, cleaned, stored, and checked the freshness of your clams, it’s time to dive into the exciting part – cooking with them! To make the most out of your fresh clams, here are some helpful tips:
- Quick Cooking: Fresh clams cook relatively quickly, typically taking just a few minutes. Overcooking can lead to chewy and tough meat, so be mindful of the cooking time to achieve tender and succulent clams.
- Flavorful Broths: Whenever you’re steaming or simmering clams, using a flavorful broth or liquid enhances their taste. Consider using ingredients like white wine, garlic, shallots, butter, or even coconut milk for a delightful and aromatic finish.
- Open Clam Indicator: As clams cook, they will open up, revealing their tantalizing meat. Pay attention to this visual cue – once most of the clams have opened, it’s a sign that they are cooked and ready to be enjoyed.
- Discard Unopened Clams: In any batch of cooked clams, if there are any clams that remain closed after cooking, it’s essential to discard them. They are likely dead and should not be consumed.
- Get Creative: Clams are incredibly versatile and can be used in a variety of dishes. Experiment with classic recipes like clam chowder, linguine with clams, or clams casino. You can also explore new creations, such as clams in spicy tomato sauce or grilled clams with herb butter.
- Serve Immediately: Freshly cooked clams are at their peak when served immediately. The longer they sit, the more they can lose their tenderness and flavor. Aim to serve and enjoy them as soon as they are cooked.
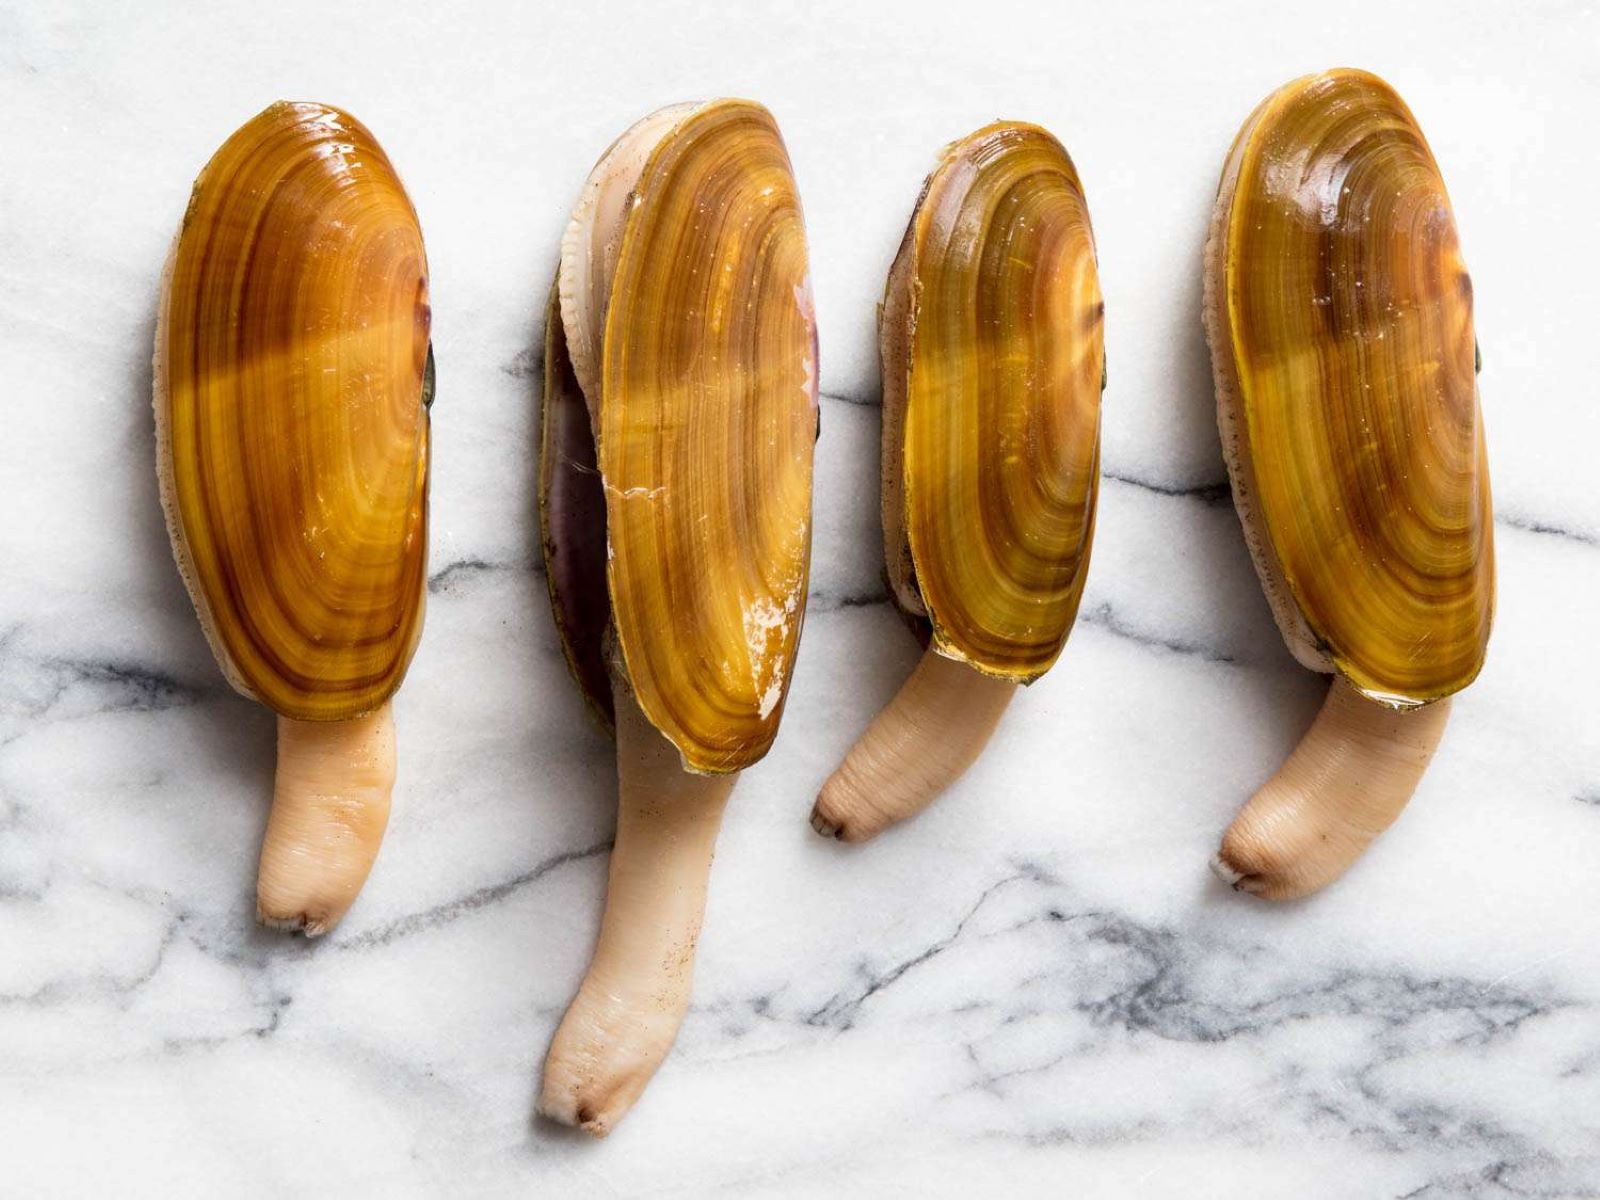
- Try Different Varieties: Clams come in various types, each with its unique taste and texture. Expand your culinary horizons by trying different clam varieties, such as littleneck clams, Manila clams, or razor clams, to discover new flavors and experiences.
- Pairing with Complementary Flavors: Clams pair well with ingredients such as bacon, lemon, fresh herbs, and spices like red pepper flakes. Experiment with different flavor combinations to enhance the natural sweetness of the clams.
With these tips in mind, you’re now equipped to create delicious and memorable dishes using your fresh clams. Get creative in the kitchen and enjoy the wonderful flavors that clams bring to your meals.
Conclusion
Congratulations! You are now well-versed in the art of storing fresh clams, from choosing the best ones to cleaning them, storing them properly, and ensuring their freshness before cooking. By following these steps, you can enjoy the tantalizing taste and delicate texture that fresh clams have to offer.
Remember, selecting live and responsive clams with tightly closed shells is crucial. Cleaning them thoroughly and removing any sand or debris ensures a clean and enjoyable dining experience. Storing fresh clams in a cool and breathable environment, with a touch of moisture, helps maintain their freshness and extends their shelf life.
Before cooking, always check the clams for freshness by performing simple tests, including tapping, smelling, and inspecting their shells. Discard any clams that do not meet the freshness criteria to avoid any potential health risks.
When it’s time to cook your fresh clams, be mindful of their quick cooking time, utilize flavorful broths, and discard any clams that remain unopened after cooking. Get creative with recipes and experiment with different flavor combinations to enhance the taste of the clams.
As you embark on your culinary journey with fresh clams, remember that the key lies in selecting the best quality clams, handling them with care, and storing them properly. With these techniques, you can enjoy the sea’s treasures in the form of mouthwatering clam dishes.
So go ahead, embrace your inner chef, and take delight in the captivating flavors and textures that fresh clams bring to your table!
Frequently Asked Questions about How To Store Fresh Clams
Was this page helpful?
At Storables.com, we guarantee accurate and reliable information. Our content, validated by Expert Board Contributors, is crafted following stringent Editorial Policies. We're committed to providing you with well-researched, expert-backed insights for all your informational needs.


0 thoughts on “How To Store Fresh Clams”