Articles
How To Store Little Neck Clams
Modified: August 16, 2024
Learn how to store little neck clams with our helpful articles. Find tips and tricks for preserving your clams and keeping them fresh.
(Many of the links in this article redirect to a specific reviewed product. Your purchase of these products through affiliate links helps to generate commission for Storables.com, at no extra cost. Learn more)
Introduction
Welcome to our guide on how to store little neck clams! Whether you’ve just returned from the seafood market or harvested them yourself, knowing how to properly store these delicious shellfish is essential to maintain their freshness and flavor. By following the simple steps outlined in this article, you can ensure that your little neck clams stay fresh for longer, giving you more time to enjoy them in various mouthwatering recipes.
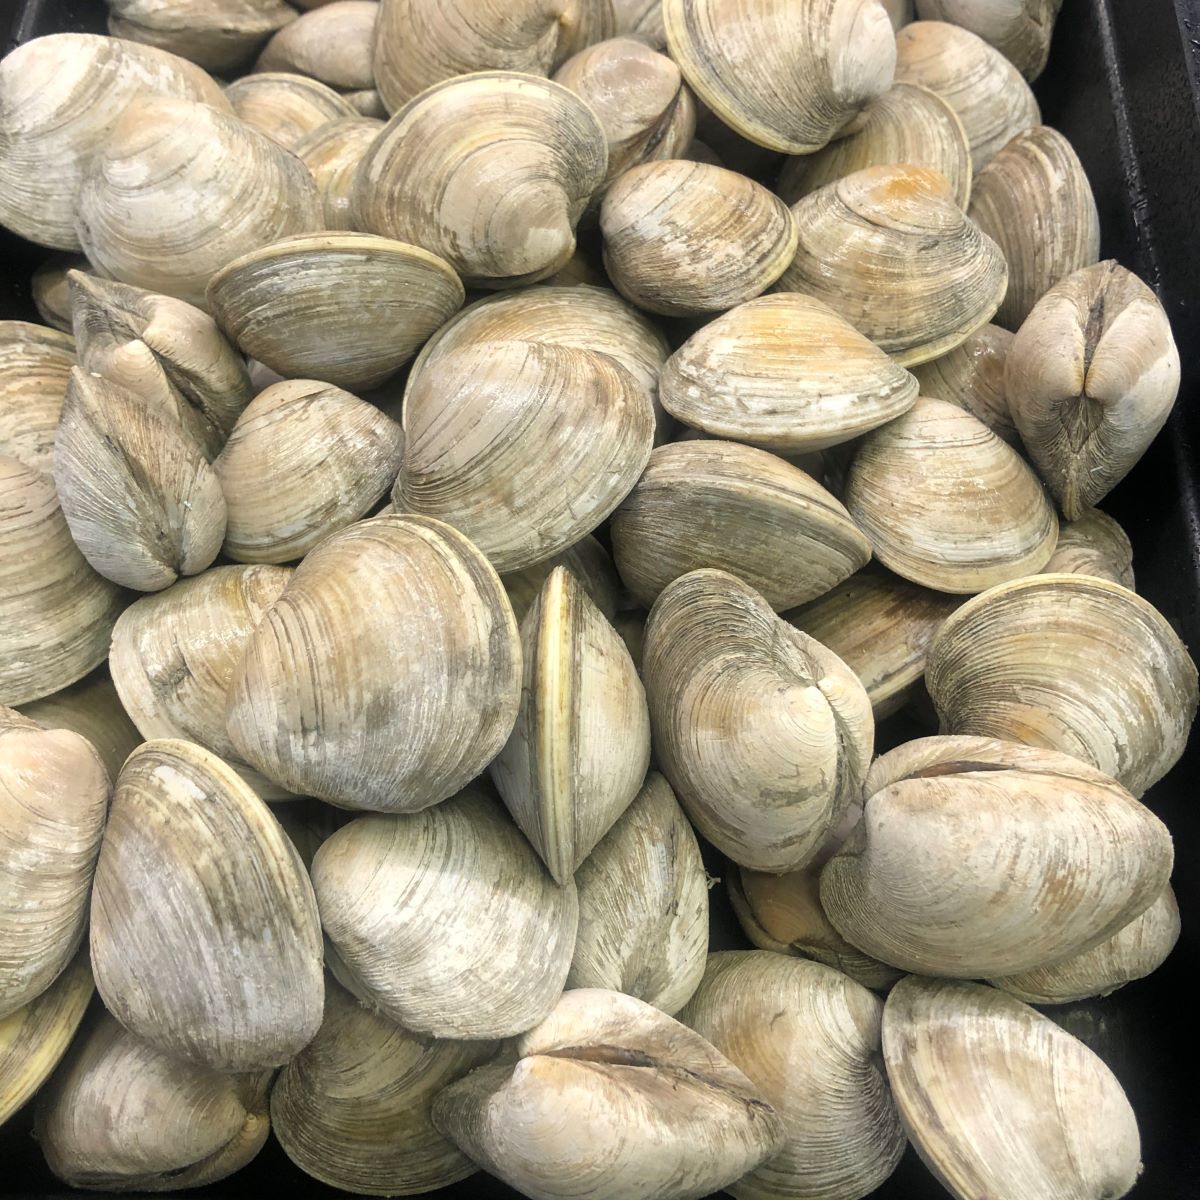
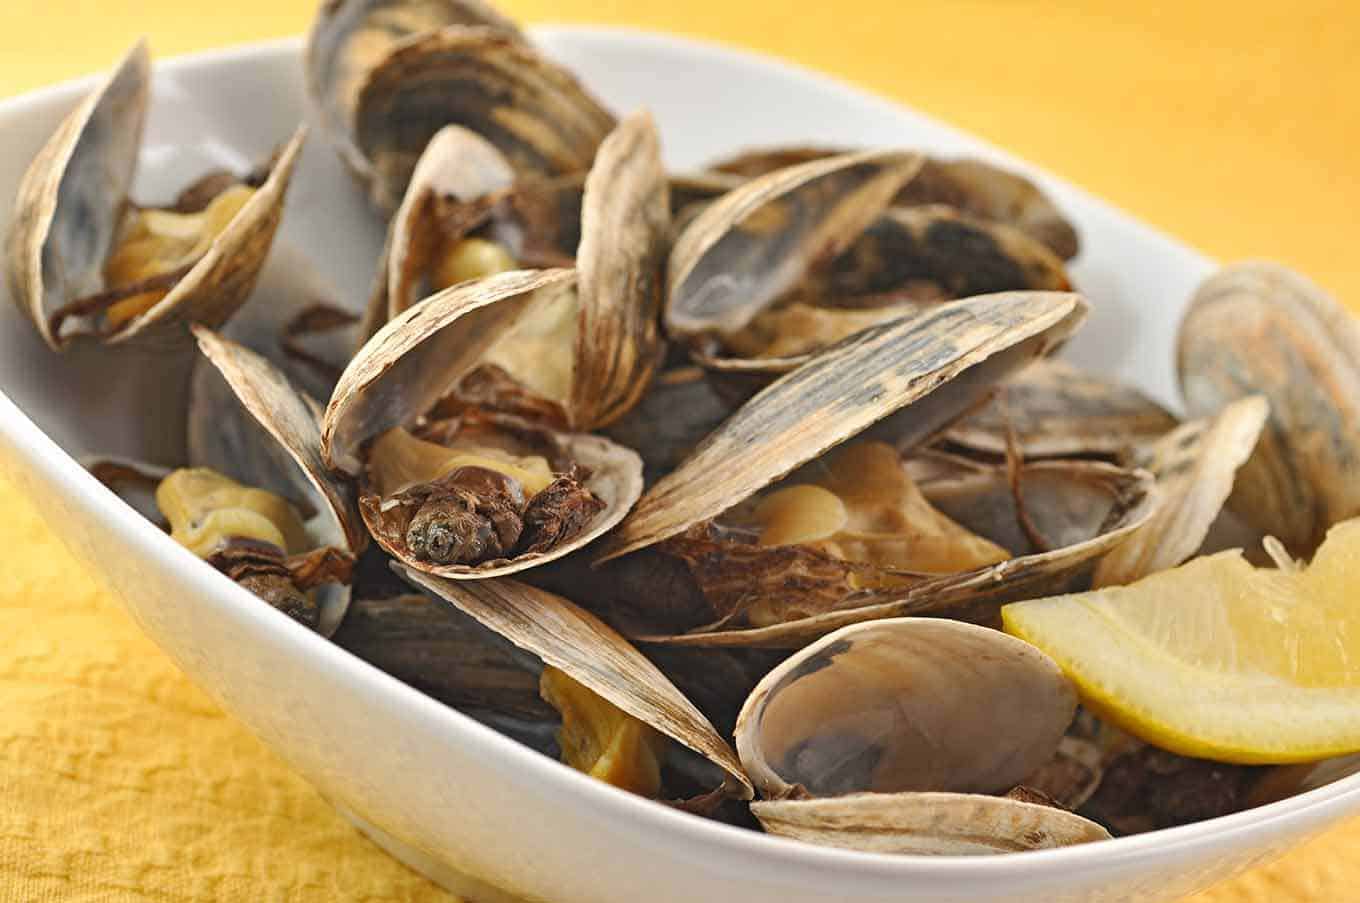
Little neck clams, also known as littlenecks, are one of the most popular types of clams due to their tender meat and delicate flavor. They have a hard shell with a shiny, dark brown color and are typically small in size, measuring around 1-2 inches in diameter. These clams are commonly used in soups, stews, pasta dishes, and as a topping for seafood pizzas. Whether you plan to cook them immediately or save them for later, proper storage is crucial.
When it comes to storing little neck clams, the key is to keep them alive and fresh until you’re ready to use them. This means maintaining the perfect balance of temperature and moisture. In the following sections, we will guide you through the process of choosing fresh little neck clams, cleaning and preparing them, and storing them both in the refrigerator and freezer.
So, if you’re ready to learn how to store little neck clams properly, let’s dive in and discover the best techniques to ensure your clams are always at their best!
Key Takeaways:
- Choose fresh little neck clams with intact, closed shells and a briny aroma for optimal flavor and safety. Avoid open or damaged shells to ensure the best quality for your culinary creations.
- Store little neck clams in the refrigerator for short-term freshness and in the freezer for extended preservation. Properly clean and inspect the clams before storage to maintain their delicate flavor and texture.
Read more: How To Store Cooked Clams
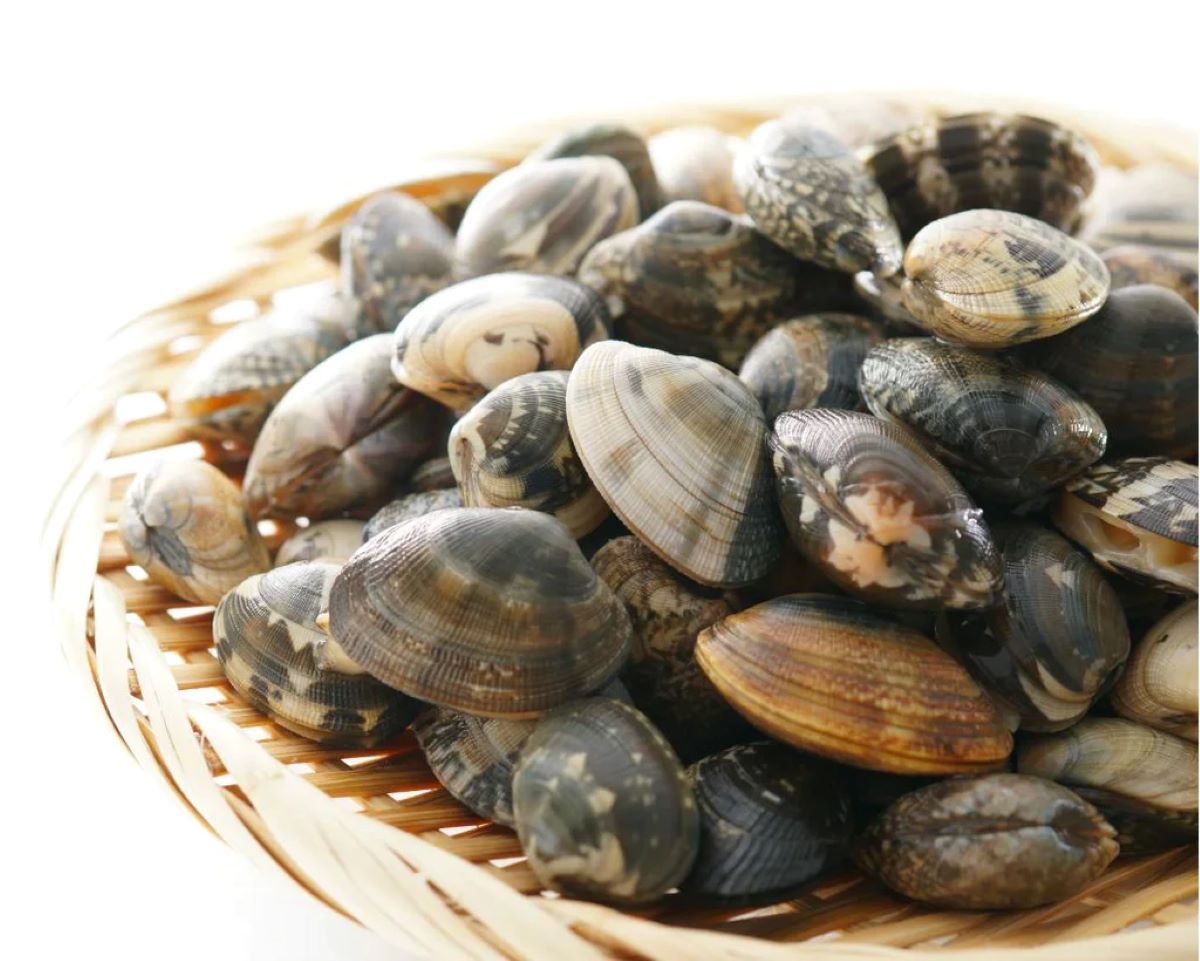
Choosing Fresh Little Neck Clams
When it comes to enjoying little neck clams, selecting the freshest ones is paramount. Fresh clams have a briny aroma, a tightly closed shell, and a shiny appearance. Here are some tips to help you choose the best little neck clams:
- Check the shells: Inspect the shells of the clams. They should be intact, clean, and free from cracks or chips. Avoid clams with broken or damaged shells, as they may be dead or compromised.
- Look for closed shells: Fresh little neck clams have tightly closed shells. Tap on the shell lightly, and if it closes or moves, it indicates that the clam is alive. Discard any clams that do not respond to the tap.
- Avoid open or cracked shells: Clams with open or cracked shells are an indication that the clam is dead or dying. Do not purchase or consume clams with these characteristics, as they may pose a health risk.
- Check for a briny smell: Fresh little neck clams have a pleasant briny aroma, reminiscent of the ocean. Avoid clams that give off a strong odor of ammonia or a foul smell, as it is a sign that the clams are not fresh.
- Look for a healthy color: Little neck clams should have a shiny, dark brown or black color on the surface of their shells. Avoid clams with discoloration, such as white patches, as it may indicate spoilage or a dead clam.
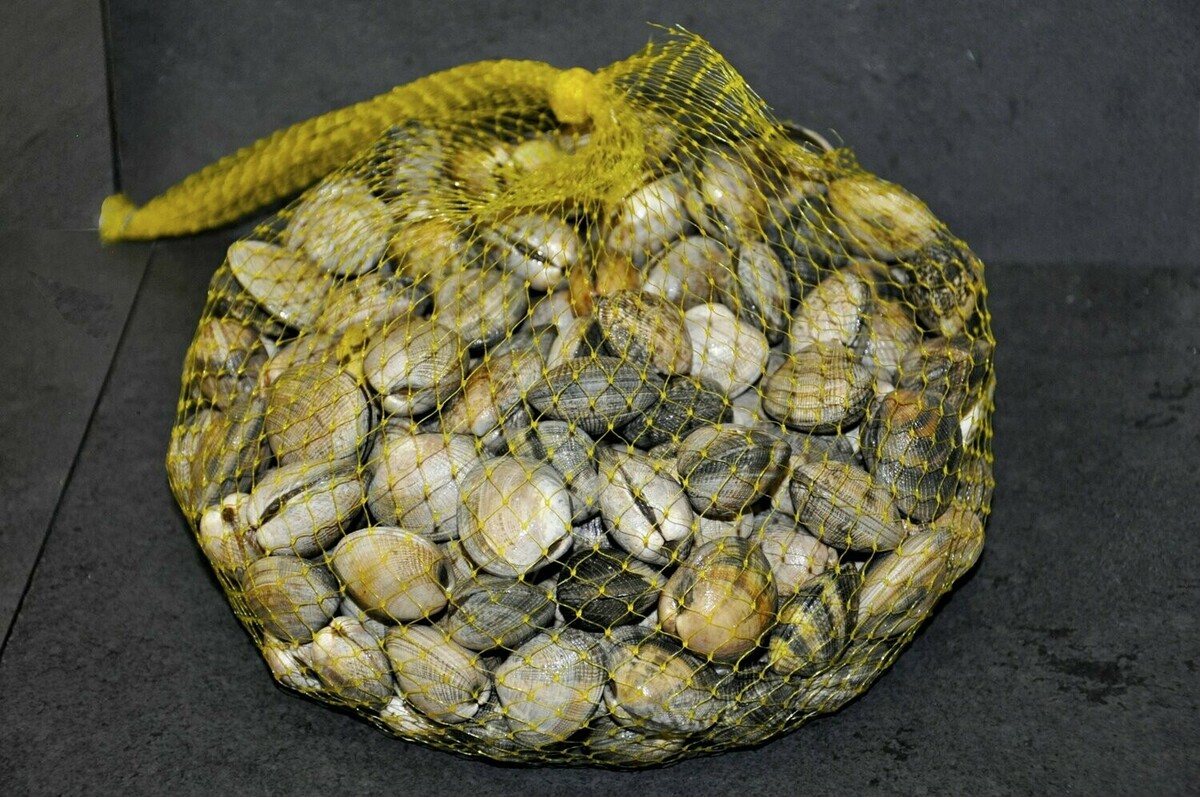
It is important to note that little neck clams are typically sold live or in the shell. This is because they are highly perishable and lose their freshness quickly once harvested. Be sure to buy clams from reputable seafood markets or sources to ensure their quality and freshness.
By following these guidelines, you can confidently select the freshest little neck clams for your culinary creations. Remember, fresh clams not only taste better but also ensure a safe and enjoyable seafood experience.
Cleaning and Preparing Little Neck Clams
Before storing little neck clams, it’s essential to clean and prepare them properly. Proper cleaning not only removes any sand or dirt from the clams but also helps to eliminate any impurities that may affect their taste. Here’s a step-by-step guide on how to clean and prepare little neck clams:
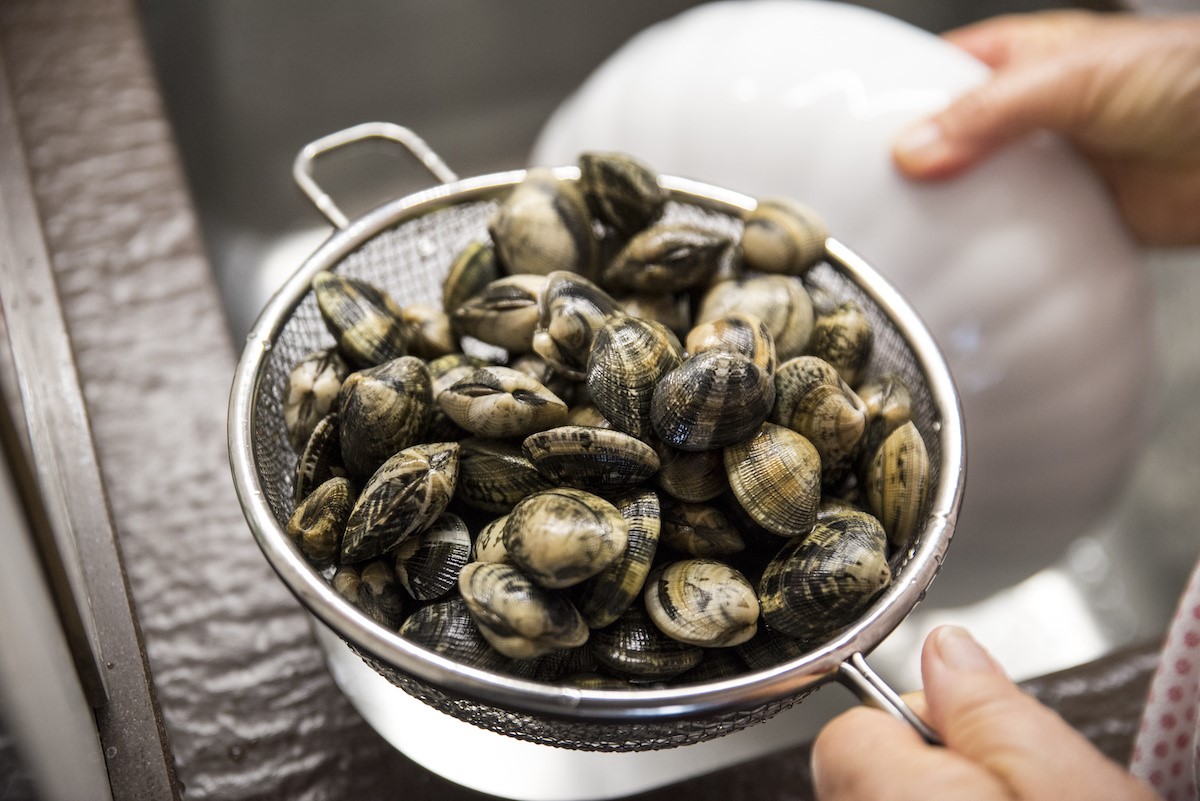
- Rinse the clams: Start by rinsing the clams under cold running water to remove any debris or sand clinging to the shells. Use a brush or your fingers to gently scrub the shells if necessary. This step helps to ensure that the clams are thoroughly clean before storage.
- Discard damaged or open clams: Inspect the clams once again and discard any clams that have cracked or open shells. These clams may be dead or compromised and should not be consumed.
- Give them a saltwater bath: Fill a bowl with cold water and add a generous amount of salt. The saltwater bath helps to purge the clams by encouraging them to expel any sand or grit inside their shells. Let the clams soak in the saltwater bath for about 30 minutes to an hour.
- Drain and rinse again: After the soaking time, drain the saltwater and rinse the clams under cold running water once more. This step removes any remaining impurities and ensures that the clams are clean and ready for storage.
- Inspect one final time: Before storing the clams, inspect them one last time to ensure that all the clams have closed shells. Discard any clams that remain open and do not close when tapped.
Once you have cleaned and inspected the clams, they are now ready for storage or immediate use in cooking. Remember to handle the clams gently and avoid excessive force or pressure, as this can damage their delicate shells.
Now that your little neck clams are cleaned and prepared, it’s time to move on to the next step: storing them properly to maintain their freshness and flavor. In the following sections, we will explore how to store little neck clams both in the refrigerator and freezer.
Storing Little Neck Clams in the Refrigerator
Storing little neck clams in the refrigerator is the best option if you plan to use them within a couple of days. The cool temperature of the refrigerator helps to preserve the clams’ freshness while keeping them alive. Here’s how to store little neck clams in the refrigerator:
- Prepare a breathable container: Find a container that allows for proper airflow, such as a shallow bowl or a plastic or mesh bag. Avoid using an airtight container or sealing the clams in a plastic bag, as it can cause them to suffocate and spoil quickly.
- Create a damp environment: Place a damp paper towel or clean cloth at the bottom of the container. This adds a touch of moisture to the clams’ environment, keeping them hydrated and preventing them from drying out.
- Add the clams: Lay the cleaned and inspected clams on top of the damp paper towel or cloth in a single layer. Avoid overcrowding the clams, as it restricts airflow and can lead to spoilage.
- Cover the container: Loosely cover the container with a damp paper towel or cloth. This helps to maintain the desired level of moisture and prevents the clams from drying out.
- Store in the coldest part of the refrigerator: Place the container of clams in the coldest part of your refrigerator, typically the lower shelves or the vegetable drawer. The temperature should be between 34°F and 40°F (1°C and 4°C) to keep the clams fresh and alive.
It is important to note that little neck clams are highly perishable, and their shelf life in the refrigerator is limited. Consume them within 2-3 days for the best taste and quality. Ensure that the clams remain closed before cooking them. Discard any clams with open shells, as they are no longer safe to eat.
Remember to check the clams daily and remove any that have opened or appear dead. Never consume clams that do not close their shells after being tapped or do not pass the visual inspection.
Now that you know how to store little neck clams in the refrigerator, you can enjoy fresh and flavorful clams in your favorite recipes without worrying about their quality or safety.
Store little neck clams in the refrigerator in a breathable container, such as a mesh bag or a bowl covered with a damp cloth. Keep them cold and moist, and use within 1-2 days.
Freezing Little Neck Clams
If you have a surplus of little neck clams or want to store them for an extended period, freezing is a great option. Freezing not only extends the shelf life of the clams but also allows you to enjoy them at your convenience. Here’s how you can freeze little neck clams:
- Prepare the clams: Clean and inspect the clams as mentioned earlier in this guide. Discard any damaged or open clams.
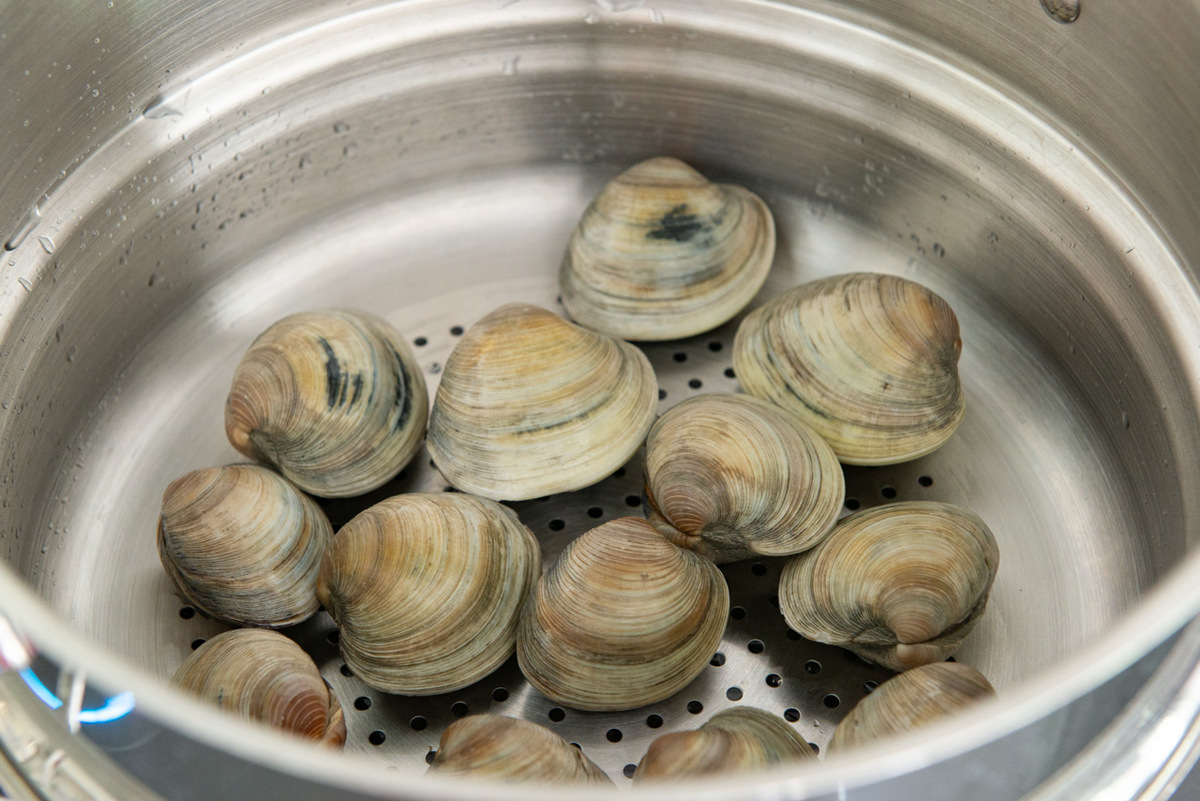
- Blanch the clams: Blanching helps to maintain the quality and texture of the clams during the freezing process. Bring a pot of water to a rolling boil and add the clams in small batches. Let them boil for 1-2 minutes until the shells slightly open.
- Cool the clams: Remove the blanched clams from the boiling water and immediately transfer them to an ice bath. This stops the cooking process and cools the clams quickly.
- Shell the clams (optional): If you prefer, you can shell the little neck clams before freezing. This makes them easier to use in various recipes, such as chowders or pasta dishes. However, keeping them in the shell helps to retain their freshness and flavor.
- Package for freezing: Place the blanched or shelled clams in an airtight freezer bag or container. Remove as much air as possible from the bag before sealing to prevent freezer burn. Label the package with the date for easy reference later.
- Freeze: Lay the clams flat in the freezer so that they freeze in a single layer. This allows for faster freezing and easier portioning when needed. Once the clams are frozen, you can stack them to save space in your freezer.
Frozen little neck clams can be stored for up to three months in the freezer. However, for the best quality, it is recommended to use them within one to two months. Thaw frozen clams in the refrigerator overnight before using them in your favorite recipes.
It’s important to note that freezing may slightly affect the texture of the clams. While frozen clams are still safe to consume, they may not have the same firmness as fresh ones. Therefore, it is best to use frozen clams in cooked dishes rather than consuming them raw or partially cooked.
By following these steps, you can safely freeze little neck clams and have a supply on hand whenever you crave their delectable taste.
Read more: How To Store Razor Clams
Storing Little Neck Clams in the Freezer
If you want to store little neck clams for an extended period without the need for blanching or shelling them, freezing them directly is a convenient option. Here’s how you can store little neck clams in the freezer:
- Prepare the clams: Clean and inspect the clams, discarding any damaged or open ones.
- Place in a freezer-safe container: Arrange the clams in a single layer in a freezer-safe container, such as a Tupperware box or a freezer bag. Avoid overcrowding the container, as it can lead to clams sticking together.
- Leave space for expansion: If using a container, leave about an inch of headspace to allow for the clams to expand as they freeze. If using a bag, press out as much air as possible before sealing, leaving some room for expansion.
- Seal and label: Seal the container or bag tightly to prevent freezer burn. Don’t forget to label the package with the date for easy identification later.
- Freeze: Place the container or bag of clams in the coldest part of your freezer, such as the back or bottom shelf. Ensure that the freezer temperature is set at or below 0°F (-18°C).
Frozen little neck clams can be stored in the freezer for up to three months. However, for the best quality and flavor, it is recommended to consume them within one to two months.
When you are ready to use the frozen clams, thaw them in the refrigerator overnight. Avoid thawing clams at room temperature or in warm water, as rapid thawing can lead to a loss of texture and flavor.
Keep in mind that freezing may slightly affect the texture of the clams, making them less firm compared to fresh clams. It is best to use frozen clams in cooked dishes rather than consuming them raw or partially cooked.
By following these steps, you can safely store little neck clams in the freezer and have them readily available for your favorite recipes whenever you desire.
Tips for Properly Storing Little Neck Clams
To ensure that your little neck clams stay fresh and flavorful, here are some additional tips for properly storing them:
- Handle clams with care: When cleaning, inspecting, or transferring clams, handle them gently to avoid damaging their delicate shells. Treat them with care to maintain their freshness and prevent premature spoilage.
- Store clams in the coldest part of the refrigerator: When storing clams in the refrigerator, place them in the coldest section, such as the lower shelves or vegetable drawer. This ensures they are exposed to the most stable and cool temperature to preserve their quality.
- Shuck clams just before use: If you prefer to use shucked clams in specific recipes, it is best to shuck them just before cooking. This preserves their freshness and texture, ensuring the best results in your dishes.
- Don’t submerge clams in water: Avoid submerging little neck clams in water for long periods, as it can cause them to drown and spoil. If necessary, only soak them briefly in a saltwater bath to remove any sand or grit.
- Never consume dead or open clams: Only cook and consume clams that are alive and have closed shells. Discard any clams that remain open or do not close when tapped, as they may be dead or no longer safe to eat.
- Use opened clams as soon as possible: If any clams open during storage, use them as soon as possible. These clams may have started to spoil, and it is crucial to consume them immediately to prevent any foodborne illness.
- Avoid storing cooked and raw clams together: If you have both cooked and raw clams, store them separately to prevent cross-contamination. Keep them in separate containers to maintain their integrity and prevent any bacterial growth.
- Keep clams away from strong odors: Clams can absorb strong odors, so it’s essential to keep them away from pungent foods like onions, garlic, or strong spices. This helps to preserve their natural flavor and prevent any undesirable flavors from developing.
By following these tips, you can maximize the freshness and quality of your little neck clams, ensuring they are at their best when cooked and enjoyed.
Conclusion
Properly storing little neck clams is essential to maintain their freshness, flavor, and quality. Whether you plan to use them within a few days or want to store them for an extended period, following the right storage methods is the key to preserving these delicious shellfish.
In this article, we have covered everything you need to know about storing little neck clams. From choosing fresh clams to cleaning and preparing them, and storing them both in the refrigerator and freezer, you now have the knowledge to keep your clams in optimal condition.
Remember, when selecting little neck clams, look for intact shells, a briny smell, and tightly closed shells. Clean the clams thoroughly and purge them if necessary to remove any sand or grit. In the refrigerator, store the clams in a breathable container, adding a moist environment to keep them hydrated. In the freezer, you can choose to blanch and shell the clams or freeze them in shell, depending on your preference.
Whether you’re making a savory clam chowder, a mouthwatering pasta dish, or a refreshing seafood salad, having properly stored little neck clams on hand ensures that you can enjoy their delicate flavor whenever the craving strikes.
By implementing the tips shared in this article, such as handling clams with care, storing them in the coldest part of the refrigerator, and discarding any open or dead clams, you can maintain the quality and safety of your clams.
So, whether you’re a seafood enthusiast or a home cook experimenting with different recipes, rest assured that your little neck clams will stay fresh and delectable when stored correctly.
Now that you have gained a comprehensive understanding of how to store little neck clams, it’s time to apply this knowledge and enjoy the incredible flavors that these shellfish have to offer.
Frequently Asked Questions about How To Store Little Neck Clams
Was this page helpful?
At Storables.com, we guarantee accurate and reliable information. Our content, validated by Expert Board Contributors, is crafted following stringent Editorial Policies. We're committed to providing you with well-researched, expert-backed insights for all your informational needs.


0 thoughts on “How To Store Little Neck Clams”