Articles
How To Store Cut Apples Without Turning Brown
Modified: August 24, 2024
Discover effective ways to store cut apples and prevent them from turning brown in this informative article. Learn useful tips and tricks to keep your sliced apples fresh for longer periods.
(Many of the links in this article redirect to a specific reviewed product. Your purchase of these products through affiliate links helps to generate commission for Storables.com, at no extra cost. Learn more)
Introduction
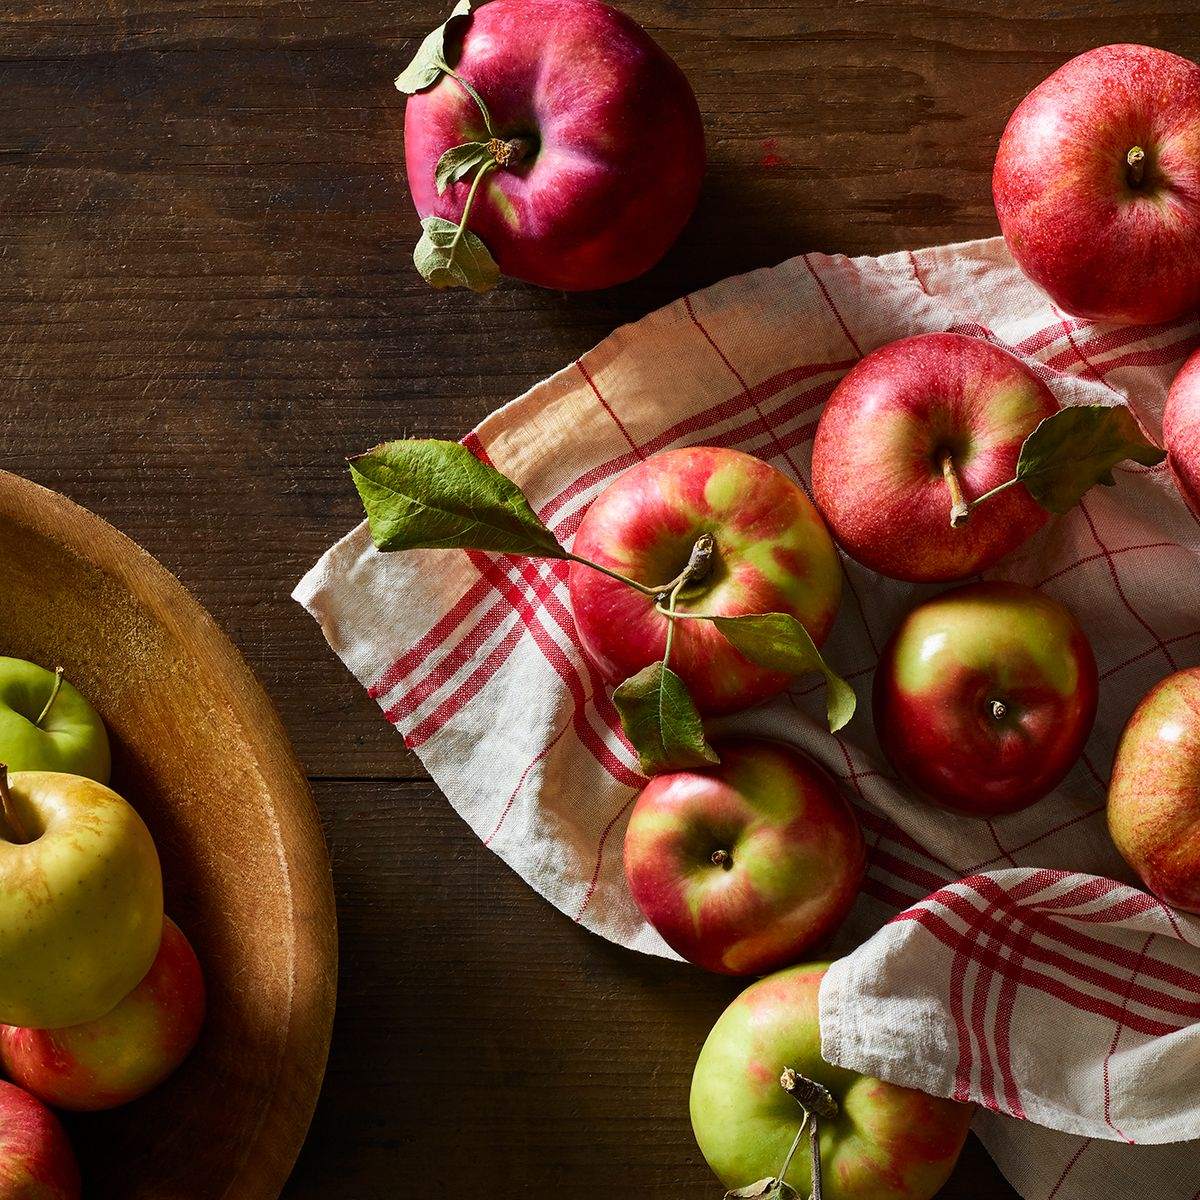
Apples are a versatile and delicious fruit that can be enjoyed in various ways, from snacking to baking. However, once an apple is cut, it quickly starts to turn brown, which not only affects its appearance but also its taste. Why does this happen? And more importantly, how can you store cut apples without them turning brown?
The browning of apples occurs due to a reaction called enzymatic browning. When an apple is pierced or cut, enzymes present in the fruit come into contact with oxygen in the air. This triggers a series of chemical reactions that result in the formation of brown pigments known as melanins, causing the apple to turn brown.
While it may be tempting to simply toss away browned apples, there are ways to prevent or delay this discoloration. By employing a few simple techniques, you can ensure that your sliced or diced apples retain their fresh appearance for longer periods of time.
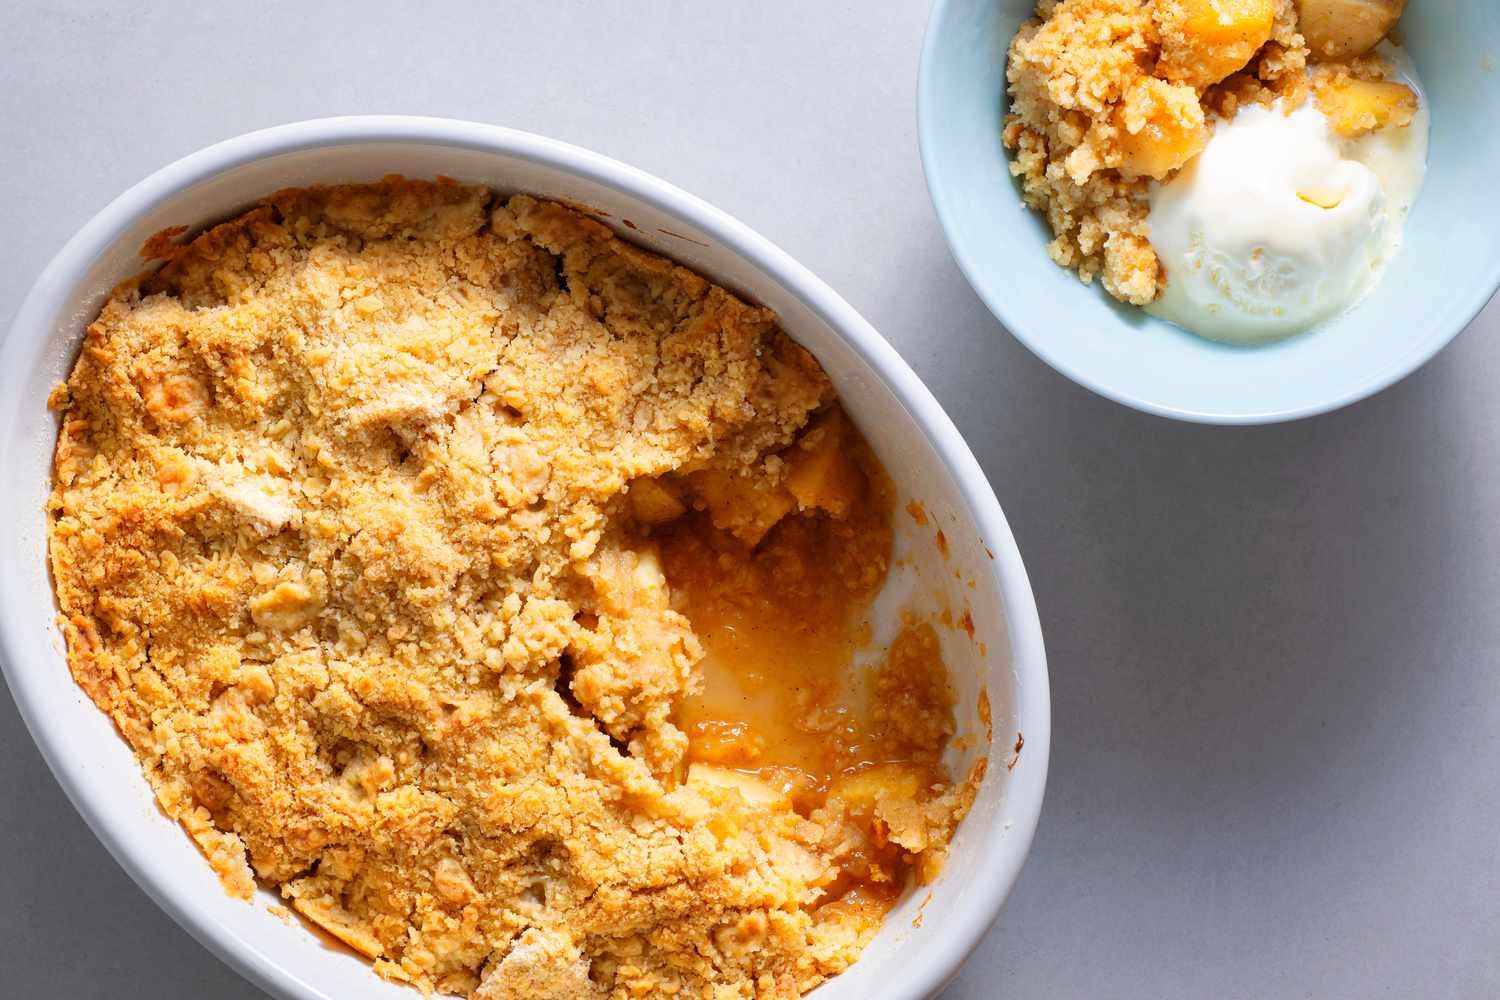
In this article, we will explore several methods to store cut apples without them turning brown. Whether you plan to use them in salads, desserts, or snacks, these techniques will help you maintain the visual appeal of the apples and preserve their flavor.
Now, let’s dive into the different methods you can use to prevent apple browning and keep your cut apples looking fresh and appetizing!
Key Takeaways:
- Keep cut apples fresh by refrigerating, using lemon juice, or saltwater solution. Experiment with honey, blanching, or citric acid for alternative anti-browning methods. Enjoy vibrant, non-browning apple slices for longer!
- Understand enzymatic browning and employ effective methods to prevent it. From refrigeration to lemon juice, explore various techniques to maintain the fresh appearance and taste of cut apples. Enjoy non-browning apple slices for your culinary creations!
Why do apples turn brown when cut?
When an apple is cut, it begins to turn brown due to a natural chemical reaction called enzymatic browning. This process occurs when the enzymes present in the apple’s cells come into contact with oxygen in the air.
Enzymes are proteins that act as catalysts, speeding up chemical reactions in living organisms. The specific enzyme responsible for apple browning is called polyphenol oxidase (PPO). When the cells of an apple are damaged or exposed to the air through cutting, the PPO enzyme is released.
Once the PPO comes into contact with oxygen, it promotes the oxidation of phenolic compounds present in the apple. This leads to the formation of melanins, which are brown pigments. As more and more melanins are produced, the apple’s flesh turns brown.
The browning of apples is a natural defense mechanism triggered by the apple’s cells when they are injured or exposed to air. It serves as a protective mechanism, preventing bacteria and fungi from entering and infecting the damaged area.
Factors such as temperature, pH levels, and the amount of oxygen present can influence the rate of enzymatic browning in apples. Higher temperatures and acidic pH levels accelerate the browning process, while low temperatures and the presence of antioxidants (which can slow down oxidation) can delay it.
Now that we understand why apples turn brown when cut, let’s explore some effective techniques to prevent this enzymatic browning and keep our cut apples looking fresh and appetizing for longer periods of time.
Techniques to prevent apple browning
If you’ve ever cut an apple and left it out for a while, you’ve probably noticed the unsightly brown discoloration that occurs. However, there are several techniques you can employ to prevent apple browning and maintain the fresh appearance of your cut apples. Let’s explore these methods:
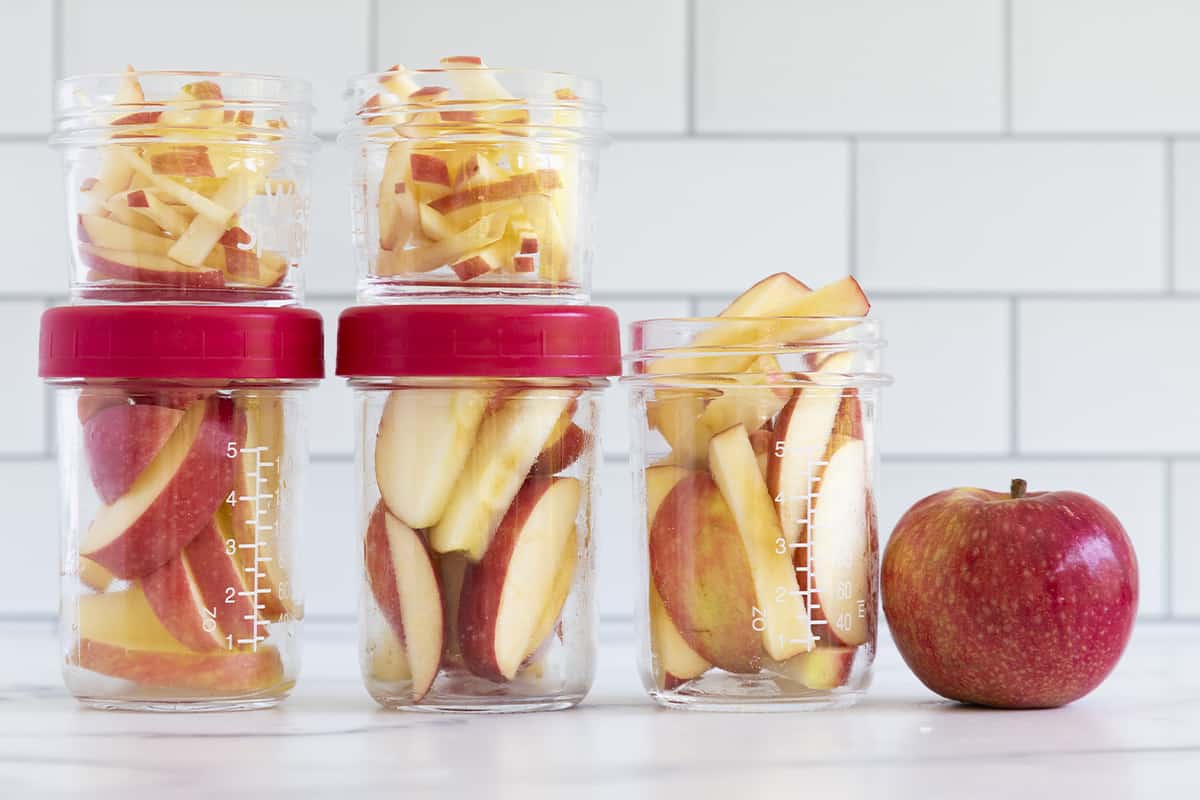
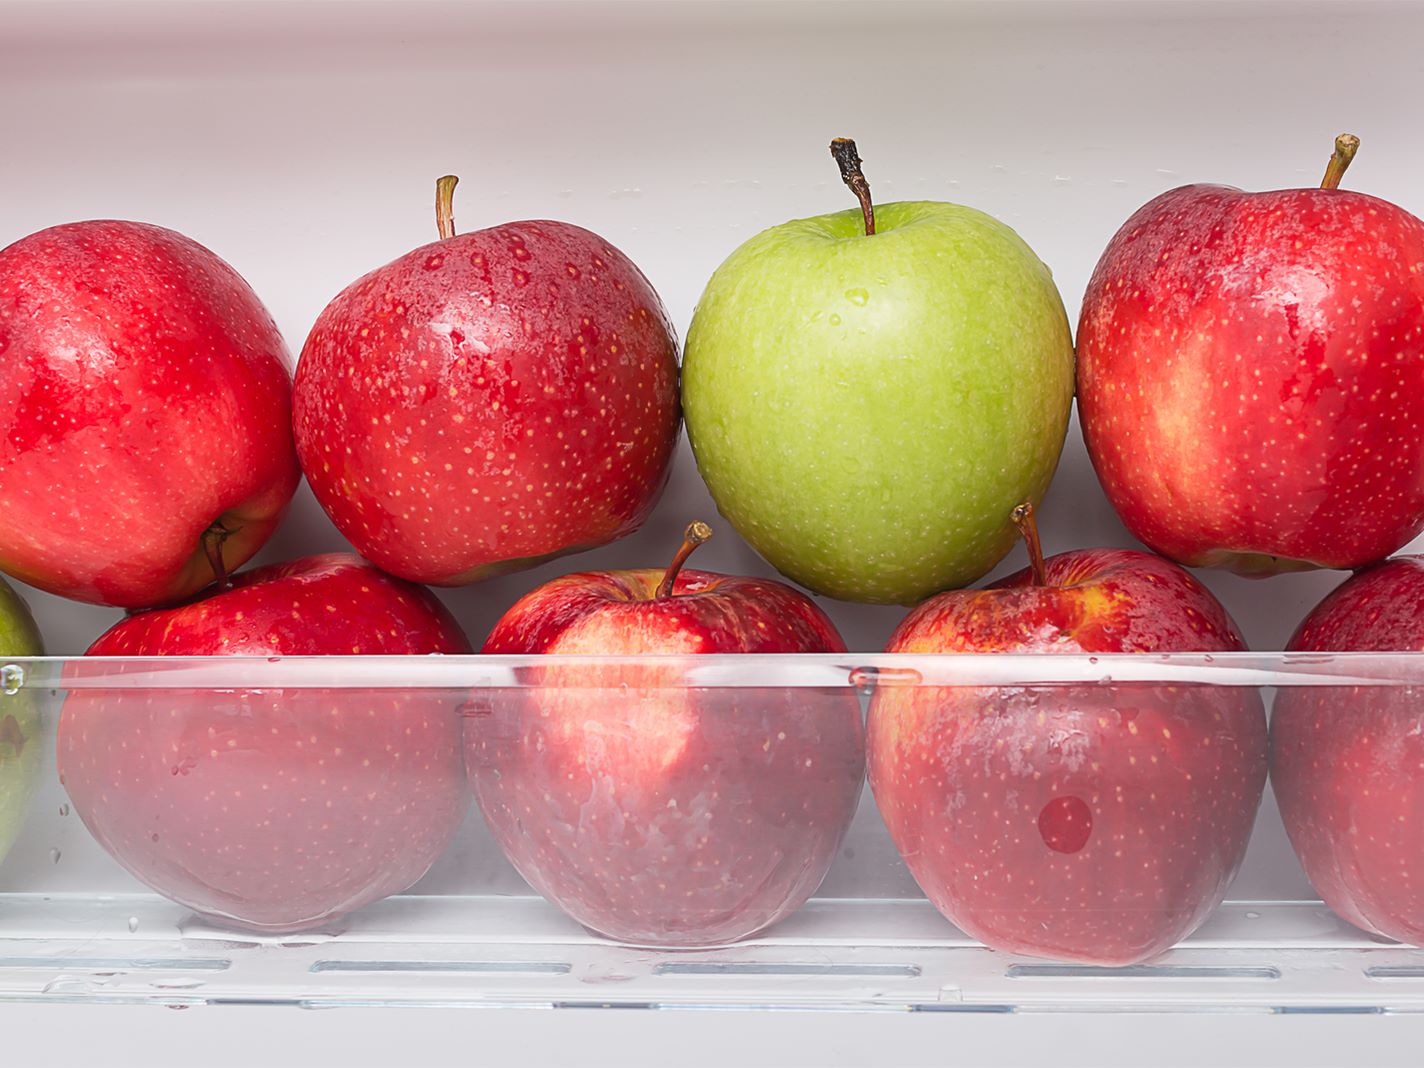
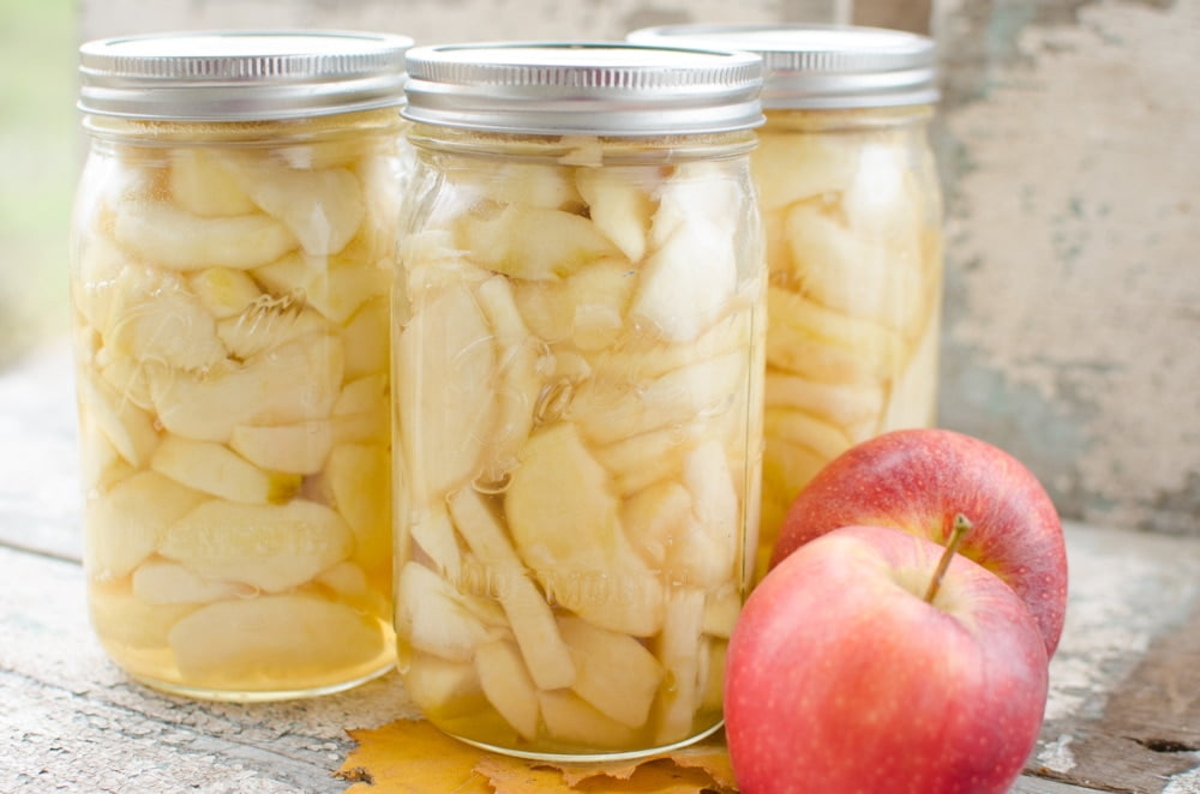
1. Storing cut apples in the refrigerator: One of the simplest ways to prevent apple browning is by storing the cut pieces in the refrigerator. Cold temperatures slow down the chemical reactions that cause browning, thus helping to maintain the apple’s color. Place the cut apples in an airtight container or wrap them in plastic wrap before refrigerating.
2. Using lemon juice: Lemon juice contains ascorbic acid (vitamin C), which acts as an antioxidant and helps inhibit enzymatic browning. To use this method, squeeze fresh lemon juice over the cut apples or dip them in a mixture of lemon juice and water. The acidic properties of the lemon juice will help delay the browning process. Alternatively, you can use other acidic fruits like lime, orange, or pineapple juice.
3. Soaking cut apples in a saltwater solution: Another effective method to prevent apple browning is by soaking the cut pieces in a saltwater solution. Dissolve half a teaspoon of salt in four cups of water and submerge the apples in this solution for a few minutes. The saltwater helps to denature the enzymes responsible for browning, thus slowing down the process.
4. Using commercial anti-browning products: There are also commercial anti-browning products available in the market that can help prevent apple browning. These products contain natural or synthetic additives that inhibit enzymatic browning. Follow the instructions provided on the product packaging for best results.
5. Using airtight containers: Exposure to air accelerates the browning process in apples. By storing cut apples in airtight containers, you can limit their contact with oxygen and slow down browning. Ensure that the container is tightly sealed to create a barrier between the apple’s surface and the air.
6. Using plastic wrap or lemon juice-soaked paper towels: If you don’t have an airtight container, you can individually wrap the cut apple pieces in plastic wrap or place them on a plate lined with lemon juice-soaked paper towels. This extra layer of protection helps to minimize the apple’s exposure to oxygen, thereby delaying browning.
By employing these techniques, you can prevent or significantly reduce enzymatic browning in cut apples. Experiment with different methods to find the one that works best for you and enjoy the freshness and appealing appearance of your cut apples for longer periods of time!
Storing cut apples in the refrigerator
One of the simplest and most effective ways to prevent apple browning is by storing the cut pieces in the refrigerator. Cold temperatures help to slow down the chemical reactions that cause browning, preserving the fresh appearance of the apples. Here’s how you can store cut apples in the refrigerator:
1. Prepare the apples: Start by washing the apples thoroughly to remove any dirt or residue. Next, cut the apples into the desired shape, such as slices, cubes, or wedges. Remove the core and seeds if necessary.
2. Choose a suitable container: Select an airtight container or resealable plastic bag that is large enough to hold all the cut apple pieces without overcrowding. Ensure that the container is clean and dry before use.
3. Arrange the apples: Place the cut apple pieces into the container in a single layer, without stacking or overcrowding them. This allows for better air circulation and prevents the apples from becoming squished and releasing juices that can promote browning.
4. Add a protective layer: To further prevent browning, you can add a protective layer over the cut apples. For example, you can squeeze fresh lemon juice over the apple pieces or dip them in a mixture of lemon juice and water. This acidic layer helps to inhibit enzymatic browning and maintain the apple’s color.
5. Seal the container: Once the apple pieces are arranged, seal the container or bag tightly to create an airtight environment. This helps to minimize the apple’s exposure to oxygen, which slows down the browning process.
6. Store in the refrigerator: Finally, place the sealed container or bag of cut apples in the refrigerator. Make sure to place them on a shelf where they won’t get crushed or squished by other items. The ideal temperature for storing cut apples is between 32°F (0°C) and 40°F (4°C).
7. Use within a reasonable time: While storing cut apples in the refrigerator can help delay browning, it is important to note that they will still eventually start to brown due to natural oxidation. It is recommended to use the cut apples within 2-3 days for optimal freshness and flavor.
By following these steps, you can effectively store cut apples in the refrigerator and prolong their freshness. Whether you plan to use them in salads, snacks, or desserts, having a ready supply of non-browning apple slices can make your meal preparation more convenient and enjoyable.
To prevent cut apples from turning brown, store them in an airtight container or resealable bag with a squeeze of lemon juice to maintain their freshness and color.
Using lemon juice to prevent apple browning
Lemon juice is a widely recognized and effective method to prevent apple browning. It contains ascorbic acid, also known as vitamin C, which acts as an antioxidant and helps inhibit enzymatic browning. Here’s how you can use lemon juice to keep your cut apples looking fresh and appetizing:
1. Prepare the apples: Start by washing the apples thoroughly to remove any dirt or residue. Cut the apples into the desired shape, whether it’s slices, wedges, or cubes. Remove the core and seeds if necessary.
2. Squeeze fresh lemon juice: Take a fresh lemon and cut it in half. Squeeze the juice out of the lemon, collecting it in a bowl or a small container. Be sure to remove any seeds that may fall into the juice.
3. Dip or coat the apple pieces: Dip the cut apple pieces into the lemon juice, making sure to coat them evenly. Alternatively, you can use a small brush or spoon to brush or drizzle the lemon juice over the apple pieces. The acidic properties of lemon juice help delay the browning process by inhibiting the enzyme responsible for the oxidation.
4. Let it sit or mix gently: After applying the lemon juice, let the apple pieces sit for a few minutes to allow the lemon juice to penetrate and coat the surface of the apples. If you’re using multiple apple pieces or slices, you can gently toss or mix them in the lemon juice to ensure even coverage.
5. Drain excess juice: Once the apple pieces have been coated with lemon juice, you can drain off any excess liquid before using or storing them. This will prevent the apples from becoming overly saturated with lemon juice, preserving their natural flavor and texture.
6. Use or store the apples: The apples are now ready to be used in your desired recipe or stored for later use. For short-term storage, you can place the apple pieces in an airtight container or wrap them tightly in plastic wrap before refrigerating. The lemon juice will help inhibit browning for a longer period of time.
Using lemon juice to prevent apple browning is a simple and effective method that adds a hint of tangy flavor to the apples. It’s a great option for recipes where lemon complements the taste profile, such as fruit salads, desserts, or snacks. Enjoy the fresh and vibrant appearance of your cut apples when you use this handy and natural solution!
Soaking cut apples in a saltwater solution
Another effective method to prevent apple browning is by soaking the cut apple pieces in a saltwater solution. This technique works by denaturing the enzymes responsible for browning, thus slowing down the oxidation process. Here’s how you can use a saltwater solution to keep your cut apples looking fresh:
1. Prepare the apples: Start by washing the apples thoroughly to remove any dirt or residue. Cut the apples into the desired shape, such as slices, wedges, or cubes. Remove the core and seeds if necessary.
2. Prepare the saltwater solution: In a bowl or a container, dissolve half a teaspoon of salt in four cups of water. Mix the solution until the salt is completely dissolved. The saltwater acts as a denaturing agent, inhibiting the enzymes responsible for browning.
3. Soak the apple pieces: Place the cut apple pieces into the saltwater solution, ensuring that they are fully submerged. Soak the apples for about 5 minutes to allow the saltwater solution to penetrate the apple cells and inhibit the enzymatic browning process.
4. Drain and rinse: After soaking, remove the apple pieces from the saltwater solution and drain them. Rinse the apple pieces under cool running water to remove any excess salt and preserve the flavor of the fruit.
5. Use or store the apples: The apples are now ready to be used in your desired recipe, or you can store them for later use. Place the apple pieces in an airtight container or wrap them tightly in plastic wrap before refrigerating. The saltwater solution will help delay browning and maintain the freshness of the apples.
6. Note: It’s important to use the correct ratio of salt to water in the solution, as too much salt can affect the taste of the apples. The half teaspoon of salt per four cups of water provides an optimal balance to denature the enzymes without overwhelming the flavor of the fruit.
Soaking cut apples in a saltwater solution is a simple and effective technique to prevent browning. It is particularly handy when you have a larger quantity of apples to be stored or when you want to prep apple slices for recipes or snacks in advance. Enjoy the extended freshness and appealing appearance of your cut apples with this easy method!
Other methods to store cut apples without browning
In addition to refrigerating cut apples and using lemon juice or a saltwater solution, there are a few other methods you can try to prevent apple browning and keep your apple slices or pieces fresh. These methods offer alternative approaches to inhibit enzymatic browning and maintain the visual appeal of your cut apples. Let’s explore these options:
1. Using honey: Honey contains natural antioxidants and antimicrobial properties that can help delay apple browning. Lightly coat the cut apple pieces with a thin layer of honey, ensuring even coverage. The honey forms a protective barrier against oxygen, slowing down the enzymatic browning process.
2. Blanching: Blanching involves briefly immersing the cut apple pieces in boiling water, followed by cooling them in ice water. Blanching inactivates the enzymes responsible for browning, resulting in preserved color. However, this method may slightly affect the texture of the apples, so it’s best suited for cooking or baking applications.
3. Using commercial anti-browning products: There are commercially available anti-browning products specifically formulated to prevent apple browning. These products typically contain natural or synthetic additives that inhibit enzymatic browning. Follow the instructions provided on the product packaging for the best results.
4. Vacuum sealing: Vacuum sealing involves removing the air from the storage container or bag, creating a vacuum environment. This method minimizes the apple’s exposure to oxygen, thus reducing the likelihood of browning. Vacuum-sealed containers or bags can be used to store cut apple pieces in the refrigerator or freezer.
5. Citric acid solution: Similar to lemon juice, a citric acid solution can be used to prevent apple browning. Citric acid is a natural antioxidant found in citrus fruits. Dissolve half a teaspoon of citric acid in four cups of water, and soak the cut apple pieces in the solution for a few minutes to inhibit enzymatic browning.
These alternative methods provide additional options to prevent apple browning and extend the freshness of your cut apples. Experiment with different techniques to find the one that best suits your needs and preferences. Remember to consider factors such as taste, texture, convenience, and the specific recipe or application you intend to use the cut apples for.
By employing one of these methods, you can confidently store your cut apples without worrying about them turning brown. Enjoy the convenience of having fresh, vibrant apple slices or pieces readily available for your culinary creations or healthy snacks!
Conclusion
Keeping cut apples from turning brown can be a challenging task, but with the right techniques, you can maintain their fresh appearance and enjoy them for longer periods of time. By understanding the process of enzymatic browning and employing effective methods to prevent it, you can ensure that your sliced or diced apples remain visually appealing and delicious.
From storing cut apples in the refrigerator to using lemon juice or a saltwater solution, each method offers a unique approach to inhibit enzymatic browning. Refrigeration slows down the browning process by reducing the activity of enzymes, while lemon juice and saltwater solutions work by altering the pH and denaturing the enzymes responsible for browning. Adding a protective layer of honey, blanching the apple pieces, using commercial anti-browning products, vacuum sealing, or using a citric acid solution are other effective methods to explore.
Remember, while these techniques can delay browning, they do not permanently halt the natural oxidation process. It’s important to use or consume cut apples within a reasonable timeframe to enjoy their optimal taste and texture.
Ultimately, the choice of method depends on personal preference, the quantity and intended use of the cut apples, and the ingredients or tools available to you. Experiment with different methods to find the one that suits your needs and yields the best results for your specific situation.
Now armed with the knowledge and techniques to prevent apple browning, you can confidently cut apples ahead of time for salads, snacks, or various recipes without worrying about their unwanted discoloration. Embrace the vibrant, fresh appearance of your cut apples, and savor their natural flavor and nutritional benefits!
Frequently Asked Questions about How To Store Cut Apples Without Turning Brown
Was this page helpful?
At Storables.com, we guarantee accurate and reliable information. Our content, validated by Expert Board Contributors, is crafted following stringent Editorial Policies. We're committed to providing you with well-researched, expert-backed insights for all your informational needs.


0 thoughts on “How To Store Cut Apples Without Turning Brown”