Articles
How To Store Garden Seeds
Modified: January 24, 2024
Learn the best methods for storing garden seeds in this helpful articles. Keep your seeds fresh and viable for future planting with these tips.
(Many of the links in this article redirect to a specific reviewed product. Your purchase of these products through affiliate links helps to generate commission for Storables.com, at no extra cost. Learn more)
Introduction
When it comes to gardening, seeds are the foundation of success. They hold the potential to grow into vibrant plants, producing beautiful flowers, delicious fruits, or bountiful vegetables. However, many gardeners overlook the importance of properly storing their seeds. Whether you save and store your own seeds or purchase them from a reputable supplier, taking the time to store them correctly is crucial to ensure their viability and longevity.
Seed storage is essential for preserving the genetic diversity of plant species, maintaining yields, and preventing loss of favorite varieties. It also allows gardeners to plan for future growing seasons, save money on buying new seeds each year, and have a ready supply of seeds for unexpected gardening opportunities.
In this article, we will explore the importance of seed storage and provide a comprehensive guide to help you store your garden seeds effectively. From choosing the right containers to creating the ideal storage conditions and organizing your seed collection, we will cover everything you need to know to keep your seeds fresh and viable for years to come.
Key Takeaways:
- Proper seed storage is essential for preserving genetic diversity, saving money, and ensuring availability of preferred plant varieties. Consider factors like temperature, humidity, and airflow for optimal seed preservation.
- Organize your seed collection by categorizing, alphabetizing, and labeling for easy access and efficient garden planning. Regularly review and refresh your collection, and consider sharing seeds with fellow gardeners to promote biodiversity.
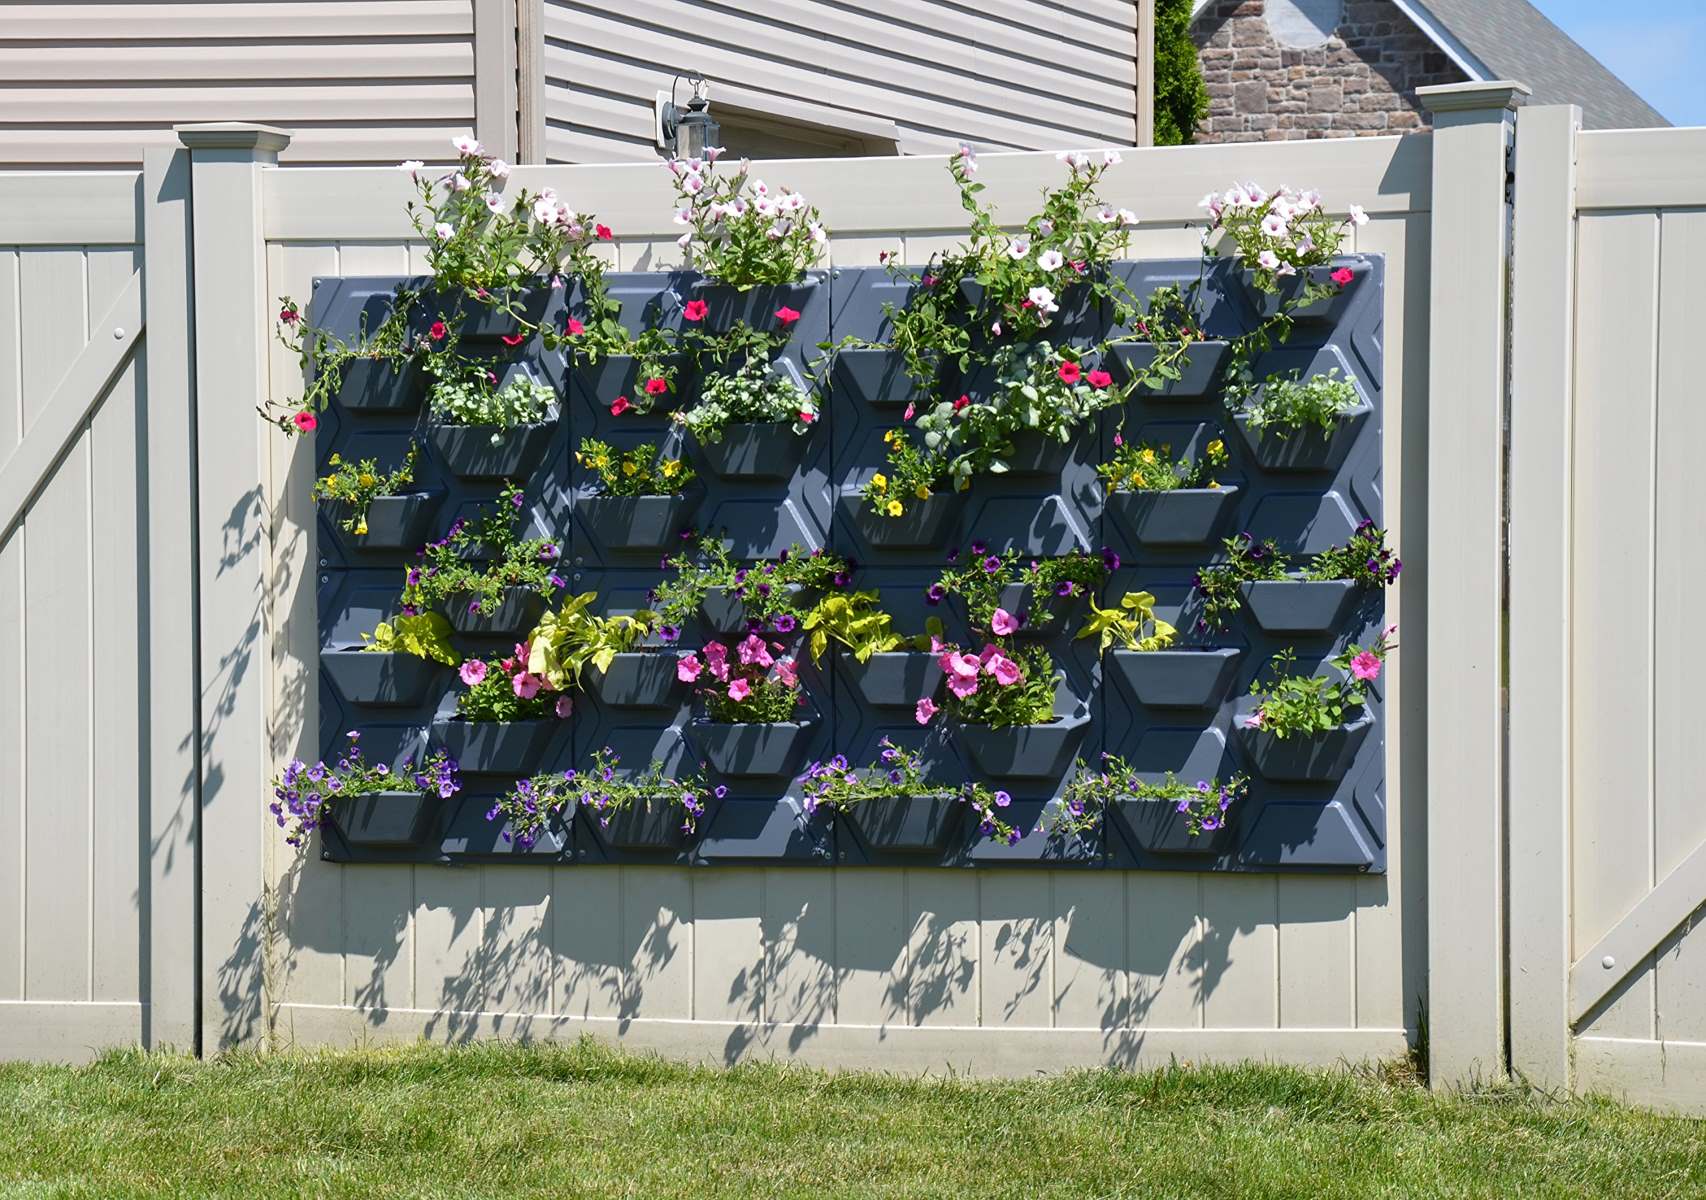
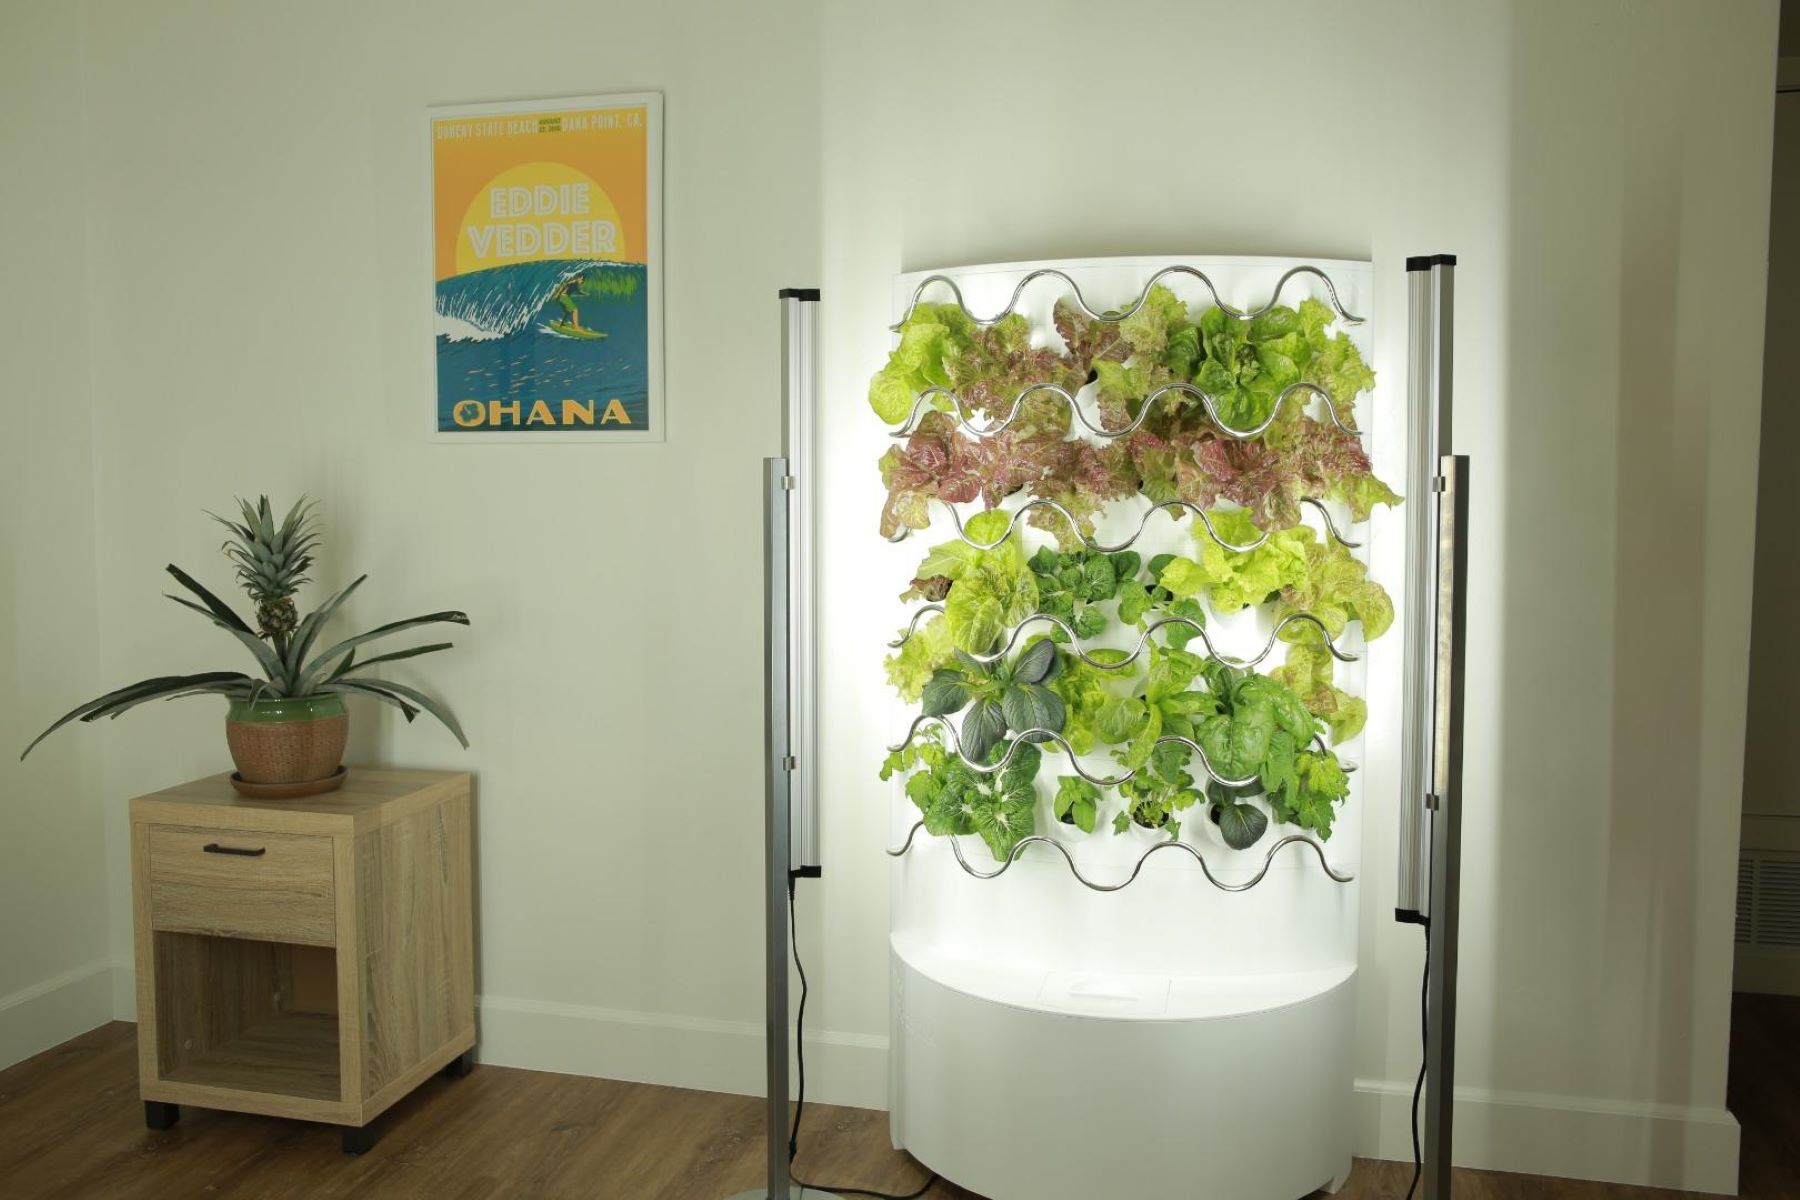
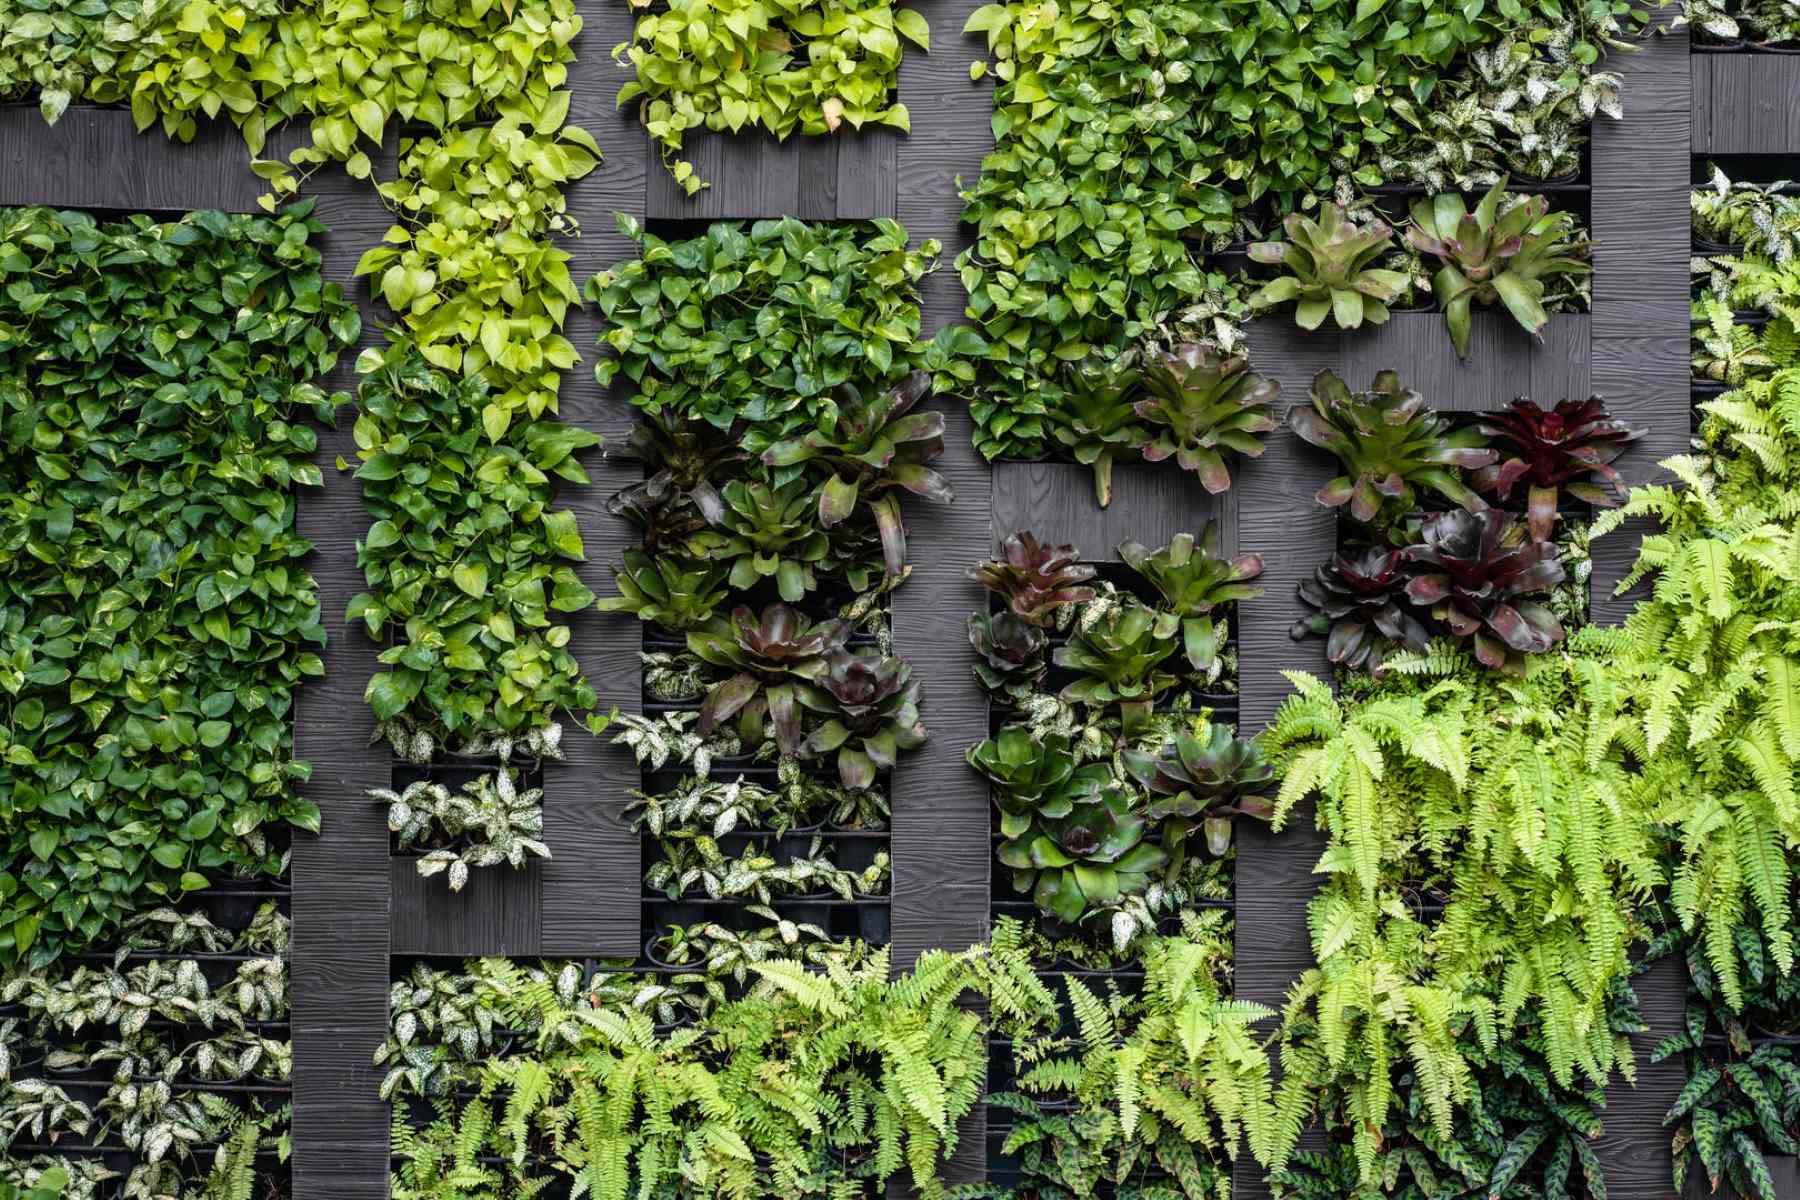
Read more: How To Grow A Vertical Garden
Why is Seed Storage Important?
Proper seed storage is vital for maintaining the viability of garden seeds. When stored correctly, seeds can remain viable for several years, allowing you to use them in subsequent growing seasons. Here are several reasons why seed storage is important:
1. Preserving Genetic Diversity: Storing seeds ensures the preservation of different plant varieties and prevents the loss of unique or heirloom plants. This is particularly important for rare or endangered plant species.
2. Cost Savings: Storing seeds allows gardeners to save money by not having to purchase new seeds each year. By storing and using their own seeds, gardeners can sustain their garden at a lower cost and even share seeds with others.
3. Availability of Preferred Varieties: Storing seeds ensures that gardeners can grow their favorite plant varieties year after year. This is especially important for varieties that may not be readily available in stores or nurseries.
4. Flexibility and Preparedness: Storing seeds gives gardeners the flexibility to start new crops or plant additional seeds at any time. This is particularly valuable in case of unexpected weather events, pests, or disease outbreaks that may destroy existing crops.
5. Resilience and Self-Sufficiency: By storing seeds, gardeners become more self-reliant and less dependent on external sources for their gardening needs. This resilience is crucial for sustainable gardening practices and food security.
6. Experimentation and Innovation: Storing seeds allows gardeners to experiment with new varieties, crossbreed plants, or develop their unique cultivars. It fosters innovation and encourages a deeper understanding of plant genetics.
To reap these benefits, it is essential to store seeds properly. Improper storage conditions, such as exposure to moisture, heat, or light, can significantly decrease seed viability and germination success. However, with the right techniques and considerations, you can ensure the longevity and optimal performance of your stored seeds. The next sections will delve into the factors to consider when storing garden seeds and guide you through the process of creating ideal storage conditions.
Factors to Consider When Storing Garden Seeds
Proper seed storage involves considering several factors that can affect the longevity and viability of your seeds. By taking these factors into account, you can ensure that your seeds remain in optimal condition for future planting. Here are some key factors to consider when storing garden seeds:
1. Temperature: Temperature plays a crucial role in seed storage. Most seeds prefer cool and dry conditions, with temperatures ranging between 32°F (0°C) and 50°F (10°C). High temperatures can lead to seed deterioration and reduced viability, while extremely low temperatures, such as freezing, can damage the seeds.
2. Humidity: Moisture is the enemy of seeds. Excessive moisture can cause seeds to rot or encourage the growth of mold and fungi. It is important to store seeds in a low humidity environment, ideally around 30-40%. Consider using desiccant packets or adding rice grains to absorb excess moisture.
3. Light: Most seeds prefer to be stored in darkness. Exposure to light can trigger seed germination or even cause them to lose viability. Use opaque containers or store your seed containers in a cool, dark place to protect them from light.
4. Airflow: Proper airflow is important to prevent the buildup of moisture around seeds. Ensure that your containers have small ventilation holes or use breathable storage bags to maintain good airflow.
5. Pests: Protecting your seeds from pests such as rodents, insects, and mold is essential. Use airtight containers or sealable bags to keep pests out. Adding a few cloves or dried bay leaves to the storage containers can also act as natural pest deterrents.
6. Seed Moisture Content: Before storing seeds, it is important to ensure that they have a proper moisture content. Too high moisture content can lead to seed spoilage, while too low moisture content can cause seeds to become brittle. Use a seed moisture meter to determine the moisture content and adjust if necessary.
7. Seed Type: Different types of seeds have different storage requirements. Some seeds, like tomatoes and peppers, need a period of drying before storage, while others, like lettuce or spinach, should be stored with a higher moisture content. Research the specific storage requirements of each seed type to ensure proper preservation.
By considering these factors and taking the necessary precautions, you can significantly extend the shelf life of your seeds and increase the chances of successful germination when it’s time to plant. In the next sections, we will discuss the best containers for seed storage, how to properly label your seeds, and techniques for creating the ideal storage conditions.
Choosing the Right Container for Seed Storage
When it comes to storing garden seeds, choosing the right container is crucial for maintaining their viability and preserving their quality. The ideal container should protect the seeds from moisture, light, pests, and temperature fluctuations. Here are some options to consider:
1. Seed Envelopes: Seed envelopes are a popular choice for storing seeds. They are typically made of paper and have a small flap to secure the seeds. These envelopes provide adequate airflow and are easy to label. However, they may not provide the same level of protection against moisture as other options.
2. Sealable Plastic Bags: Sealable plastic bags are another practical choice for seed storage. Opt for high-quality, airtight bags to ensure that moisture and pests cannot penetrate the bag. Consider using resealable bags for easy access to your seeds when needed.
3. Glass Jars: Glass jars are an excellent option for storing seeds. They provide good visibility and protection from pests and light. Use jars with airtight lids to maintain a stable environment for your seeds. If using repurposed jars, make sure they are thoroughly cleaned and dried before use.
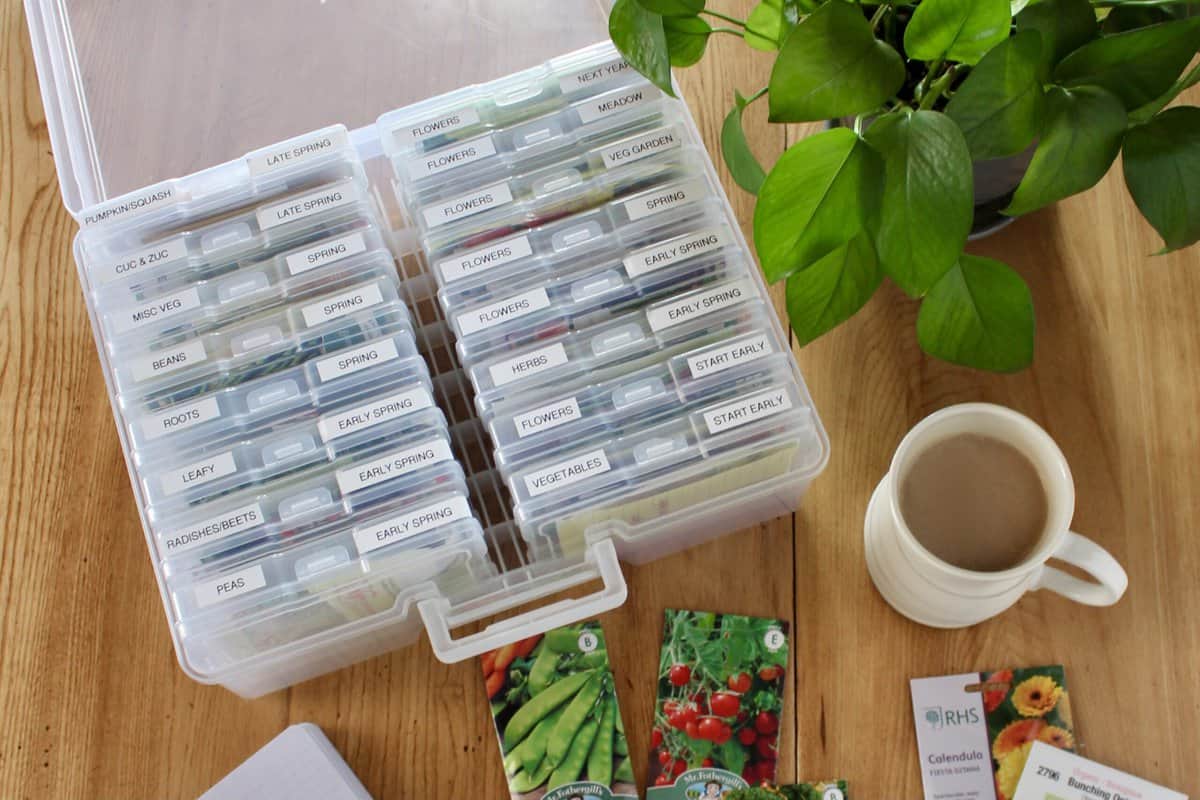
4. Plastic Seed Storage Containers: Plastic seed storage containers are specifically designed for seed preservation. These containers are usually made of durable plastic, have airtight seals, and come with individual compartments or dividers to keep seeds organized. Look for containers that are labeled as “food-grade” to ensure they are safe for long-term seed storage.
5. Metal Tins: Metal tins, such as mint tins or small cookie tins, can be repurposed for seed storage. They offer protection from light and pests, but it’s important to ensure they are thoroughly cleaned and dry to avoid any residue that may affect the seeds’ quality.
Whichever container you choose, it is essential to label it with the seed variety and the date of collection or purchase. This will help you keep track of the seeds’ age and ensure you use the oldest seeds first.
Remember, regardless of the container you select, it is vital to store it in a cool, dry, and dark location. Consider placing your seed containers in a refrigerator or a cool basement for long-term storage.
With proper container selection and placement, you can ensure that your seeds remain in excellent condition, ready for future planting. In the next section, we will discuss the importance of proper labeling for seed storage.
Proper Labeling of Seeds
Proper labeling of seeds is essential for organizing your seed collection and ensuring that you can easily identify and utilize them when needed. Clear and accurate labeling helps prevent confusion, aids in tracking seed varieties, and allows for effective garden planning. Here are some key tips for properly labeling your seeds:
1. Include Essential Information: When labeling your seeds, ensure that you include essential information such as the plant variety, the date of collection or purchase, and any specific instructions or notes related to the seeds. This information will help you keep track of the seeds’ age and ensure proper handling.
2. Use Waterproof and Durable Markers: Choose a waterproof and smudge-proof marker to label your seeds. Ordinary pens or markers may fade or wash away over time, making it difficult to identify the seeds. Use a fine-point permanent marker to ensure longevity and readability.
3. Label on the Outside: It’s important to label the containers or seed envelopes on the outside rather than directly on the seeds. Writing directly on the seeds can damage them or affect their viability. Labeling on the outside of the container ensures that the information remains clear and visible without compromising the seeds’ integrity.
4. Be Specific: Provide as much specific information as possible when labeling your seeds. Include the plant variety, any unique characteristics, and any important details you want to remember when planting or storing the seeds. The more detailed your labeling, the easier it will be to plan and execute your gardening projects.
5. Use Clear and Legible Handwriting: Ensure that your handwriting is clear and legible when labeling your seeds. If your handwriting is difficult to read, consider using adhesive labels or printed labels with typed information. The goal is to have labels that can be easily understood even after an extended period of time.
6. Consider Color Coding: To further enhance organization, you can consider implementing a color coding system. Assign a specific color to each plant family, or use different colors for annuals, perennials, and vegetables. This visual distinction can expedite the process of locating specific seeds quickly.
7. Regularly Review and Update: Periodically review your seed collection and update the labels as needed. Remove any outdated or non-viable seeds, and ensure that the labeling is accurate and up-to-date. This will help you maintain an organized seed collection and eliminate any confusion.
By following these labeling tips, you can ensure that your seeds are properly identified and ready for future planting. A well-labeled seed collection will save you time, prevent mistakes, and contribute to a more organized and successful gardening experience. In the next sections, we will delve into creating the ideal storage conditions for your seeds and techniques for long-term seed storage.
Store garden seeds in a cool, dry place to maintain their viability. Airtight containers or resealable bags can help prevent moisture and pests from damaging the seeds.
Read more: How To Plant Strawberry In A Vertical Garden
Creating the Ideal Storage Conditions for Seeds
Creating the ideal storage conditions is crucial for preserving the viability and longevity of your seeds. By providing the optimal environment, you can minimize the risk of seed deterioration and maximize their chances of successful germination when it’s time to plant. Here are some key factors to consider when creating the ideal storage conditions:
1. Temperature: Seeds should be stored at a cool and consistent temperature. Most seeds prefer temperatures between 32°F (0°C) and 50°F (10°C). Avoid storing seeds in areas prone to temperature fluctuations, such as near heaters or windows that receive direct sunlight.
2. Humidity: Moisture is one of the greatest threats to seed viability. To prevent moisture buildup, aim for a relative humidity level of around 30-40%. Use desiccant packets or include a small amount of rice grains in your seed storage containers to absorb excess moisture.
3. Light: Most seeds have evolved to be stored in darkness. Exposure to light can initiate the germination process, reducing their viability. Store seeds in opaque containers, or choose a dark location such as a drawer or cabinet to keep them safe from light exposure.
4. Airflow: Good airflow is crucial to prevent the accumulation of moisture around the seeds. Avoid storing seeds in airtight containers without adequate ventilation. Choose containers with small ventilation holes or use breathable storage bags to ensure proper airflow.
5. Pest Control: Protect your seeds from pests such as insects, rodents, and mold. Ensure that your storage containers are airtight or use sealable plastic bags to keep pests out. Consider adding natural pest deterrents like cloves or dried bay leaves to further protect your seeds.
6. Optimal Shelf Life: Different types of seeds have varying shelf lives. Some seeds, such as tomatoes or peppers, can remain viable for several years, while others, like onions or leeks, have shorter shelf lives. Research the specific shelf life of each seed type and plan your storage accordingly.
7. Regular Monitoring: Periodically check your stored seeds for any signs of mold, moisture, or pest infestations. Remove any damaged or non-viable seeds to ensure the quality and longevity of the remaining seeds.
8. Consider Seed Saving: If you collect seeds from your own plants, ensure that they are thoroughly dry before storage. Remove any excess debris, stems, or plant materials from the seeds to prevent mold formation. Label them clearly and store them in a separate container to distinguish them from purchased seeds.
By paying attention to these factors and creating an optimal storage environment, you can extend the life of your seeds and improve their germination rates. With the ideal storage conditions in place, your seeds will be ready to flourish when it’s time to sow them in your garden. In the next section, we will discuss seed viability testing and techniques for long-term seed storage.
Seed Viability Testing
Seed viability testing is a valuable process that helps determine the germination potential of your stored seeds. It allows you to assess the seed’s viability and make informed decisions on whether to sow them or purchase new seeds. Here are several techniques for seed viability testing:
1. Germination Test: The most common method for testing seed viability is the germination test. It involves placing a certain number of seeds on a damp paper towel or in a seed tray with a suitable growing medium. Keep the seeds moist and at the appropriate temperature for germination. After a specified period, typically 7 to 14 days depending on the seed type, check the number of seeds that have successfully germinated. Calculate the germination rate to determine the seed’s viability.
2. Float Test: Float testing is primarily used for larger seeds, such as beans or peas. Fill a container with water and place the seeds in it. Viable seeds will sink, while non-viable ones will float. Discard the floating seeds as they are unlikely to germinate successfully.
3. Seed Tetrazolium Test: This test involves staining the seeds with a chemical called tetrazolium chloride. The stain distinguishes between viable and non-viable seeds by turning viable seeds a reddish color. Non-viable seeds remain unstained. Follow specific instructions and safety precautions when conducting this test as tetrazolium chloride can be hazardous.
4. Seedling Vigor Test: This test assesses not only the germination rate but also the strength and health of the resulting seedlings. It involves growing the seeds under optimal conditions and evaluating the vigor and overall development of the emerged seedlings. Seedling vigor is an indicator of the seed’s ability to establish healthy plants.
5. Professional Seed Testing: If you have a large quantity of seeds or need precise results, professional seed testing services are available. These services employ specialized equipment and techniques to accurately determine seed viability and germination rates. They provide detailed reports that can be useful for large-scale growers or seed suppliers.
Seed viability testing gives you valuable information about the quality of your stored seeds and allows you to make informed decisions about their use. It’s important to note that seed viability may decline over time, even under ideal storage conditions. If the germination rate falls below an acceptable level, it may be time to replace the seeds with fresh ones.
By regularly testing the viability of your stored seeds, you can ensure that you only sow seeds with a high probability of successful germination. This helps maximize your gardening efforts and improves your chances of a bountiful harvest. In the next section, we will explore techniques for long-term seed storage to preserve the viability of your seeds for extended periods.
Techniques for Long-Term Seed Storage
Long-term seed storage is necessary when you want to preserve seeds for future seasons or for sharing with other gardeners. By following proper techniques, you can extend the longevity of your seeds and maintain their viability over a more extended period. Here are some techniques for long-term seed storage:
1. Dry Seeds Properly: Before storing seeds, ensure they are thoroughly dry. Remove any excess debris or plant material and let the seeds air dry for several days in a well-ventilated area. This reduces the risk of mold and rot during storage.
2. Choose the Right Containers: Select containers that are airtight, moisture-proof, and durable. Good options include glass jars with tight-fitting lids, plastic seed storage containers, or sealable plastic bags. Ensure the containers are clean and dry before adding the seeds.
3. Consider Seed Packets or Envelopes: Place dried seeds in seed packets or envelopes made of paper. These allow for air circulation and absorb excess moisture. The envelopes should be labeled with the seed variety and other essential information.
4. Add Desiccants: Including desiccant packets or a handful of rice grains in your seed containers helps absorb any excess moisture and maintains a dry environment. Change the desiccant packets periodically or whenever they become saturated.
5. Store in a Cool and Dark Location: Find a cool, dark, and consistent temperature location for seed storage. A refrigerator or cool basement is often ideal. Avoid areas susceptible to temperature fluctuations, such as attics or garages, as they can compromise seed viability.
6. Control Humidity Levels: Monitor the humidity levels of your seed storage location. Aim for a relative humidity of around 30-40% to prevent mold growth and maintain seed quality. Use a hygrometer to measure the humidity level accurately.
7. Regularly Inspect and Rotate Seeds: Periodically inspect your stored seeds for any signs of decay, mold, or pests. Remove any damaged or non-viable seeds promptly. Rotate your seeds by using the oldest ones first to ensure a fresh supply of viable seeds.
8. Consider Seed Stratification: Some seeds, especially those with a hard outer coating, may benefit from a process called stratification. Stratification involves exposing the seeds to a period of cold temperatures and moisture mimicking natural winter conditions. Research the specific requirements of the seeds you want to stratify.
9. Duplicate Your Collection: To minimize the risk of losing your entire seed collection, consider duplicating it. Store a portion of your seeds in a separate location or share seeds with fellow gardeners for safekeeping.
Remember that seed viability naturally declines over time, even with proper storage. It is a good practice to regularly test the viability of your older seeds and replace them with fresh ones if needed.
By implementing these techniques, you can enhance the longevity and viability of your stored seeds. This ensures that you have a readily available and reliable seed supply for future planting seasons. In the next section, we will provide tips for organizing your seed collection for easy access and efficient garden planning.
Tips for Organizing Your Seed Collection
Organizing your seed collection is essential for easy access, efficient garden planning, and maintaining the viability of your seeds. With a well-organized seed collection, you can quickly find the seeds you need when it’s time to plant. Here are some helpful tips for organizing your seed collection:
1. Categorize by Plant Type: Arrange your seeds by plant type or category, such as flowers, vegetables, herbs, or fruits. This grouping makes it easier to locate specific seeds and plan your garden layout.
2. Alphabetical Order: Within each plant type category, consider organizing your seeds alphabetically. Use dividers or separate containers for each letter to ensure easy navigation and quick access to specific varieties.
3. Labeling: Ensure that each seed storage container or envelope is properly labeled with the seed variety, planting instructions, and any additional notes. Clear and accurate labeling is essential for efficient organization and helps you identify seeds at a glance.
4. Create a Seed Inventory List: Keep a separate record or inventory list of your seed collection. This list can include details like seed variety, quantity, and date of acquisition. It acts as a reference tool for planning, tracking seed usage, and avoiding duplicate purchases.
5. Storage Containers: Use storage containers that are both functional and visually appealing. Clear plastic bins or boxes with lid labels make it easy to see and access your seeds. Ensure the containers are durable, moisture-proof, and can accommodate your seed collection size.
6. Optimize Storage Space: Make the most of your storage space by utilizing shelves, drawers, or seed storage solutions specifically designed for seed organization. Consider vertical storage options, such as a seed organizer or hanging shoe organizer, to save space while keeping your seeds easily accessible.
7. Keep Seed Packets Intact: If you prefer to keep seeds in their original packets, arrange them in a designated binder or box with pockets. Use plastic sleeves or ziplock bags to protect the seed packets from moisture and damage.
8. Regularly Review and Remove Outdated Seeds: Regularly go through your seed collection to check for expired or non-viable seeds. Remove any outdated or non-germinating seeds to keep your collection fresh and organized.
9. Take Notes: As you experiment and grow your garden, take notes on the performance and success of specific varieties. This information can be valuable for future planting decisions and refining your seed collection.
10. Share and Trade: Consider exchanging seeds with fellow gardeners or joining seed-sharing communities. Sharing and trading seeds not only expand your collection but also foster a sense of community and promote biodiversity.
By implementing these tips for organizing your seed collection, you can streamline your gardening process, reduce the risk of misplaced or wasted seeds, and enjoy a well-structured and productive garden. In the next section, we will conclude our article with a summary of the key points discussed.
Read more: Where To Get Seeds For Garden
Conclusion
Proper seed storage is a crucial aspect of successful gardening. By understanding the importance of seed storage and implementing the right techniques, you can preserve the viability, diversity, and longevity of your seeds. Through careful consideration of factors such as temperature, humidity, light, and airflow, you can create the ideal storage conditions for your seeds.
Choosing the right containers, labeling your seeds accurately, and organizing your collection is essential for easy access, efficient planning, and maintaining seed quality. Regular seed viability testing allows you to assess the germination potential of your seeds and make informed decisions about their use.
Techniques for long-term seed storage, such as proper drying, selecting suitable containers, and controlling environmental factors, help extend the lifespan of your seeds. By organizing your seed collection with categorization, alphabetization, and clear labeling, you can easily locate and manage your seeds.
Remember, regularly reviewing and refreshing your seed collection, sharing and trading seeds with other gardeners, and keeping records of your gardening experiences all contribute to a successful and enjoyable gardening journey.
By taking the time to store and organize your seeds properly, you ensure that your garden will continue to thrive year after year. So, whether you are a seasoned gardener or just starting out, follow these guidelines to nurture your seeds, cultivate your plants, and reap the rewards of your labor.
Frequently Asked Questions about How To Store Garden Seeds
Was this page helpful?
At Storables.com, we guarantee accurate and reliable information. Our content, validated by Expert Board Contributors, is crafted following stringent Editorial Policies. We're committed to providing you with well-researched, expert-backed insights for all your informational needs.

0 thoughts on “How To Store Garden Seeds”