Articles
How To Store Potting Soil Over Winter
Modified: January 21, 2024
Learn how to store potting soil over winter in this informative article. Find helpful tips and tricks to keep your soil in great condition for next season.
(Many of the links in this article redirect to a specific reviewed product. Your purchase of these products through affiliate links helps to generate commission for Storables.com, at no extra cost. Learn more)
Introduction
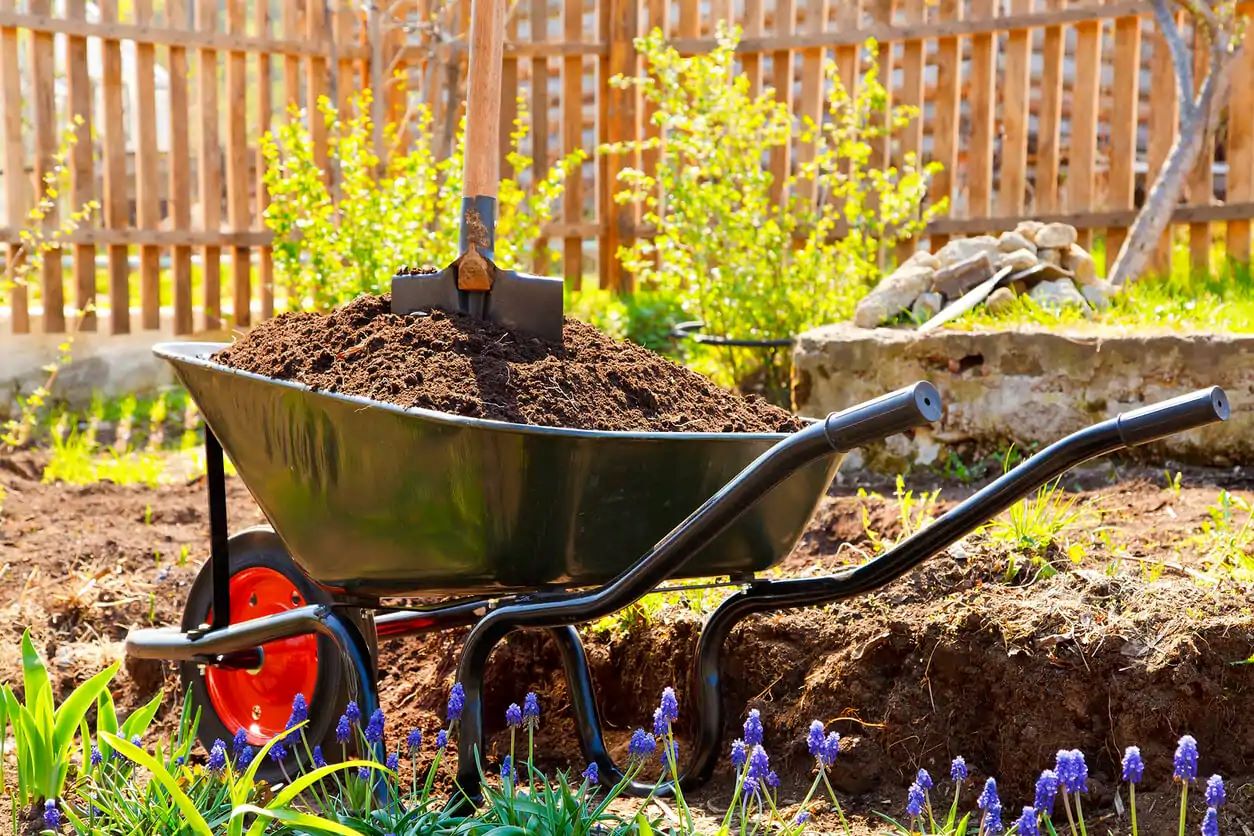
When it comes to gardening, having good quality potting soil is essential for healthy plant growth. However, if you live in an area with harsh winters, you may need to store your potting soil to protect it from freezing temperatures and moisture damage. Storing potting soil properly over the winter can ensure that it remains in optimal condition and ready for use when spring arrives.
In this article, we will discuss why it is important to store potting soil over the winter and the factors you need to consider before doing so. We will also provide you with a step-by-step guide on how to store potting soil effectively. Lastly, we will share some tips on how to revitalize your stored potting soil for optimal performance in the next growing season.
So, whether you are an avid gardener looking to preserve your potting soil or a beginner wanting to learn the best practices, this article will provide you with all the information you need to store your potting soil over the winter.
Key Takeaways:
- Properly storing potting soil over winter preserves nutrients, prevents compaction, saves money, and reduces waste. Consider moisture, containers, and inspection before use for successful storage.
- Revitalize stored potting soil by aerating, adding organic matter, adjusting pH, introducing beneficial microorganisms, top-dressing with nutrients, ensuring drainage, and replenishing moisture. Ensure optimal plant growth and success.
Read more: How To Store Potting Soil
Why Store Potting Soil Over Winter?
Storing potting soil over winter is crucial for several reasons. Let’s explore why it is important to take the time and effort to properly store your potting soil during the colder months.
- Preserve Nutrients: Potting soil is typically rich in nutrients required for plant growth. By storing it properly over winter, you can ensure that these nutrients stay intact and available for your plants when you start gardening again in the spring. Otherwise, exposure to moisture and harsh weather conditions can leach away these essential nutrients, rendering the soil less effective.
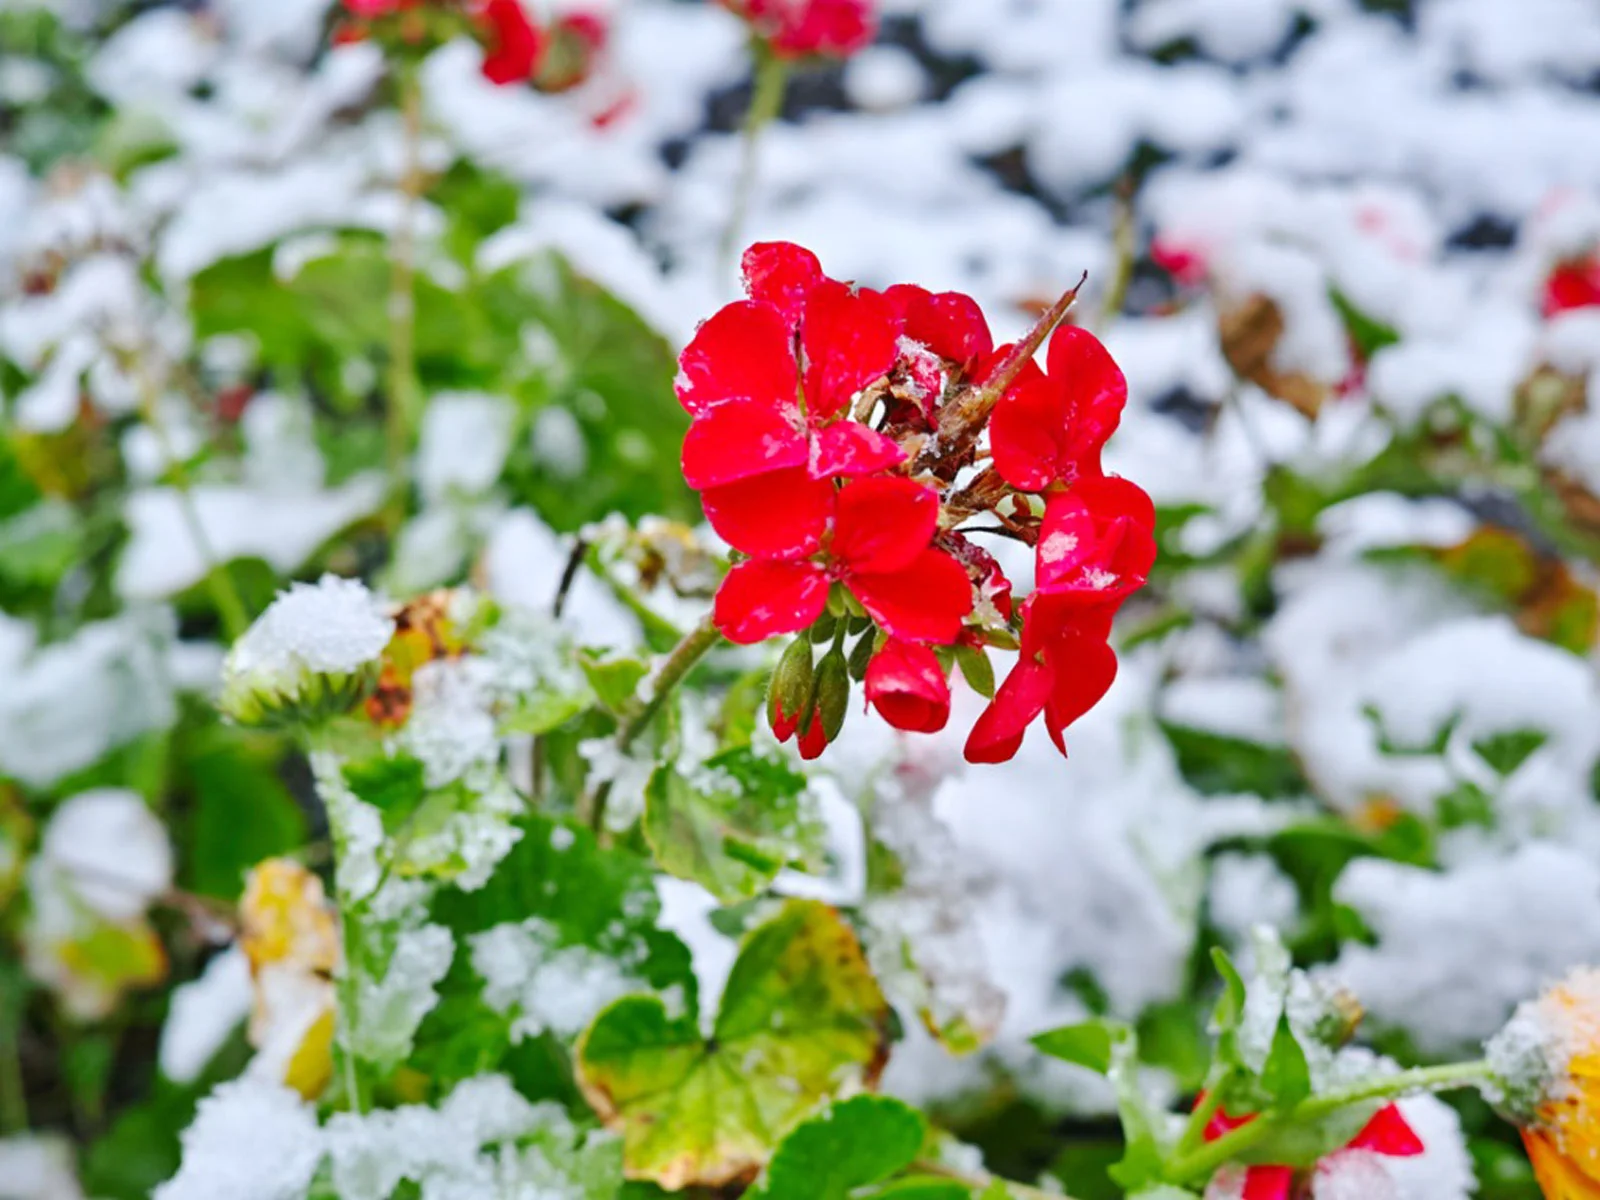
- Prevent Soil Compaction: Freezing temperatures and repeated freeze-thaw cycles can cause potting soil to become compacted. Compacted soil hampers root growth and restricts the flow of water and nutrients to plants. By storing the potting soil in a controlled environment over winter, you can prevent compaction and maintain its loose, well-draining texture.
- Avoid Pest Infestations: Storing potting soil indoors minimizes the risk of pests and diseases taking up residence in the soil. Pests such as fungus gnats, spider mites, and various larvae can overwinter in soil and cause damage to your plants. By storing the soil in a clean and controlled environment, you can significantly reduce the likelihood of these pests infesting your garden next season.
- Save Money: Potting soil can be a significant expense for gardeners, especially if you use large quantities. By storing your potting soil over winter, you can reuse it in the upcoming gardening season, saving you money in the long run. Additionally, storing soil allows you to take advantage of end-of-season sales, where potting soil is often available at discounted prices.
- Reduce Waste: Storing potting soil over winter is an eco-friendly practice. Instead of discarding soil at the end of the season, you can store and reuse it, reducing waste and minimizing your environmental footprint. This is especially important as the demand for sustainable gardening practices continues to grow.
In summary, storing potting soil over winter helps preserve its nutrients, prevents soil compaction, avoids pest infestations, saves money, and reduces waste. It is a worthwhile practice that ensures the continued health and productivity of your garden in the upcoming growing season.
Factors to Consider Before Storing Potting Soil
Before you start storing potting soil over the winter, there are a few important factors to consider. These factors will help ensure that your potting soil remains in good condition and ready for use when the gardening season begins. Let’s take a look at them:
- Moisture Content: It is crucial to check the moisture content of your potting soil before storing it. Excess moisture in the soil can lead to the growth of mold, mildew, and fungi, which can damage the soil and potentially harm your plants. Make sure the soil is slightly moist but not saturated before storage. If the soil feels too damp, allow it to dry out a bit before packing it away.
- Container Selection: Choose the right containers for storing your potting soil. Opt for sturdy, airtight containers that can effectively protect the soil from moisture, pests, and extreme temperature fluctuations. Plastic storage bins with lids or large, sealable bags are popular choices. Ensure that the containers are clean and dry before filling them with soil.
- Storage Location: Find a suitable location to store your potting soil over winter. The ideal storage area is cool, dry, and protected from extreme temperatures. A garage, basement, or shed with temperature control is ideal. Avoid storing the soil outdoors where it can be exposed to freezing temperatures or excessive moisture. Also, keep the soil away from direct sunlight, as it can accelerate dried out and degrade the soil over time.
- Labeling and Organization: To make it easier to identify stored soil and keep track of its age, label the containers with the date of storage. This way, you can prioritize using the older soil first and ensure that nothing gets wasted. Organize the containers in a way that allows easy access and rotation, ensuring that the oldest containers are at the front for convenient retrieval.
- Consider Your Garden’s Needs: Take into account the specific needs of your garden when storing potting soil. Different plants have different requirements, and you may have specific potting mixtures for various types of plants. Consider labeling the containers with the specific plant types or mixtures to ensure you’re using the appropriate soil for each plant when the time comes.
By considering these factors before storing your potting soil, you can ensure that it remains in optimal condition and is ready for use when the gardening season begins. Proper moisture content, suitable containers, the right storage location, labeling and organization, and considering your garden’s needs are important steps to take for successful potting soil storage.
Steps to Store Potting Soil Over Winter
Properly storing potting soil over winter is essential to maintain its quality and ensure it’s ready for use when spring arrives. Follow these steps to store your potting soil effectively:
- Inspect the Soil: Before storing the potting soil, inspect it for any debris, roots, or pests. Remove any unwanted materials to ensure that the soil is clean and ready for storage.
- Check Moisture Levels: Assess the moisture content of the potting soil. It should be slightly moist but not overly wet. If the soil feels too damp, spread it out in a thin layer and allow it to dry for a day or two before proceeding with storage.
- Choose Suitable Containers: Select clean, airtight containers for storing your potting soil. Plastic storage bins with lids or large, sealable bags work well. Make sure the containers are in good condition and free of any cracks or holes.
- Fill the Containers: Fill the chosen containers with the potting soil, leaving a small gap at the top to allow for expansion if necessary. Avoid overfilling the containers as tightly packed soil can lead to compaction and reduce its quality.
- Seal the Containers: Ensure that the containers are tightly sealed to keep out moisture, pests, and air. Airtight seals will help preserve the quality of the potting soil during storage. Use tape, clips, or the lids provided with the containers to secure them tightly.
- Choose a Suitable Storage Location: Find a cool, dry, and protected area to store the containers of potting soil. Ideally, select a location with a stable temperature, such as a garage, basement, or shed. Keep the soil away from direct sunlight, extreme temperatures, and excessive moisture.
- Organize and Label: Organize the containers in a way that allows for easy access and rotation. Label the containers with the date of storage to keep track of their age. This will help ensure that you use the oldest containers first, reducing waste and ensuring freshness.
- Monitor the Storage Area: Periodically check on the storage area to ensure that the conditions remain suitable. Look for signs of moisture buildup, pests, or any other issues that could affect the quality of the soil. Take necessary steps to address any problems promptly.
By following these steps, you can store your potting soil effectively and ensure its quality throughout the winter months. Proper inspection, moisture assessment, suitable containers, proper sealing, choosing a suitable storage location, organization and labeling, and monitoring the storage area are key steps to successful potting soil storage.
Store potting soil in a cool, dry place over winter to prevent it from freezing or becoming waterlogged. Keep it in a sealed container to maintain its quality for the next growing season.
Inspecting Potting Soil Before Use
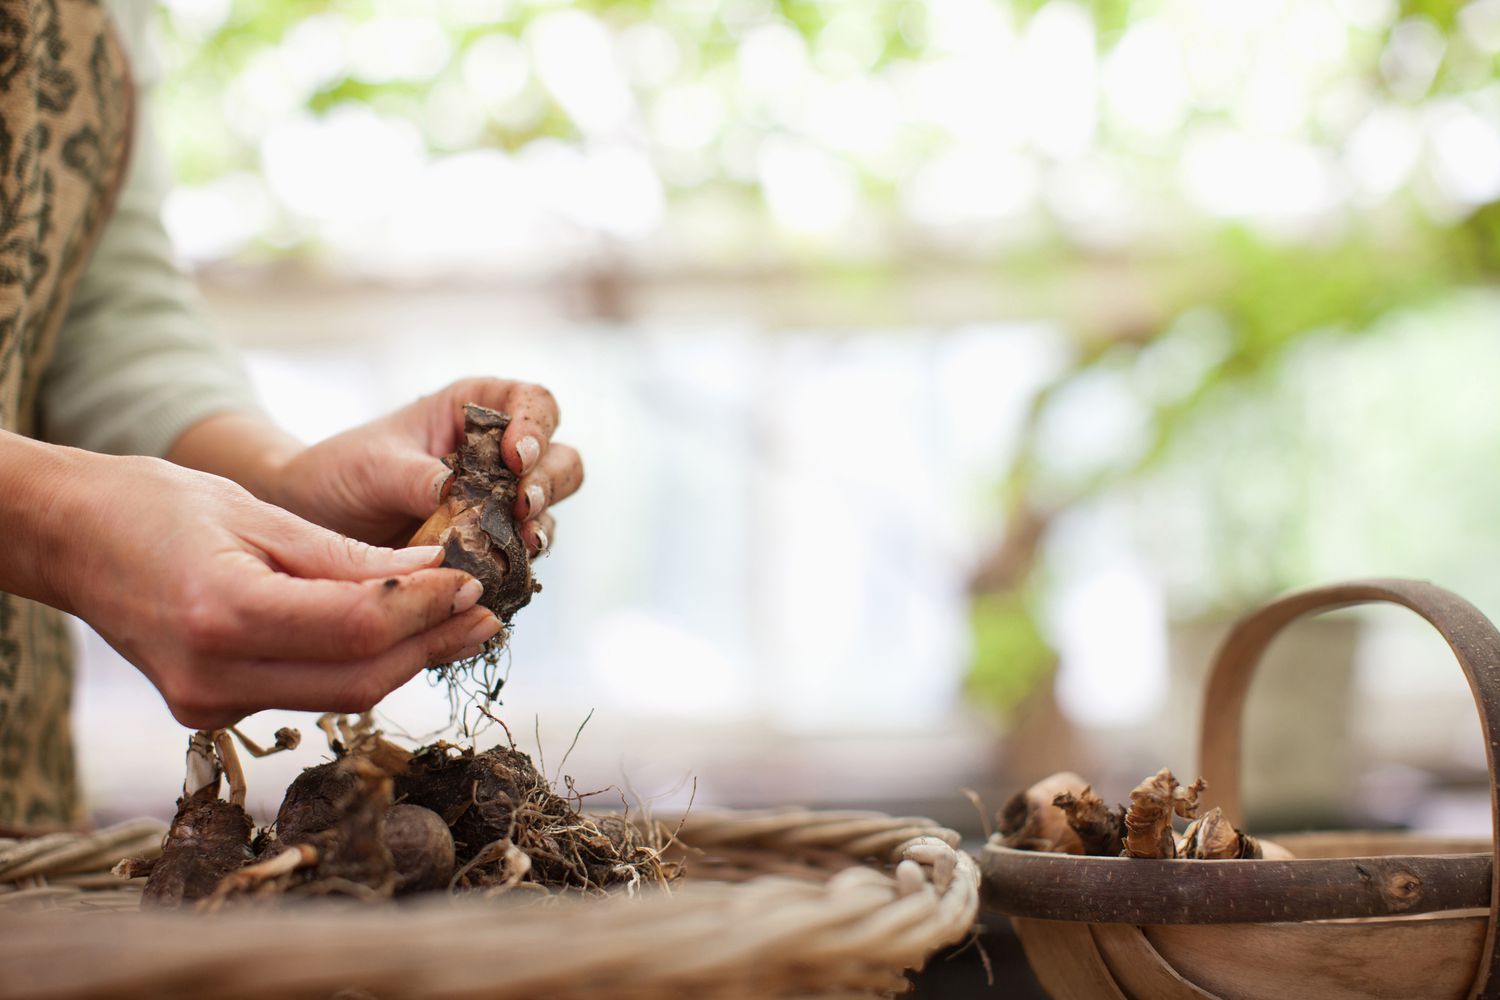
Before using potting soil that has been stored over winter, it is important to inspect it to ensure its quality and suitability for your plants. Here are some steps to follow when inspecting your stored potting soil:
- Check for Moisture: Examine the potting soil for its moisture content. It should feel slightly moist but not overly wet. If the soil appears too dry, you may need to add some water and mix it thoroughly to rehydrate it. On the other hand, if the soil is too wet or shows signs of mold or mildew, it is best to discard it and use fresh potting soil.
- Look for Pests: Inspect the potting soil for any signs of pests such as fungus gnats, spider mites, or larvae. Check for any visible insects or eggs, as well as any unusual activity or damage to the soil. If you notice pests, it is advisable to discard the soil to prevent infestation in your garden. Avoid introducing pests or diseases to your plants by using fresh potting soil.
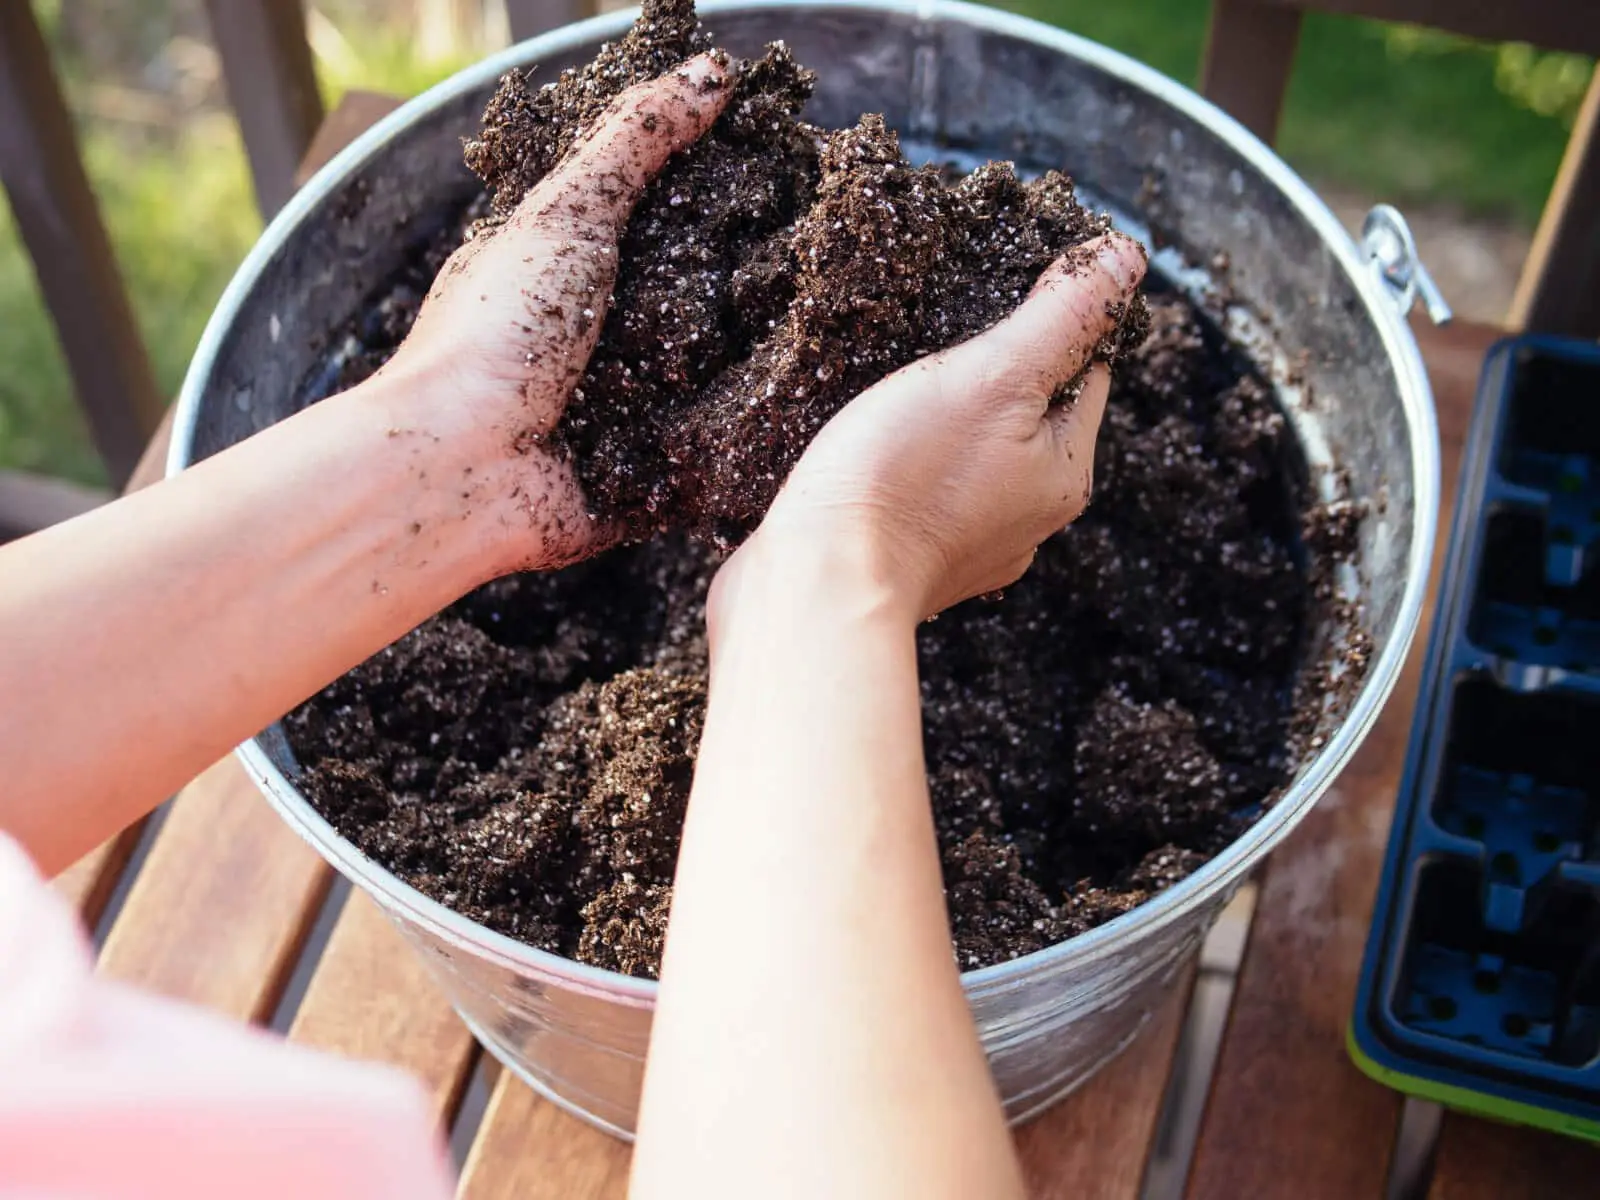
- Assess Texture and Composition: Feel the texture of the potting soil and check its overall composition. It should have a loose, well-draining texture that allows adequate airflow and prevents water from pooling. If the soil feels overly compacted or has a clumpy consistency, you may need to aerate it by mixing in some fresh organic matter or perlite to improve its structure.
- Inspect for Debris: Take a close look at the potting soil for any debris, roots, or foreign objects. Remove any unwanted materials to ensure that the soil is clean and free from obstructions that could hinder plant growth or drainage. Removing debris will also help prevent potential nutrient imbalances or diseases.
- Evaluate Nutrient Levels: Assess the nutrient content of the potting soil. Stored soil may have undergone some nutrient depletion over time. Consider conducting a soil test to determine its nutrient levels and adjust accordingly with organic amendments or slow-release fertilizers to meet the specific requirements of your plants.
By thoroughly inspecting your stored potting soil before use, you can ensure that it is of good quality and suitable for your plants. Checking moisture levels, looking for pests, assessing texture and composition, inspecting for debris, and evaluating nutrient levels are essential steps to take to ensure optimal plant growth and success in your gardening endeavors.
Read more: How To Store Potting Soil In An Apartment
Tips for Revitalizing Stored Potting Soil
If you have stored potting soil over winter, you may find that it has become compacted or has lost some of its nutrients. Revitalizing the soil before using it again can improve its structure and enhance its performance in your garden. Here are some tips to help you revitalize your stored potting soil:
- Aerate the Soil: To combat soil compaction, you can aerate the potting soil by breaking up clumps and loosening it with a garden fork or a hand tool. This will help improve the soil’s drainage and airflow, creating a healthier environment for your plants.
- Add Organic Matter: Incorporating organic matter into the potting soil can replenish its nutrients and enhance its fertility. Consider adding compost, well-rotted manure, or other organic amendments to provide a nutrient boost for your plants. Mix the organic matter thoroughly into the soil to ensure it is evenly distributed.
- Adjust pH if Necessary: Test the pH level of your potting soil and adjust it if needed. Most plants prefer a slightly acidic to neutral pH range. If the pH is too high or too low, you can amend the soil with lime to raise the pH or sulfur to lower it. Follow the recommended application rates and consider retesting the pH after a few weeks to ensure proper adjustment.
- Introduce Beneficial Microorganisms: Adding beneficial microorganisms, such as mycorrhizal fungi or beneficial bacteria, can help improve the soil’s nutrient uptake and overall health. These organisms establish a symbiotic relationship with plant roots and enhance their ability to access nutrients, making them more resilient and vigorous.
- Top-dress with Nutrients: If your stored potting soil has experienced nutrient depletion, you can top-dress it with slow-release organic fertilizers or controlled-release granules. These fertilizers will gradually release nutrients into the soil to provide a sustained feeding for your plants. Follow the manufacturer’s instructions for application rates and frequency.
- Ensure Proper Drainage: Check the drainage of your potting soil. If it is retaining too much water, you can add perlite or coarse sand to improve the drainage. Mix in these amendments thoroughly to ensure they are well-incorporated into the soil.
- Replenish Moisture: If the stored potting soil appears dry, you can moisten it by lightly watering or misting the soil. Allow the water to penetrate evenly throughout the soil before using it. Be careful not to overwater, as excessively wet soil can lead to root rot and other moisture-related issues.
By following these tips, you can revitalize your stored potting soil and ensure that it provides the necessary nutrients, structure, and drainage for your plants to thrive. Aeration, addition of organic matter, pH adjustment, introduction of beneficial microorganisms, top-dressing with nutrients, ensuring proper drainage, and replenishing moisture are all effective ways to breathe new life into your potting soil.
Conclusion
Properly storing potting soil over the winter is a crucial step in maintaining its quality and ensuring optimal plant growth in the upcoming gardening season. By taking the time to store your potting soil correctly, you can preserve its nutrients, prevent soil compaction, avoid pest infestations, save money, and reduce waste. With the right approach, you can ensure that your stored potting soil remains in optimal condition and ready for use when spring arrives.
Before storing your potting soil, consider factors such as moisture content, container selection, storage location, labeling, and organizing. These considerations will help you store the potting soil effectively and make it easier to access when needed. Additionally, inspecting the stored potting soil before use is crucial to ensure its quality. Check for moisture levels, pests, texture, debris, and nutrient levels to determine if any revitalization is needed.
If you find that your stored potting soil needs revitalizing, there are several steps you can take to improve its structure and enhance its performance in your garden. Aerate the soil, add organic matter, adjust pH if necessary, introduce beneficial microorganisms, top-dress with nutrients, ensure proper drainage, and replenish moisture as needed. These revitalization techniques will help make your stored potting soil more nutrient-rich, well-draining, and suitable for plant growth.
In conclusion, by following the steps and tips outlined in this article, you can successfully store and revitalize your potting soil over winter. By doing so, you’ll be able to provide your plants with the best possible growing medium, setting the foundation for a successful and bountiful gardening season. So, don’t neglect your potting soil – give it the care and attention it deserves and enjoy the rewards of healthy, vibrant plants in your garden.
Frequently Asked Questions about How To Store Potting Soil Over Winter
Was this page helpful?
At Storables.com, we guarantee accurate and reliable information. Our content, validated by Expert Board Contributors, is crafted following stringent Editorial Policies. We're committed to providing you with well-researched, expert-backed insights for all your informational needs.


0 thoughts on “How To Store Potting Soil Over Winter”