Articles
How To Store Soil To Maximize Its Benefits
Modified: December 7, 2023
Learn the best methods for storing soil in this informative article. Find out how to keep your soil fresh and ready for your gardening projects.
(Many of the links in this article redirect to a specific reviewed product. Your purchase of these products through affiliate links helps to generate commission for Storables.com, at no extra cost. Learn more)
Introduction
Soil is an essential element for any gardener or landscaper. It provides the necessary nutrients, supports plant growth, and aids in water retention. However, storing soil properly is often overlooked, leading to degradation of its quality and effectiveness over time. This article will guide you on how to store soil effectively, whether you are a professional gardener or simply someone enthusiastic about taking care of their plants.
Proper soil storage is crucial because it helps maintain the quality and viability of the soil, ensuring that it remains beneficial for future use. Whether you have excess soil from previous projects or want to store soil for later use, following the right procedures is essential.
In this article, we will explore the different aspects of storing soil, including selecting the right type of soil, preparing containers or beds for storage, and maintaining the quality of the stored soil. Additionally, we will discuss how to effectively use stored soil to maximize its benefits in your gardening endeavors.
So let’s dive in and learn the best practices for soil storage to keep your garden healthy and thriving!
Key Takeaways:
- Proper soil storage is essential for maintaining its quality and effectiveness in supporting plant growth. By selecting the right type of soil, preparing suitable containers or beds, and maintaining its quality, you can have a ready-to-use resource at your disposal.
- Utilizing stored soil effectively can save time and money while ensuring optimal plant growth. Whether blending with fresh soil, using for container gardening, or composting, stored soil remains a valuable resource for gardening and landscaping endeavors.
Read more: How To Use Stucco Siding And Its Benefits
Selecting the Right Type of Soil
When it comes to storing soil, selecting the right type is crucial. Different plants have different soil requirements, including their pH level, drainage capacity, and nutrient content. Here are some factors to consider when choosing the right type of soil for storage:
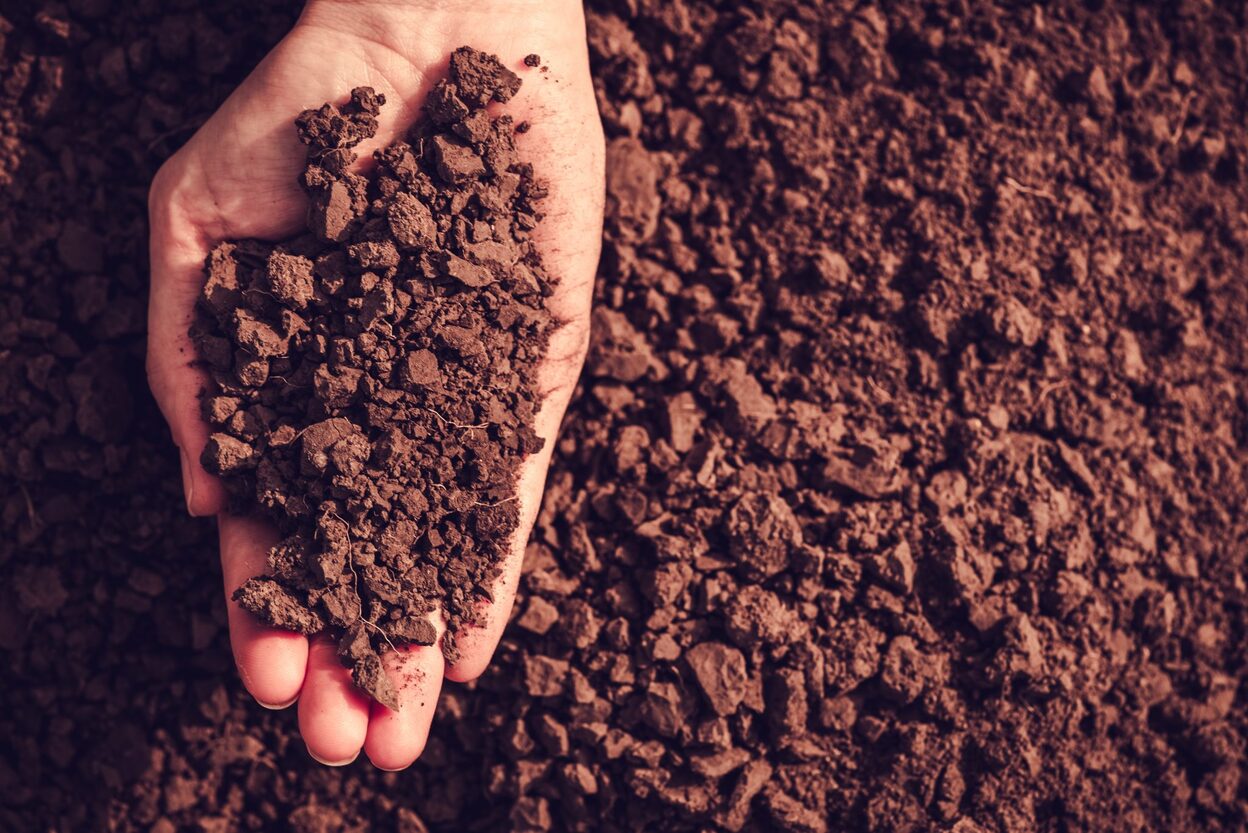
- Composition: Soil is typically composed of three main components: sand, silt, and clay. The ideal soil for most plants is a balanced combination of these three components, known as loam. Loam has good drainage capabilities while retaining enough moisture for plant growth.
- pH level: Soil pH affects the availability of nutrients to plants. Some plants prefer acidic soil, while others thrive in alkaline or neutral pH levels. Test the pH level of your soil and store it separately based on its acidity or alkalinity to provide the most suitable environment for your plants.
- Nutrient content: Consider the nutrient requirements of the plants you are growing. Some plants demand well-fertilized soil, while others prefer a lower nutrient content. Choose a soil type that matches the nutrient needs of your plants to ensure their healthy growth.
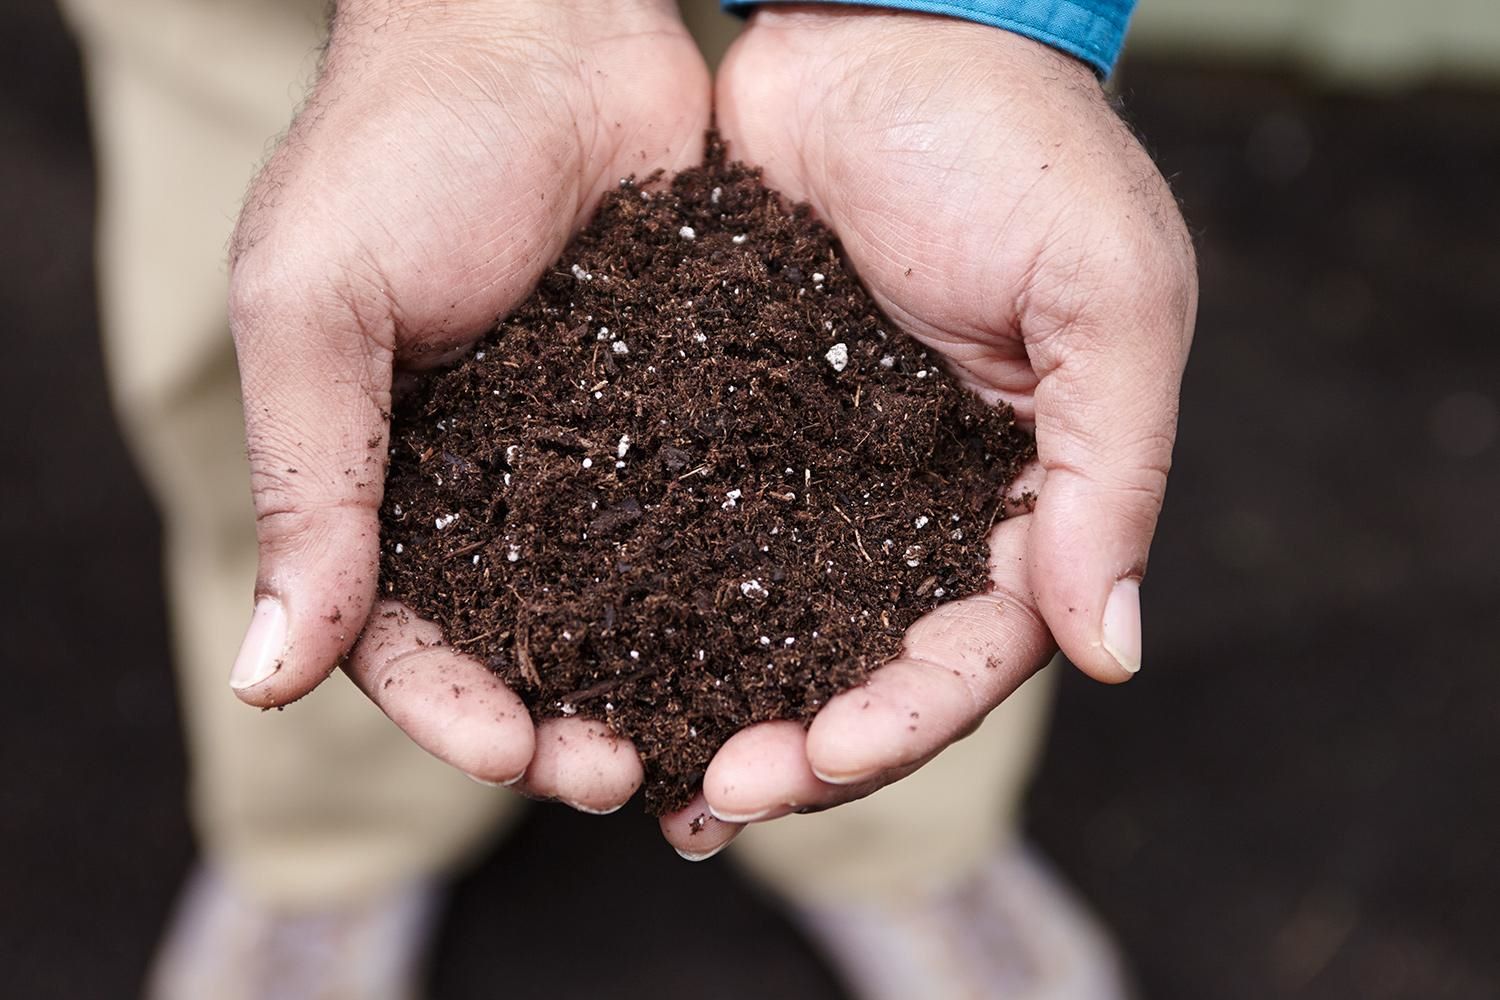
- Organic matter: Adding organic matter to the soil improves its structure, water retention, and nutrient-holding capacity. Consider adding compost, leaf mold, or well-rotted manure to enhance the quality of your soil before storing it.
Remember, when selecting soil for storage, it’s important to choose a type that matches the specific needs of the plants you intend to use it for. This will ensure optimal growth and fertility when you eventually use the stored soil in your gardening projects.
Preparing Containers or Beds for Soil Storage
Once you have chosen the right type of soil for storage, the next step is to prepare suitable containers or beds to store the soil. Here are some essential tips to ensure proper preparation:
- Clean and sterilize: Before storing soil, it is crucial to clean and sterilize the containers or beds to prevent the growth of weeds, pests, and diseases. Remove any debris, old roots, or plant material from the containers or beds. You can use a diluted bleach solution or a commercial disinfectant to sterilize the surfaces.
- Drainage: Ensure that the containers or beds have adequate drainage to prevent waterlogged soil, which can cause root rot and other plant health issues. If using containers, make sure they have drainage holes at the bottom. For beds, ensure proper soil preparation and grading to promote good drainage.
- Layering: Consider layering the soil in the containers or beds to maximize storage efficiency. Start by adding a layer of rocks or gravel at the bottom to aid in drainage. Next, add a layer of organic matter, such as compost or aged manure, to provide a nutrient-rich base. Finally, add the soil in layers, making sure to level and compact each layer gently.
- Labeling: It is essential to label the containers or beds to easily identify the type of soil, date of storage, and any specific information related to the soil. This will ensure that you can use the stored soil appropriately and keep track of its age and composition.
By properly preparing the containers or beds for soil storage, you can maintain the quality and integrity of the soil, making it easier to access and use when needed. Remember to consider the storage location, whether indoors or outdoors, to protect the soil from extreme temperatures, moisture, and other environmental factors.
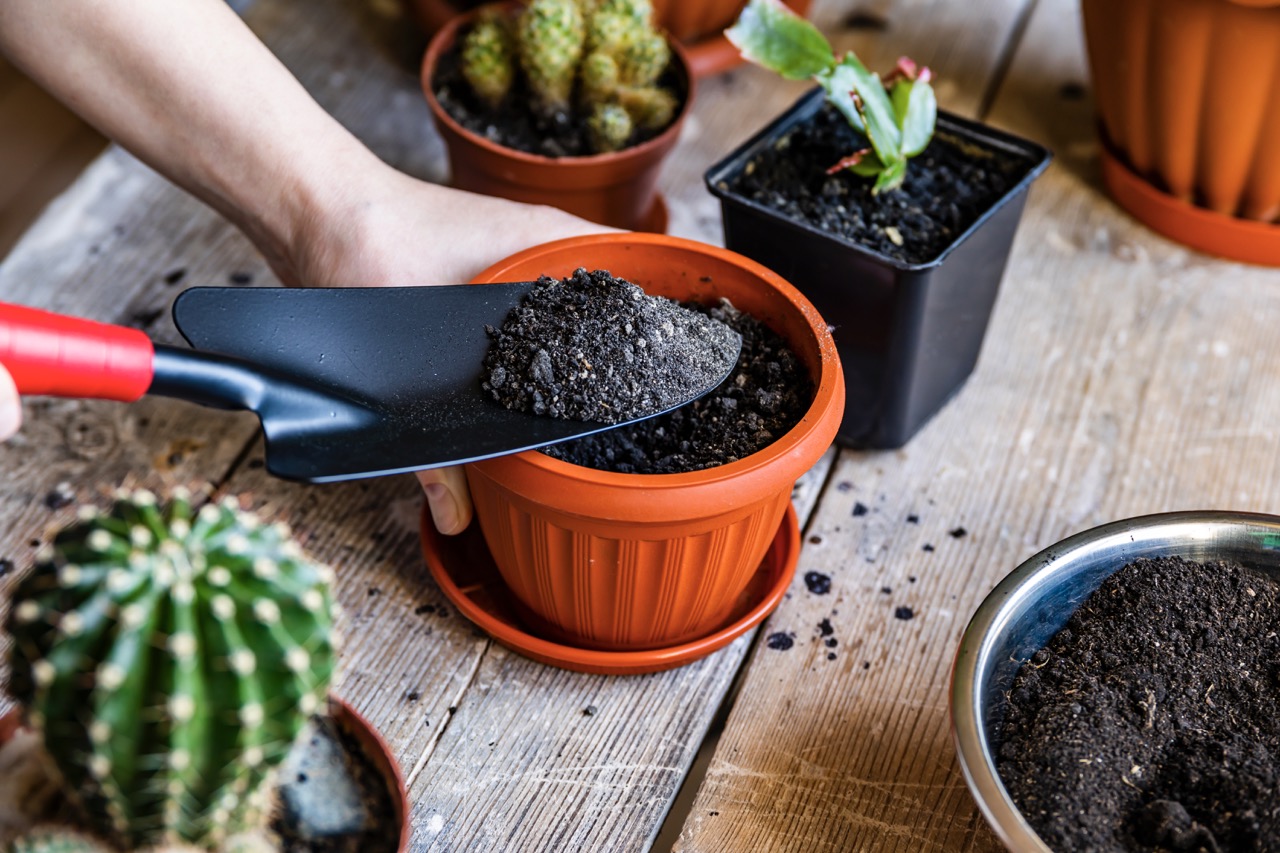
Properly Storing Soil in Containers
Storing soil in containers is a convenient option for gardeners with limited space or those who want to store smaller quantities of soil. Here are some guidelines to ensure proper soil storage in containers:
- Cover the containers: Use lids or covers to completely seal the containers. This will prevent moisture loss and keep out pests, dust, and debris that can contaminate the soil.
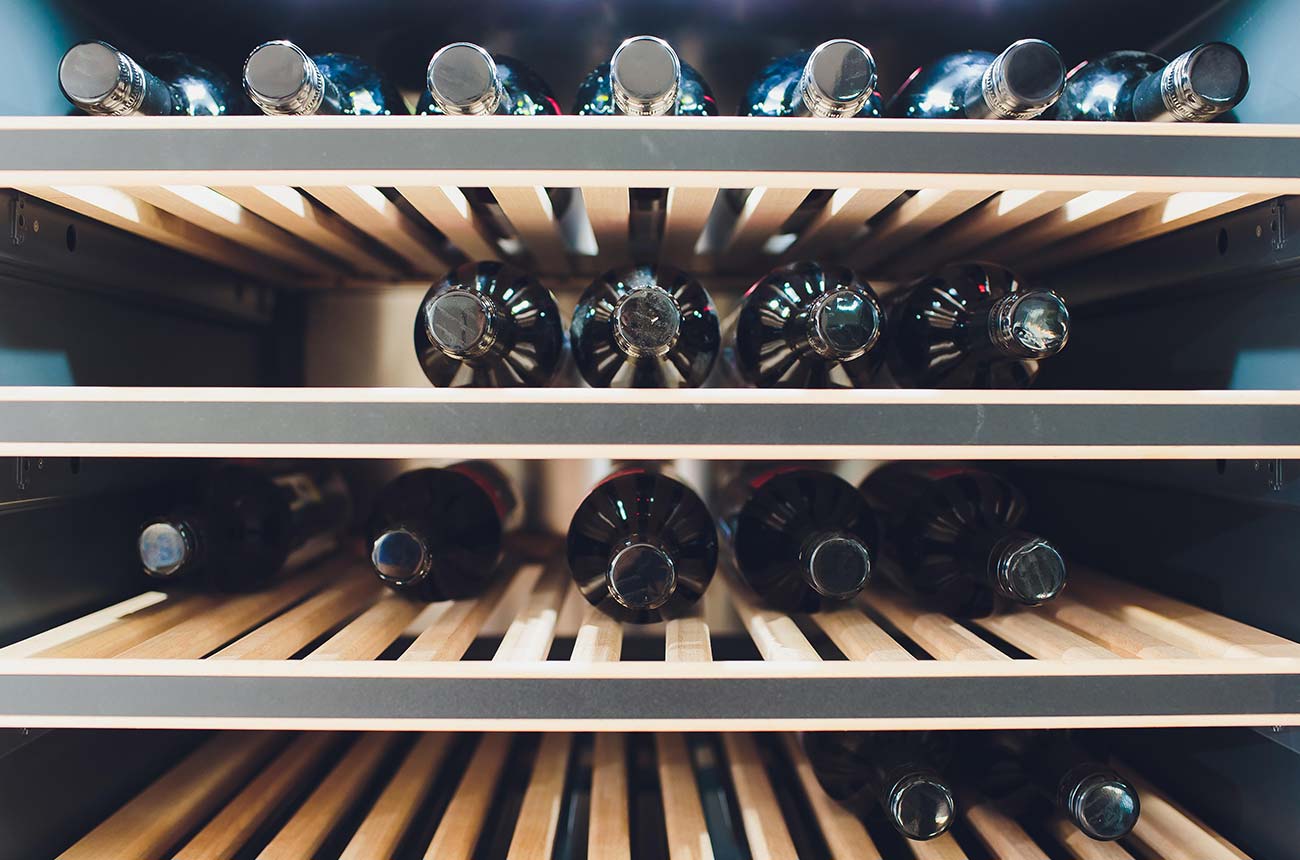
- Store in a cool, dry place: Find a suitable location for storing the containers where the temperature remains relatively stable and cool. Avoid areas prone to extreme heat or cold, as these can affect the quality and viability of the stored soil.
- Avoid direct sunlight: Exposure to direct sunlight can lead to moisture loss, temperature fluctuations, and the growth of algae or unwanted organisms in the soil. Place the containers in a shaded area or cover them with a cloth to shield them from direct sunlight.
- Arrange containers neatly: Stack the containers in an organized manner, ensuring that they are stable and won’t topple over. This will save space and make it easier to access the stored soil when needed.
- Monitor moisture levels: Check the moisture levels of the stored soil periodically. The soil should be slightly damp but not overly wet or dry. If necessary, add a little water to maintain the optimal moisture level.
- Avoid contamination: Store soil separately based on its type and purpose. This will prevent cross-contamination and ensure that you can easily access the specific soil you need for different types of plants or projects.
By following these guidelines, you can effectively store soil in containers while maintaining its quality and preserving its essential characteristics. Properly stored soil will be ready for use at any time, providing a convenient and accessible resource for your gardening needs.
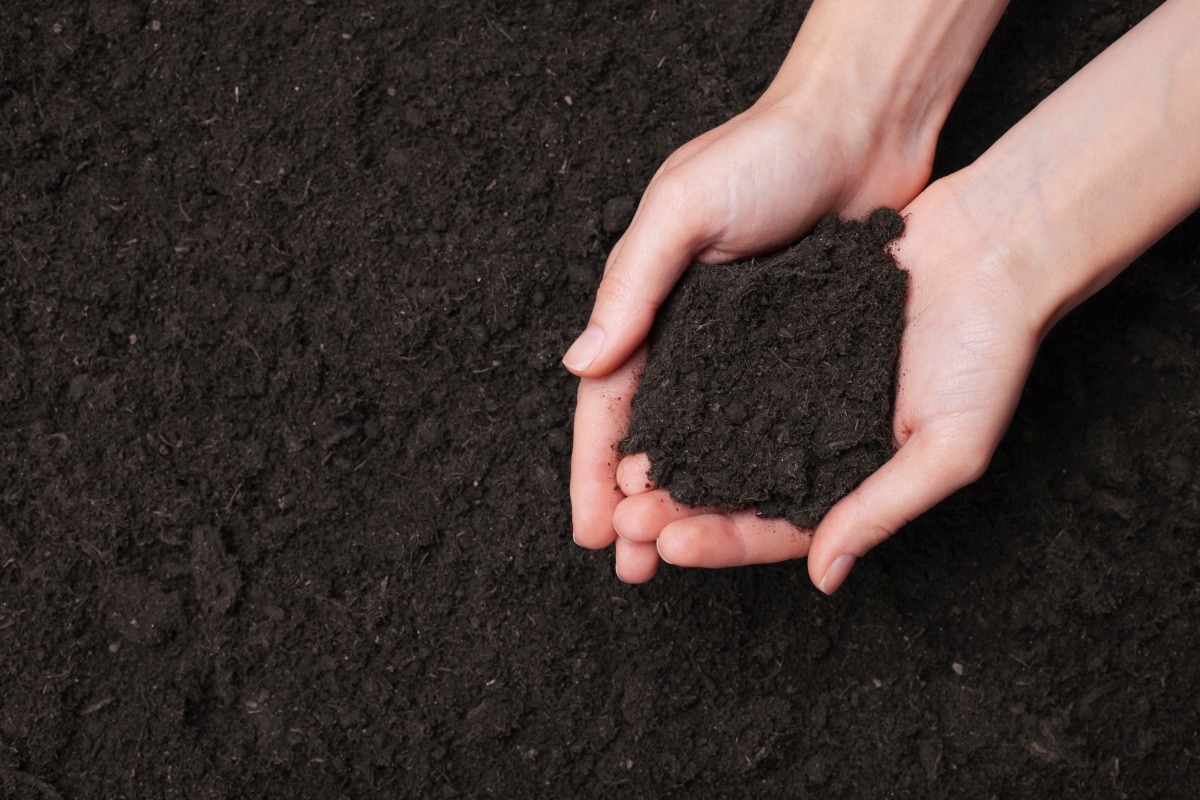
Store soil in a cool, dry place to prevent mold and pests. Keep it in a sealed container to maintain its moisture content and prevent it from drying out.
Storing Soil in Outdoor Beds
If you have a larger quantity of soil to store or prefer to utilize outdoor space, storing soil in dedicated beds can be an excellent option. Here’s how to store soil in outdoor beds effectively:
- Choose a suitable location: Select an area in your yard or garden that is well-drained and receives adequate sunlight. Ensure that the location is easily accessible and large enough to accommodate the desired amount of soil.
- Prepare the bed: Clear the area of any vegetation, rocks, or debris. Level the soil and remove any weeds or grass to create a clean and even surface for the bed.
- Amend the soil: Depending on the specific needs of your plants, add organic matter or soil amendments to enhance the fertility and structure of the soil. Mix in compost, well-rotted manure, or other suitable amendments to improve its quality.
- Mark the boundaries: Clearly mark the boundaries of the bed to distinguish it from the surrounding area. This will help prevent accidental mixing or displacement of the stored soil.
- Add the soil: Gradually add the soil to the bed, spreading it evenly in layers. Use a rake or shovel to level and compact the soil gently, ensuring there are no air pockets and providing a stable base for future use.
- Cover the bed: Protect the stored soil from erosion, moisture loss, and weed growth by covering the bed with a layer of mulch or a light tarp. This will help maintain the quality and integrity of the soil over time.
- Monitor moisture levels: Regularly check the moisture levels of the stored soil. Water the bed if necessary to maintain adequate moisture, preventing it from drying out or becoming waterlogged.
Storing soil in outdoor beds offers several benefits, including easy accessibility, larger storage capacity, and the ability to naturally integrate the stored soil into your garden or landscaping projects. By following these guidelines, you can ensure the proper storage and preservation of soil in outdoor beds, ready for use whenever needed.
Read more: How To Store Soil Outside
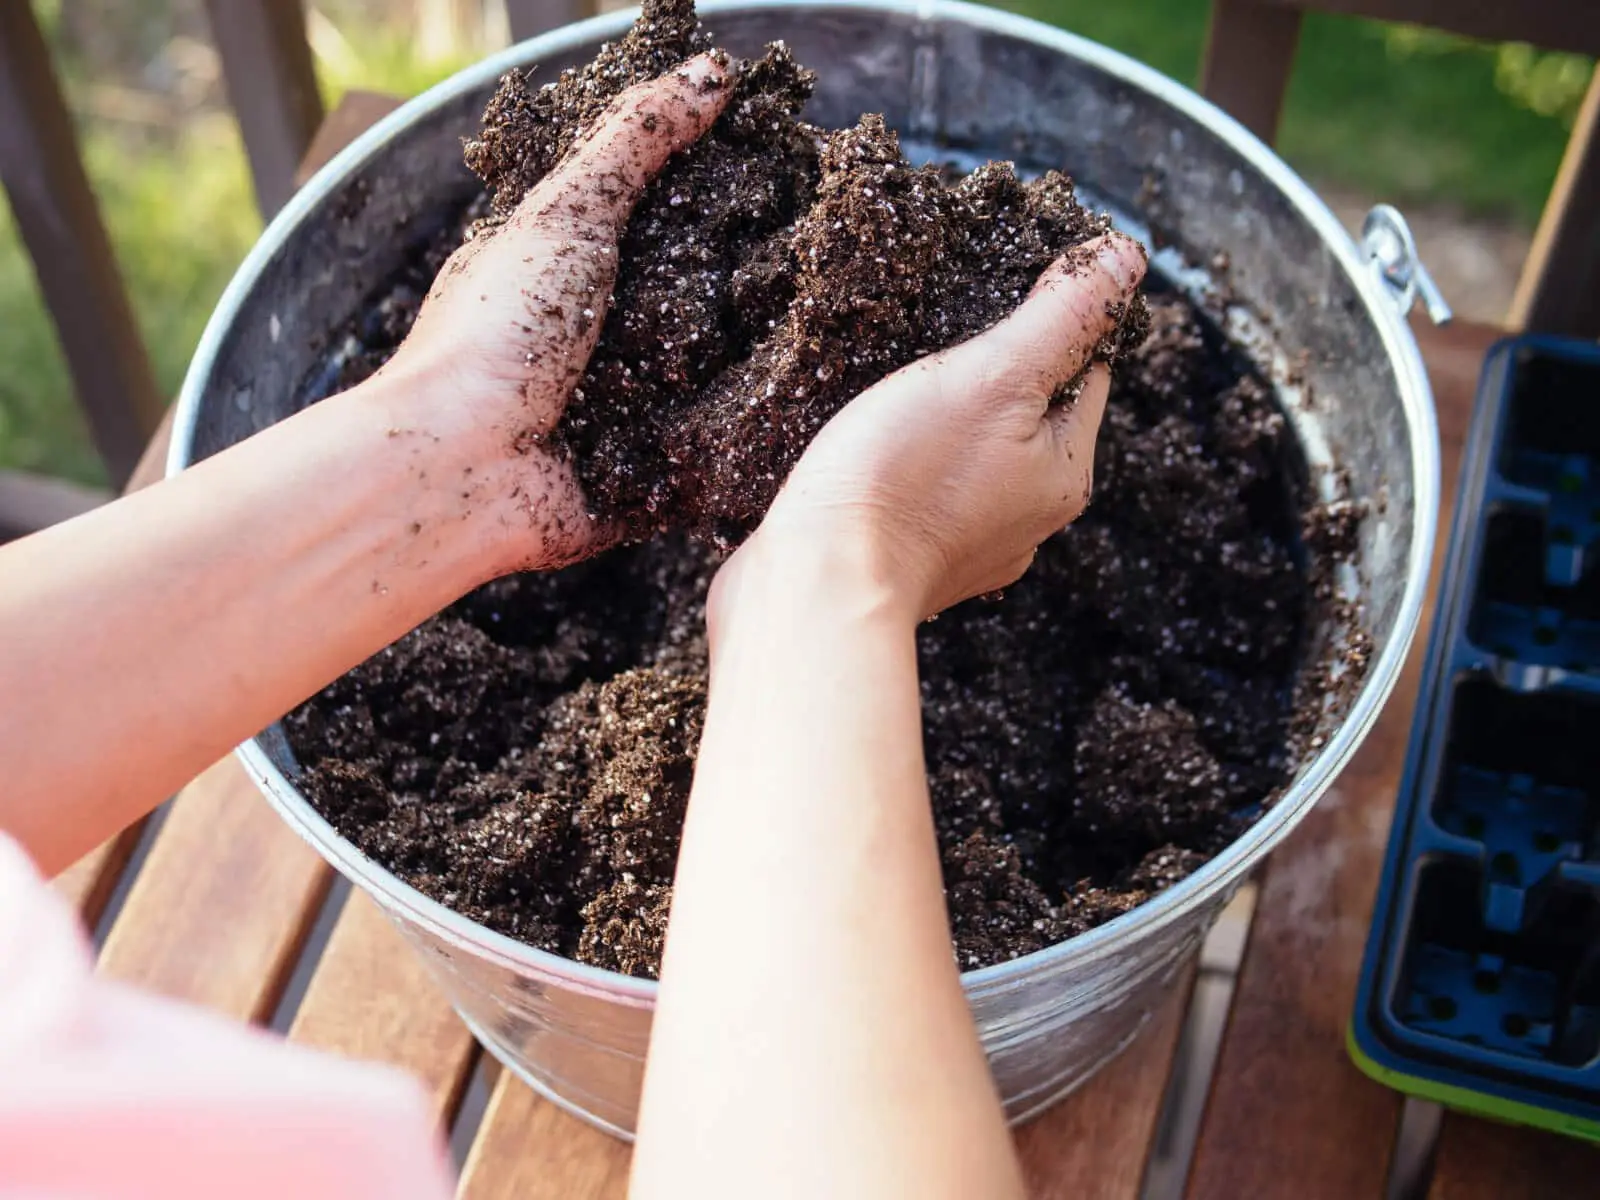
Maintaining the Quality of Stored Soil
Maintaining the quality of stored soil is essential to ensure its effectiveness and fertility over time. By following these guidelines, you can keep the stored soil in optimal condition for future use:
- Regular inspection: Periodically inspect the stored soil to check for any signs of mold, pests, or weed growth. Promptly address any issues to prevent them from spreading and affecting the quality of the soil.
- Moisture management: Avoid excessive moisture or dryness in the stored soil. Too much moisture can lead to mold or fungal growth, while excessive dryness can cause the soil to lose its fertility. Regularly check the moisture levels and adjust as needed.
- Proper ventilation: Ensure adequate airflow around the stored soil to prevent the buildup of moisture and the growth of harmful organisms. Proper ventilation helps maintain optimal conditions and prevents the soil from becoming stagnant.
- Weed control: Regularly remove any weeds that may appear in the stored soil. Weeds compete with plants for nutrients and can affect the quality and health of the soil. Take proactive measures to prevent weed growth, such as covering the soil or using organic weed control methods.
- Temperature regulation: If storing soil outdoors, consider using mulch or other protective materials to regulate the temperature. Extreme temperatures can affect the structure and composition of the soil, leading to its degradation over time.
- Labeling and organization: Maintain proper labeling of the stored soil containers or beds. This will help you keep track of the age, type, and other relevant information about the soil. Also, keep the stored soil organized and easily accessible to prevent unnecessary disturbance or mixing.
By implementing these maintenance practices, you can ensure the longevity and quality of stored soil. This will help you maximize its effectiveness when eventually using it in your gardening or landscaping projects.
Using Stored Soil Effectively
Stored soil can be a valuable resource for your gardening and landscaping endeavors. By utilizing it effectively, you can save time and money while ensuring optimal plant growth. Here are some tips for using stored soil efficiently:
- Blend with fresh soil: When using stored soil, it is often beneficial to blend it with fresh soil. This helps balance the nutrient content and ensures a well-rounded mix for your plants. Consider mixing the stored soil with fresh compost or other organic matter to enhance its fertility.
- Soil amendment: Assess the nutrient levels and pH of the stored soil before use. Depending on the specific requirements of your plants, you may need to amend the stored soil with additional fertilizers or adjust the pH to create an optimal growing environment.
- Container gardening: If you have limited garden space, consider using stored soil for container gardening. Fill pots, raised beds, or containers with the stored soil and plant your desired plants. This allows you to easily manage and move the plants as needed while utilizing your stored soil efficiently.
- Transplanting: When transplanting plants, use the stored soil to backfill around the roots. This can provide a smooth transition for the plants and promote healthy establishment in their new location. Ensure proper watering and care after transplanting to support their growth.
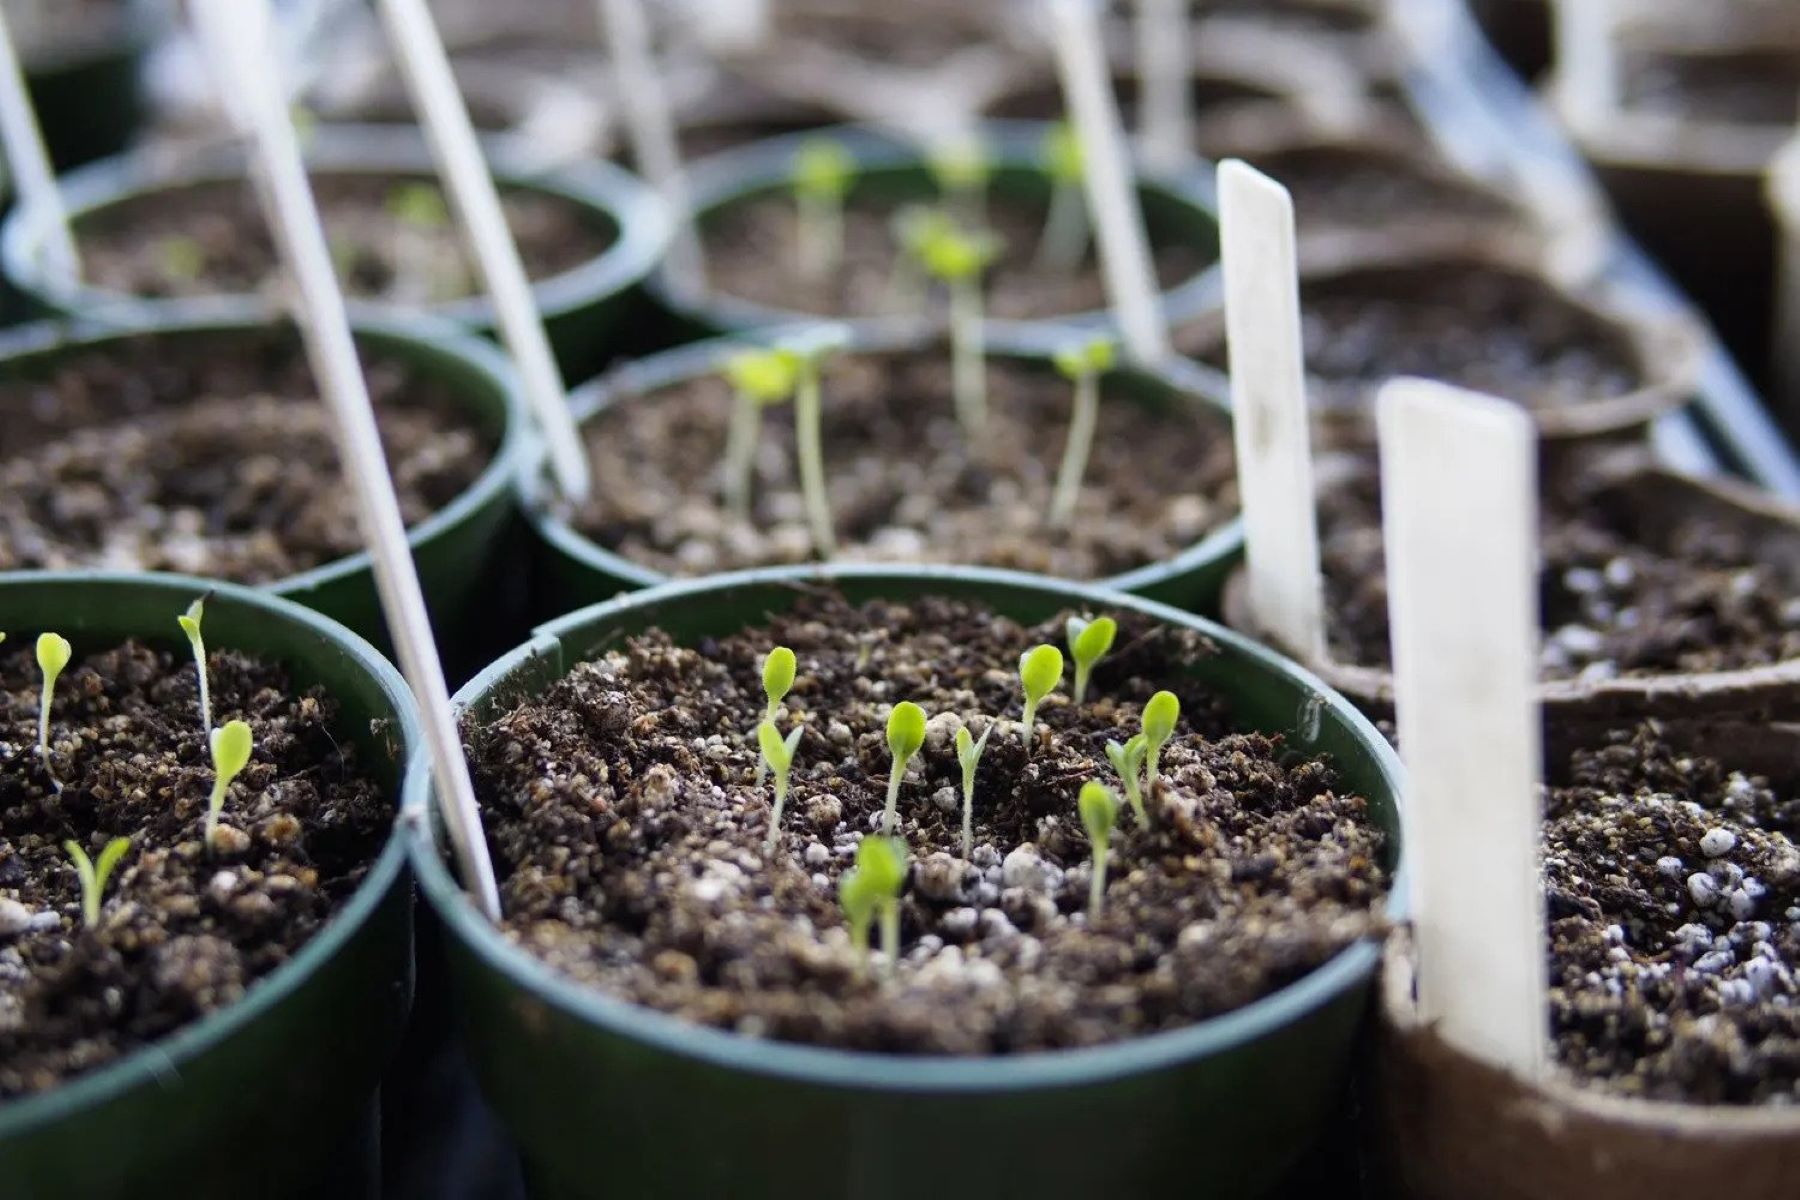
- Seed starting: Stored soil can be excellent for starting seeds. Fill seed trays or containers with the stored soil, sow the seeds according to their specific requirements, and provide adequate moisture and light. The rich nutrients in the stored soil can give your seedlings a healthy head start.
- Topdressing and mulching: Apply a layer of stored soil as a topdressing or mulch around established plants. This helps improve moisture retention, suppress weeds, and provide a slow-release source of nutrients as the stored soil gradually breaks down and integrates with the existing soil.
- Composting: If you find that the stored soil has degraded quality or is no longer suitable for plant use, consider incorporating it into your compost pile. Mixing it with other organic materials will allow it to contribute to the overall nutrient-rich compost you can use throughout your garden.
By utilizing stored soil effectively, you can make the most of this valuable resource and support the healthy growth of your plants. Experiment with different techniques and combinations to find what works best for your specific gardening needs.
Conclusion
Properly storing soil is a crucial step in maintaining its quality and effectiveness for future use. Whether you are a professional gardener or a passionate plant enthusiast, following the right procedures for soil storage can save you time, money, and ensure optimal plant growth. By selecting the right type of soil, preparing suitable containers or beds, and maintaining its quality, you can have a ready-to-use resource at your disposal.
When selecting soil for storage, consider factors such as composition, pH level, nutrient content, and organic matter. These elements play a vital role in providing the best growing environment for your plants. Ensure that your containers or beds are clean, well-drained, and properly labeled to prevent contamination and facilitate easy access to the stored soil.
If you choose to store soil in containers, cover them tightly, store them in a cool, dry place, and protect them from direct sunlight. For those opting for outdoor beds, prepare the area, add amendments, and maintain proper moisture and ventilation. Regularly inspect and maintain the stored soil, managing moisture levels, preventing weed growth, and regulating temperatures. These practices will help ensure the longevity and quality of the stored soil.
When it’s time to use your stored soil, consider blending it with fresh soil, amending it according to plant requirements, or utilizing it for container gardening, seed starting, or topdressing existing plants. Even if the stored soil has degraded over time, it can still be valuable for composting and contributing to nutrient-rich soil.
In conclusion, proper soil storage is essential for maintaining its quality and effectiveness in supporting plant growth. By implementing the guidelines discussed in this article, you can make the most of your stored soil, enhancing the success and beauty of your garden or landscape projects. Take the time to store your soil properly, and you’ll reap the benefits for years to come!
Frequently Asked Questions about How To Store Soil To Maximize Its Benefits
Was this page helpful?
At Storables.com, we guarantee accurate and reliable information. Our content, validated by Expert Board Contributors, is crafted following stringent Editorial Policies. We're committed to providing you with well-researched, expert-backed insights for all your informational needs.


0 thoughts on “How To Store Soil To Maximize Its Benefits”