Articles
How To Store Geraniums Over Winter
Modified: August 25, 2024
Learn how to store geraniums over winter with these helpful articles. Protect your plants and ensure they thrive in the spring.
(Many of the links in this article redirect to a specific reviewed product. Your purchase of these products through affiliate links helps to generate commission for Storables.com, at no extra cost. Learn more)
Introduction
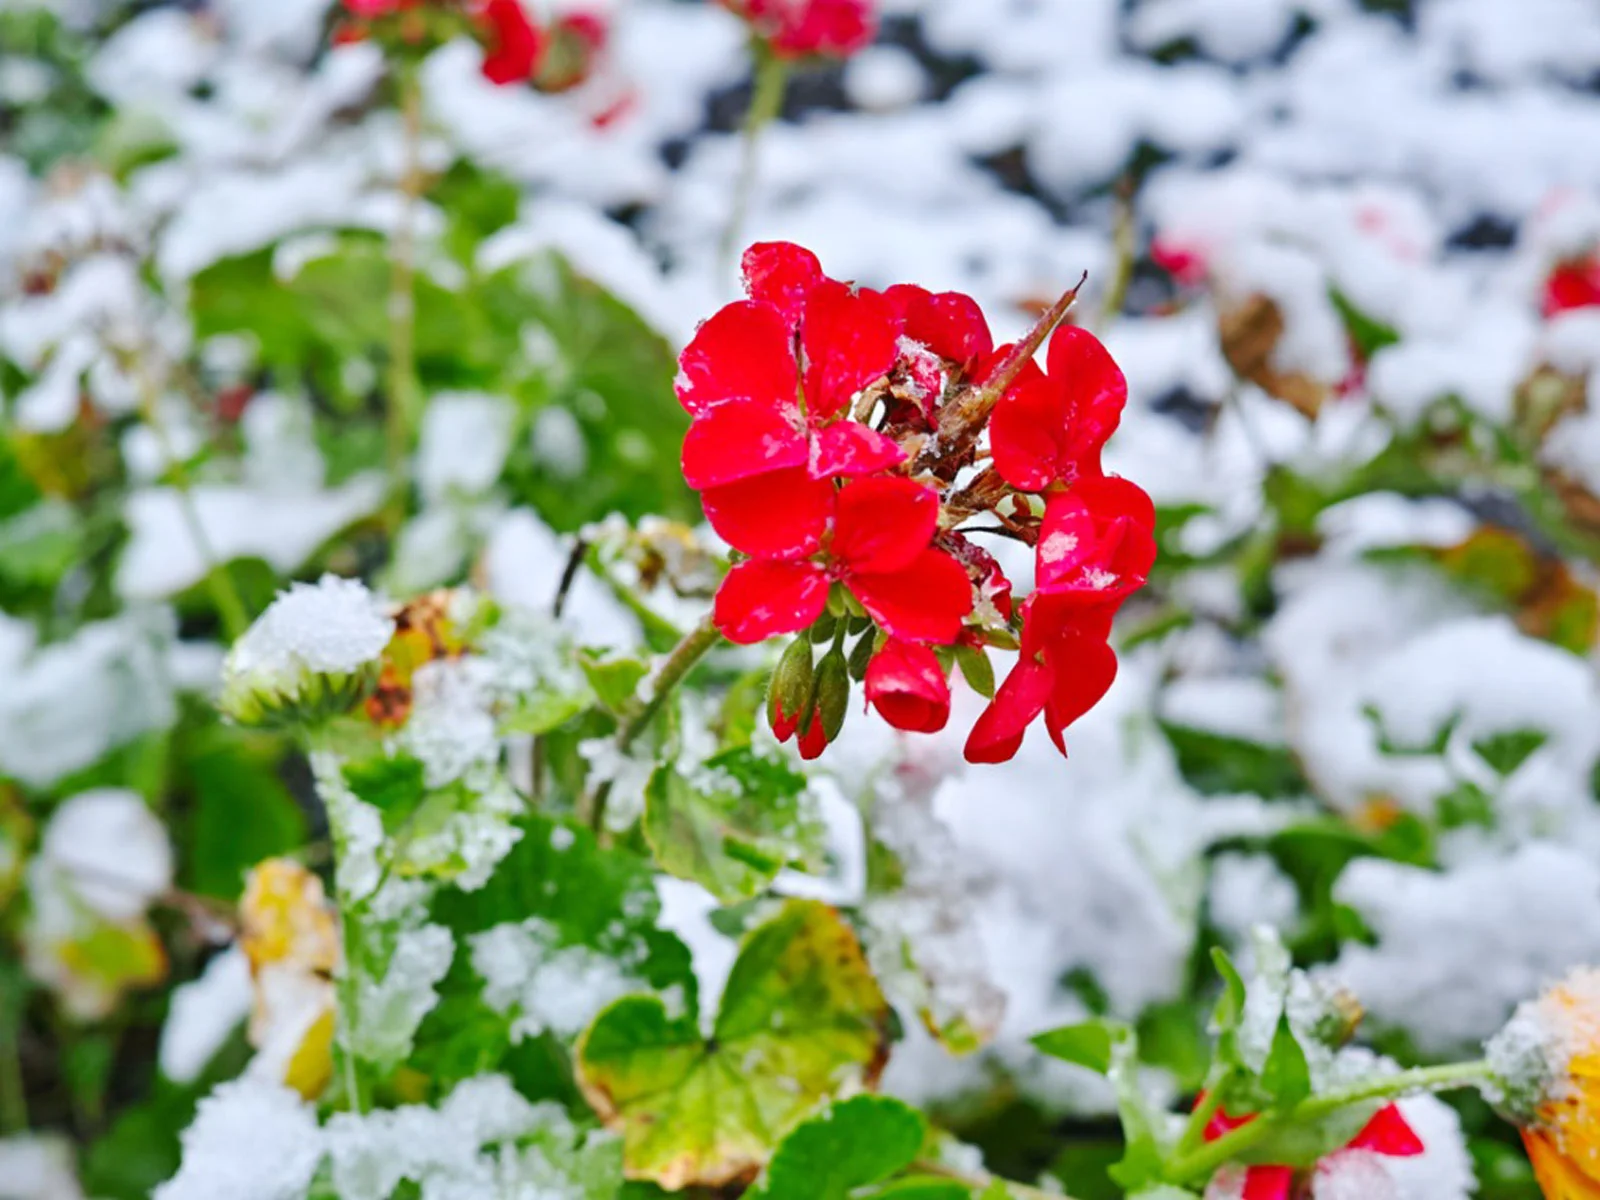
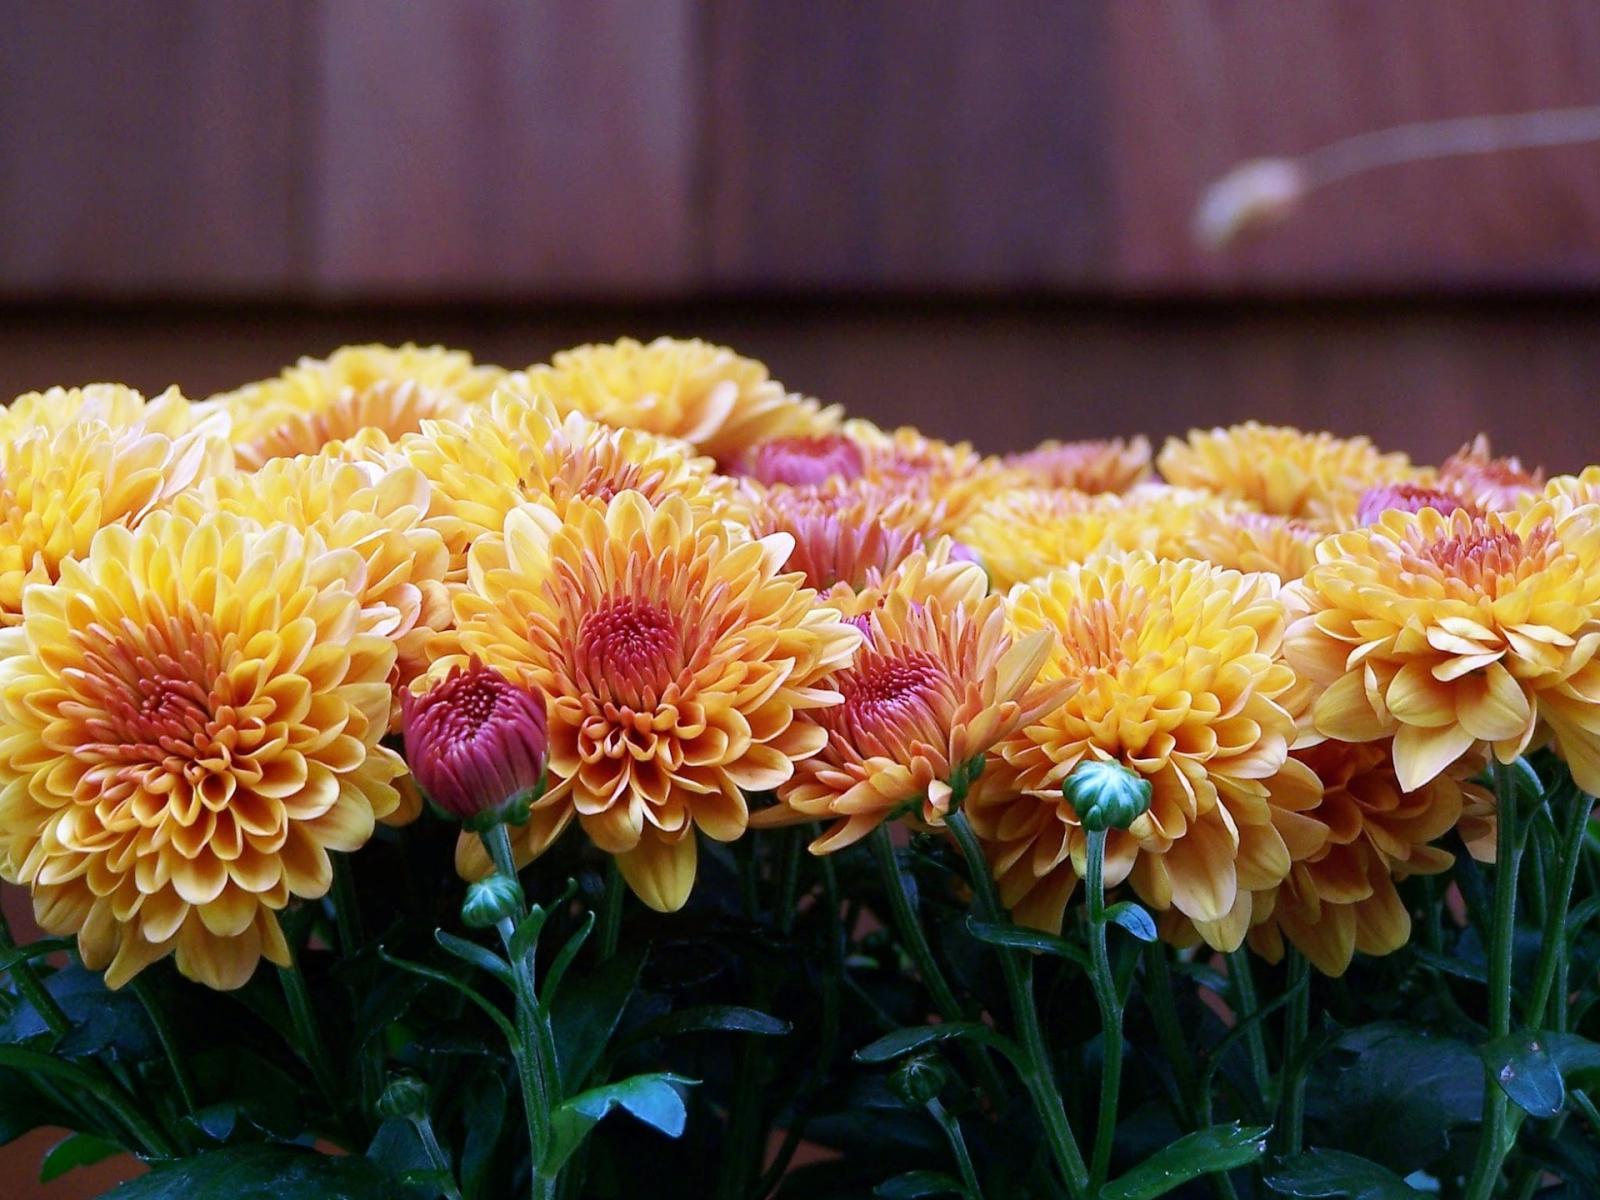
Geraniums are beautiful flowering plants that bring color and vibrancy to gardens and outdoor spaces. However, as the colder months approach, it becomes necessary to take steps to protect these delicate plants from frost and winter conditions. One common method is to store geraniums over winter, allowing them to survive and thrive once spring arrives.
In this article, we will guide you through the process of storing geraniums over winter, ensuring that your plants stay healthy and ready for replanting in the following season. By following these steps, you can preserve your geraniums and enjoy their beauty for years to come.
Before we dive into the specific steps, it’s important to note that not all geranium varieties require the same level of winter care. Some types, such as the hardy geraniums or cranesbills, are naturally more cold-resistant and can survive in outdoor conditions. However, the more common garden geraniums, known as Pelargoniums, are considered frost-sensitive and benefit from winter storage. So, it is important to identify the type of geranium you have and determine if it needs protection during the colder months.
Now, let’s get started with step one: pruning geraniums for winter storage.
Key Takeaways:
- Properly storing geraniums over winter involves pruning, digging up, and drying the plants before placing them in containers. Monitoring their condition and choosing the right storage location are crucial for successful winter care.
- Replanting geraniums in the spring requires careful preparation of the soil, gentle handling of the stored plants, and consistent post-transplant care. Following these steps ensures vibrant and thriving geraniums in the new season.
Read more: How To Store Cannas Over Winter
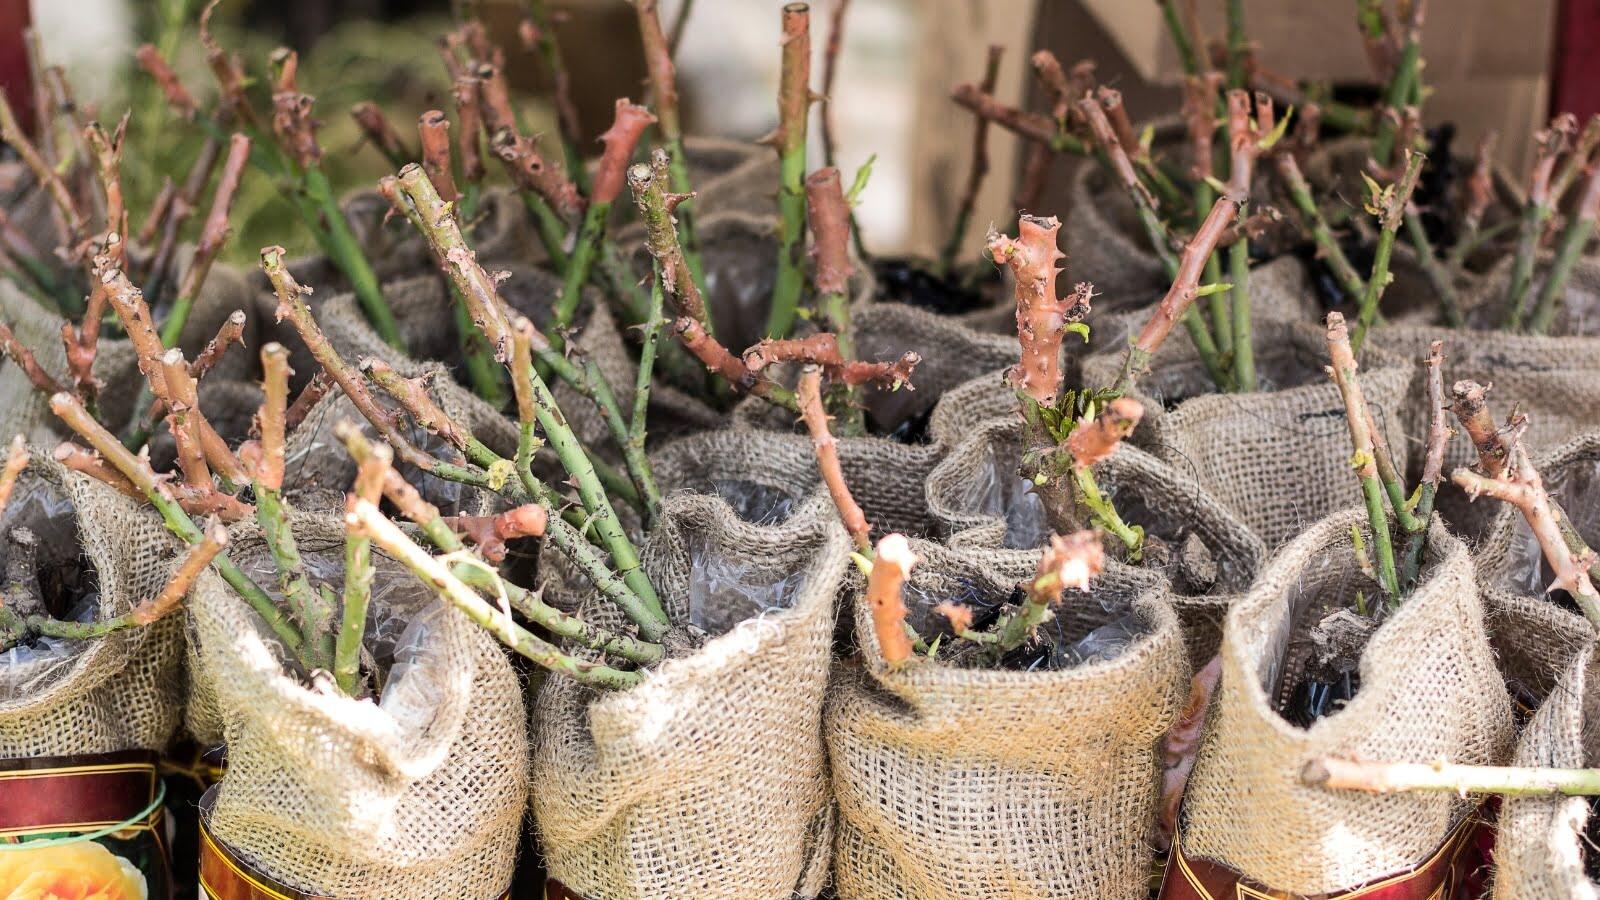
Step 1: Prune Geraniums
Before storing your geraniums for the winter, it’s essential to prune them properly. Pruning helps remove any dead or diseased foliage, promotes healthy growth, and makes the plants more compact and manageable for storage. Follow these steps to prune your geraniums:
- Start by examining your plants for any yellowed or wilted leaves. These are signs of aging or disease and should be removed.
- Using a pair of sharp pruning shears, make clean cuts just above the leaf nodes, where the leaf meets the stem. This encourages new growth and helps maintain an attractive shape.
- Trim back any long or leggy stems to promote a bushier appearance. Aim to create a rounded and compact plant.
- If you notice any branches that are crossing or rubbing against each other, remove them to prevent further damage.
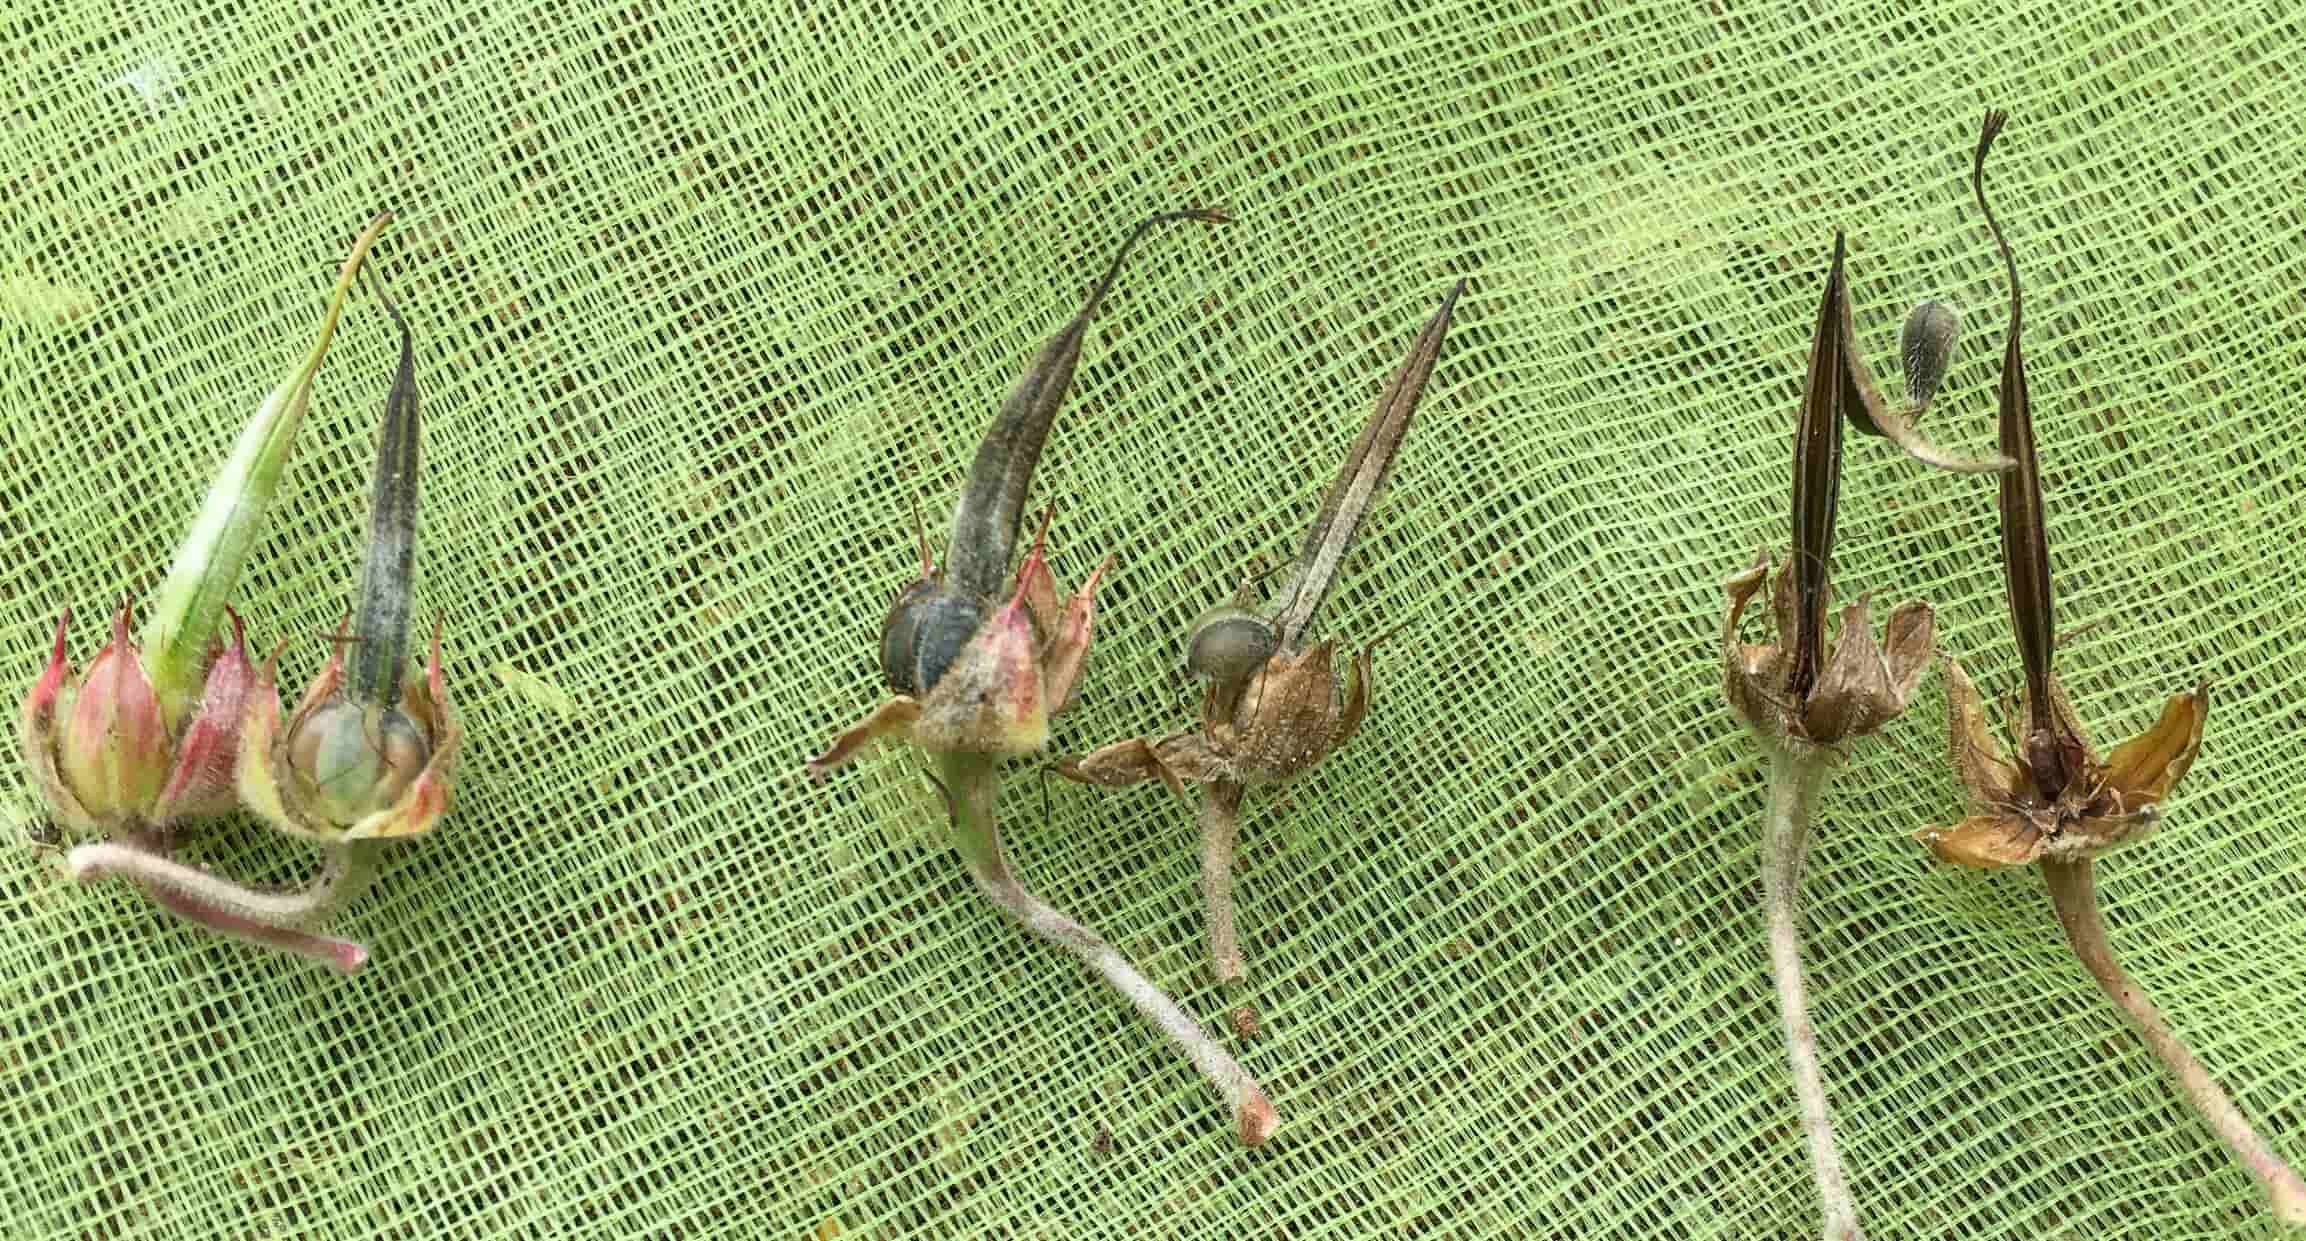
- During the pruning process, remove any spent flowers or seed pods. This allows the plant to conserve energy and directs its resources towards new growth.
Once you have pruned your geraniums, you will be left with a more compact and tidy plant. Pruning also helps reduce the risk of pests and diseases that can hide in decaying foliage.
Now that your geraniums are pruned and ready, it’s time to move on to the next step: digging up the plants for winter storage.
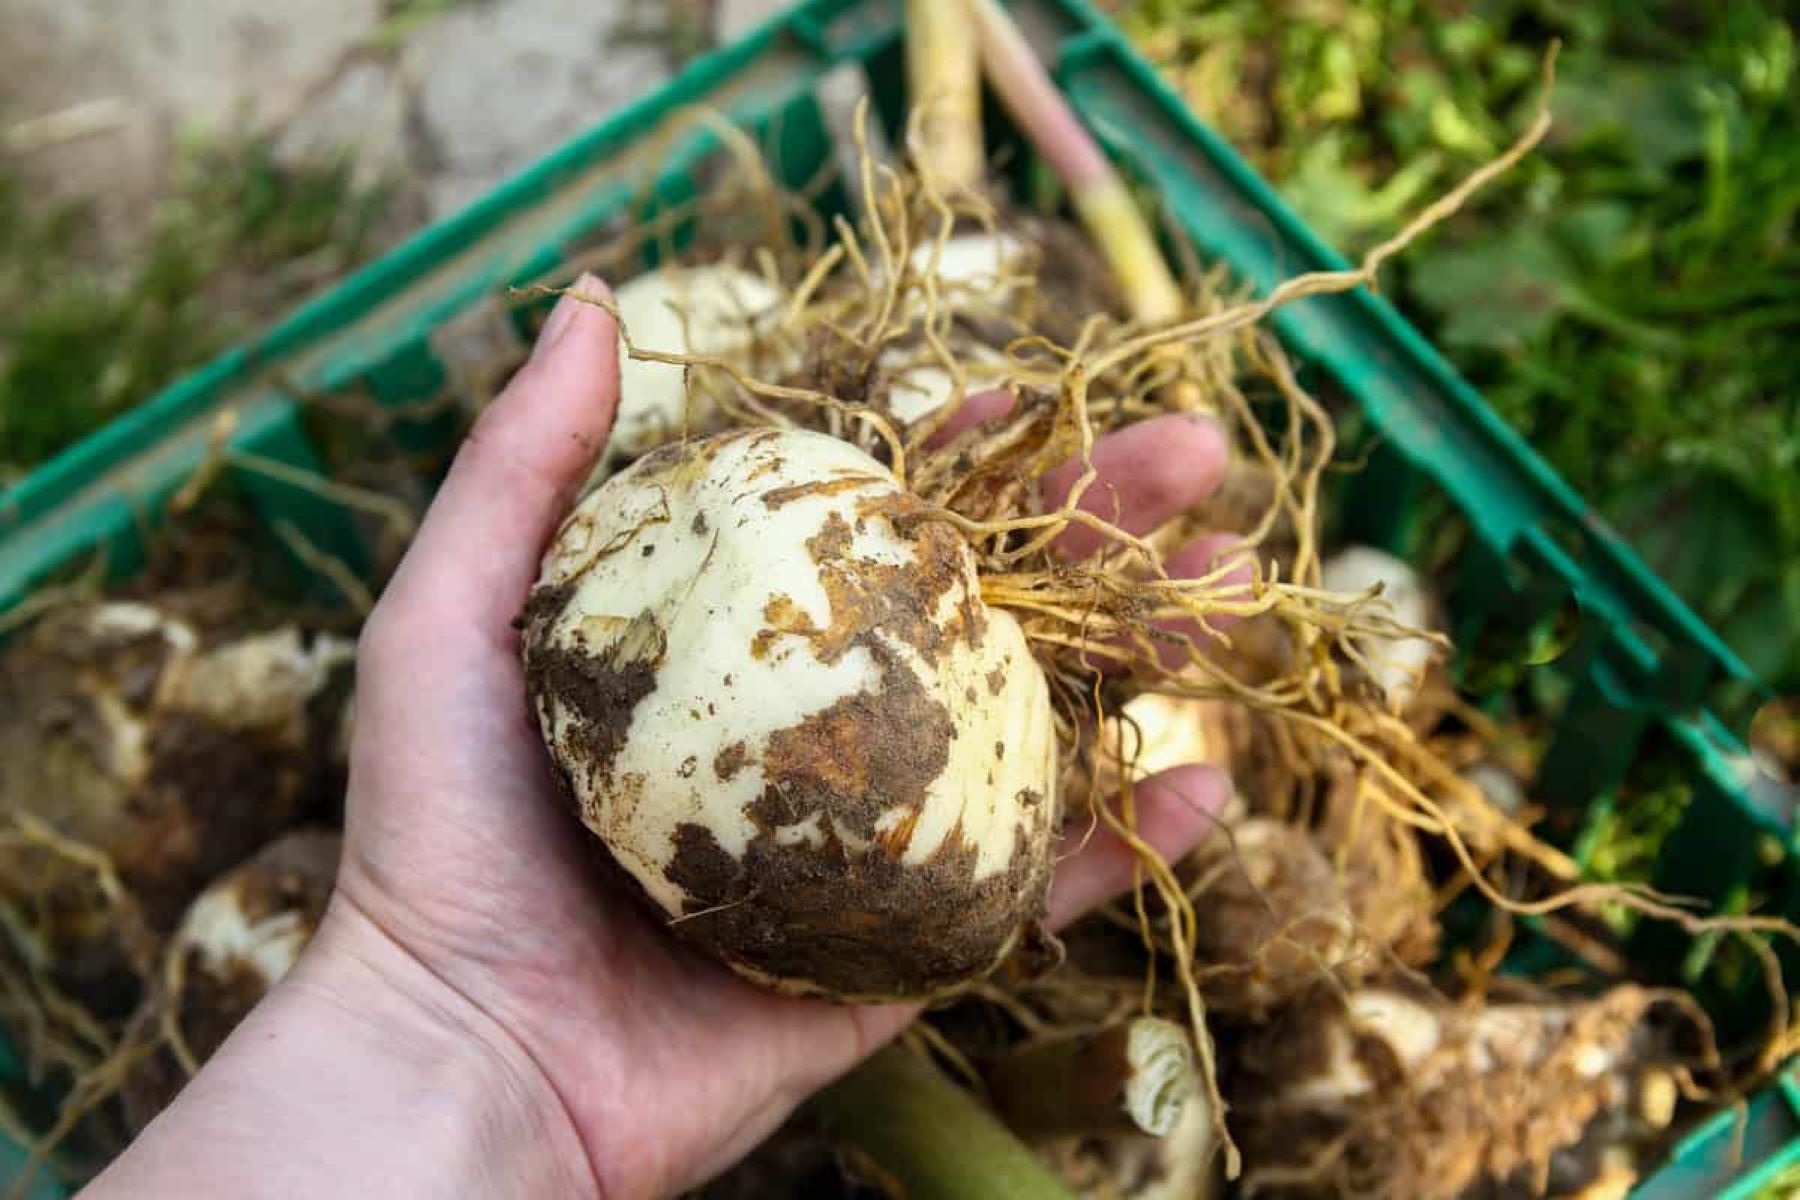
Step 2: Dig Up Geraniums
When preparing to store geraniums over winter, it’s important to carefully dig up the plants from the garden or container they are currently growing in. Here’s a step-by-step guide to help you dig up your geraniums:
- Choose a calm and dry day to perform this task. Wet soil can become heavy and stick to the roots, making it difficult to handle the plants.
- Prepare a small garden fork or a trowel to gently loosen the soil around the geraniums’ root ball.
- Starting from a few inches away from the plant’s base, carefully insert the tool into the soil and gently pry it up to loosen the roots.
- Continue working your way around the entire plant, gradually loosening the soil and lifting the geranium from the ground.
- Once the geranium has been lifted, carefully shake off any excess soil from the roots. Be gentle to avoid damaging the roots or stem.
- If your geraniums are in containers, simply remove them from the pots, being careful not to break the root ball.
By digging up your geraniums properly, you ensure that the plants are safely uprooted without causing harm. Now that the plants are out of the ground or container, it’s time to move on to the next step: preparing the storage area.
Step 3: Prepare Storage Area
Creating the right storage environment is crucial for successful geranium winter storage. This step ensures that your plants stay protected and healthy throughout the dormant period. Follow these steps to prepare a suitable storage area for your geraniums:
- Choose a cool and dark location for storing your geraniums. Ideal spots include a basement, garage, or unheated room.
- Avoid areas that experience extreme temperatures or fluctuations, as this can stress the plants.
- Make sure the chosen space has good air circulation to prevent excessive moisture buildup and reduce the risk of mold or rot.
- Clean and sanitize the storage area before placing your geraniums there. Remove any debris, dust, or potential contaminants that could harm the plants.
- If storing your geraniums in a basement or garage, consider laying down a protective sheet or tarp to prevent any moisture or dirt from reaching the plants.
- Ensure that the storage area remains relatively dry throughout the winter. Excessive moisture can lead to root rot or fungal diseases.
By taking the time to prepare a suitable storage area, you create an ideal environment for your geraniums to rest and remain healthy during the winter months. Now that the storage area is ready, we can move on to the next step: removing soil from the geranium roots.
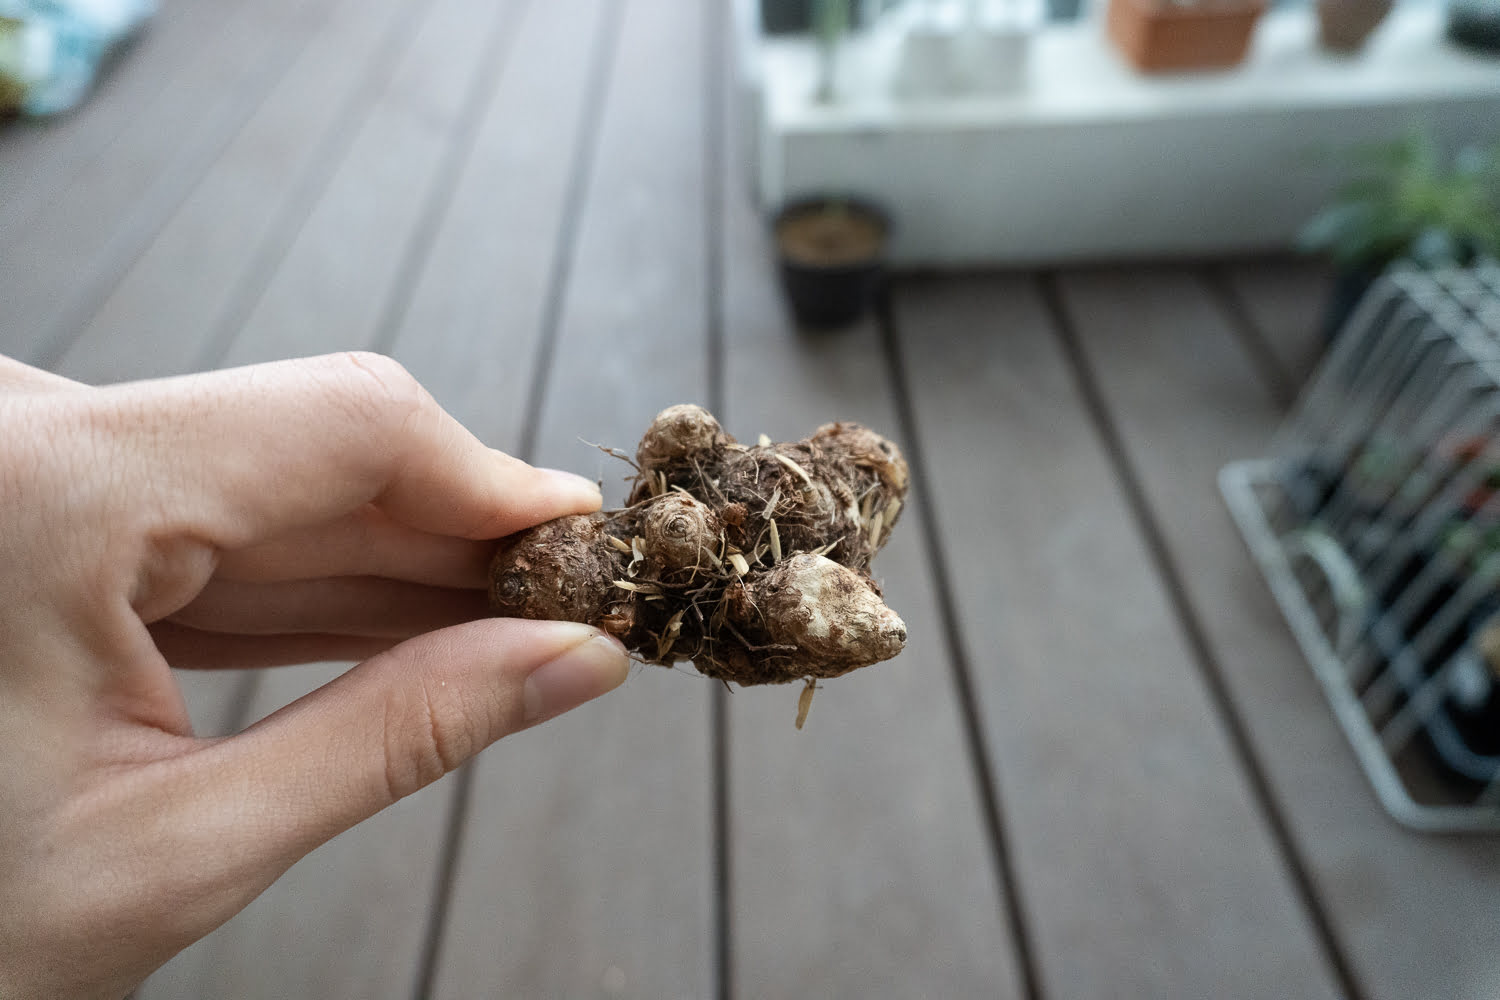
Step 4: Remove Soil from Roots
Before storing geraniums over winter, it’s important to remove excess soil from the roots. This helps prevent the buildup of moisture and reduces the risk of root rot. Follow these steps to properly clean the geranium roots:
- Gently tap the root ball against a solid surface to loosen any loose soil.
- Using your hands or a soft brush, carefully brush away any remaining soil from the roots.
- Be gentle to avoid damaging the delicate roots. Remove any clumps of soil or debris that may be stuck in the roots.
- Inspect the roots for signs of rot or disease. Remove any dark, mushy, or slimy roots as they can spread to healthy parts of the plant.
- If necessary, rinse the roots with water to ensure they are thoroughly clean.
By removing excess soil from the roots, you create a cleaner and healthier environment for your geraniums during winter storage. Now that the roots are cleaned, it’s time to allow the geraniums to dry before placing them in containers.
Read more: How To Store EGO Battery Over The Winter
Step 5: Allow Geraniums to Dry
After removing the soil from the roots, it’s important to allow your geraniums to dry before storing them for the winter. Drying the plants helps prevent excess moisture and reduces the risk of fungal diseases. Follow these steps to properly dry your geraniums:
- Place your geraniums in a cool and dry area with good air circulation. This will promote faster drying.
- Spread the geraniums out, ensuring that the leaves and stems are not touching each other. This helps in preventing the spread of any decay or diseases.
- Leave the plants to air dry for approximately 2-3 days. This duration allows the excess moisture to evaporate.
- Avoid placing the geraniums in direct sunlight during the drying process, as this can cause wilting or sunburn.
- Check the plants regularly during the drying period. If you notice any signs of wilting or shriveling, lightly mist the leaves with water to provide humidity.
Once the geraniums are completely dried, they are ready for the next step: storing them in containers. Proper drying ensures that the plants are in optimal condition for winter storage, reducing the risk of rot or mold.
Before storing geraniums over winter, trim them back to about half their size to encourage new growth. Then, store them in a cool, dark place with good air circulation to prevent mold and rot.
Step 6: Store Geraniums in Containers
Now that your geraniums have been pruned, dug up, and dried, it’s time to store them in containers for the winter. Storing geraniums in containers provides them with a controlled environment and protects them from extreme temperatures. Follow these steps to store your geraniums in containers:
- Select suitable containers that are clean, have drainage holes, and provide enough space for the geranium roots to spread out.
- Line the bottom of the containers with a layer of newspaper or a perforated plastic bag to prevent soil from escaping through the drainage holes.
- Fill the containers with a well-draining potting mix or a mixture of peat moss and perlite. This will provide the necessary moisture retention and aeration for the plants.
- Place the geraniums in the containers, ensuring that each plant is centered and the roots are spread out comfortably.
- Add additional soil mixture around the roots, gently pressing it down to secure the plants in place.
- Water the containers lightly to settle the soil and provide initial moisture to the plants. Avoid overwatering, as it can lead to root rot.
Once your geraniums are securely potted, they are ready for winter storage. Properly stored in containers, the plants will have the necessary support and moisture retention to survive the winter months.
Step 7: Choose Storage Location
Choosing the right storage location is vital to ensuring the well-being of your geraniums during the winter. The ideal storage location should provide the appropriate temperature and lighting conditions for the plants to remain dormant. Follow these steps to choose the right storage location for your geraniums:
- Select a cool location where the temperature remains between 40°F (4°C) and 50°F (10°C). This range mimics the conditions that geraniums prefer during dormancy.
- Avoid areas that experience extreme temperature fluctuations or direct exposure to heat sources such as heaters or direct sunlight.
- Ensure the storage area is dark or receives minimal light. Exposure to bright light can cause geraniums to break dormancy prematurely.
- As geraniums are sensitive to drafts, ensure the storage area is draft-free. This will prevent the plants from getting too cold or suffering from temperature fluctuations.
Some suitable storage locations for geraniums include basements, unheated garages, or cool closets. It’s important to check the temperature and lighting conditions regularly to ensure they remain within the desired range. With a suitable storage location, your geraniums are now ready for the next step: monitoring them periodically throughout the winter.
Step 8: Monitor Geraniums Periodically
Monitoring your stored geraniums periodically throughout the winter is essential to ensure their health and make any necessary adjustments. By keeping an eye on the plants, you can address any potential issues before they become serious. Follow these steps to effectively monitor your geraniums:
- Check the storage area regularly to ensure the temperature remains consistent and within the recommended range of 40°F (4°C) to 50°F (10°C).
- Inspect the plants for signs of damage, disease, or pests. Look for any spots, browning, or wilting of leaves, and take appropriate action if needed.
- Monitor the moisture level in the soil. Although geraniums are in dormancy, they still require a bit of moisture to avoid completely drying out. Check the soil with your finger and water sparingly if needed.
- Make adjustments to the storage conditions if necessary. If the temperature is too high or low, try moving the containers to a more suitable location that meets the desired temperature range.
- Keep an eye out for any signs of sprouting or early growth. If you notice signs of new growth, it may indicate that the plants are receiving too much light. Move them to a darker location to suppress growth until it’s closer to spring.
- Take the opportunity to clean and prune any yellowing or unhealthy foliage during your monitoring sessions.
Regularly monitoring your geraniums ensures that any issues are detected early on, allowing you to take appropriate action to save the plants. By providing proper care and attention throughout the winter, your geraniums will be in prime condition for replanting in the spring.
Read more: How To Store Grass Seed Over Winter
Step 9: Replant Geraniums in Spring
As the winter season comes to an end and the weather begins to warm up, it’s time to prepare your geraniums for replanting in the spring. Follow these steps to successfully transplant your stored geraniums:
- Wait until the danger of frost has passed and the soil has warmed up before transplanting the geraniums. In most regions, this is typically late spring.
- Choose a suitable location in your garden or containers where the geraniums will receive the appropriate amount of sunlight, usually around 6-8 hours per day.
- Prepare the soil by loosening it with a garden fork or tiller. Add compost or organic matter to enrich the soil and ensure proper drainage.
- Remove the geraniums from their storage containers, taking care not to damage the roots. Gently loosen the root ball if necessary.
- Dig a hole in the prepared soil that is slightly larger than the root ball of each geranium.
- Place the geranium in the hole, ensuring that the top of the root ball is level with or slightly above the soil surface.
- Backfill the hole with soil, gently firming it around the roots to eliminate air pockets.
- Water the newly transplanted geraniums thoroughly to settle the roots and provide essential moisture.
- Maintain regular watering and provide appropriate care for your geraniums throughout the growing season, including fertilizing, deadheading, and monitoring for pests.
By following these steps, your stored geraniums will be ready to flourish and bring beauty to your garden once again. Enjoy the vibrant colors and fragrant blossoms as your geraniums continue to thrive throughout the spring and summer.
Conclusion
Storing geraniums over winter is a practical and effective way to protect these beautiful plants and ensure their longevity. By following the step-by-step guide outlined in this article, you can successfully store your geraniums and give them the best chance of thriving when the warmer months return.
From pruning the plants and digging them up to preparing the storage area and removing soil from the roots, each step plays a crucial role in maintaining the health of your geraniums throughout the winter. By monitoring the plants periodically and making necessary adjustments, you can address any issues that may arise and provide the ideal conditions for their dormancy.
When spring arrives, it’s time to replant your geraniums and watch them flourish once again. By choosing a suitable location, preparing the soil, and providing proper care, you can enjoy the vibrancy and beauty of your geraniums throughout the growing season.
Remember, while these steps are generally applicable to most geranium varieties, it’s important to understand the specific needs and requirements of your particular geranium type. Hardy geraniums may not require winter storage as they can withstand colder temperatures, while garden geraniums, or Pelargoniums, benefit from protective storage.
By investing a little time and effort into storing your geraniums over winter, you can ensure that these stunning plants will continue to bring joy and color to your garden year after year. So, go ahead and follow these steps to successfully store and revive your geraniums season after season.
Frequently Asked Questions about How To Store Geraniums Over Winter
Was this page helpful?
At Storables.com, we guarantee accurate and reliable information. Our content, validated by Expert Board Contributors, is crafted following stringent Editorial Policies. We're committed to providing you with well-researched, expert-backed insights for all your informational needs.


0 thoughts on “How To Store Geraniums Over Winter”