Articles
How To Store Homemade Croutons
Modified: December 7, 2023
Learn how to store homemade croutons and keep them fresh for longer with these easy tips and tricks. Read more articles on food storage and preservation.
(Many of the links in this article redirect to a specific reviewed product. Your purchase of these products through affiliate links helps to generate commission for Storables.com, at no extra cost. Learn more)
Introduction
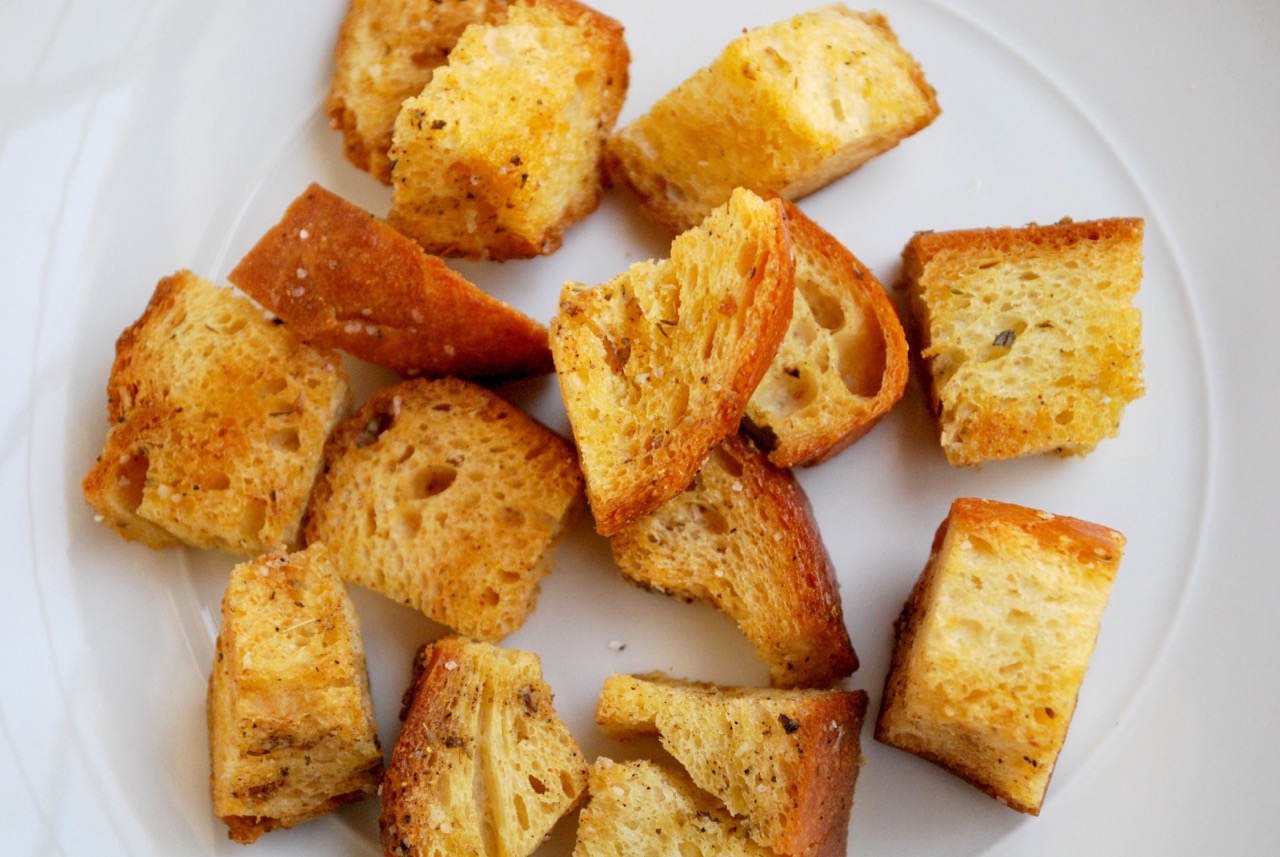
Homemade croutons are a delightful addition to salads, soups, and even as a standalone snack. Not only do they add a satisfying crunch to your dishes, but they also allow you to customize the flavors and seasonings to suit your taste preferences. While store-bought croutons may be convenient, making your own gives you complete control over the ingredients, resulting in a fresher and more flavorful end product.
In this article, we will guide you through the process of making homemade croutons and share helpful tips on how to store them properly. With just a few simple steps, you’ll have a batch of delicious croutons that you can enjoy for weeks to come.
Key Takeaways:
- Elevate your dishes with homemade croutons by customizing flavors and textures to suit your taste. Reduce food waste and enjoy the satisfaction of creating a fresher, more flavorful alternative to store-bought options.
- Store homemade croutons in an airtight container or resealable plastic bag to maintain their crispiness and flavor for 2-4 weeks. Label with the date and specific seasonings used for easy tracking and enjoyment.
Read more: How To Store Croutons
Supplies Needed
Before we dive into the process, let’s quickly go over the supplies you’ll need:
- Stale bread (preferably day-old bread)
- Sharp knife
- Baking sheet
- Olive oil or melted butter
- Seasonings of your choice (such as garlic powder, dried herbs, or grated Parmesan cheese)
- Salt and pepper
- Airtight container or resealable plastic bag
Now that we have our supplies ready, let’s get started on creating our homemade croutons!
Key Takeaways:
- Elevate your dishes with homemade croutons by customizing flavors and textures to suit your taste. Reduce food waste and enjoy the satisfaction of creating a fresher, more flavorful alternative to store-bought options.
- Store homemade croutons in an airtight container or resealable plastic bag to maintain their crispiness and flavor for 2-4 weeks. Label with the date and specific seasonings used for easy tracking and enjoyment.
Read more: How To Store Croutons
Supplies Needed
Before we dive into the process, let’s quickly go over the supplies you’ll need:
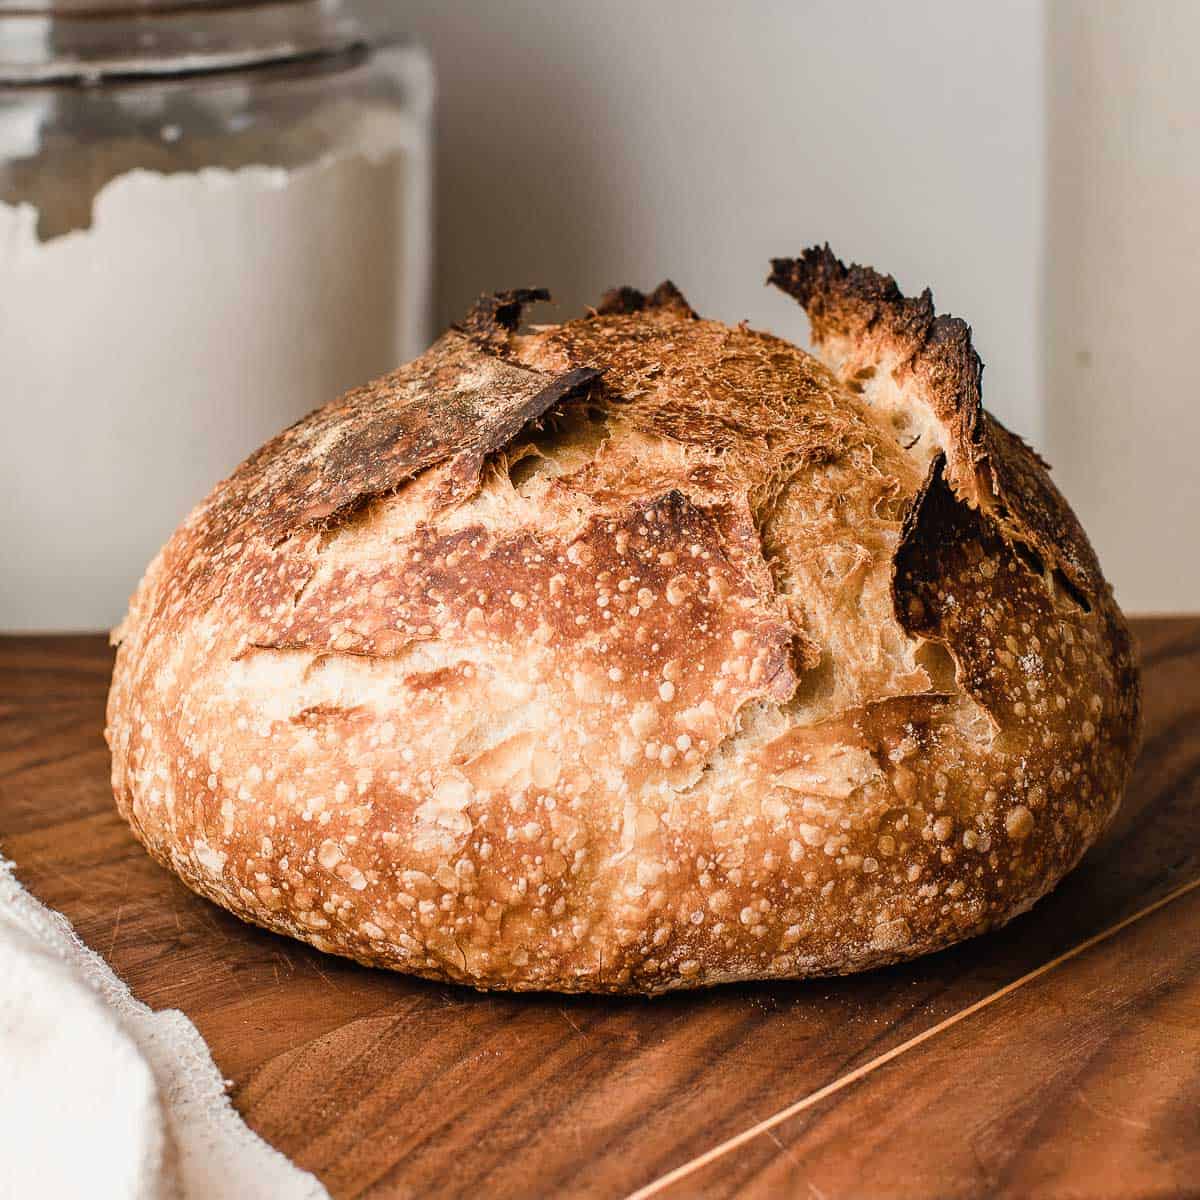
- Stale bread (preferably day-old bread): Stale bread works best for making croutons as it has a drier texture, which allows the croutons to become crispy in the oven. You can use any type of bread you prefer, such as baguette, sourdough, or whole wheat.
- Sharp knife: A sharp knife will make it easier to slice the bread into uniform cubes.
- Baking sheet: A baking sheet will be used to spread out the bread cubes and bake them until they turn golden brown.
- Olive oil or melted butter: These fats help to coat the bread cubes and add richness and flavor. Olive oil is a healthier option, while melted butter lends a rich and indulgent taste.
- Seasonings of your choice: This is where you can get creative and customize the flavors of your croutons. Popular seasonings include garlic powder, dried herbs like oregano or thyme, grated Parmesan cheese, or even a pinch of chili flakes for some heat.
- Salt and pepper: These basic seasonings are essential to enhance the overall taste of the croutons.
- Airtight container or resealable plastic bag: This will be used to store the croutons after they have cooled down. Airtight storage is necessary to maintain the crispness and prevent any moisture from making the croutons soggy.
By gathering these supplies, you’ll be well-equipped to make a batch of delicious homemade croutons to elevate your dishes. With everything ready, it’s time to move on to the step-by-step process of making croutons.
Step 1: Cutting the Bread
The first step in making homemade croutons is to cut the bread into small, bite-sized cubes. Start by selecting stale bread, preferably day-old bread, as it will have a drier texture that allows the croutons to become crispier when baked.
Using a sharp knife, carefully slice the bread into even cubes. The size of the cubes is up to your personal preference, but aim for cubes that are around ½ to 1 inch in size. This will ensure that the croutons cook evenly and have a uniform texture.
If you prefer a more rustic appearance, you can tear the bread into irregular pieces instead of cutting them into cubes. This will give the croutons a more rustic and homemade look.
Once you have cut the bread, transfer the cubes onto a baking sheet. Ensure that the cubes are spread out in a single layer, with some space between them. This will allow for even baking and prevent the croutons from sticking together.
Now that the bread is prepared, we can move on to the next step: seasoning the bread cubes before baking them.
Store homemade croutons in an airtight container at room temperature for up to 2 weeks. Adding a small packet of silica gel can help absorb any excess moisture and keep the croutons crispy.
Step 2: Seasoning the Bread
After cutting the bread into bite-sized cubes, it’s time to add flavor by seasoning the bread. This step allows you to customize the taste of your croutons according to your preferences.
In a bowl, drizzle olive oil or melted butter over the bread cubes. Using your hands or a spoon, gently toss the cubes to ensure that they are evenly coated with the oil or butter. The fat will not only add flavor but also help the croutons become crispy during baking.
Next, it’s time to add seasonings. You can get creative and experiment with different combinations of herbs and spices. Some classic options include garlic powder, dried herbs like oregano or thyme, grated Parmesan cheese, or a sprinkle of paprika for added depth of flavor.
Sprinkle the desired seasonings over the bread cubes and toss again to evenly distribute the flavors. Be generous with the seasonings, as they will infuse the croutons with delicious aromas and enhance their taste.
Don’t forget to season with salt and pepper to enhance the overall flavor. Add a pinch of each and toss the cubes one more time to ensure that the seasoning is evenly incorporated.
With the bread cubes seasoned and ready, it’s time to move on to the next step: baking the croutons to crispy perfection.
Read more: How To Store Homemade Dough
Step 3: Baking the Croutons
Now that the bread cubes are seasoned and ready, it’s time to bake them to crispy perfection. Preheat your oven to 375°F (190°C) to ensure it’s hot enough for the croutons to crisp up without burning.
Line a baking sheet with parchment paper or lightly grease it with cooking spray to prevent the croutons from sticking. Transfer the seasoned bread cubes onto the baking sheet, spreading them out in a single layer.
Place the baking sheet in the preheated oven and bake the croutons for about 10-15 minutes. Keep a close eye on them, as they can quickly go from golden brown to burnt. You want the croutons to be crisp and golden, with a slightly toasted edge.
Halfway through the baking time, give the croutons a gentle toss to ensure that they brown evenly on all sides. This will help achieve a uniformly crisp texture throughout.
Once the croutons are golden and crispy, remove them from the oven and allow them to cool on the baking sheet for a few minutes. This will allow them to firm up further and become even crisper.
With the baking process complete, we can move on to the final step: cooling and storing the freshly baked croutons.
Step 4: Cooling and Storing
After baking the croutons to crispy perfection, it’s important to allow them to cool before storing them. This step ensures that they retain their crispy texture and don’t become soggy.
Once you remove the baking sheet from the oven, let the croutons cool completely. This can take anywhere from 10 to 15 minutes, depending on the thickness of the croutons and the temperature of the room.
Once the croutons are cool, transfer them to an airtight container or a resealable plastic bag. Make sure the container is clean and dry to prevent any moisture from building up and making the croutons soggy.
If you’re using a plastic bag, squeeze out as much air as possible before sealing it. This will help keep the croutons fresh for a longer period of time.
Store the croutons in a cool, dry place, such as a pantry or a cupboard. Homemade croutons can last for about 2-4 weeks when stored properly.
Remember to label the container or bag with the date you made the croutons, so you can keep track of their freshness. Additionally, it’s always a good idea to write down any specific seasonings or flavors you used, if you experimented with different variations.
Now that your homemade croutons are cooled and properly stored, they’re ready to be used in your favorite recipes or enjoyed as a tasty snack.
Conclusion
Making your own homemade croutons is a simple and rewarding process that allows you to elevate your dishes with delicious, crispy, and flavorful cubes of bread. By following the steps outlined in this article, you can create croutons that are far superior to store-bought options, both in taste and freshness.
Starting with stale bread and cutting it into bite-sized cubes, you have complete control over the texture and size of your croutons. Seasoning the bread with your favorite herbs, spices, and seasonings gives you the opportunity to experiment with different flavors and create a taste that suits your personal preferences.
Baking the seasoned bread cubes in a preheated oven ensures that they become crispy and golden, adding a delightful crunch to your salads, soups, and other dishes. By cooling the croutons completely before storing them in an airtight container or bag, you can maintain their crispiness and preserve their flavor for an extended period of time.
Homemade croutons not only enhance the taste and texture of your meals, but they also allow you to reduce food waste by utilizing stale bread that would otherwise be thrown away. Plus, by making your own croutons, you have the freedom to customize them according to your dietary preferences, whether you’re vegan, gluten-free, or have specific flavor preferences.
So why settle for store-bought croutons when you can easily make your own at home? With just a few simple steps, a handful of ingredients, and a little creativity, you can enjoy the satisfaction of homemade croutons that elevate your dishes to a whole new level. So go ahead and get started on your homemade crouton-making adventure today!
Frequently Asked Questions about How To Store Homemade Croutons
Was this page helpful?
At Storables.com, we guarantee accurate and reliable information. Our content, validated by Expert Board Contributors, is crafted following stringent Editorial Policies. We're committed to providing you with well-researched, expert-backed insights for all your informational needs.


0 thoughts on “How To Store Homemade Croutons”