
Articles
How To Store Homemade Gluten Free Bread
Modified: October 19, 2024
Learn how to store homemade gluten free bread articles and keep them fresh for longer. Discover the best tips and techniques for preserving your delicious homemade bread.
(Many of the links in this article redirect to a specific reviewed product. Your purchase of these products through affiliate links helps to generate commission for Storables.com, at no extra cost. Learn more)
Introduction
Homemade gluten-free bread is a delicious and healthy option for individuals with gluten sensitivities or celiac disease. Whether you’ve baked your own bread or purchased it from a bakery, knowing how to store your homemade gluten-free bread properly is essential to maintain its freshness and texture.
In this article, we will guide you through the process of storing your homemade gluten-free bread to ensure that it stays fresh, moist, and tasty for as long as possible. We will explore different storage methods, including room temperature storage, refrigeration, and freezing, along with tips and tricks to maximize the shelf life of your homemade gluten-free bread.
Before we dive into the storage techniques, let’s discuss the equipment and ingredients needed to make your own delicious gluten-free bread.
Key Takeaways:
- Properly storing homemade gluten-free bread is essential for maintaining its freshness and flavor. Whether at room temperature, in the refrigerator, or freezer, following the right methods ensures long-lasting quality and deliciousness.
- Cooling, slicing, and storing gluten-free bread properly is key to preserving its moisture and texture. From room temperature storage to freezing, each method offers a way to enjoy homemade gluten-free bread for an extended period.
Read also: 12 Best Gluten Free Bread Machine For 2025
Equipment and Ingredients
Before you embark on your gluten-free bread baking journey, it’s important to have the right equipment and ingredients. Here’s what you’ll need:
Equipment:
- Stand mixer or mixing bowl and spoon
- Bread loaf pan
- Parchment paper or non-stick spray
- Oven
- Cooling rack
Ingredients:
When it comes to gluten-free bread, using the right combination of flours and other ingredients is crucial. Here are the main ingredients you’ll need:
- Gluten-free flour blend: Look for a pre-blended gluten-free flour that contains a mix of rice flour, potato starch, tapioca flour, and xanthan gum.
- Yeast: Active dry yeast or instant yeast works well for gluten-free bread.
- Sugar: To activate the yeast and add a touch of sweetness to the bread.
- Salt: For flavor.
- Liquid: This can be water, milk, or a dairy-free alternative like almond milk or rice milk.
- Fat: You’ll need a source of fat, such as vegetable oil or melted butter.
- Eggs: Eggs help bind the ingredients together and provide structure to the bread.
Keep in mind that specific recipes may require additional ingredients, such as xanthan gum for added elasticity or various seeds and grains for flavor and texture.
Now that you have your equipment and ingredients ready, let’s move on to the process of making the homemade gluten-free bread.
Making the Homemade Gluten Free Bread
Now that you have gathered all your equipment and ingredients, it’s time to start making your homemade gluten-free bread. Follow these simple steps for a delicious loaf:
- In a mixing bowl or the bowl of a stand mixer, combine the gluten-free flour blend, yeast, sugar, and salt. Mix well to ensure even distribution of the ingredients.
- Add the liquid (water, milk, or dairy-free alternative) and melted fat (vegetable oil or melted butter) to the dry ingredients. If the recipe calls for eggs, add them at this stage as well.
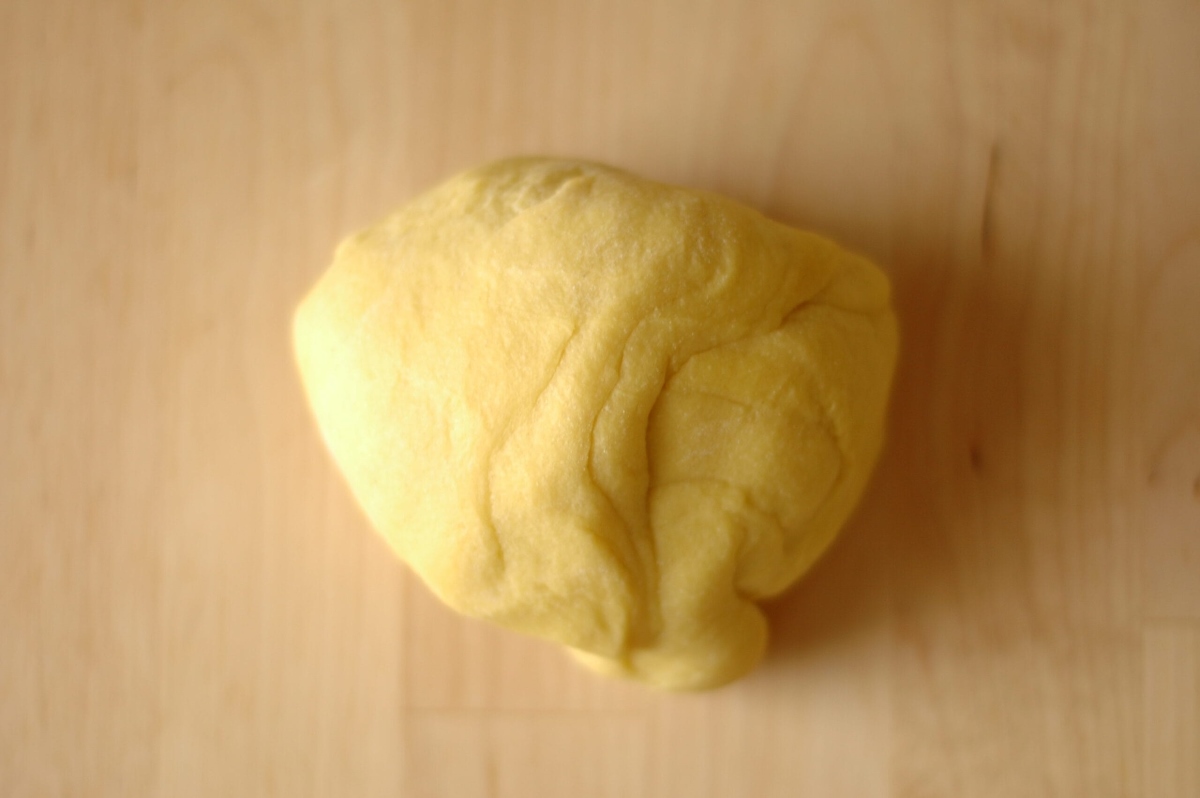
- Using the paddle attachment on a stand mixer or a spoon, mix the ingredients together until a sticky dough forms.
- Switch to the dough hook attachment on the stand mixer, if available, and knead the dough on medium speed for 5-7 minutes. If kneading by hand, transfer the dough to a lightly floured surface and knead for the same amount of time.
- Once the dough is smooth and elastic, shape it into a ball and transfer it to a greased bread loaf pan. Smooth out the top with a wet spatula or your hands.
- Cover the pan loosely with plastic wrap or a clean kitchen towel and let the dough rise in a warm place for about 1-2 hours, or until it has doubled in size.
- Preheat your oven to the recommended temperature stated in your recipe.
- Once the dough has risen, remove the plastic wrap or kitchen towel and place the pan in the preheated oven.
- Bake the bread for the recommended time, usually around 30-40 minutes, or until the top is golden brown and a toothpick inserted into the center comes out clean.
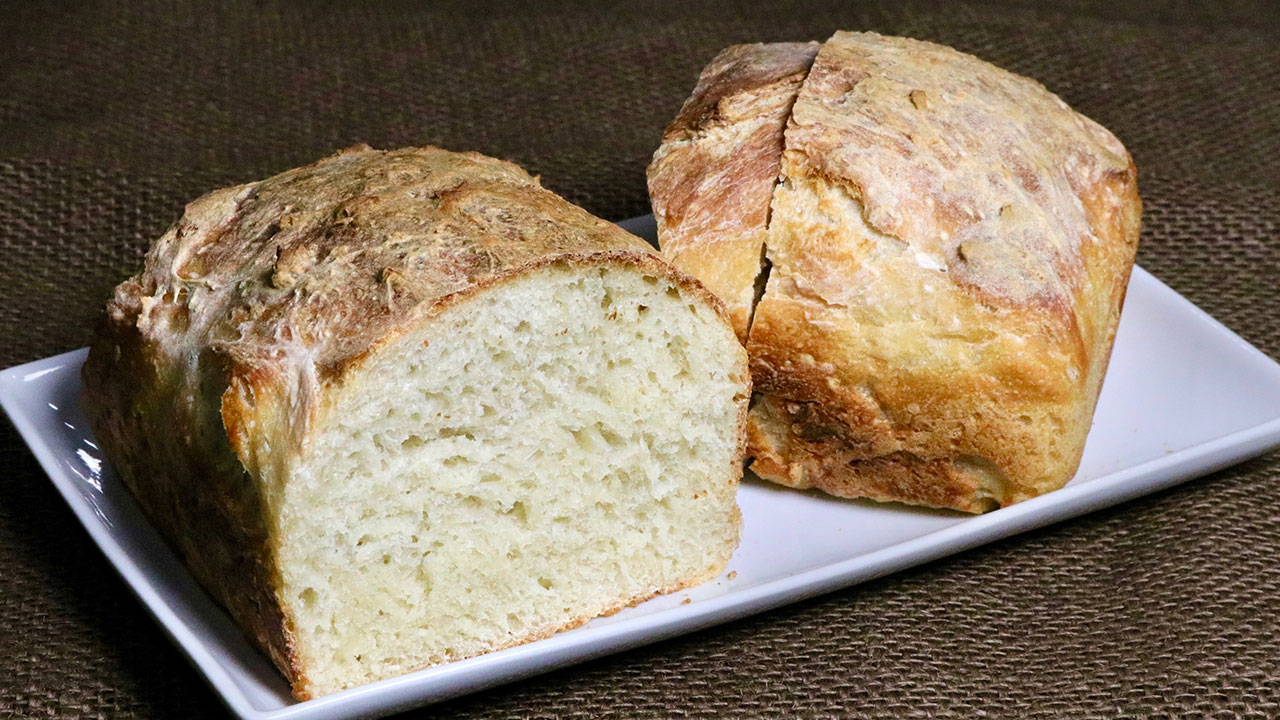
- Remove the bread from the oven and let it cool in the pan for a few minutes, then transfer it to a cooling rack to cool completely.
Once your homemade gluten-free bread is cooled and ready to be stored, it’s important to follow proper storage techniques to maintain its freshness and texture. We will explore different storage methods in the next sections.
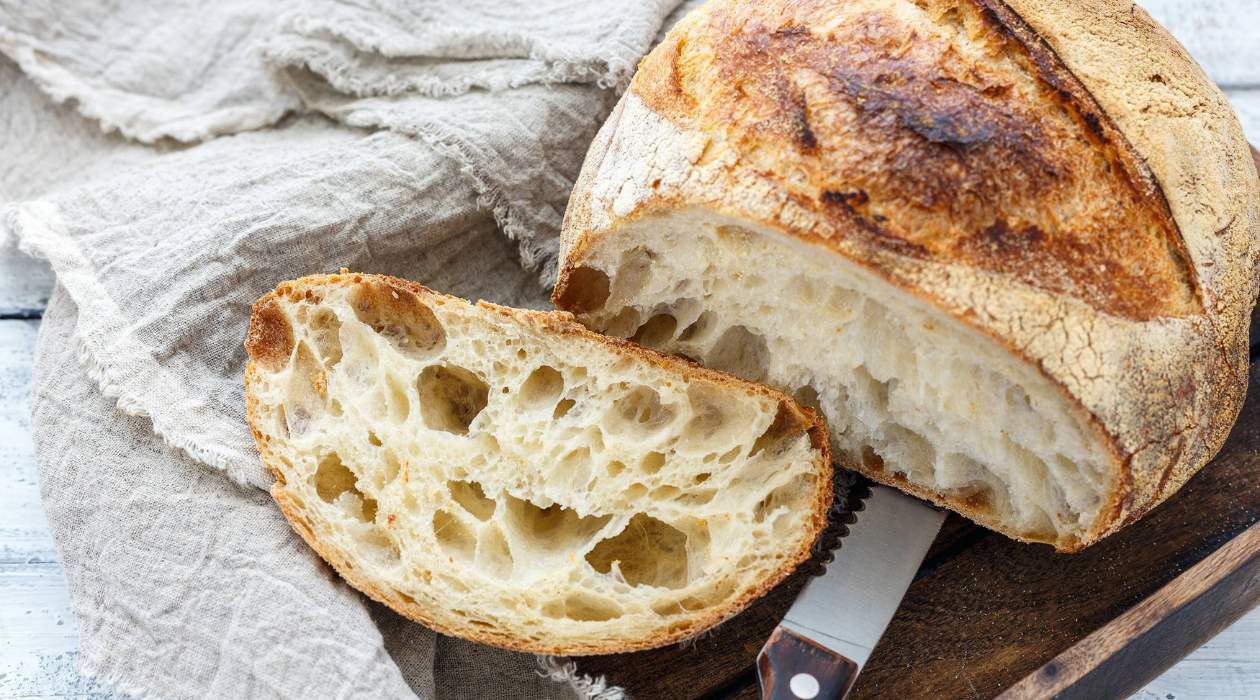
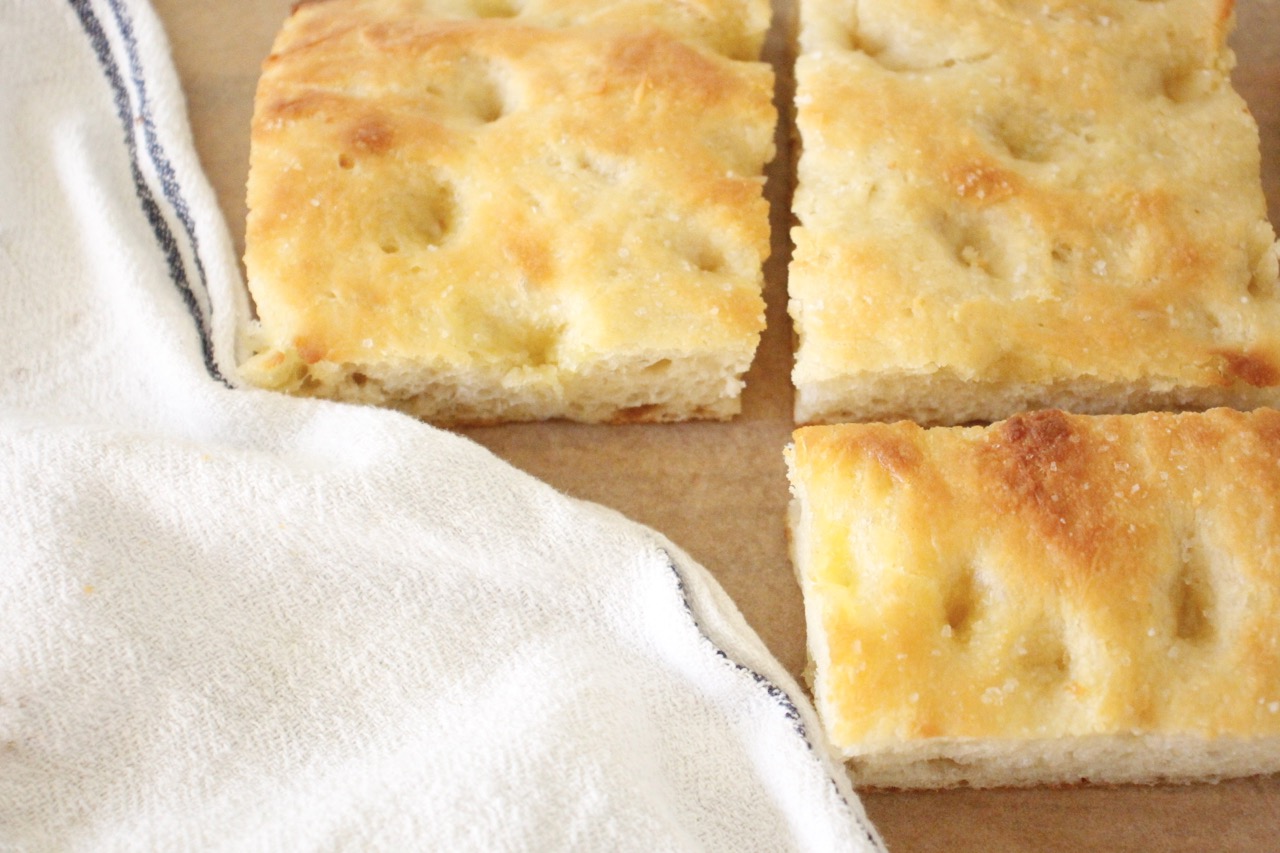
Cooling and Slicing the Bread
After baking your homemade gluten-free bread, it’s essential to allow it to cool properly before slicing and storing. This step ensures that the bread retains its moisture and prevents it from becoming soggy.
Here’s what you need to do:
- Remove the bread from the oven and let it cool in the pan for about 10 minutes. This allows the bread to set and makes it easier to remove from the pan.
- Transfer the bread from the pan to a cooling rack. Placing it on a cooling rack allows air to circulate around the bread, preventing moisture buildup.
- Allow the bread to cool completely on the cooling rack. This typically takes about 1-2 hours, depending on the size of the loaf.
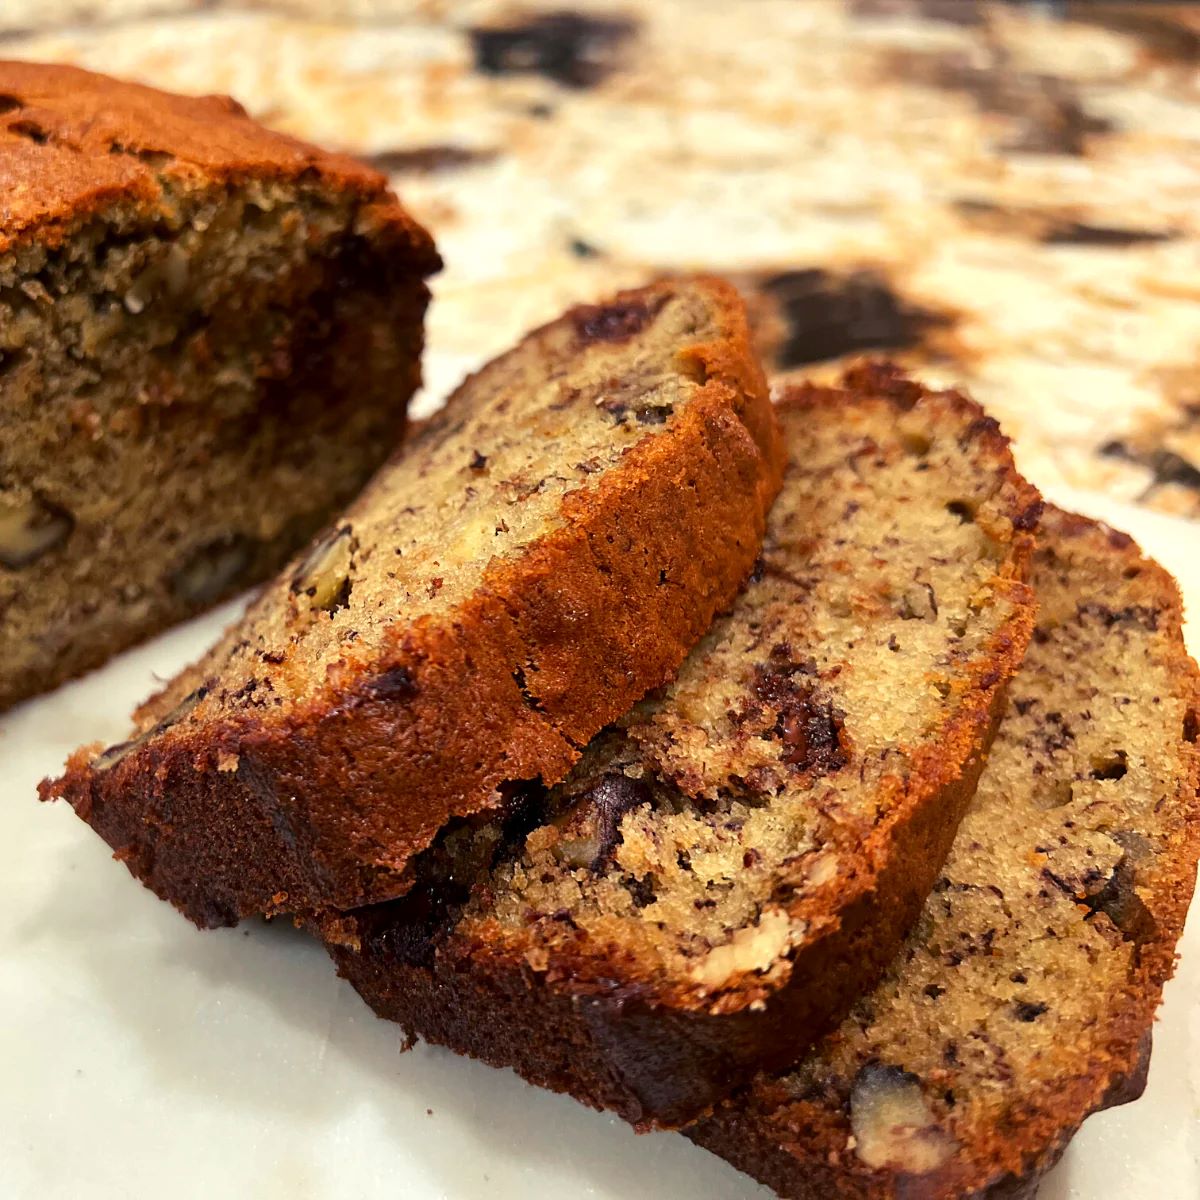
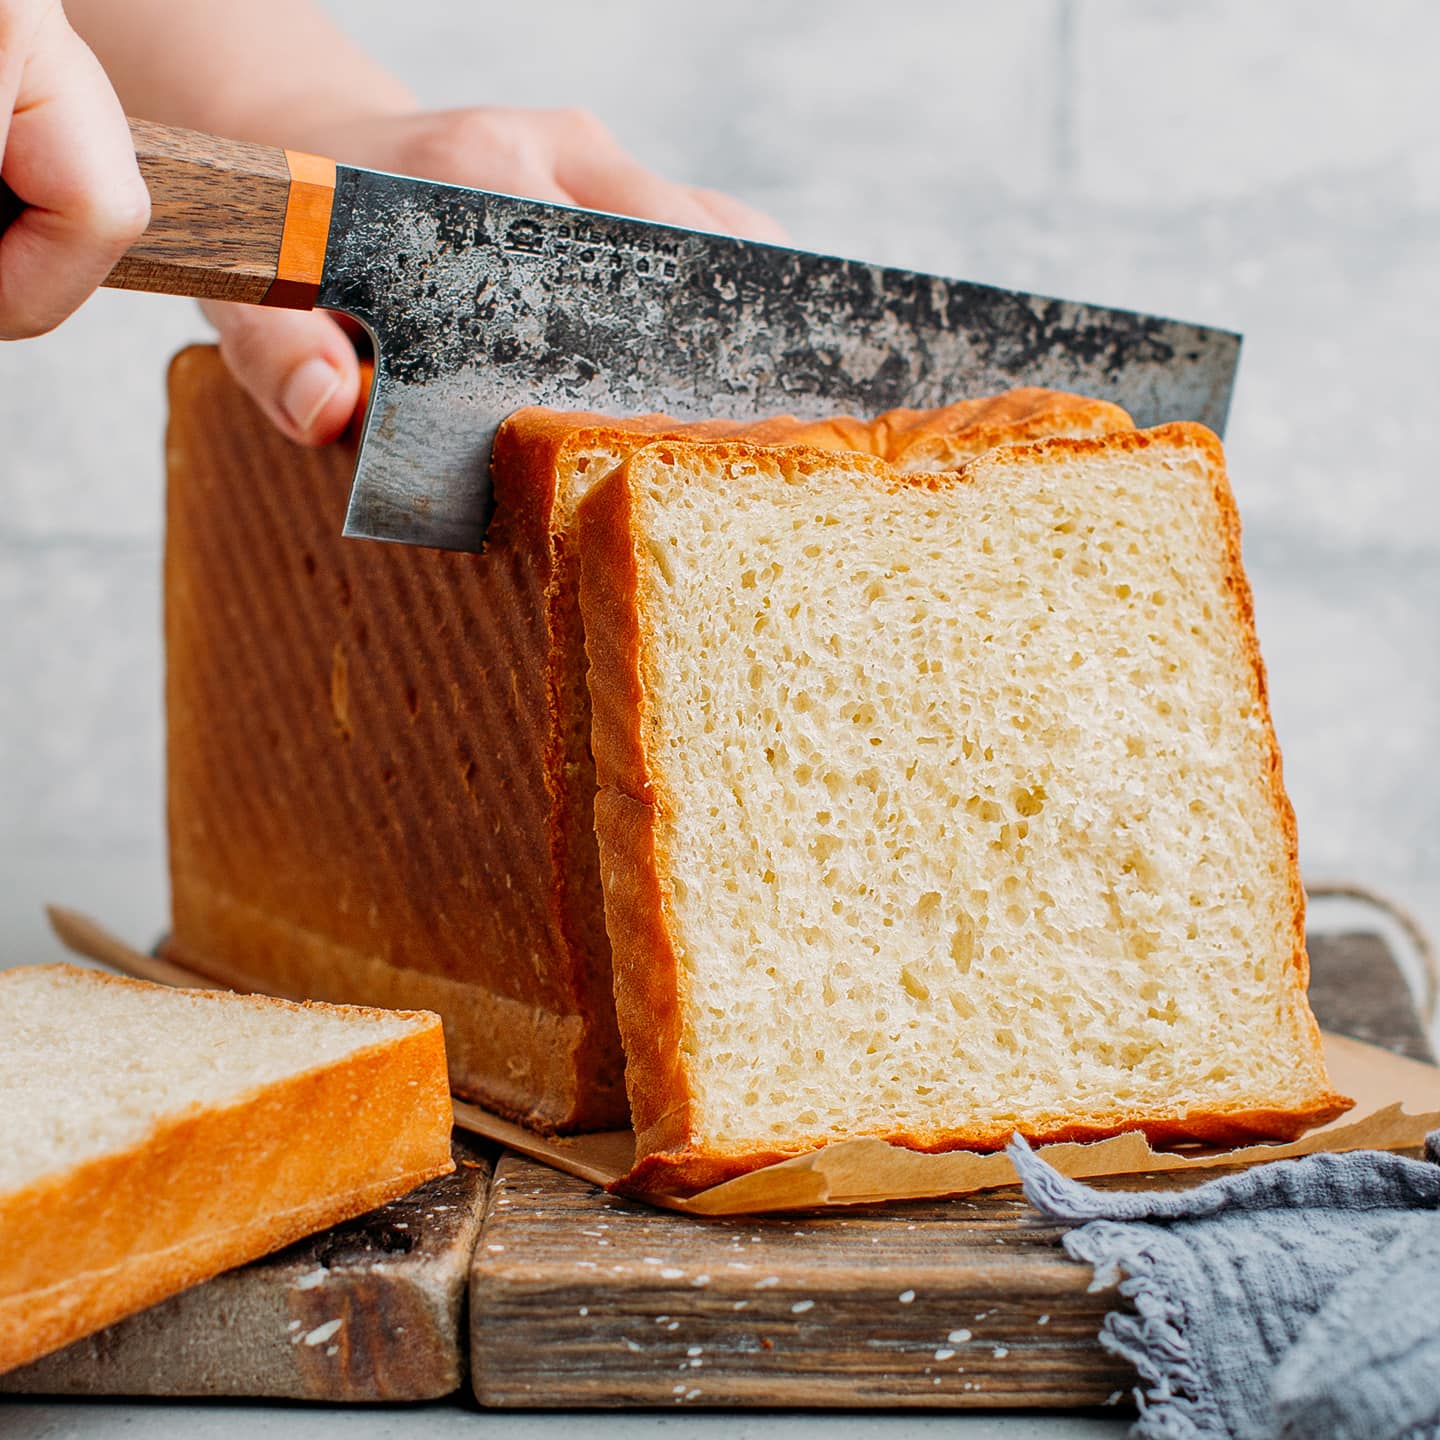
- Once the bread has cooled, you can proceed to slice it. A serrated bread knife works best for cutting gluten-free bread without compressing or squishing it.
- Slice the bread to your desired thickness. Some people prefer thinner slices for sandwiches, while others prefer thicker slices for toasting.
- If you’re not planning to consume all the bread immediately, it’s best to only slice what you need. Leaving the rest of the loaf unsliced helps to maintain its freshness.
Now that you have your freshly baked and sliced gluten-free bread, it’s time to explore the various methods of storing it to extend its shelf life.
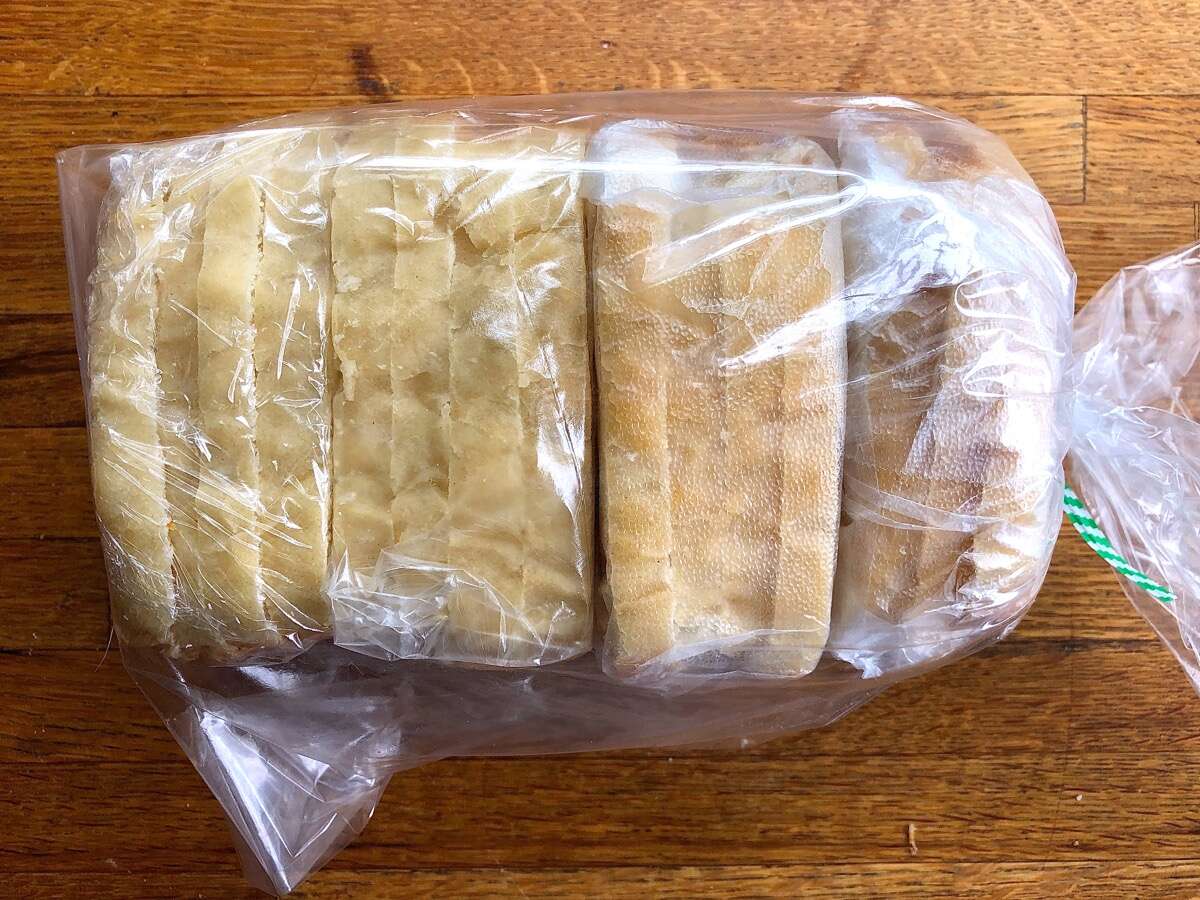
Storing the Bread at Room Temperature
If you plan to consume your homemade gluten-free bread within a few days, storing it at room temperature is a convenient option. Here are some tips for storing your bread at room temperature:
- Ensure that the bread is completely cooled before storing it. Warm bread can create moisture inside the storage container, leading to mold growth.
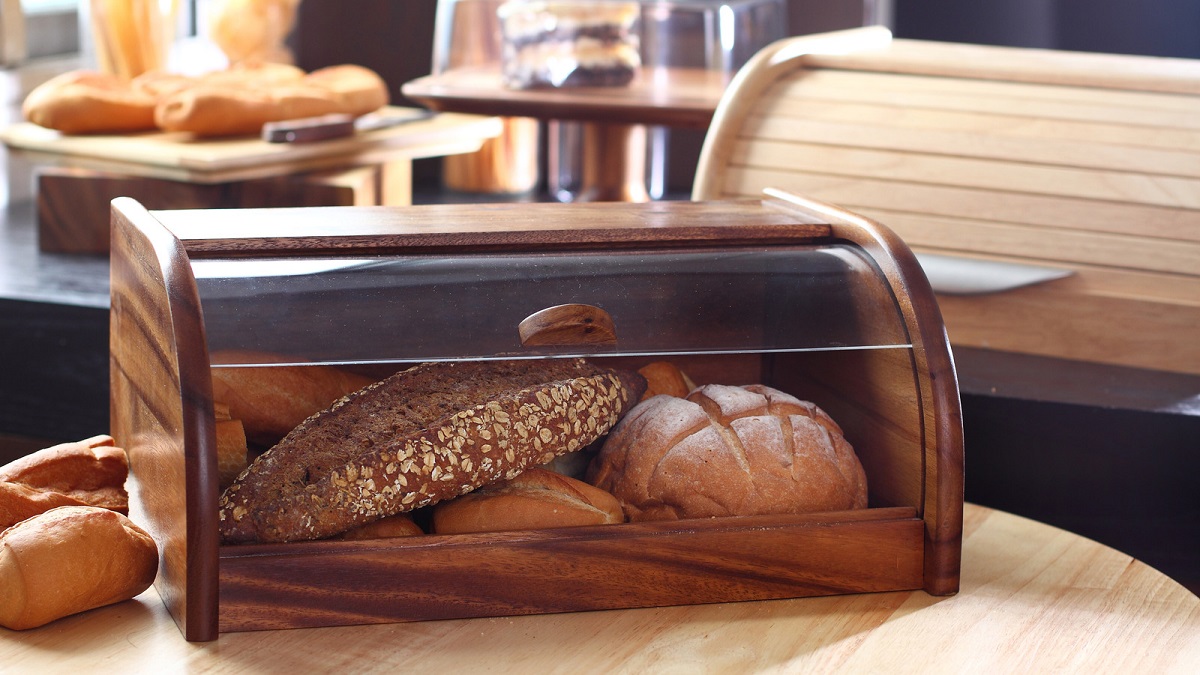
- Select an airtight container or bread box to store your bread. This helps to keep it fresh and prevents it from drying out.
- Line the bottom of the container with a clean cloth or a layer of parchment paper. This provides a barrier between the bread and the container, preventing moisture buildup.
- Place the sliced bread in the container, making sure the pieces are not touching each other. This helps to maintain their individual shape and prevents them from sticking together.
- Keep the bread container in a cool, dry place away from direct sunlight and sources of heat. Extreme temperatures and humidity can affect the quality of the bread.
- Check the bread regularly for any signs of mold or staleness. If you notice any, discard the affected slices and ensure that the container is cleaned and dried thoroughly before storing new bread.
It’s important to note that storing gluten-free bread at room temperature can cause it to become dry more quickly than traditional bread due to the absence of gluten. If you find that your bread is becoming stale, consider transferring it to a different storage method like refrigeration or freezing.
In the next section, we will explore the option of storing homemade gluten-free bread in the refrigerator.
Storing the Bread in the Refrigerator
If you want to extend the shelf life of your homemade gluten-free bread, storing it in the refrigerator is an excellent option. The colder temperature helps slow down the staling process and keeps the bread fresh for a longer period. Here’s how you can effectively store your bread in the refrigerator:
- Ensure that your bread is fully cooled before transferring it to the refrigerator. Storing warm bread in the fridge can lead to condensation and make the bread soggy.
- Place the sliced bread in a resealable plastic bag or an airtight container. The container should be large enough to accommodate the slices without squishing or compressing them.
- Seal the bag or container tightly to prevent the bread from drying out or absorbing any odors from other foods in the refrigerator.
- Label the bag or container with the date of storage. This will help you keep track of how long the bread has been in the refrigerator.
- Store the bread in the main section of the refrigerator, away from moisture-heavy areas like the vegetable drawer.
- Keep the bread away from strong-smelling foods, as gluten-free bread can easily absorb odors.
When stored properly in the refrigerator, homemade gluten-free bread can typically stay fresh for up to one week. However, keep in mind that refrigeration may cause the bread to become firmer and lose some of its softness. To restore its texture, you can briefly warm the slices in a microwave, toaster, or oven before consuming.
If you don’t plan to consume the bread within a week, freezing is an ideal method to preserve it for a longer period. Let’s explore the process of freezing homemade gluten-free bread in the next section.
After allowing the gluten-free bread to cool completely, store it in an airtight container or resealable plastic bag at room temperature for up to 2-3 days. For longer storage, freeze the bread in a freezer-safe bag for up to 3 months.
Freezing the Homemade Gluten Free Bread
Freezing your homemade gluten-free bread is a great option if you want to preserve it for an extended period. Freezing helps to maintain its freshness and texture, allowing you to enjoy homemade bread even after several weeks. Follow these steps to freeze your gluten-free bread:
- Ensure that your bread has completely cooled before freezing. It’s best to freeze the bread on the same day it is baked.
- Slice the bread or leave it whole, depending on your preference. If you decide to slice the bread, it’s better to slice it before freezing, as it can be challenging to slice frozen bread.
- Wrap the bread tightly in plastic wrap or aluminum foil. Make sure that all sides of the bread are well-covered to prevent freezer burn and moisture loss.
- Place the wrapped bread in a resealable freezer bag or airtight container. Squeezing out excess air from the bag helps to prevent freezer burn.
- Label the bag or container with the date of freezing to keep track of its freshness.
- Place the bag or container in the freezer and ensure it is kept upright to prevent the bread from getting crushed.
Frozen gluten-free bread can typically last in the freezer for up to three months. Beyond this timeframe, the bread may start to lose its freshness and flavor.
Now that you know how to freeze your homemade gluten-free bread, let’s uncover the process of thawing and reheating it in the next section.
Read more: How To Store Gluten Free Flour
Thawing and Reheating the Bread
When you’re ready to enjoy your frozen homemade gluten-free bread, it’s important to thaw it properly to preserve its moisture and texture. Here’s how to thaw and reheat your frozen bread:
- Remove the frozen bread from the freezer and leave it in the bag or container. Let it thaw at room temperature for a few hours or overnight. Avoid microwaving or using hot water to defrost the bread, as this can lead to uneven thawing and result in a soggy texture.
- Once the bread is completely thawed, you can proceed to reheat it to restore its warmth and freshness. There are a few methods you can use:
- Toaster or Oven: Preheat your toaster or oven to a low temperature, around 300°F (150°C). Place the bread slices directly on the toaster rack or on a baking sheet and heat them for a few minutes until warmed through. Keep a close eye on the bread to prevent burning.
- Microwave: If you’re short on time, you can use a microwave to reheat frozen bread. Wrap the bread slices in a damp paper towel to prevent them from drying out. Microwave them on medium heat for 15-20 seconds per slice until warmed through. Be cautious not to overheat, as this can make the bread tough.
- Once the bread is reheated, allow it to cool for a few minutes before enjoying. This allows the flavors to develop and prevents any potential harm from hot surfaces.
It’s important to note that reheated bread may not have the same freshly baked texture as when it was first made. However, proper thawing and reheating methods help to restore the bread’s taste and make it enjoyable again.
Finally, let’s conclude with some key takeaways on storing homemade gluten-free bread.
Conclusion
Properly storing your homemade gluten-free bread is crucial to maintaining its freshness, flavor, and texture. Whether you choose to store it at room temperature, in the refrigerator, or in the freezer, following the right methods will ensure that your bread retains its quality for as long as possible.
When storing your bread at room temperature, use an airtight container or bread box to keep it from drying out. If you opt for refrigeration, seal the slices in a plastic bag or airtight container to prevent staleness. Freezing is an excellent option for long-term storage, where you can wrap the bread tightly and place it in a freezer-safe bag or container.
To enjoy your frozen bread, thaw it at room temperature and then reheat it using a toaster, oven, or microwave. This helps to restore its warmth and freshness, ensuring a delightful eating experience.
Remember to always cool your bread completely before storing it and keep it away from direct sunlight, heat sources, and strong-smelling foods. Regularly check for any signs of mold or staleness, and discard any affected slices to maintain the quality of the remaining bread.
By following these guidelines, you can enjoy your homemade gluten-free bread for an extended period, always having a delicious and satisfying option on hand for your gluten-free needs.
So go ahead, embrace the joy of homemade gluten-free bread, and savor every slice knowing that you can store it properly and enjoy it time and time again!
Frequently Asked Questions about How To Store Homemade Gluten Free Bread
Was this page helpful?
At Storables.com, we guarantee accurate and reliable information. Our content, validated by Expert Board Contributors, is crafted following stringent Editorial Policies. We're committed to providing you with well-researched, expert-backed insights for all your informational needs.


0 thoughts on “How To Store Homemade Gluten Free Bread”