Articles
How To Store Kids Art Supplies
Modified: October 20, 2024
Learn how to efficiently store and organize your children's art supplies with these helpful articles. Find creative solutions to keep everything tidy and accessible.
(Many of the links in this article redirect to a specific reviewed product. Your purchase of these products through affiliate links helps to generate commission for Storables.com, at no extra cost. Learn more)
Introduction
Welcome to the wonderful world of children’s art supplies! If you have kids who love to express their creativity through art, you probably know how quickly their supplies can accumulate. From crayons and markers to paints and sketchbooks, it can be a challenge to keep everything organized and easily accessible.
Having a well-organized art supply storage system not only keeps the chaos at bay but also encourages creativity and makes it easier for your little artists to find what they need. In this article, we will explore some practical tips and tricks to help you store kids’ art supplies efficiently and effectively.
So, let’s dive in and discover the secrets to keeping those art supplies tidy and ready for your kids’ next artistic adventure!
Key Takeaways:
- Encourage creativity and responsibility by organizing art supplies into designated spaces, utilizing clear containers, and involving children in the maintenance process.
- Create a portable art kit for on-the-go creativity, selecting compact containers, packing essential supplies, and customizing the kit for personalized artistic expression.
Read more: How To Store Canvas Art
Organizing Art Supplies
When it comes to organizing your children’s art supplies, it’s important to have a designated space where everything can be stored. This not only helps keep the supplies in one place but also ensures that your children know where to find and put away their materials.
First, consider the size of your art supply collection. If you have a large number of supplies, you may want to invest in a dedicated storage cabinet or shelving unit. This will provide ample space for all the different types of art materials.
If you have limited space, don’t worry! You can still create an organized storage system. Consider using clear plastic bins or drawers that can be stacked on top of each other. This allows for easy visibility and access to the supplies while keeping them neatly contained.
Divide the supplies into different categories such as paints, markers, colored pencils, and brushes. This makes it easier for your children to find what they need and helps prevent mixing up different types of materials. Use labels or color-coded stickers to identify each category.
Another helpful tip is to separate the supplies based on their frequency of use. Keep the frequently used items within reach, while storing the less frequently used items on higher shelves or in the back of the storage area. This way, your children can easily access the materials they use most without having to dig through everything else.
Lastly, consider using small bins or containers within the larger storage units to further organize smaller items like erasers, sharpeners, and glue sticks. This helps prevent them from getting lost or scattered among other supplies.
By taking the time to organize your children’s art supplies, you will not only create a visually appealing storage space but also save time and frustration when it comes to finding and using the materials for their creative projects.
Choosing the Right Storage Containers
When it comes to storing kids’ art supplies, choosing the right storage containers is crucial. The containers you select should not only keep the supplies organized but also protect them from damage.
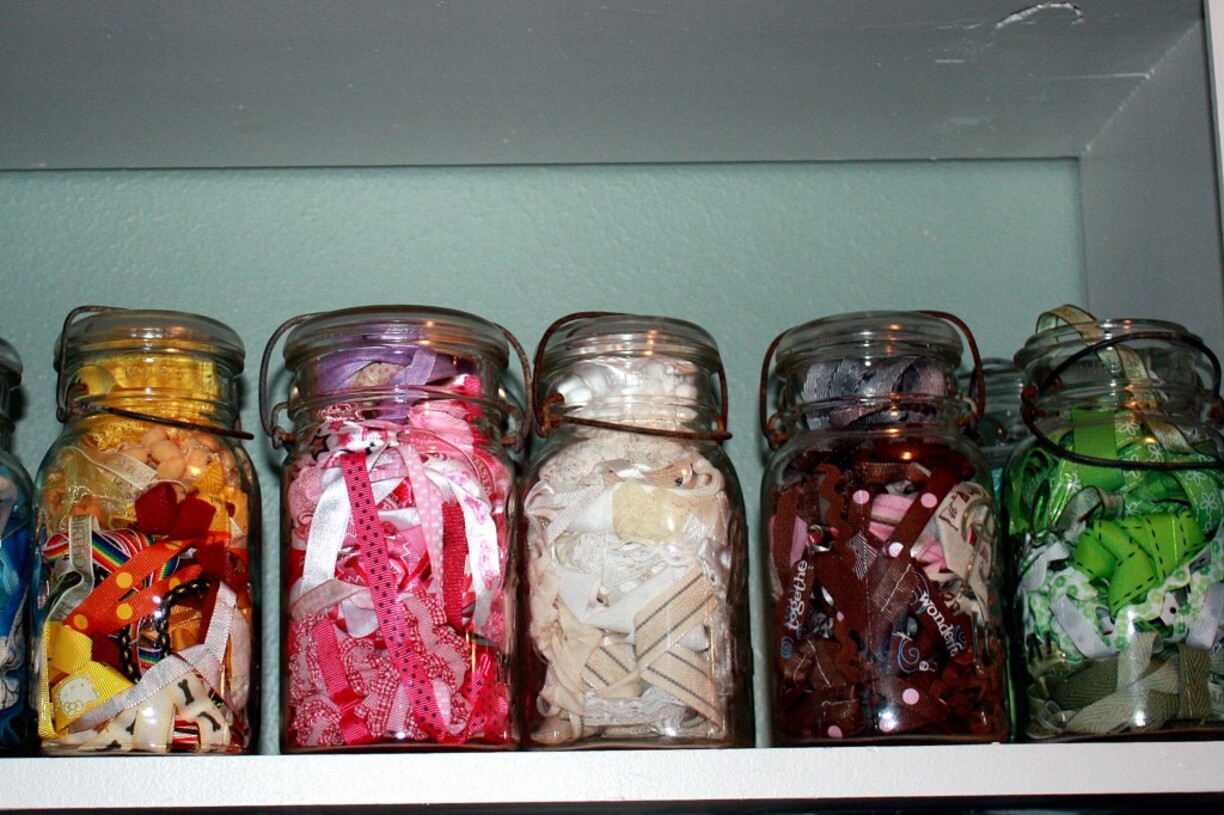
One option is to use clear plastic containers with lids. These containers are ideal for storing and organizing various art supplies. The transparency of the containers allows you and your children to easily see what’s inside without having to open each one. Additionally, the lids help keep the supplies dust-free and prevent them from spilling out.
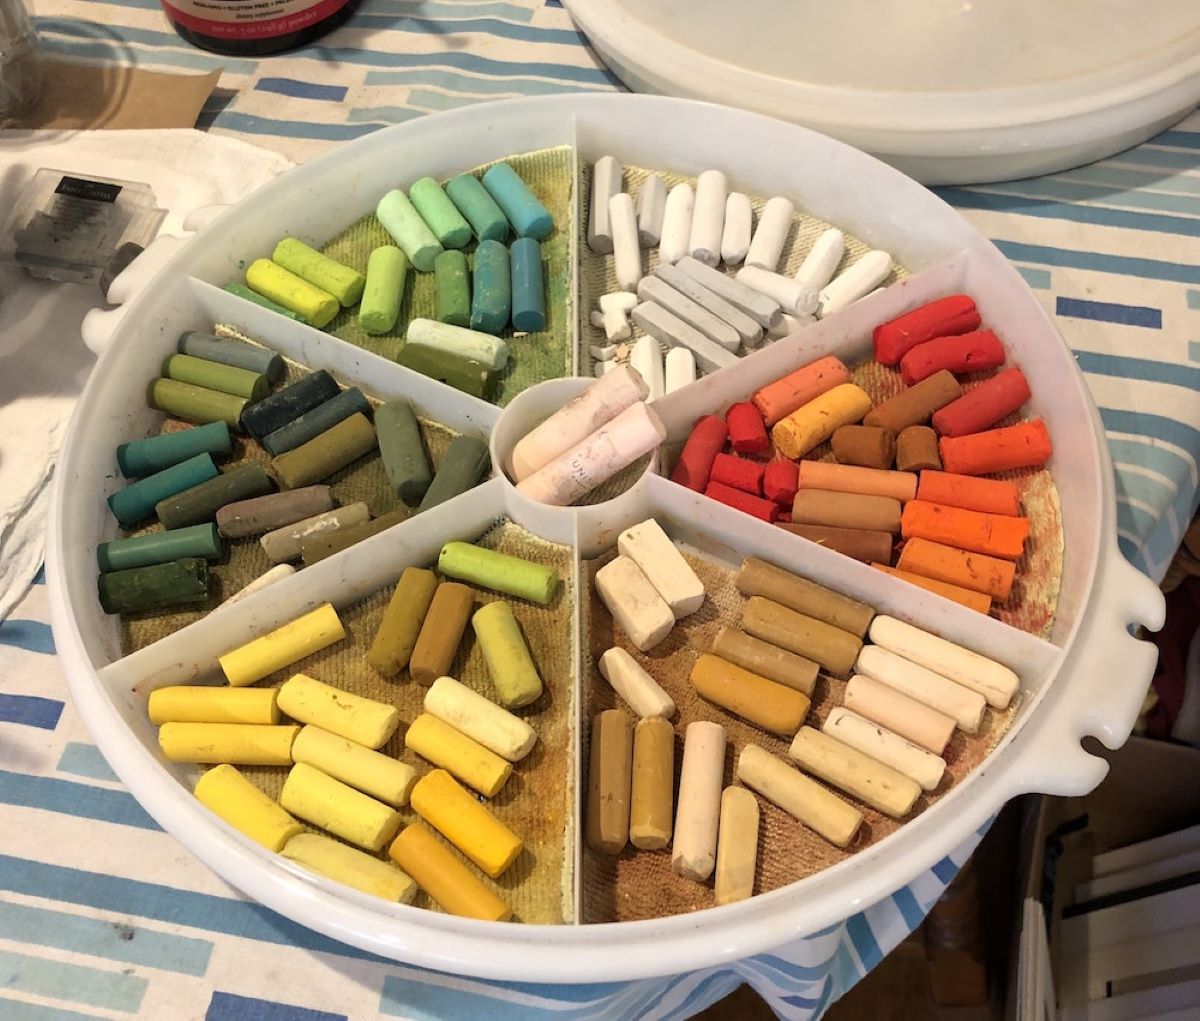
Consider opting for containers with adjustable dividers or compartments. These are perfect for separating small items like beads or buttons, as well as organizing different types of brushes or pens. The compartments allow for easy access to specific supplies without the need to search through the entire container.
If you prefer a more eco-friendly option, consider using fabric or canvas bins. These containers come in various sizes and designs, adding a touch of style to your storage area. They are lightweight, easy to carry, and can be folded when not in use.
In addition to bins, you might also consider using hanging storage solutions. Wall-mounted storage organizers or over-the-door shoe organizers can be excellent choices for storing art supplies like scissors, tape, and paintbrushes. These solutions not only save space but also make it convenient for your children to grab the supplies they need without rummaging through a drawer or bin.
Whichever type of storage container you choose, make sure to consider the size and quantity of the art supplies you have. The containers should be spacious enough to accommodate all the materials while keeping them easily accessible. Additionally, opt for durable and sturdy containers that can withstand frequent use and handling by children.
By selecting the right storage containers, you can ensure that your children’s art supplies are well-organized, protected, and ready for their next creative endeavor.
Setting up an Art Station
Creating a designated art station for your children is a fantastic way to encourage their creativity and provide them with an organized space to work on their art projects. Here are some tips on how to set up an art station that is functional and inspiring.
First, choose a suitable location for the art station. It can be a corner of a room, a dedicated table, or even a rolling cart that can be moved around as needed. Ensure that the area is well-lit, preferably with natural light, to provide your children with optimal visibility while working.
Next, equip the art station with the necessary essentials. Include a sturdy table or desk that is spacious enough for your children to spread out their materials and work comfortably. Provide chairs or stools that are the right height for your children’s age and size. Ergonomics are important to ensure proper posture and prevent discomfort during prolonged art sessions.
Consider adding a bulletin board or magnetic board to the art station. This can serve as a display area for your children to showcase their artwork and be a source of inspiration for their future projects. Pin or hang up their favorite pieces, quotes, and images that spark their creativity.
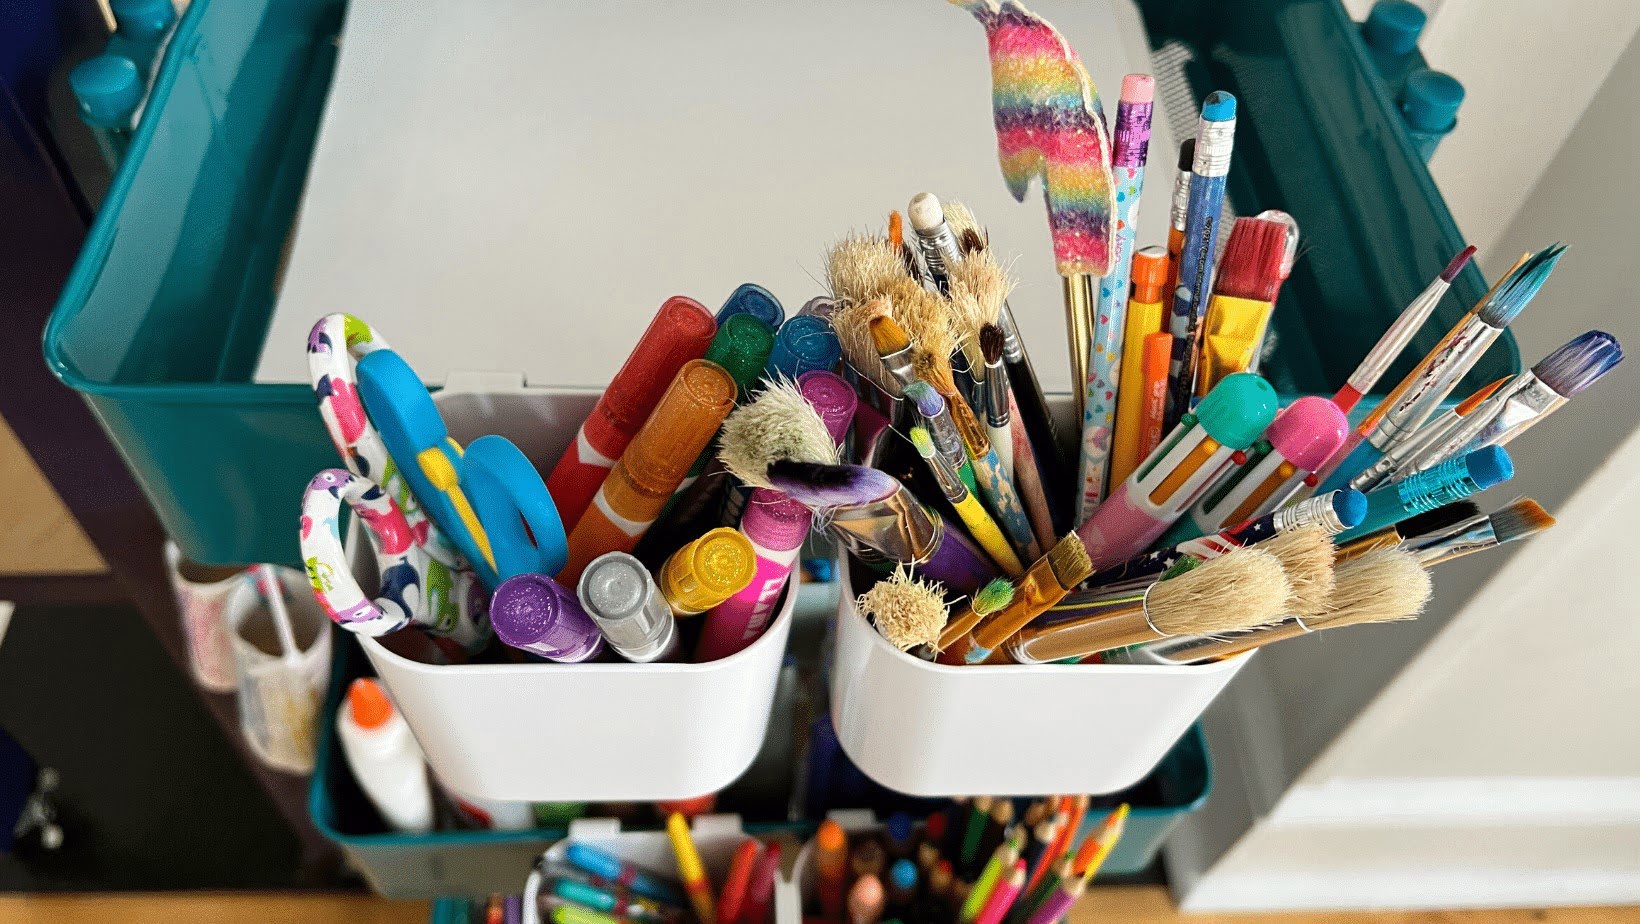
It’s also beneficial to have a variety of storage options within the art station. Use containers, cups, and trays to hold art supplies such as pens, pencils, brushes, and erasers. Consider installing wall-mounted shelves or cubbies to store sketchbooks, paper, and other larger art materials. This ensures that everything has its place and is easily accessible while working.
Add a splash of color to the art station by incorporating a vibrant and inspiring atmosphere. Hang colorful posters or artwork on the walls, use colorful containers to store supplies, and consider adding a colorful rug or cushions for added comfort. Creating a visually appealing space can help ignite your children’s imagination and make their art sessions even more enjoyable.
Lastly, encourage your children to personalize their art station. Let them choose decorations, artwork, or stickers that reflect their individual style and interests. This gives them a sense of ownership and pride in their creative space.
By setting up an art station that is organized and tailored to your children’s needs, you provide them with a dedicated space to explore their artistic talents and nurture their creativity.
Labeling and Categorizing Supplies
Labeling and categorizing art supplies is an essential step in maintaining an organized and efficient art storage system. By clearly identifying and categorizing the different materials, you and your children can easily find what you need and ensure that everything is returned to its proper place. Here are some tips on how to label and categorize art supplies effectively:
First, consider the different categories or types of art supplies you have. This can include items like markers, paints, brushes, colored pencils, and scissors. Create labels for each category using a clear and descriptive title. You can use pre-made labels, label makers, or simply handwrite the labels on adhesive tags.
Attach the labels to the containers or shelves where the supplies are stored. This helps to visually identify each category and makes it easier for your children to locate the materials they need. Ensure that the labels are placed at eye level or in a prominent position for easy visibility.
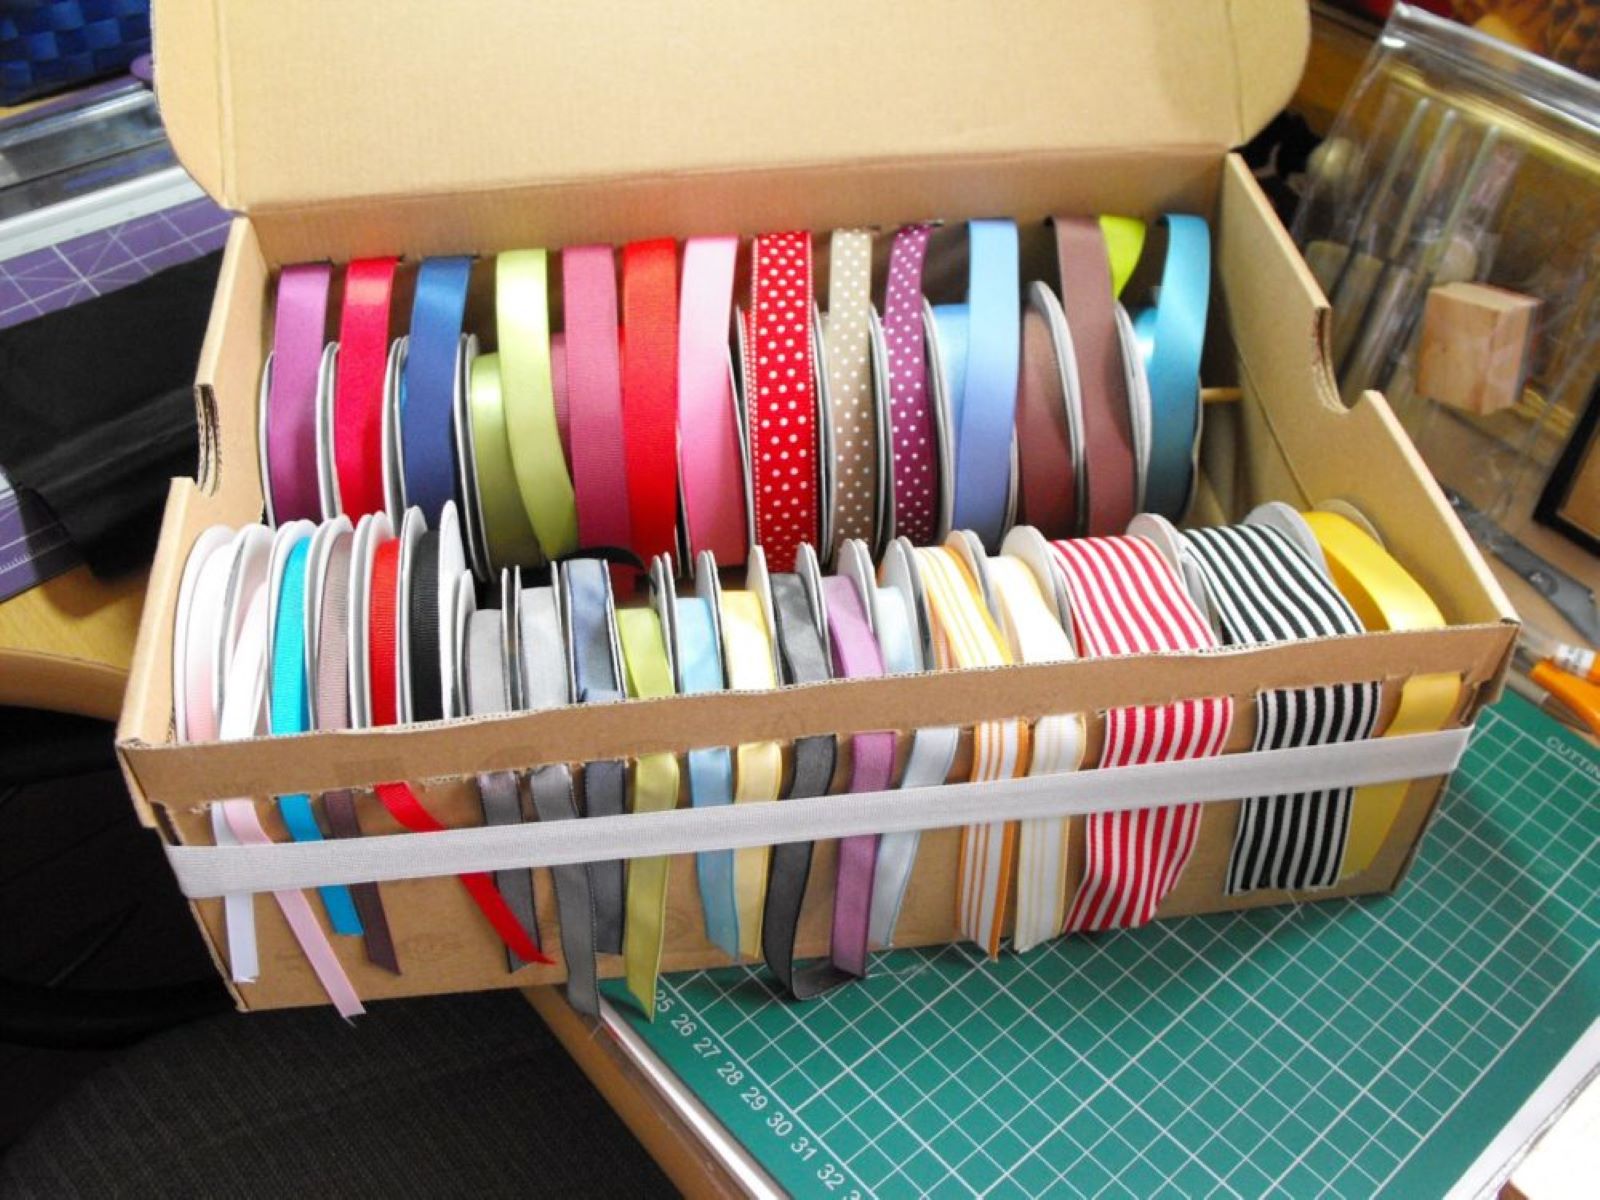
When categorizing supplies, consider grouping similar items together. For example, you can have separate categories for different types of paper, such as construction paper, sketchbooks, and watercolor paper. Within each category, you can further organize items by size or color, if applicable.
In addition to labeling the main categories, consider labeling individual containers or compartments within larger storage units. This is especially useful for organizing smaller items like beads, buttons, or sequins. Place labels on individual drawers, bins, or dividers to help your children quickly find specific items without having to search through everything.
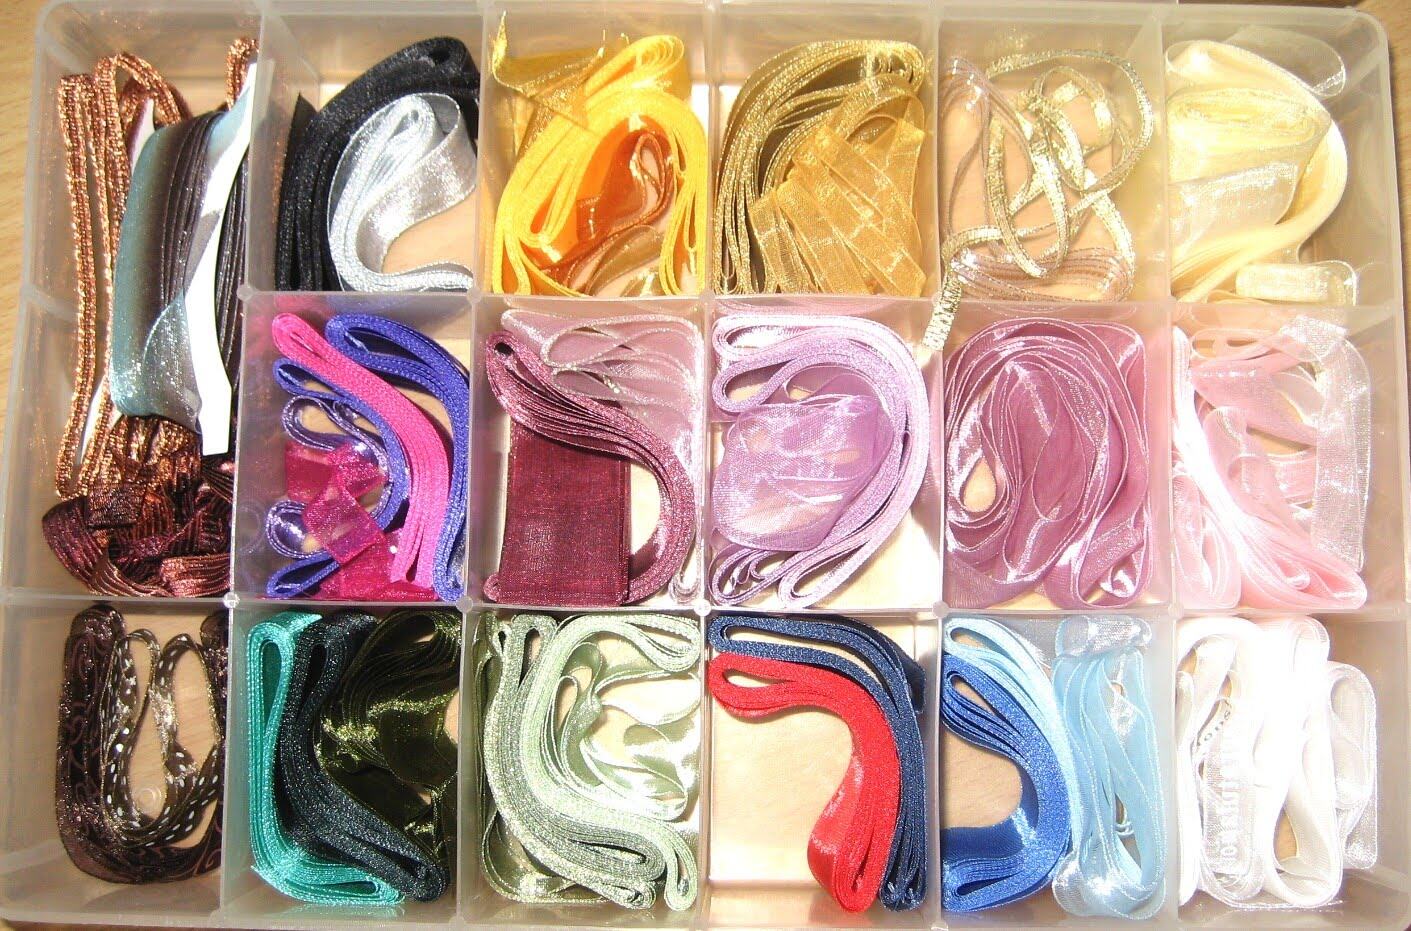
Color coding is another effective method for categorizing supplies, especially for younger children who may not be able to read the labels yet. Assign a specific color to each category and use colored bins, labels, or stickers to indicate the corresponding group. This adds a visual element to the organization system and makes it easier for children to identify and retrieve their supplies.
Regularly review and update your labeling system as your art supplies collection grows or changes. It’s important to ensure that the labels remain accurate and reflect the current content of each category. Encourage your children to help with the labeling process as it can also be a fun and engaging activity for them.
By labeling and categorizing art supplies, you create an organized and efficient system that simplifies the process of finding and using materials. It also encourages your children to take responsibility for maintaining order and cleanliness in their art area.
Read more: How To Store Art Canvases
Properly Storing Paints and Brushes
Properly storing paints and brushes is crucial to maintain their quality and ensure they are ready for your children’s artistic endeavors. Follow these tips to keep your paints and brushes in good condition:
Paint Storage:
Store paint tubes in an upright position to prevent them from drying out. Consider using a dedicated paint storage box or tray with individual compartments to keep tubes organized and easily accessible. Keep the box or tray in a cool, dry place away from direct sunlight, as extreme temperature and moisture can affect the paint quality.
If you have open paint palettes or trays, cover them with a palette seal or cling wrap to keep the paint moist and prevent it from drying out. Alternatively, you can use airtight containers with wells for storing mixed paint colors. This allows you to save and reuse paint without it drying up.
Brush Storage:
When it comes to storing brushes, avoid standing them upright in a container with the bristles facing up. This can cause the bristles to bend or become misshapen. Instead, place brushes horizontally in a flat container or a brush roll. This keeps the bristles in their proper shape and prevents damage.
Clean brushes thoroughly after each use to remove any excess paint. Rinse them in warm water or use an appropriate brush cleaner for the type of paint used. Gently reshape the brushes with your fingers and lay them flat or rest them on a brush rack to dry. Make sure to keep the bristles away from any edge or surface that could bend or misshape them.
For brushes with natural bristles, like those used for oil or acrylic paint, it’s important to keep them in a well-ventilated area to allow them to dry fully. If the bristles are still damp when stored, it can lead to mold or mildew growth. Avoid using airtight containers or sealing brushes in plastic bags.
Additional Tips:
Consider using brush covers or caps for individual brushes to protect the bristles and keep them in good shape. These covers are great for travel or if you need to temporarily pause a painting session.
Label your paint colors for easy identification. This can be helpful if you have multiple similar-looking tubes or if your children are just starting to learn color names.
Regularly check your paint supply for expired or dried-out tubes. Discard any unusable paints and replace them as needed. This helps maintain an organized and efficient paint collection.
By properly storing your paints and brushes, you can extend their lifespan and ensure that they are always in good condition for your children to use in their artistic projects.
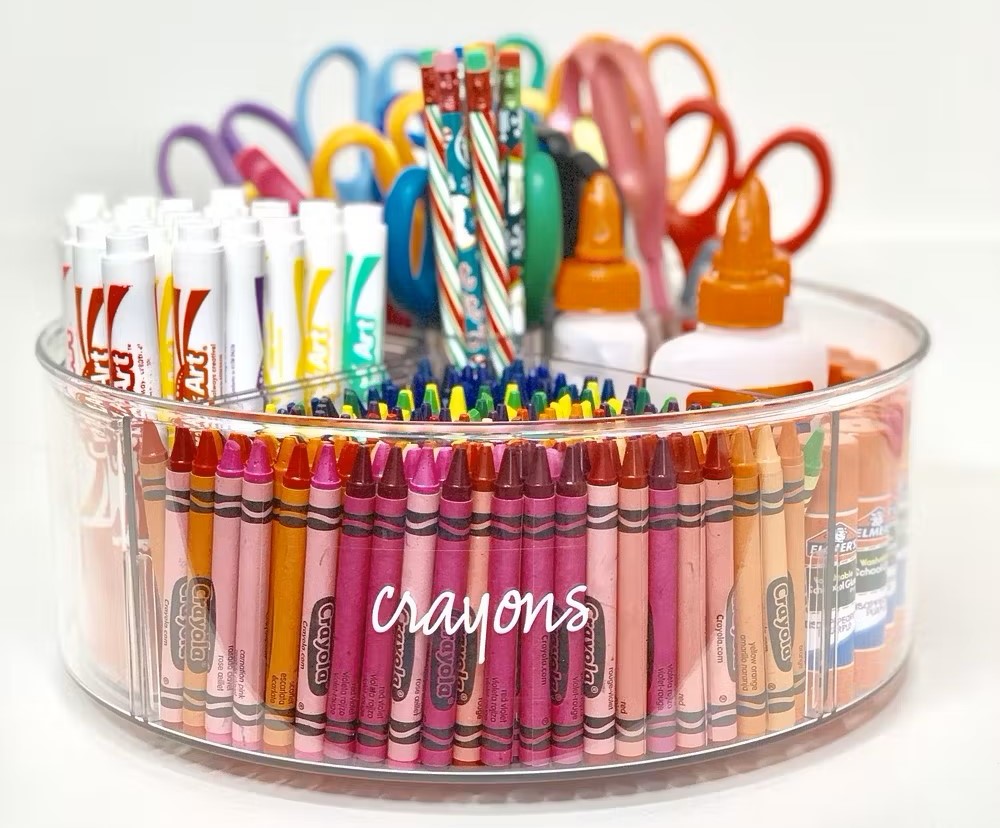
Store kids art supplies in clear, labeled containers to easily see and access items. Keep them in a designated area to encourage creativity and organization.
Storing Paper and Sketchbooks
Storing paper and sketchbooks properly is essential to keep them in good condition and readily available for your children’s artistic endeavors. Here are some tips for storing paper and sketchbooks:
Paper Storage:
Store loose sheets of paper in a flat file drawer or a storage box designed specifically for paper. Make sure the storage container is clean, dry, and free from any moisture or humidity, as this can cause the paper to warp or deteriorate over time.
If you have different types or sizes of paper, consider using dividers or separate sections within the storage container to keep them organized. Label each divider or section to easily identify and access the desired type of paper when needed.
To prevent the paper from curling or getting damaged, avoid placing heavy objects on top of it. Store the paper in a location where it won’t be subject to pressure or excessive bending.
Sketchbook Storage:
Keep sketchbooks in a vertical position on a sturdy bookshelf or in a magazine file. This helps maintain their shape and prevents any pages from getting crumpled or accidentally torn.
Consider labeling the spines of the sketchbooks with the names of your children or the subjects they use the sketchbooks for. This makes it easier to quickly locate a specific sketchbook without having to flip through each one.
If you have completed sketchbooks that you want to keep for sentimental value or as a record of your children’s artistic progress, consider storing them in acid-free archival boxes. These boxes offer protection against moisture, dust, and light, ensuring that the sketchbooks remain in good condition for years to come.
Additional Tips:
Regularly assess your supply of paper and sketchbooks to determine if any need to be replenished. Keep a list or inventory of your children’s favorite types of paper or sketchbooks for future reference.
Encourage your children to use their sketchbooks regularly and keep them organized. Remind them not to rip out pages or tear edges, as this can compromise the integrity of the sketchbook.
Consider designating a specific area on the art station or in the storage container where your children can place their current sketchbooks. This helps keep them easily accessible and prevents them from getting misplaced or mixed up with other supplies.
By storing paper and sketchbooks properly, you can ensure that they remain in excellent condition and are readily available for your children to explore their artistic talents and express their creativity.
Keeping Glue, Scissors, and Other Miscellaneous Supplies
When it comes to keeping glue, scissors, and other miscellaneous art supplies organized, having a designated storage system is key. Here are some tips for effectively storing and organizing these essential items:
Glue and Adhesives:
Store glue bottles and tubes in an upright position to prevent leakage and ensure they are always ready to use. Consider using a plastic caddy or a small bin with dividers to keep different types of glue separate and easily accessible.
If you have smaller tubes of glue or adhesives, place them in smaller containers or plastic bags to keep them organized within the larger storage unit. This prevents them from getting lost or misplaced among other supplies.
Label each container or section to indicate the type of glue or adhesive it contains. This makes it easier for your children to find the specific glue they need for their projects.
Scissors and Cutting Tools:
Designate a specific container or slot to store scissors and cutting tools. Consider using a pen holder or a small cup placed within reach of the art station. This allows your children to easily locate and access the scissors when needed.
Encourage your children to keep the scissors in the designated storage spot after each use. This helps prevent them from being misplaced or lost among other supplies.
If you have multiple pairs of scissors, you can color-code them or attach decorative tags to differentiate between them. This makes it easier for your children to identify their own pair of scissors and reduces the chances of them getting mixed up.
Other Miscellaneous Supplies:
For other miscellaneous art supplies like stickers, googly eyes, sequins, or beads, consider using small plastic containers with separate compartments. These containers are ideal for keeping small items organized and preventing them from getting mixed together.
Label each compartment or container according to the contents, making it easy for your children to find the specific supplies they need.
If you have larger miscellaneous supplies like fabric scraps or pom-poms, consider using larger clear plastic bins or storage boxes. Group similar items together and label each container accordingly.
Additional Tips:
Regularly check and replenish your supply of glue, scissors, and other miscellaneous items. Make a checklist or inventory to keep track of what you have and what needs to be replaced.
Encourage your children to take responsibility for maintaining the organization of these supplies. Teach them the importance of returning items to their designated spots after each use.
Periodically sort through the miscellaneous supplies to remove any dried-up glue or damaged items. This helps keep the storage area clean and ensures that only usable supplies are accessible.
By keeping glue, scissors, and other miscellaneous supplies organized, you not only create a neat and functional storage system but also make it easier for your children to find and use these essential items in their artistic projects.
Creating a Portable Art Kit
A portable art kit is a convenient and practical solution for on-the-go creativity. Whether you’re going on a family outing, a long road trip, or simply want to have art supplies readily available wherever you are, creating a portable art kit allows your children to express their creativity no matter the location. Here’s how you can create a portable art kit:
Choose the Right Container:
Select a sturdy and compact container that can hold all the necessary art supplies. Options include a small plastic storage box with compartments or a zippered art supply case. Consider the size of the container, as it should be portable enough for your children to carry comfortably.
Essential Art Supplies:
Determine the essential art supplies your children would need while being on the go. This can include items like colored pencils, markers, a small sketchbook or notepad, a pencil sharpener, an eraser, and a small ruler. Don’t forget to include a small travel-size glue stick and a pair of safety scissors as well.
Pack Light and Practical:
Remember that portability is key, so only pack the necessary items. Avoid overpacking and stick to the essentials to keep the art kit lightweight and easily transportable. Choose compact versions of art supplies whenever possible.
Consider Multipurpose Items:
Maximize the functionality of your portable art kit by including multipurpose items. For example, a watercolor set that comes with a built-in brush or a set of colored pencils that are also watercolor pencils can be versatile options. This allows for a wider range of artistic expression without taking up additional space.
Protective Measures:
To protect the art supplies and prevent any messes, consider adding protective measures to the kit. Place small items like pencils or markers in a small zippered pouch to keep them organized and prevent them from scattering within the kit. You can also include a pocket or compartment to securely hold the sketchbook and prevent any smudging or damage to the artwork.
Customize and Personalize:
Make the portable art kit personal and fun for your children by customizing it. Let them choose stickers or decorate the container with their favorite designs. This adds a touch of creativity to the kit and makes it even more appealing and personalized to their taste.
Regularly Check and Refill:
Regularly check the portable art kit to ensure all the supplies are in good condition and replenish any items that have been used up. This includes checking the sharpness of pencils, the amount of paint in watercolor pans, and the availability of clean pages in the sketchbook.
With a portable art kit, your children can enjoy creative activities whenever and wherever inspiration strikes. Whether it’s during a long car ride, at a park, or on a vacation, their artistic endeavors can continue to thrive.
Read more: How To Store Large Art Paper
Tips for Maintaining an Organized Art Supply Storage
Maintaining an organized art supply storage system is essential for easy access, efficient use of materials, and a clutter-free creative space. Here are some tips to help you keep your art supplies storage neat and organized:
Regular Decluttering:
Regularly go through your art supplies and declutter any items that are expired, damaged, or no longer used. Dispose of dried-up paints, broken brushes, and dried-out markers. This helps clear up space and ensures that you only keep supplies that are in good condition and actively used.
Create Designated Spaces:
Assign specific areas or containers for each category of art supplies. Use clear bins, drawers, or shelves for easy visibility, and label each space to identify its contents. Designating specific spots for each supply ensures that everything has its place and makes it easier to find what you need.
Return Items to Their Designated Spaces:
Encourage your children to return art supplies to their designated spots after each use. Establish a habit of tidying up together after art sessions. This ensures that supplies don’t get misplaced or mixed up, and helps maintain an organized storage system.
Keep Frequently Used Items Within Reach:
Place frequently used art supplies in easily accessible areas. Store them on lower shelves, in open bins, or on top of a desk or art station. This makes it convenient for your children to grab what they need without having to search through the entire storage area.
Utilize Vertical Space:
Make use of vertical space by installing shelves, pegboards, or wall-mounted containers. This allows you to store art supplies vertically, freeing up valuable horizontal space. Vertical storage also makes it easier to see and access supplies, reducing the time spent searching for specific items.
Group Similar Items Together:
Keep similar art supplies together to create a cohesive organization system. Group paints with paints, colored pencils with colored pencils, and brushes with brushes. This makes it easier to locate specific supplies and minimizes the chances of mixing up different types of materials.
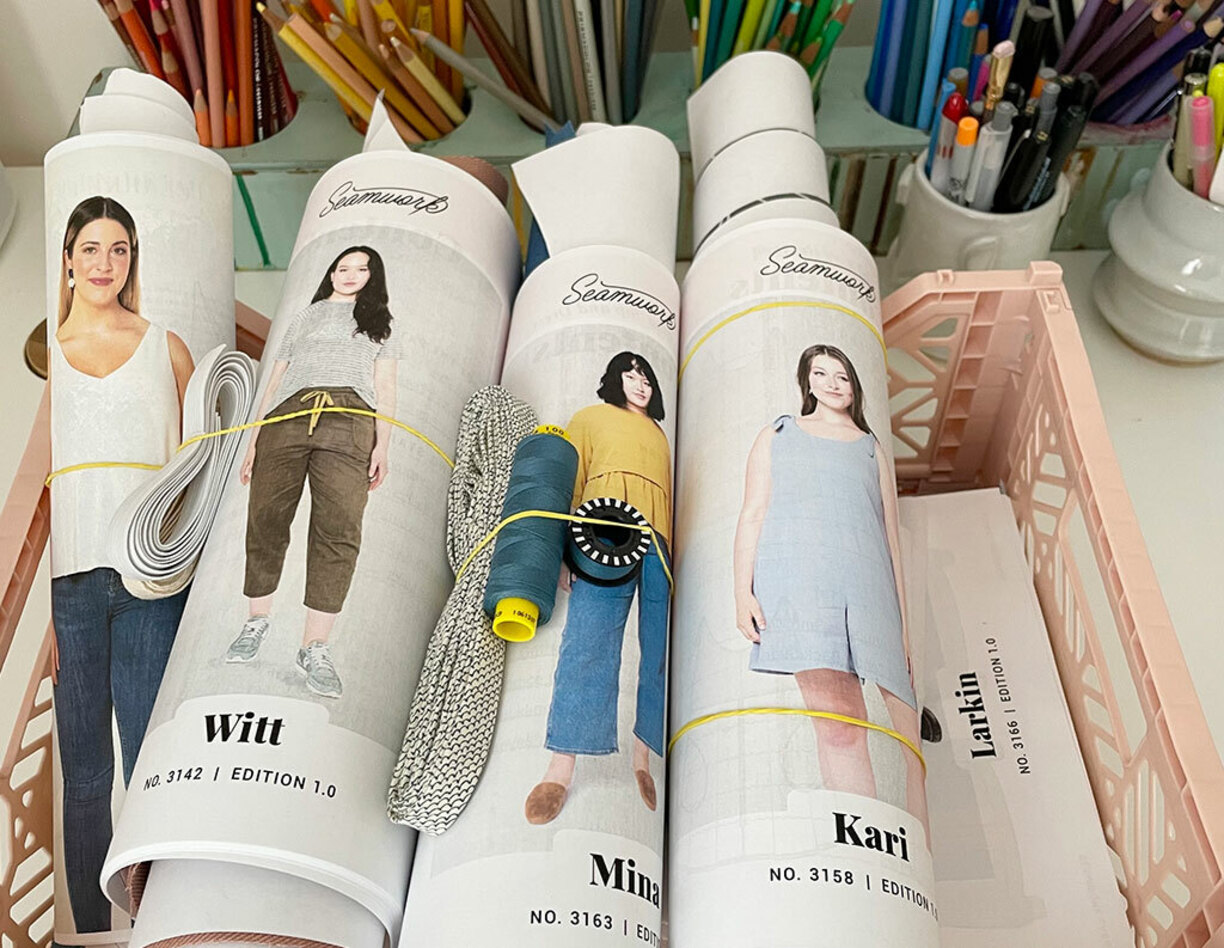
Maintain a System for Paper and Sketchbooks:
Organize paper and sketchbooks by size, type, or usage. Use dividers or separate sections within storage containers to keep different types of paper separated and organized. Label each section for easy identification. For sketchbooks, keep them in a vertical position on a bookshelf or in a magazine file to maintain their shape.
Regularly Check and Replenish Supplies:
Regularly take inventory of your art supplies and check for items that need to be replenished. Make a list of items to purchase or restock to ensure you always have a sufficient supply of essential materials. This helps maintain a functional storage system and prevents running out of necessary supplies.
Involve Your Children:
Get your children involved in organizing and maintaining the art supply storage. Teach them the importance of tidying up and assigning supplies to their designated spots. Encourage them to take responsibility for maintaining order and cleanliness in their creative space.
By implementing these tips, you can create and maintain an organized art supply storage system that ensures easy access to materials and an enjoyable creative experience for your children.
Conclusion
Organizing and maintaining an art supply storage system is essential for a smooth and enjoyable artistic experience for children. By implementing the tips and strategies outlined in this article, you can create a well-organized and efficient storage space for your children’s art supplies.
Start by establishing a designated area or art station where all the supplies can be stored and easily accessed. Choose the right storage containers that fit the size and quantity of the supplies, and consider using clear containers for visibility and accessibility.
Labeling and categorizing art supplies can make it easier for your children to find what they need and maintain order within the storage area. Use labels, color-coded systems, and dividers to keep supplies organized and easily identifiable.
When storing specific supplies like paints and brushes, it’s important to consider their unique requirements. Properly store paints in an upright position to prevent drying, and store brushes horizontally to maintain their shape. Regularly clean and check these supplies to ensure they remain in good condition.
Paper and sketchbooks should be stored in flat, protected containers to prevent damage and ensure they remain usable. Consider using dividers or separate sections to keep different types of paper organized, and keep sketchbooks in a vertical position to preserve their integrity.
For smaller items such as glue, scissors, and miscellaneous supplies, choose appropriate storage containers that keep them organized and easily accessible. Encourage your children to return items to their designated spaces after each use to maintain order and prevent loss.
Lastly, consider creating a portable art kit for on-the-go creativity. Select a compact container and pack essential art supplies that your children can easily carry and use wherever inspiration strikes.
By following these tips and maintaining an organized art supply storage system, you can create a conducive environment for your children’s creativity to thrive. A well-organized space makes it easier for them to find and use their supplies, encourages responsibility and tidiness, and ensures that the artistic journey remains enjoyable for everyone involved.
Frequently Asked Questions about How To Store Kids Art Supplies
Was this page helpful?
At Storables.com, we guarantee accurate and reliable information. Our content, validated by Expert Board Contributors, is crafted following stringent Editorial Policies. We're committed to providing you with well-researched, expert-backed insights for all your informational needs.

0 thoughts on “How To Store Kids Art Supplies”