
Articles
How To Store Saw Horses
Modified: January 6, 2024
Looking for the best way to store your saw horses? Check out these helpful articles on how to properly store your saw horses to maximize space and maintain their quality.
(Many of the links in this article redirect to a specific reviewed product. Your purchase of these products through affiliate links helps to generate commission for Storables.com, at no extra cost. Learn more)
Introduction
When it comes to woodworking and DIY projects, saw horses are an essential piece of equipment. They provide a sturdy and stable surface for cutting, sanding, and painting materials. However, once you’re done using them, storing saw horses properly is important to ensure they remain in good condition and are readily accessible for future use.
In this article, we will guide you through the process of storing saw horses effectively. By following these steps, you can keep your saw horses organized, protected, and out of the way until you need them again. Whether you have limited space or a dedicated workshop, we will explore various storage options that suit your needs.
Before we dive into the specifics of storing saw horses, it’s essential to emphasize the importance of proper maintenance. Before storing your saw horses, ensure they are clean and free from sawdust, paint, or any other debris that may have accumulated during use. Additionally, inspect them for any signs of damage or wear and address any issues before storing them away.
Now, let’s get started on how to store saw horses effectively and efficiently!
Key Takeaways:
- Properly storing saw horses is essential for maintaining their condition and accessibility. Choose a suitable location, clean and prepare the saw horses, and select the best storage method to ensure their longevity and functionality.
- Whether it’s wall-mounted storage, freestanding racks, or hanging systems, the key to safely storing saw horses lies in securing, protecting, and organizing them. By following these guidelines, you can optimize your workshop space and keep your saw horses in top shape for future woodworking projects.
Read more: How To Store Horse Blankets
Step 1: Choose a Storage Location
The first step in storing saw horses is to determine the ideal location for storing them. This will largely depend on the available space in your workshop, garage, or storage area. Here are a few factors to consider when choosing a storage location:
- Accessibility: Select a location that allows for easy access to your saw horses when you need them. It should be convenient and easily reachable without having to move other items out of the way.
- Space: Evaluate the amount of space you have and choose a storage location that accommodates the size and quantity of your saw horses. Consider vertical storage options to make the most of limited floor space.
- Protection: Storing your saw horses in a dry and protected area is vital to prevent moisture damage or exposure to harsh elements. If your workshop or storage area is prone to humidity, consider using moisture-resistant storage options or applying a protective coating to your saw horses.
- Visibility: While it’s not essential, storing your saw horses in a visible location can make it easier to locate them when needed. Utilize empty wall space or hang them within your line of sight for quick and easy access.
Once you have evaluated these factors, choose the most suitable storage location that meets your needs. It could be a wall-mounted area, a designated shelf or rack, or even a specially designed storage cart.
Now that you have chosen the storage location, let’s move on to the next step: cleaning and preparing the saw horses for storage.
Step 2: Clean and Prepare the Saw Horses
Before storing your saw horses, it’s essential to clean and prepare them properly. This ensures that they remain in good condition and are ready for use when needed. Here’s how to clean and prepare your saw horses for storage:
- Remove Debris: Start by removing any sawdust, dirt, or other debris from the surfaces of the saw horses. You can use a brush, vacuum, or compressed air to get rid of loose particles.
- Inspect for Damage: Carefully inspect each saw horse for any signs of damage or wear. Check the legs, joints, and support brackets for cracks, loose fasteners, or other issues. If you notice any damage, repair or replace the affected parts before storing the saw horses.
- Clean the Surfaces: Use a mild soap and water solution to clean the surfaces of the saw horses. Scrub with a sponge or cloth to remove any stubborn stains. Avoid using harsh chemicals or abrasive cleaners that could damage the material or finish of the saw horses.
- Dry Thoroughly: After cleaning, allow the saw horses to dry completely before storing them. Moisture left on the surface can lead to rust or other damage. If needed, use a clean towel or allow them to air dry in a well-ventilated area.
- Apply Protective Measures: Depending on the material of your saw horses, you may want to apply a protective coating to prevent moisture damage or rust. For wooden saw horses, consider applying a wood sealer or wax. For metal saw horses, use a rust inhibitor or rust-resistant spray.
By taking the time to clean and prepare your saw horses properly, you’ll ensure their longevity and readiness for future use. Now that your saw horses are clean and prepared, let’s move on to step 3: determining the storage method.
Step 3: Determine the Storage Method
Once you have chosen a storage location and prepared your saw horses, it’s time to decide on the most suitable storage method. There are several options available, depending on your space, preferences, and the number of saw horses you have. Here are three common storage methods to consider:
- Option 1: Wall-mounted Storage: Wall-mounted storage is an excellent choice if you have limited floor space or want to keep your saw horses off the ground. You can install wall brackets or hooks to hang the saw horses vertically. This method saves space and allows for easy visibility and access.
- Option 2: Freestanding Storage Rack: If you have enough floor space available, a freestanding storage rack is a practical option. You can either purchase a pre-made rack or build one yourself using lumber and brackets. A storage rack provides a dedicated space to store your saw horses, keeping them organized and readily accessible.
- Option 3: Hanging Storage System: A hanging storage system is ideal if you have a ceiling with sufficient height and overhead space. You can install hooks or pulleys to hang the saw horses from the ceiling, keeping them suspended and out of the way. This method is particularly useful if you have multiple saw horses and want to maximize your storage capacity.
Consider the available space, the number of saw horses you need to store, and the ease of access when deciding on the most suitable storage method for your needs. You may also want to consider factors such as weight capacity, stability, and any additional storage requirements for accessories like clamps or saw blades.
Now that you’ve determined the storage method, we can move on to the next step: storing the saw horses safely.
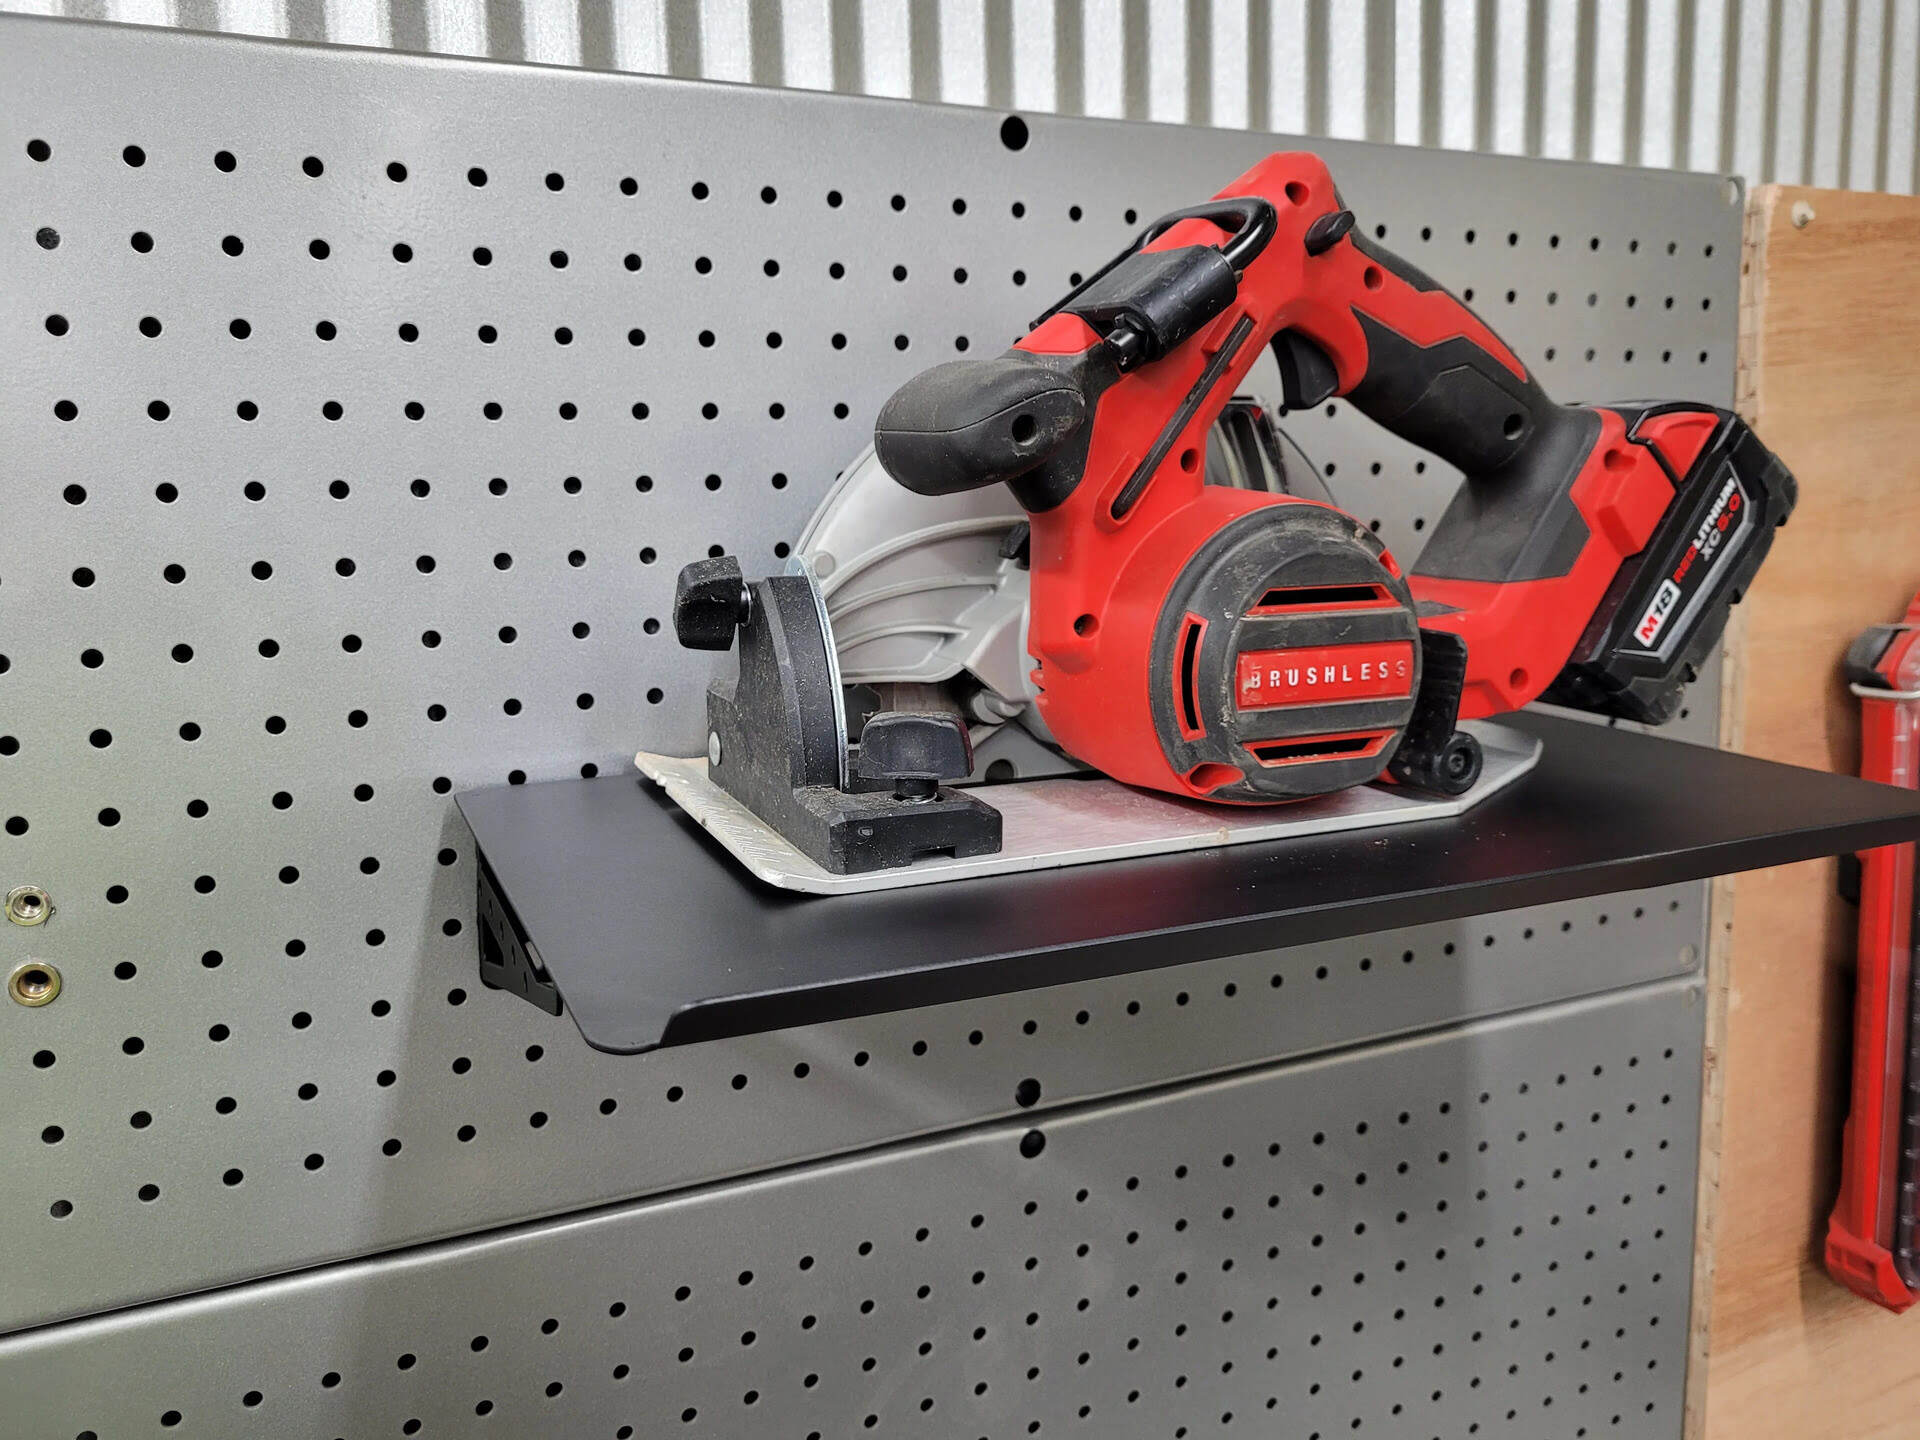
Option 1: Wall-mounted Storage
Wall-mounted storage is a popular option for storing saw horses, especially when you have limited floor space or want to keep your workshop organized and clutter-free. Here’s how to set up wall-mounted storage for your saw horses:
- Choose the Right Brackets: Select sturdy brackets or hooks that are designed to support the weight of your saw horses. Make sure they are suitable for the material and size of your saw horses.
- Locate Studs or Use Anchors: Before installing the brackets, locate the studs in the wall using a stud finder. If there are no studs available at the desired location, use wall anchors to ensure a secure and stable installation.
- Measure and Mark: Determine the desired height at which you want to hang your saw horses. Use a measuring tape and pencil to mark the location for each bracket on the wall. Ensure that the markings are level and evenly spaced.
- Install the Brackets: Using a drill, securely mount the brackets or hooks on the marked spots. Make sure they are properly aligned and firmly attached to the wall. Follow any specific instructions provided by the manufacturer.
- Hang the Saw Horses: Place the saw horses onto the wall-mounted brackets, ensuring they are securely in place. Double-check that the brackets are holding the weight of the saw horses and adjust as needed.
- Organize and Arrange: Once the saw horses are hung on the wall, take the time to organize and arrange them neatly. Consider grouping them by size or type to make it easier to find the one you need when working on a project.
Wall-mounted storage not only saves valuable floor space but also keeps your saw horses easily visible and accessible. It’s important to ensure that the brackets are properly installed and can support the weight of your saw horses to prevent any accidents or damage. Now that you have learned about wall-mounted storage, you can explore the next options for storing your saw horses safely.
Read more: How To Store Saws
Option 2: Freestanding Storage Rack
If you have ample floor space available in your workshop or garage, a freestanding storage rack is an excellent option to consider for storing your saw horses. A storage rack provides a dedicated space for your saw horses, keeping them organized and easily accessible. Here’s how you can set up a freestanding storage rack:
- Determine Rack Dimensions: Measure the length, width, and height of your saw horses to determine the dimensions of the storage rack. Consider leaving a little extra space for easy maneuvering and potential future additions to your collection.
- Choose Rack Materials: Decide whether you want to purchase a pre-made storage rack or build one yourself using lumber and brackets. Consider the weight-bearing capacity and durability of the materials when making your selection.
- Assemble the Rack: If you choose to build the rack yourself, follow the design plans or instructions for assembly. Ensure that the rack is sturdy and stable enough to support the weight of your saw horses and any additional accessories or tools you may want to store.
- Position the Rack: Find a suitable spot in your workshop or garage to position the storage rack. Make sure there is enough space around the rack for easy access to the saw horses. It’s also important to consider any weight restrictions or load-bearing requirements based on the flooring material.
- Organize the Saw Horses: Place your saw horses onto the storage rack, ensuring they are stable and securely positioned. Arrange them to maximize the available space and make it easier to find the specific saw horse you need for a particular project.
- Secure the Rack: If necessary, secure the storage rack to the floor or wall to prevent any tipping or safety hazards. This step is particularly important if you have heavy or large saw horses that may cause the rack to become unbalanced.
A freestanding storage rack provides a dedicated and organized space for storing your saw horses. It keeps them readily accessible while also ensuring they are safely stored away when not in use. With a properly built and positioned storage rack, you can keep your workshop clutter-free and maximize your space efficiency. Now that you’ve learned about the freestanding storage rack option, let’s explore the next option for storing your saw horses.
When storing sawhorses, it’s best to hang them on a wall or store them flat to save space. Make sure to clean and dry them before storing to prevent rust.
Option 3: Hanging Storage System
If you have limited floor space but ample overhead space in your workshop or garage, a hanging storage system is an excellent option for storing your saw horses. Using hooks or pulleys, this method allows you to suspend the saw horses from the ceiling, keeping them out of the way and maximizing storage capacity. Here’s how you can set up a hanging storage system:
- Assess Ceiling Height and Weight Capacity: Measure the ceiling height to ensure it provides enough clearance to hang the saw horses. Also, check the weight-bearing capacity of your ceiling to ensure it can support the weight of the saw horses and any additional accessories you plan to hang.
- Choose Suitable Hooks or Pulleys: Select sturdy hooks or pulleys designed for heavy loads. Ensure they are suitable for the materials and weight of your saw horses, and follow the manufacturer’s weight limits and installation instructions.
- Find the Right Hanging Spots: Determine the optimal locations to hang the hooks or pulleys. Take into consideration the size and quantity of your saw horses, as well as any other equipment or items hanging from the ceiling.
- Install the Hooks or Pulleys: Use a drill or appropriate tools to install the hooks or pulleys securely into the ceiling. Make sure they are properly aligned and firmly attached, ensuring they can support the weight of the saw horses.
- Hang the Saw Horses: Place the saw horses onto the hooks or pulleys, ensuring they are securely suspended. Double-check that the hooks or pulleys are holding the weight of the saw horses and make any necessary adjustments.
- Organize and Secure: Once the saw horses are hung, organize them in a way that maximizes space and accessibility. Consider grouping them by size or type and ensure they are evenly spaced to prevent any potential imbalance.
A hanging storage system provides a clever and space-saving solution for storing saw horses. By utilizing the overhead space, you can keep your workshop or garage floor clear and easily retrieve the saw horses when needed. Just make sure to adhere to weight limitations and follow proper installation techniques to ensure safety. Now that you have learned about the hanging storage system, let’s move on to the final step: storing the saw horses safely.
Step 4: Store the Saw Horses Safely
Now that you have chosen the storage location and method for your saw horses, it’s crucial to store them safely to prevent any damage and ensure their longevity. Here are some guidelines for storing your saw horses safely:
- Secure and Stabilize: Whether you’ve chosen wall-mounted storage, a freestanding rack, or a hanging system, make sure your saw horses are securely positioned and stable. This will prevent any accidental tipping or movement that could cause damage.
- Protect Against Moisture: If your storage area is prone to high humidity or moisture, take precautions to protect your saw horses. Consider using moisture-resistant materials, applying a protective coating, or using dehumidifiers to prevent rust or warping.
- Keep Clean and Organized: Regularly clean your saw horses to remove any dirt or debris that may accumulate during storage. This will help maintain their condition and prevent any buildup that could affect their functionality.
- Avoid Piling Heavy Objects on Top: Be mindful of the weight that is placed on top of stored saw horses. Piling heavy objects on them can cause damage or compromise their structural integrity, so it’s best to keep them clear of any excessive weight.
- Frequently Inspect for Damage: Regularly inspect your stored saw horses for any signs of damage, such as cracks, loose parts, or rust. Address any issues promptly to prevent further damage and ensure the safety of your equipment.
- Consider Locking or Securing: If you have valuable or expensive saw horses, you may want to consider locking or securing them to prevent theft or unauthorized use. Depending on your storage method, you can use locks, cables, or other security measures to provide added protection.
By following these guidelines, you can ensure that your saw horses are stored safely and are ready for use whenever you need them. Proper storage not only protects your investment but also enhances the efficiency and effectiveness of your woodworking projects. Now that you’ve learned how to store your saw horses safely, you’re ready to organize your storage space and enjoy the convenience of having them readily available.
So go ahead, store your saw horses safely and let your creativity flow in your woodworking endeavors!
Substep 4.1: Wall-mounted Storage Instructions
Wall-mounted storage is an effective and space-saving method for storing your saw horses. Follow these instructions to properly set up wall-mounted storage for your saw horses:
- Choose Sturdy Brackets: Select brackets or hooks that are designed to support the weight of your saw horses. Look for sturdy materials such as steel or heavy-duty plastic that can withstand the load.
- Locate Studs or Use Anchors: Before installing the brackets, use a stud finder to locate the studs in the wall. If the studs are not available at your desired location, use wall anchors to ensure a secure and stable installation.
- Measure and Mark: Use a measuring tape to determine the desired height for hanging your saw horses. Mark the locations for the brackets on the wall, ensuring they are level and evenly spaced.
- Install the Brackets: Use a drill or appropriate tools to install the brackets securely into the wall. Ensure they are properly aligned and firmly attached. Follow the specific instructions provided by the manufacturer.
- Hang the Saw Horses: Place the saw horses onto the wall-mounted brackets, making sure they are securely positioned. Double-check that the brackets can hold the weight of the saw horses and make any necessary adjustments.
- Organize and Arrange: Once the saw horses are hung, organize and arrange them in a way that maximizes space and accessibility. Consider grouping them by size or type for easy identification and retrieval.
By following these instructions, you can ensure that your saw horses are securely stored on the wall. This method not only saves space but also keeps your saw horses easily visible and accessible whenever you need them. Remember to check the brackets periodically to ensure they remain secure and support the weight of the saw horses. Now that you know how to set up wall-mounted storage, you can effectively store your saw horses and free up valuable floor space in your workshop or garage.
Read more: How To Store A Miter Saw
Substep 4.2: Freestanding Storage Rack Instructions
A freestanding storage rack is a practical and convenient way to store your saw horses. Here are step-by-step instructions to set up a freestanding storage rack:
- Determine Rack Dimensions: Measure the length, width, and height of your saw horses to determine the dimensions of the storage rack. Consider leaving some extra space to ensure easy access and accommodate any future additions to your collection.
- Choose Suitable Materials: Decide whether you want to purchase a pre-made storage rack or build one yourself using lumber and brackets. Ensure that the materials you choose are sturdy and can handle the weight of your saw horses.
- Assemble the Rack: If you choose to build the rack yourself, follow the design plans or instructions provided. Make sure to build a stable and strong structure that can support the weight of your saw horses and any additional accessories you may want to store.
- Position the Rack: Find a suitable location in your workshop or garage to place the freestanding storage rack. Make sure the floor is level and consider any weight requirements based on the material and size of your saw horses.
- Organize the Saw Horses: Place your saw horses onto the storage rack, ensuring they are stable and securely positioned. Maximize space by arranging them in a way that allows for easy access and efficient use of the rack’s capacity.
- Secure the Rack (if needed): Depending on the weight of your saw horses and the stability of the rack, you may want to secure it to the floor or wall to prevent any potential tipping or accidents. Use appropriate tools and hardware to ensure a safe and secure setup.
By following these instructions, you can create a reliable and organized storage solution for your saw horses. Whether you choose to purchase a pre-made storage rack or build one yourself, ensure that it is sturdy enough to support the weight of your saw horses and any other items you may want to include. Freestanding storage racks provide a dedicated space for your saw horses, keeping them easily accessible and ready for use whenever you need them. Now that you know how to set up a freestanding storage rack, you can effectively store your saw horses and keep your workshop or garage tidy and efficient.
Substep 4.3: Hanging Storage System Instructions
A hanging storage system is a space-saving option that allows you to suspend your saw horses from the ceiling. Follow these step-by-step instructions to set up a hanging storage system:
- Assess Ceiling Height and Weight Capacity: Measure the height of your ceiling to ensure it provides enough clearance for hanging the saw horses. Additionally, check the weight-bearing capacity of your ceiling to ensure it can support the weight of the saw horses and any additional accessories.
- Choose Suitable Hooks or Pulleys: Select high-quality hooks or pulleys designed for heavy loads. Make sure they are suitable for the weight and size of your saw horses. Follow the manufacturer’s instructions and weight limits.
- Find the Right Hanging Spots: Determine the optimal locations on the ceiling to hang the hooks or pulleys. Consider the dimensions of your saw horses and the available overhead space. Space them evenly to maintain balance.
- Install the Hooks or Pulleys: Use a drill or appropriate tools to securely install the hooks or pulleys into the ceiling. Ensure they are aligned and firmly attached, providing a reliable anchor point for hanging the saw horses.
- Hang the Saw Horses: Carefully position the saw horses onto the hooks or pulleys, ensuring they are securely suspended. Double-check the stability and balance of each saw horse, adjusting the hanging height if necessary.
- Organize and Space: Organize the hanging saw horses in a way that maximizes space and accessibility. Consider grouping them by size or type, allowing for easy identification and retrieval when needed.
By following these instructions, you can set up a functional and efficient hanging storage system for your saw horses. Ensure that the hooks or pulleys are installed securely and can support the weight of the saw horses. Regularly inspect the system to ensure its stability and make any necessary adjustments. By utilizing overhead space, you can keep your floor clear and easily access your saw horses when working on projects. Now that you know how to set up a hanging storage system, you can safely store your saw horses and optimize your workshop or garage space.
Conclusion
Storing your saw horses properly is crucial for keeping them in good condition and ensuring they are readily accessible for future use. By following the steps outlined in this article, you can safely and efficiently store your saw horses. Here’s a recap:
First, choose a storage location that is easily accessible, provides sufficient space, and offers protection against moisture and harsh elements. Next, clean and prepare your saw horses by removing debris, inspecting for damage, and applying any necessary protective measures.
Then, determine the storage method that suits your space and needs. Options include wall-mounted storage, freestanding storage racks, and hanging storage systems. Each method offers unique advantages, so choose the one that best fits your workshop or garage.
Ensure you store your saw horses safely by securing and stabilizing them, protecting them from moisture, keeping them clean and organized, and inspecting them regularly for damage. By adhering to these safety guidelines, you can extend the lifespan of your saw horses and maintain their functionality.
Ultimately, the way you store your saw horses will depend on the available space, the number of saw horses you have, and your personal preferences. Whether you choose to hang them on the wall, store them in a dedicated rack, or suspend them from the ceiling, ensure that they are properly stored and easily accessible for your woodworking projects.
By implementing the storage methods discussed in this article, you can free up valuable workspace, keep your saw horses in excellent condition, and enhance your overall woodworking experience. So, take the time to store your saw horses safely and efficiently, and enjoy the convenience of having them ready whenever inspiration strikes.
Remember, a well-organized and well-maintained workshop or garage is the foundation for successful woodworking projects. Happy woodworking!
Frequently Asked Questions about How To Store Saw Horses
Was this page helpful?
At Storables.com, we guarantee accurate and reliable information. Our content, validated by Expert Board Contributors, is crafted following stringent Editorial Policies. We're committed to providing you with well-researched, expert-backed insights for all your informational needs.


0 thoughts on “How To Store Saw Horses”