Articles
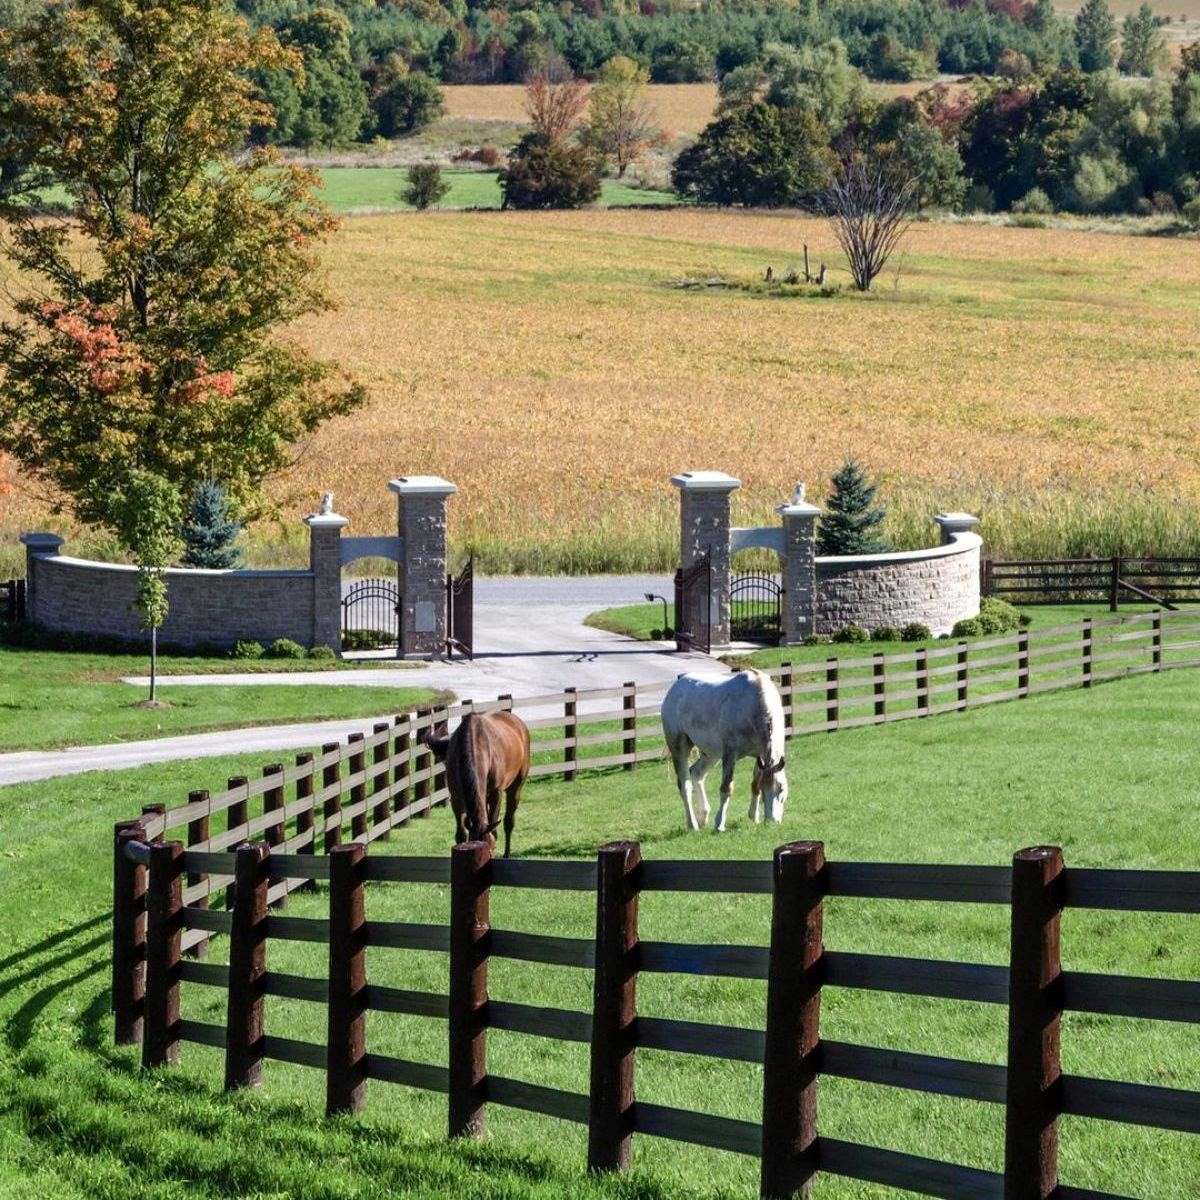
How To Build Horse Fence
Modified: October 20, 2024
Learn how to build a sturdy and secure horse fence with our informative articles. Follow our step-by-step guides and expert tips to ensure the safety of your horses.
(Many of the links in this article redirect to a specific reviewed product. Your purchase of these products through affiliate links helps to generate commission for Storables.com, at no extra cost. Learn more)
Introduction
Building a horse fence is an essential task for any horse owner or equestrian facility. Not only does it provide a safe and secure space for horses to roam, but it also helps to maintain boundaries and protect the horses from potential dangers. However, constructing a horse fence involves careful planning, proper materials, and precise installation techniques.
In this article, we will guide you through the step-by-step process of building a horse fence, ensuring that you have all the information you need to create a sturdy and reliable enclosure for your equine companions.
Before diving into the technical details, it is essential to understand the importance of a well-designed horse fence. Horses are powerful and agile animals, capable of jumping, leaning, and even rubbing against fences. Therefore, the fence must be built to withstand the force and pressure exerted by the horses. It should also prevent them from escaping and keep potential hazards, such as predators or nearby roads, at bay.
Additionally, a good horse fence should be visible, so the horses can easily see and distinguish it from the surrounding environment. This helps to prevent accidents and reduces the risk of the horses getting entangled in the fence.
Planning is a crucial first step in building a horse fence. You need to consider factors such as the size and layout of the area, the number of horses you plan to have, and any specific requirements or regulations in your area. Taking the time to properly plan will ensure that you have all the necessary materials and equipment on hand and help you avoid costly mistakes in the future.
As you embark on the journey of building a horse fence, keep in mind that safety is the top priority. Follow the guidelines and recommendations in this article to create a fence that not only provides security but also promotes the well-being and happiness of your horses.
Key Takeaways:
- Building a horse fence requires careful planning, quality materials, and regular maintenance to ensure the safety and well-being of your equine companions. Prioritize their needs and follow industry standards for a reliable enclosure.
- From marking the perimeter to securing the fence, each step in building a horse fence plays a crucial role in creating a durable and secure environment for your horses. Regular inspections and proactive maintenance are essential for long-term effectiveness.
Read more: How Tall Should Horse Fence Be
Step 1: Planning the Fence
The first step in building a horse fence is to carefully plan the layout and design. Consider the size of the area you want to enclose, the number of horses you will have, and any specific needs or requirements for your horses.
Start by measuring the perimeter of the area where you want to install the fence. Use a measuring tape or a measuring wheel to get accurate measurements. Take note of any natural boundaries or obstacles that may affect the placement of the fence.
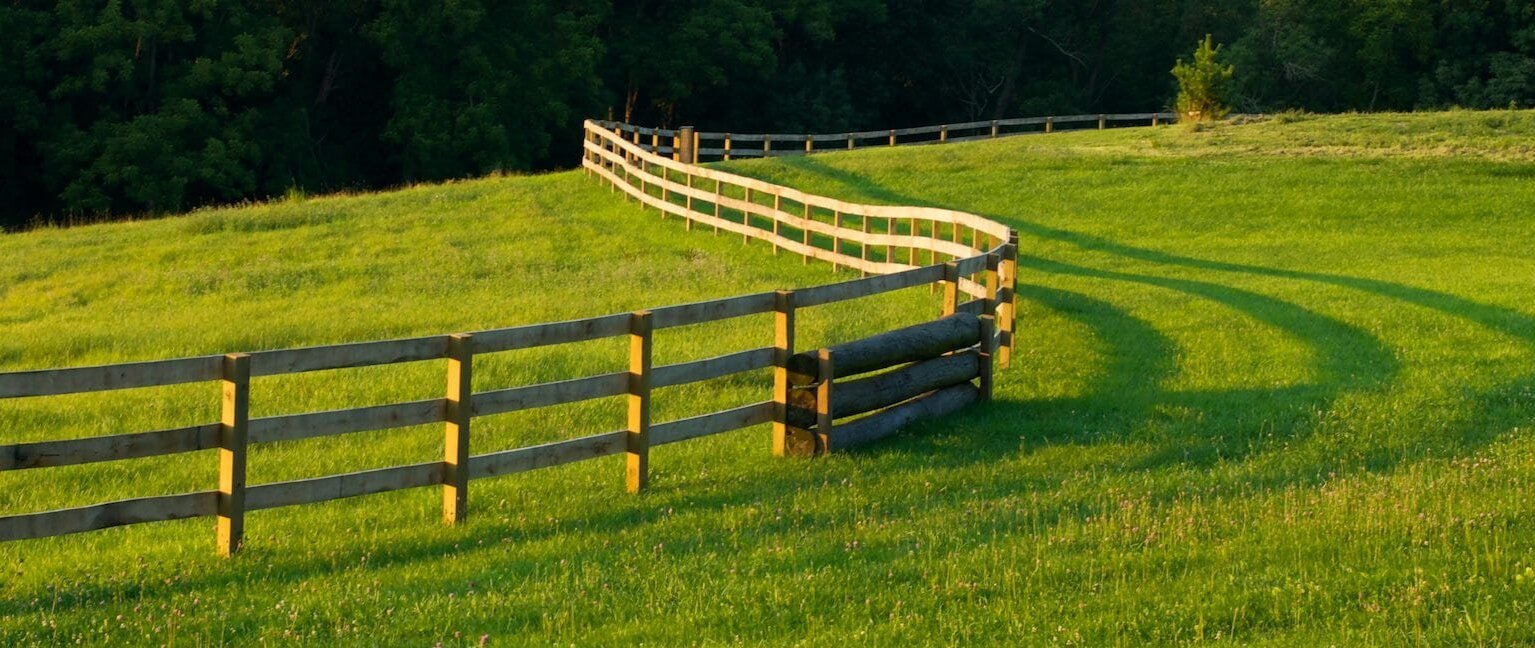
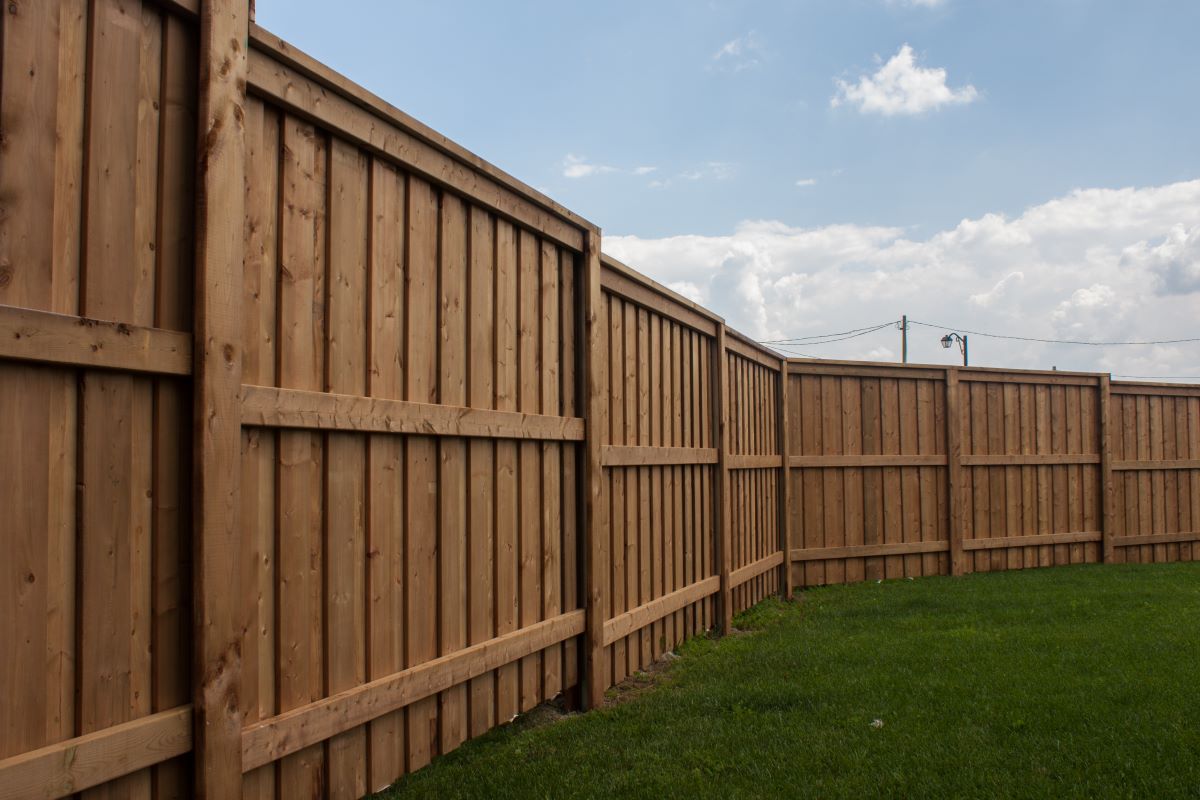
Next, consider the type of fence you want to build. There are several options to choose from, including post and rail, electric, or mesh fencing. Each type has its own advantages and considerations, so do some research and choose the one that best suits your needs and budget.
Take into account the height of the fence as well. Horses are generally kept within fences that are at least four to five feet tall. Taller fences may be required if you have horses that are particularly athletic or prone to jumping.
Another important aspect of planning is determining the number of gates needed and their positioning. Strategically place gates for easy access to different areas of the pasture or facility. Ensure the gates are wide enough for vehicles, such as trucks or trailers, to pass through if necessary.
Consult local regulations and zoning requirements to ensure you are in compliance with any fencing regulations. It is also a good idea to speak with neighbors or other horse owners in your area to gather additional insights and recommendations.
Once you have a clear plan in place, create a detailed diagram or blueprint of the fence layout. This will serve as a guide during the construction process and minimize any potential errors.
Remember, a well-planned fence will not only provide security and safety for your horses but will also enhance the overall aesthetics of your property. Take the time to carefully plan and consider all aspects of the fence to ensure a successful and functional end result.
Step 2: Gathering Materials
Once you have a solid plan in place for your horse fence, the next step is gathering all the necessary materials. Having the right materials on hand will make the construction process smoother and more efficient.
Here are the essential materials you will need to build a horse fence:
- Posts: Select sturdy, pressure-treated wooden posts or durable metal posts for the fence. The number of posts needed will depend on the length and design of your fence. Plan for a post to be installed every 8 to 12 feet along the fence line.
- Rails: Choose high-quality wooden rails or PVC rails for a traditional look. The number of rails required will depend on the fence height and design. Typically, three to five rails are used for horse fences.
- Gates: Purchase durable gates that are wide enough for easy access. Consider installing at least one gate for every pasture or area enclosed by the fence. Gate hardware, such as hinges and latches, should be included in your materials list.
- Wire or Mesh: If you opt for a mesh or wire fence, make sure to select horse-friendly options that are specifically designed to prevent horses from getting caught or injured.
- Fasteners: Stock up on nails, screws, or other fasteners needed to secure the fence components. Make sure to choose fasteners that are suitable for outdoor use and can withstand the elements.
- Tools: Gather the necessary tools for fence construction, including a post hole digger or auger, a level, a saw, a tape measure, and a hammer. Additionally, consider renting or purchasing a fence stretcher if needed.
- Protective Gear: It is crucial to prioritize safety during the construction process. Wear sturdy work boots, gloves, safety glasses, and any other protective gear recommended for handling the materials.
When purchasing materials, it is advisable to buy a little extra to account for any potential mistakes or future repairs. Plus, having extra materials on hand makes it easier to replace or repair any damaged sections without delay.
Before beginning construction, double-check your materials list to ensure you have everything you need. Taking the time to gather all the materials beforehand will streamline the construction process and help you avoid unnecessary delays or trips to the hardware store.
In the next step, we will guide you through the process of marking and measuring the perimeter to prepare for fence installation.
Step 3: Marking and Measuring the Perimeter
With the materials gathered, it’s time to start marking and measuring the perimeter of your horse fence. This step is crucial to ensure accurate and precise installation of the fence.
Here’s how to mark and measure the perimeter:
- Clear the Area: Remove any debris, rocks, or vegetation along the fence line. This will provide a clear path for marking and measuring.
- Use Stakes and String: Begin at a corner or designated starting point and drive a stake into the ground. Tie a string tightly around the stake, ensuring it is straight and level. Use a measuring tape to measure the desired distance for the first section of the fence from the corner.
- Mark the Line: Walk along the fence line, keeping the string taut. Use spray paint or marking flags to mark the ground at regular intervals or at points where the fence direction changes.
- Measure for Accuracy: Periodically use the measuring tape to ensure the marked fence line is accurate and matches your initial plan. Adjust the string and stakes as necessary.
- Identify Gate Placements: As you mark the fence line, identify the locations where gates will be installed according to your plan. Mark these spots accordingly for easy reference during installation.
Continue this process around the entire perimeter until you have marked the entire fence line. Pay attention to any inclines, curves, or uneven terrain that may require special attention during the installation process.
Remember to consult local regulations regarding setback requirements, especially if your fence is adjacent to roads, paths, or neighboring properties. Ensure that your marked fence line complies with these regulations to avoid any future issues.
By taking the time to properly mark and measure the perimeter, you will ensure that your horse fence is installed accurately and aligns with your intended design. This step sets the foundation for the construction process and allows for smoother installation of the fence posts and rails in the following steps.
Next, we will move on to Step 4: Digging Post Holes, where we will discuss the process of preparing the ground for the fence posts.
Step 4: Digging Post Holes
After marking and measuring the perimeter, the next step in building your horse fence is to dig the post holes. Properly dug post holes ensure that the fence posts are securely anchored in the ground, providing stability and support for the entire structure.
Here’s how to dig post holes for your horse fence:
- Mark Post Hole Locations: Referencing your previously marked fence line, identify the locations where the fence posts will be installed. Mark these spots clearly using spray paint, flags, or other markers.
- Select the Right Tools: Choose the appropriate tools for digging post holes based on the type of soil in your area. A manual post hole digger or a powered auger are commonly used tools for this task.
- Measure and Mark Hole Depth: Measure and mark the desired depth for the post holes. As a general rule, the holes should be approximately one-third of the total post length underground. This ensures sufficient stability for the fence.
- Start Digging: Begin digging the post holes at the marked locations. Dig straight down, making sure the holes are wide enough and deep enough to accommodate the fence posts. Remove any rocks, roots, or obstructions from the holes.
- Check for Level: As you dig, periodically use a level to ensure that the holes are being dug to the desired depth and are level vertically. This will prevent any leaning or unevenness in the fence posts.
- Space the Holes: Space the post holes according to your fence design and specifications. Typically, posts are installed every 8 to 12 feet along the fence line. Ensure the spacing is consistent to maintain a uniform appearance.
It is important to note that the depth and spacing of the post holes may vary depending on the type of fence and the specific requirements of your horses. Consult your local regulations and industry standards for guidance on hole depth and post spacing.
As you dig the post holes, take care to maintain a consistent depth and ensure that they are straight. This will make it easier to install the fence posts and ensure a seamless and secure fence structure.
Once all the post holes are dug, remove any excess dirt or debris from the holes and proceed to the next step: Installing Fence Posts. The fence is beginning to take shape, bringing you one step closer to completing your horse enclosure.
Read more: How To Install An Electric Fence For Horses
Step 5: Installing Fence Posts
With the post holes dug, it’s time to move on to installing the fence posts. Properly installed fence posts are crucial for the stability and longevity of your horse fence.
Follow these steps to install the fence posts:
- Prepare the Posts: Before installing the posts, apply a wood preservative or weather-resistant coating to wooden posts to protect them from moisture and rot. If using metal posts, ensure they are coated or treated for durability.
- Position the Posts: Place the first fence post in one of the prepared post holes. Ensure that the post is straight and aligned with the marked fence line. Use a level to check the vertical alignment of the post.
- Secure the Post: Fill the hole around the post with gravel or concrete for added stability. Tamp the material down firmly, ensuring that the post remains straight and upright. Repeat this process for each post hole.
- Check for Proper Alignment: Use a string or mason’s line to check the alignment of all the posts. This will help ensure that they are in a straight line and evenly spaced. Make any necessary adjustments before the material sets and becomes permanent.
- Allow the Material to Cure: If you used concrete to secure the fence posts, allow the material to cure according to the manufacturer’s instructions. This may take several hours or even a full day, depending on the concrete mix and weather conditions.
It’s important to note that the spacing between the posts should be consistent to maintain a uniform appearance and provide sufficient support for the fence rails. Refer to your fence plan and local regulations for guidance on the appropriate spacing for your specific fence design.
Additionally, ensure that all the posts are installed at the same height, with the top of each post level and aligned with the desired height for your fence. This will prevent any unevenness or gaps when the rails are installed.
Once all the posts are securely installed, it’s time to move on to the next step: Setting Up the Rails. This will bring your horse fence one step closer to completion, providing a safe and secure enclosure for your horses.
When building a horse fence, make sure to use sturdy materials such as wooden posts and high-tensile wire to prevent the horses from leaning or pushing through the fence. Regular maintenance and inspection are also crucial to ensure the fence remains secure.
Step 6: Setting Up the Rails
With the fence posts securely in place, it’s time to move on to setting up the rails. The rails are an integral part of the horse fence, providing structure and containment for your equine companions.
Follow these steps to set up the rails of your horse fence:
- Select the Rails: Choose high-quality wooden or PVC rails that are designed specifically for horse fencing. Ensure they are sturdy, durable, and appropriate for the intended height of your fence.
- Measure and Cut: Measure the distance between the posts and cut the rails to the appropriate length. Ensure that the rails fit securely within the brackets or slots on the fence posts.
- Attach the Rails: Begin at one end of the fence and attach the first rail to the fence posts using nails, screws, or brackets, depending on the type of rail and post construction. Ensure that the rail is level and securely fastened.
- Continue Installing Rails: Proceed to install the remaining rails, working your way along the fence line. Leave a small gap between each rail to allow for expansion and contraction due to temperature changes.
- Secure the Rails: Check the alignment and levelness of each rail as you go along. Secure any loose or wobbly rails by adding additional fasteners or adjusting the brackets or slots.
- Consider a Top Rail: If desired, add a top rail for added stability and aesthetics. This can be a single rail placed at the top of the fence or a series of rails, depending on your fence design and preferences.
When installing the rails, ensure that they are evenly spaced and sit at the desired height for your fence. The spacing between the rails will depend on the type of fence and the size of the horses. Consult local regulations and industry standards for guidance on appropriate rail spacing.
Throughout the installation process, regularly check the levelness and alignment of the rails. Any adjustments needed to level or straighten the rails should be made promptly to ensure a professional and secure fence.
Once all the rails are securely in place, your horse fence will be taking shape. However, before considering it complete, it’s important to add gates for easy access. This will be covered in the next step.
Step 7: Adding Gates
Adding gates to your horse fence is a crucial step as it provides convenient access to different areas of your property or pasture. Installing sturdy and properly functioning gates will ensure easy entry and exit, as well as help maintain the security and integrity of your horse enclosure.
Follow these steps to add gates to your horse fence:
- Select the Gates: Choose gates that are specifically designed for horse fencing. Consider the size and type of gate that will best suit your needs, whether it’s a single swing gate or a double gate.
- Measure Gate Openings: Measure the width of the gate openings and ensure they are wide enough to accommodate vehicles, such as trucks or trailers, if necessary. Consider the height of the gate as well, ensuring it aligns with the height of the fence.
- Prepare Gate Posts: Install sturdy gate posts on each side of the gate opening. These posts should be taller and wider than the fence posts to provide added strength and support. Make sure they are securely anchored in the ground.
- Attach Gate Hinges: Install gate hinges on one gate post. Follow the manufacturer’s instructions and ensure that the hinges are aligned properly for smooth opening and closing of the gate.
- Hang the Gate: With the help of a friend or a gate installation kit, hang the gate on the gate hinges. Check that the gate swings freely and doesn’t drag or catch on the ground. Make any necessary adjustments to ensure proper alignment.
- Secure Gate Latches: Install gate latches on the gate and gate post to keep the gate securely closed. Choose latches that are easy to operate but provide reliable security to prevent the horses from accidentally opening the gate.
- Test the Gates: Open and close the gates several times to ensure that they operate smoothly and securely. Make any necessary adjustments to the hinges, latches, or gate alignment for optimum functionality.
It’s important to regularly inspect and maintain the gates to ensure they remain in good working condition. Lubricate the hinges periodically and repair any damages or malfunctions promptly to prevent potential accidents or escape risks.
With the gates successfully installed, your horse fence is now providing both security and convenience. However, there are a few more steps to consider before the project can be deemed complete. We will cover them in the next step.
Step 8: Securing the Fence
Securing the fence is a crucial step in ensuring the safety and longevity of your horse enclosure. By taking the time to properly secure the fence, you can minimize potential risks and prevent any unwanted incidents or escapes.
Follow these steps to secure your horse fence:
- Inspect the Fasteners: Check all the fasteners, such as nails, screws, or brackets, used to secure the fence components. Tighten any loose fasteners and replace any damaged ones to ensure the fence remains sturdy.
- Repair any Damages: Regularly inspect the fence for any damages, such as broken or splintered rails, loose wires, or sagging posts. Make any necessary repairs promptly to prevent further deterioration of the fence.
- Check for Loose or Weak Sections: Walk along the fence line and check for any sections that may be loose or weak. Reinforce these areas by adding additional fasteners, bracing, or support to improve the overall stability of the fence.
- Ensure Proper Wire Tension: If you have a mesh or wire fence, check the tension of the wires. Use a tensioning tool to tighten any loose wires, ensuring they are properly secured and not sagging. This will prevent horses from getting tangled or injured.
- Trim Vegetation: Regularly trim vegetation, such as branches or bushes, that may encroach on the fence line. This prevents horses from leaning or pushing through the fence and keeps the fence visible and easily distinguishable.
- Check for Escape Routes: Inspect the perimeter of the fence for any potential escape routes. Look for gaps, openings, or obstacles that horses might be able to navigate through or over. Secure these areas to prevent any escape attempts.
- Reassess the Fence Height: Periodically reassess the fence height to ensure it remains appropriate for the size and behavior of your horses. Adjust the height if needed to prevent any jumping or climbing attempts.
Regular maintenance and timely repairs are essential to keeping your horse fence secure. Regularly schedule inspections and address any issues as soon as they arise to maintain a safe and reliable enclosure for your horses.
It is also important to keep in mind that horses are naturally curious and may explore the fence line. Regularly monitor the behavior of your horses, ensuring that they are not exhibiting any signs of attempting to breach the fence. If any concerns arise, investigate and address them promptly to maintain the integrity of the fence.
With the fence now properly secured, it’s time to move on to the final step: Inspecting and Maintaining the Fence. This step ensures the long-term durability and functionality of your horse fence.
Read more: How To Build A Run-In Shed For Horses
Step 9: Inspecting and Maintaining the Fence
Regular inspection and maintenance of your horse fence are essential to ensure its durability and functionality over time. By incorporating routine checks and maintenance tasks, you can identify potential issues early on and address them promptly, thus prolonging the lifespan of your fence.
Follow these steps to inspect and maintain your horse fence:
- Inspect the Fence Regularly: Walk along the entire length of the fence, inspecting each section for any damages or signs of wear and tear. Look for broken rails, loose wires, or any other areas that may compromise the integrity of the fence.
- Repair Damaged Areas: If any damages are identified during the inspection, make the necessary repairs promptly. Replace broken rails, tighten loose wires, or reinforce weak sections to ensure the fence remains secure.
- Maintain Proper Wire Tension: If you have a wire or mesh fence, check the tension of the wires regularly. Tighten any loose wires using a tensioning tool to prevent sagging or weak spots that may allow the horses to escape or become entangled.
- Trim Vegetation: Regularly trim vegetation around the fence line to prevent it from obstructing the fence or making it less visible. Trim branches, bushes, or overgrown grass that may compromise the integrity of the fence or tempt the horses to lean or push through.
- Inspect Gates and Latches: Pay special attention to the gates and latches during your inspection. Ensure they open and close smoothly and securely. Lubricate hinges if necessary and tighten any loose gate hardware.
- Monitor Fence Integrity: Keep a close eye on the overall condition and integrity of the fence. Watch for any signs of wear, shifting, or leaning. Address any structural issues promptly to maintain the stability and effectiveness of the fence.
- Stay Ahead of Weathering: Weather can take a toll on the fence materials over time. Apply appropriate coatings, such as paint or sealant, to protect wooden fence components from moisture, rot, and fading. Reapply these coatings as needed to maintain their effectiveness.
- Stay Informed: Stay up to date with industry standards and recommendations for horse fencing. Attend workshops or consult with experts to stay informed about the latest advancements and practices in fence construction and maintenance.
Regular maintenance and timely repairs are crucial to the longevity and functionality of your horse fence. By incorporating a schedule for inspections and maintenance tasks, you can ensure the ongoing safety and security of your horses.
Remember, a well-maintained fence not only provides a safe and secure environment for your horses but also enhances the overall aesthetics of your property. Invest the time and effort into inspecting and maintaining your horse fence regularly to enjoy its benefits for years to come.
By following these nine steps, you have successfully built and maintained a horse fence that provides security, safety, and peace of mind for both you and your equine companions. Always prioritize the well-being of your horses and maintain a proactive approach when it comes to the care and maintenance of your horse fence.
Happy fencing!
Conclusion
Building a horse fence is a significant undertaking that requires careful planning, attention to detail, and regular maintenance. By following the nine steps outlined in this guide, you can successfully construct a durable and secure enclosure for your horses.
From the initial planning and gathering of materials to the final inspection and maintenance, each step plays a vital role in ensuring the effectiveness and longevity of your horse fence. Taking the time to plan the layout, gather quality materials, measure and mark the perimeter, dig post holes, install fence posts, set up the rails, add gates, secure the fence, and conduct regular inspections and maintenance will result in a well-built and reliable horse fence.
Throughout the process, prioritize the safety and well-being of your horses. Consider their size, behavior, and specific needs when designing and constructing the fence. Ensure that the fence is tall enough to prevent jumping or leaning and that the wire or mesh is horse-friendly to avoid potential injuries or entanglements.
Regularly inspecting and maintaining the fence is crucial for its longevity and effectiveness. Address any damages, loose wires, or structural issues promptly to keep the fence in optimal condition. Trim vegetation to maintain visibility and prevent leaning or pushing through the fence. Regularly check gates and latches to ensure they operate smoothly and securely.
Remember to consult local regulations and industry standards to ensure compliance with fencing requirements. Additionally, seek advice from professionals or experienced horse owners within your community to gain valuable insights and recommendations.
By following these guidelines and incorporating a proactive approach to maintenance, you can create a safe and secure environment for your horses, providing them with the freedom to roam and ensuring your peace of mind.
Ready to build your horse fence? Get started with the planning, gather your materials, and embark on the journey of creating a space where your horses can thrive while staying protected.
Frequently Asked Questions about How To Build Horse Fence
Was this page helpful?
At Storables.com, we guarantee accurate and reliable information. Our content, validated by Expert Board Contributors, is crafted following stringent Editorial Policies. We're committed to providing you with well-researched, expert-backed insights for all your informational needs.


0 thoughts on “How To Build Horse Fence”