Articles
How To Store Toilet Plunger
Modified: December 7, 2023
Learn the best way to store your toilet plunger with these helpful articles. Keep your bathroom clean and organized with our expert tips and tricks.
(Many of the links in this article redirect to a specific reviewed product. Your purchase of these products through affiliate links helps to generate commission for Storables.com, at no extra cost. Learn more)
Introduction:
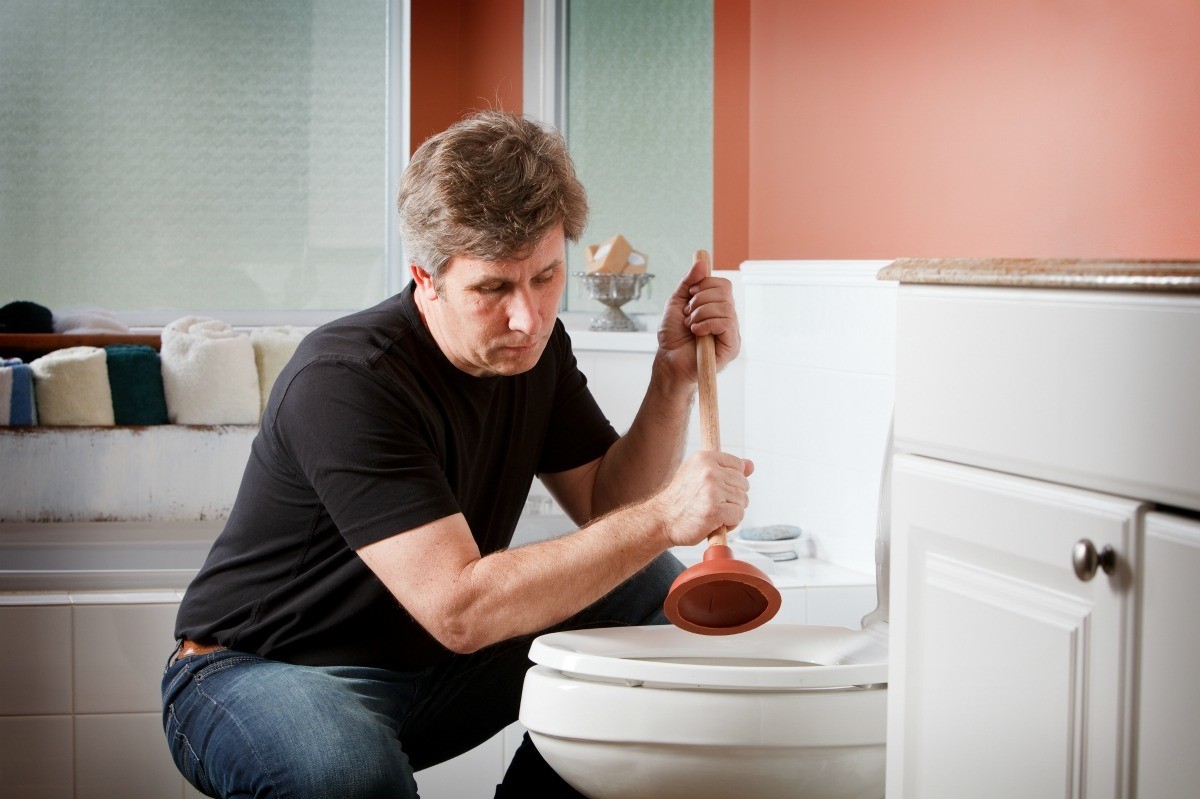
Welcome to our guide on how to store a toilet plunger. While not the most glamorous of tasks, proper storage of your plunger is essential to keep it clean and ready for use. A toilet plunger is a vital tool in any household, but if not stored correctly, it can become unsightly and even unhygienic.
In this article, we will take you through a step-by-step process for storing your toilet plunger effectively. We will cover important considerations such as choosing the right location, cleaning and drying the plunger, disinfecting it, and finally, storing it in a way that keeps it in optimal condition.
By following these guidelines, you can ensure that your plunger is ready to tackle any toilet clog efficiently while maintaining cleanliness and preventing the spread of germs. Let’s dive in!
Key Takeaways:
- Proper storage of a toilet plunger involves choosing the right location, thorough cleaning, effective drying, proper disinfection, and dedicated storage. Following these steps ensures a clean, hygienic, and readily accessible plunger for tackling toilet clogs.
- By maintaining a well-stored and hygienic toilet plunger, you can be prepared to address unexpected clogs with ease and confidence. Regular cleaning, drying, and disinfecting practices ensure a functional and long-lasting plunger, contributing to a clean and healthy bathroom environment.
Read more: How To Store A Toilet Plunger
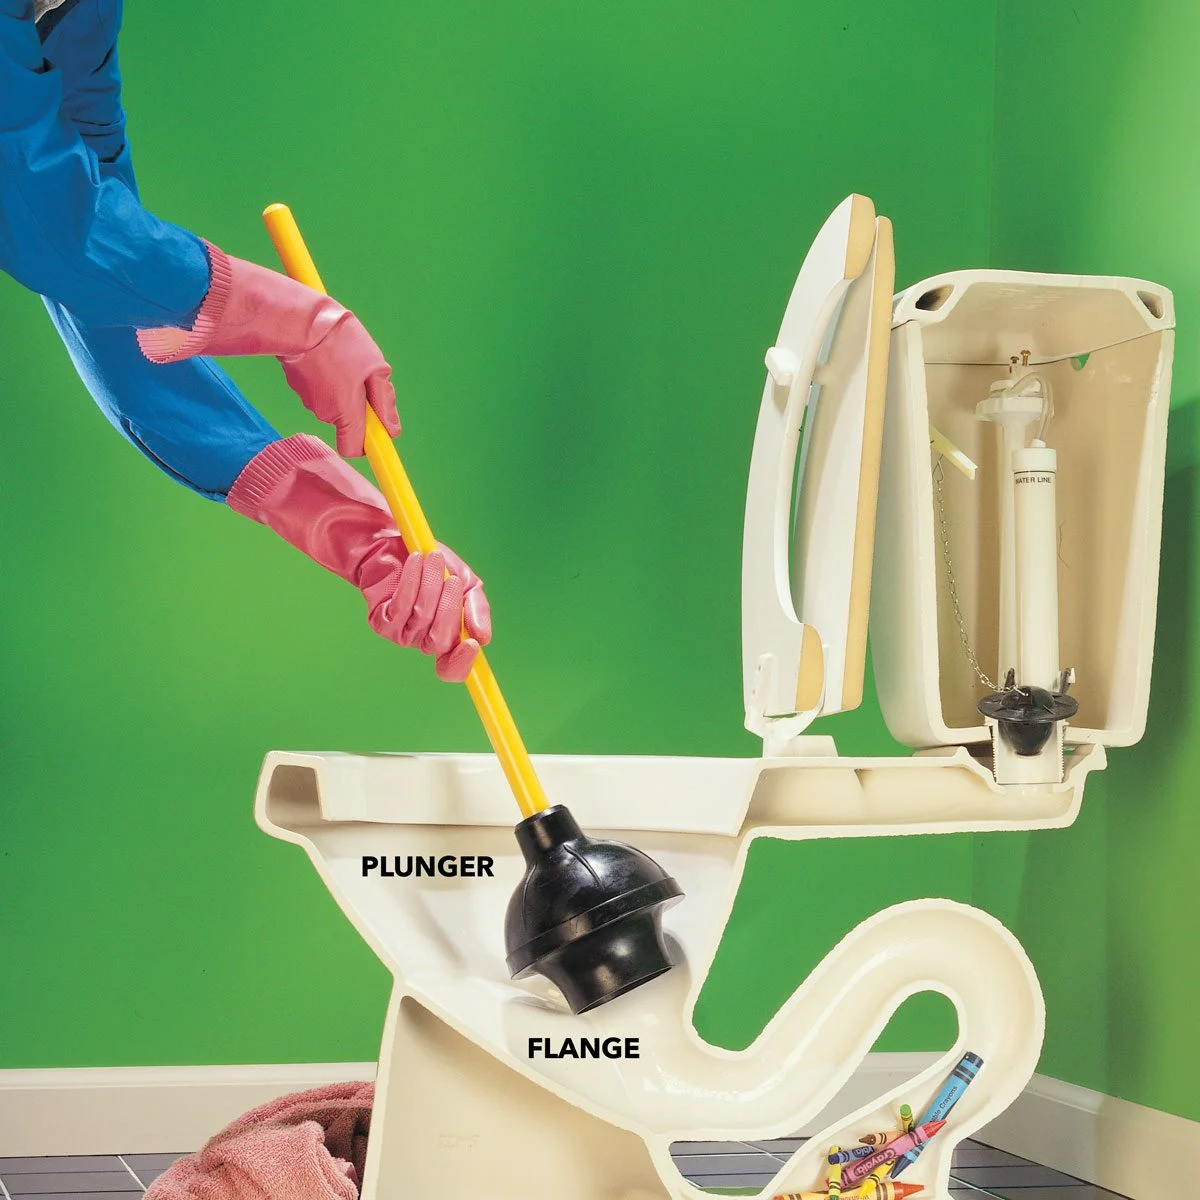
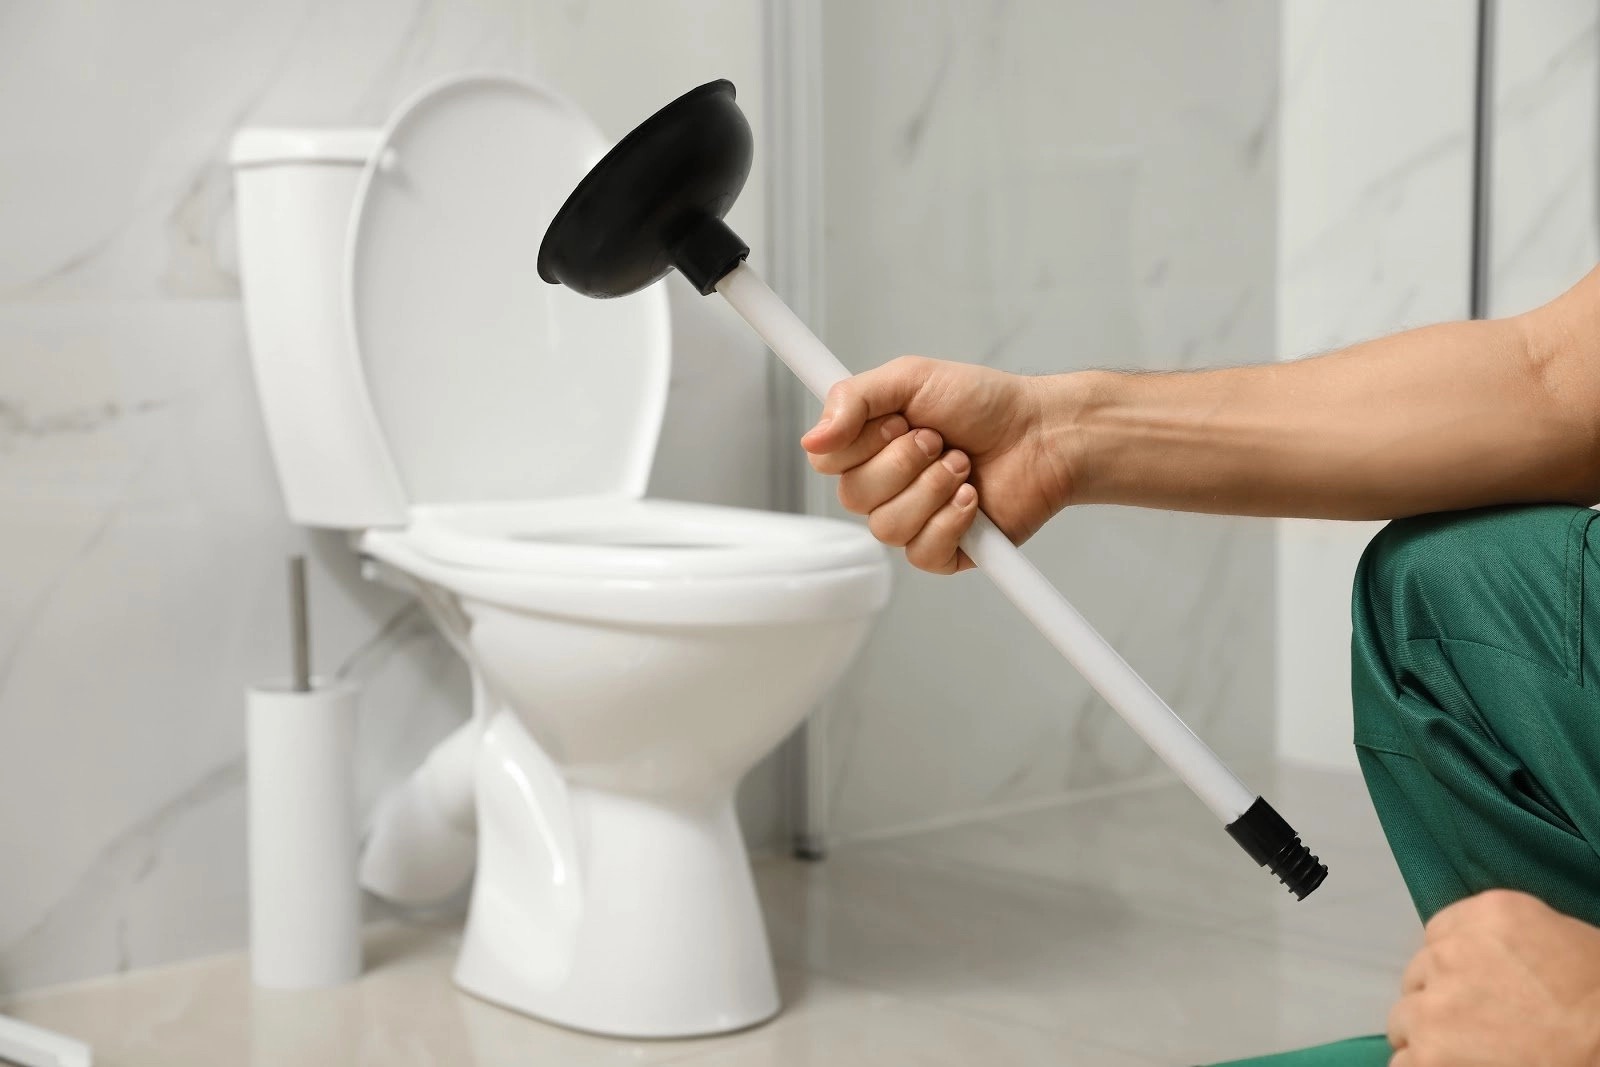
Step 1: Choosing the right location
When it comes to storing your toilet plunger, the first step is to select an appropriate location. Consider the following aspects:
- Accessibility: Choose a location that is easily accessible. You want to be able to reach your plunger quickly when a toilet clog occurs. It’s best to keep it within arm’s reach of the toilet.
- Privacy: While storing a plunger is a necessary part of every household, it’s understandable that you might not want it to be in plain sight. Look for a discreet spot where it is out of direct view.
- Avoiding Obstructions: Ensure that the chosen location allows for easy retrieval of the plunger. Avoid placing it behind other objects or in tight spaces where it might be difficult to reach in a hurry.
- Stability: Make sure the location you choose provides a secure and stable spot for your plunger. You don’t want it falling over or getting knocked down accidentally.
Some suitable locations for plunger storage include:
- Bathroom Cabinet or Vanity: If your bathroom has a built-in cabinet or vanity, this can be an ideal spot to store your plunger. It keeps it hidden from view while providing easy access.
- Behind the Toilet: Placing the plunger behind the toilet is a popular choice. It is convenient and easily accessible. You can also hide it from plain view by using a decorative basket or container.
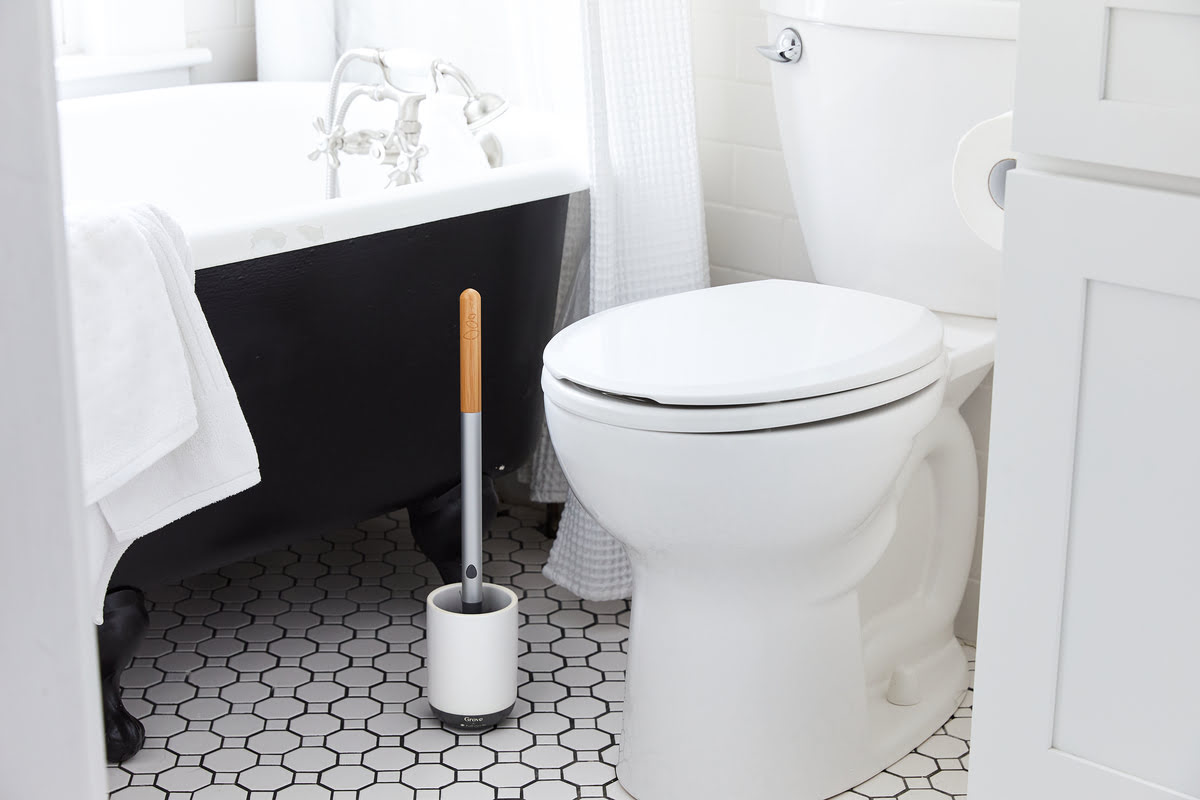
- Wall-mounted Holder: Another option is to install a wall-mounted holder specifically designed for toilet plungers. This keeps the plunger off the floor, saves space, and provides easy access.
- Under the Sink: If you have storage space beneath your bathroom sink, it can serve as a suitable location for storing your plunger. Just make sure it is easily reachable without any obstructions.
Remember, the key is to choose a location that is convenient for you and meets the criteria mentioned above. Once you have selected the right spot, it’s time to move on to the next step: cleaning the plunger.
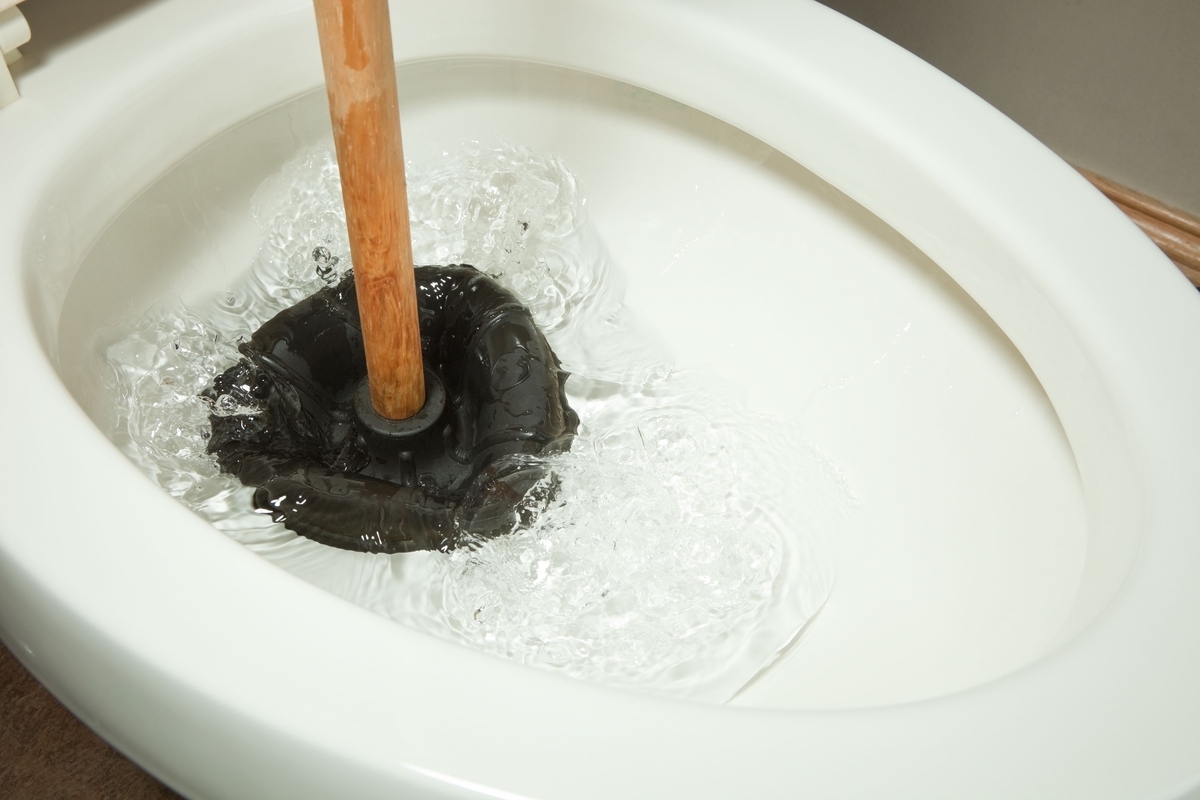
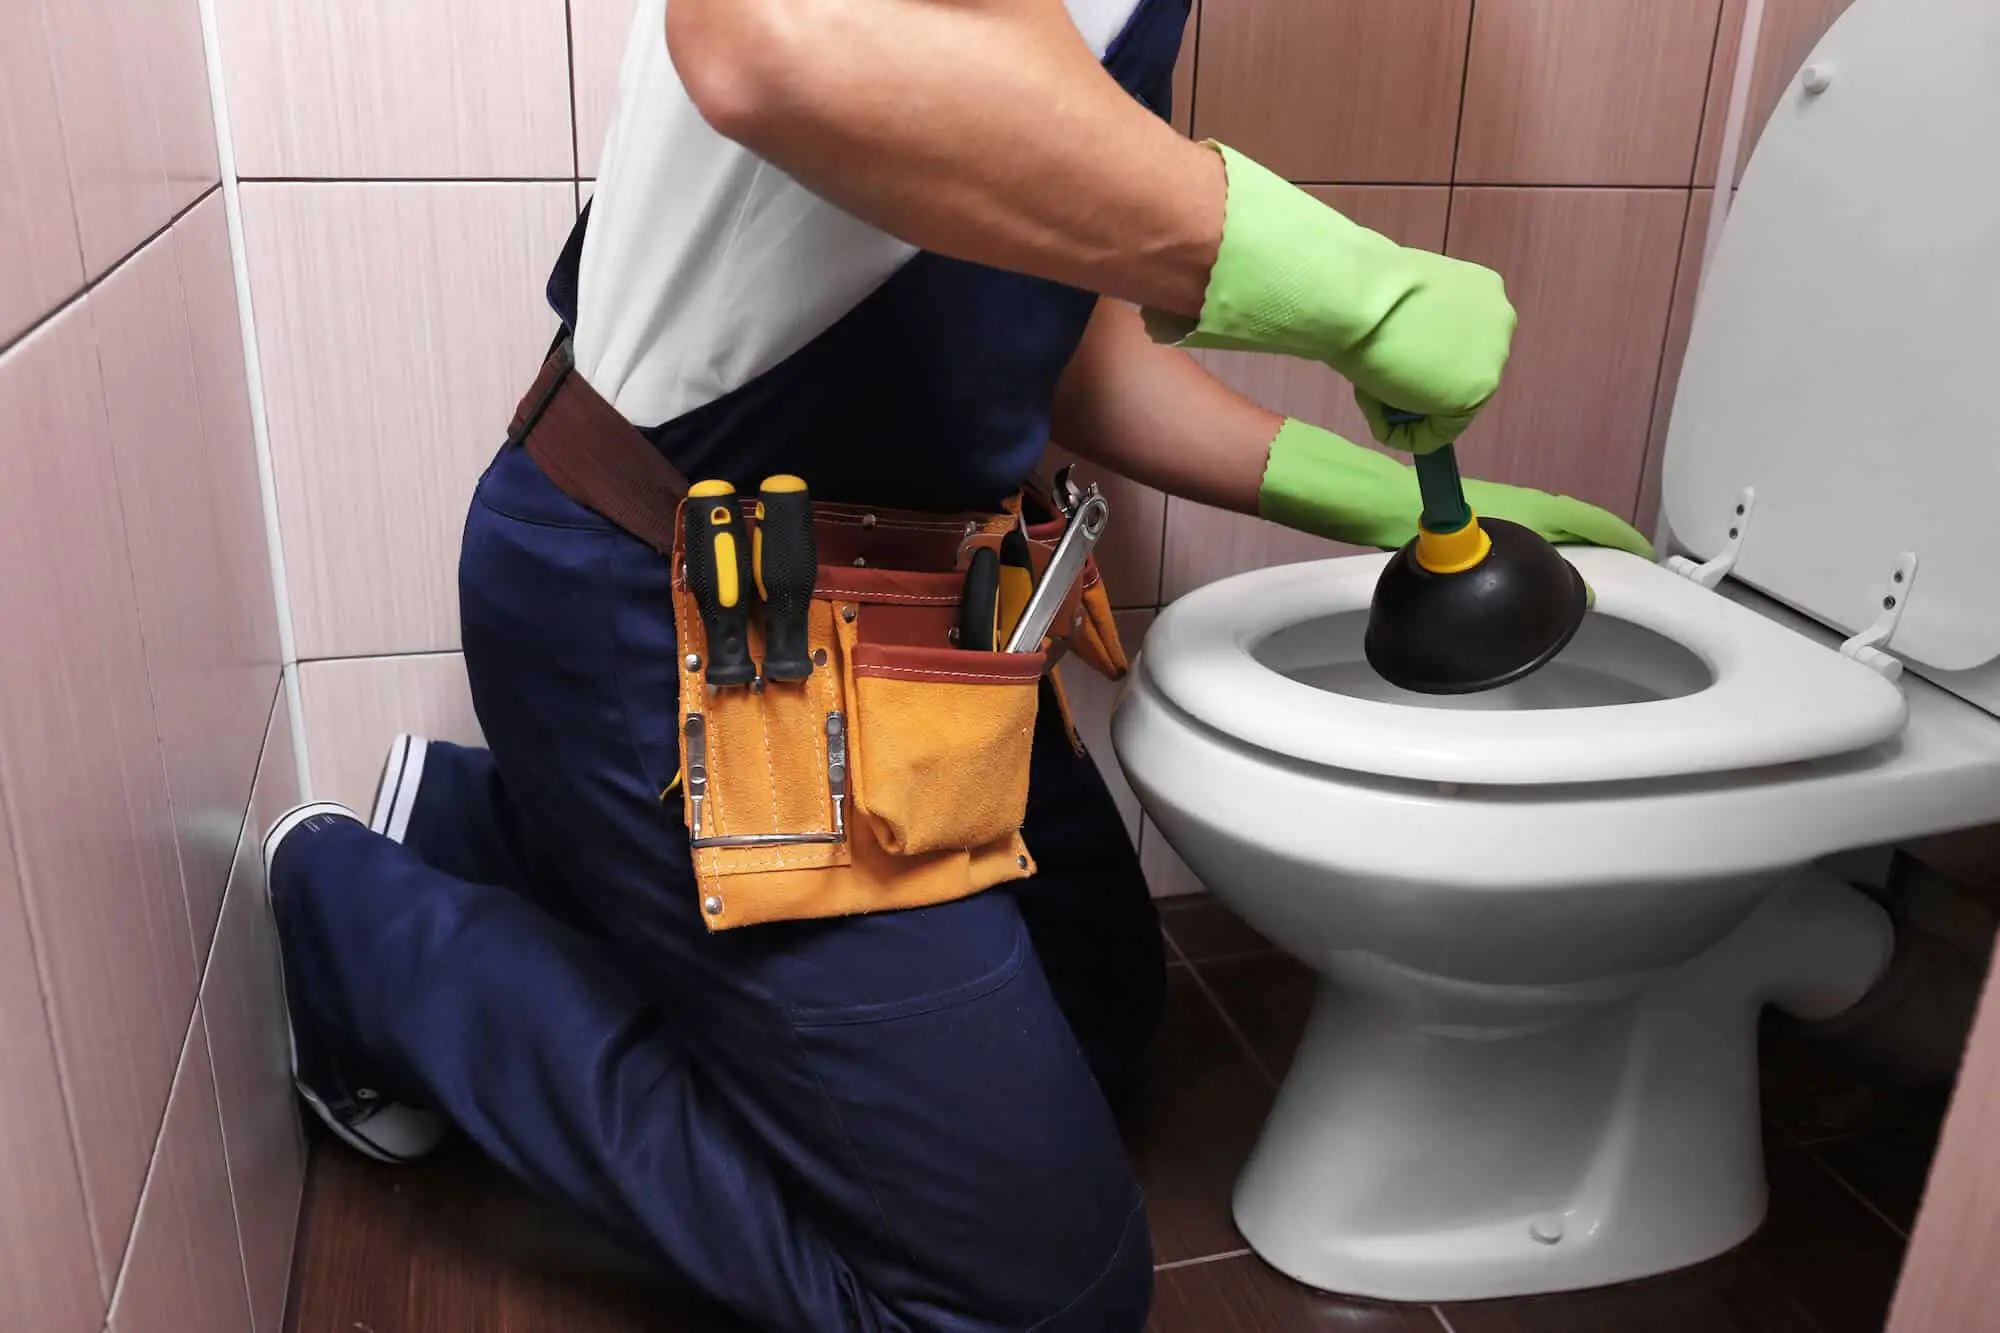
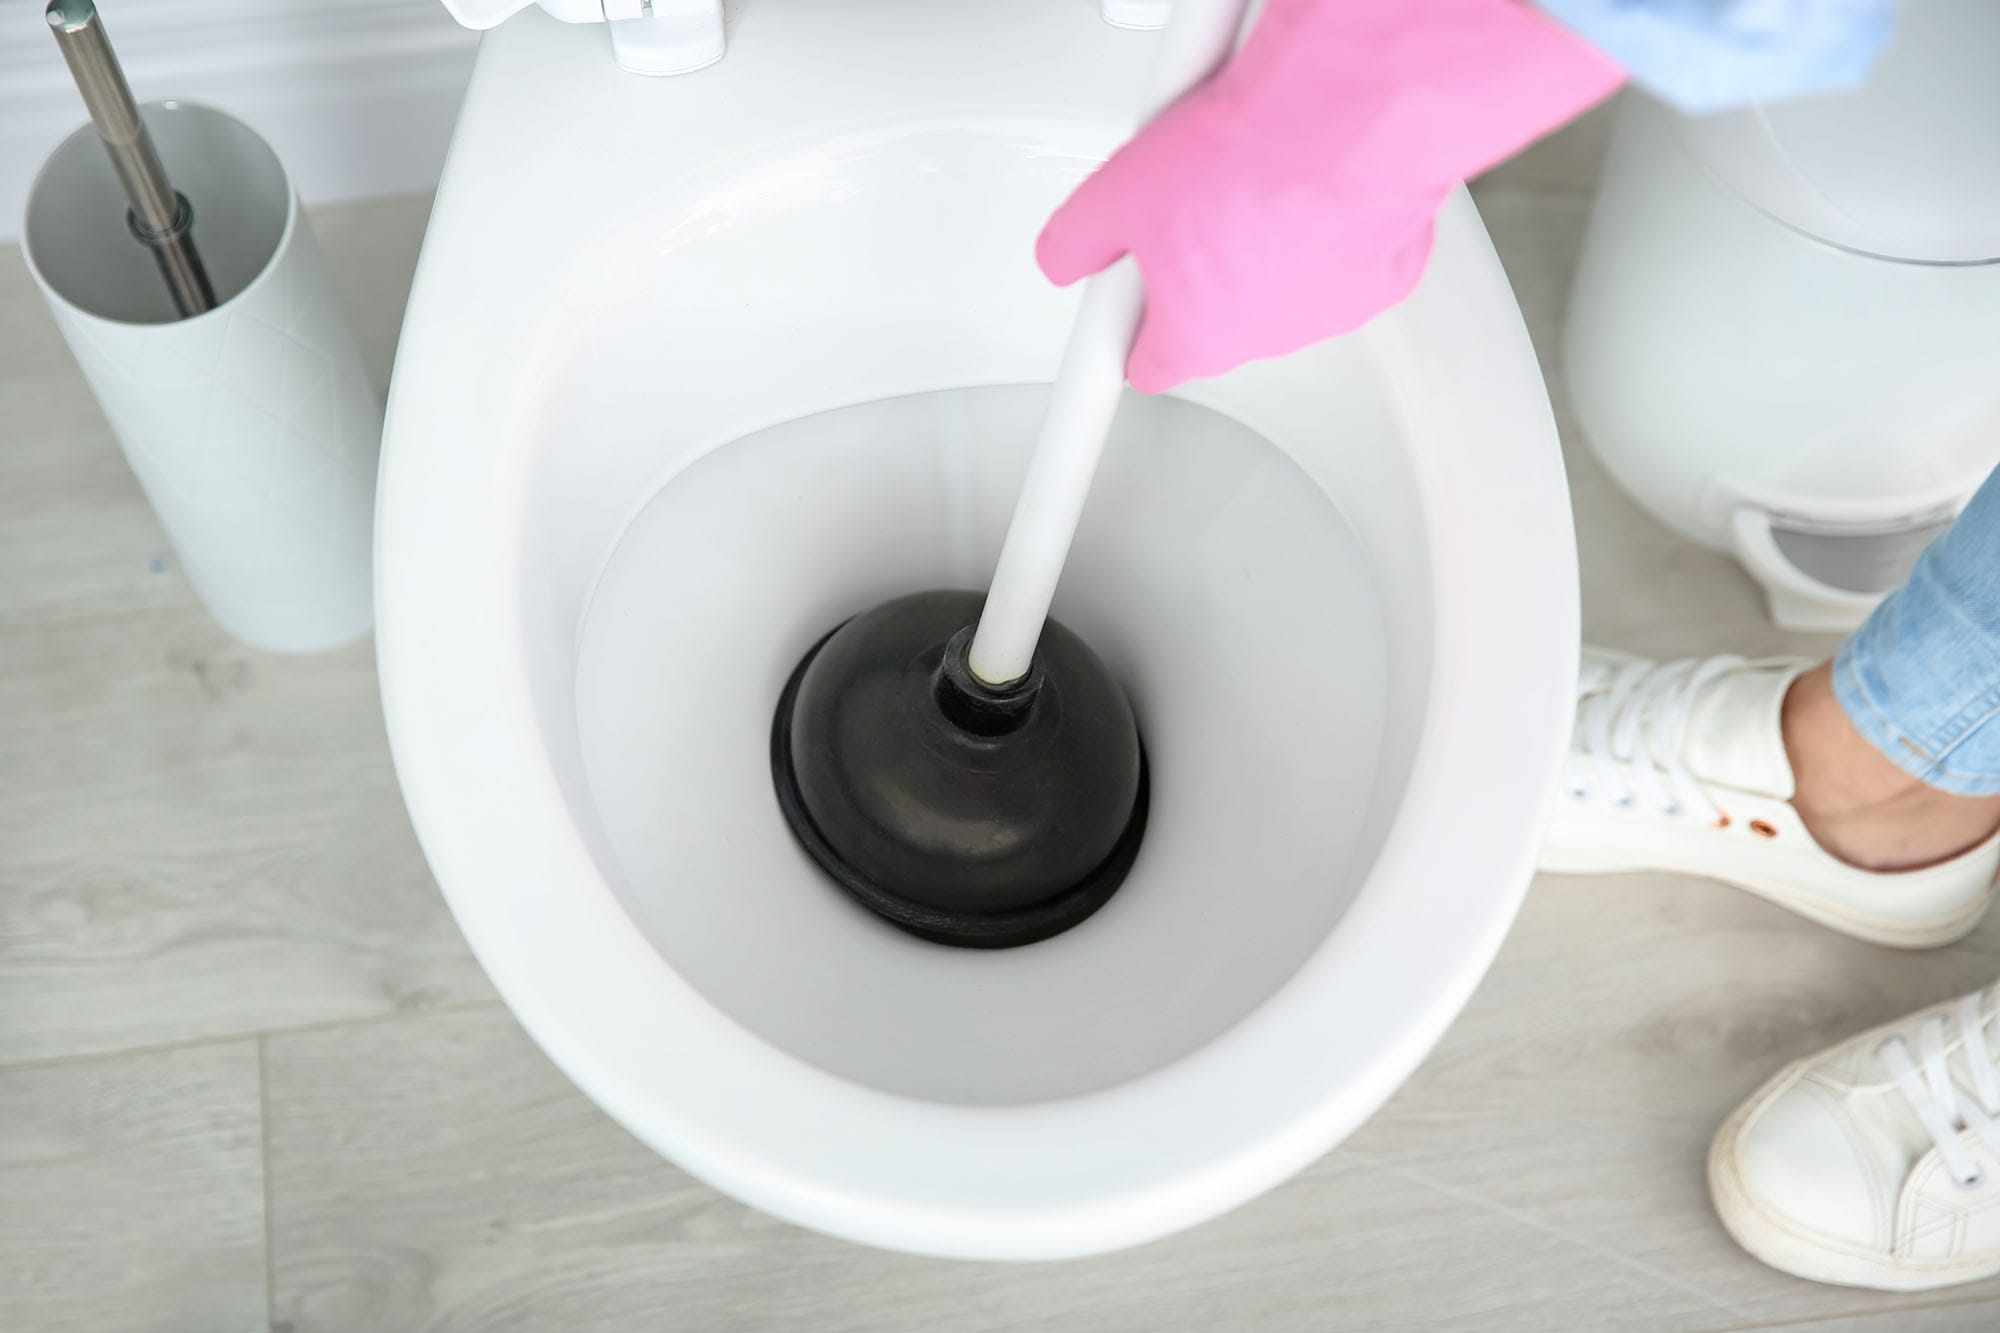
Step 2: Cleaning the plunger
Before storing your toilet plunger, it is crucial to ensure that it is clean and free from any residue. Cleaning the plunger regularly not only helps maintain its effectiveness but also prevents the spread of bacteria and germs. Follow these steps to clean your plunger:
- Put on gloves: To protect your hands from any bacteria or debris, put on a pair of disposable gloves before handling the plunger.
- Remove excess debris: Start by removing any visible debris or waste from the plunger. Use a paper towel or toilet brush to clean off any residue, ensuring that the plunger is clear of any blockages.
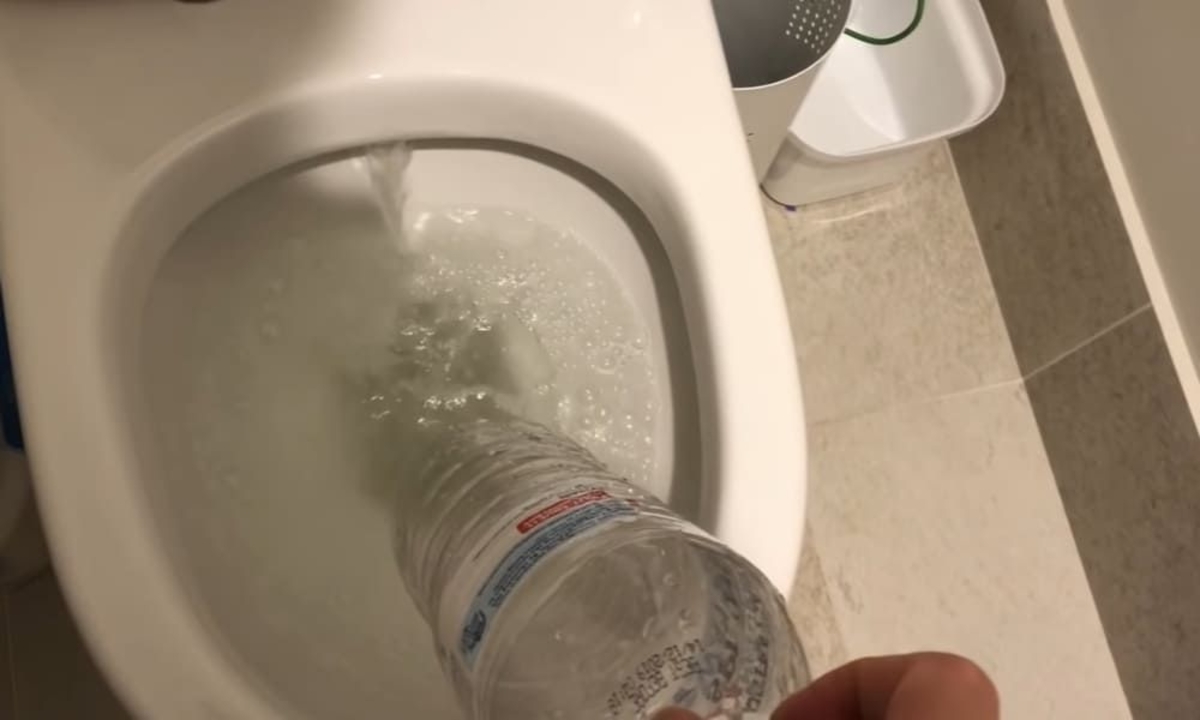
- Rinse with hot water: Rinse the plunger under hot running water to remove any remaining waste. The hot water will help sanitize the plunger and remove any lingering bacteria.
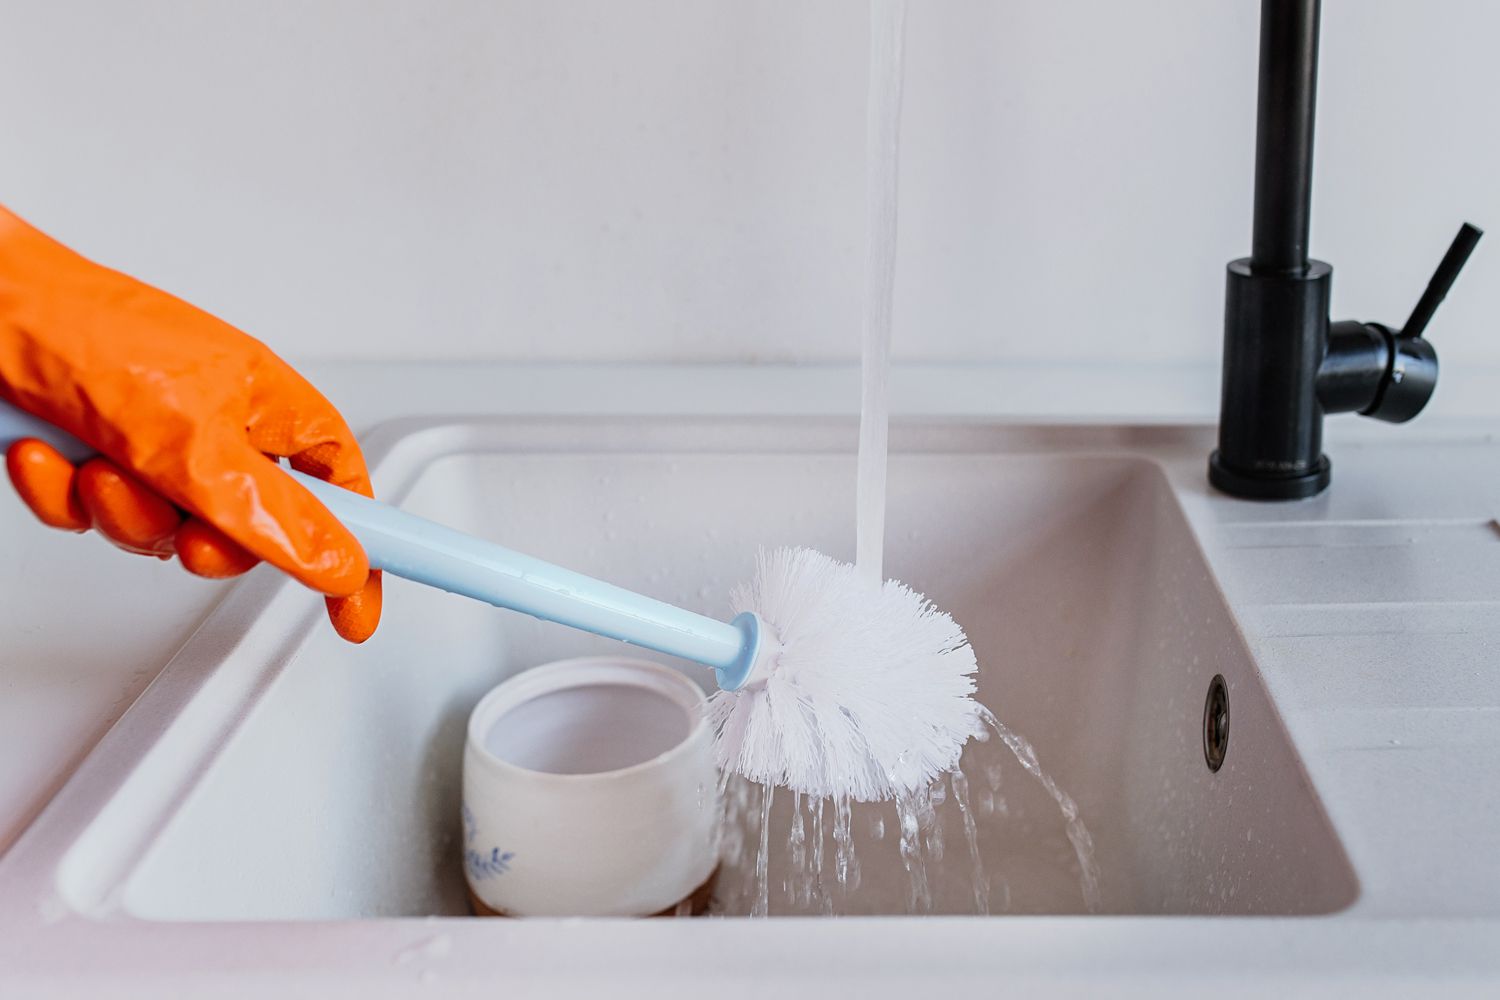
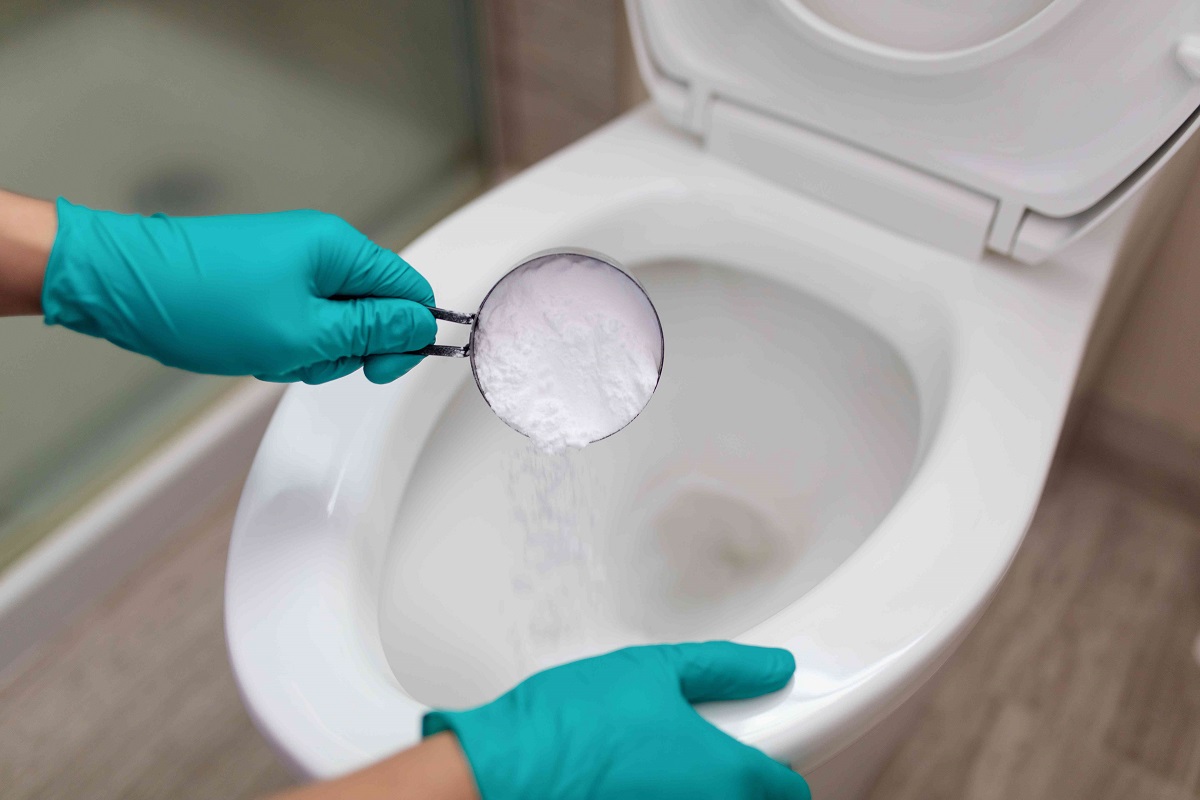
- Use a disinfectant: Apply a suitable disinfectant solution or a mixture of water and bleach to the plunger. Make sure to follow the instructions on the disinfectant for proper dilution ratios. Use a brush or cloth to scrub the plunger thoroughly, paying close attention to the suction cup and the handle.
- Rinse again: Rinse the plunger with hot water once more to remove any residue from the disinfectant. Ensure that all traces of the cleaning solution are thoroughly washed away.
- Sanitize the handle: Keeping in mind that the handle of the plunger is one of the most frequently touched areas, it’s essential to sanitize it properly. Use disinfectant wipes or a cloth soaked in a disinfectant solution to wipe down the handle, eliminating any bacteria or germs.
By following these steps, you can ensure that your plunger is properly cleaned and ready for storage. Once the cleaning process is complete, the next step is to dry the plunger thoroughly.
Step 3: Drying the plungerAfter cleaning your toilet plunger, it is important to ensure that it is thoroughly dried before storing it. Proper drying helps prevent the growth of mold, mildew, and unpleasant odors. Follow these steps to effectively dry your plunger:
- Shake off excess water: Gently shake the plunger to remove any excess water from its surface. This will help speed up the drying process.
- Pat dry with a towel: Use a clean cloth or towel to pat the plunger dry. Make sure to dry both the suction cup and the handle.
- Air dry in a well-ventilated area: Find a well-ventilated area, preferably with good air circulation, to allow the plunger to air dry completely. Set it down on a clean, dry surface with the suction cup facing upwards to promote proper drying.
- Avoid direct sunlight: While it is important to allow the plunger to air dry, it is best to avoid placing it in direct sunlight. Sunlight exposure can degrade the rubber material of the plunger over time.
- Leave it to dry for at least 24 hours: Depending on the humidity levels in your area, it may take anywhere from a few hours to a full day for the plunger to dry completely. Make sure it is completely dry before moving on to the next step.
Remember, thorough drying is crucial to prevent any moisture buildup, which can lead to the growth of mold and mildew. By following these steps, you can ensure that your plunger is adequately dried and ready for the next use. Once the plunger is dry, it’s time to move on to step 4: disinfecting the plunger.
After using a toilet plunger, clean and dry it thoroughly before storing it in a well-ventilated area. Consider using a caddy or a designated storage container to keep it separate from other cleaning tools.
Step 4: Disinfecting the plunger
Disinfecting your toilet plunger is an essential step in maintaining cleanliness and preventing the spread of germs. It helps ensure that your plunger is hygienic and ready for future use. Follow these steps to properly disinfect your plunger:
- Put on gloves: As a safety precaution, always wear disposable gloves before handling cleaning products or disinfectants.
- Select a disinfectant: Choose a suitable disinfectant spray, wipes, or a solution recommended for sanitizing bathroom surfaces. Look for products that are specifically designed to kill bacteria and viruses.
- Apply the disinfectant: Spray the disinfectant directly onto the plunger or use wipes to thoroughly wipe down the entire plunger. Pay close attention to the suction cup and the handle, as these are the primary contact points.
- Allow the disinfectant to sit: Let the disinfectant sit on the plunger for the recommended amount of time specified on the product packaging. This allows sufficient contact time for the disinfectant to kill germs effectively.
- Rinse, if necessary: Depending on the type of disinfectant used, you may need to rinse the plunger with water after the recommended contact time. Follow the instructions provided by the manufacturer.
- Dry the plunger: After disinfecting, make sure to dry the plunger thoroughly. Refer back to step 3 for detailed instructions on how to dry the plunger effectively.
By following these steps, you can ensure that your toilet plunger is properly disinfected, reducing the risk of contamination and maintaining a clean and hygienic environment. Once the plunger is disinfected and dried, we can move on to the final step: storing the plunger.
Read more: Where To Store Plunger And Toilet Brush
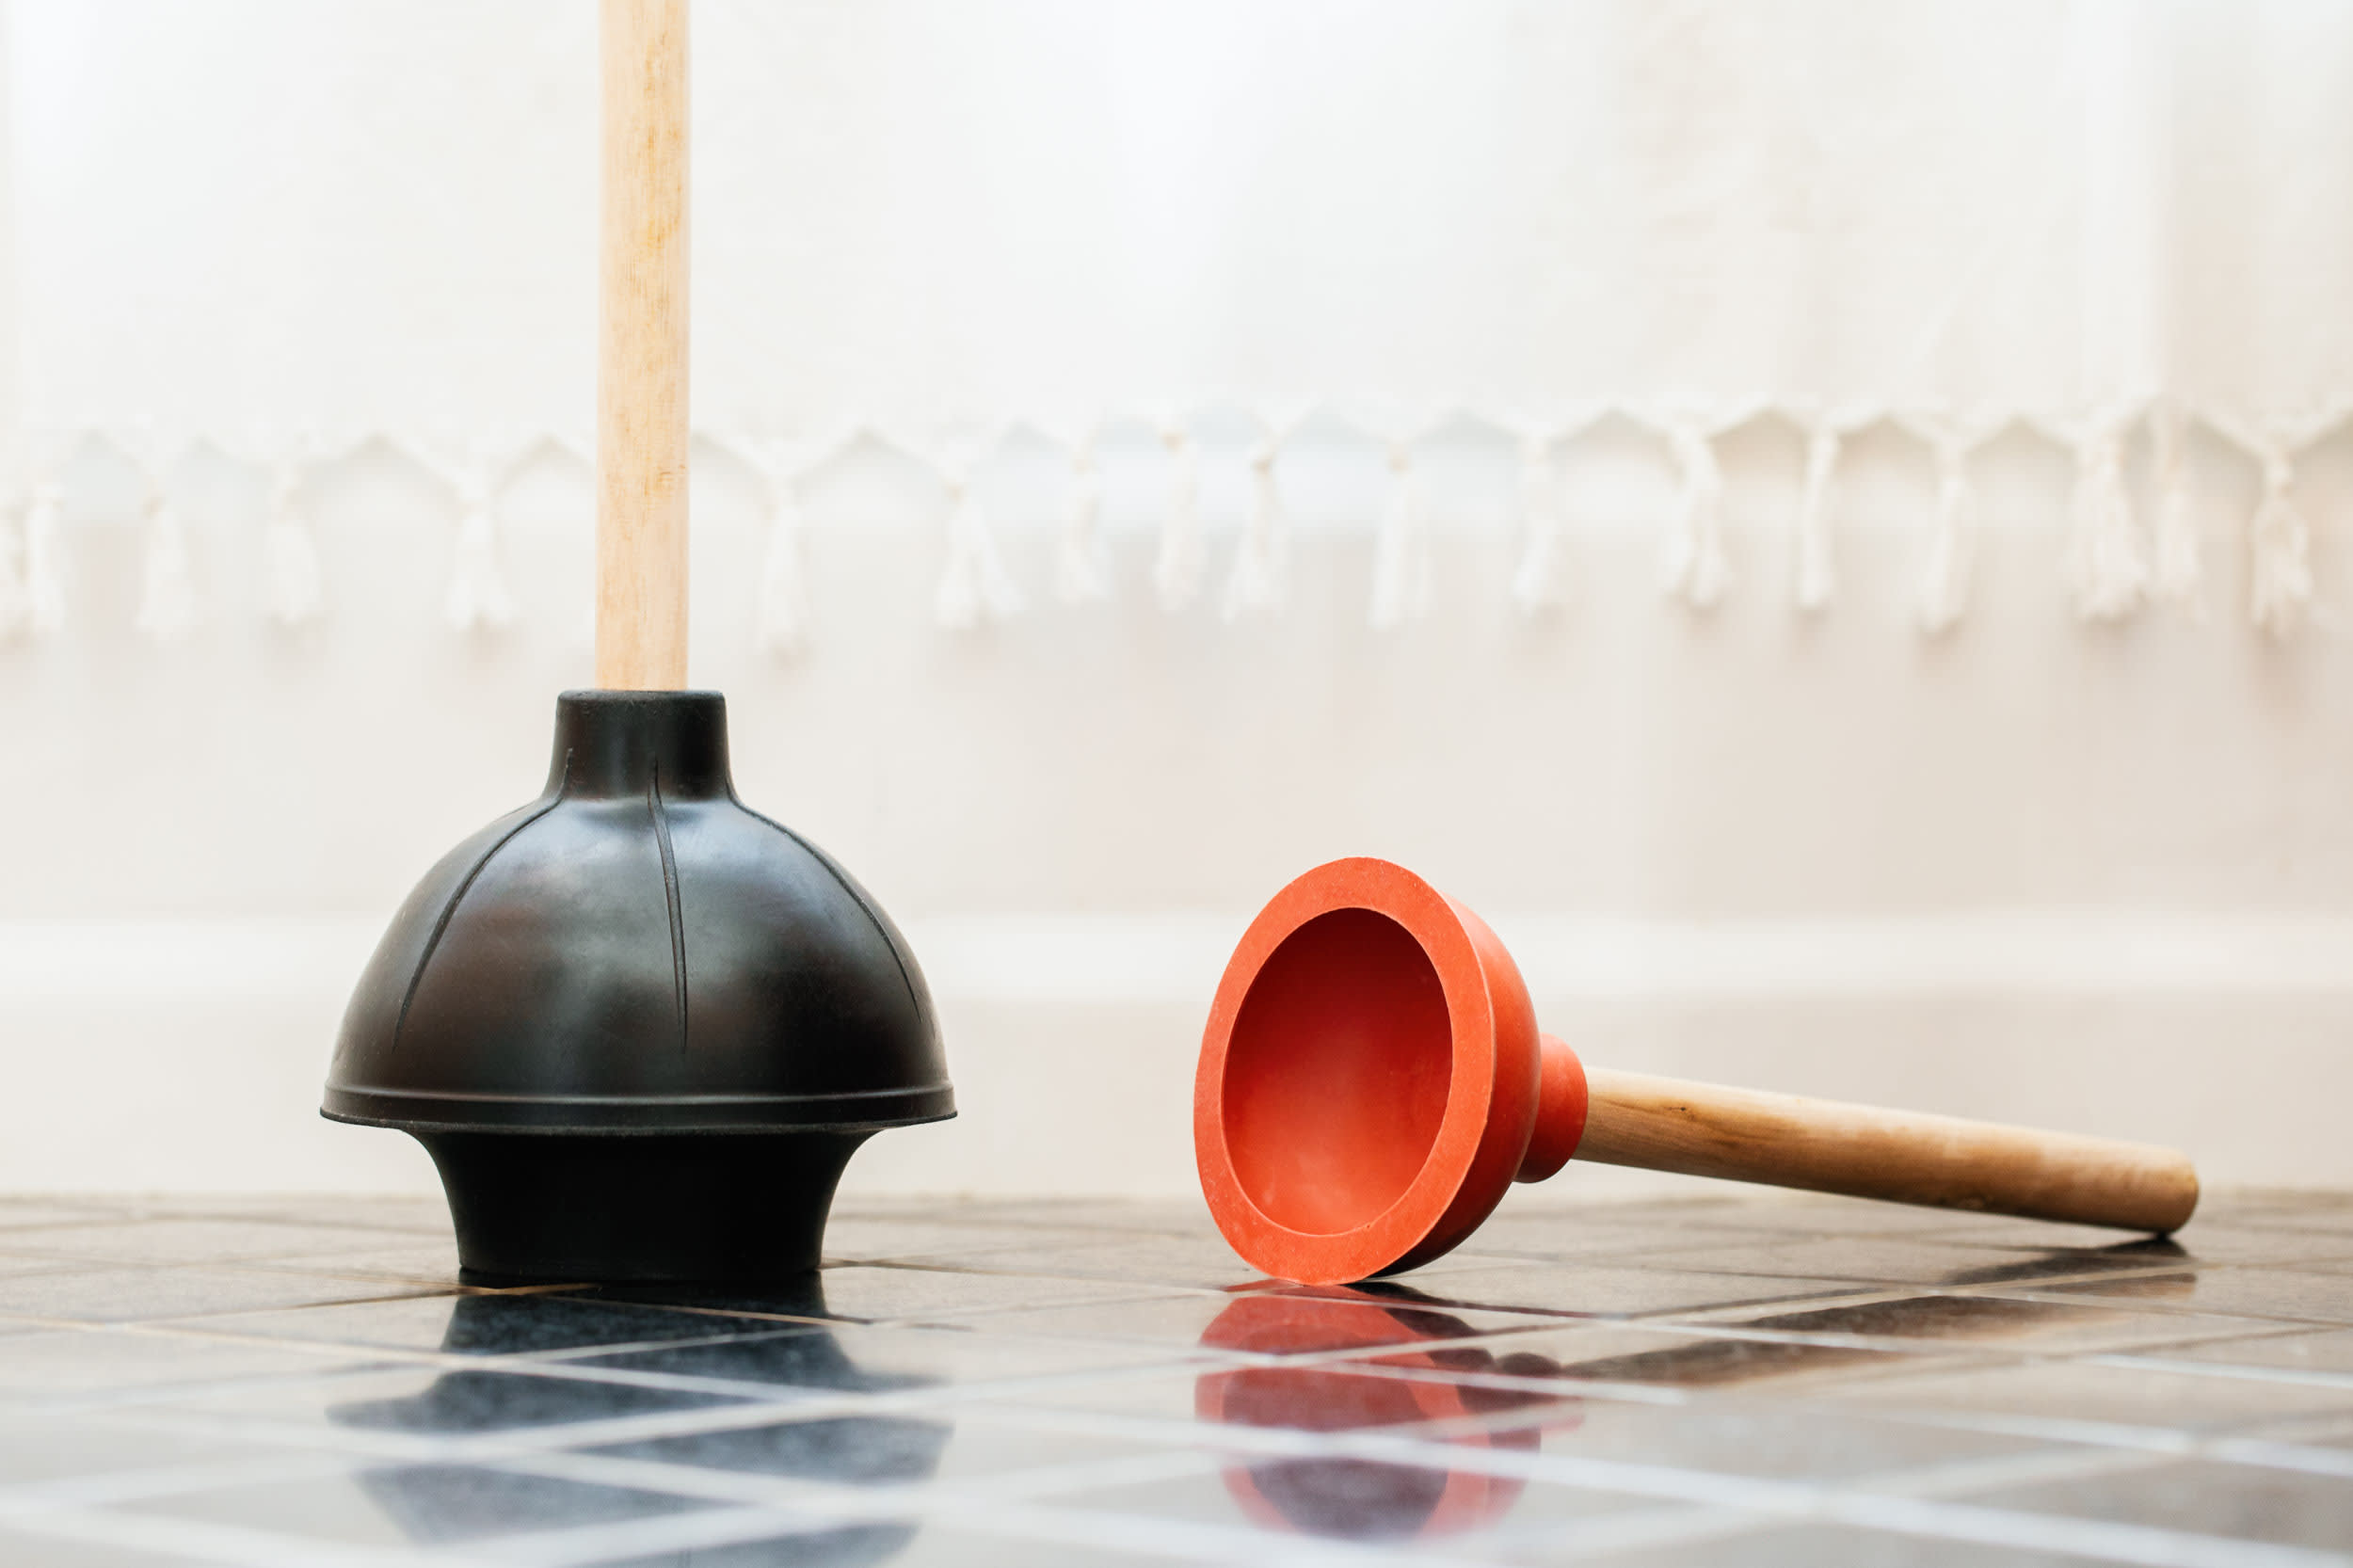
Step 5: Storing the plunger
Proper storage of your toilet plunger is essential to maintain its cleanliness and effectiveness. By following these guidelines, you can ensure that your plunger is stored in a way that is both convenient and hygienic:
- Select a dedicated storage container: Consider using a dedicated storage container for your plunger to keep it separate from other bathroom items. This will help prevent cross-contamination and keep your plunger clean and easily accessible when needed.
- Choose a suitable container: Select a container that is large enough to accommodate the plunger without squishing or damaging it. A container with drainage holes or slots will allow any excess water to evaporate and prevent moisture buildup.
- Keep it within reach: Store the plunger in a location that is easily accessible, preferably within arm’s reach of the toilet. This ensures that you can quickly grab it when needed without any inconvenience or delay.
- Consider camouflage: If you prefer to keep the plunger out of sight, consider using a decorative basket or container that can hide it discreetly. You can choose a design that complements your bathroom decor, making it a functional and stylish storage solution.
- Keep it off the floor: Avoid storing the plunger directly on the bathroom floor, as it can accumulate dirt and germs. Use a holder or container that keeps the plunger elevated and away from any potential contaminants.
- Maintain cleanliness: Regularly clean and disinfect the storage container to ensure that it remains clean and free of any bacteria or odors. This is especially important if you store the plunger in a closed container or cabinet.
By following these storage guidelines, you can keep your toilet plunger clean, easily accessible, and ready for use whenever it’s needed. Proper storage not only ensures the longevity of your plunger but also helps maintain a hygienic bathroom environment.
With the completion of step 5, you have successfully learned how to store your toilet plunger effectively. By choosing the right location, cleaning, drying, disinfecting, and storing your plunger properly, you can ensure that it remains in optimal condition and ready for any toilet clogs that come your way.
Remember to regularly clean and maintain your plunger according to the steps we’ve outlined. By doing so, you’ll be prepared to tackle any unexpected toilet clogs with ease and confidence.
Thank you for reading our guide. We hope you found it helpful and informative!
Conclusion:
In conclusion, proper storage of your toilet plunger is crucial for both cleanliness and convenience. By following the steps outlined in this guide, you can ensure that your plunger remains in optimal condition and ready for use whenever it’s needed.
Choosing the right location for plunger storage ensures accessibility and privacy. Options such as a bathroom cabinet, behind the toilet, or a wall-mounted holder offer convenient and discreet storage solutions.
Cleaning the plunger thoroughly removes debris and waste, while disinfecting it helps eliminate bacteria and germs. Drying the plunger properly is essential to prevent mold and mildew growth, while storing it in a dedicated container keeps it separate from other bathroom items.
By following these guidelines, you can maintain a hygienic bathroom environment and be prepared to address any toilet clogs effectively. Regular maintenance and storage practices will ensure that your plunger remains clean, functional, and ready to tackle any plumbing issues that may arise.
Remember that a well-maintained plunger not only prevents the spread of germs but also extends its lifespan. So, take the time to follow the steps detailed in this guide, and you’ll have a reliable and hygienic plunger at your disposal whenever the need arises.
Thank you for taking the time to read our comprehensive guide on how to store a toilet plunger. We hope you found it informative and helpful. Happy plunging!
Frequently Asked Questions about How To Store Toilet Plunger
Was this page helpful?
At Storables.com, we guarantee accurate and reliable information. Our content, validated by Expert Board Contributors, is crafted following stringent Editorial Policies. We're committed to providing you with well-researched, expert-backed insights for all your informational needs.

0 thoughts on “How To Store Toilet Plunger”