
Articles
How To Store A Plunger
Modified: October 19, 2024
Learn the best methods to store a plunger and keep it clean and accessible for future use. Read our informative articles for step-by-step instructions and expert tips.
(Many of the links in this article redirect to a specific reviewed product. Your purchase of these products through affiliate links helps to generate commission for Storables.com, at no extra cost. Learn more)
Introduction
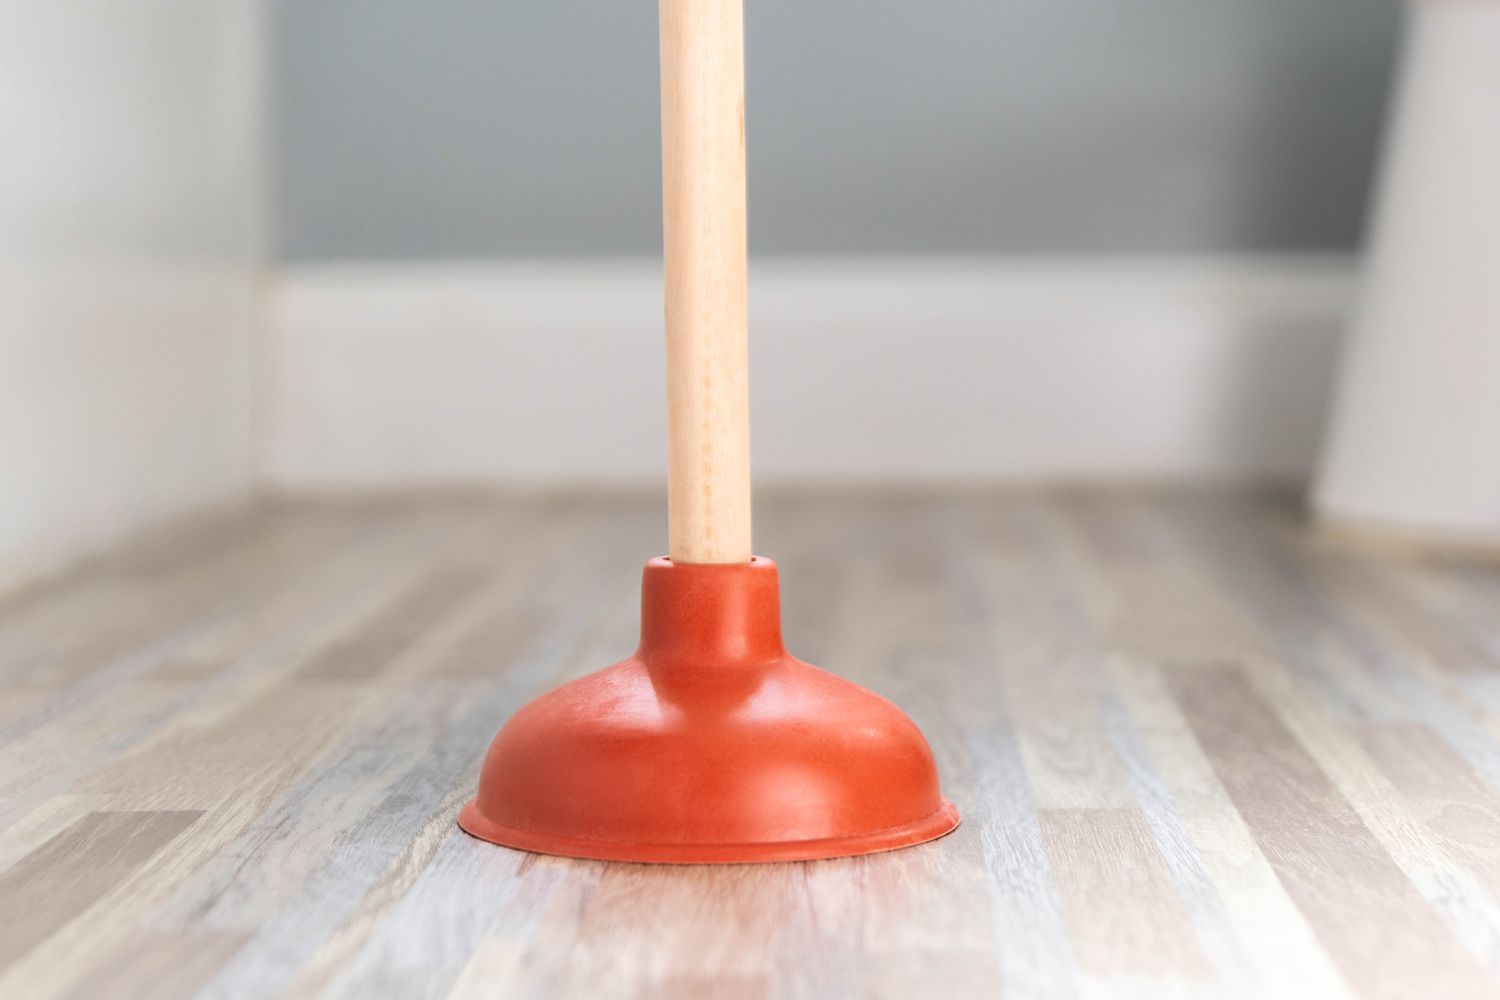
When it comes to household maintenance, certain tools are essential, and one of the most commonly used tools is a plunger. A plunger is a simple yet effective device used to unclog drains and toilets. However, after using a plunger, you might find yourself wondering how to properly store it to maintain its cleanliness and functionality.
In this article, we will guide you through the process of storing a plunger to ensure its longevity and readiness for your next use. By following these simple steps, you can keep your plunger in optimal condition and avoid any unwanted mess or inconvenience.
So, let’s jump right into it and learn how to properly store a plunger.
Key Takeaways:
- Properly cleaning and thoroughly drying your plunger before storage is crucial to prevent mold, bacteria growth, and maintain its effectiveness for future use.
- Choosing a convenient, hygienic storage location and regularly maintaining your plunger ensures it’s readily accessible and in optimal condition for unclogging drains and toilets.
Read more: How To Store A Toilet Plunger
Step 1: Clean the Plunger
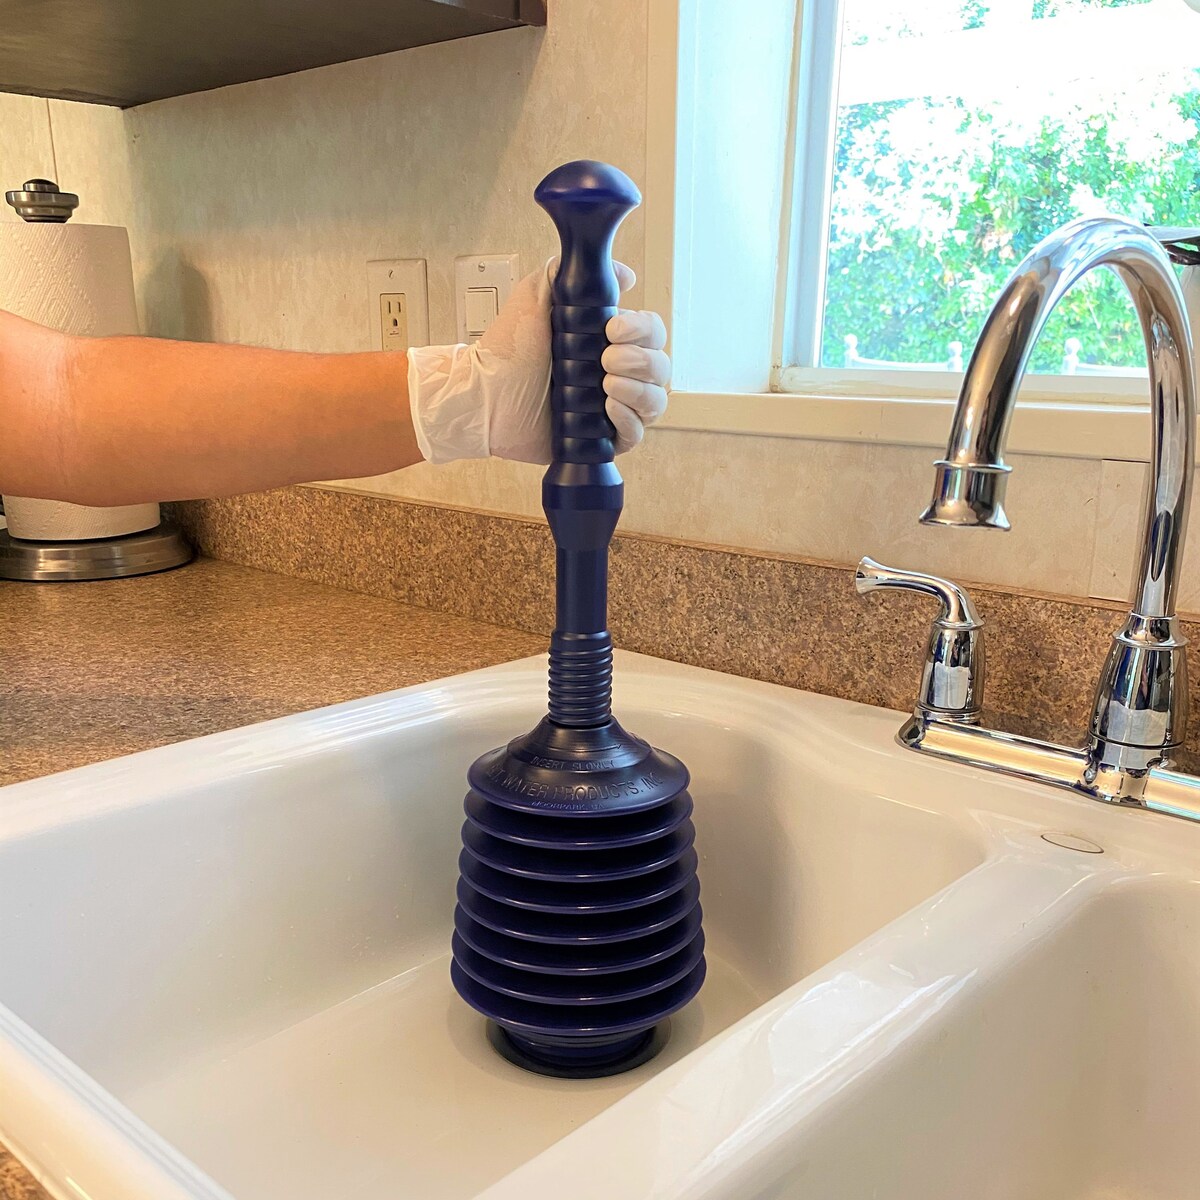
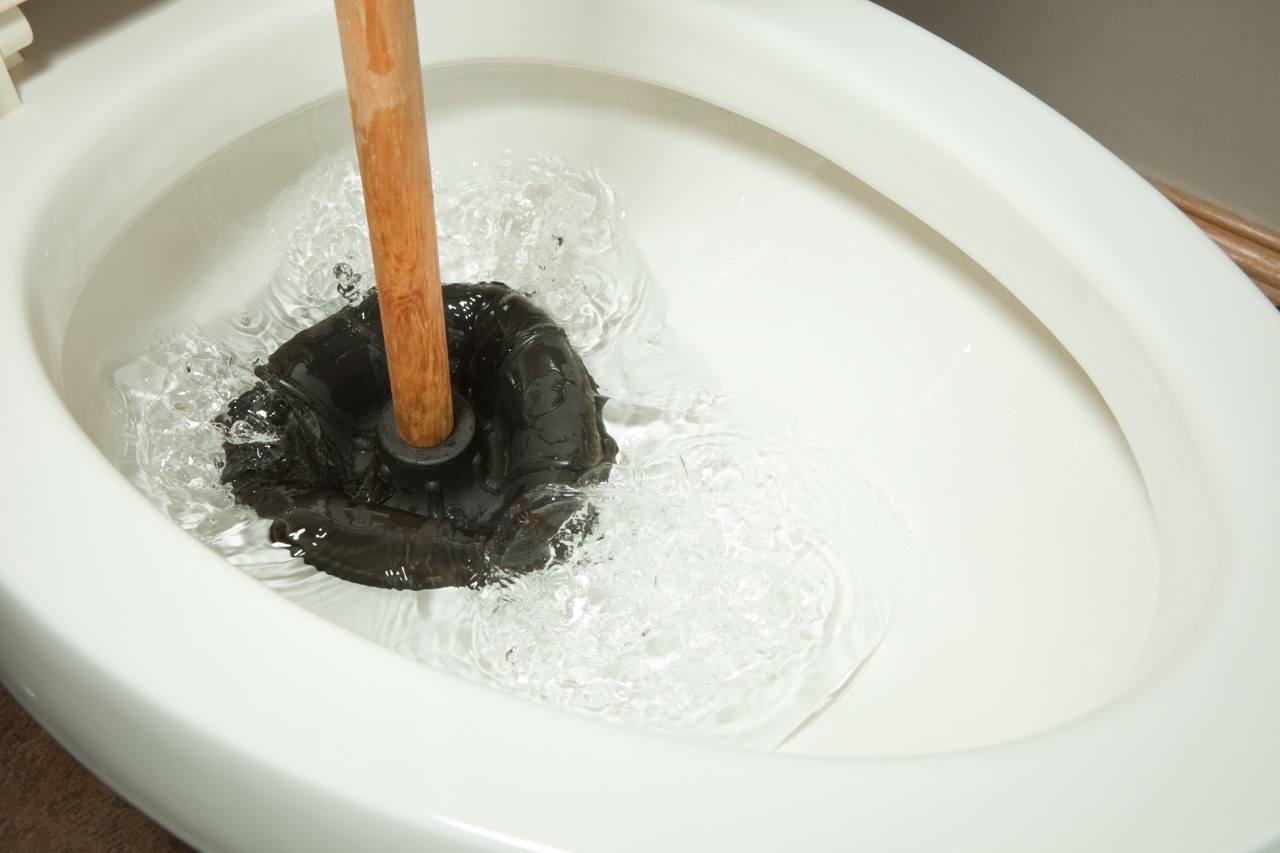
Before storing the plunger, it’s crucial to clean it thoroughly to remove any residue or bacteria that may have accumulated during use. Start by rinsing the plunger under warm water to remove any visible debris. You can use a brush or your hands to gently scrub the rubber part of the plunger to ensure it is completely clean.
Next, fill a bucket or sink with warm water and add a small amount of mild dish soap or disinfectant. Immerse the plunger in the soapy water and let it soak for a few minutes. This will help eliminate any lingering bacteria or odors.
After soaking, give the plunger another gentle scrub with a brush or sponge to ensure all the dirt and grime are removed. Rinse it thoroughly under running water to wash away any soap residue. Make sure to clean both the rubber part and the handle.
Once you have finished cleaning, pat the plunger dry with a clean towel or allow it to air dry completely. Remember, it’s important to store a plunger only when it’s completely dry to prevent the growth of mold or bacteria.
By properly cleaning the plunger before storing it, you’ll ensure that it’s ready for use the next time you need it, and you’ll minimize any potential health hazards.
Step 2: Dry the Plunger
After cleaning the plunger, it’s vital to ensure that it is completely dry before storing it. Moisture left on the plunger can lead to the growth of mold or mildew, compromising its effectiveness and hygiene.
To dry the plunger, use a clean towel to wipe off any remaining water droplets on the rubber part and the handle. Pay close attention to any crevices or hard-to-reach areas to ensure they are thoroughly dried.
If you have the time and space, you can also leave the plunger out to air dry completely. Find a well-ventilated area, preferably outdoors, where you can place the plunger on a clean surface or hang it. This will allow air circulation around the plunger, aiding in the drying process.
It’s important to note that storing a damp or wet plunger can lead to unpleasant odors and the growth of bacteria. By taking the time to ensure the plunger is completely dry, you’ll maintain its cleanliness and prevent any potential health risks.
Step 3: Choose a Storage Location
When it comes to storing a plunger, selecting the right location is crucial. You want to choose a spot that is convenient yet hygienic to ensure the plunger remains clean and easily accessible when needed. Here are a few factors to consider when choosing a storage location:
- Accessibility: Select a location that is easily reachable when you need to grab the plunger quickly. Ideally, it should be within arm’s reach of the toilet or the area where you frequently encounter clogs.
- Hygiene: Avoid storing the plunger in areas prone to moisture or where it can come into contact with dirt or other contaminants. It’s best to keep it away from the floor or any surfaces that may be unsanitary.
- Privacy: If possible, choose a storage spot that provides some privacy. This is especially important if you have guests or prefer to keep the plunger out of sight.
Based on these considerations, some suitable storage locations for a plunger can be:
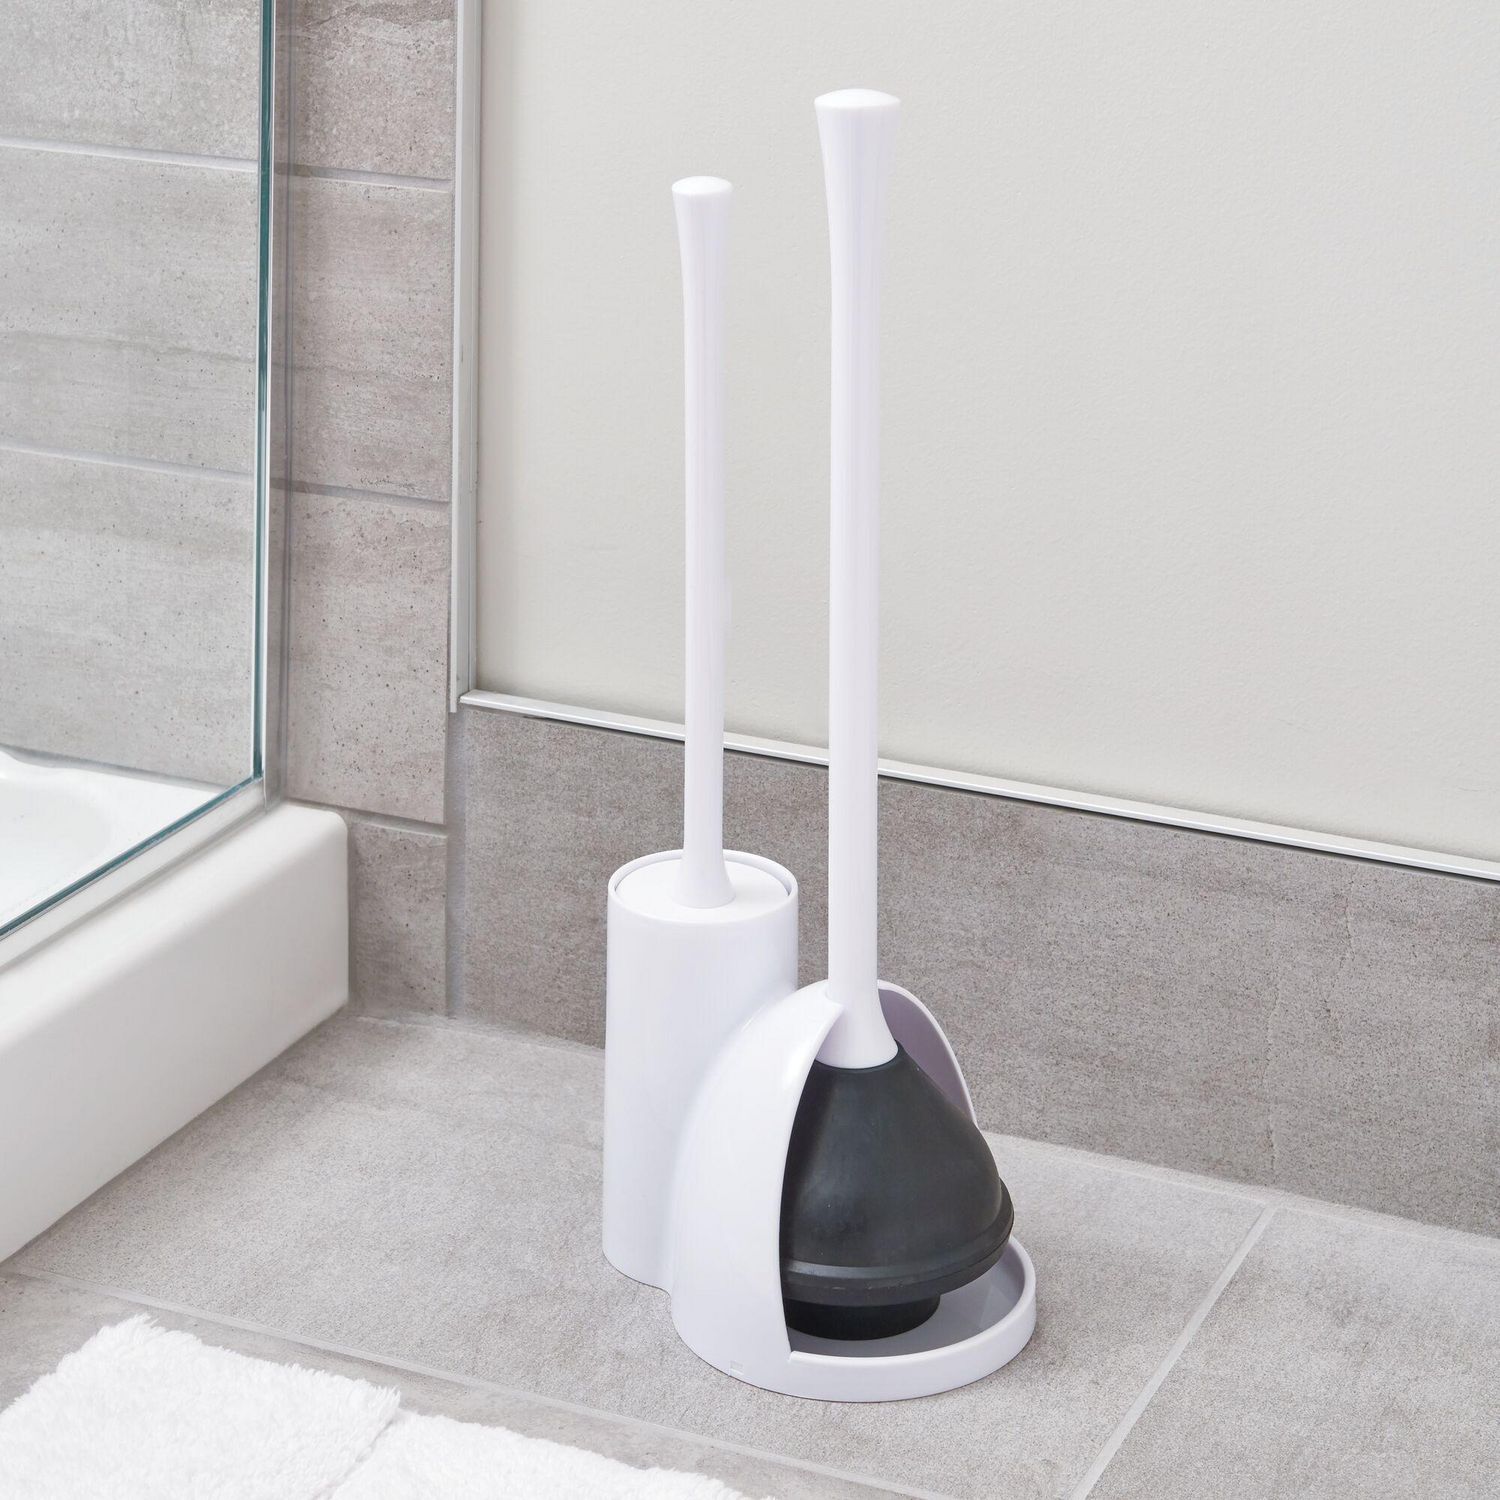
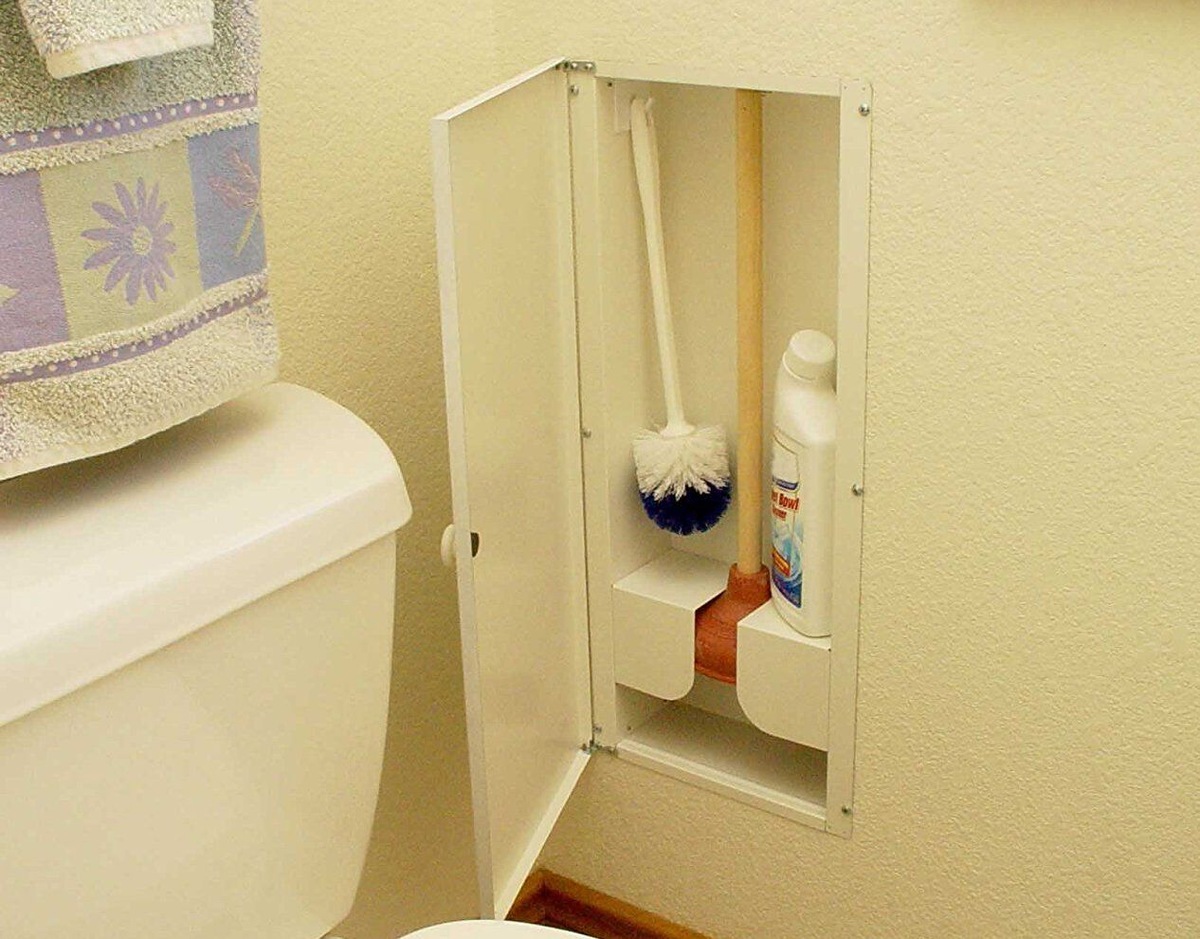
- In a designated cabinet or storage area near the toilet. This ensures the plunger is readily accessible and protected from any contaminants.
- Hung discreetly on a hook inside a bathroom closet or behind a door. This keeps the plunger hidden from view but still easy to locate when needed.
- Stored in a sealed or covered container near the toilet area. This helps maintain the cleanliness of the plunger and prevents any unwanted odors.
Remember, the goal is to choose a storage location that is convenient, hygienic, and maintains the plunger’s condition. Assess your unique bathroom setup and preferences to determine the best spot for storing your plunger.
To store a plunger, clean and dry it thoroughly, then place it in a plastic bag to prevent any residual water or debris from spreading. Store it in a dry, easily accessible area.
Step 4: Place the Plunger in a Bag or Container
Now that you have chosen the ideal storage location for your plunger, it’s important to take an extra step to keep it clean and prevent it from coming into contact with other items in the area. Placing the plunger in a bag or container will help maintain its cleanliness and make it easier to handle.
You can find special plunger storage bags or containers designed specifically for this purpose. These are usually made of waterproof and easy-to-clean materials. If you have one, simply place the plunger inside and close the bag or container tightly.
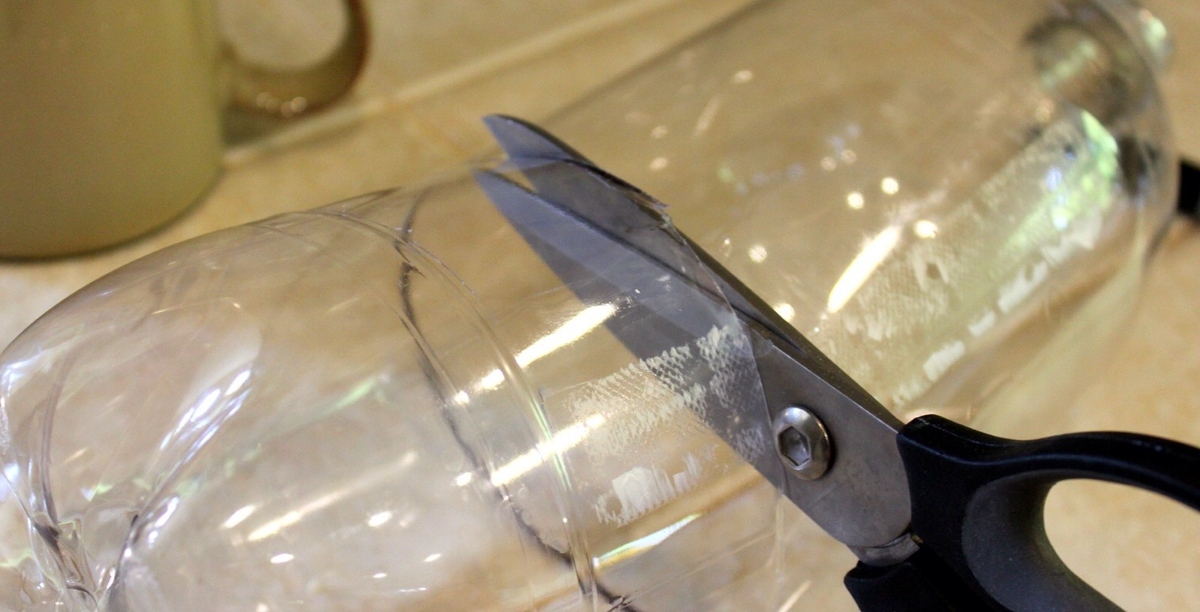
If you don’t have a specialized storage bag or container, you can use a large zip-top bag or a plastic grocery bag. Just make sure the bag is clean and dry before placing the plunger inside. Secure the bag tightly, removing any excess air to prevent it from being bulky or taking up unnecessary space.
Alternatively, you can also use a dedicated plastic container with a secure lid. Choose a container that is large enough to accommodate the plunger without squishing it, ensuring there is enough room for it to breathe and dry if any residual moisture is present.
By placing the plunger in a bag or container, you add an extra layer of protection, keeping it clean and avoiding any potential contamination or mess. This will also make it more convenient to handle and retrieve when needed.
Read more: What Is A Plunger For
Step 5: Store the Plunger in a Convenient Place
Now that you have properly prepared the plunger for storage, it’s time to find the most convenient spot within the chosen storage location to place it. By ensuring easy accessibility, you can quickly retrieve the plunger when faced with a clogged drain or toilet.
Consider the following tips when determining where to store your plunger:
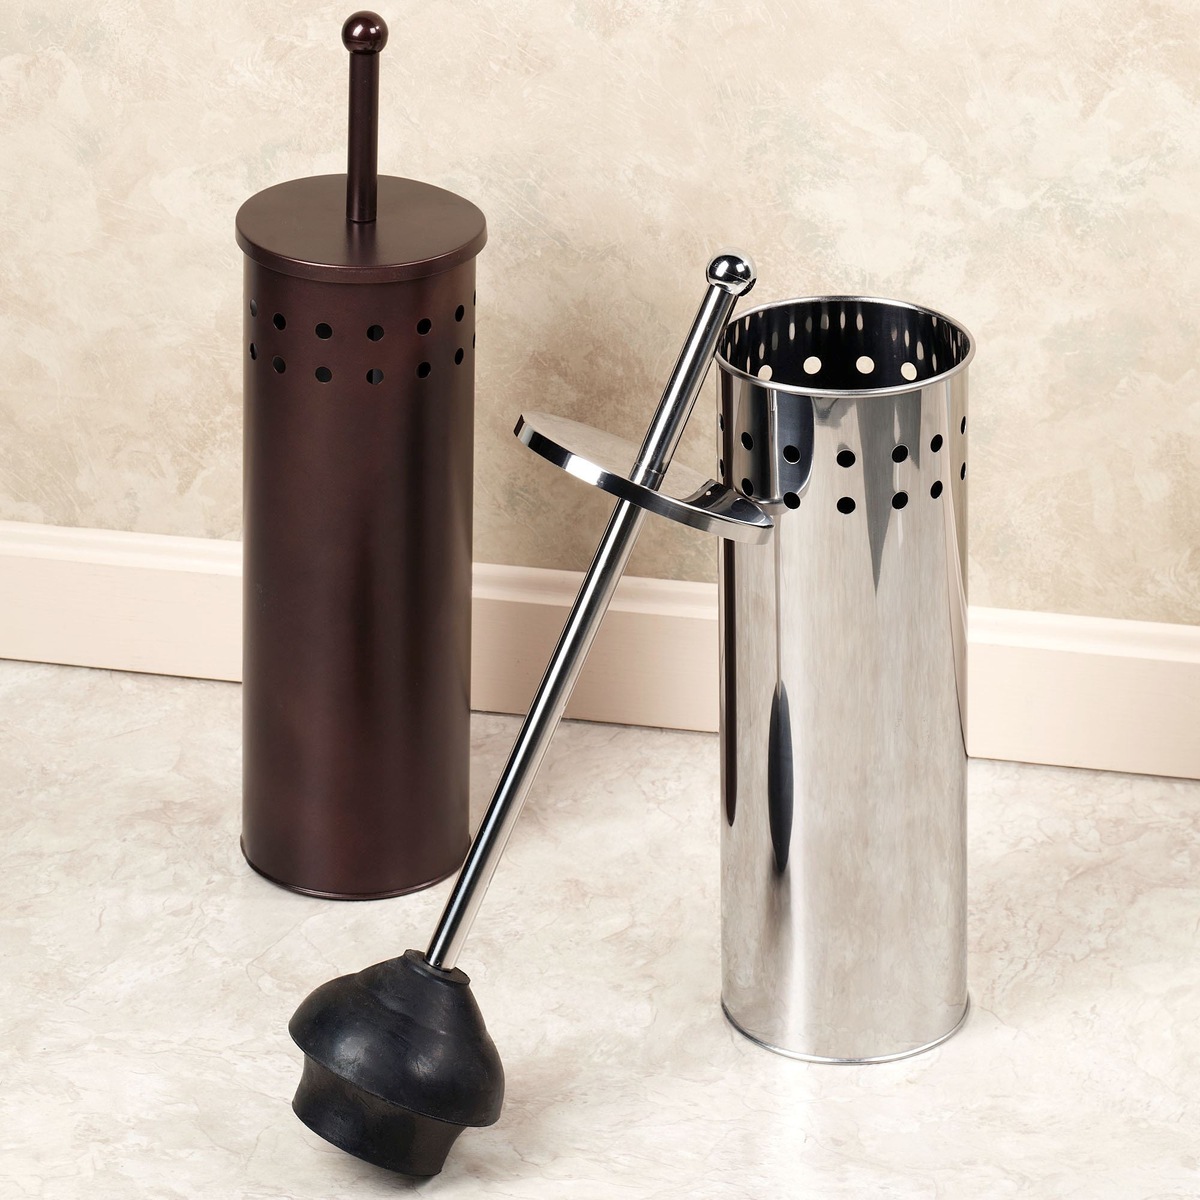
- Position: Place the plunger in a way that allows for easy grabbing and handling. You can position it upright or lay it horizontally, depending on available space and personal preference.
- Accessibility: Ideally, the plunger should be within arm’s reach of the toilet or the area where you frequently encounter clogs. This allows for quick access and minimizes any disruption when you need to use it.
- Stability: Make sure the plunger is stored in a stable position where it won’t tip over or fall easily. This helps prevent any potential accidents and keeps the storage area neat and organized.
Depending on the storage location you’ve chosen, some suitable options for storing the plunger can include:
- Placing the plunger on a designated shelf or platform within a storage cabinet. This keeps it easily visible and accessible.
- Hanging the plunger on a hook or peg inside a bathroom closet or behind a door. This saves space and ensures the plunger is within reach whenever needed.
- Keeping the plunger inside a designated compartment or drawer if your storage area has built-in organizational features.
Remember, the goal is to make it as convenient as possible to access and retrieve the plunger when you need it. By storing it in a convenient place, you’ll be able to quickly address any clogs or drainage issues without any hassle.
Step 6: Regularly Check and Maintain the Plunger
Just like any other tool, a plunger requires regular maintenance to ensure its effectiveness and longevity. By periodically checking and maintaining the plunger, you can address any potential issues and keep it in optimal condition. Here are some tips to follow:
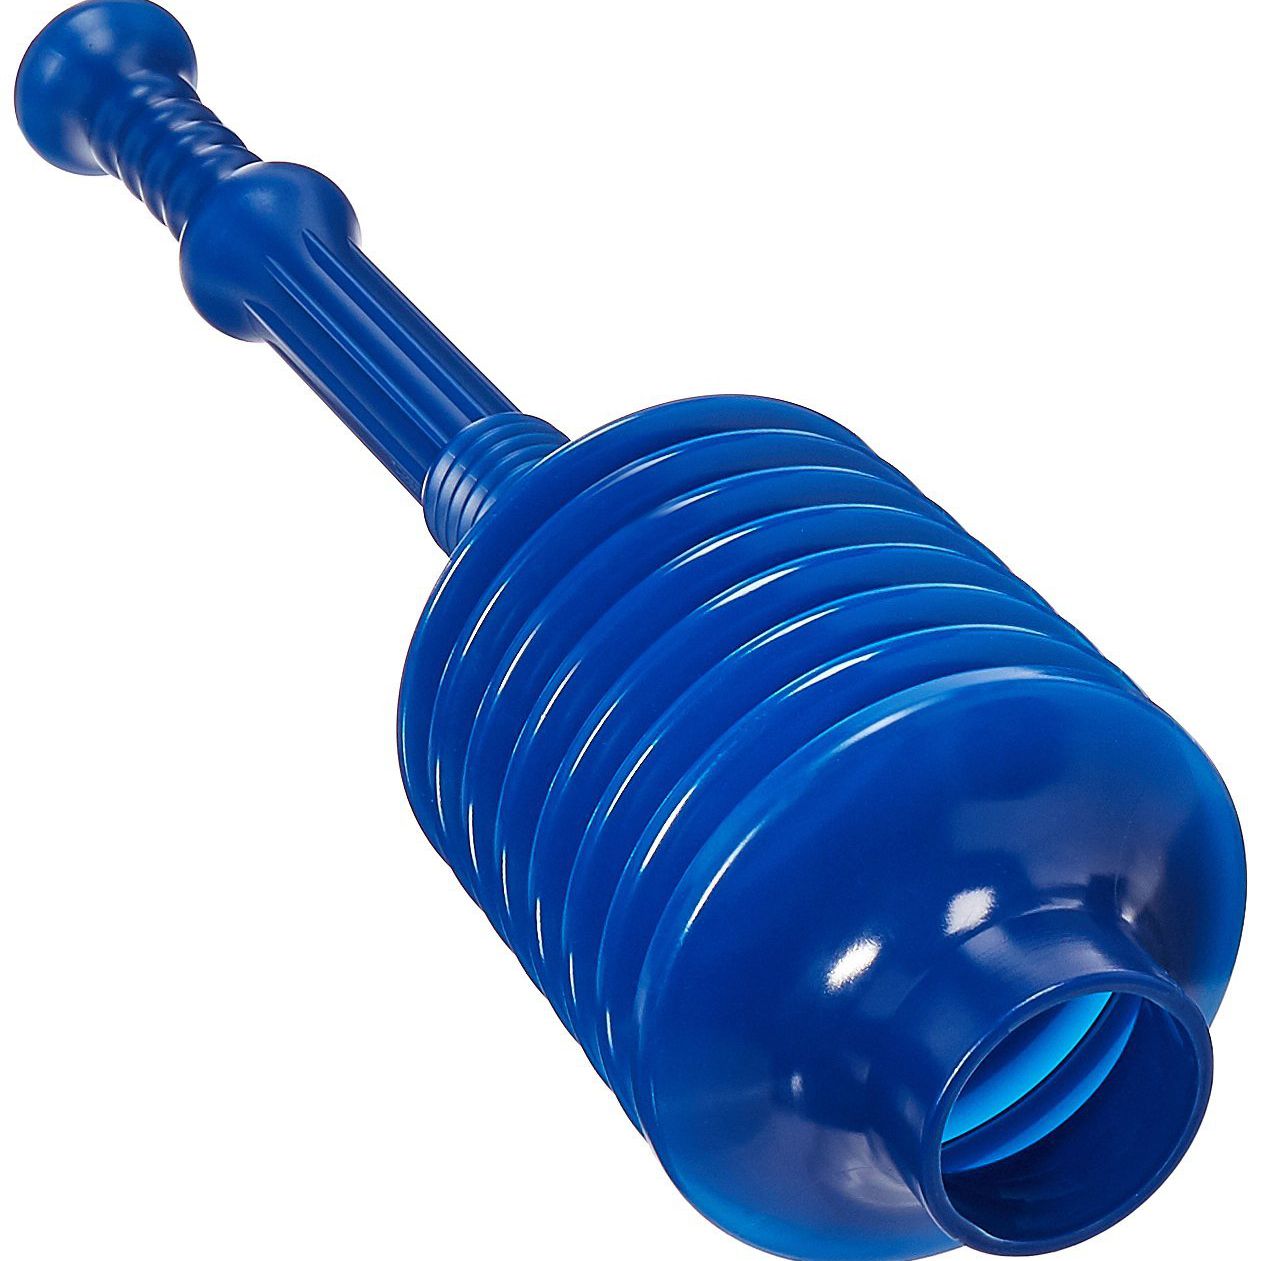
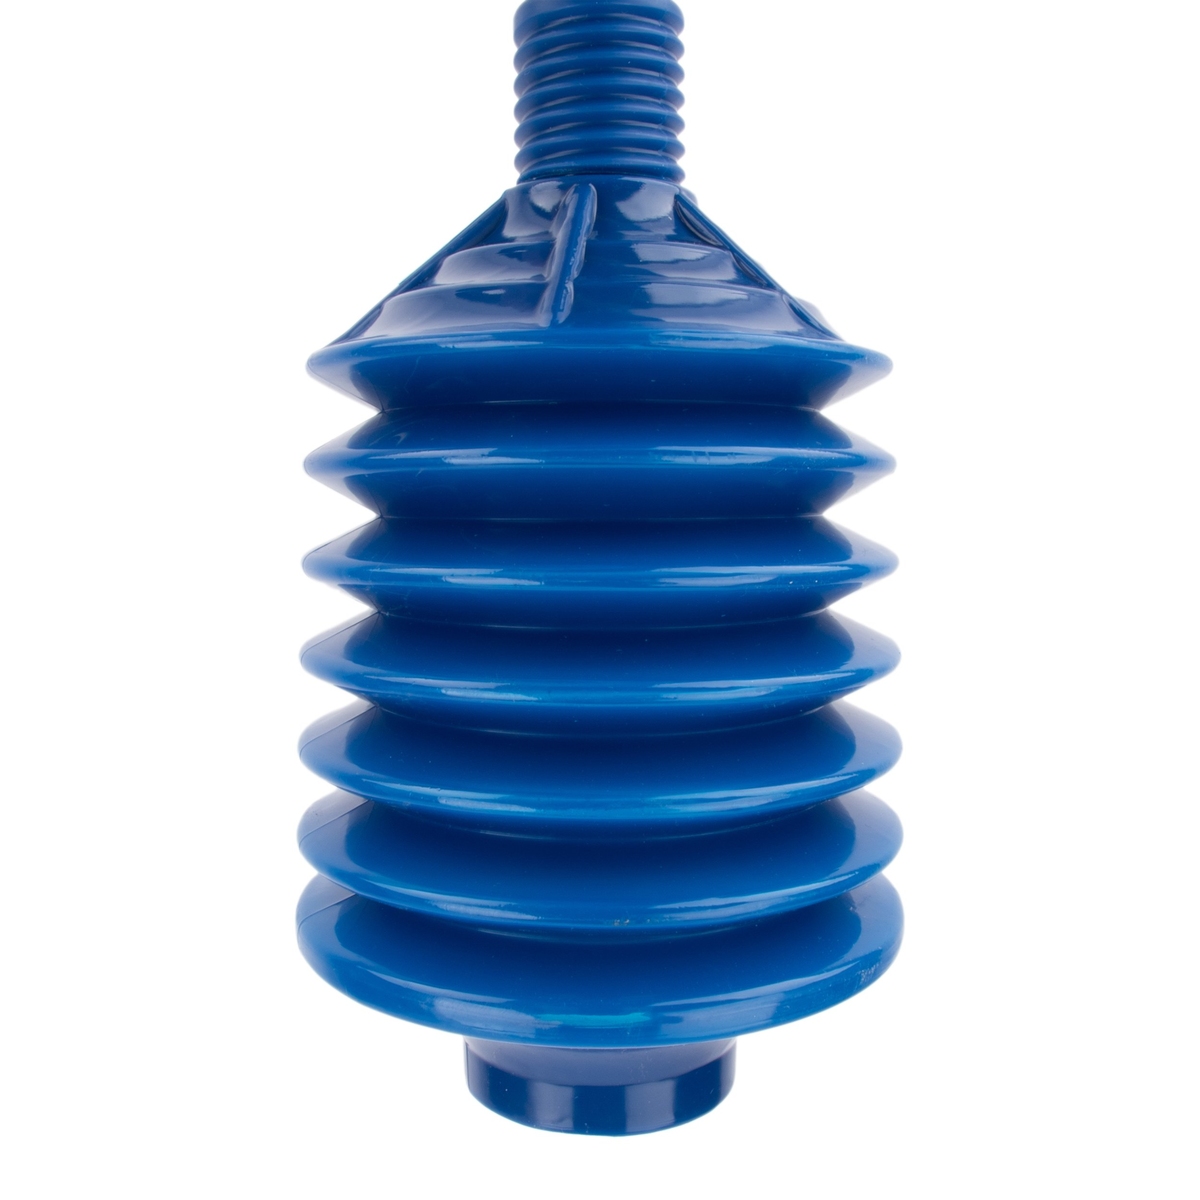
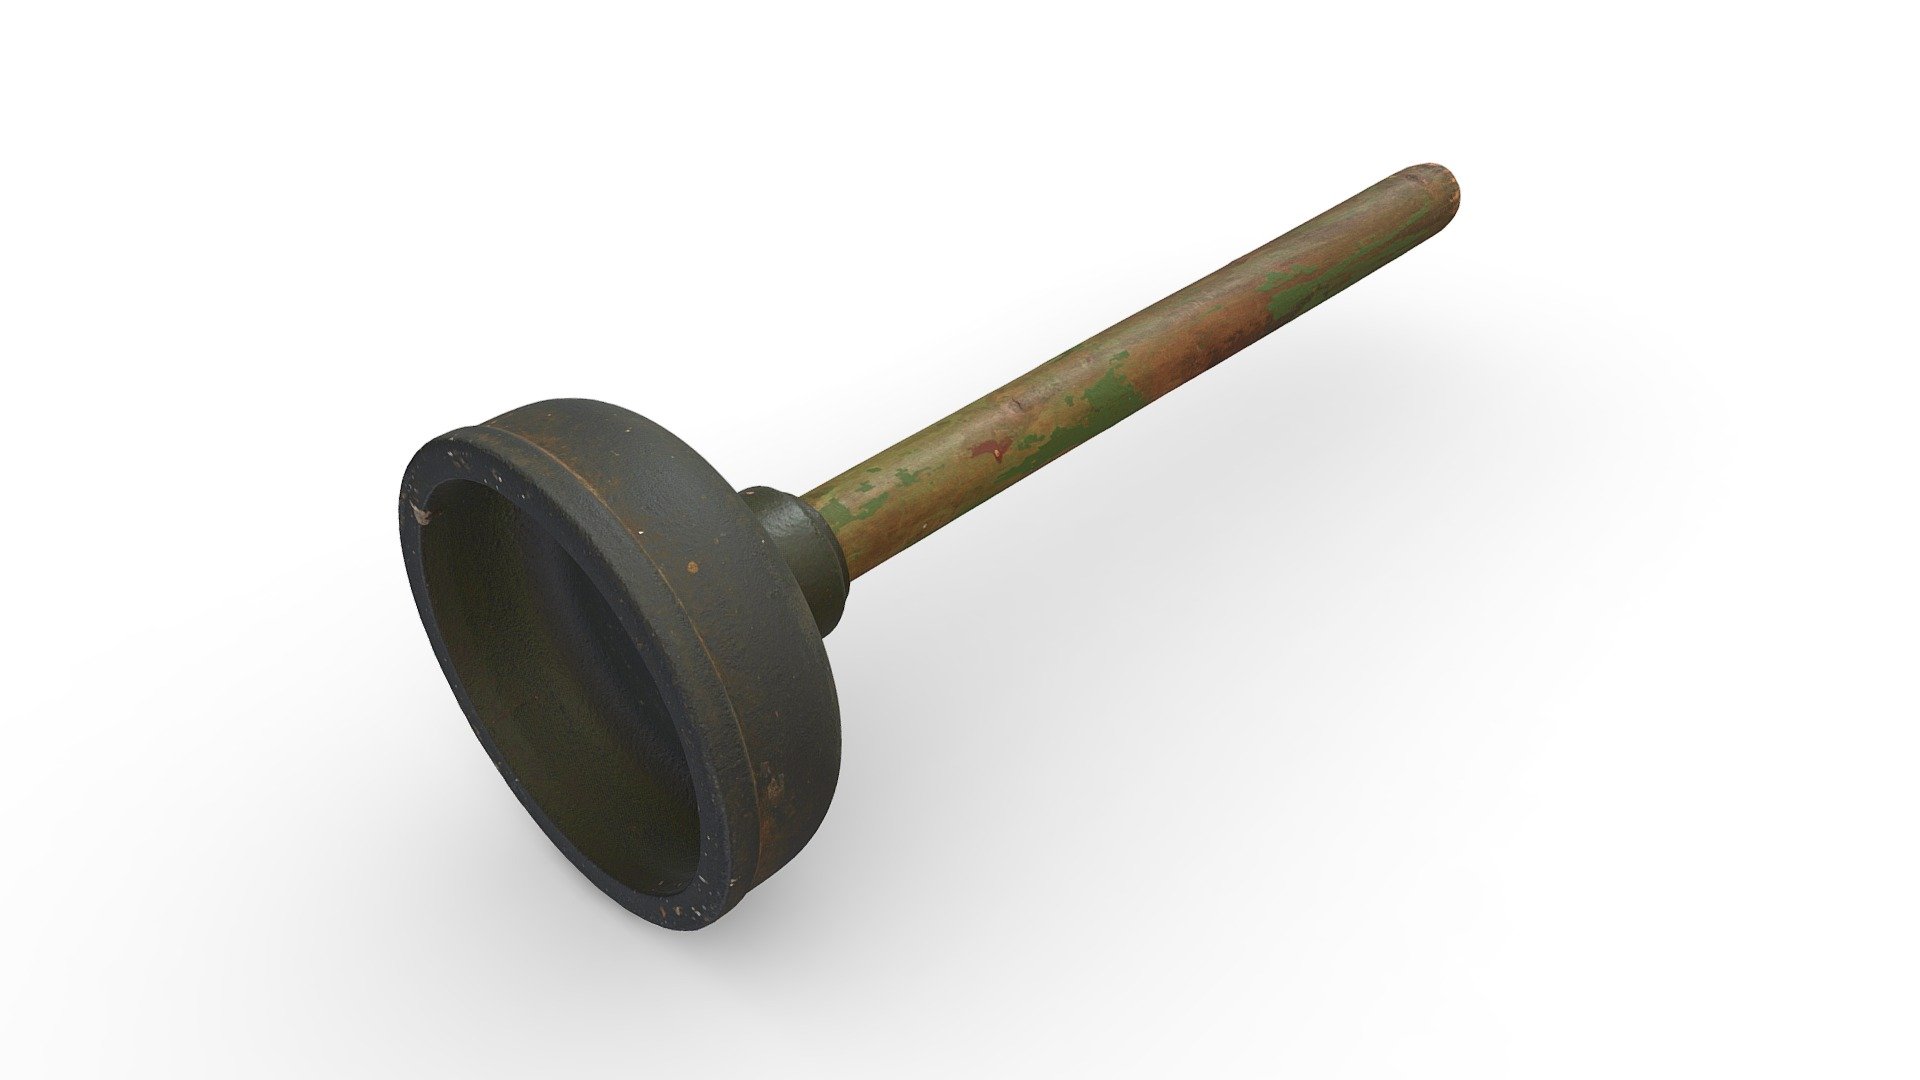
- Inspect for Wear and Tear: Regularly examine the rubber part of the plunger to check for any signs of wear and tear. Look for cracks, splits, or flattened edges that may affect its suction power. If you notice any significant damage, it may be time to replace the plunger.
- Clean and Disinfect: Even when not in use, it’s a good idea to clean and disinfect the plunger every few months. Follow the cleaning steps mentioned in Step 1 to remove any dirt, bacteria, or residue that may have accumulated over time.
- Store in a Dry Environment: Ensure that the storage location remains dry and free from excessive moisture. This will prevent the growth of mold or mildew, keeping the plunger clean and hygienic.
- Check the Handle: Inspect the handle of the plunger for any signs of damage or looseness. A sturdy and secure handle is essential for exerting the necessary pressure during use. If the handle is showing signs of wear, consider replacing the plunger or repairing the handle if possible.
- Replace if Necessary: If your plunger has served you well for a long time but is starting to lose its effectiveness, it may be time to replace it with a new one. A plunger that no longer maintains a tight seal or is damaged may not be capable of unclogging effectively.
By regularly checking and maintaining your plunger, you can ensure that it remains in optimal condition and ready for use whenever the need arises. This proactive approach will help you avoid any unexpected frustrations or inconveniences when dealing with clogs.
Conclusion
Keeping your plunger clean and properly stored is essential for maintaining its functionality and ensuring that it is ready to tackle any clogs that come your way. By following the steps outlined in this article, you can store your plunger in a way that promotes cleanliness, convenience, and longevity.
Remember to start by cleaning the plunger thoroughly and allowing it to dry completely before storing it. Choose a storage location that is easily accessible and hygienic, taking into consideration factors like privacy and convenience. Place the plunger in a bag or container to further protect it from contaminants and keep it clean.
When storing the plunger, make sure it is easily reachable and stable to avoid accidents or difficulties when needed. Additionally, regularly inspect and maintain your plunger to address any wear and tear or handle issues that may arise.
By following these simple steps, you can ensure that your plunger is always in excellent working condition and ready to unclog drains or toilets whenever the need arises. Take care of your plunger, and it will take care of your plumbing challenges.
So, the next time you find yourself dealing with a stubborn clog, you can confidently grab your properly stored and well-maintained plunger, knowing that it will come to the rescue and restore the flow in no time.
Frequently Asked Questions about How To Store A Plunger
Was this page helpful?
At Storables.com, we guarantee accurate and reliable information. Our content, validated by Expert Board Contributors, is crafted following stringent Editorial Policies. We're committed to providing you with well-researched, expert-backed insights for all your informational needs.


0 thoughts on “How To Store A Plunger”